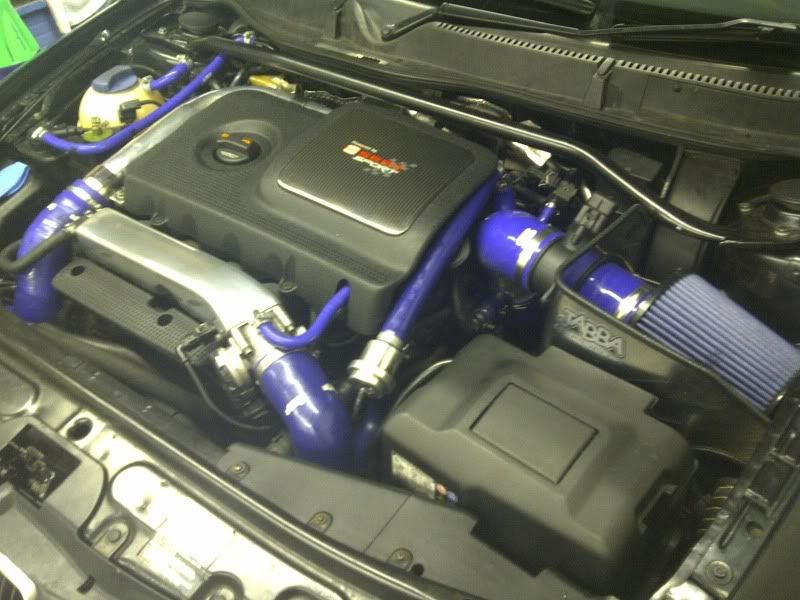
Coops's Black Leon Cupra R - UPDATE: Miltek De-Cat Fitted and sounding sweet!

coops10

Newbie
Sep 1, 2009
734
0
Middlesex
www.coops-photo.co.uk
Collected the car last night, feels good to be back driving it again :)

Feels weird to have a clutch that doesn't require a lead foot to press it to the floor to get it to change gear! So much smoother and easier to drive now.
 

coops10

Newbie
Sep 1, 2009
734
0
Middlesex
www.coops-photo.co.uk
Update:

Now the clutch is fixed I started to drive the car properly again and noticed that first thing in the mornings on the way to work it would only boost to about 8psi and just lacked the power it should have. Oddly though, on the way home from work its fine!

If it does it again, i just switch the engine off then back on again and its fine.

Here is what VAG COM says...

Code:
VCDS-Lite Version: Release 1.0
  Component and/or Version: 1.8l R4/5VT         0001
           Software Coding: 10510
            Work Shop Code: WSC 33278
           Additional Info: **** ******
3 Faults Found:
17705 - Pressure Drop between Turbo and Throttle Valve (check D.V.!)
        P1297 - 35-00 - -
17545 - P1137 Long Term Fuel Trim Add.Fuel,Bank1 System too Rich
        P1137 - 35-00 - Please Register/Activate
18010 - Voltage Supply Terminal 30 Intermittent
        P1602 - 35-10 - Please Register/Activate - Intermittent

The voltage one is ok I think as the battery had been disconnect but the other two point towards a boost leak. Nothing but problems lately :(

Got it back to AmD and did a boost leak test and turned out there was a slight spilt it the vac line that came from 007p. Kenny replaced that and now seems to be fine.

Then drive home was fine so will have to wait and see how it is during the week. Fingers crossed!
 

t0m

LCR 225
Apr 29, 2007
8,133
7
Kent
Fingers crossed it'll be ok now mate.

My bloody n75 wasn't plugged in, hence my massive boost problems. Requested boost never being met, but this was after I sorted the boost leaks. Glad to report it's back to being a stage 2 animal again :)

Check plugs aswell as hoses that's my advice lol.
 

D.K

LCR 225
Oct 24, 2007
6,408
3
se london
Was it the 8mm pipe from the top of the DV to the charge pipe ?
mine split on the inside of the bend. Forge do an upgraded one now.
 

coops10

Newbie
Sep 1, 2009
734
0
Middlesex
www.coops-photo.co.uk
Was it the 8mm pipe from the top of the DV to the charge pipe ?
mine split on the inside of the bend. Forge do an upgraded one now.

I have the forge DV relocation kit so that pipe isnt used any more and is blanked off. If thats the one your talking about.

It was the thin small vaccum line that goes from the very top of the DV to the T piece for the boost gauge. Tiny little split in it
 

D.K

LCR 225
Oct 24, 2007
6,408
3
se london
Yeah thats the one.
You might be better off with the boost gauge taken off the FPR, you normally get a better reading off there
 

coops10

Newbie
Sep 1, 2009
734
0
Middlesex
www.coops-photo.co.uk
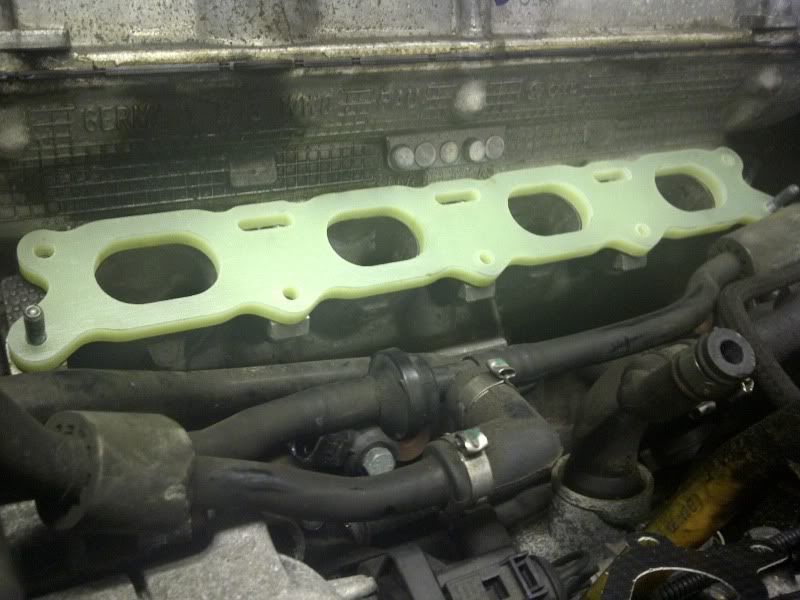
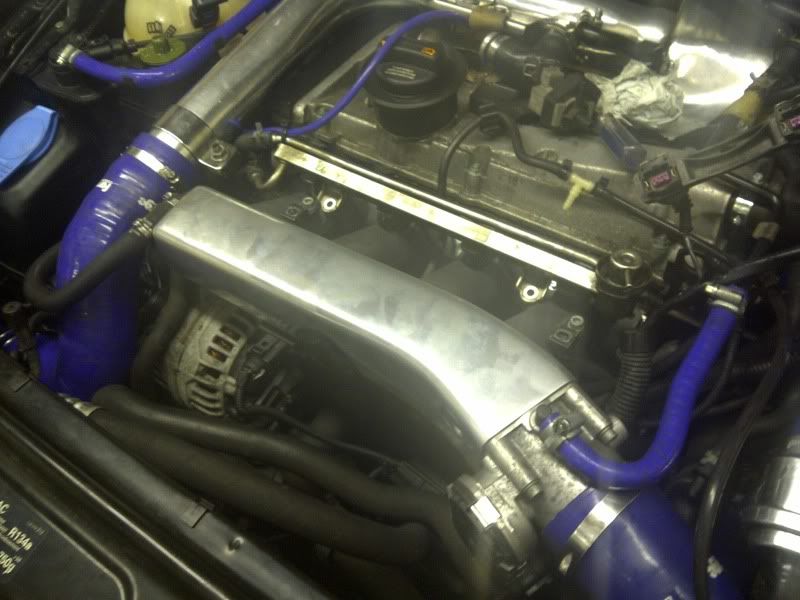
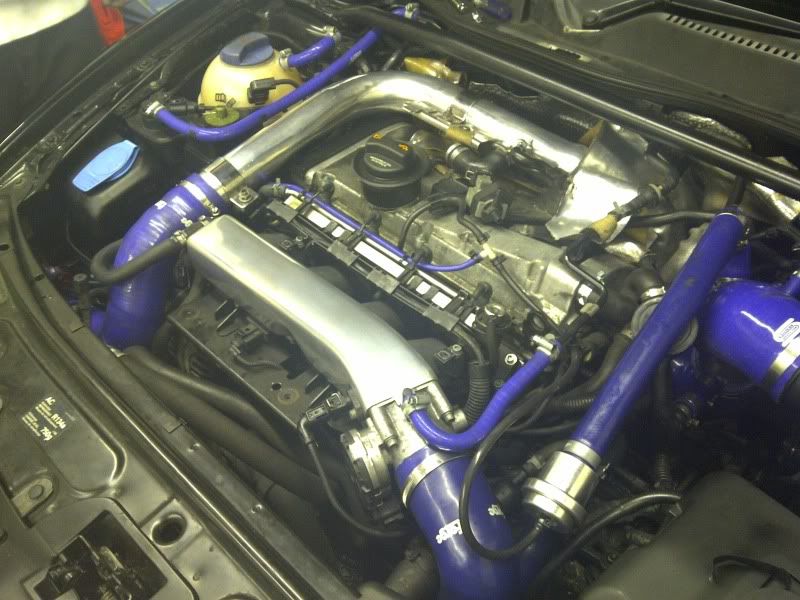
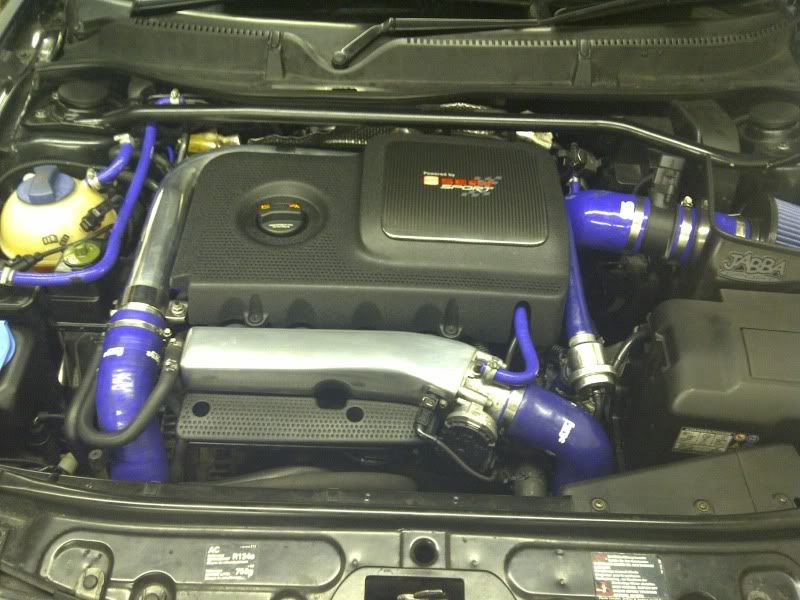
Today was the day to fit the new polished manifold and Phenolic intake gasket I bought from Bill.

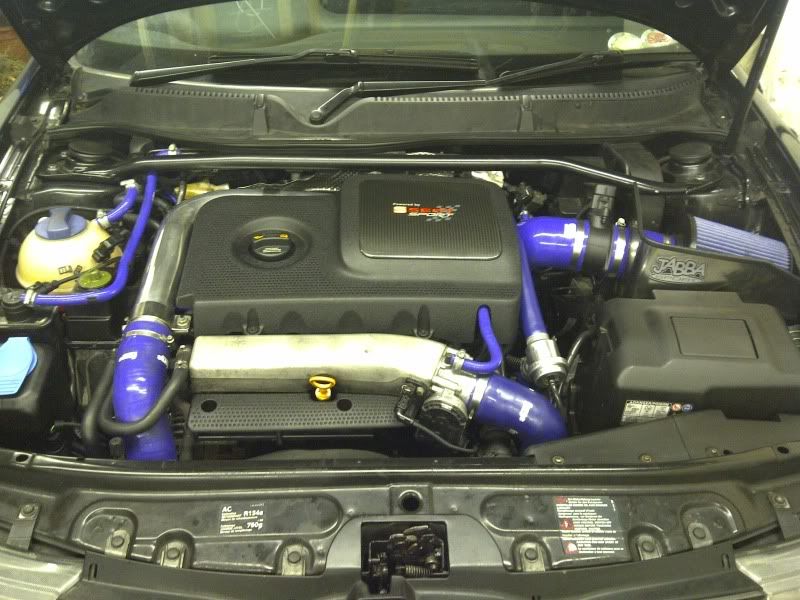
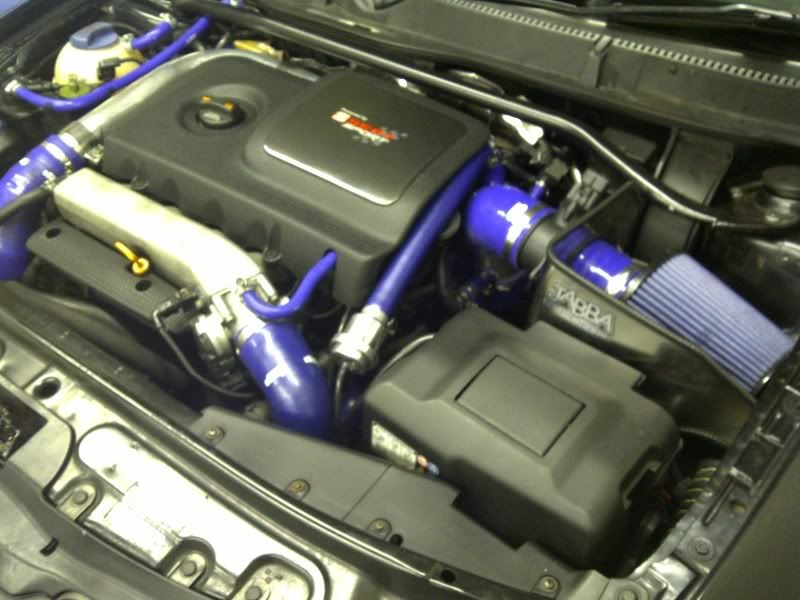
Here's how it looked before we started

IMG-20110205-00261.jpg


IMG-20110205-00262.jpg


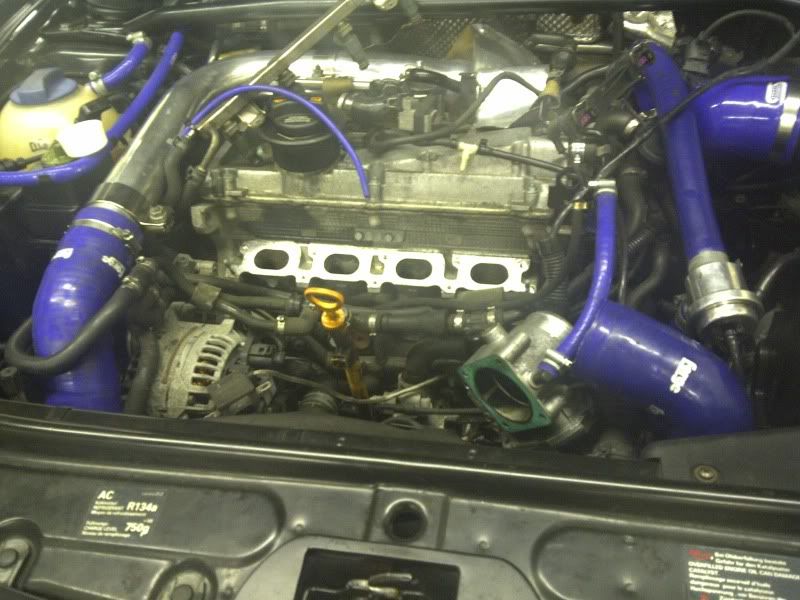
Original manifold off in about 30mins, quite an easy job really

IMG-20110205-00265.jpg


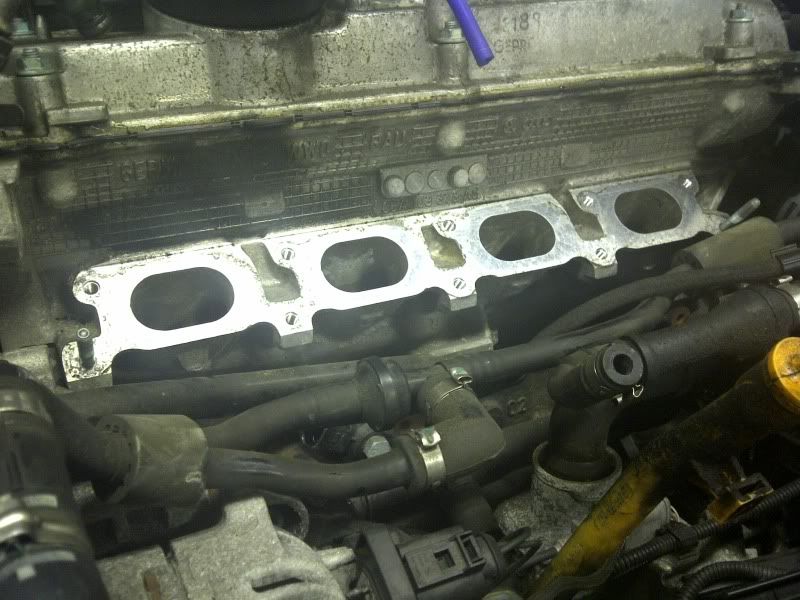
The ports after we cleaned off all the gunk from around them

IMG-20110205-00263.jpg


Phenolic gasket on with a normal gasket underneath. Another normal gasket goes on top, then the mani is fitted onto this.

IMG-20110205-00266.jpg


Manifold on and fuel rail fitted

IMG-20110205-00268.jpg


All the wiring to the injectors back on

IMG-20110205-00269.jpg


Arty close up of the mani.

IMG-20110205-00270.jpg


And some finished shots

IMG-20110205-00271.jpg


IMG-20110205-00272.jpg


Only problem was we managed to snap the oil tube! Bit annoyed about that but ill order a new one on Monday. Also some of the vac lines under the mani looked a bit worse for where so will order some a couple of meters of it and replace it all.

Looks much better, finishes the bay off quite nicely. Very pleased!
 

Willie

LCR Track car
Aug 6, 2004
8,939
1
Sunny Scotland
Coops, you should have removed all the gunk and bit before removing the OEM intake manifold.
When you removed this there would have been bits and pieces falling into the top of the cylinders.
Your lucky if there was nothing big enough to cause any damage.
I spend about 1 hours cleaning this area with gunk and compressed air gun prior to thinking about removing the manifold.
Hope you don't have issues after this.
 

coops10

Newbie
Sep 1, 2009
734
0
Middlesex
www.coops-photo.co.uk
Coops, you should have removed all the gunk and bit before removing the OEM intake manifold.
When you removed this there would have been bits and pieces falling into the top of the cylinders.
Your lucky if there was nothing big enough to cause any damage.
I spend about 1 hours cleaning this area with gunk and compressed air gun prior to thinking about removing the manifold.
Hope you don't have issues after this.

We did :) Used a hoover and cotton buds and got as much dirt out as possible before removing the mani. When we did remove it, it was taken off very very slowly and carefully to ensure nothing fell in. We also used a cotton bud on the top of the valves to make sure there was no muck in there.

The gunk I was refering to was what was under the gasket and couldn't be got at before the mani was removed :)
 
Nov 7, 2009
858
0
Lookin good. I wanna polish mine but is to much elbow grease lol. Iv got the phenolic gasket of badger aswell. Makes a difference as the the temperature of the hot Air is reduced wen entering the manifold. A gained abit more torque wen dynod afer fitted
 

Willie

LCR Track car
Aug 6, 2004
8,939
1
Sunny Scotland
We did :) Used a hoover and cotton buds and got as much dirt out as possible before removing the mani. When we did remove it, it was taken off very very slowly and carefully to ensure nothing fell in. We also used a cotton bud on the top of the valves to make sure there was no muck in there.

The gunk I was refering to was what was under the gasket and couldn't be got at before the mani was removed :)
Nice one, was just concerned that people reading it might have misjudged the exact steps you had taken and followed these steps, all good though
 

brad1

Guest
You still having the problem when you first start it up of only having 8psi. I had this problem and it turned out to be a problem with the map, it was requesting too much boost on a cold start and causing limp mode, turn it off and back on and now uts fine. But now ive got another problem with the map lol, every so often when giving it beans, when in either 4th, 5th or 6th, it holds too much boost past 5000rpm and causes limp mode. It doesn it every now and again. The code i get now is 17963 charge pressure limit exceded. Back to AmD tomorrow lol
 

ibizacupra

Jack-RIP my little Friend
Jul 25, 2001
31,333
19
glos.uk
Looks good. The gasket made any performance differences Adam?

they should'nt do, thats not their purpose.
keep the performance it had from keeping AIT's cooler yea, but thats not adding power its preserving what you have
 

brad1

Guest
they should'nt do, thats not their purpose.
keep the performance it had from keeping AIT's cooler yea, but thats not adding power its preserving what you have

Same sort of purpose of a FMIC during the summer weather, not loosing performance cause of high temps, but keeping it preserved
 
Lecatona HPFP (High-pressure Fuel Pump Upgrades)