
Innovate LC-1 and Gauge. ;-)
Yes i agree with this also,
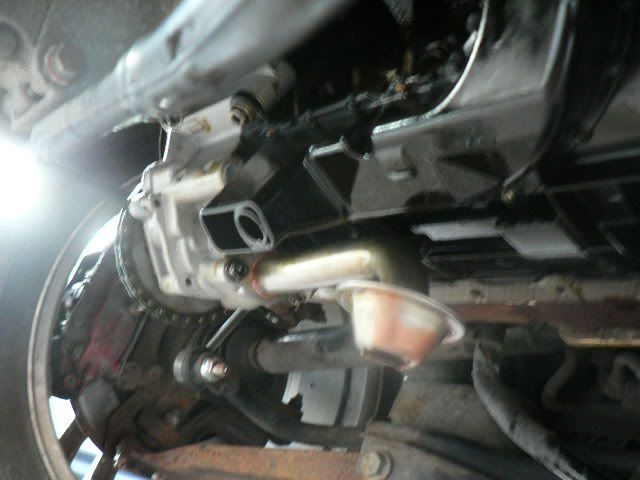
just need to get my boss welded to the downpipe

Innovate LC-1 and Gauge. ;-)
") You can get one pretty cheap from america including postage. Saying cheap I mean £130 which is considering you get the sensor with it as well.
You can get one pretty cheap from america including postage. Saying cheap I mean £130 which is considering you get the sensor with it as well.![[:@]](/forums/styles/seatcupra/oldforumsmileys/furious.gif "Furious [:@]")
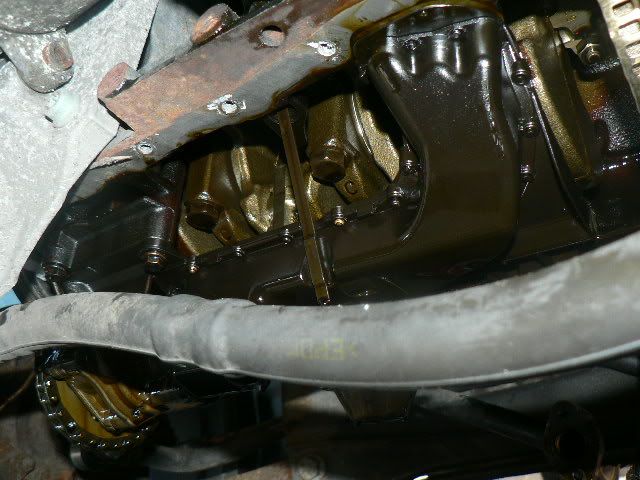
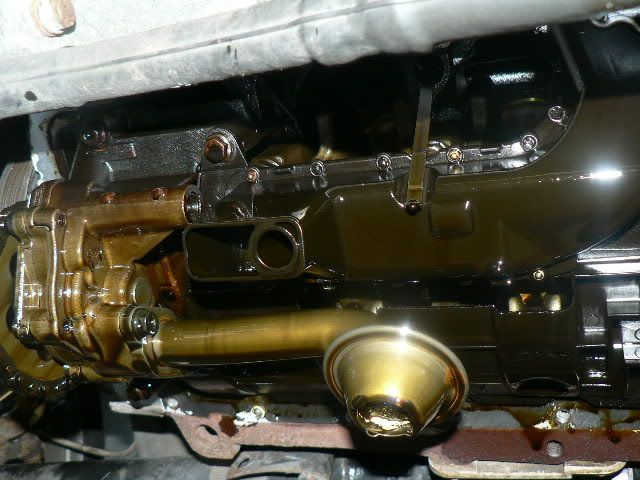
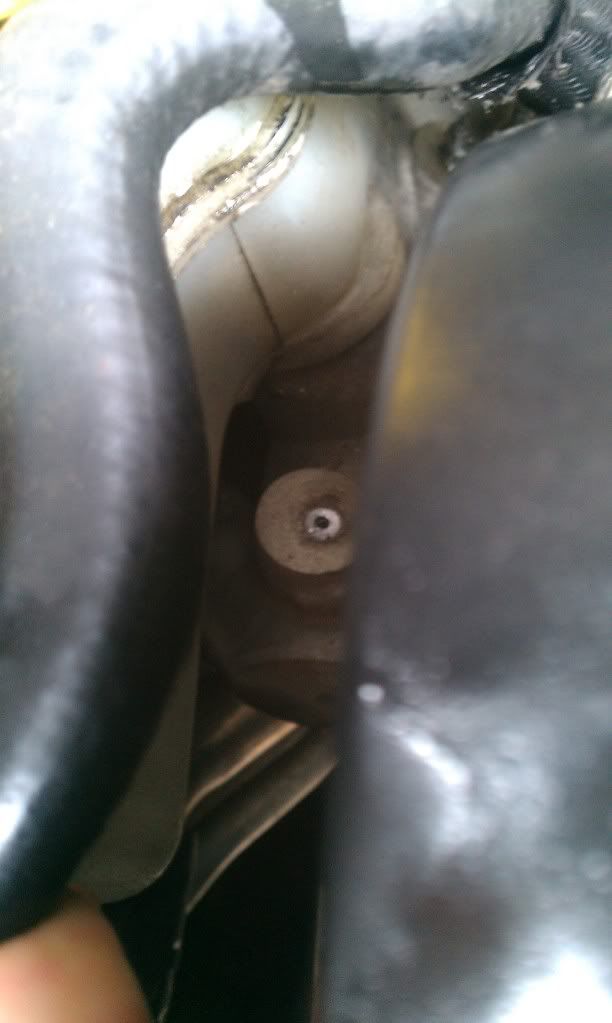
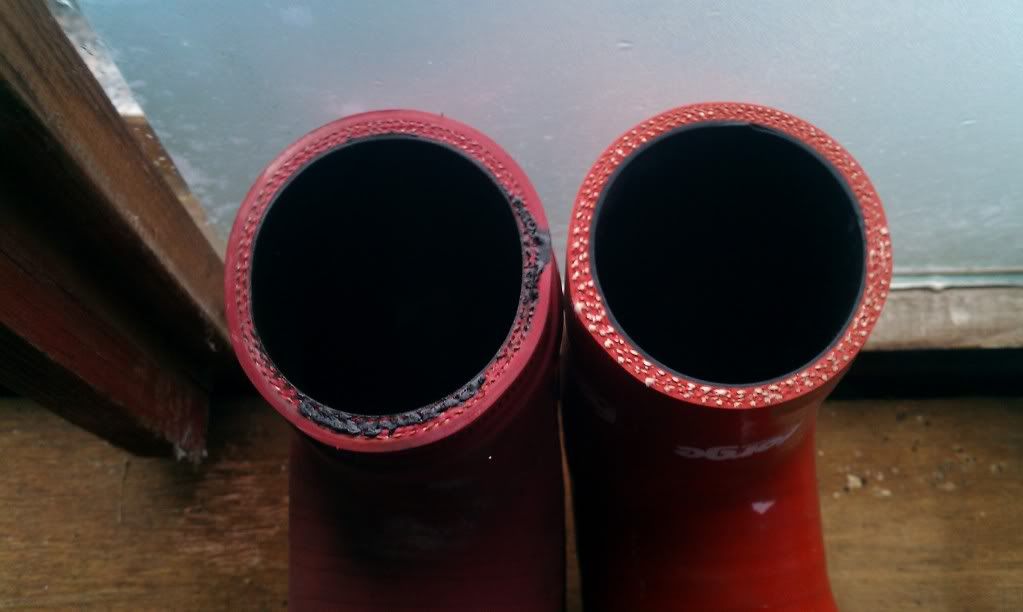
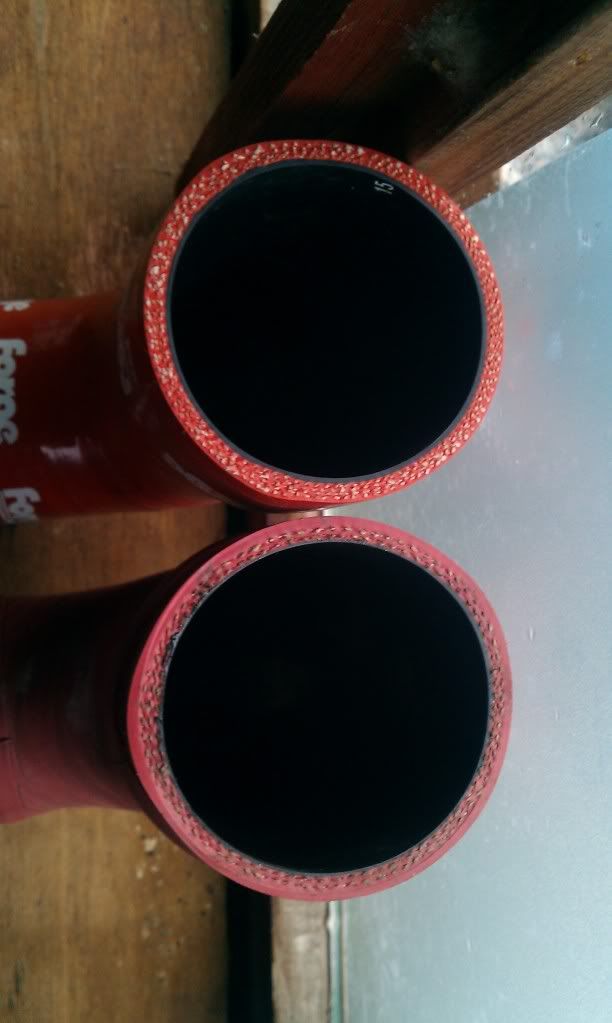
 perhaps a bit too much silicone sealant. TBH I did as it said 2-3mm bead of sealant, but this is too much.
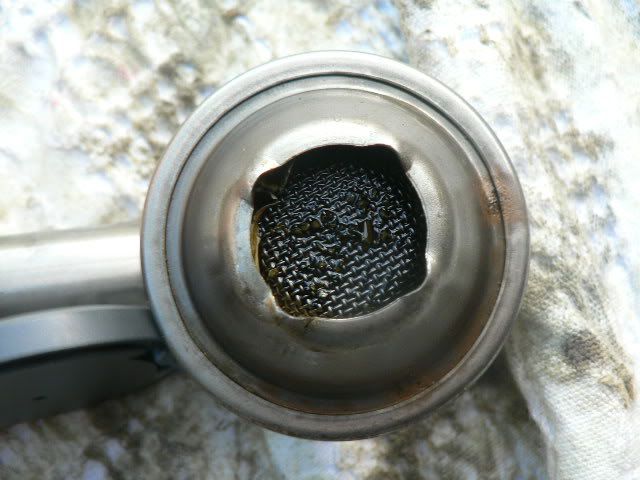
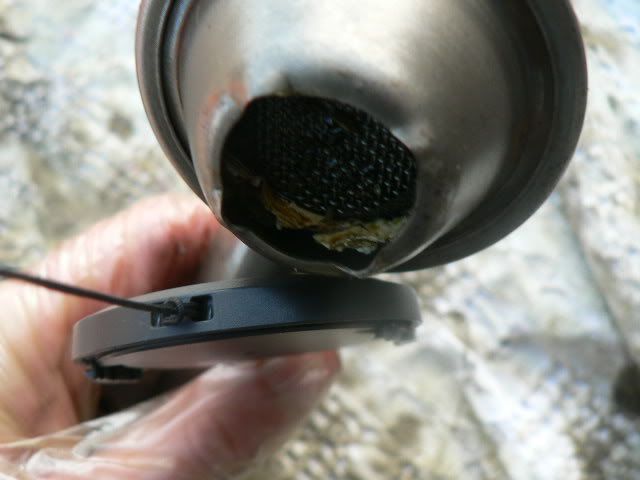
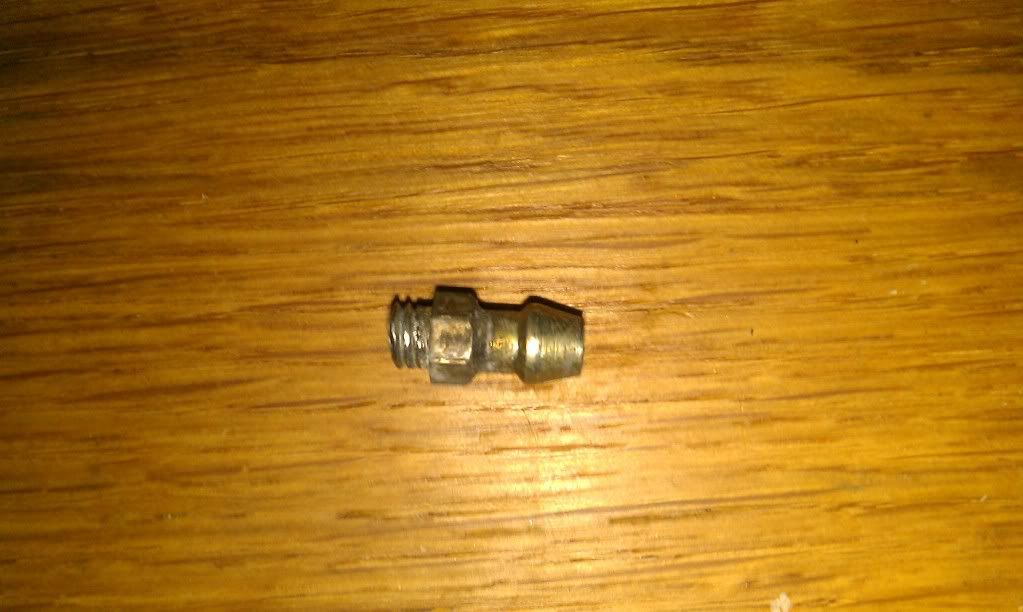
I hadn't forseen this but was always going to fit a new pick up as last time I just cleaned out the OEM one with the wife's nail polish remover

Na, this was last time.Good job she is in Las Vegas then eh
what like a job is it for the master cylinder swap?
would an easy out do the job for removing the left over part? or is it proper seized? thats if and only if you can get a nipple seperate?
Dan, this sounds more like the pedal master cylinder. Take a look closely at the base of the pedal when pushing it down, you might notice some fluid/air around where it goes through the floor.My ms needs changing I'm getting hissing from the brake peddle , is itva do able job on your own
Cheers Phill, pod arrived today, much appreciated.Willie,
I did my water pump and timing belt a couple of weeks ago, It is fairly easy to do but putting the belt on without any of the timing marks moving is a PITA, most time is taken stripping the engine and bay down to get access, let me know if you want a talk through guide and i will email you one. I have also replaced my brake servo which Dan mentioned this is a major big time PITA, you need to move the engine forward to get it out, you also need to remove the master cylinder which is a walk in the park, undo the sensor wire, and the pipes going in, (i soaked them in WD40 for a while) then undo the two bolts holding it on to the servo and bobs your uncle.
(You should have got the gauge today i posted it on friday first class)
I don't want to end up with the usual midnight motors modding the night before my first track day or the SCN Scotland national day.I'm loving how much is happening now Willie! Definitely rattling through these jobs!
I wish I had the same motivation. Hopefully it will come back after I get this one problem sorted.
Next job of the day was to try and gain access to the middle air vents.
As I've said I have a 3 pod gauge carrier for in here.
After reading guides and having a fiddle I gave up due to lack of stereo keys.
Getting these on Tuesday, if not sooner.
Wee tip for you, order a 501-fitment red LED type bulb for the Autometer boost gauge, the little bulb johnnies in the box make the light pretty weak at night and IIRC rather pink
Cheers Craig,Wish I'd seen this earlier, I've got a set kicking around in the car, AND I was over in the Bridge of Doom earlier, would've been a quick wee hoon out your way
Loving the gauges, especially the combo oil pressure/temp one, very sweet.
Wee tip for you, order a 501-fitment red LED type bulb for the Autometer boost gauge, the little bulb johnnies in the box make the light pretty weak at night and IIRC rather pink
like these
