
If you ever need a better back bud give me a shout! I have a big aluminium 2t jack and a beast of a low entry jack at 3t. Both go high too...
I got similar from Costco. Superb jacks.
If you ever need a better back bud give me a shout! I have a big aluminium 2t jack and a beast of a low entry jack at 3t. Both go high too...
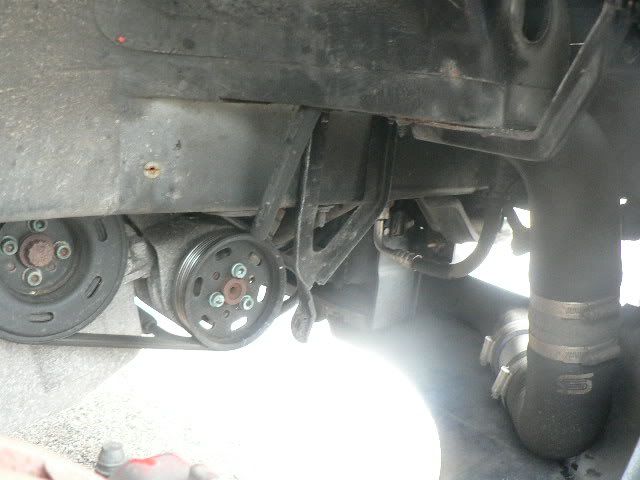
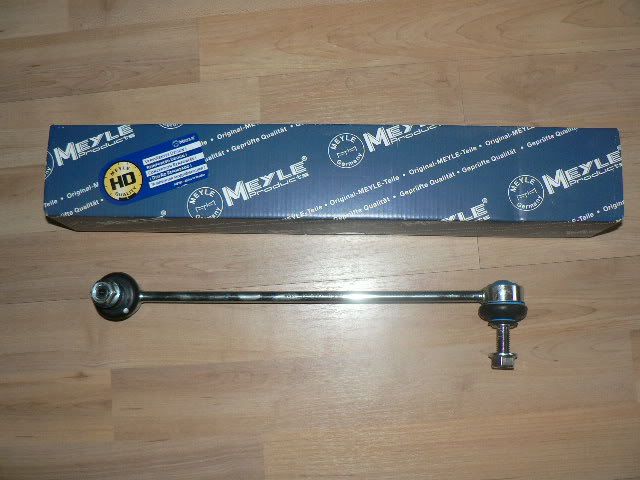
One thing I did notice was the GSF drop link boots were totally ripped open. These have only been on the car for about 2 years, so lessons learned again there. The OEM ones were fine after 6 years.
So these will be changed out, does anyone know of a uprated part to replace these??
If not I'll be happy with OEM ones.
")
Your will still be in the packets though, unused,I got similar from Costco. Superb jacks.
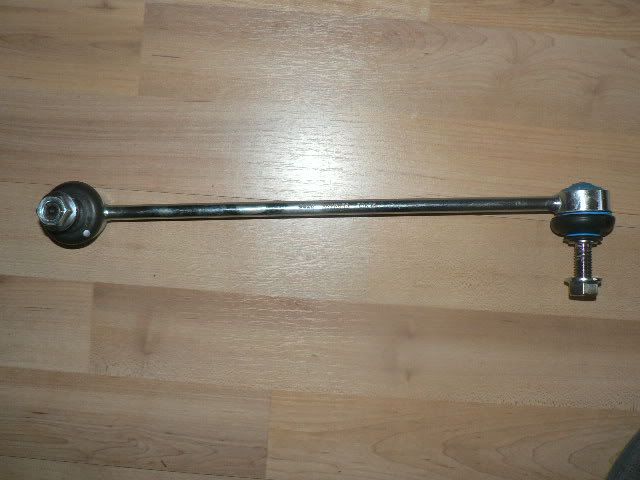
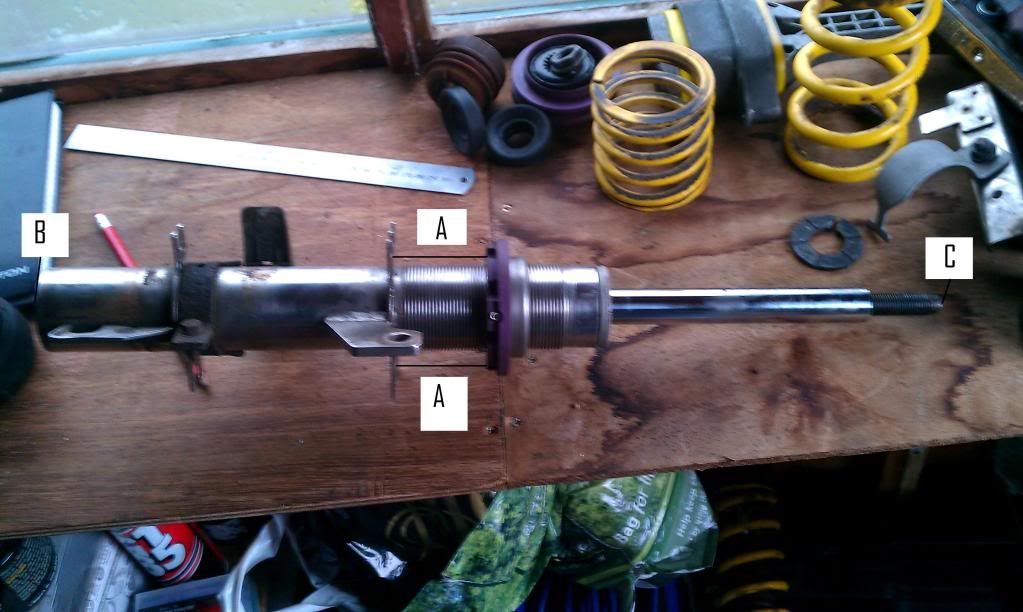
Very roughly, as in with a plastic ruler, 340mm long with ends 90 degrees opposing.
M6 x 25mm threaded ends.
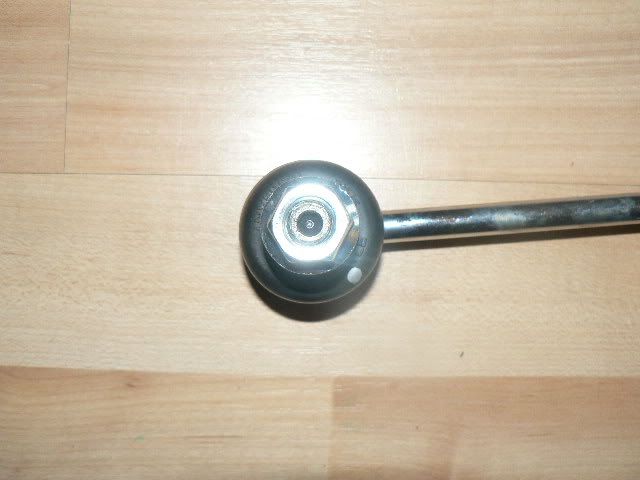
Both ends rose jointed and booted
If you find anything give us a shout but happy enough to use OEM through SereMotorsHmmm the ones I have here are 335mm from centre-centre, but 180 degrees opposing. Rose jointed and booted too.
Supposed to be rather better than the OE stuff, I'll have a dig and see what else is about
If you find anything give us a shout but happy enough to use OEM through SereMotors
Ha ha.Awesome Willie. Really enjoying your thread even if my OCD'ness is going off the radar.
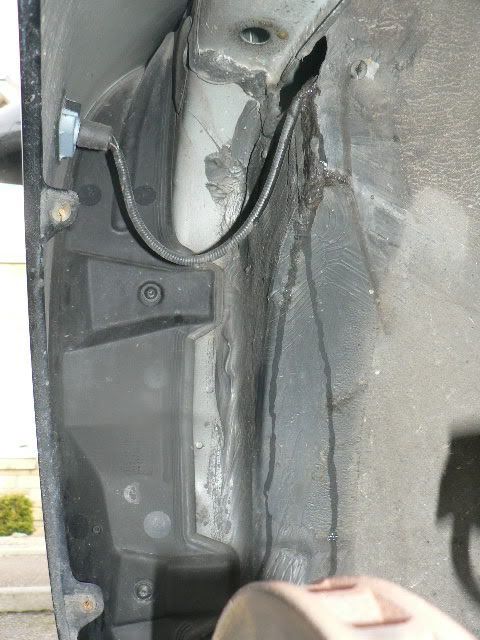
I would clean up the hoses so they dont crack etc... Some water and WD40 should do the trick.
Min I work offshore so usually have time on my hands for ****ing about with whatever when all you normal people are at work.Willie how do you have so much time min? I can't even get my car cleaned!
Top write up? But why the difference in mm between n/s and o/s?
I've had a 'wee fiddle' with the rears tooAre you adjusting the rears too? Now's the time to adjust the rebound on those, while you've got them off the car.
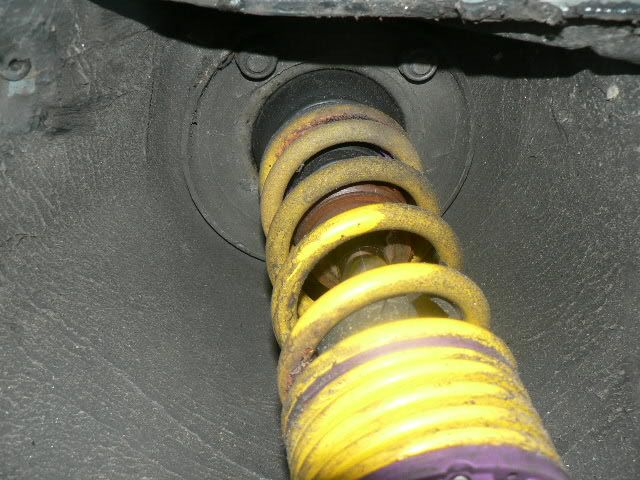
Actually while you've got them there Willy, can you see markings on the springs? I'm intrigued to know whether the springs are the same rating on the V3s and the Clubsports.
On the Clubsports the front springs are marked KW 10 - 60 - 80 / KW 80-170 and the rears are marked KW1011.
Are you adjusting the rears too? Now's the time to adjust the rebound on those, while you've got them off the car.
Actually while you've got them there Willy, can you see markings on the springs? I'm intrigued to know whether the springs are the same rating on the V3s and the Clubsports.
On the Clubsports the front springs are marked KW 10 - 60 - 80 / KW 80-170 and the rears are marked KW1011.
Mine are:
Shock unit 100-1005
Main spring 60-170 GBGB
Helper 20-60-100
Cannot see the rears just now
Willie says he's been up to lots
 good to see Jason sorted you out with the droplinks too, hopefully they'll be a bit better than the OE ones
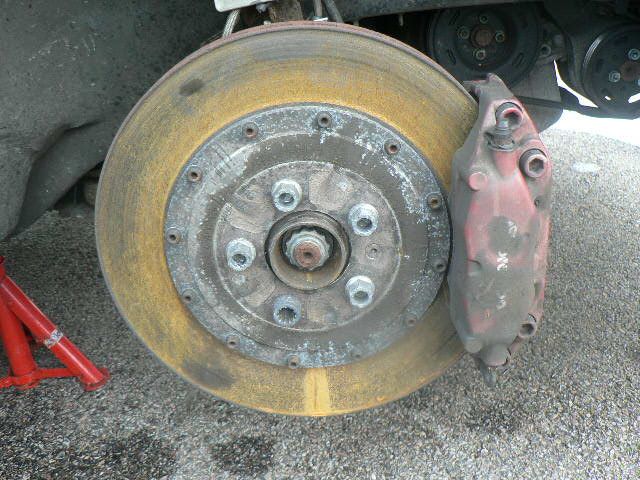
 So got the bleed nipples out of my spare OEM Brembo caliper, and like others are finding this ended up stripping the last few threads.
I dressed this up with a plug tap, M10 x 1 metric fine, and it looks okay but not 100% sure about it TBH.
I have a price from SereMotors for a new one so might go down that route.
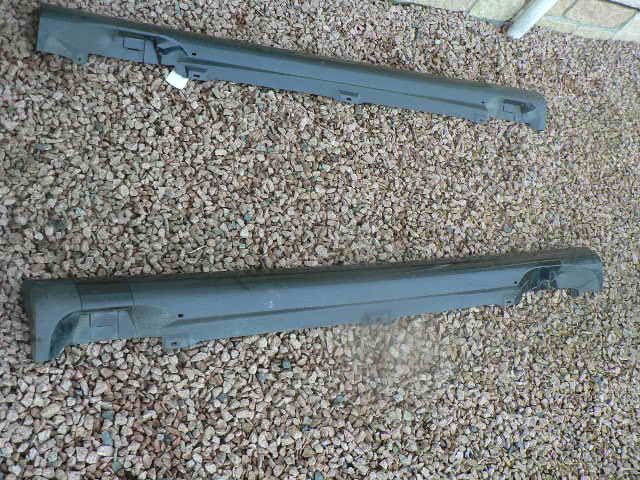
These calipers are sided, they have an arrow for the tyre rotation/direction.
Now TBH I don't think it would make a huge difference if these were put on the other side as the only apparent difference is that there is a larger piston on the lower side when fitted correctly, where this would be on the upper side.
Still thinking over this one TBH.
