
You are using an out of date browser. It may not display this or other websites correctly.
You should upgrade or use an alternative browser.
You should upgrade or use an alternative browser.
fair enuff m8 lol.
1) I ran cables from the back of the headlight switch and dimmer switch up to where the gauges were going to be placed
2) I connected each coloured wire on both gauges together, (so yellow wire to yellow wire from boost and from oil temp gauges etc)
3) I connected the needle illumination wire and the dial illumination wire together (i think these are purple and orange). They both need power from the dimmer switch so may aswell all connect together.
3) I connected the appropriate wires from the headlight switch and the dimmer switch to the wires on the gauge and hey presto...the illumination side of things was done.
4) I then ran the vac hose for the boost gauge...NOT fun! i took the bottom bit of the dash off to do this so i could see more...but there still isn't much room to see up the top!
5) Plugged the vac hose into the back of the boost gauge
6) Used the t-piece and plumbed the vac hose into the dv vac pipe, and thats the boost gauge done.
7) Then i did the oil sender. I ended up getting a mate at my local garage to help with this, as the engine side of things scares me more than electrics lol. He took off some covers and brackets and fitted the sender in the top of the oil filter housing.
8) The white wire from the sender AND the black wire were needed to make mine work (however that may be because we used PTFE tape on the thread so no oil leaked, but this may have stopped it from earthing itself).
9) The white wire was run to the back of the gauge and fitted appropriately, and while i was at the back of the gauges again, i earthed the - bolt to the same earth the dials used for the illumination.
10) Then i earthed the sender somewhere in the engine bay. And that's oil temp done too.
That was my process, i wish i had taken pics but i will dig out the thread i had on fitting these and link you to it in a sec...it was all i needed and mine are still working fine")
1) I ran cables from the back of the headlight switch and dimmer switch up to where the gauges were going to be placed
2) I connected each coloured wire on both gauges together, (so yellow wire to yellow wire from boost and from oil temp gauges etc)
3) I connected the needle illumination wire and the dial illumination wire together (i think these are purple and orange). They both need power from the dimmer switch so may aswell all connect together.
3) I connected the appropriate wires from the headlight switch and the dimmer switch to the wires on the gauge and hey presto...the illumination side of things was done.
4) I then ran the vac hose for the boost gauge...NOT fun! i took the bottom bit of the dash off to do this so i could see more...but there still isn't much room to see up the top!
5) Plugged the vac hose into the back of the boost gauge
6) Used the t-piece and plumbed the vac hose into the dv vac pipe, and thats the boost gauge done.
7) Then i did the oil sender. I ended up getting a mate at my local garage to help with this, as the engine side of things scares me more than electrics lol. He took off some covers and brackets and fitted the sender in the top of the oil filter housing.
8) The white wire from the sender AND the black wire were needed to make mine work (however that may be because we used PTFE tape on the thread so no oil leaked, but this may have stopped it from earthing itself).
9) The white wire was run to the back of the gauge and fitted appropriately, and while i was at the back of the gauges again, i earthed the - bolt to the same earth the dials used for the illumination.
10) Then i earthed the sender somewhere in the engine bay. And that's oil temp done too.
That was my process, i wish i had taken pics but i will dig out the thread i had on fitting these and link you to it in a sec...it was all i needed and mine are still working fine
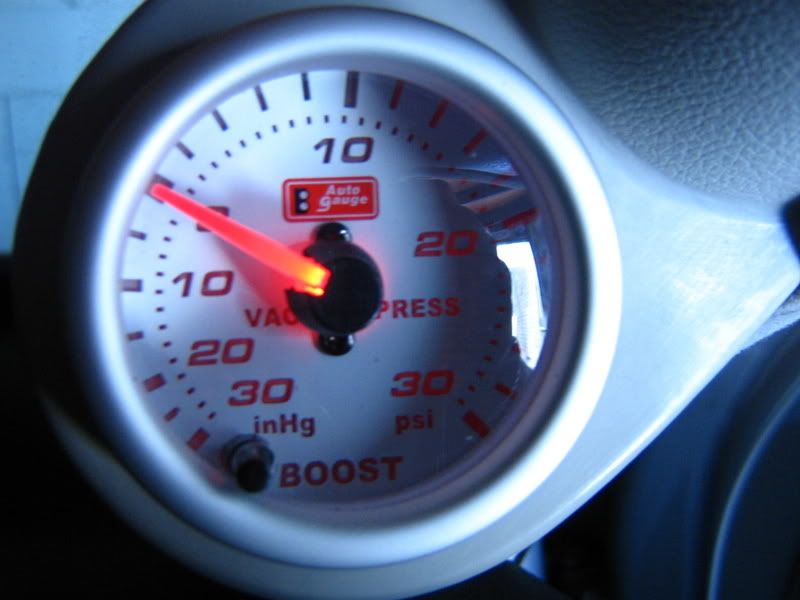
Please Note: the information below is for the Autogauge "gradational" series, 7 colour change). They can be purchased from most Halfords stores, for approximately £20-£25. The gauges come with the necessary parts to fit them and make them work (i.e. t-piece and piping for boost guage, and temp. sender for oil temp).
http://www.halfords.com/webapp/wcs/...rentcategoryrn_70561_crumb__topcategory_70561
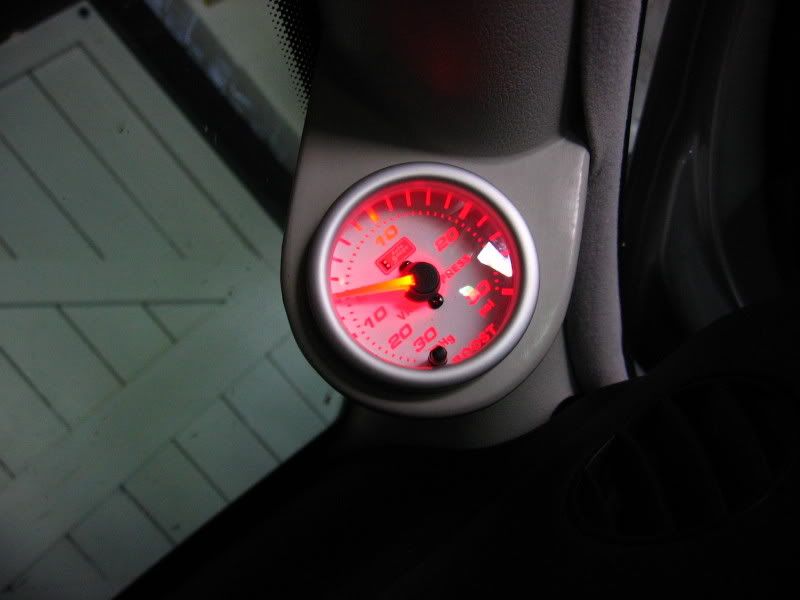
they're not fitted yet, but i will take some pics showing what they look like against the standard dials, day and night later on today.
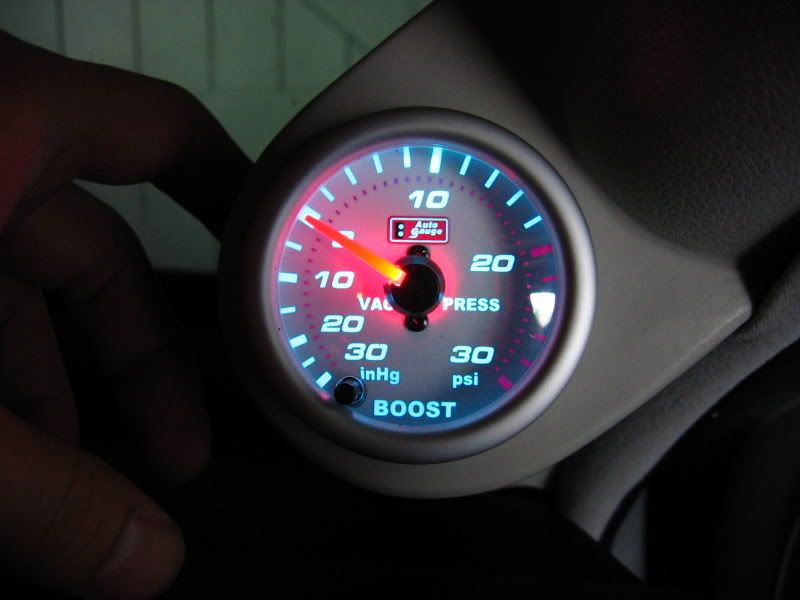
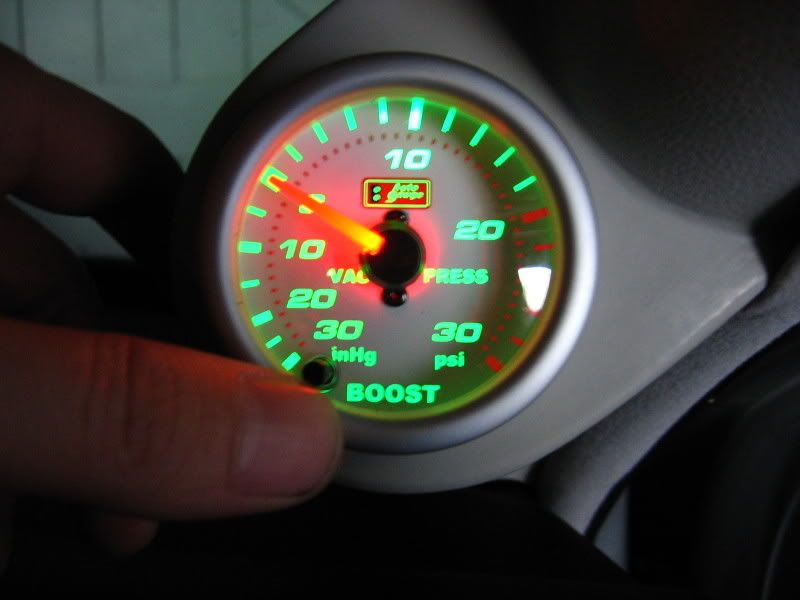
Below are some pics of the exact same gauge from a post i found yesterday.
Obviosuly for our dials, we would leave the guages on "red"
As for the wiring...see pics below-
The gauge has the wires below:
Black - earth
Purple - turns on illumination for the needle
Orange - turns on illumination for the dial numbers
Yellow - memory wire to remember what colour you chose
(note: the dial numbers will only illuminate if both the orange and yellow wires are connected...orange alone will not do anything).
So as per the pics below-
Yellow wire to red permanent feed in pic below

Black wire to brown earth wire
Purple and orange to blue/grey from dimmer plug (this allows the dials to dim along with the standard dash lights).

http://www.halfords.com/webapp/wcs/...rentcategoryrn_70561_crumb__topcategory_70561
they're not fitted yet, but i will take some pics showing what they look like against the standard dials, day and night later on today.
Below are some pics of the exact same gauge from a post i found yesterday.
Obviosuly for our dials, we would leave the guages on "red"
As for the wiring...see pics below-
The gauge has the wires below:
Black - earth
Purple - turns on illumination for the needle
Orange - turns on illumination for the dial numbers
Yellow - memory wire to remember what colour you chose
(note: the dial numbers will only illuminate if both the orange and yellow wires are connected...orange alone will not do anything).
So as per the pics below-
Yellow wire to red permanent feed in pic below
Black wire to brown earth wire
Purple and orange to blue/grey from dimmer plug (this allows the dials to dim along with the standard dash lights).
The above will make the dials illuminated exactly as though they were a factory fitted item.
The only other electrical bits to do after the above, is for the oil temp gauge....you have an additional 3 bolts...1) + Positive (I used the same + supply as for the dial illumination...as it is switched), 2) - Negative (same earth as illumination), 3) S Sender (white wire from oil sender).
Other than that, you may or may not have to earth your oil sender using the black wire attached to it.
I think in total there is 3 wires from my dimmer and headlight switch up to the gauges...and then the wires from the oil sender...so there isn't really a "mass of cables" except behind the pillar...although i twisted these together, to keep it nice and neat.
Hope that helps!
WOW! that is some helpful info Dave plus pics so Rikh has no excuses now.
This is why i love this forum, people are so helpful.
This is why i love this forum, people are so helpful.
Just a bit of info i'd like to throw in, if you have a sender which has a tapered fit (autometer gauges for example) theyre more likely to be an 1/8 NPT fit, which you might think fits as it tightens up slightly but it will ruin the thread!
You need a male M10x1 to female 1/8NPT adaptor.
I run an oil pressure gauge to the oil filter housin and an oil temp to the sump plug.
You need a male M10x1 to female 1/8NPT adaptor.
I run an oil pressure gauge to the oil filter housin and an oil temp to the sump plug.
Just a bit of info i'd like to throw in, if you have a sender which has a tapered fit (autometer gauges for example) theyre more likely to be an 1/8 NPT fit, which you might think fits as it tightens up slightly but it will ruin the thread!
You need a male M10x1 to female 1/8NPT adaptor.
I run an oil pressure gauge to the oil filter housin and an oil temp to the sump plug.
Hi mate. Yes they are tapered i posted a pic a few pages back. Like rick i have had mine for ages buy just CBA to finish it off as i have already taken it apart once to find that the threads where differnt!!!
![[:@]](/forums/styles/seatcupra/oldforumsmileys/furious.gif "Furious [:@]")
Where can you get this adapter from please?
Demon Tweeks.
This might work, just depens if your send fits inside it.
http://www.demon-tweeks.co.uk/products/ProductDetail.asp?cls=ROAD&pcode=LMA068/M
I used the tapped M14 (i think) sump plug for my oil temp from Demon Tweeks.
This might work, just depens if your send fits inside it.
http://www.demon-tweeks.co.uk/products/ProductDetail.asp?cls=ROAD&pcode=LMA068/M
I used the tapped M14 (i think) sump plug for my oil temp from Demon Tweeks.
Demon Tweeks.
This might work, just depens if your send fits inside it.
http://www.demon-tweeks.co.uk/products/ProductDetail.asp?cls=ROAD&pcode=LMA068/M
They're not metric male, Phil.
Speedy Cables are really good, my old man used them for a throttle cable previously. Very helpful last time i called them.
i thought the autogauge senders were the right size
It fits mate but it tapered thread so you could strips the threads if you over tighten it meaning oil change..... Also it dont screw fully in anyway. that why mine ent on yet.

You have bough this, and its fitted, and works? Please say yes
Last edited:
Similar threads
- Question
- Replies
- 1
- Views
- 513
