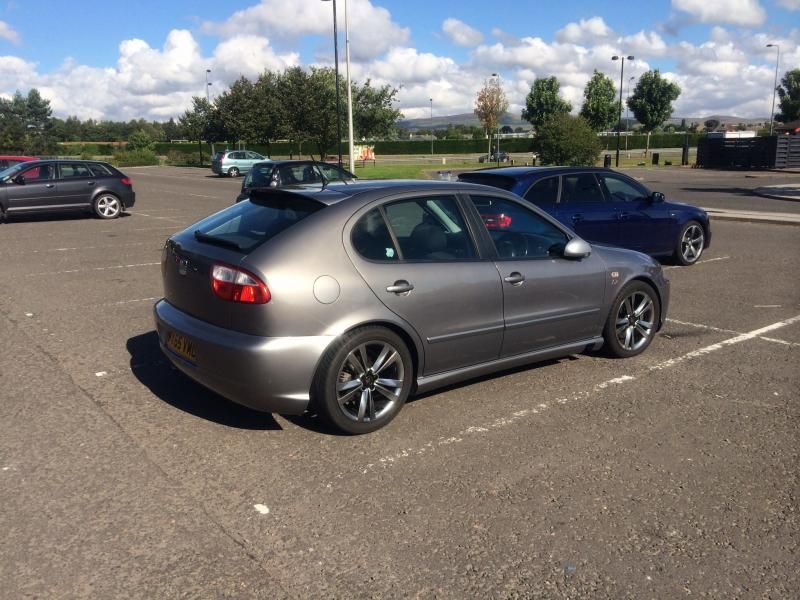
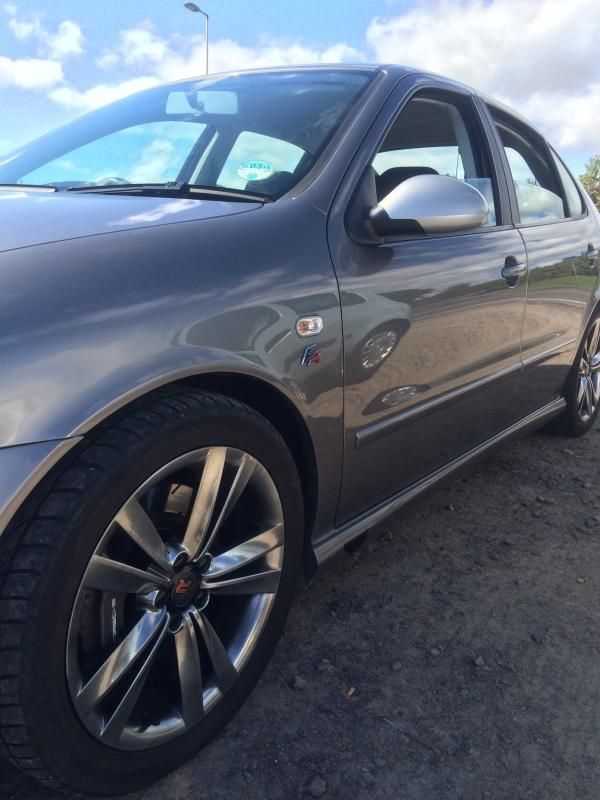
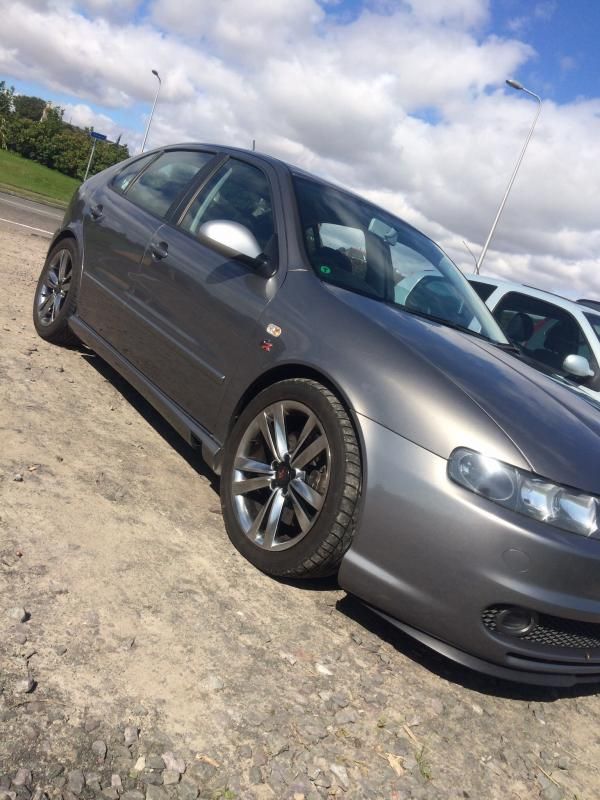
Platinum FR - wolf in sheeps clothing

bruceR

Active Member
Apr 11, 2005
2,562
660
Monifieth, Dundee
contd............

So I have more pics of the illuminated air vent install.
Removing the dash end covers is easy, just prise away and pull free - they are held in with 3 metal tangs:
image_zps352956a4.jpg

I then removed the glovebox by removing the following - at the bottom right of glovebox there is 1 Torx screw:
image_zpsc8f66277.jpg

Open glovebox and remove 4 Torx screws from top:
image_zpsc38e5bcd.jpg

Undo 2 Torx screws from left side of dash (as in the 1st photo above), then the glovebox drops down. Unplug the 2 connectors.

I removed the fuse assembly, 2 Torx screws (to make it easier to install loom):
image_zps9a51eb5c.jpg


I didn't take any pics of removing my radio as there are oodles of pics/guides on this and other forums [B)]. Connecting the wires to the loom through here was a bit fiddley :censored:
Remember to have your radio code available prior to disconnecting radio :whistle:

This pic shows the wires going through hole I punched in the air ducting:
image_zpsf57439bc.jpg

and the wires connected to loom:
image_zpsbf304e45.jpg


I used a splice terminal to connect the live (Red) to the light switch dimmer cable:
image_zps31bd06a4.jpg

image_zps7c5e8a9e.jpg

image_zps98ecb34e.jpg

I connected the Black to an earth point behind the fuses.

I made sure the lights were working on the vents :D, then fitted everything back into place:
image_zpsa4b0ac15.jpg

image_zps97401521.jpg


Hope this helps anyone wanting to give this a go.
 
  • Like
Reactions: Nam-uk

bruceR

Active Member
Apr 11, 2005
2,562
660
Monifieth, Dundee
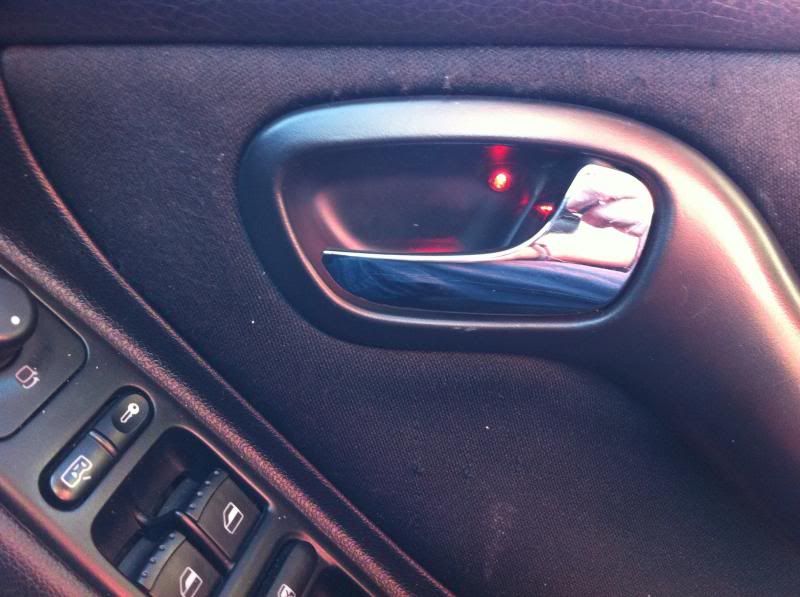
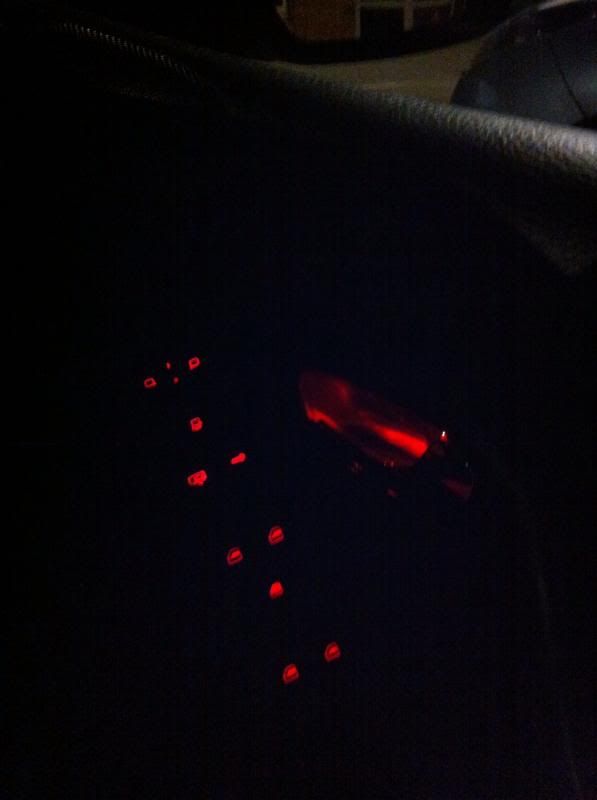
Over the past couple of days I've been installing door handle LEDs as ambience lighting, here's how I went about it:

Removed all 4 door pull handles, insert a flat tip screwdriver under the pull handle lower end where it meets door card and carefully lever out
image_zps78f52060.jpg


Drilled a 6mm hole in top corner of handle recess (to allow LED & holder to be inserted)
image_zps77b76fc4.jpg

image_zpsecadeca8.jpg

image_zpsf0a40e0b.jpg

image_zpseeaf9693.jpg


Removed all the door cards (remove all screws - front doors have 2 Torx screws on bottom + 2 cross head screws through handle, the rears only have 2 cross head screws through handle then give the door card a firm tug. Disconnect the operating cable and all connectors)
image_zpsd89a55ea.jpg


I decided to connect the LEDs into the electric window switches as these work off the dimmer, bare back the insulation and connect into grey/blue wire
image_zps382e57e5.jpg

image_zps0fc37f4a.jpg


I then connected extension cables to the handle LEDs and refitted the door cards in revers of removal
image_zps10d9b240.jpg

connected them to the switch and to earth then tested with lights on
image_zps7325c7ee.jpg


All door pull handles refitted and LEDs tested
image_zps2d617893.jpg

image_zps332d7800.jpg

image_zps48e75ed2.jpg

image_zps0b4ad0e1.jpg
 

FrixosLeon

Active Member
Dec 6, 2013
68
0
Great mate!! Do you have any ebay links or pointers on how to get the LEDs and their holders???

Sent from my GT-I9195 using Tapatalk
 

bruceR

Active Member
Apr 11, 2005
2,562
660
Monifieth, Dundee
Latest update (borrowed from a certain dgjdrummer ;))

I bought a petrol version pancake pipe for £4 from the Bay:
imagejpg1_zpsdcddf1d4.jpg

As it was a bit grotty, I decided to clean & polish it up but decided it would be better to spray it with black stone-chip

Bought a couple of silicone hoses and stainless jubilee clips (to suit) then fitted together:
image_zps47427ecd.jpg

image_zps4630cec4.jpg

image_zps3a2d9b47.jpg

I had to replace this black hose with a longer one :cry:

Removed old pipe - here is the difference:
imagejpg2_zps041306db.jpg


Loosely fitted the new pipe but it was fouling against wheel arch plastic cover, so a quick buzz with the dremmel sorted it out
imagejpg1_zpsba9d3faf.jpg

You can just see the end of the black silicone hose on right hand side

Got the pipe work installed and adjusted to best fit but noticed the pipe was pushing the inner splash guard against crank pulley so dremmel out again and cut a slot in the splash guard. All OK now. Went for a spin to make sure everything was working :D
Seemed to be smoother response right the way through gears but didn't notice any quicker spool up :shrug:
Happy with the result.
 

bruceR

Active Member
Apr 11, 2005
2,562
660
Monifieth, Dundee
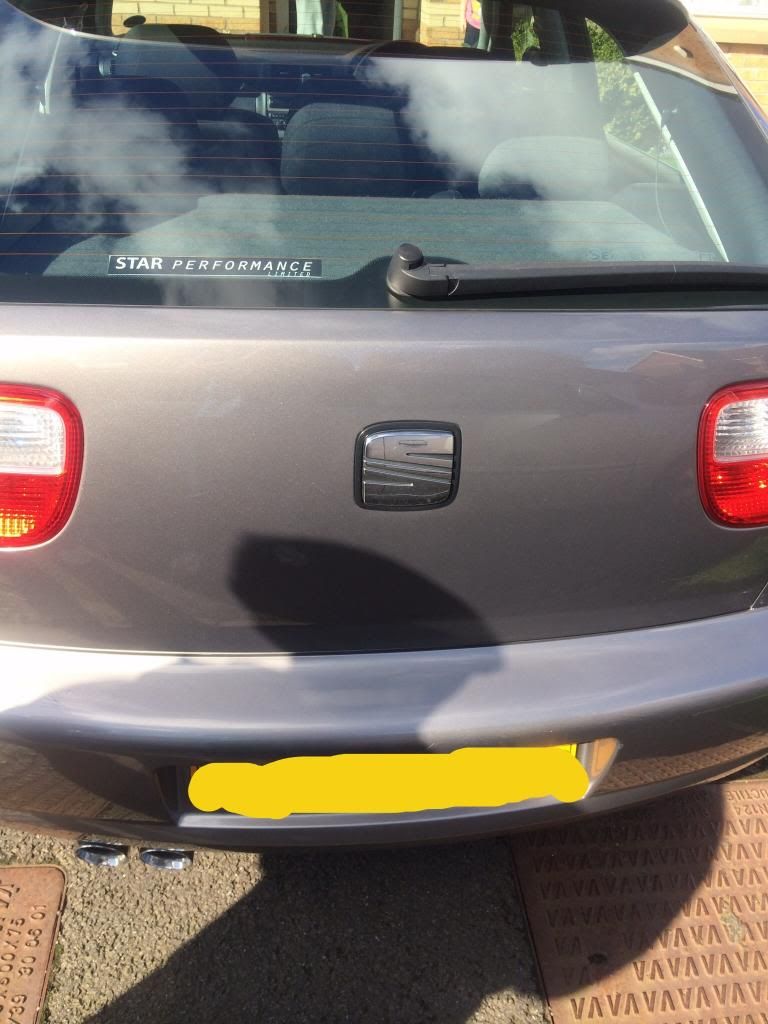
Since it was such a nice day I decided to de-badge the rear and give her a good clean.
Started with boiled kettle and old credit card to removed the letters:
imagejpg2_zpse9d0083e.jpg


Then used Tardis to remove the residue from the letters:
imagejpg4_zps724994e0.jpg


Then gave her a good wash and stood back to admire the clean looks of the de-badged rear end :rofl:
imagejpg5_zpsac1ad670.jpg


I still like the idea of showing off that it's a diesel so might get just the larger TDI letters back on.
 

joshy514

Fleet Air Arm by ability.
Mar 2, 2012
1,836
4
Gloucester
www.seatcupra.net
That's what I did on mine, got a larger Audi tdi badge from eBay and put it on. Looks good, I noticed that cracked paint on your bumper, mine has it in exactly the same place. How did it happen as mine was there when I got it.


Sent from my iPhone
 

bruceR

Active Member
Apr 11, 2005
2,562
660
Monifieth, Dundee
Hi Josh, yeah I looked at the VW badges as they are much bigger than the Seat ones, did you put yours in the corner or in middle??
As for the cracked paint, the wee lads buggy slipped and the edge of it hit the bumper :cry: - it's actually gotten worse over the past year but I am thinking of getting a bottom half respray
 

Nick101

Active Member
Aug 19, 2012
30
0
Swansea S.Wales
Had a read through your thread and I love it mate! Love the OEM+ route you have taken, makes me want an FR even more now!

Never thought I would lust for an oil burner so much.
 

bruceR

Active Member
Apr 11, 2005
2,562
660
Monifieth, Dundee
Had a read through your thread and I love it mate! Love the OEM+ route you have taken, makes me want an FR even more now!

Never thought I would lust for an oil burner so much.

Cheers Nick, it's been and still is fun to drive. Amazing what you can do with the diesel :)
I've got a returned set of Cupra R rear calipers ready to be fitted along with better brakes ………
 

bruceR

Active Member
Apr 11, 2005
2,562
660
Monifieth, Dundee
Looks stunning as ever mate, think I want a grey one now.

What's happened to the driver side jacking cover?

Cheers for the comment Nick and bias towards the platinum grey - me thinks it's the best colour :D
I lost one of the jacking covers and then the other was lost by local Skoda garage during a service :cry:, they did replace both but I've still to get them painted and fitted (sitting in the glove box for a few months now!!!!!!!!!)
 

Nick101

Active Member
Aug 19, 2012
30
0
Swansea S.Wales
I was drawn more to red or that jazz blue colour as it's a bit different, but I really think the platinum is the nicest colour, especially after a good clean/polish :D

How annoying for the garage to lose one, not quite sure how they would mange that to be honest.

What's next in the pipeline then?
 

bruceR

Active Member
Apr 11, 2005
2,562
660
Monifieth, Dundee
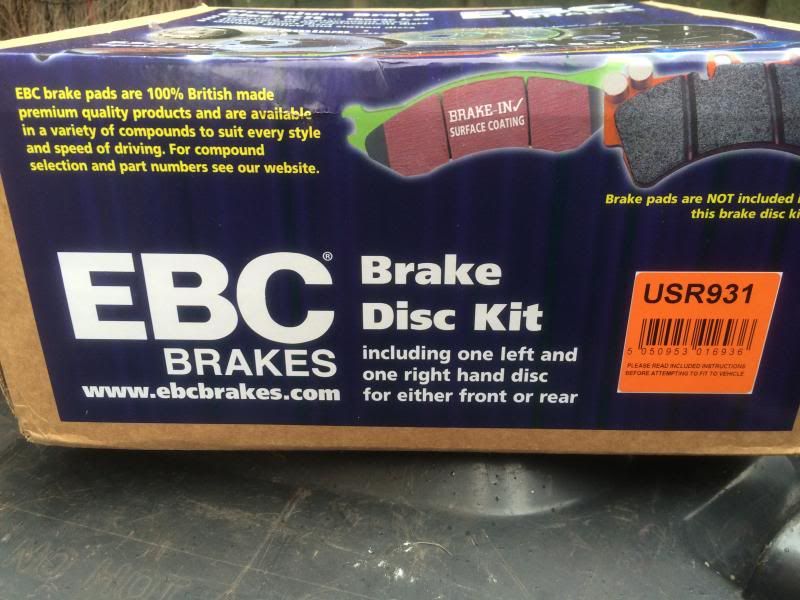
Been too busy with DIY in the house & garden so will be next month ……I've got a set of 256 rear brakes to go on + a good wash/polish/wax before the bad weather starts
 
Genuine SEAT Parts and Accessories.