down and hella flush k1 new killer adjustments to the interior say buy to plastic
- Thread starter k1fro
- Start date
You are using an out of date browser. It may not display this or other websites correctly.
You should upgrade or use an alternative browser.
You should upgrade or use an alternative browser.
Here is a spec of the air setup I will b running
-Front and rear airlift XL slam airbags and dampers.
-Autopilot V1 and all necessary cabling/manifolds etc
-3/8 airline version
-Twin viair 380c compressors
-5 gallon tank
-2x accuair water traps
-2x upgraded leader hoses from plush
-175psi pressure release valve
-Tank drain
-New airlift rear airbag
- New 5 metres of 3/8 airline
-Tank is carpeted and includes a carpeted false floor which fits in the Mk5 perfectly.


This just gets better.
+ 1!!!
Cheers guys will get pics up as I put it all together
Ok so start gettin the compressors tanks and management in the boot its going quite well so far got everything in place and screwed down gunna need to make a false floor yet and run all the cable and the cabling looks as easy as wire up a sub but at least it's all mounted
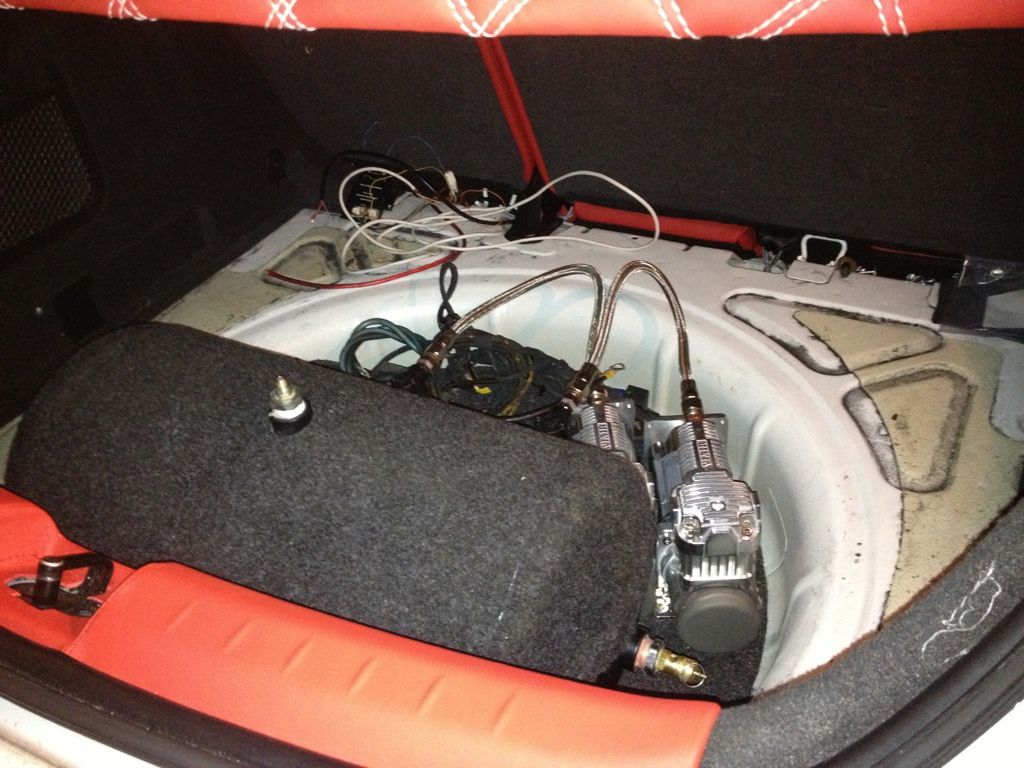
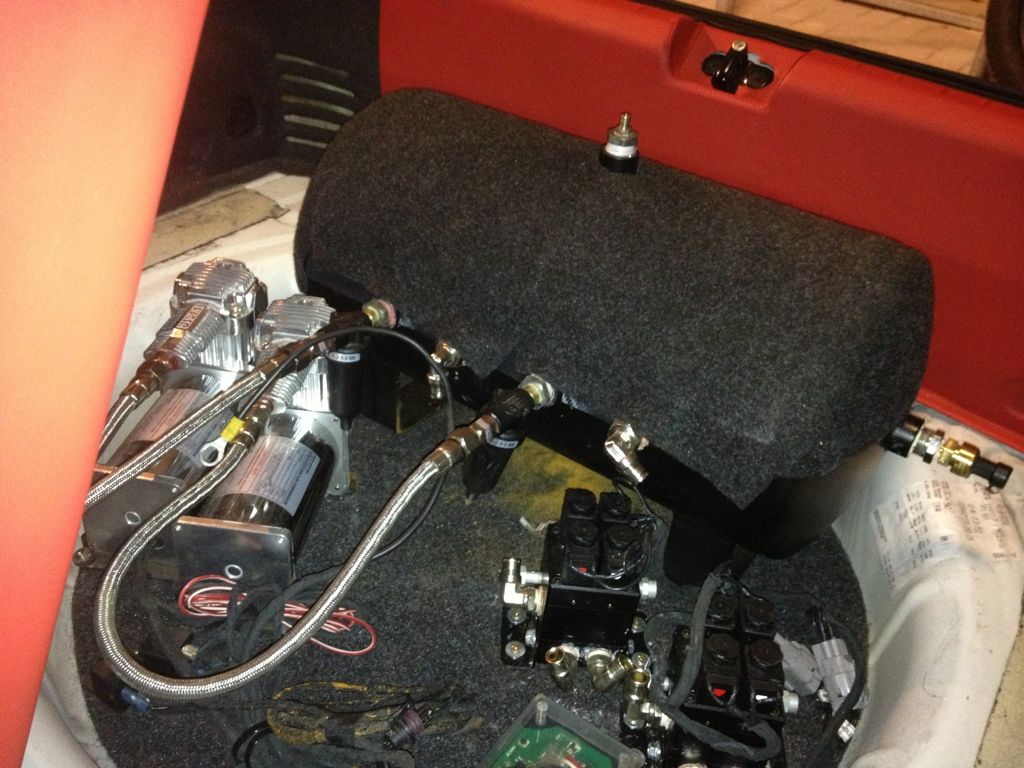
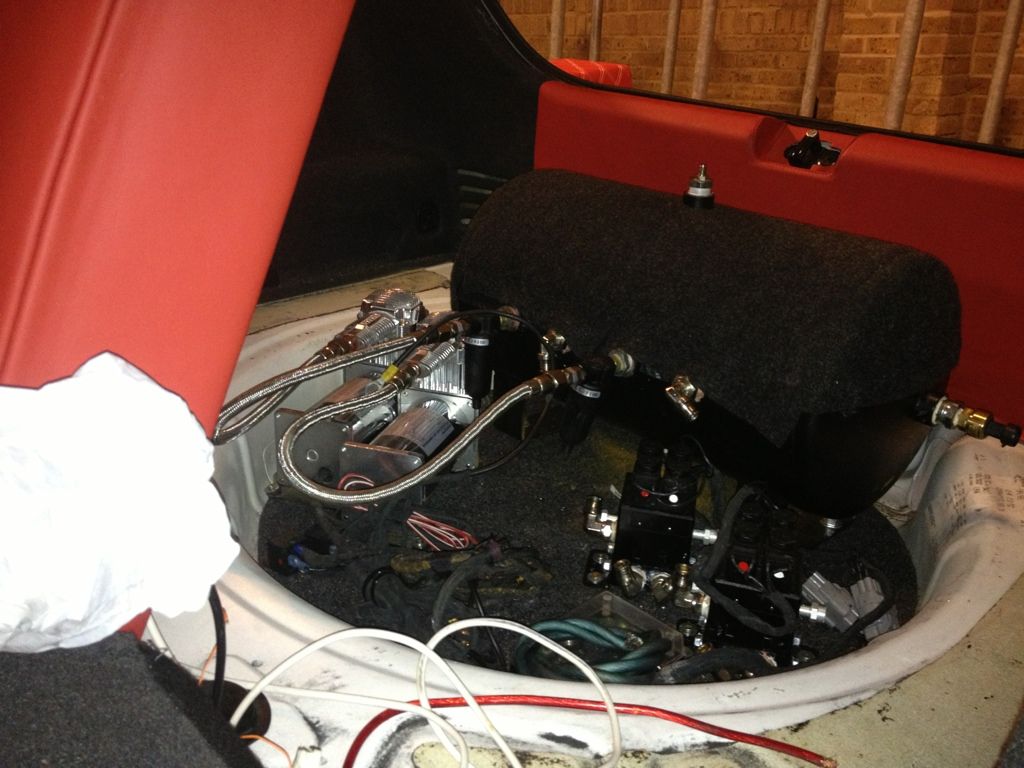
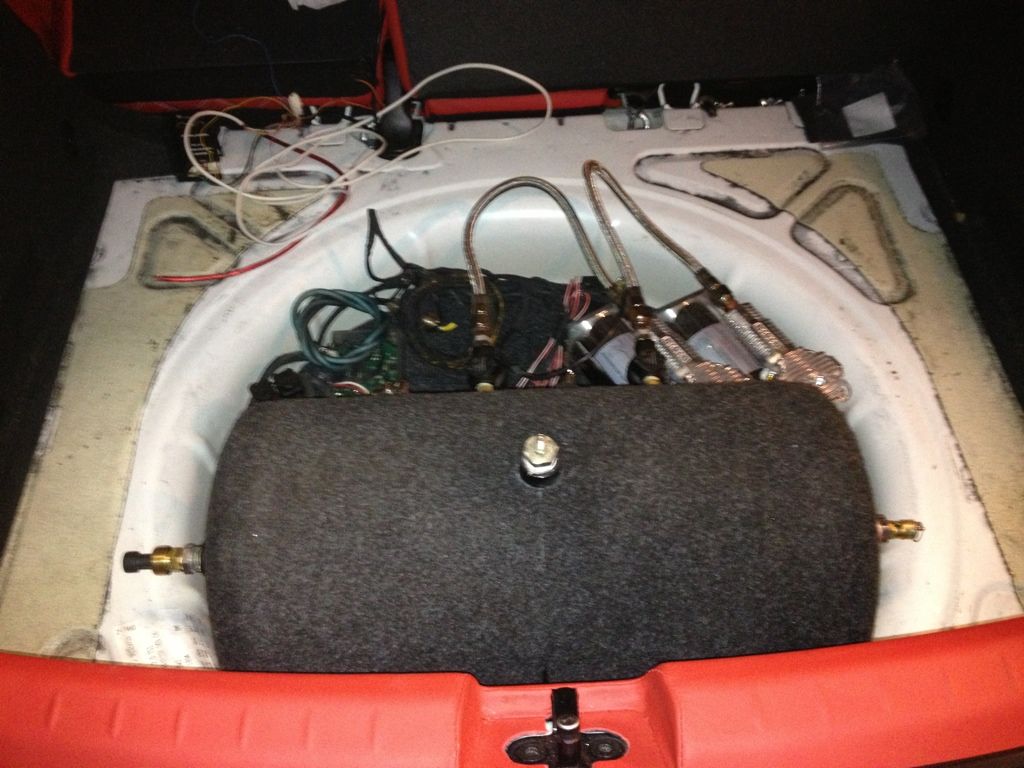
Tank will b changing soon to either an anodise red one or tuna do it in white leather with red stitching not too shore yet


Tank will b changing soon to either an anodise red one or tuna do it in white leather with red stitching not too shore yet
Last edited:
You don't hang about lol Going to look good when done.
Na bud I don't once parts are in me hand I get itchy feet n I'm off just bord of the front looking like a monster truck lol
Will have to meet up at some point as I work in Hemel sometimes
Yer bud keep meaning to hit the beacons field meet but think ill b there this month n if ur in hemel just message me I'm always here lol
This will look lovely on air mate. Looking forward to seeing it
Had to b done in the end as coilovers just weren't getting the stance I wanted but I only know one button n that's down lol
Youv done pretty much exactly what I did. Got coilovers fitted them for like a day or two then went and bought air
Youv done pretty much exactly what I did. Got coilovers fitted them for like a day or two then went and bought air
Yer just couldn't get low enough and couldn't justify the price of ultra lows
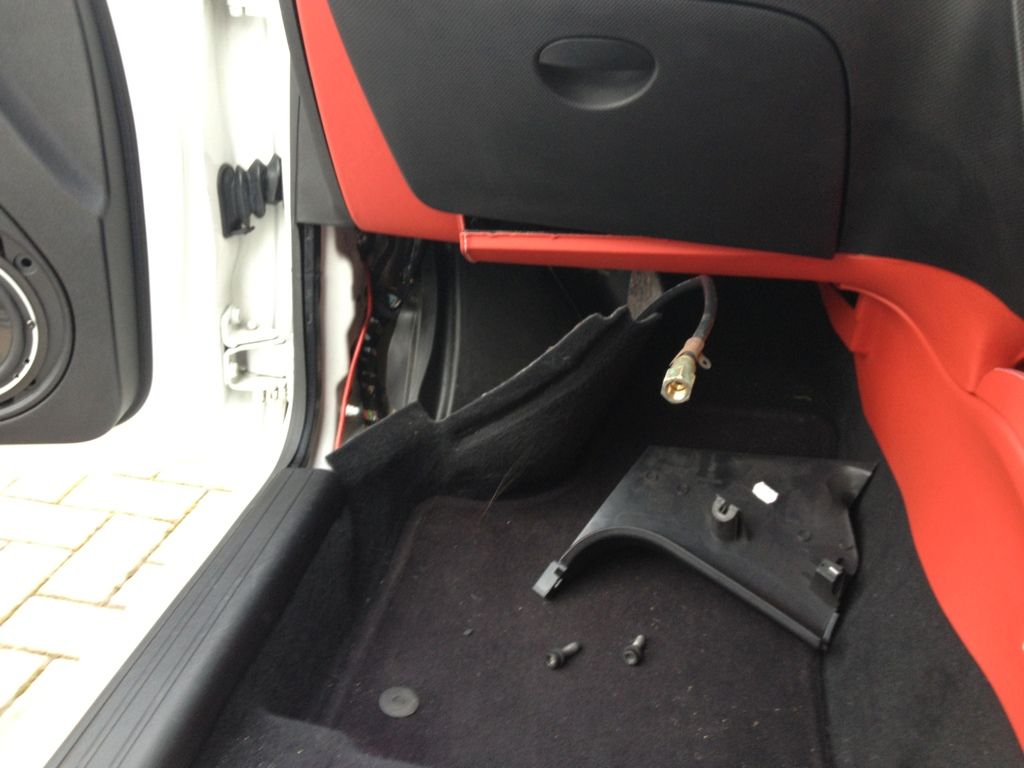
Ok so I have started to run the air lines through the k1 and remembered that the interior is gunna have to come out to make my life easier so striped everything out
After that it was time to start running the lines from the rear to the front
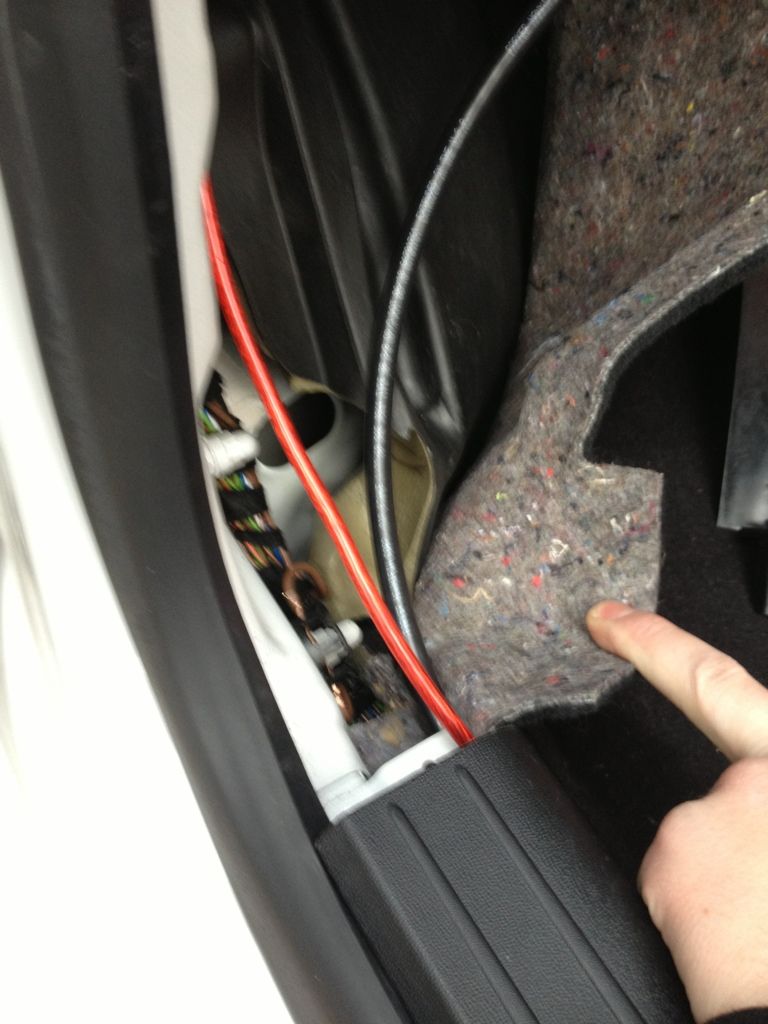
Passengers side first
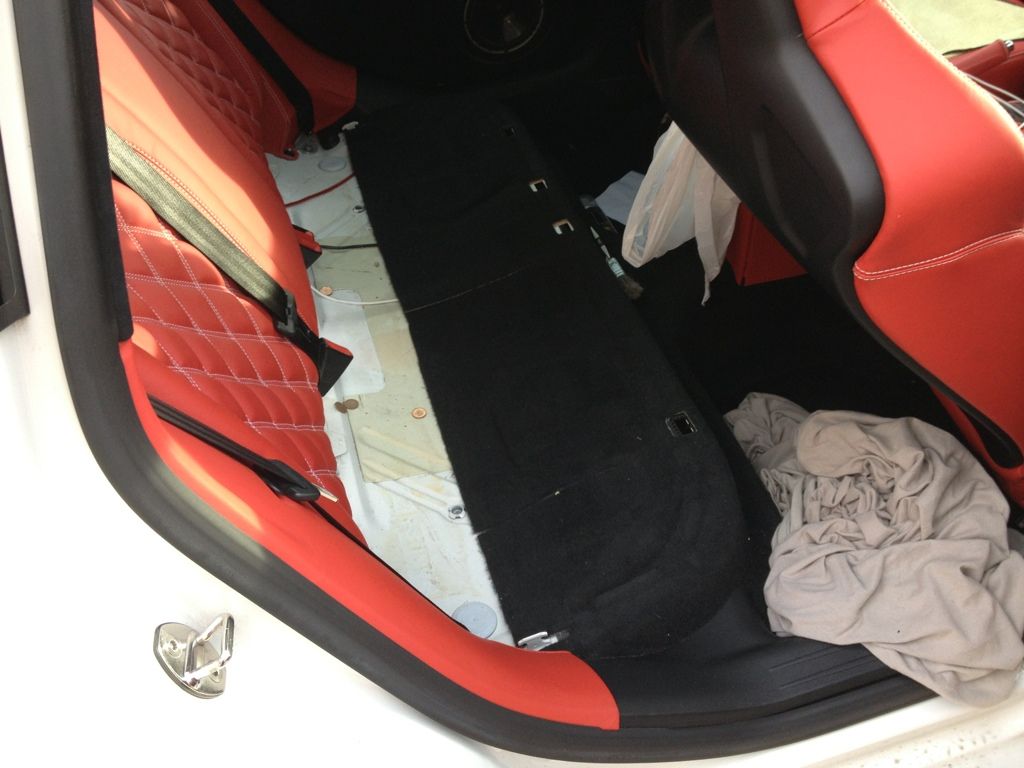
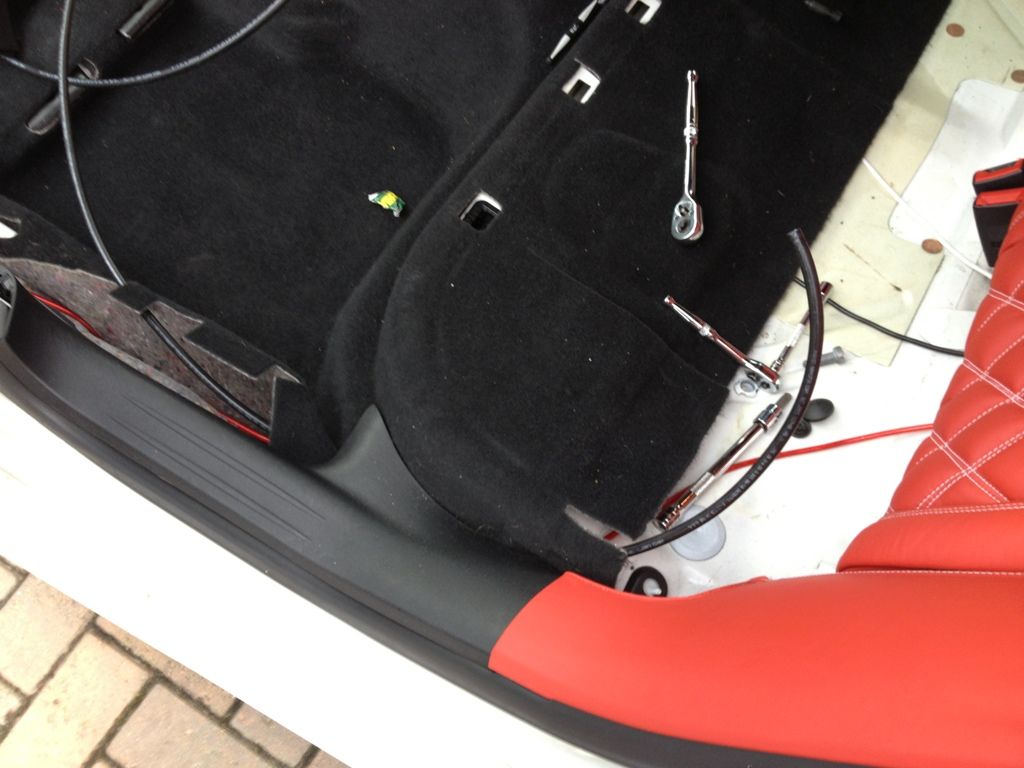
As you can see the power for the air being run too all under the carpets of the car as I don't want to have to worries about catching the air line whilst driving
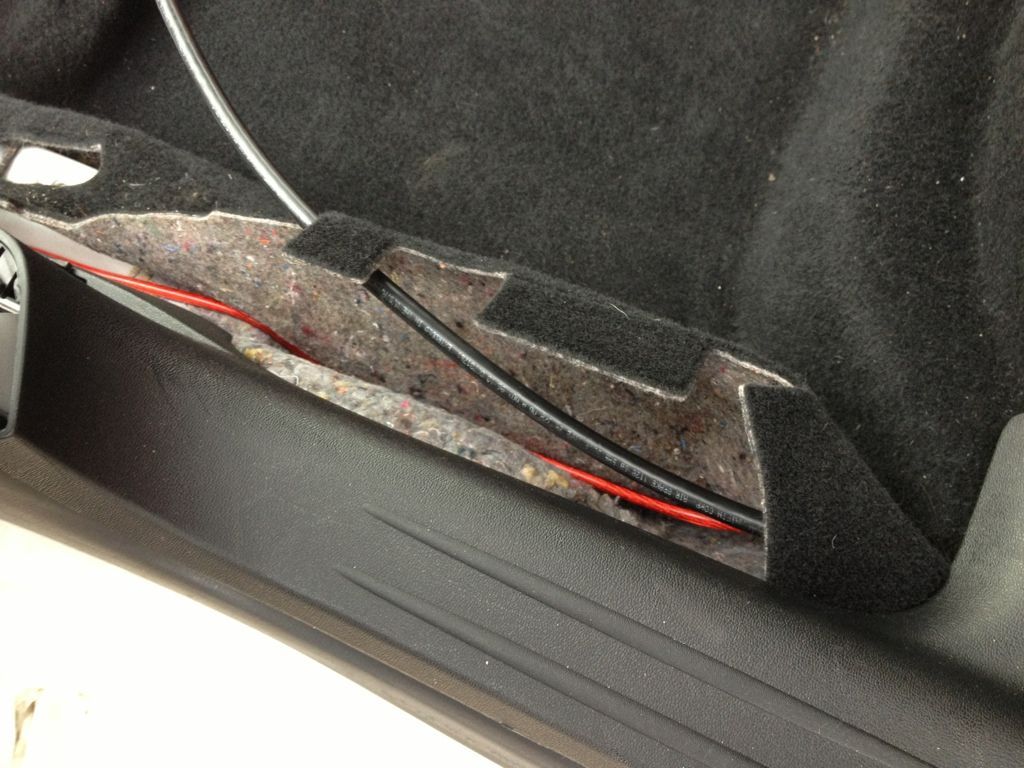
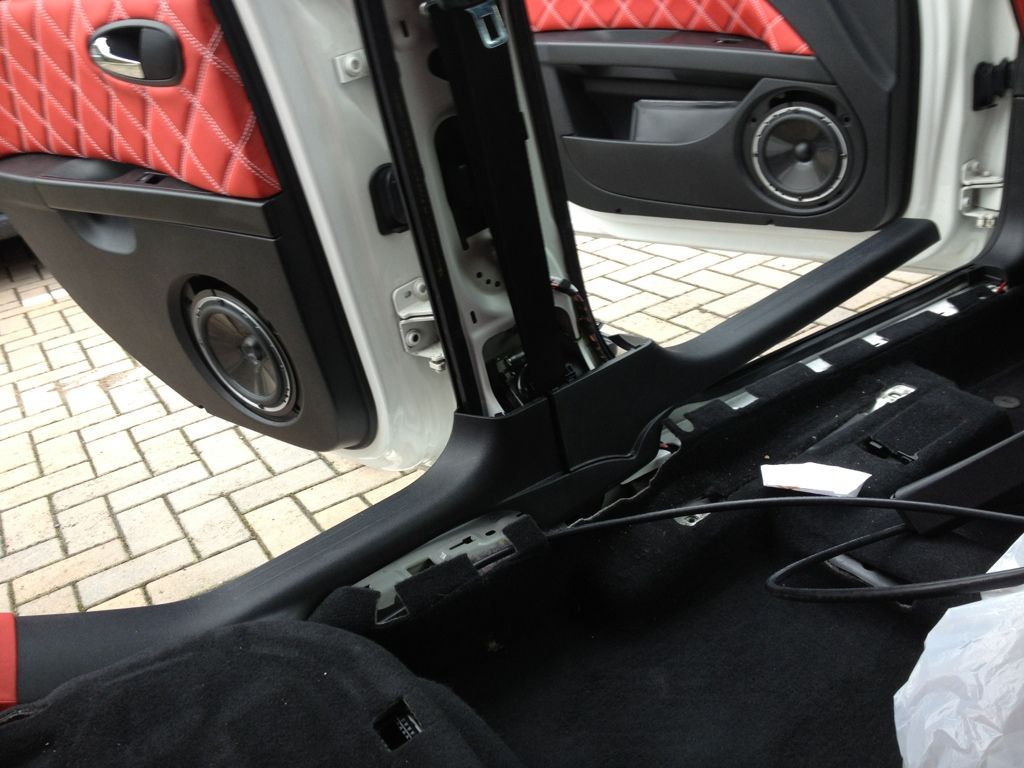
Now the air line is we're it needs to b just need to drill a hole to get the line into the arch to connect to the bag
Now drivers side
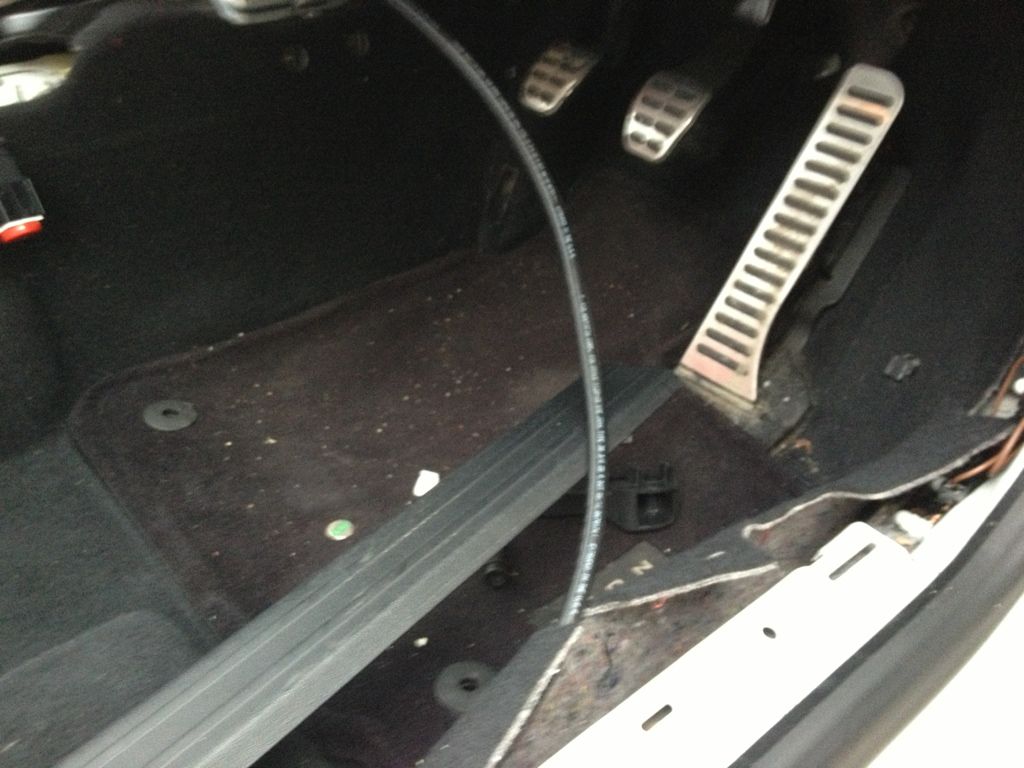
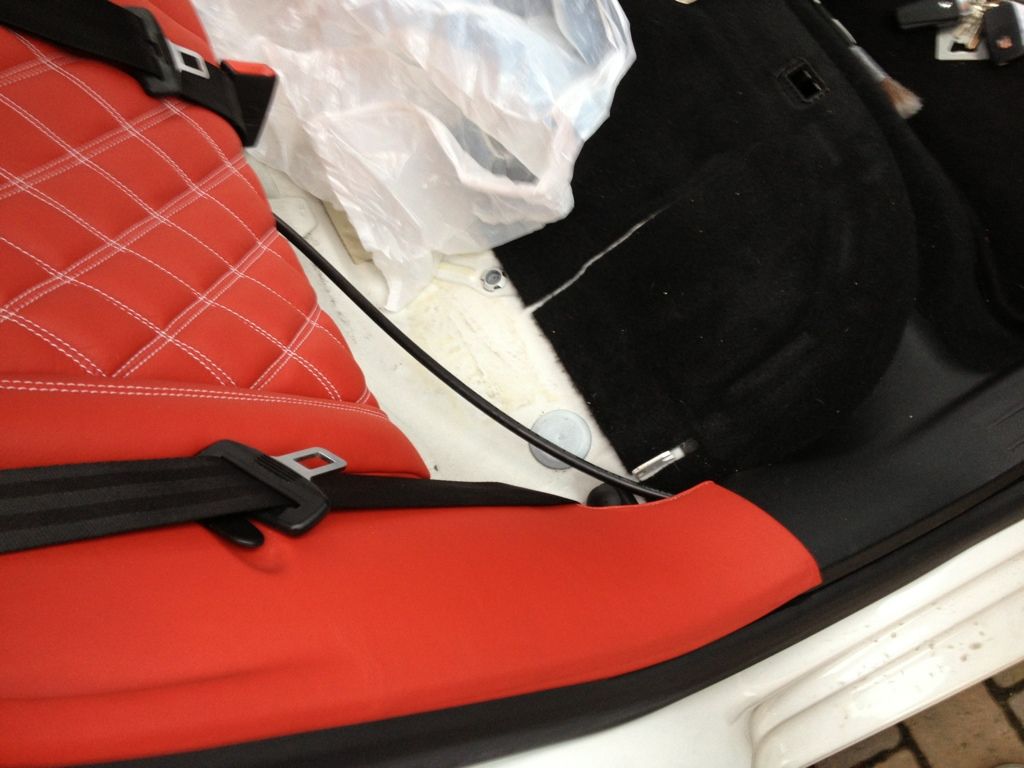
Didn't take as many this side as I didn't think you would wonna see too many of the same pics
Now as time to run the cable to the control panel go the management once again under the carpet it is as I'm going o mount the control panel under the head unit
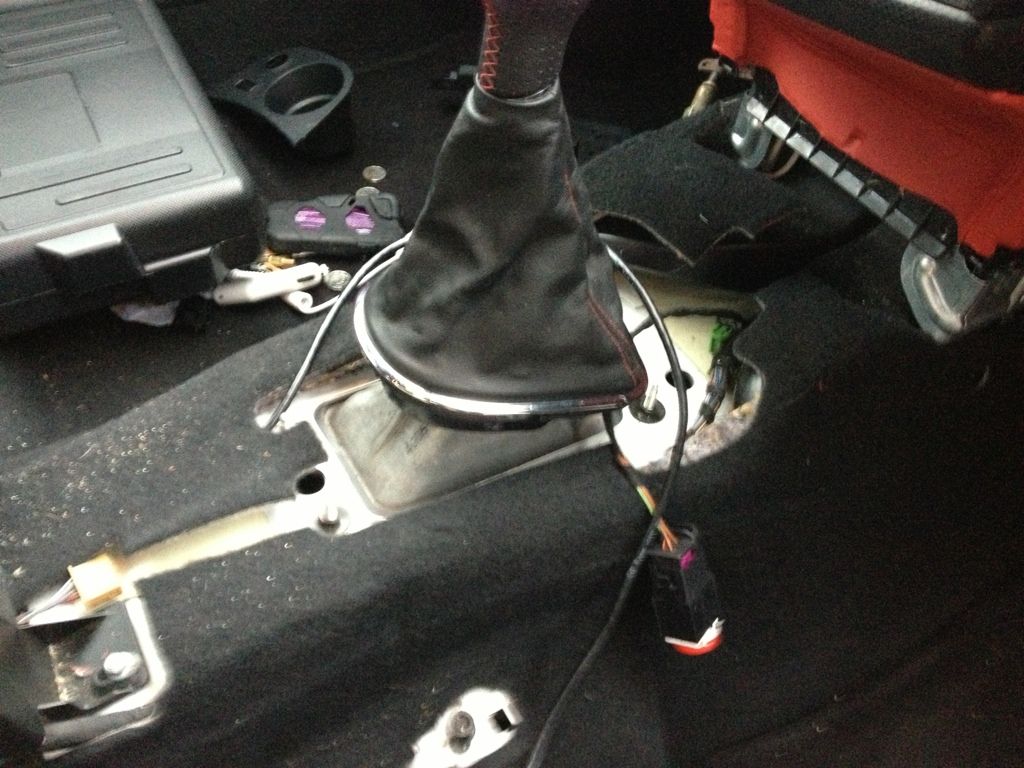
Control panel connected once the centre console is back in i can fabricate a bracket for it and box it in ready to b trimmed
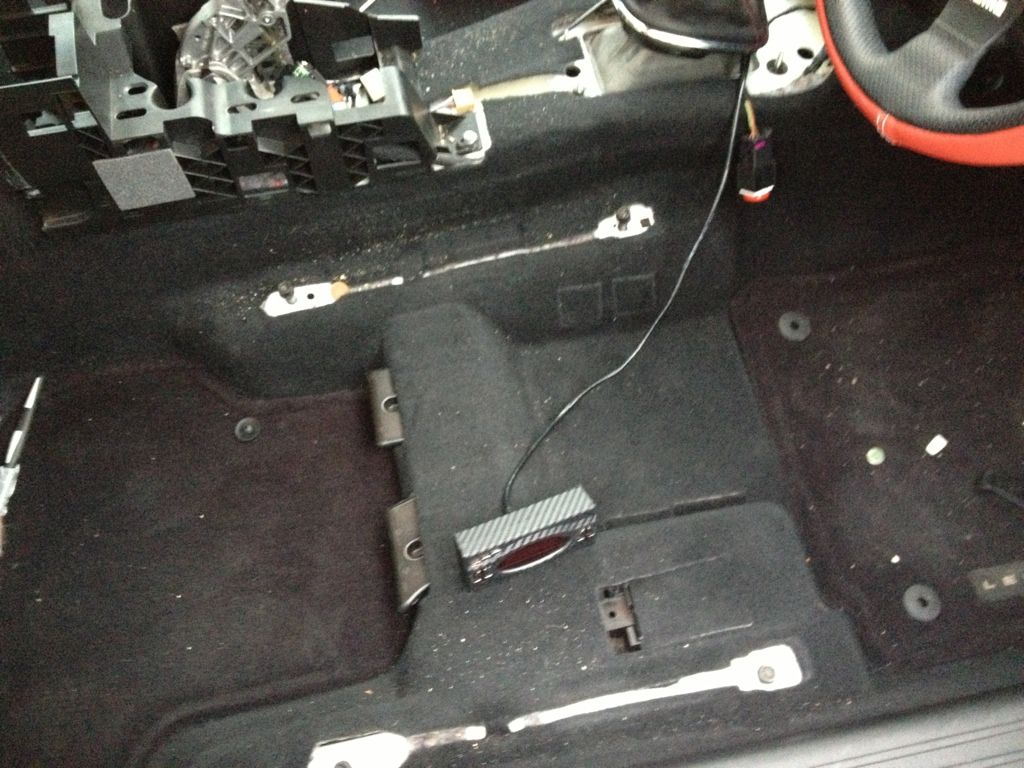
Roughly we're it will sit wen finished
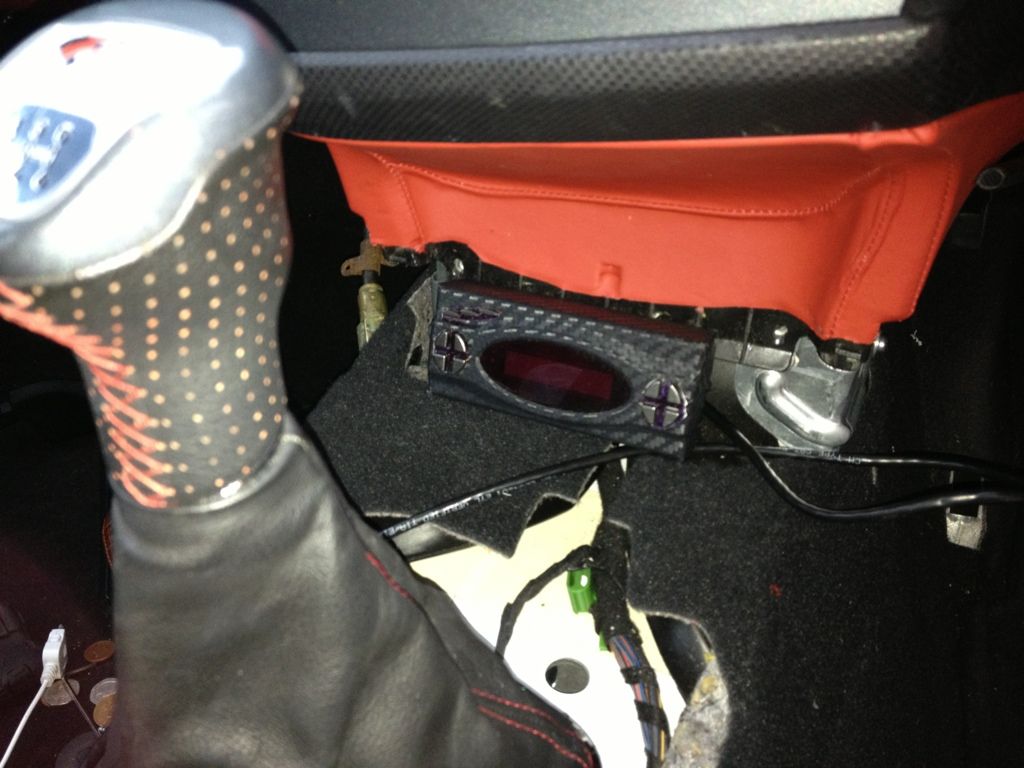
Will up date tomoz if the snow doesn't settle hopping to have the bags on and connected so can test for any leaks
After that it was time to start running the lines from the rear to the front
Passengers side first


As you can see the power for the air being run too all under the carpets of the car as I don't want to have to worries about catching the air line whilst driving


Now the air line is we're it needs to b just need to drill a hole to get the line into the arch to connect to the bag


Now drivers side


Didn't take as many this side as I didn't think you would wonna see too many of the same pics
Now as time to run the cable to the control panel go the management once again under the carpet it is as I'm going o mount the control panel under the head unit

Control panel connected once the centre console is back in i can fabricate a bracket for it and box it in ready to b trimmed

Roughly we're it will sit wen finished

Will up date tomoz if the snow doesn't settle hopping to have the bags on and connected so can test for any leaks
So after done blood sweat and almost some tears I managed today to get the rear bags done and working
This is how it sits roughly
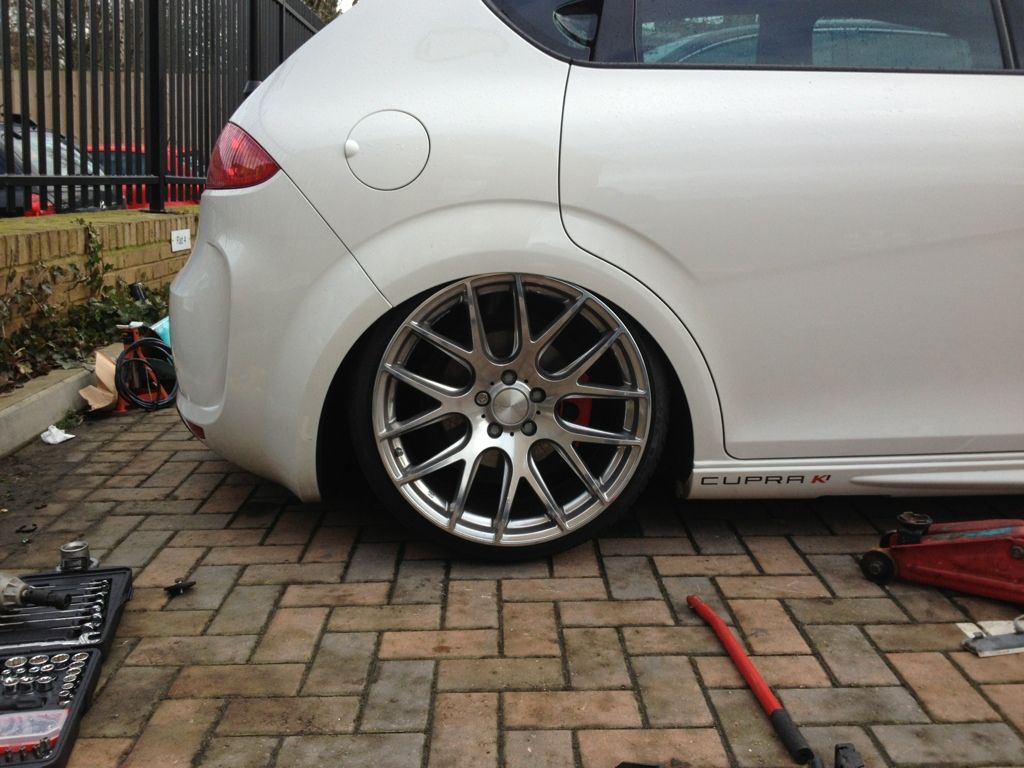
Also had a look at the Clarence n I can drive like that if I want
Now the bad bit after 4 hour of beat the hub with a rubber mallet as not to damage anything I managed to get one coilover off so will b out there 2 moz hopefully to get the rest done
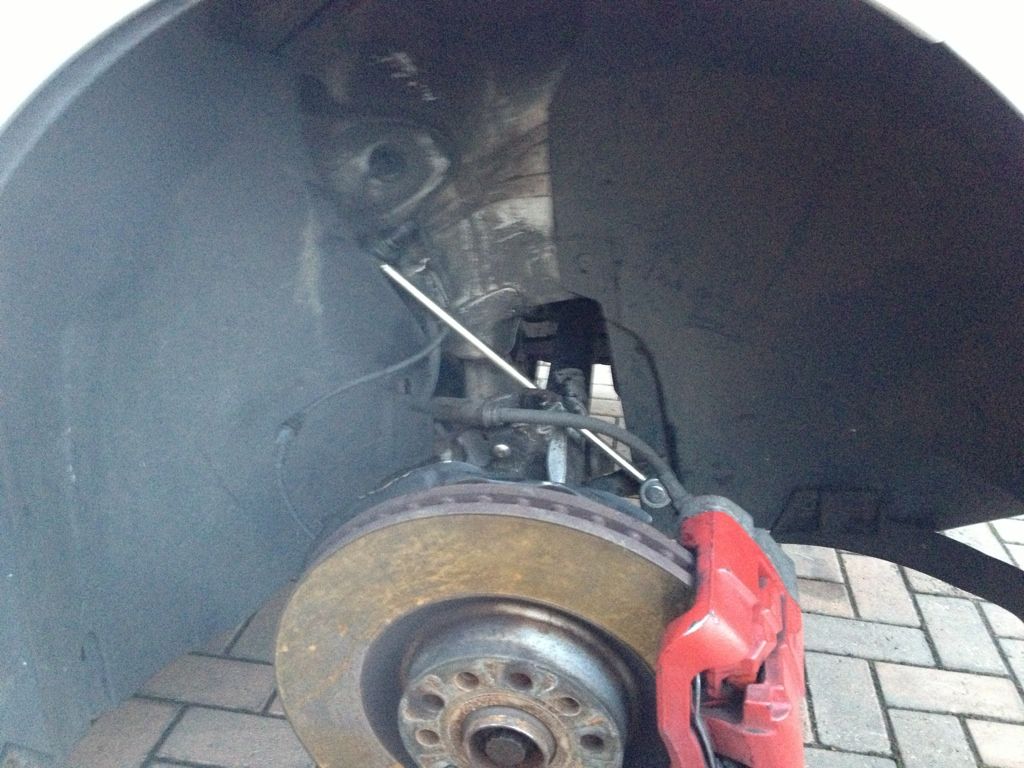
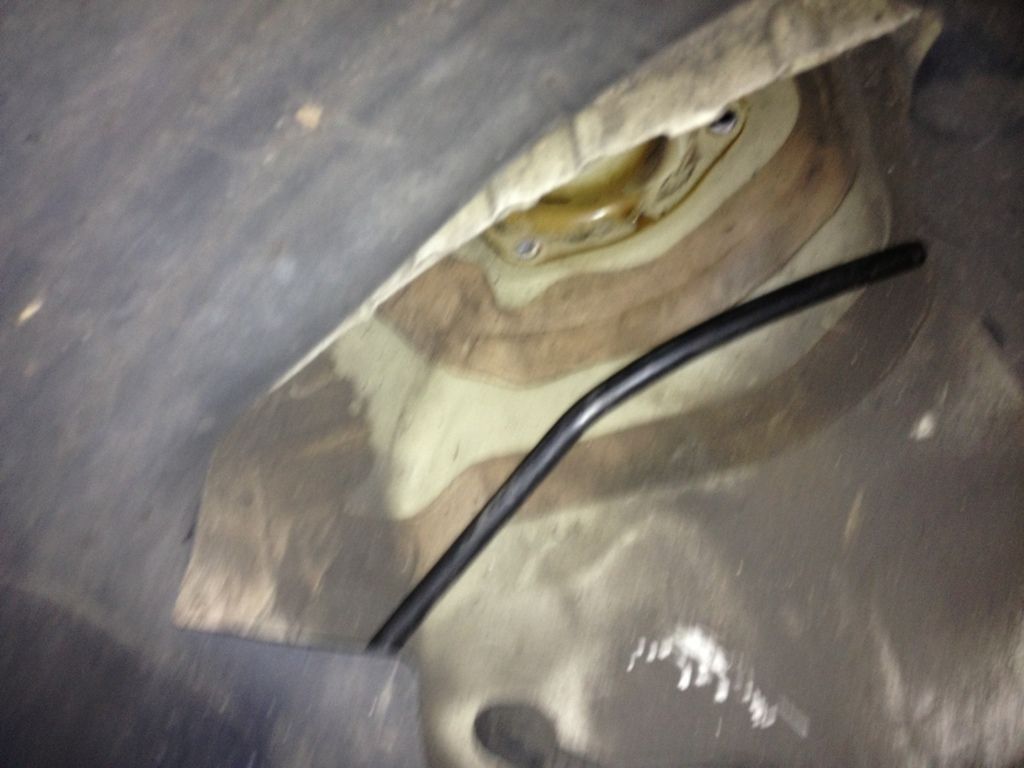
Just need to get the front shock n bag in but it's a ball ache lol
This is how it sits roughly

Also had a look at the Clarence n I can drive like that if I want
Now the bad bit after 4 hour of beat the hub with a rubber mallet as not to damage anything I managed to get one coilover off so will b out there 2 moz hopefully to get the rest done


Just need to get the front shock n bag in but it's a ball ache lol
Your car is awesome mate wish mine was half as clean hats off to you! Air ride looked bang on aswell can't wait to see the fronts on good luck with them.
Similar threads
- Replies
- 135
- Views
- 6K


