BIG TOYOSPORT INTERCOOLER WITH CUSTOM PIPEWORK AND BRACKETS.
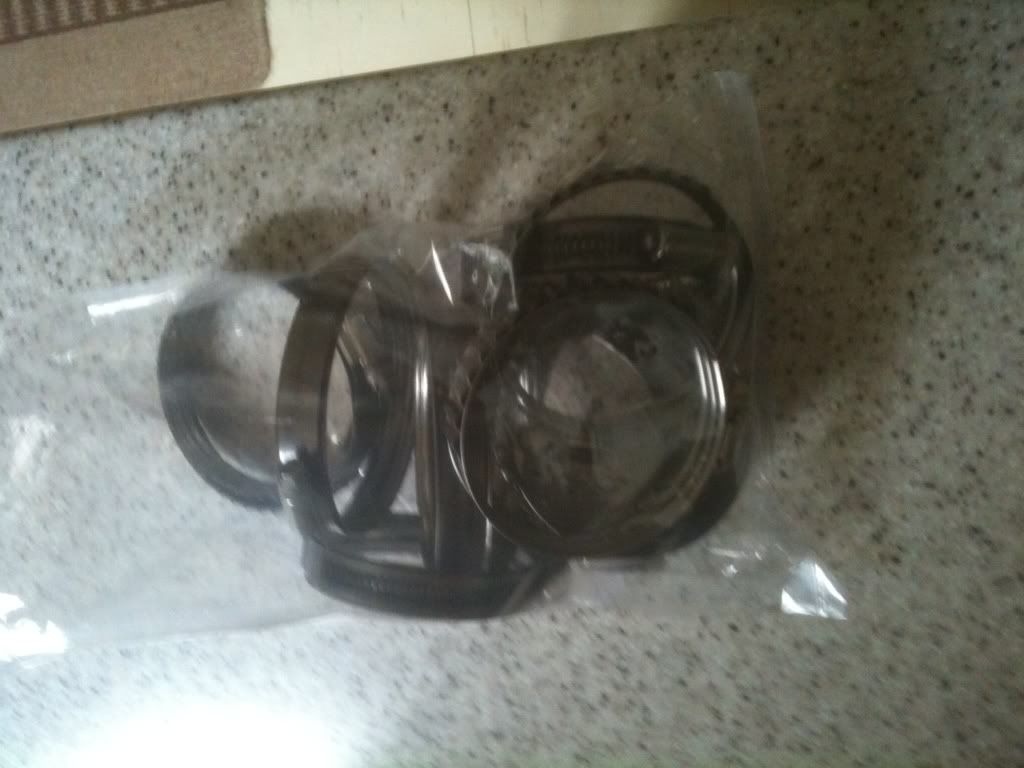
Ok, so i ordered this a couple of weeks ago and everything arrived bar the jubilee clips...lost in post. So leaving it until the last day had to buy around 14 heavy duty/WRC rally spec clamps from SFS. Cost around £60 with 25% forum discount too!!! Shux.
Anyway, this was a long time in the making, and i eventually settled on a Toyosport (wellycooler). It is 600x300x76mm and is even bigger than you would imagine in the flesh. Alex started at 9.30 ish and i didnt leave until 8pm. The bumper was taken off and the old SMIC's were removed and we were both shocked at how much oil had accumilated in the pipes over the years...so much so, that they were left on the side to drain.
Fitting.
As i said i bought all 63mm pipe work:
90 degree elbow hose 63mm x2 black
45 degree elbow hose 63mm x2 black
45 degree alloy elbow 63mm x2
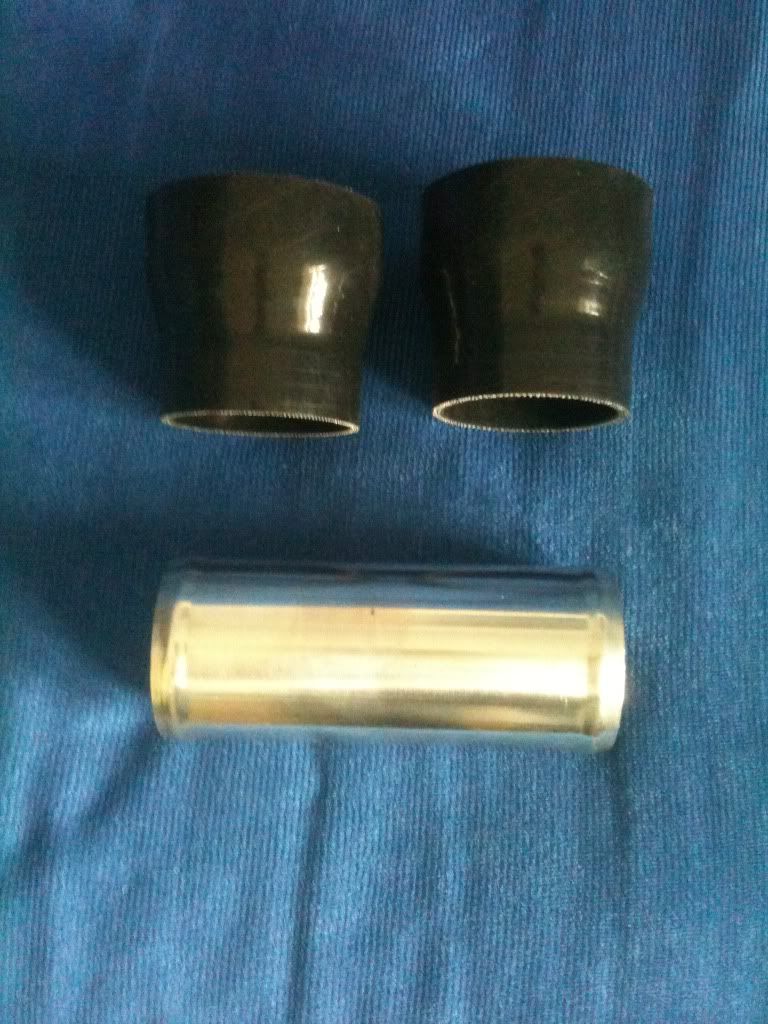
100mm alloy hose joiner x1
68-73 heavy duty clamps x10 (2 spare)
76mm heavy duty clamps x3 (1 spare)
63-76mm silicone reducers x2 black.
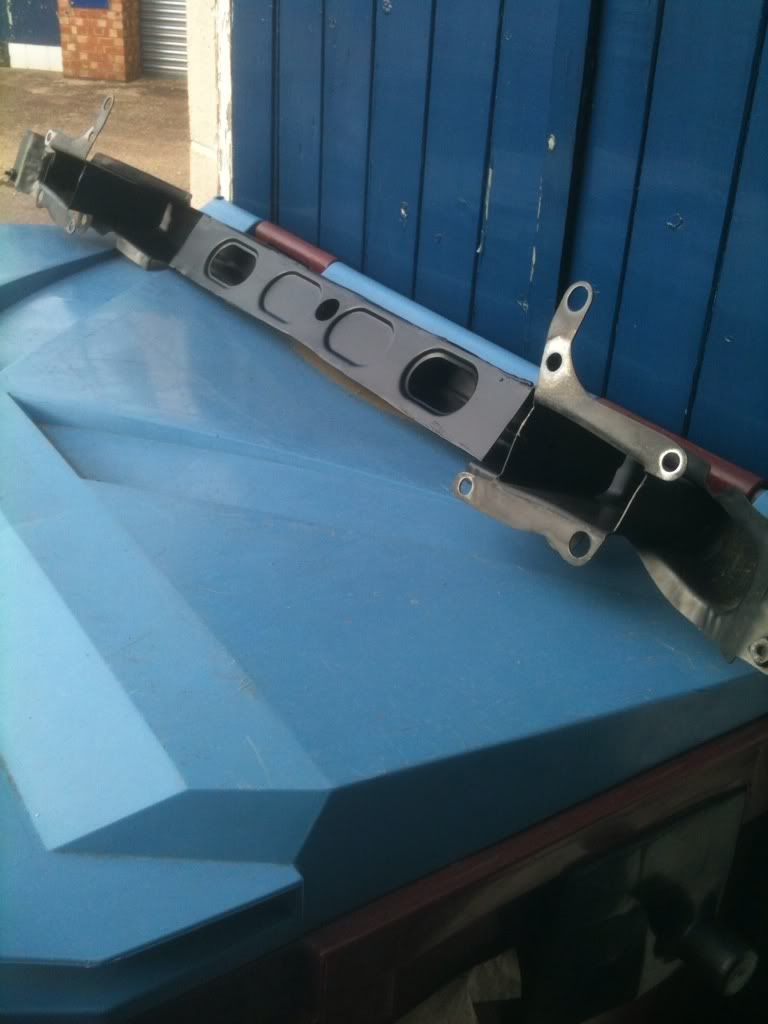
2x upper intercooler brackets (made by AKS Tuning)
2x lower intercooler brackets (made by AKS Tuning).
Now, i must stress anyone attempting this fitment, to bear in mind it did take a long time due to fabricating metal brackets top and bottom, and the various cutting down of the alloy & silicone pipes. I was under the impression when i purchased all the piping that it would be a straight fit...but no, you will definately have to modify this piping. For a start i bought the 100mm joiner but you will need at least a 200mm one (so it can be cut in 3 pieces).
The cross beams were cut almost halfway, and the bottom metal part of the radiator frame too. Once this was lined up, Alex fabricated 2 brackets that mounted on the cross beams. From there the intercooler was bolted on and in place temperary. 2 more brackets were made up to go underneath the intercooler so there would be no knocking. Once this was done the crash bar was lined up, modified to suit. You will need to cut at least an inch from the top of the bar, and the overlap underneath (this is around an inch too). Crash bar welded for safety etc and mounted on. PERFECT FIT first time. Later on it was all taken apart as Alex wanted to paint the brackets and crash bar satin black to prevent any future rust issues...impressive care to attention.
Time for the pipework. It became clear early on that the pipework was all there to do the job, but they all needed a bit of cutting etc. The joiner was cut in half and re-beaded. The silicone piping had a couple of inches trimed and same with the alloy. In the end, the pictures will speak a thousand words, as they all fitted up great.
The front bumper was lined up with the car and quite a bit of the plastic behind the right and left grill needed to be cut back. I would say a good 3 inches either side came off, so bear this in mind and get a sharp hacksaw or something. In the end it all lined up great, and Alex tidied up all the rough edges on EVERYTHING that was cut ie bumper, crash bar, cross beams etc etc.
Bear all this in mind, a lot of cutting, brackets being made up, bumper needing modifying and the pipework changing using trial and error to get them in place without fouling the bumper. But get past this and it looks and works fantastic. As others have said, was a nightmare for Alex but the results in the end speak for themselves.
The Drive.
Alex took it for a spin around the block to make sure nothing popped off, and to quickly change the subject, my recently fitted 3" turbo back exhaust is starting to sound great. Could hear him a mile away lol.
Uhmmm...back on subject, he came back and said it felt good. I paid up and left. The car was up to temperature by this time so i could put my foot down. I dont know if you have ever been to Oakley but it has a great dual carrigeway where you can boot it. Which i did.
Now, i have had the car nigh on 6 years and it has NEVER pulled this hard. I know i have stage 1 and its a generic map etc etc, but im not kidding the intercooler has had an even bigger effect on the car than the exhaust! Its almost like the car is running so efficent (touch wood here) that it wants to take off. I would hazard a guess it has given me around 30 ftlbs more torque easy. As i said the car was never a torquey thing but it was SHIFTING
trust me and ive been in some fast cars.
So to sum up. Its a bitch to fit- takes hours, but it looks great and performs brilliant. With regard to the amount of people that say they are chuffed with it doesnt suprise me in the slightest. Also i should add i got (to my mind anyway) NO extra lag. As i said the car feels so much more faster and smoother. Was proven today actually, humid as hell and it was performing so well i got an almighty pop from the exhaust. Enough for me to back off the accelerator thinking i had blown a pipe off lol.
Pictures to follow, and once again top work from Alex wouldnt let me go until it was perfect. Top rate workmanship and i even told him that too.
cheers for reading.


