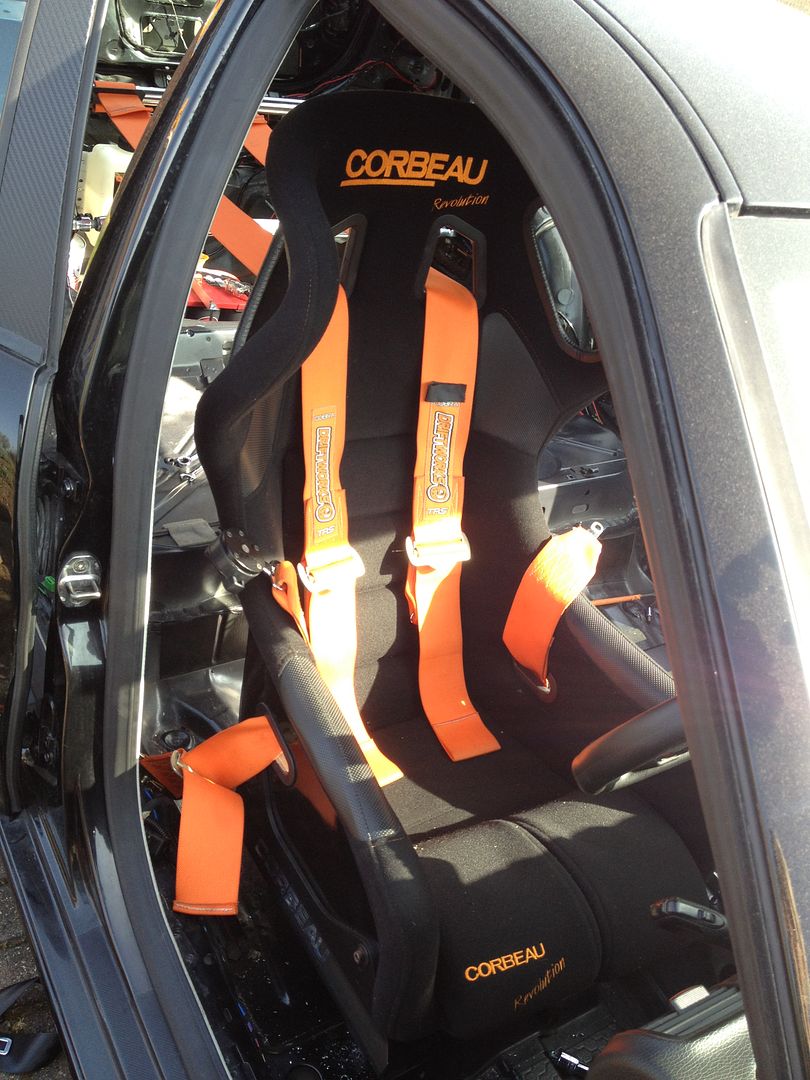
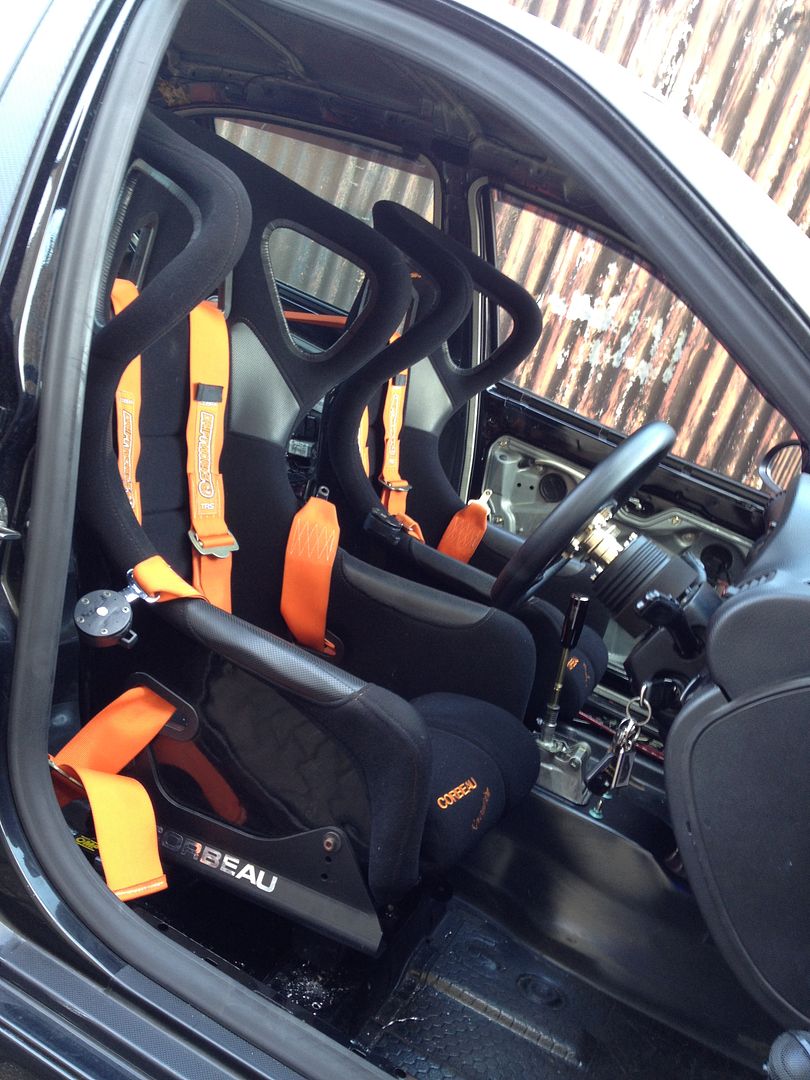
Grahams81-Leon 4wd, Big Turbo - Back in the saddle :-)

oh ok fair enough good to see the progress moveing again.
been doing a bit of welding myself at work recently making tools and i just cannot seem to get the sort of high quality weld i used to its so annoying but i think its because im using a gasless mig welder rather than just a mig or arc welder.
seeing nice welds in threads like this frustrates me more lol.
 

grahams81

Active Member
Oct 14, 2010
1,165
6
County Durham
oh ok fair enough good to see the progress moveing again.
been doing a bit of welding myself at work recently making tools and i just cannot seem to get the sort of high quality weld i used to its so annoying but i think its because im using a gasless mig welder rather than just a mig or arc welder.
seeing nice welds in threads like this frustrates me more lol.

Cheers mate, it feels good to be moving forward again. And yeh your probably right about the gasless MIG wire.... i really struggled myself with it. Do yourself a favour and invest in a bottle - i bought mine it was £100, cos i went for pure argon (for the stainless manifold a bit more expensive than a co2 mix) and when it's empty you take it back and they exchange it for a full one for £40. When your finished your project you take the bottle back and get £60 back.

----- Another Smallish Update ------

I started today working on the area in the footwell where the upright will mount for running up behind the dash.

Started cleaning off all the seam sealer and moving the wiring loom out of the way to make way for the strengthening plates, i ordered up 6 - 3mm thick plates for roll cage mounts.

IMG_0269.jpg


I then got the cardboard out and made up some templates - then made the first piece -

IMG_0270.jpg


And after much grinding and cutting of the next pieces -

IMG_0271.jpg

IMG_0272.jpg


Glory shot all tacked together -

IMG_0273.jpg


I wanted to put the upright in next but the windscreen was getting in the way so i started to cut the sealant out with a new tool i bought off ebay. This tool is a couple of t bar handles and a pokey knife to stick the wire through the seal.

It took me a while to get the hang of the tool, it was a total pain to do. Also i couldn't cut through the sealant at the base of the windscreen there's a plastic bit at the base of the windscreen that i couldn't work around. In the end i just rived the screen back and cut it free with a stanley.
Still gonna have to cut all the broken glass away but i've finished for the day now.

Windscreen Out -

IMG_0274.jpg


Hopefully get a little bit more done tomoro,

Cheers For now.
 

grahams81

Active Member
Oct 14, 2010
1,165
6
County Durham
If you read a few posts back Graham say's he's thinking of painting the interior white. :D

Cheers Phill, yeh i think that white will look sweet - here is a pic i found....

rollcagesintro4.jpg


That will look rude Matt black outside and gloss white inside with a flocked dash in it

Yeh thinking about getting the dash flocked, looks awesome :D

Excellent work as always mate [B)]

ahh i didnt see this. good show ;)

Cheers Guys.

--------- Tiny Update ---------

Started by cutting the pipe for the front upright pipe, here's it roughly in place -

515c7399.jpg


Close up of the end i cut by hand, not bad eh ???

92d359d5.jpg


It took me a while to get the angle right and hold it in position, in the end i ran out of hands and just ended up tacking it up -

bec54bf6.jpg

3e6e1cbb.jpg


Once it's all tacked up and i'm happy with the design i will then remove it and weld in plates on the bulkhead and weld the cage to it.
I'm going to have to cut the cross brace / steering column support brace so i will weld the roll cage to it to have even more support.
Just got to make the other side the same and then start designing the roof cross braces and then the side door bars.
Still got to buy some gussets to tie the A-pillars & B-pillars to the roll cage.

I'm a bit nervous of putting the door bars in without any seats in, i think i may have to buy a set of seats to clearance with the door bars.

So long for now.
 

Murdered LCR

Wide mouthed mofo
Sep 9, 2006
6,646
8
Murder Inc.
Graham there is loads of room for the door bars I presume your running no door cards ? I can get some pics of mine with the clearance if you like
 

Murdered LCR

Wide mouthed mofo
Sep 9, 2006
6,646
8
Murder Inc.
I'm not actually with my car at the min so if you want some other pics with dimensions with the clearance I can get them Friday mate these are the only few I have but if you come strait across and keep close to the B pillar your be fine

d77726a7.jpg

1b591725.jpg
 

grahams81

Active Member
Oct 14, 2010
1,165
6
County Durham
Graham perhaps rethink the white interior, reflected light in the summer WILL be a big issue

HHmmm never thought about that Willie, That could make driving it on a sunny day rather difficult.
May have to be Matt black then, i don't think it'll look as good but it'll be no good if the reflection on the windscreen is too much.

Door Bars Started...

I spent a couple of hours messing around with bits of pipe again this evening.

I spent quite a while thinking about the door bars tonight.
I like the idea of them to protect in the event of a side impact and to provide chassis stiffness between the A-pillars and the main hoop - but i want to be able to get in the car easily (i'm a big guy and not that flexible).
So i've decided to run a door bar quite low, i will then bring a second bar at an angle from half way up the main hoop to run above the first one..... quite hard to describe but you'll see what i mean when i next get in the garage.

Some photo's ---

IMG_0285.jpg

IMG_0286.jpg

IMG_0288.jpg

IMG_0289.jpg


Well i'm back away with work tomorrow :cry: I'll hopefully get back in the garage next weekend and get the job pushed on, Feeling good to be making progress.

Ta Tar...
 

alans

Active Member
Jul 14, 2010
49
0
its really coming along nicely Graham congrats.. already looking forward to the next update!
 

Willie

LCR Track car
Aug 6, 2004
8,939
1
Sunny Scotland
As your doing this yourself why not have a bolt in door bar to allow you to use this when on the track or out having fun but remove it for everyday use?
It could have clamps at either end to clamp around yout existing bars?

I'd worry that a single bar could become more of a danger than a help.
If you get T boned and that bar protrudes into the passenger cabin it could become a harpoon.
Not too sure if your finalised on this set up but was just a thought
 

grahams81

Active Member
Oct 14, 2010
1,165
6
County Durham
its really coming along nicely Graham congrats.. already looking forward to the next update!

Cheers Alan, might be slowing down now, see below.....


As your doing this yourself why not have a bolt in door bar to allow you to use this when on the track or out having fun but remove it for everyday use?
It could have clamps at either end to clamp around yout existing bars?

I'd worry that a single bar could become more of a danger than a help.
If you get T boned and that bar protrudes into the passenger cabin it could become a harpoon.
Not too sure if your finalised on this set up but was just a thought

Hi Willie, thanks as always for the advice - i'm planning on running a second door bar above the lower one, was planning on running the bars from half way up the main hoop then down at an angle, i think it'll be plenty strong.

See crude drawing -

DoorBars.jpg


Small Non Related Car Update

I'm really happy to announce that on Saturday 14th April the wife gave birth to a little baby boy. We've called him William - Will.

He weighed in at a hearty 9lb 1oz.

Wasn't an easy birth with a couple of complications but both now mam and baby are doing well.

I can't explain the feelings in words but it's fair to say the little guy will never be short of love and cuddles.

Here's a few pics -

IMG_0310.jpg


He had a tube in his nose because he wouldn't feed, he's had it taken out now as he's feeding well.

IMG_0313.jpg


IMG_0317.jpg


Mum and William -

IMG_0311.jpg


Here's my Mam, she's also over the moon...... i think it shows.

IMG_0316.jpg
 
Lecatona HPFP (High-pressure Fuel Pump Upgrades)