My Cordoba Coupe Trackday Car Project

F2 Stu

I. Am. Legend.
Oct 4, 2001
5,577
0
Crawley, UK
Visit site
DSCF0009.jpg


Got me some welding to do:)
 

WeeJase

pert
Jun 2, 2001
8,595
0
ibiza_95 said:
nice project, brakes are pretty unique... nad big.
just why do we have this laminate looking wood stuff in the car when it looks like it should be in an old folks home?
wert4et1dp.jpg
you removing that "sub" from where the rear bench was?:D
 

F2 Stu

I. Am. Legend.
Oct 4, 2001
5,577
0
Crawley, UK
Visit site
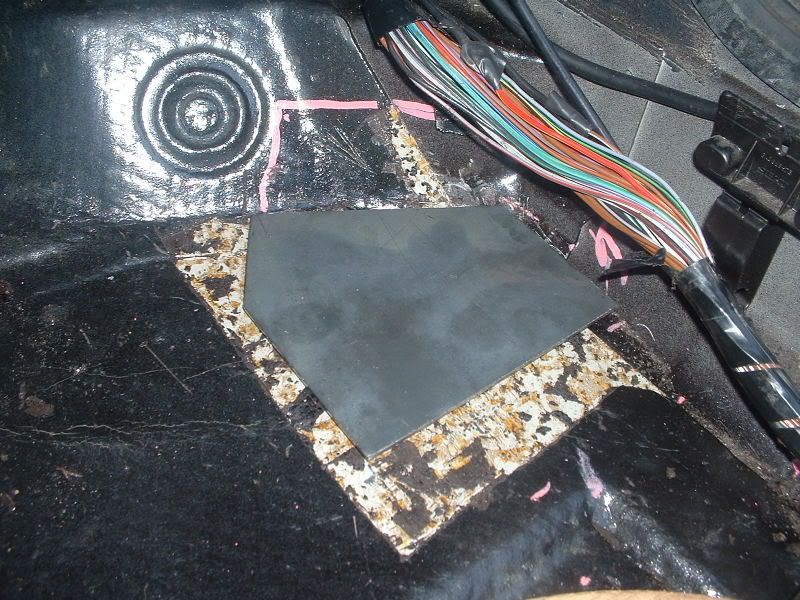
Amongst other tasks during the weekend I made a start on fabricating the baseplates for the cage mounts

Using 3mm cold rolled sheet, I roughed out a shape around 120cm square and stransfered it to the plate where it was cut with grinder & slitting disc

DSCF0015.jpg


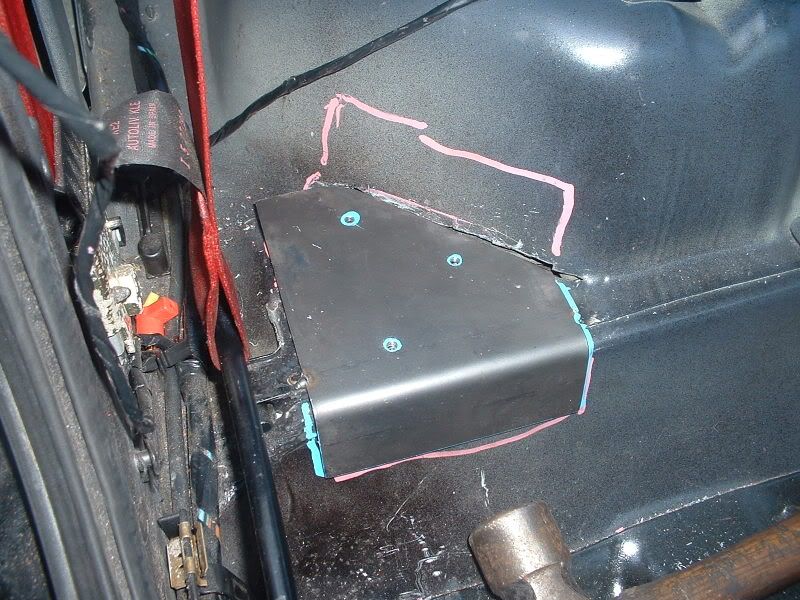
Decided to work on the 'B' piller first - offered up the plate and the decided rather than trim the plate to make it fit nicer I decided to manipulate the floor as the plate on the cage was mighty close in one place, and accidently pieced through the floor :doh: it kinda went like:

'BANG BANG BANG BANG BANG - Whoops - **** - Oh well - BANG BANG BANG'

:D

Tacked in the plate & bolted in the cage for the 2nd time so I could mark the holes in the plate so I can weld in captive nuts on the underside during the week.

apiller.jpg


Also trial fitted the 'A' piller plate and took the tar shite off where it lands did'nt do much to this as I mainly concentrated on getting the 'B' piller ones sorted and weather proof.
 

F2 Stu

I. Am. Legend.
Oct 4, 2001
5,577
0
Crawley, UK
Visit site
The cage is now part of the car:)

First task was to avoid a repeat of setting light & melting the tank & fuel lines, by dropping the tank and disconnecting the lines from the pump and pulling them away from area of welding on the drivers side 'B' piller mount

Note: depressurise the lines first to avoid a facefull of petrol - it stings :blink:

Tacked in the 'A' piller mounts and assembeld cage to mark out the bolt holes in the plate, removed plates for drilling and welded captive nuts.

Drilled 30mm holes in the floor to accept the captive nuts retacked ther plates in and checked the bolt holes lined up

Once all was sweet all the plates were seam welded in followed by coats of cold galv & black paint inside and mastic & underseal underneath.

Also discovered the OE seats dont fit fit with the lower doorbars in place so another racing seat is required for August and I cant open the drivers glovebox:D

All thats left on the cage is the 'C' piller mounts which will require bit of work as theres a mahoosive void to merge.
 

Triple D

Guest
Wow, things have come along pretty quickly stu, Cage looks very good mate.
Will have to have a closer look at the next meet if thats ok.:)
 
Adrian Flux insurance services - discount for forum members.