• Guest would you be interested in CUPRA or SEAT valve caps? let us know in the poll

  • Welcome to our new sponsor Lecatona, a brand dedicated to enhancing performance for VAG group sports cars, including SEAT, Audi, Volkswagen and Škoda. Specializing in High Pressure Fuel Pump (HPFP) upgrades.

Audi S3 GT3582R stroker Build (previously GT3071r)

tufftybloke

Badger 5 Edition
Feb 28, 2009
657
0
Gloucestershire, UK
Nice christmas update Tuffty. What did you use to deglaze the bores as it looks quite a considerate hone compared to some horror stories you sometime see. Is it a lazer tripple prong affair using a medium stone maybe.
Those pistons look brand new they've cleaned up well. Are you certain you can't buy the pins direct from Audi.

Yeah, laser tools jobber... gotta be real careful how low you go down due to the oil squirters...

Not sure if they can or not tbh but either way this is a cheaper alternative for me... the ring packs aren't fantastically cheap IIRC so this will do fine until I save up for new pistons and maybe a TFSI crank lol...

Bloody cars... :)

<tuffty/>
 

tufftybloke

Badger 5 Edition
Feb 28, 2009
657
0
Gloucestershire, UK
Small update... spent most of the day lifting a head (with turbo and manifold fitted) in and out of the engine bay while I played about with working out clearance issues... rings are on order and will be arriving tomorrow..

The problem I have is the new hotside has moved everything about... its a pain but can't do anything about that...

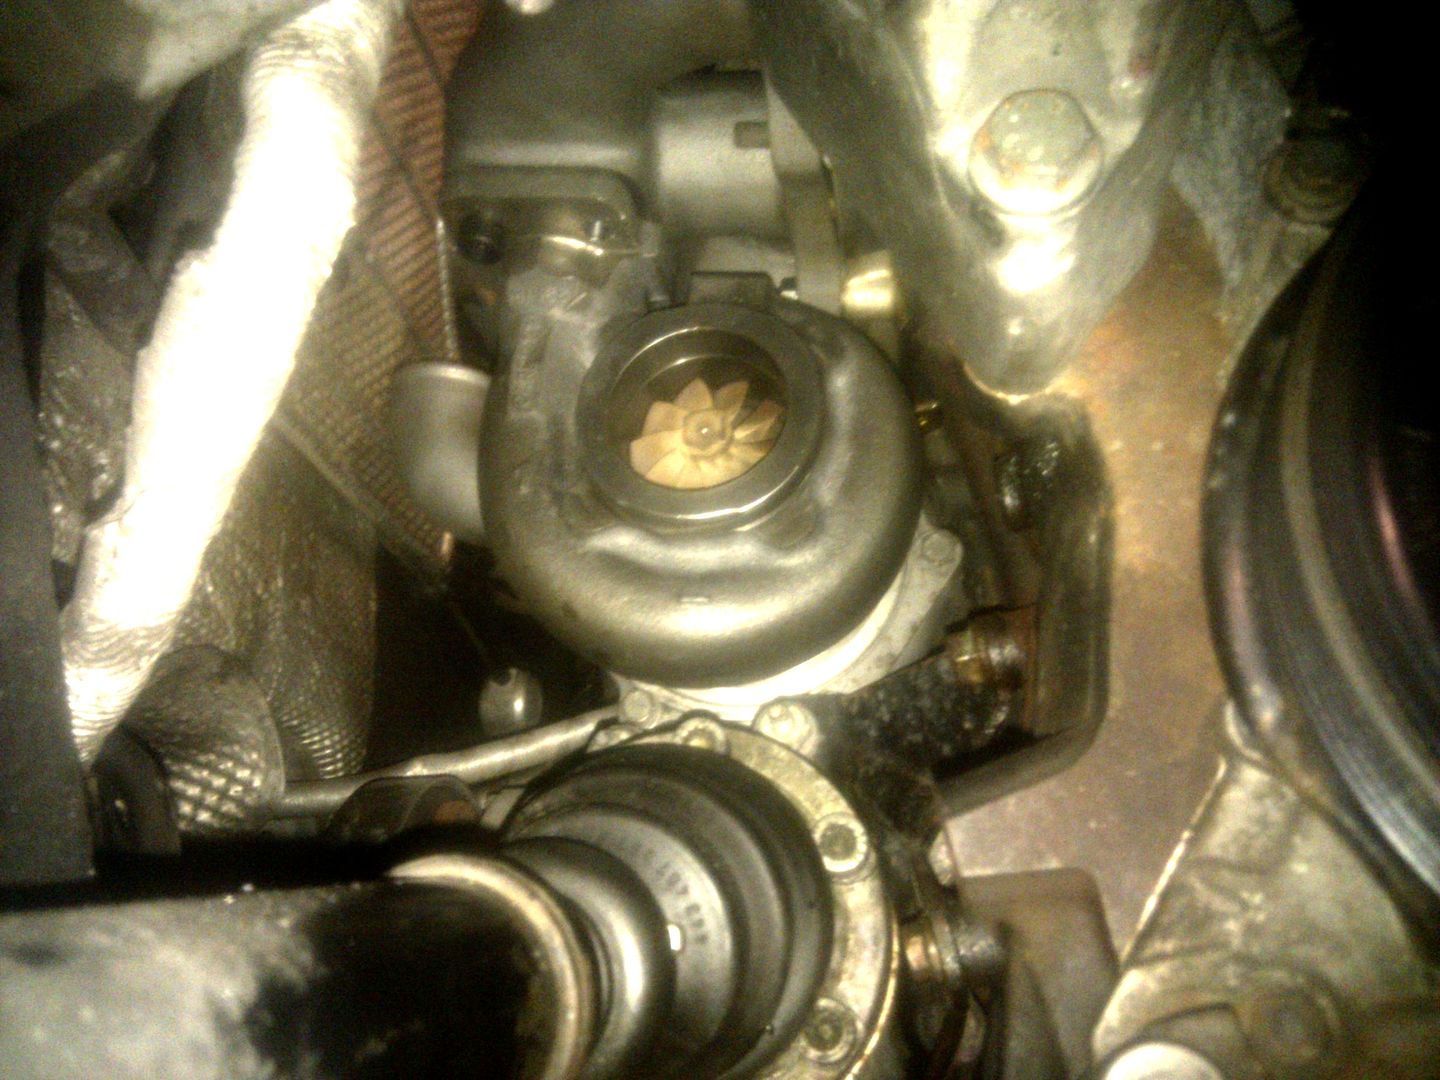
With the taller hotside I have no clearance on the bevel box now so have fixed that by first clocking the comp housing around away from the manifold as before one of the housing bolts dropped neatly in between the webbing of the modded bevel box... now the turbo sits closer to the block it now hits that... so clocking has moved it to the other side of the webbing but now as the turbo is lower and move over slightly towards cyl 4 it now sits on top of the webbing at the back!!!

This is an old picture of when I had the old hotside on to give you an idea... I haven't taken any pics of it today as I didn't think about it... lifting a head and GT30 setup in and out of an engine bay all day long kinda focusses you a bit :)
20090916_CRW_3695.jpg


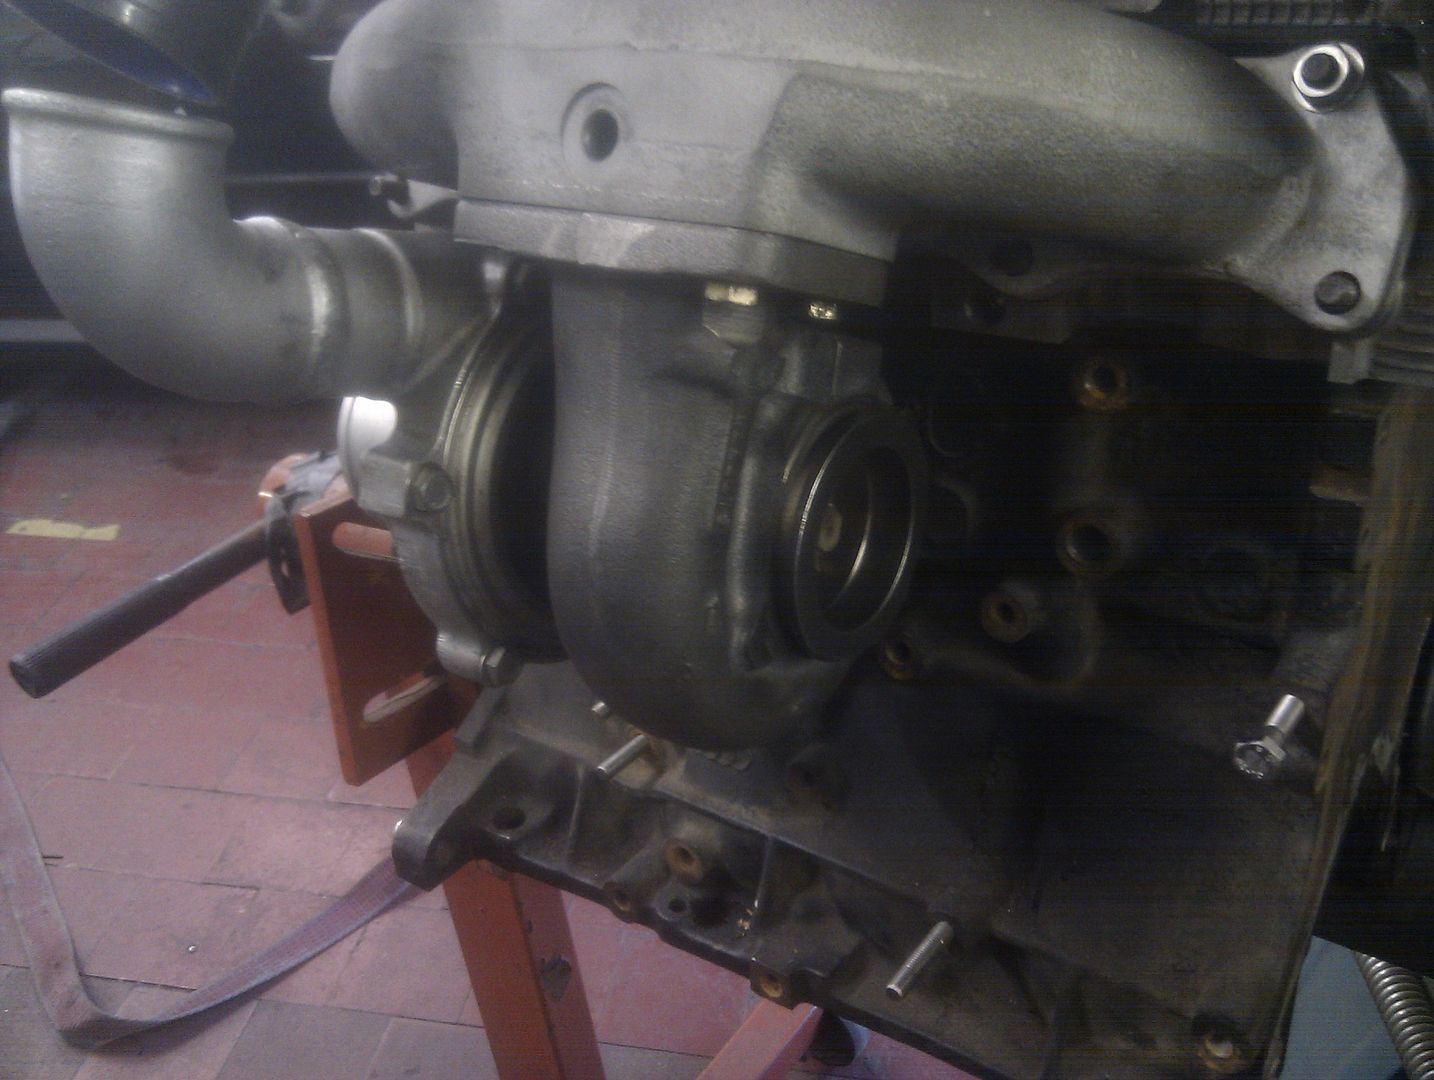
...mounted on the build engine...
CameraZOOM-20111219131534609.jpg


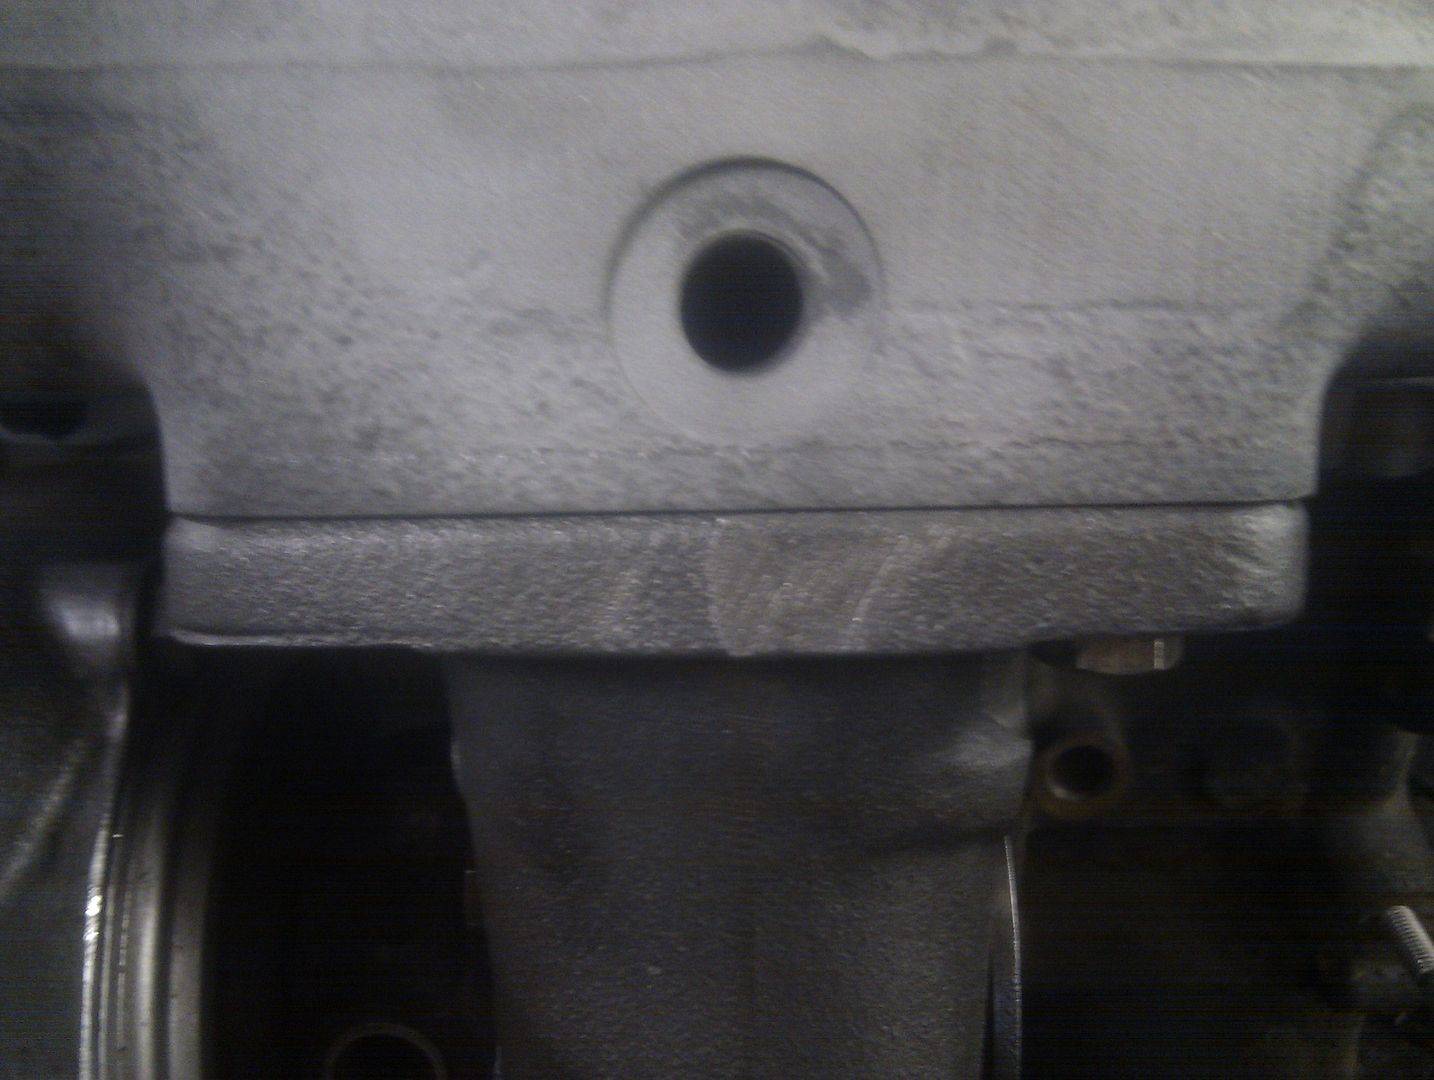
Lifting the turbo will fix this so the plan is to loose 5mm off the turbo mounting face of the manifold to lift it enough to clear... Just below the hole where I originally fitted the EGT probe...
CameraZOOM-20111219131555509.jpg


There is quite a bit of meat to play with so will see whats what... will go M10 too for the bolt size as there will be less thread to bite into so should give them a chance at least...

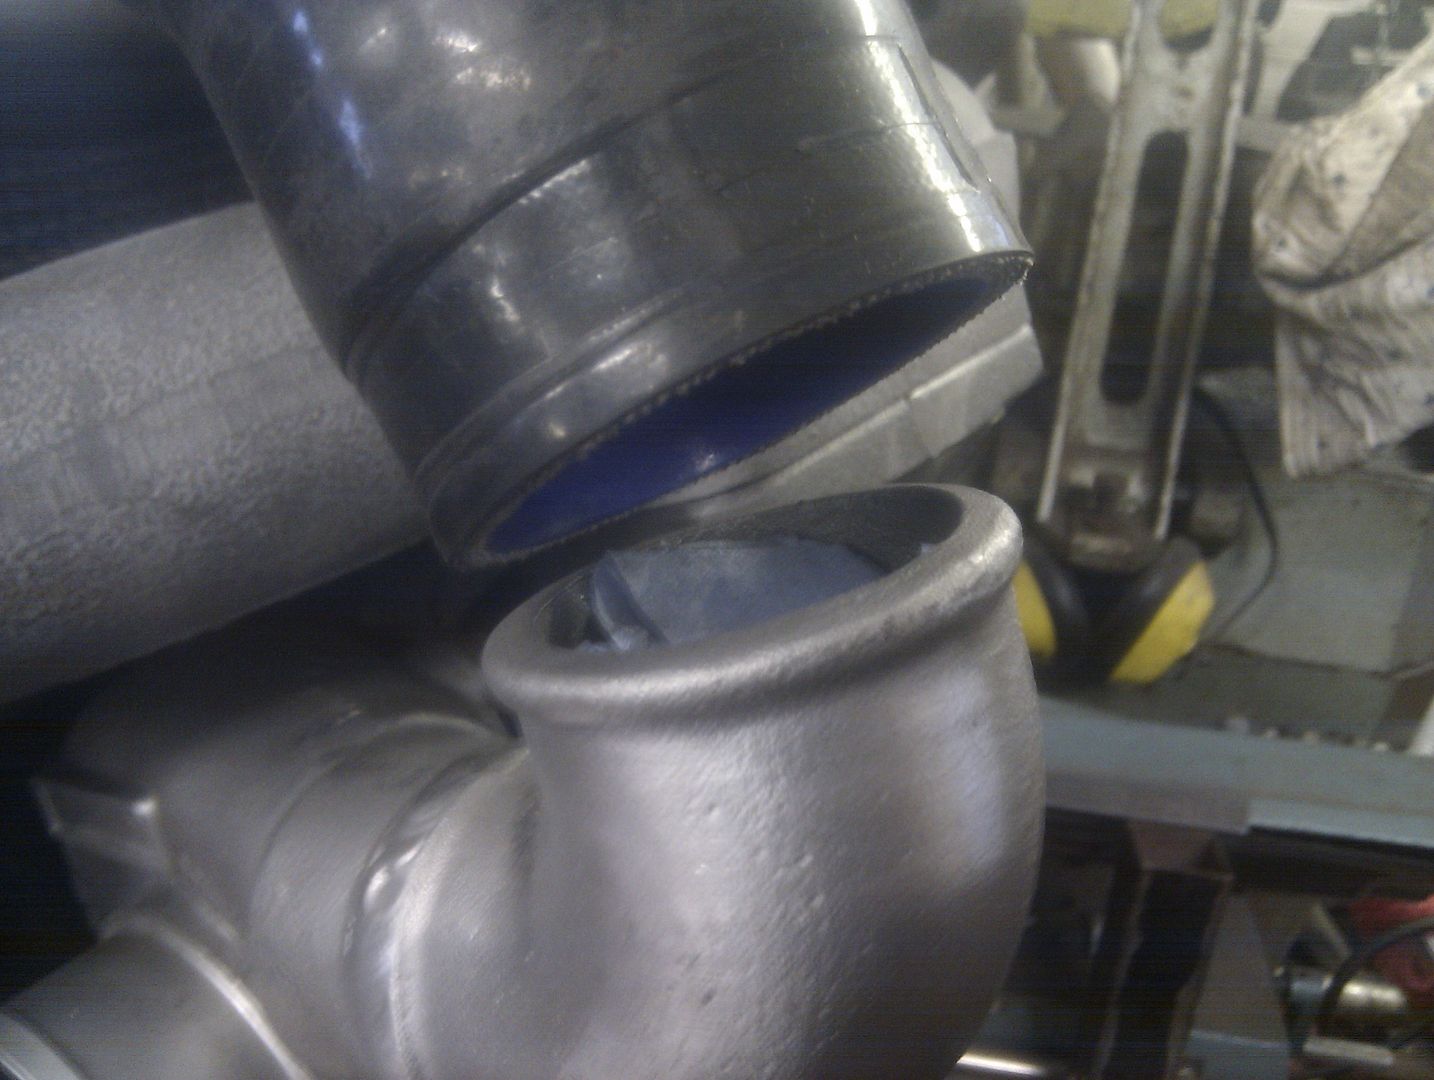
Clocking the comp housing has giving me another issue to sort out (fix one, find one... seems to be the way!!!0
CameraZOOM-20111219131622071.jpg


Will worry about sorting that issue out once I have the clearance sorted and the head sits flat ...

So... will be looking to fabricate a new downpipe as no amount of modding will get the one I have to fit... its moved things too far fitting the new hotside... the other biggy is likely to be the oil drain which was tight before and plain silly now and the water pipe to the block which we have always had issues with... seriously thinking of taking the bevel box off my gearbox to attach to the build engine so we can see off the car what we have to deal with...

Rings tomorrow so should have the bottom end back together by close of play...

<tuffty/>
 

tufftybloke

Badger 5 Edition
Feb 28, 2009
657
0
Gloucestershire, UK
Productive day....

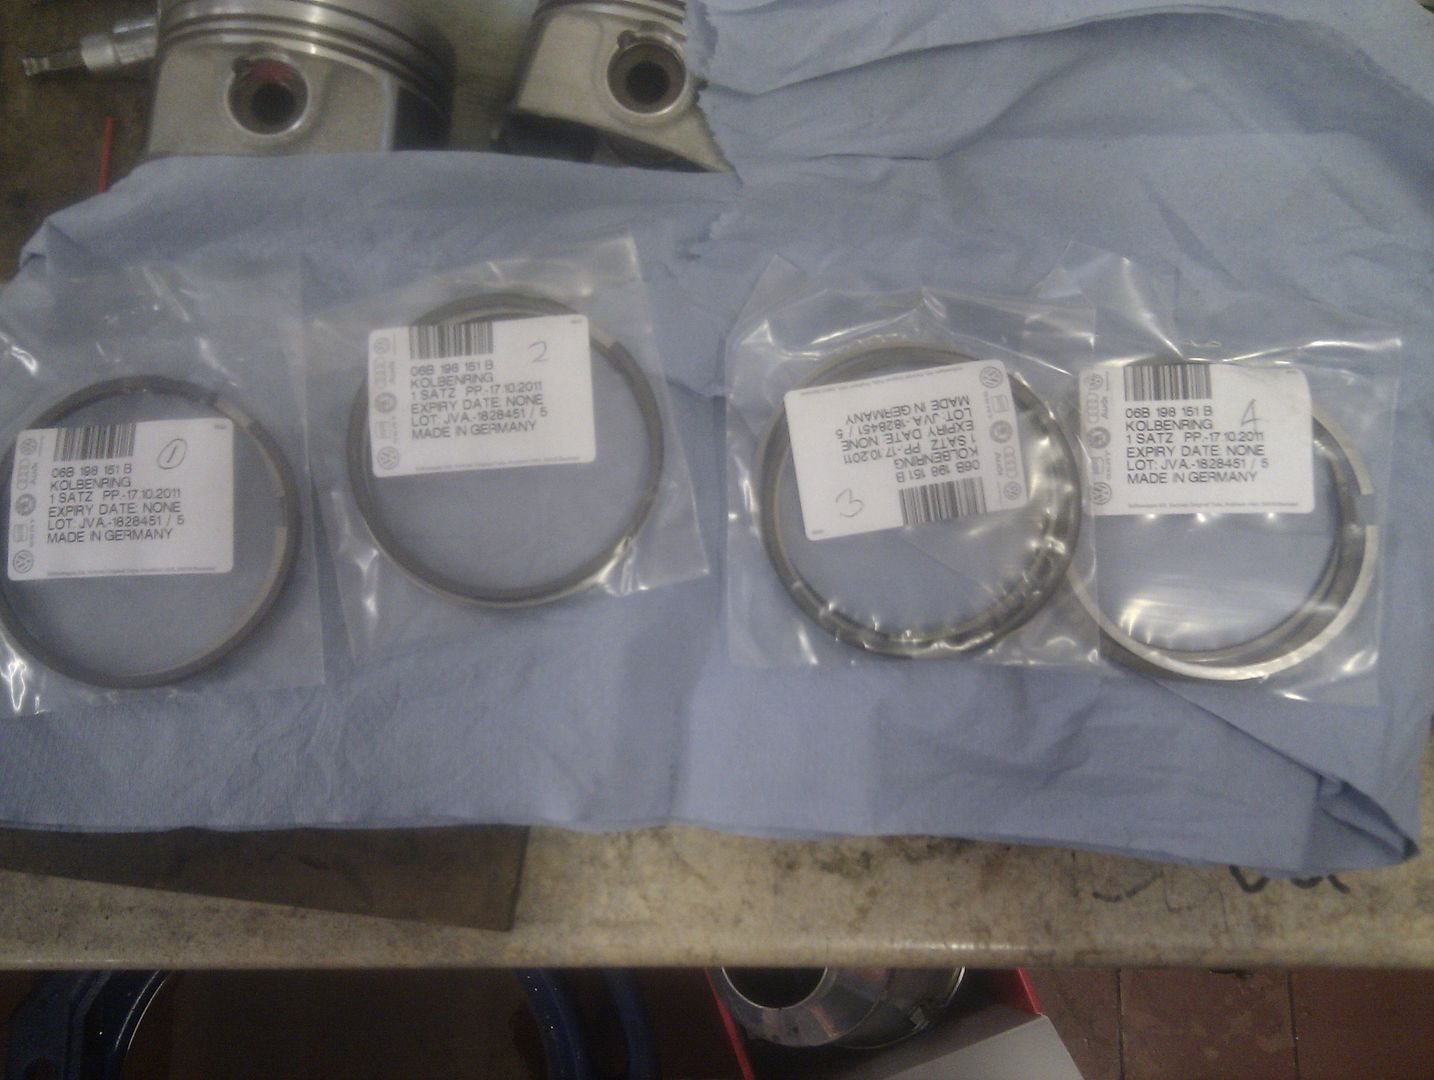
TPS delivered the rings first thing..
CameraZOOM-20111220094310301.jpg


Gapping rings isn't the most exciting job in the world but I actually found it quite enjoyable lol...
IMG_20111220_103408.jpg


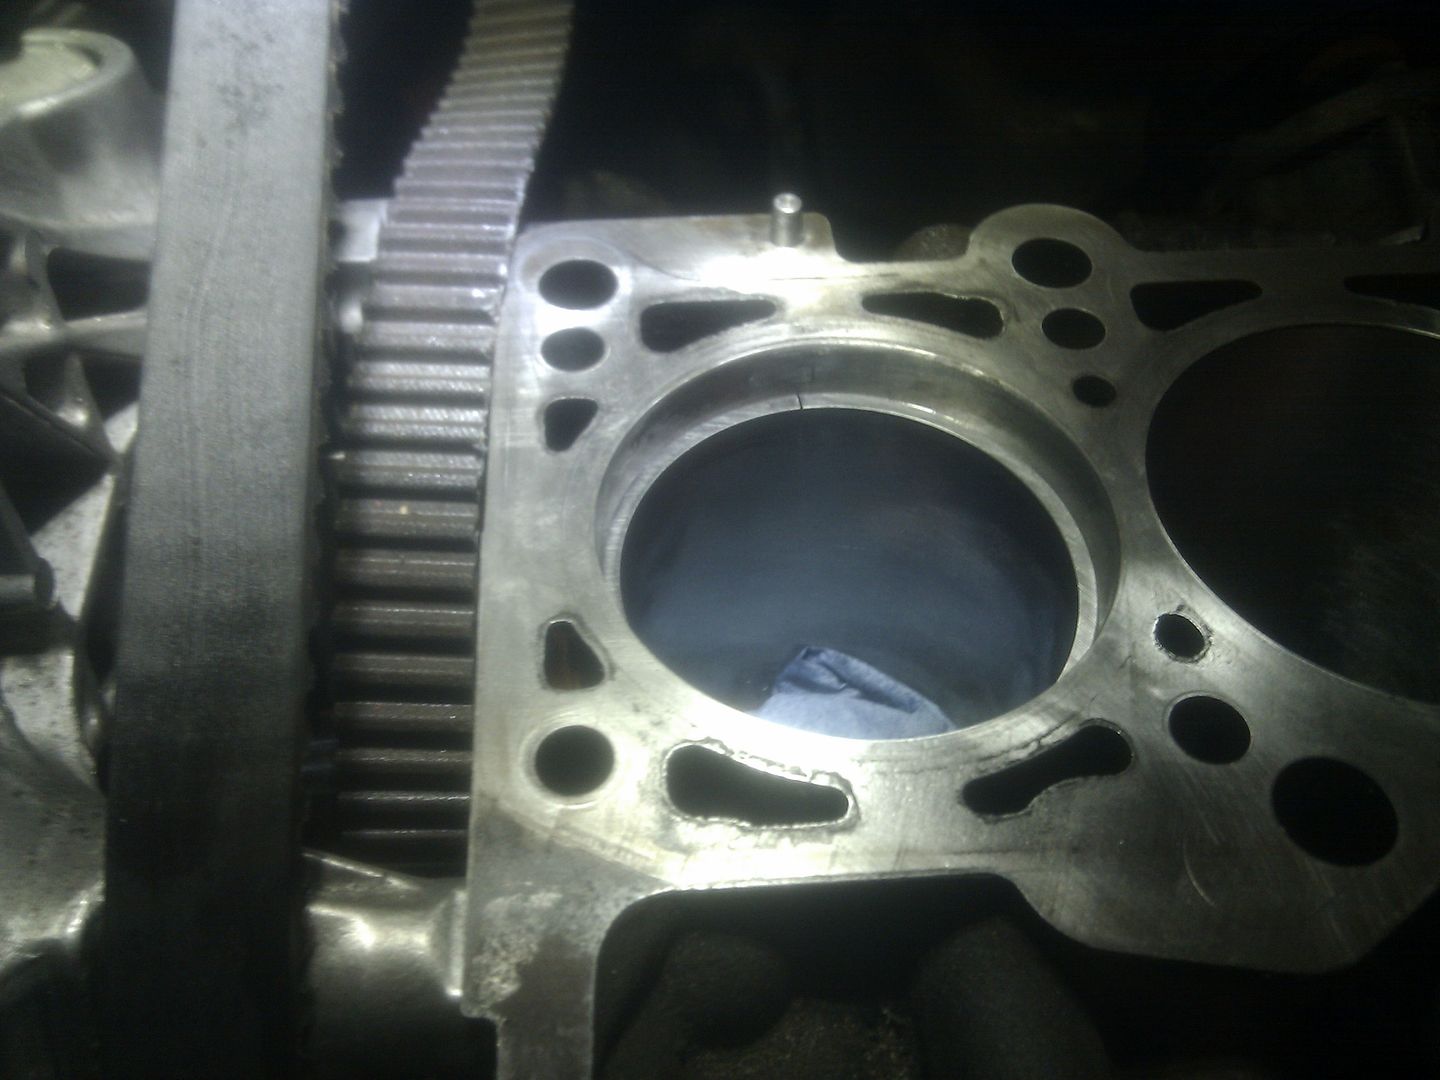
...when fitting new rings to an engine that hasn't had a rebore its a good idea to check the gaps top, middle and bottom of the bore as the gaps can vary... I found that on all mine they were larger at the top than the bottom (typical wear of course) so gapped accordingly... (the ring in the pic is a little lower than was measuring from... needs to be up a bit...)
IMG_20111220_113538.jpg


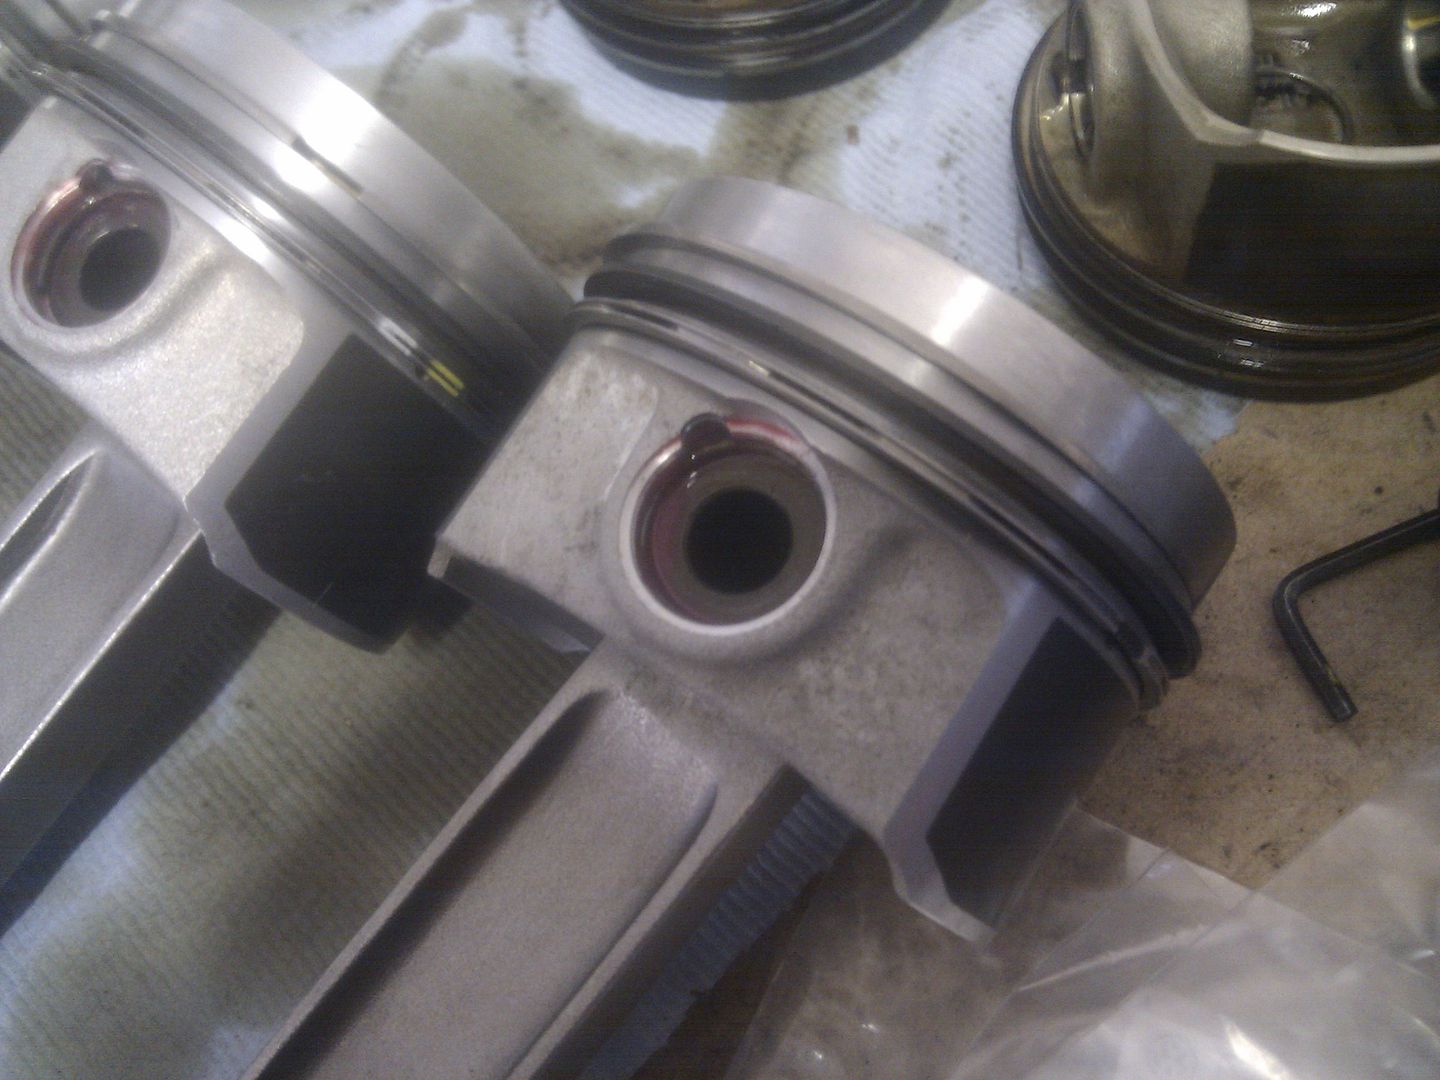
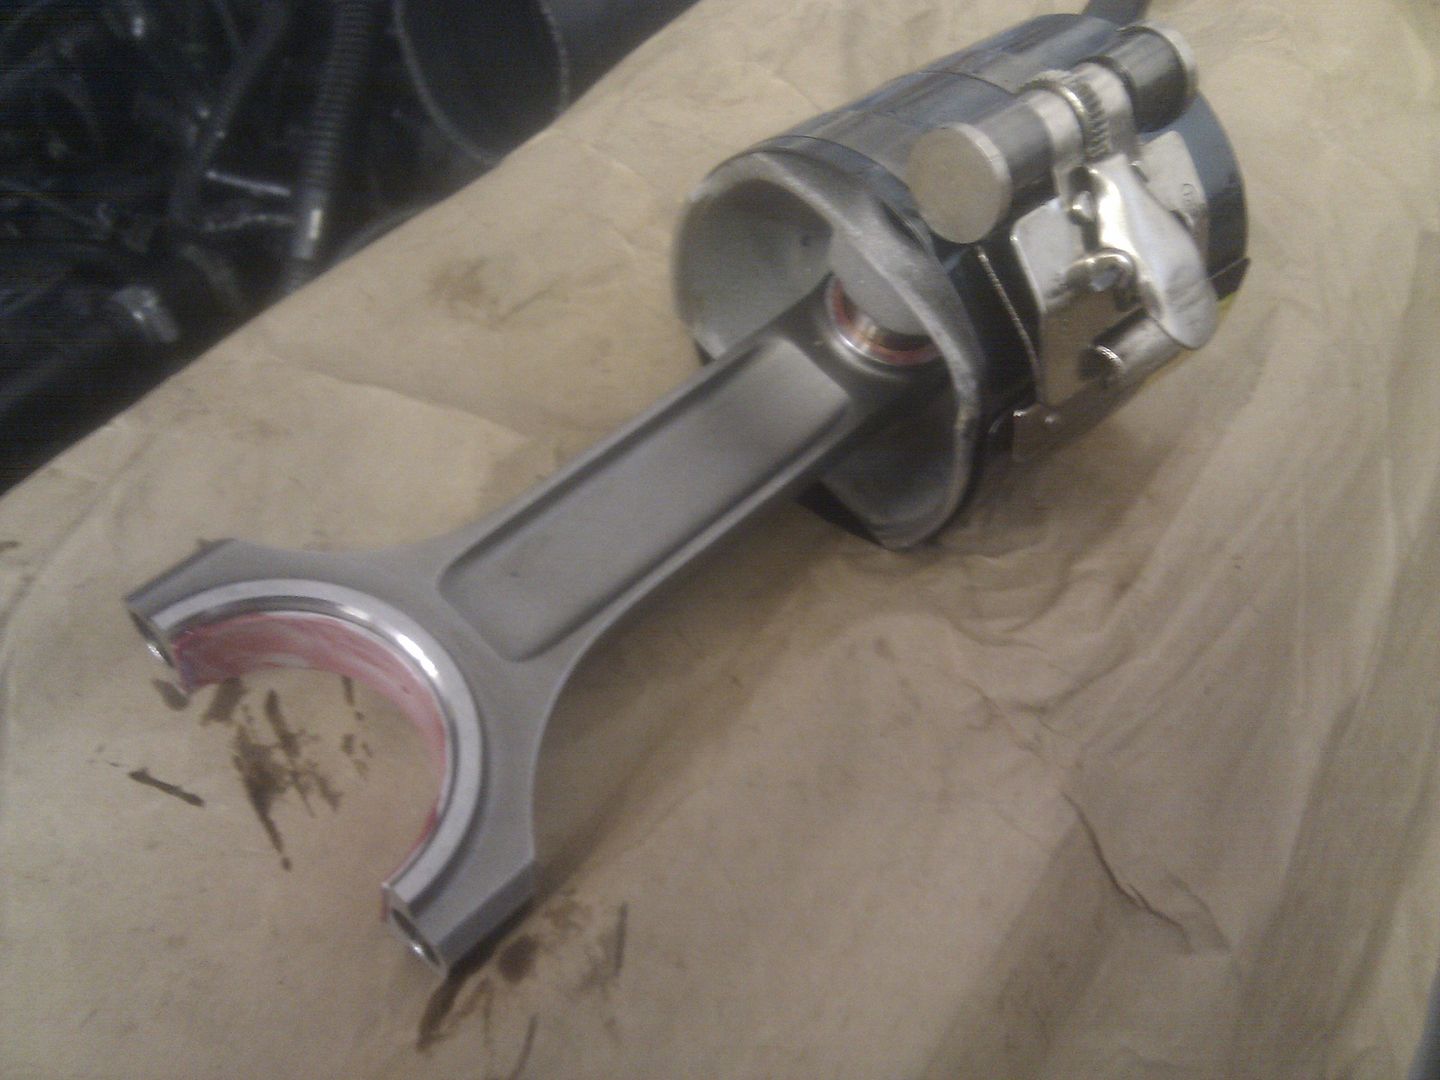
Fitted rings to the pistons clocking the rings at 120 degrees...
IMG_20111220_125016.jpg


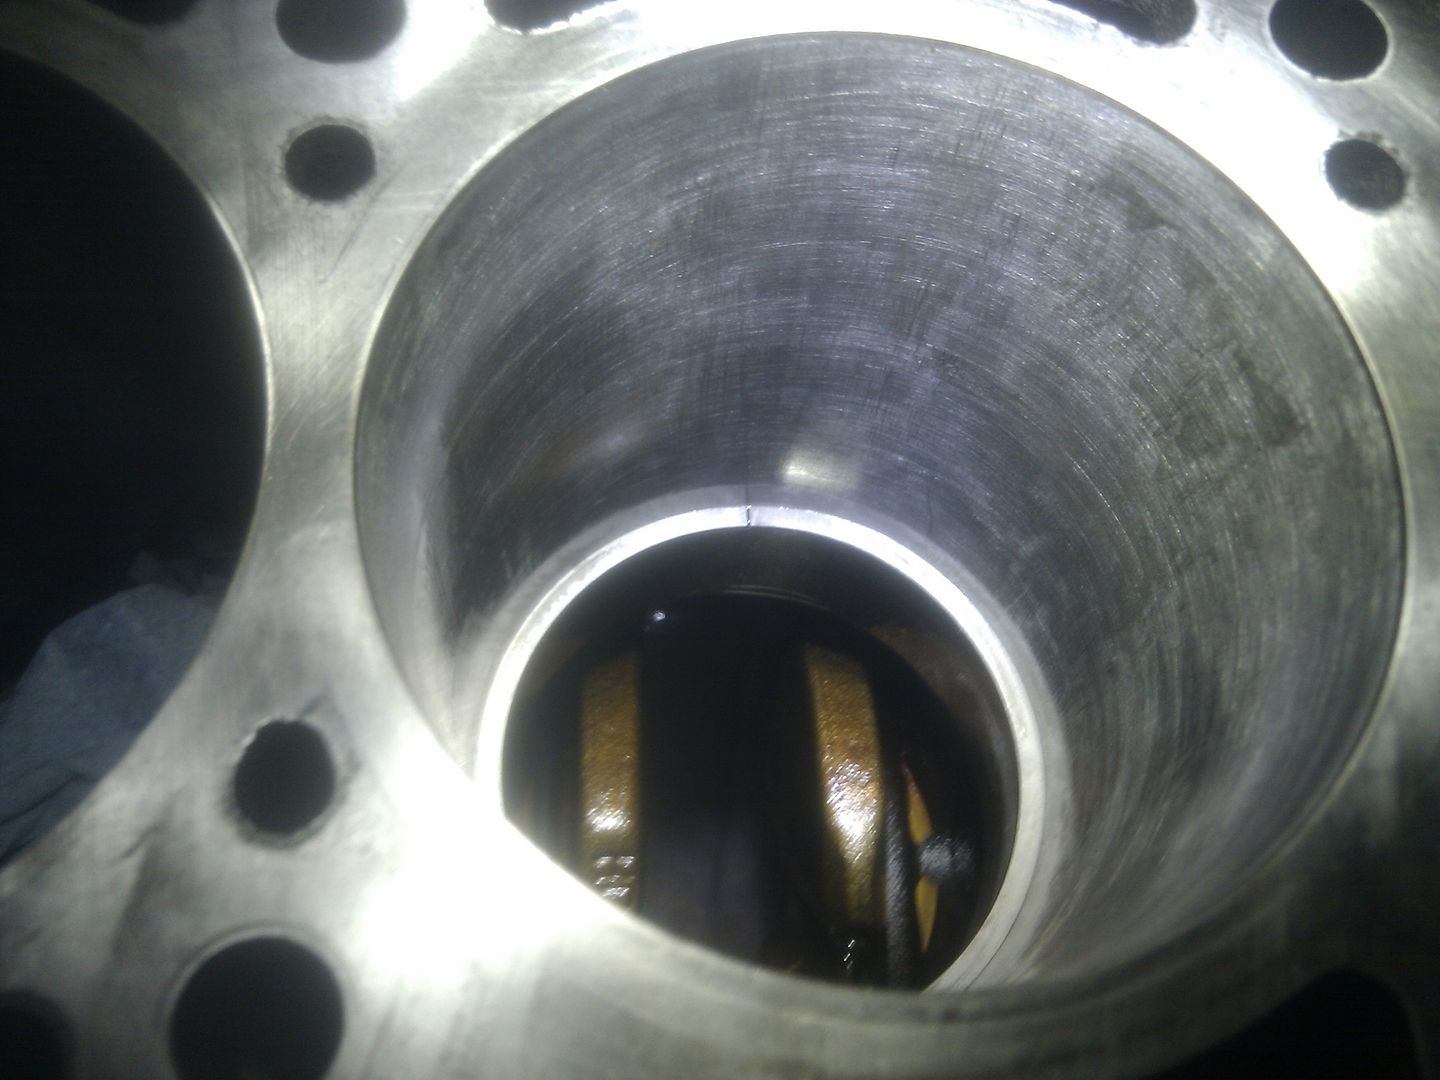
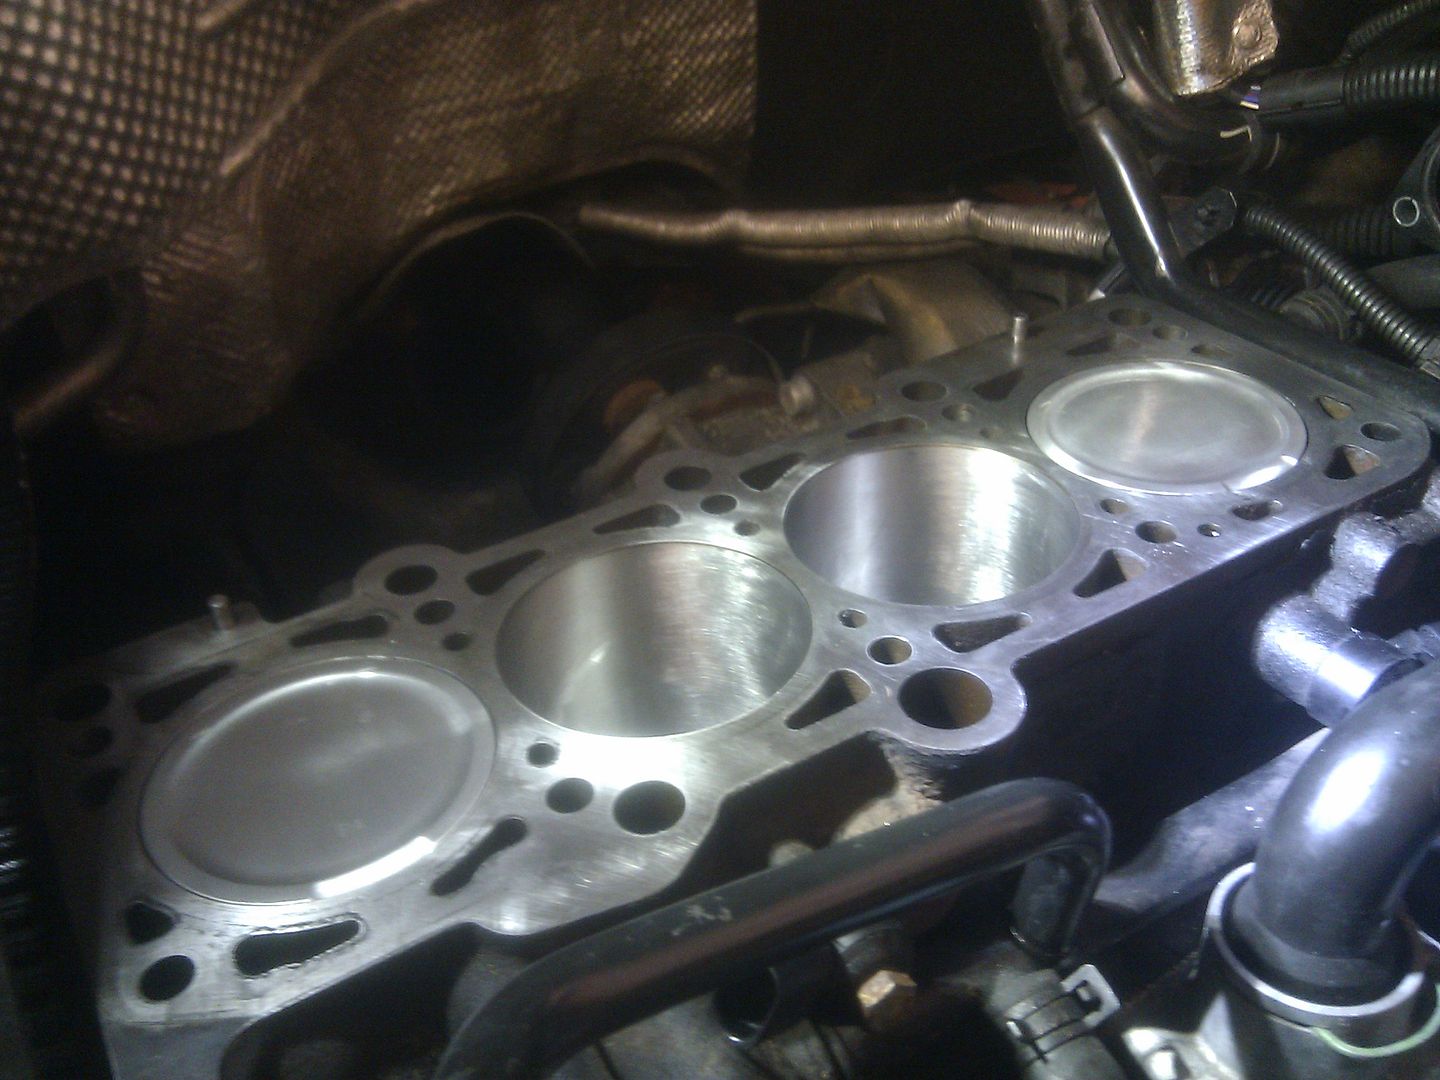
...oiled them up and fitted them into the bores...
IMG_20111220_132154.jpg


...shiny new bottom end :D
IMG_20111220_161358.jpg


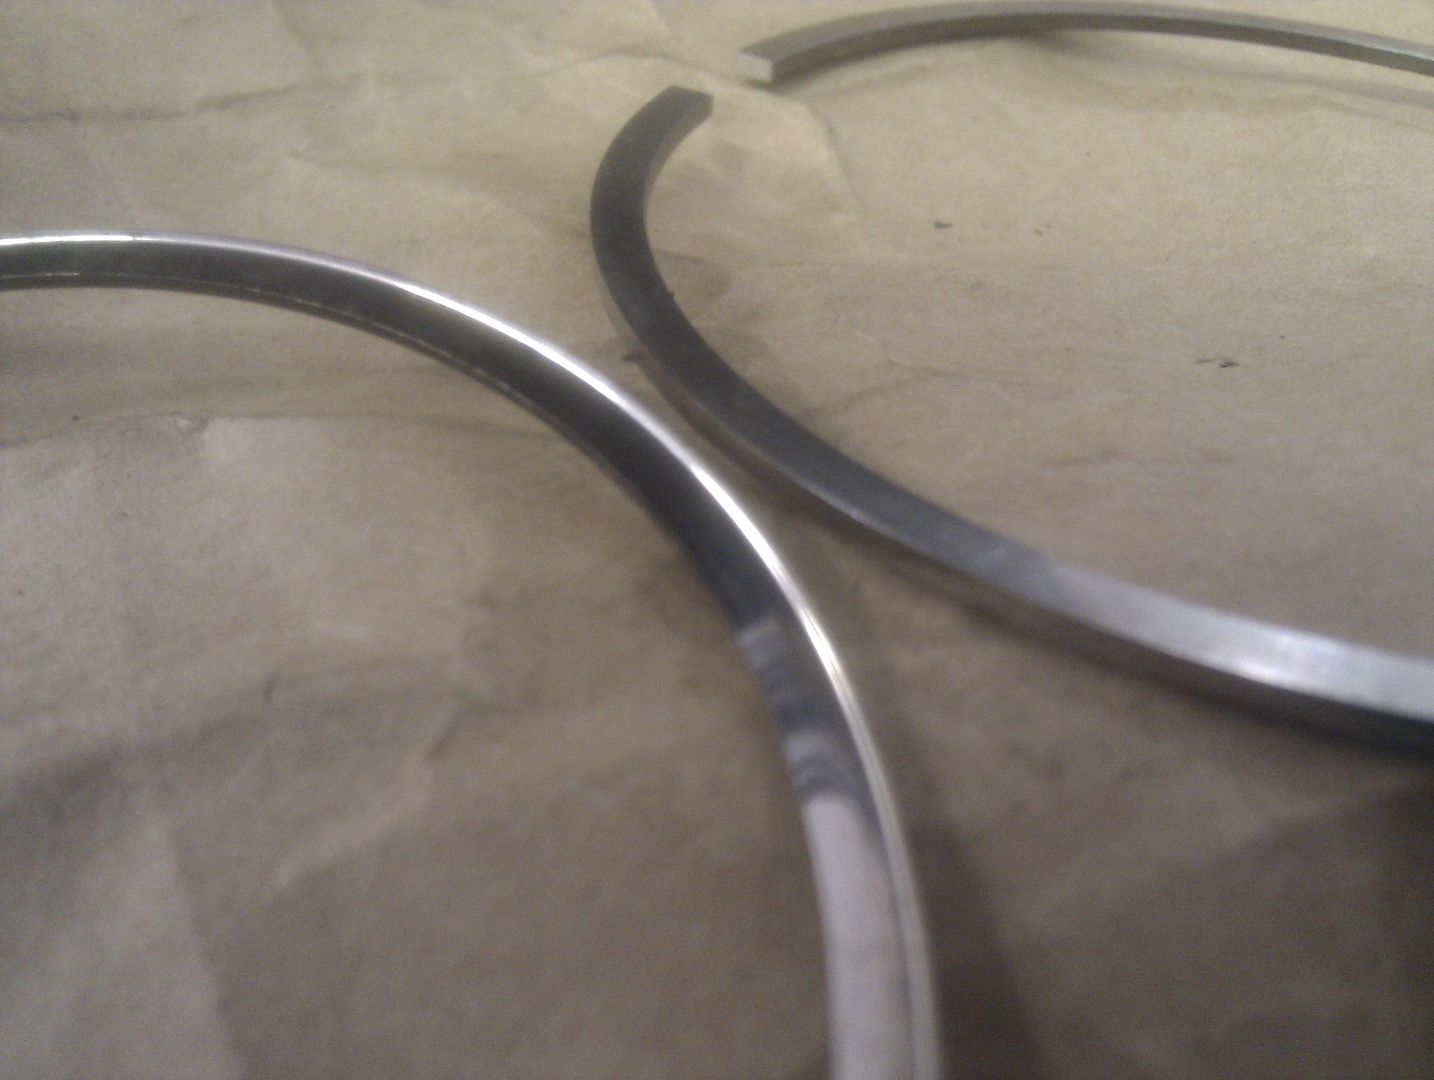
I cleaned up one of my old pistons to use as a 'plunger' for pushing the rings into place in the bore for the gapping process... good job that bit of the ring fell off else I may not have noticed how worn they were... old ring on the left, new ring on the right...
CameraZOOM-20111220102737360.jpg


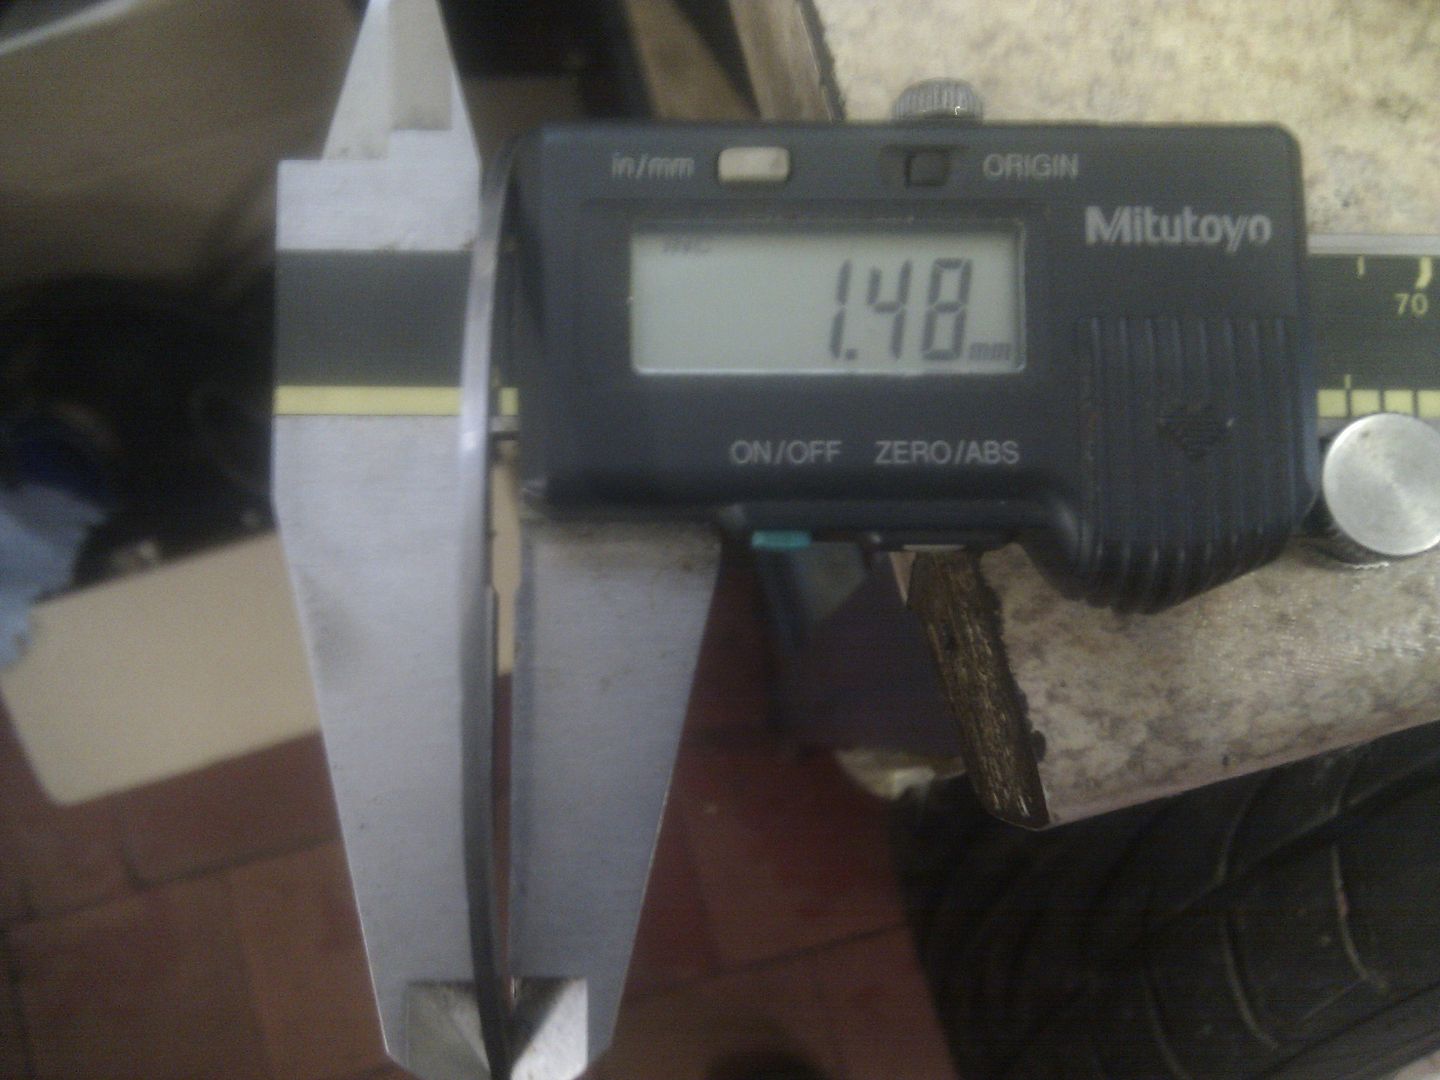
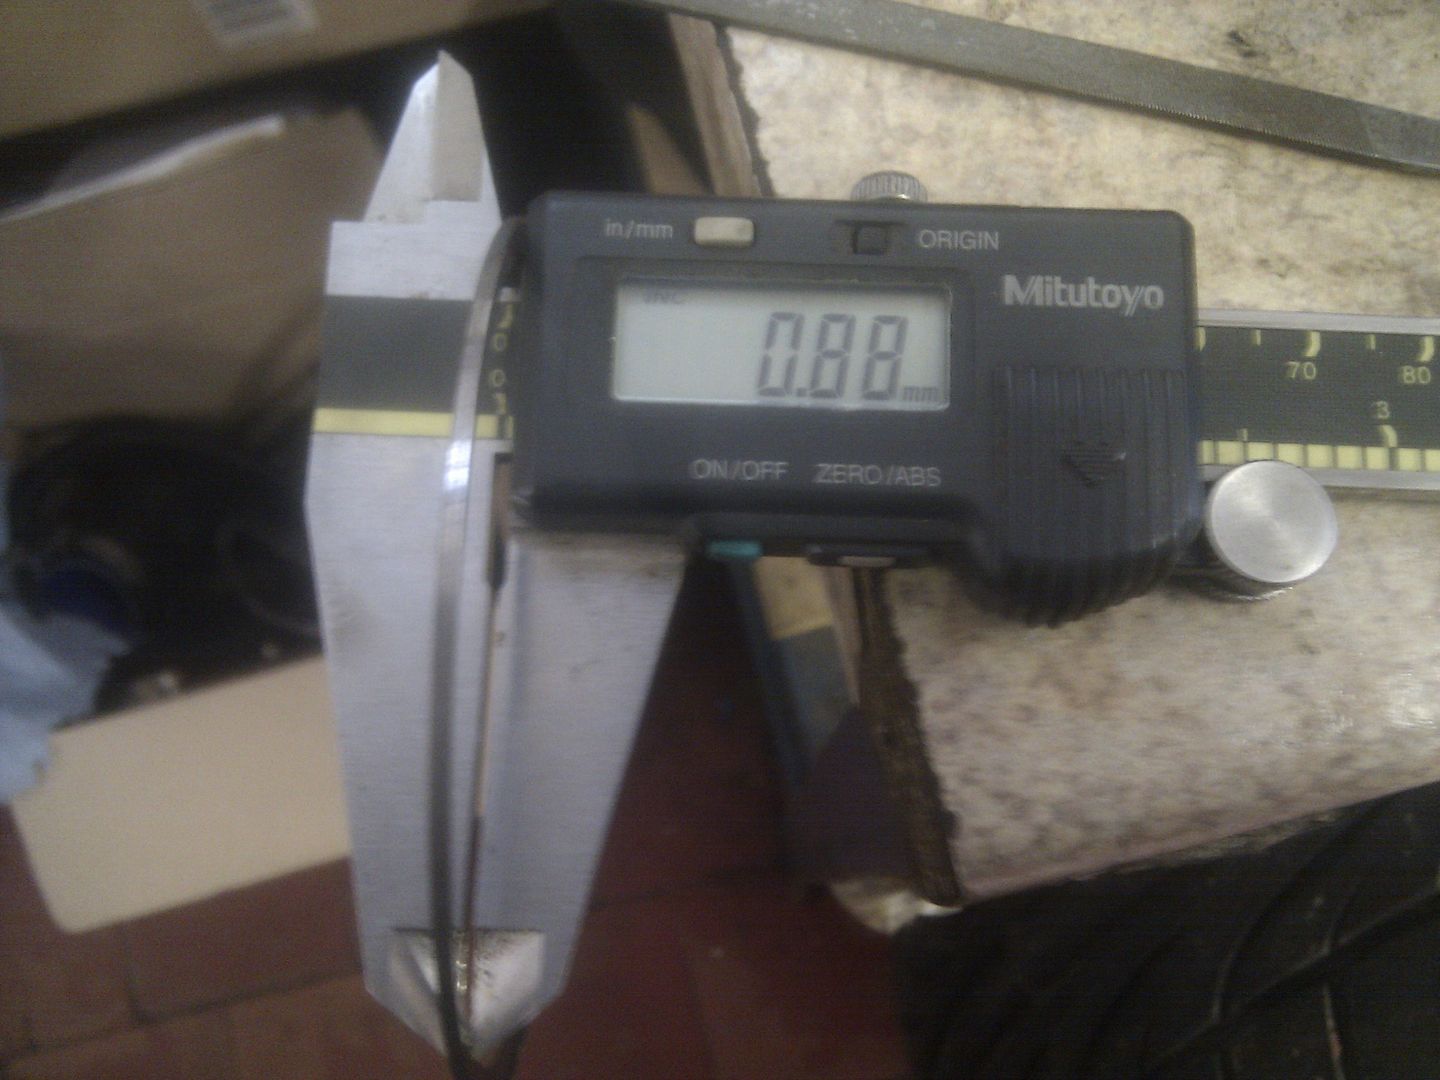
Seems my engine was on borrowed time... got the verniers out to confirm...
New ring...
IMG_20111220_111116.jpg


...old ring...
IMG_20111220_111201.jpg


...not good

All better now though... the pistons that went in had next to no wear on the coated skirts and are of course 9.5:1 comp ratio... bores are in better condition than before and of course hopefully no more rattling now I have gudgeon pins that are 20mm where they need to be...

Manifold is at machine shop being done so will have that for Saturday and can crack on with checking for final fitting and start working out the oil drain too...

Happy with the progress and at least I know the engine is solid enough now... (until I stroke it of course LMAO!!)

For those that are interested there is a useful series of videos on youtube that I used to get an idea of what I was letting myself in for...

http://www.youtube.com/watch?v=JPYIUylUW9I

<tuffty/>
 
Last edited:

tufftybloke

Badger 5 Edition
Feb 28, 2009
657
0
Gloucestershire, UK
Finished work for Christmas at 2.00pm today so took the chance to spend a couple of hours over the workshop to see if the machining work done on the manifold has done the job...

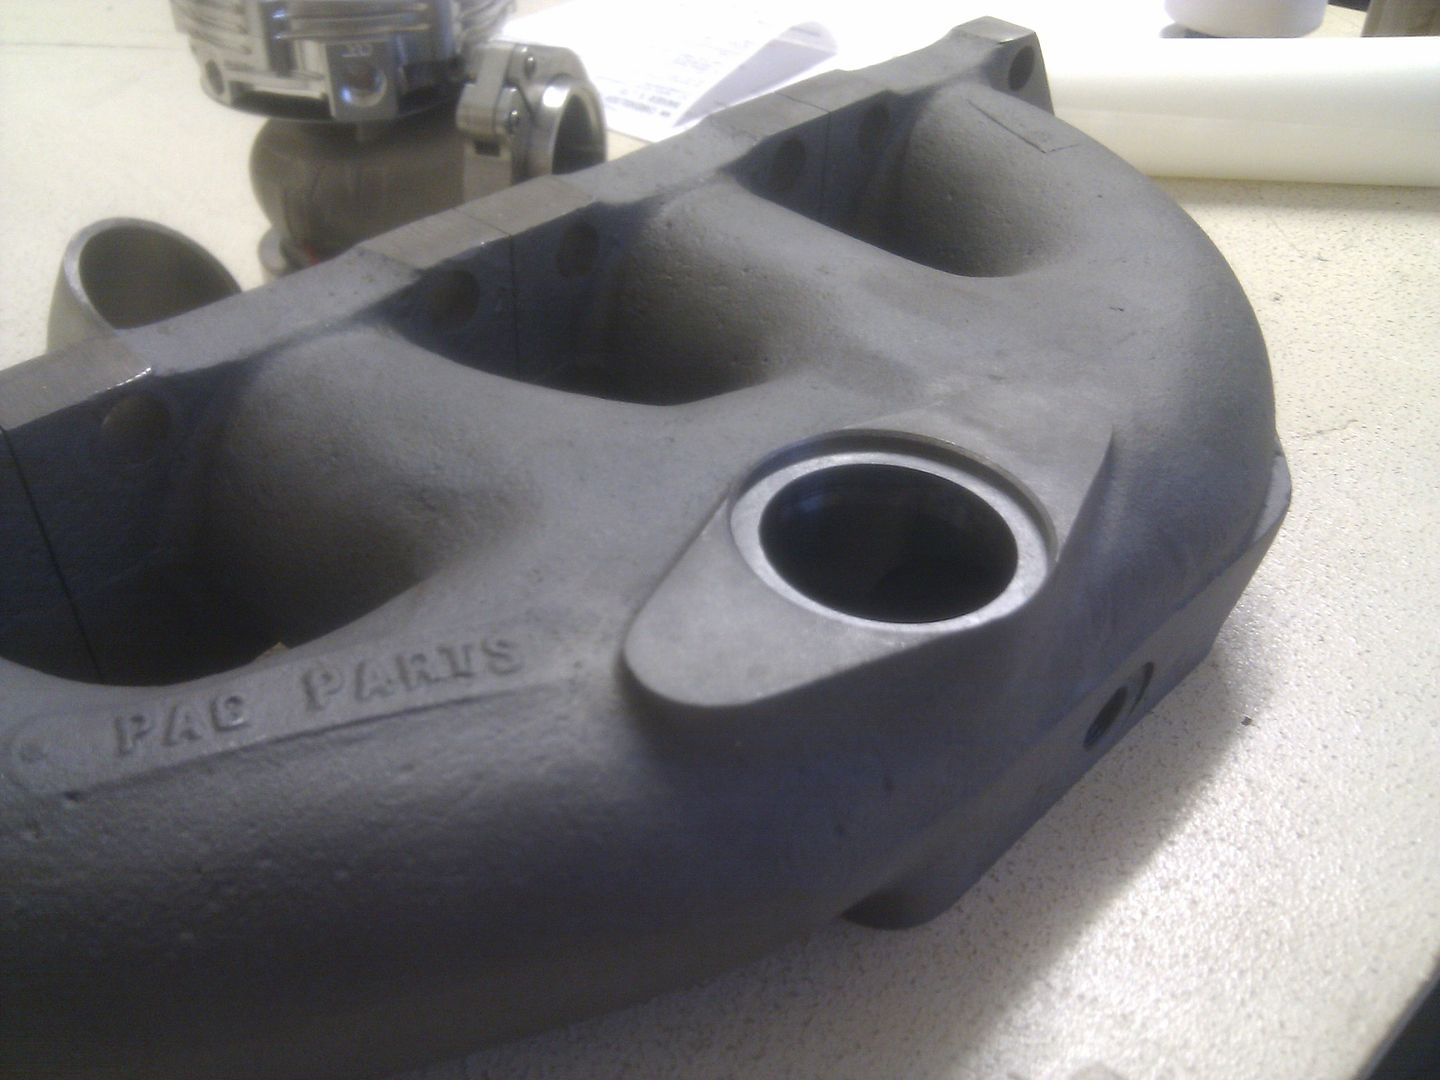
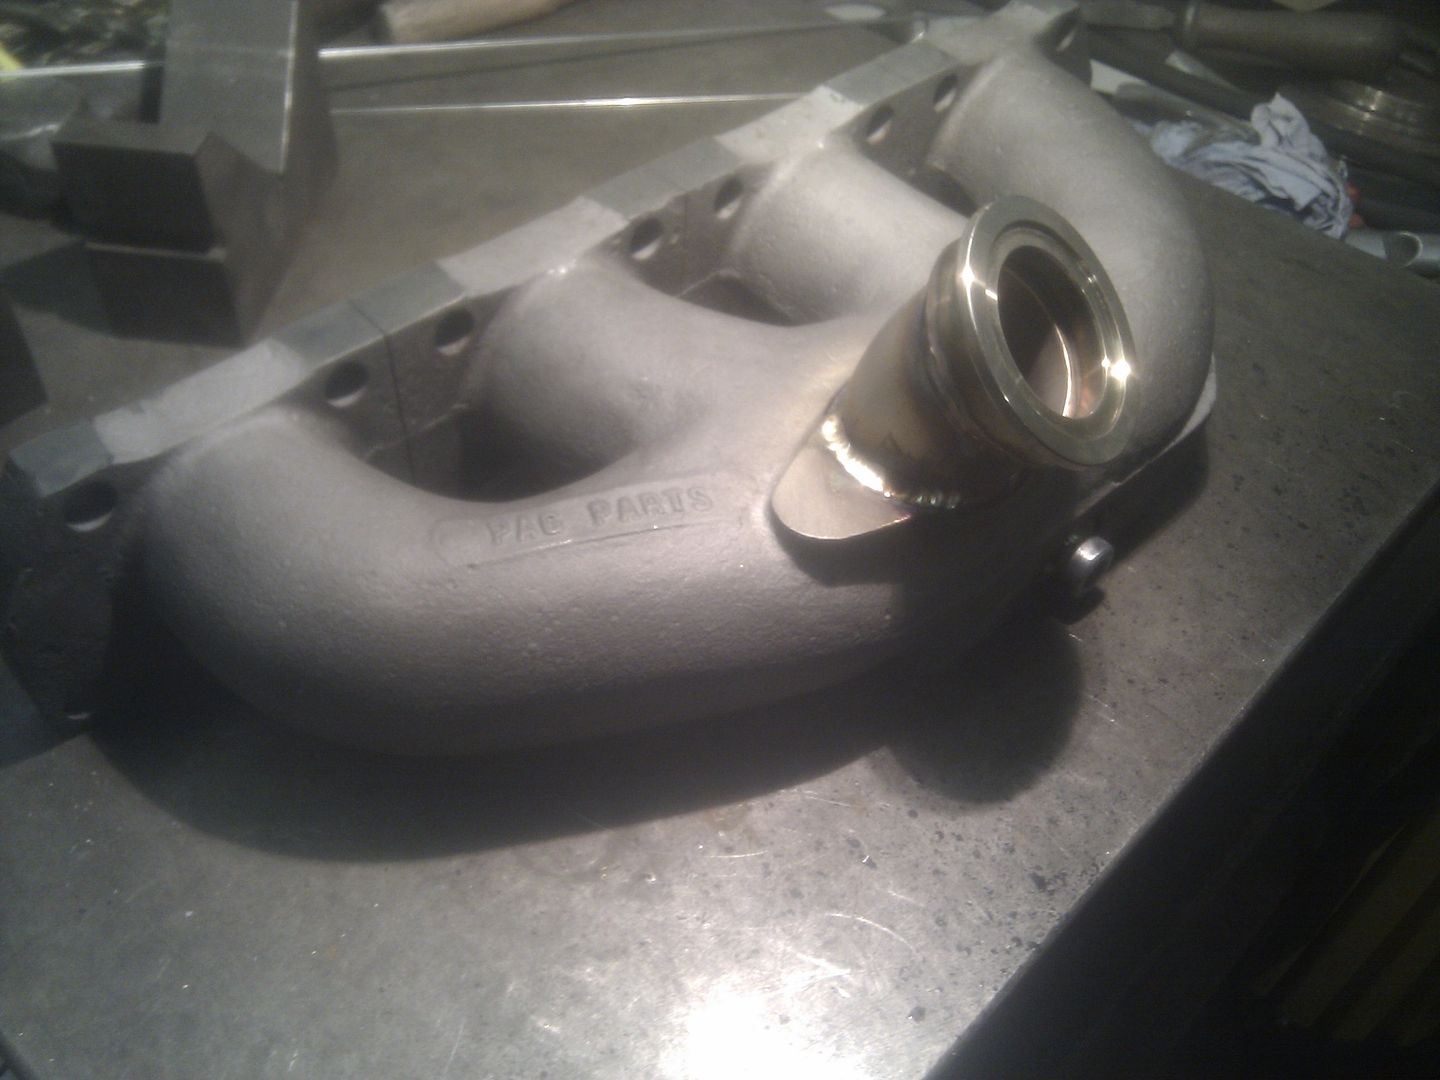
The manifold... provisioning for wastegate...
IMG_20111223_151054.jpg


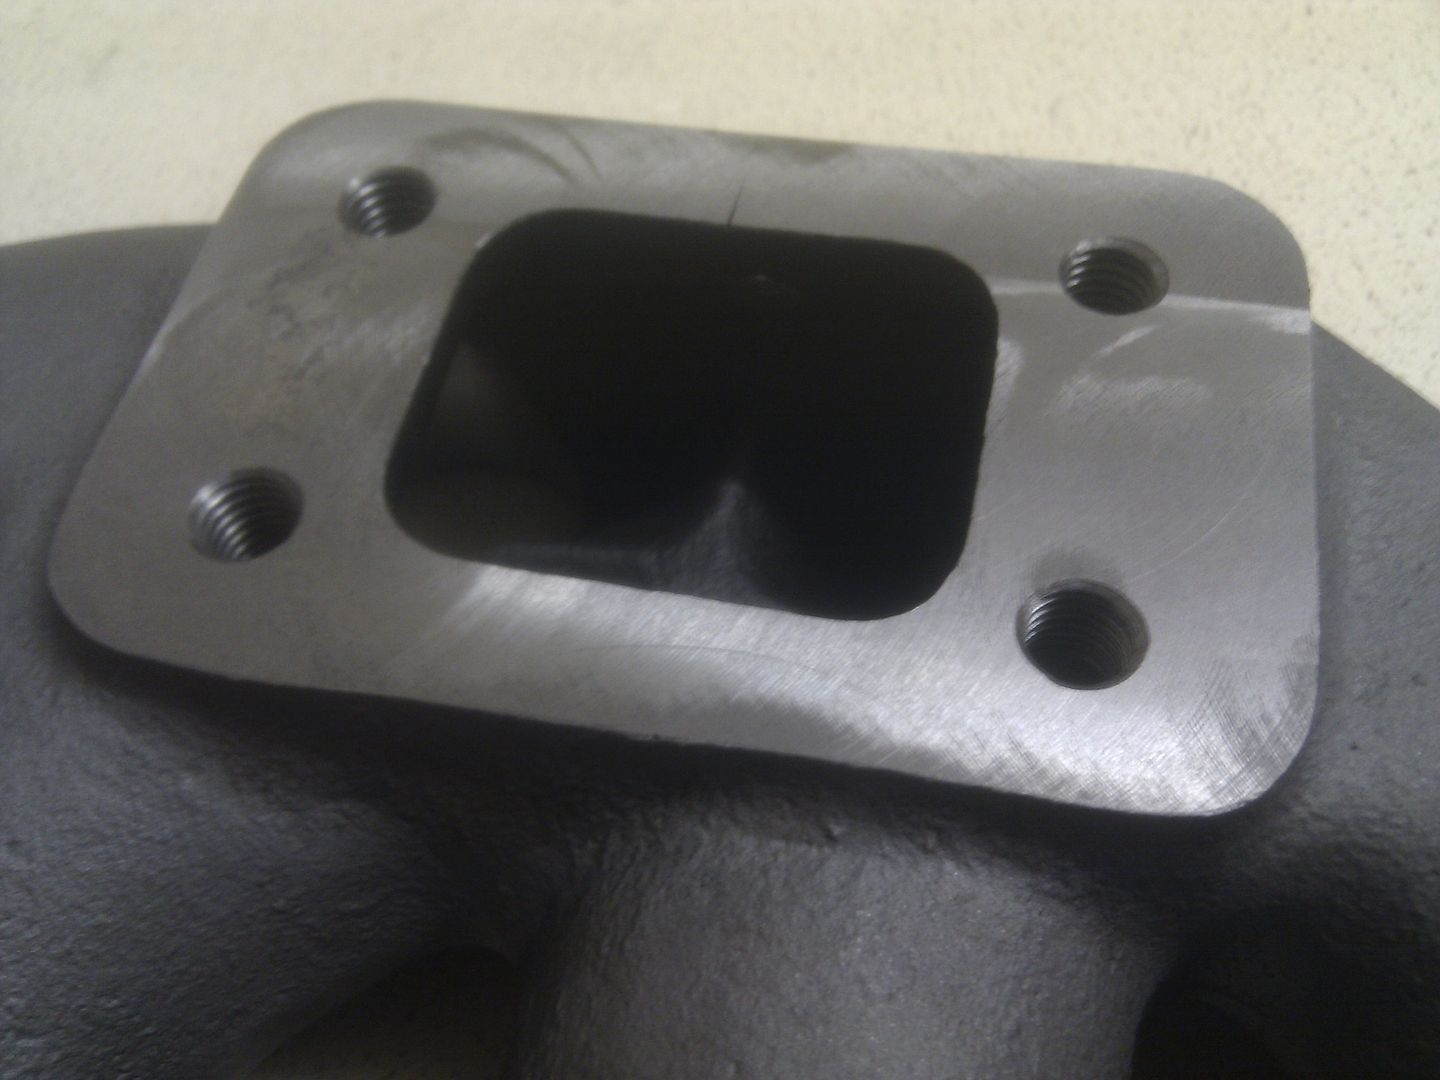
5mm machined from turbo mounting face and holes enlarged from M8 to M10
IMG_20111223_150203.jpg


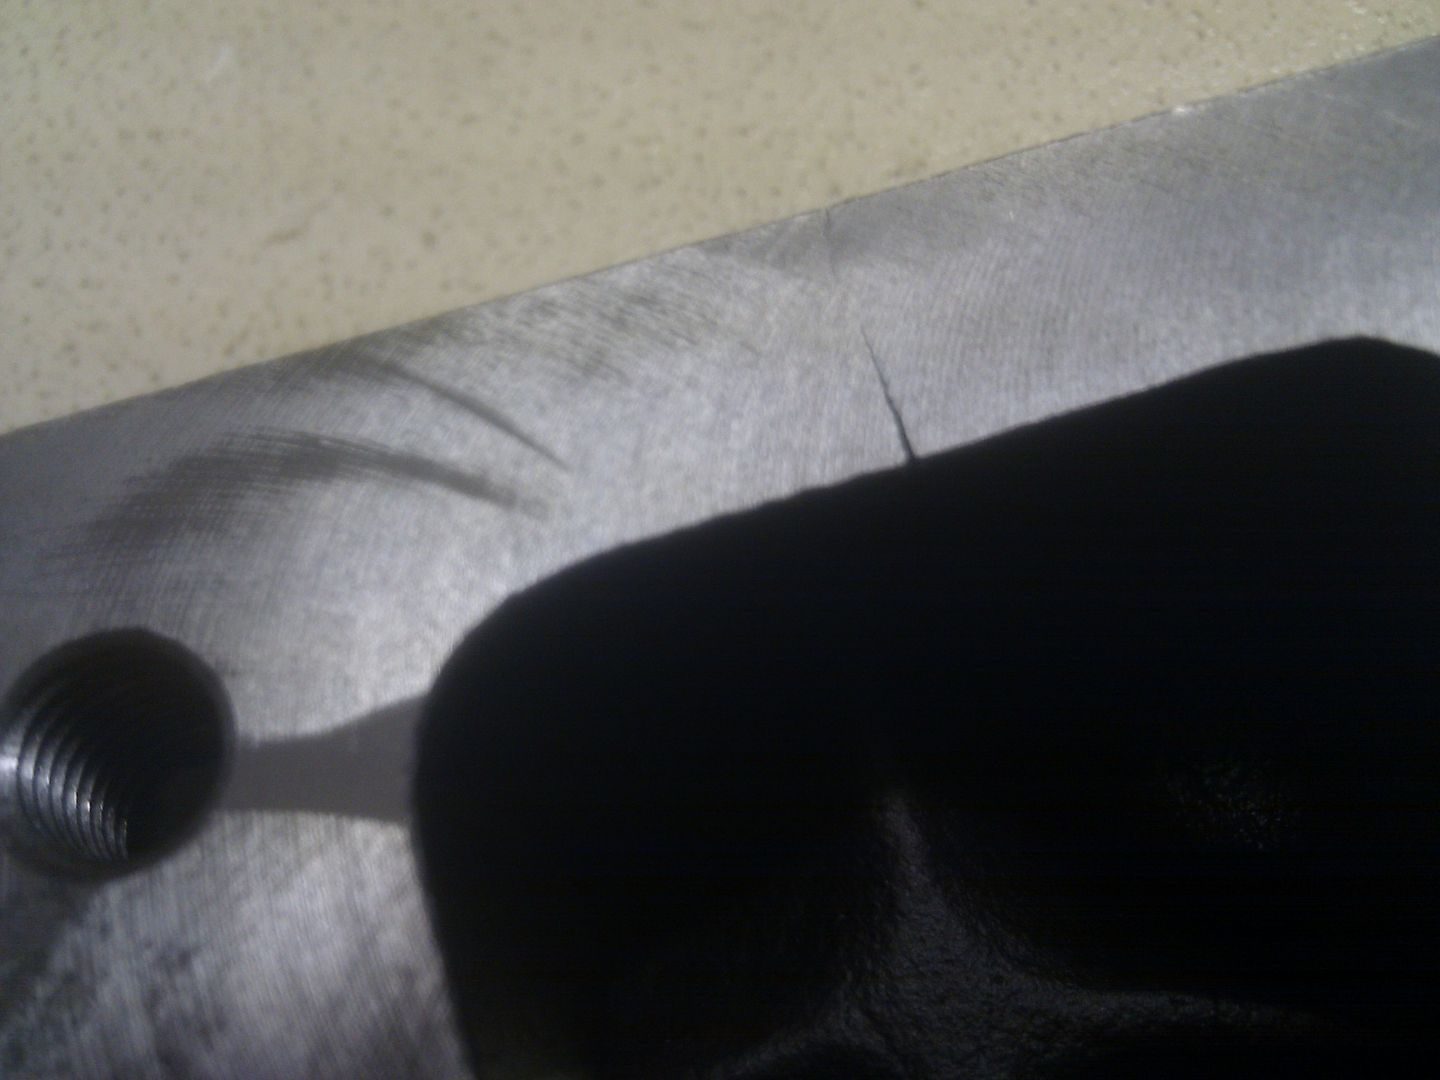
...obviously this has highlighted the crack I have which has been caused in fairness to the manifold by the stainless steel plug for the EGT probe hole I had put in...
IMG_20111223_150343.jpg


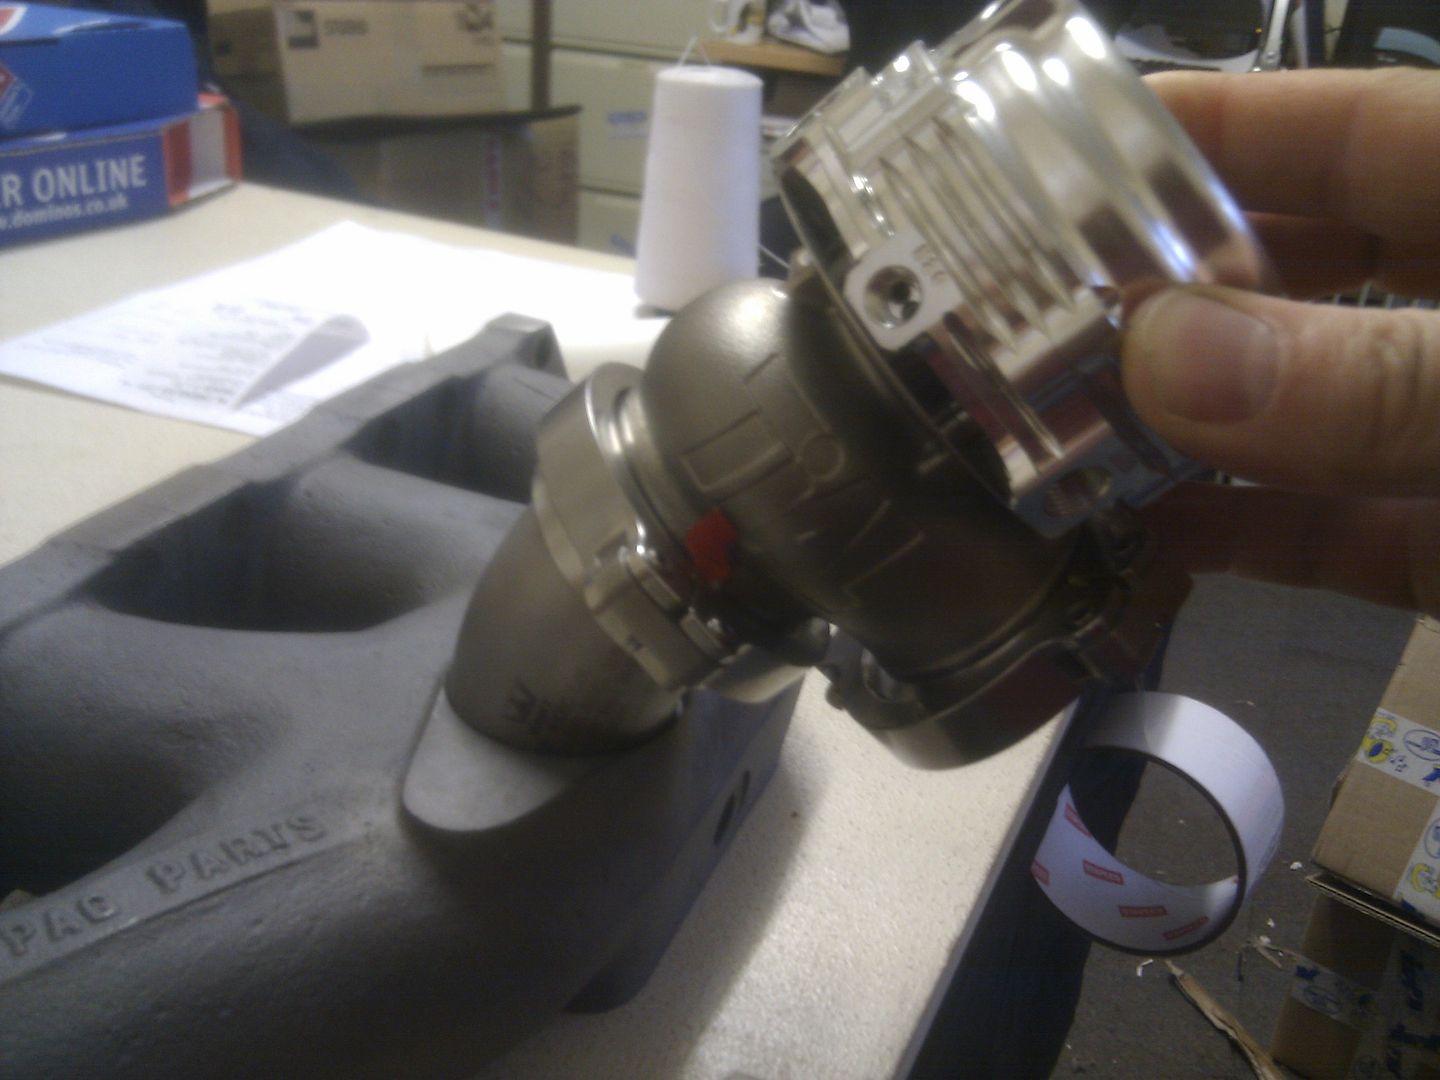
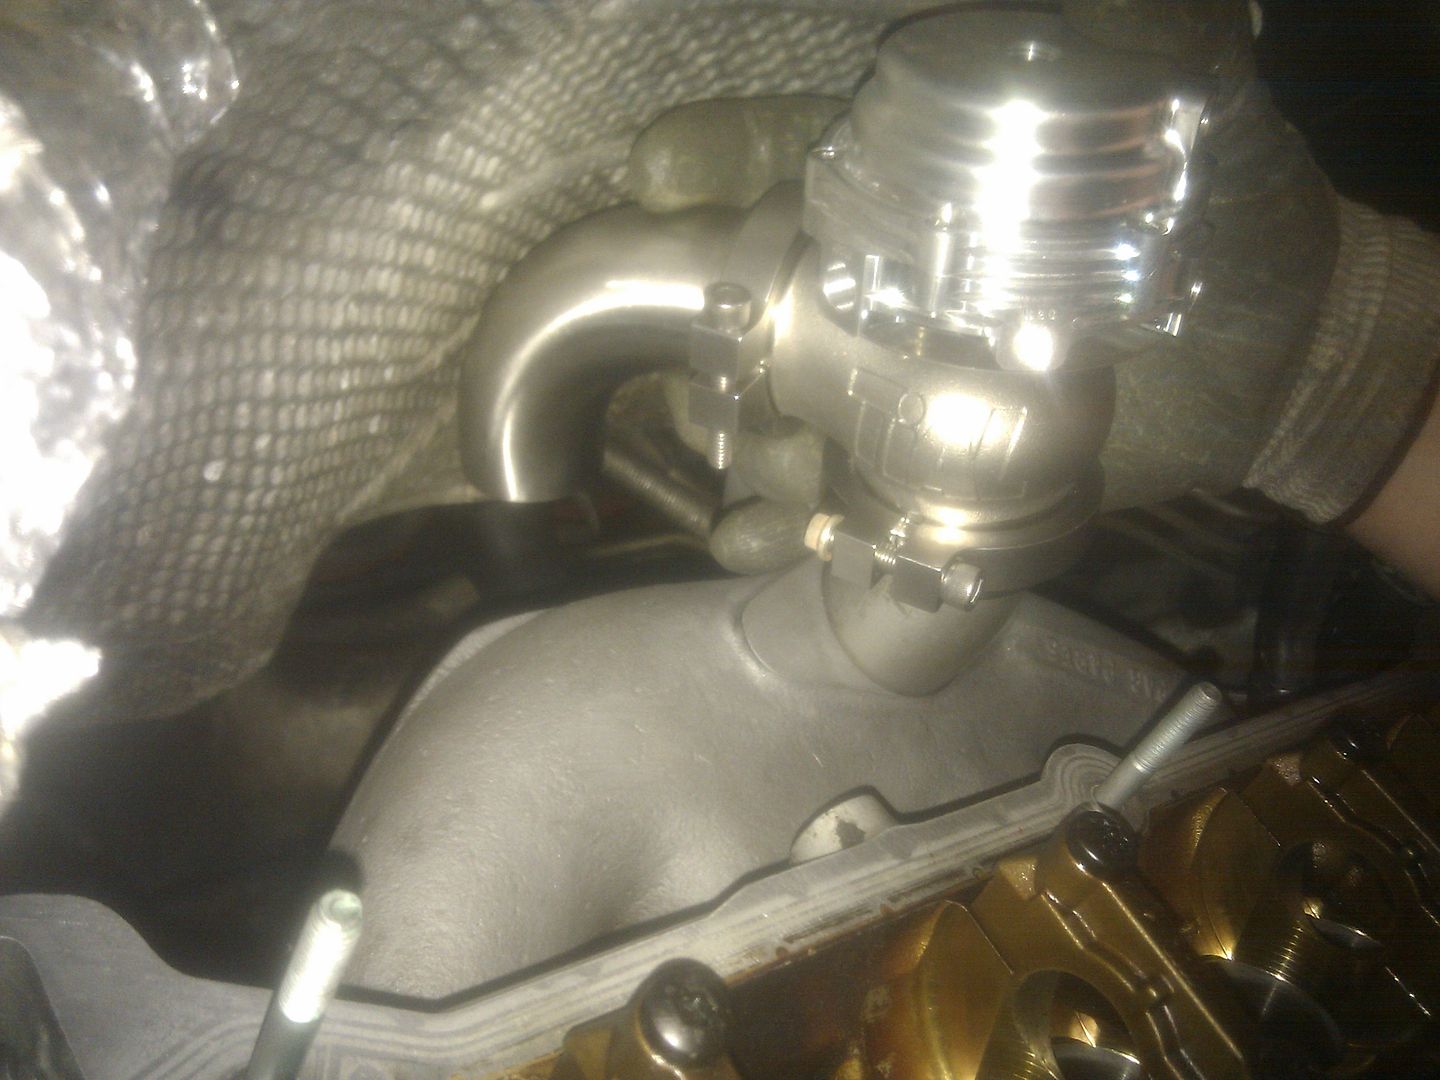
...this carries on inside a bit to but Bill will weld these with his special rods so no drama... the TIAL wastegate will fit like this...
IMG_20111223_151130.jpg


So... all good so far... I already knew about the crack and we have a plan to deal with that so next job was to bolt it all too the head and offer it onto the engine to see if I now had the clearance I needed... first problem due to the 5mm of material removed from the flange was that the comp housing hit the nut/stud and wouldn't sit in the turbine housing square... booo!!!
IMG_20111223_155846.jpg


..so a bit of fettling and repositioning of the manifold and that now clears... phew!!... next I dropped the head with the turbo fitted onto the engine... for the life of me it would not sit on the dowels on the back of the block!!!... clearly it was hitting something on the back of the block which wasn't obvious before... took the head off and plonked it on to a scrap block we have lying about for engine mock ups and bingo... the comp housing was hitting an unused bolt fixing on the back of the block!!...
IMG_20111223_162016.jpg


So out came the grinder and that 'issue' was no more... I used the old headgasket and a couple of the old head bolts to bolt down the head and bingo... everything now clears... still tight but a result non the less...
IMG_20111223_172620.jpg


Tried the TIAL to see what clearance we have there too...
IMG_20111223_164242.jpg


Fantastic... turbo fits... well happy with that... of course the next problem is the oil drain and the water pipe to the block... the old oil drain went under the bottom of the hotside but the T3 one is bigger so thats not gonna happen and the water pipe I currently have is no longer in the right position now the turbo has moved over a bit... I have to try and squeeze it between to block and the turbo somehow and I think some modding of the bevel box bracket may help here but thats tomorrows challenge :)
IMG_20111223_183747.jpg


Plenty left to do but at least I know the turbo now fits and the challenges left as relatively straight forward engineering and fabrication ones...

Big thanks to Nigel for turning the manifold around so quick and of course a massive thanks to Bill for just about everything really...

More tomorrow...

<tuffty/>
 
Last edited:

tufftybloke

Badger 5 Edition
Feb 28, 2009
657
0
Gloucestershire, UK
Productive day today :D

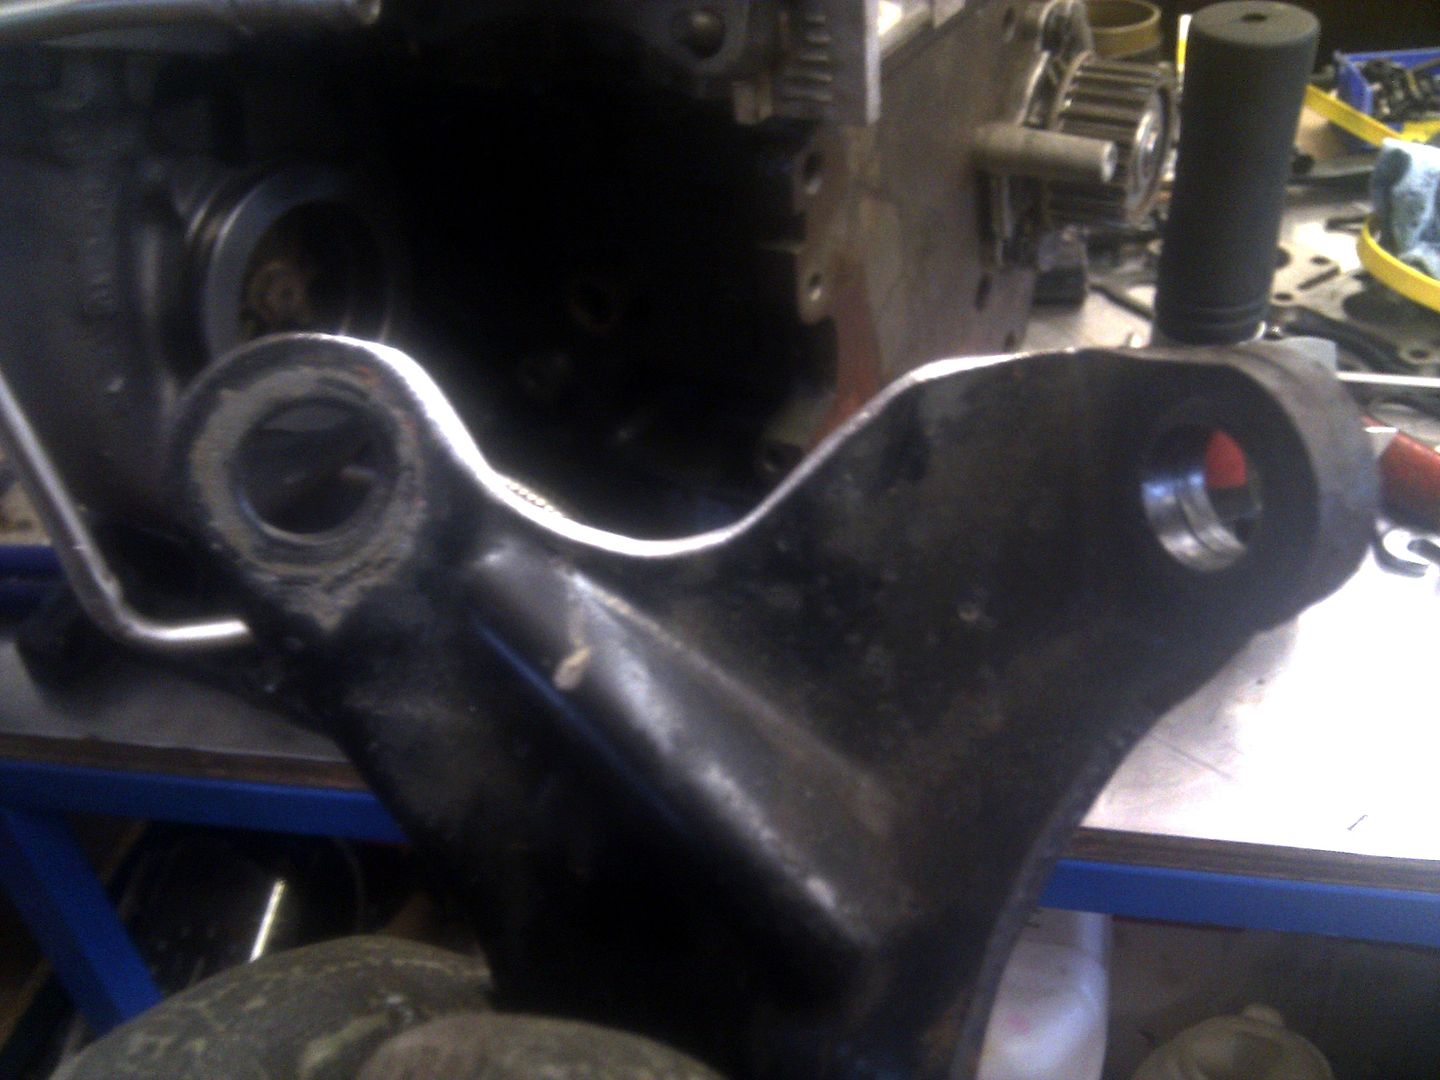
First task was to sort the oil drain... the old one tucked under the previous hotside but as the new hotside is bigger I had to come up with a better idea... trouble is there is little to no room due to the bevel box and the proximity of the driveshaft so I decided to modify the bevel box bracket to allow the oil drain to go parallel to the block...

Took a notch out of the bracket to allow the oil drain to sit in...
IMG_20111224_115943.jpg


Plonked the head back on to make sure all was good...
IMG_20111224_121605.jpg


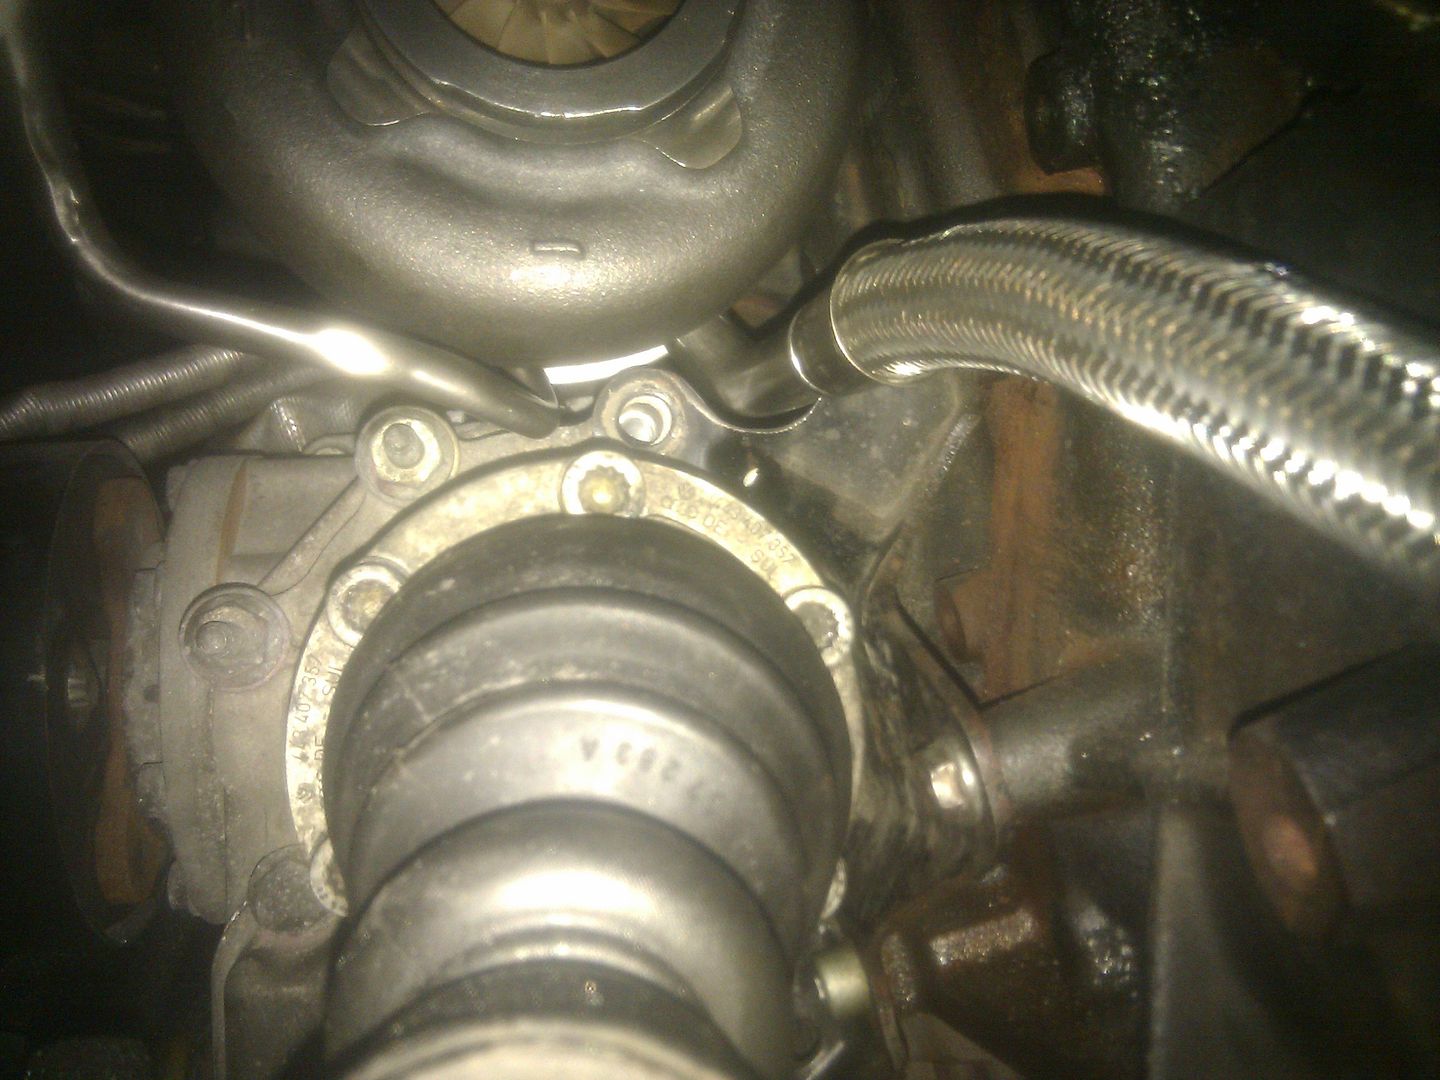
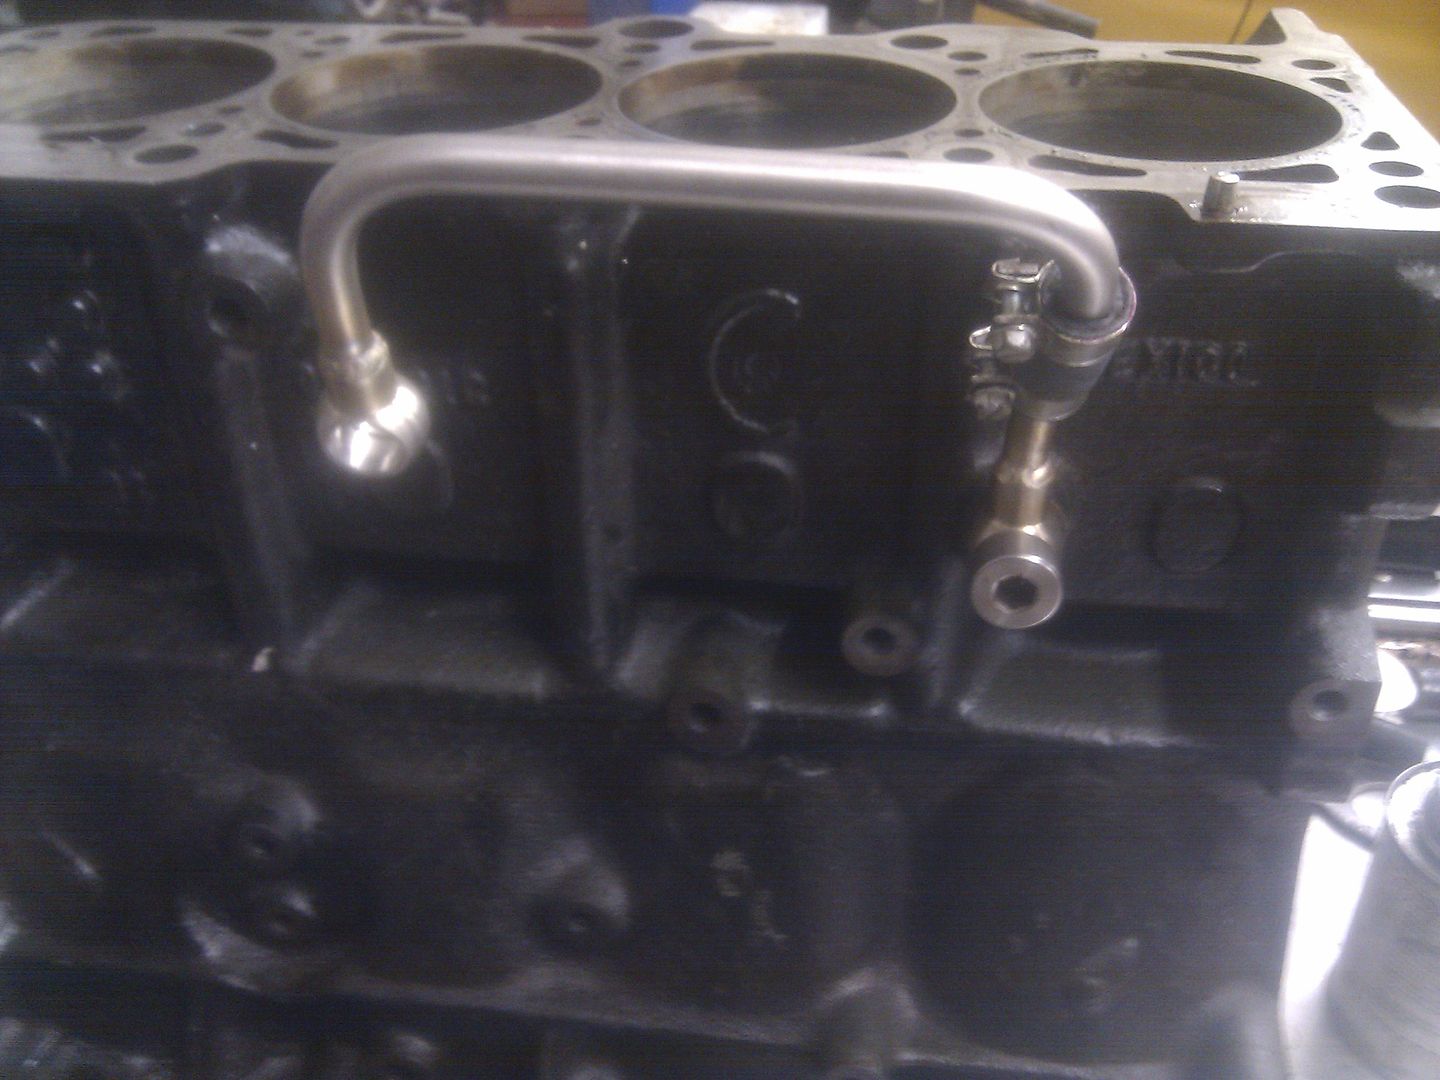
Pleased with that I went on to sort the water pipes... one of them just needed a little tweaking to make it fit properly but the one to the block was not going to fly so made a new one instead...
IMG_20111224_164920.jpg


Marked up where the external gate fittings needed to go while the head was back on (again!!! backs killing me lol...) and then Bill welded everything up (such a nice man...)
IMG_20111224_173651.jpg


Finished up with a few other little jobs... always the sorta jobs that everyone forgets about... painted the oil drain and the bevel box bracket, removed all the exhaust studs from my head as a couple had come loose... cleaned the threads and refitted with threadlock... happy with the position of the turbo housings and cartridge I also bolted everything up ready for final fitting...

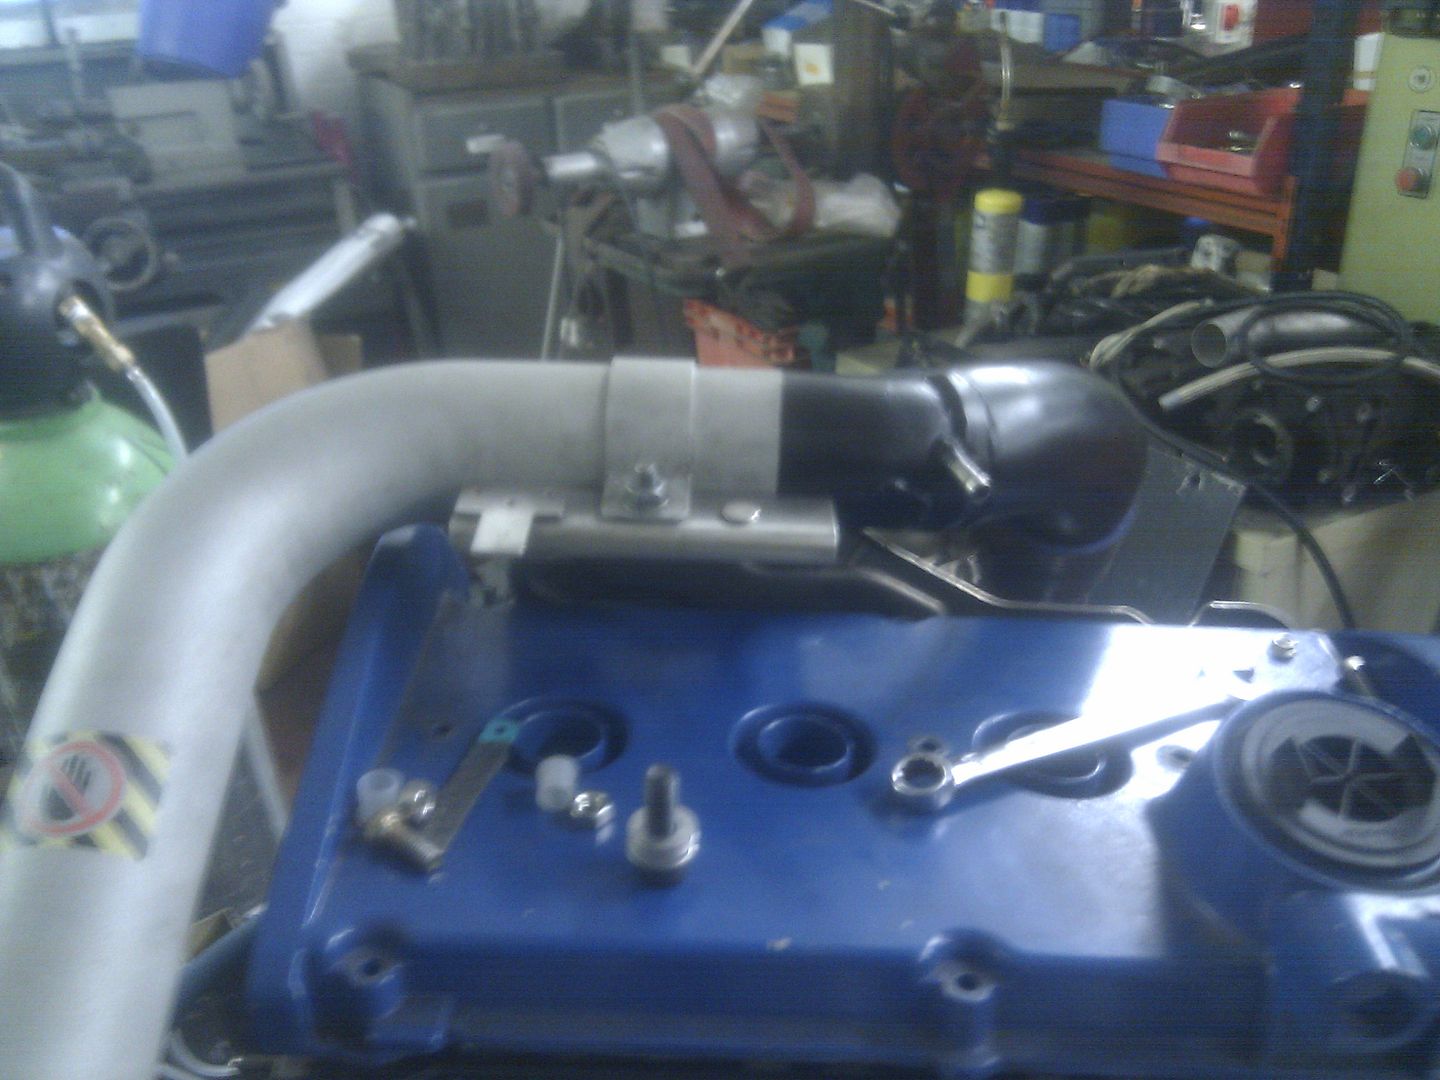
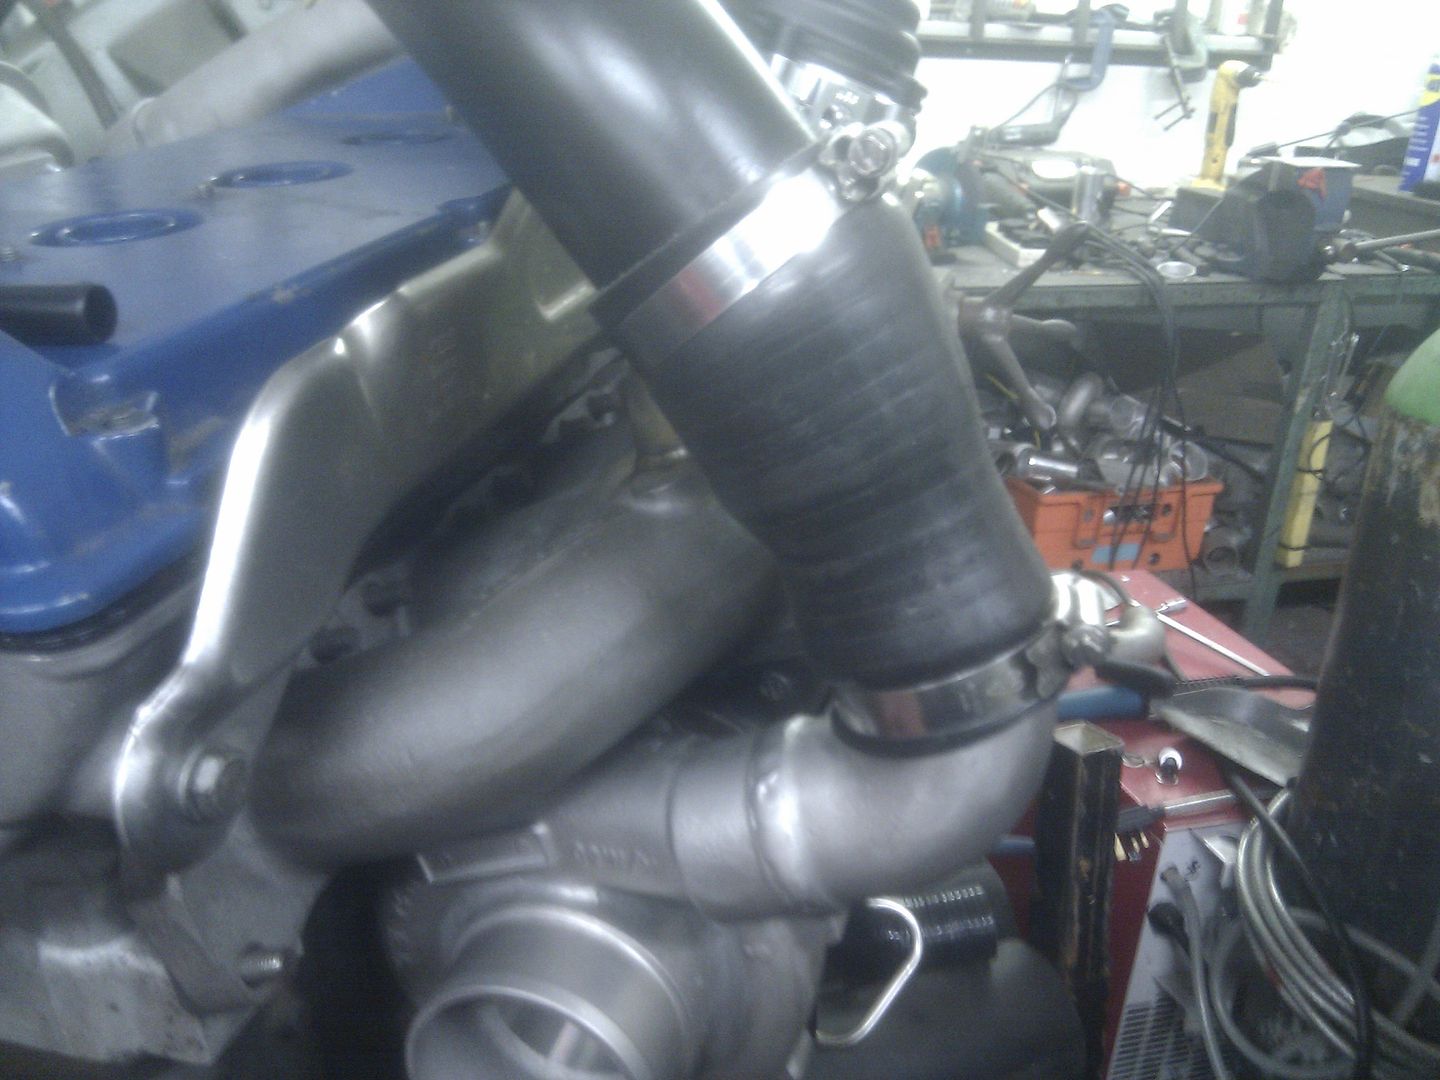
One last job before the head can go back on and thats to sort the turbo to charge pipe connection...
CameraZOOM-20111219131622071.jpg


I had to clock the comp housing round a little further down than it has been so it would clear the bevel box... I did try to re-clock it back to the original position but it hit the exhaust manifold stud and it hit the bevel box again so will leave it where it is for now and sort a solution for it another way...

Day off tomorrow of course but may nip over for a couple of hours boxing day as my lot are off to the inlaws so will see what I can come up with to sort the charge pipe problem...

Merry Christmas :D

<tuffty/>
 

tufftybloke

Badger 5 Edition
Feb 28, 2009
657
0
Gloucestershire, UK
could you not get away with a 45' bens there??

Arguably... it currently uses a reducing silicon straight joiner going from 60mm to 51mm... I would rather not have to cobble yet another piece of alloy onto the end to the turbo outlet if I can help it...

Not entirely convinced about the alloy bend thats currently welded on as it is lol... but it came already done as the original kit I bought and to be fair its worked so far...

Will have a faff with some silicon and maybe a tweak of the actual charge pipe maybe a better approach... quite fancy trying a 90 degree reducing elbow and cut the 90 deg alloy thing off altogether...

Will work it all out though... :thumbup:

<tuffty/>
 

tufftybloke

Badger 5 Edition
Feb 28, 2009
657
0
Gloucestershire, UK

tufftybloke

Badger 5 Edition
Feb 28, 2009
657
0
Gloucestershire, UK
Spent a couple of hours at the unit this afternoon to see if I could sort out a solution for connecting the turbo to the charge pipe... I fitted the manifold and turbo to the build engine and was surprised to find that the hose fitted more or les right away... I had been playing with the clocking of the cartridge to get the oil drain into position so maybe I got away with clocking the comp housing too... had to fit it to the car to check... boo... would appear something had moved in between fitting the oil drain and tightening up the housings... pays to double check these things a few times even when you think you have got it right... check it again to be sure..

Following a hour or so of lifting the head assembly in and out the car a few times, I had the clocking right this time and tightened everything up... then fitted the head one more time to be sure... :D

I then reassembled it all back on the build engine and shock actual horror the comp housing was now a little further round and I was back at square one... knew it was wrong anyway so this confirmed it... booo...

A bit of creative spacing of brackets and opening of holes later and I found a compromise that should work...
IMG_20111226_184043.jpg


While I was at it I also fitted the TIAL (after a de-bling session) and made a new water pipe for the other side of the turbo as I wasn't happy with the way I modded the old one to fit...

...old pipe...
IMG_20111226_145630.jpg


...new pipe...
IMG_20111226_184027.jpg


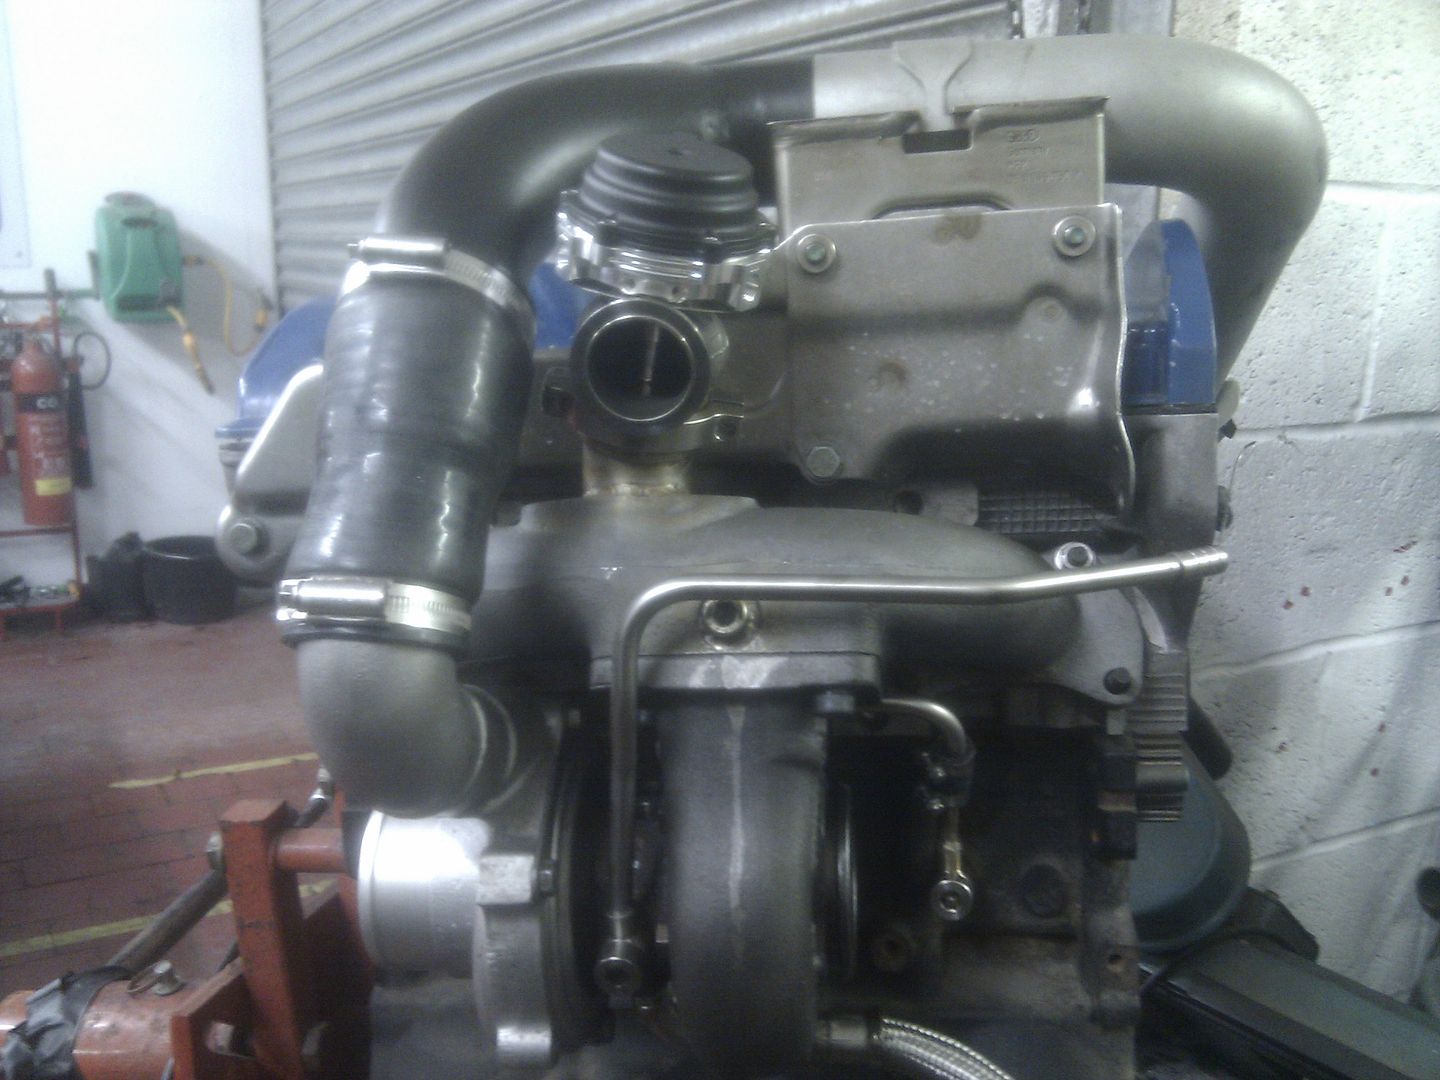
...and of course in keeping with the OEM+ look... what external wastegate???
IMG_20111226_145726.jpg


With the cover on of course there will be nothing to see...

Couple of things left to do but essentially all thats now required is to fabricate the new downpipe and TIAL pipework and then connect everything back up...

Back at it tomorrow and hopefully be looking at making a start on the DP...

<tuffty/>
 

tufftybloke

Badger 5 Edition
Feb 28, 2009
657
0
Gloucestershire, UK
Had a few little jobs to do this morning... made a bracket for the new water pipe on the turbo to stop it shaking loose, clearanced the areas around the bolt holes on the hotside as M10 cap screws and Nord Lock washers weren't sitting flat on a couple of the holes, re-compressed the cam belt tensioner damper then reassembled the manifold and turbo back onto the bare head and fitted it back in the car ready for the downpipe fabrication...

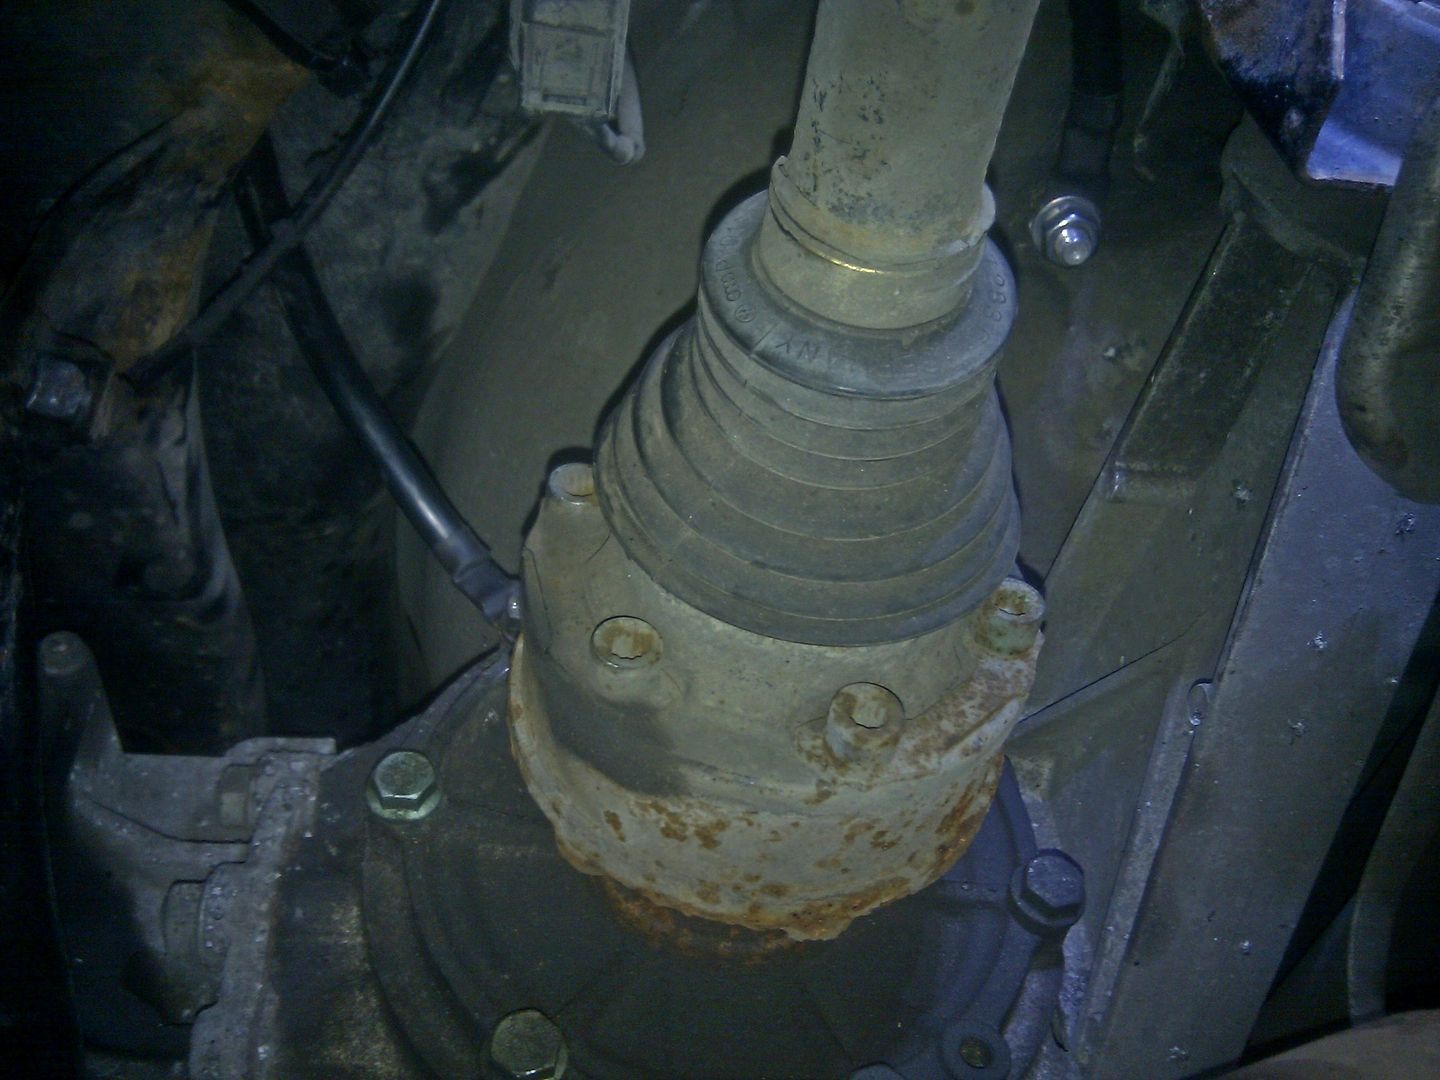
Removed the driveshaft for better access and after chatting to the big man for the benefit of his sage knowledge I started measuring, re-measuring then cutting a few 1D stainless steel bends...

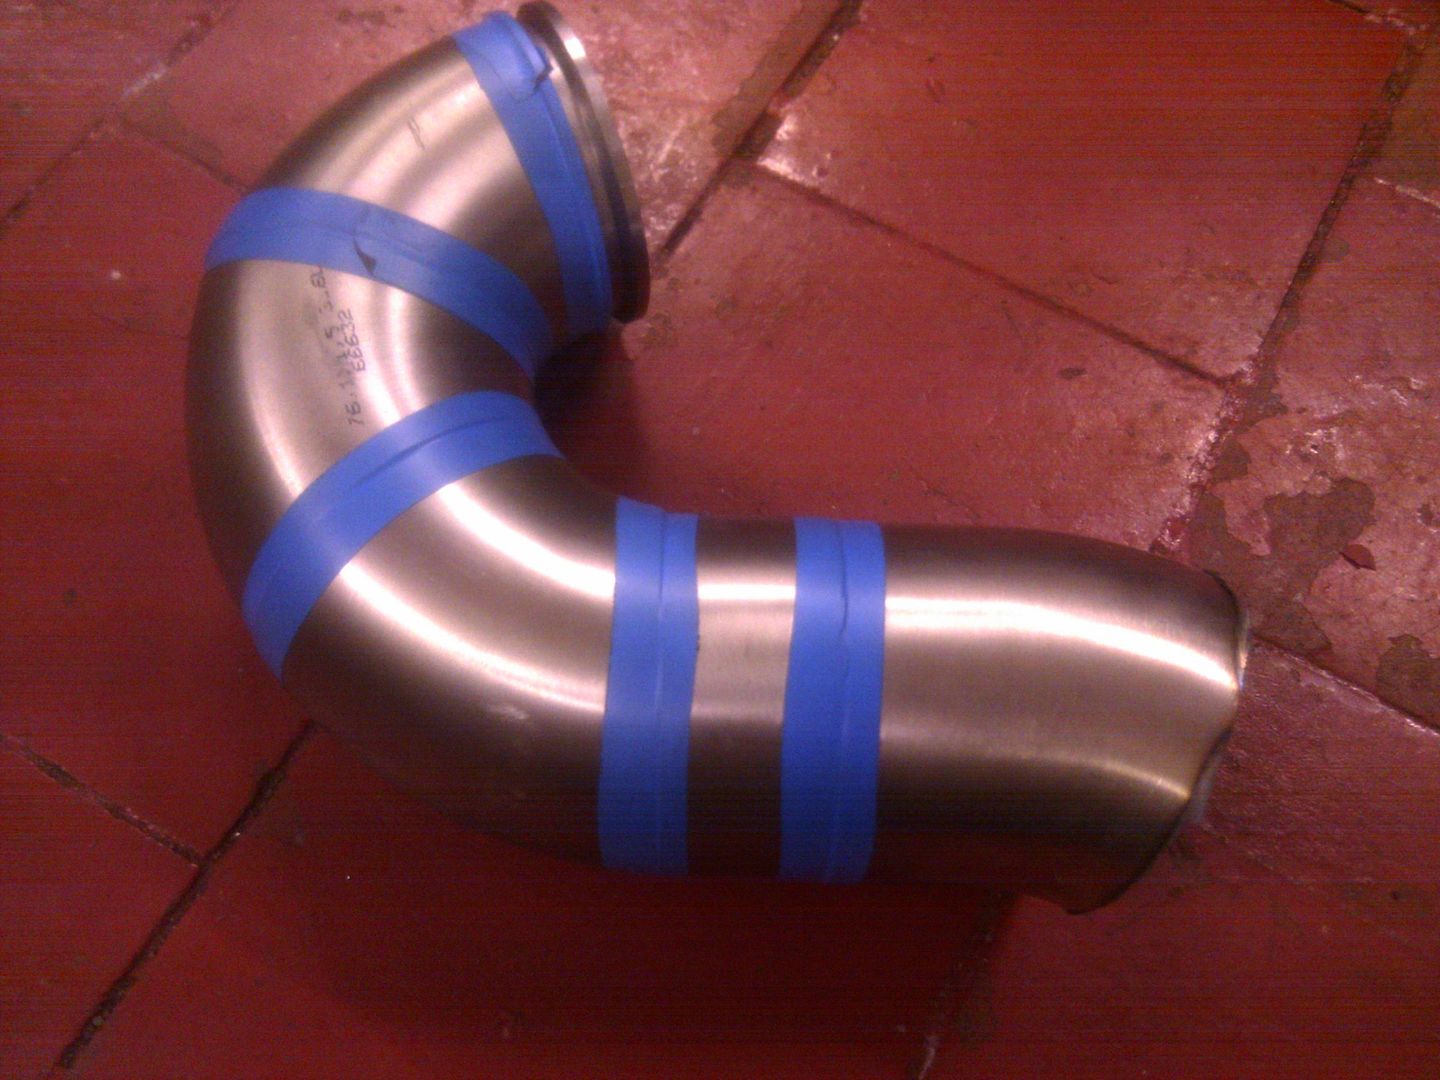
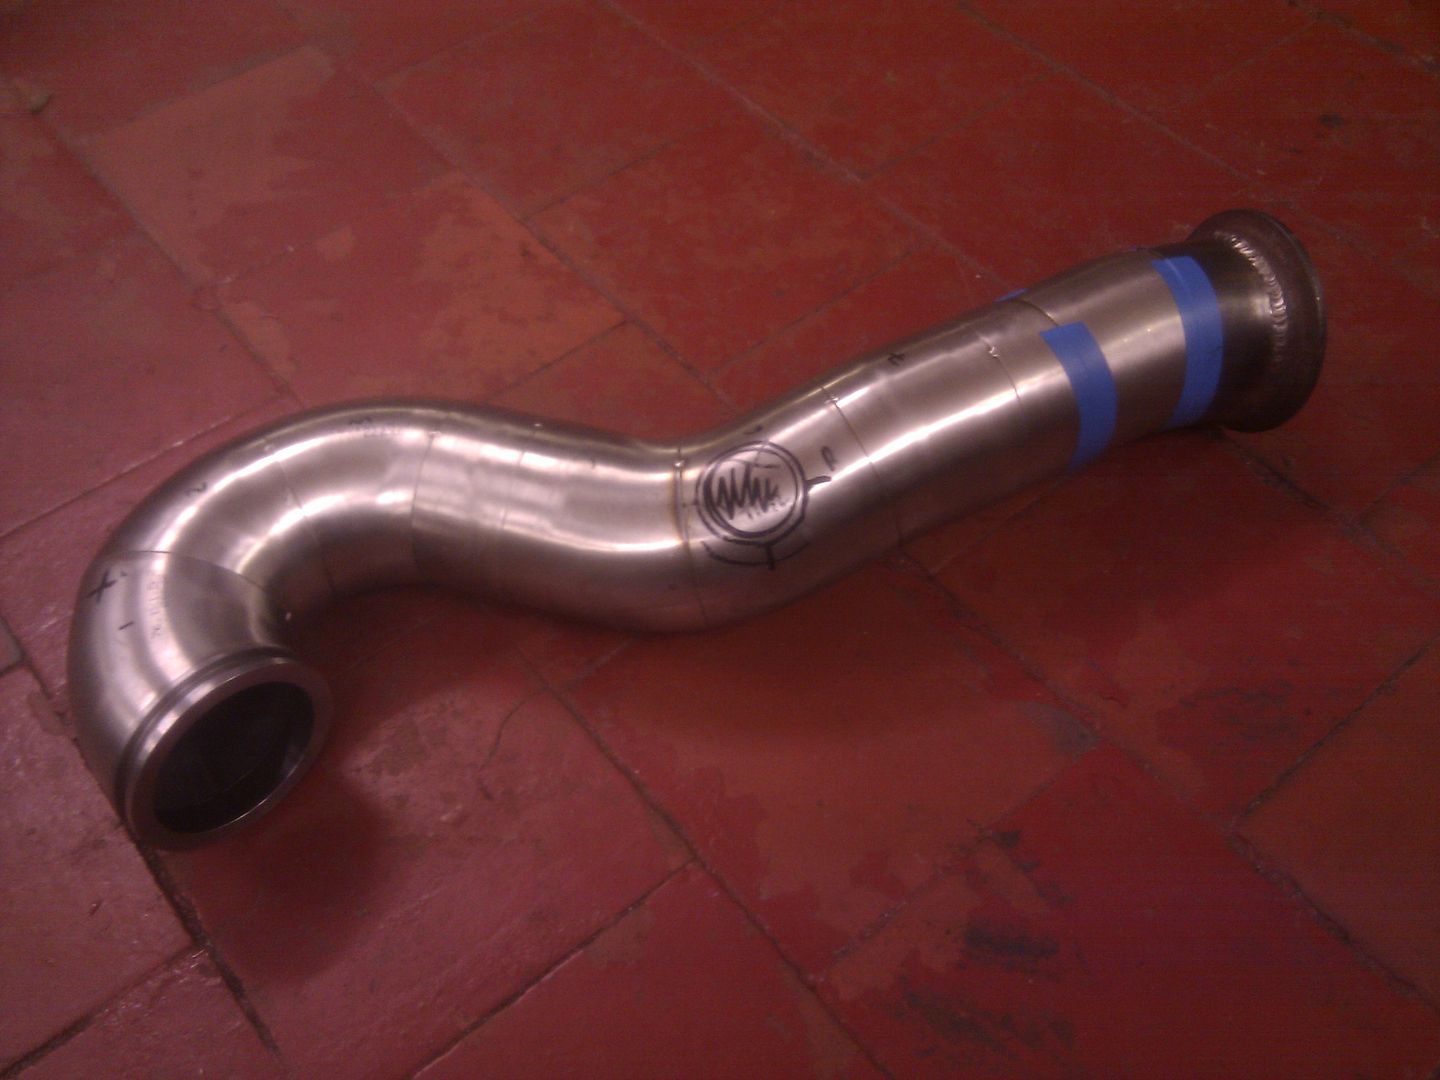
After a little messing about and thanks to the joy that is 'welding tape (tm)' I have ended up with this (so far)
IMG_20111227_161653.jpg


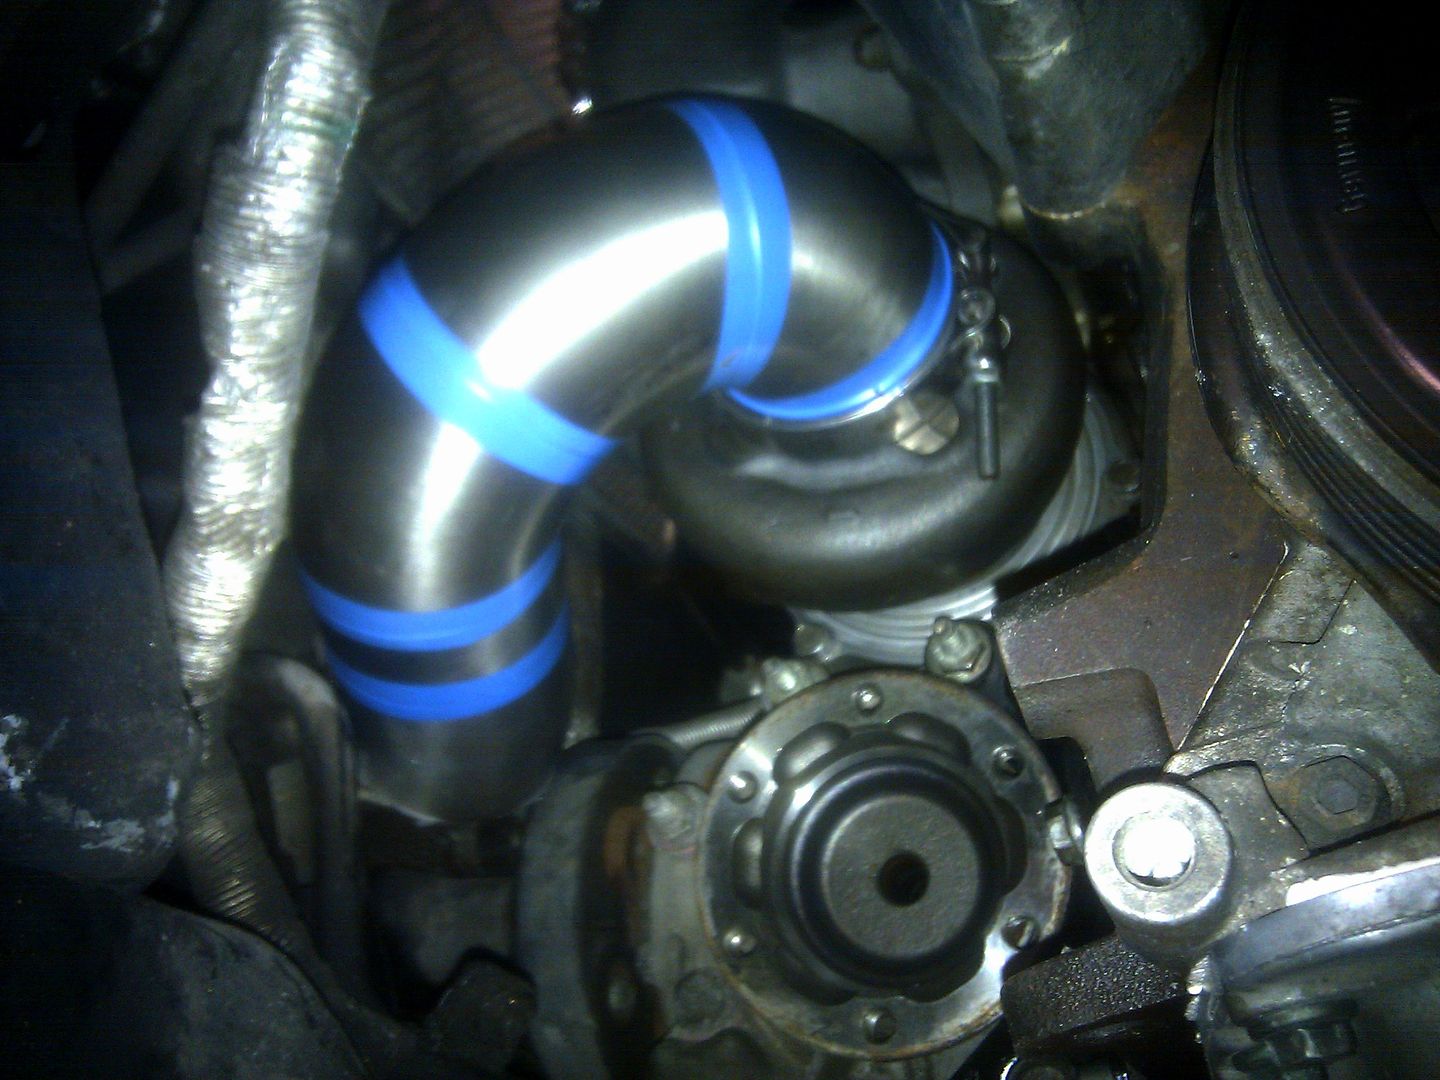
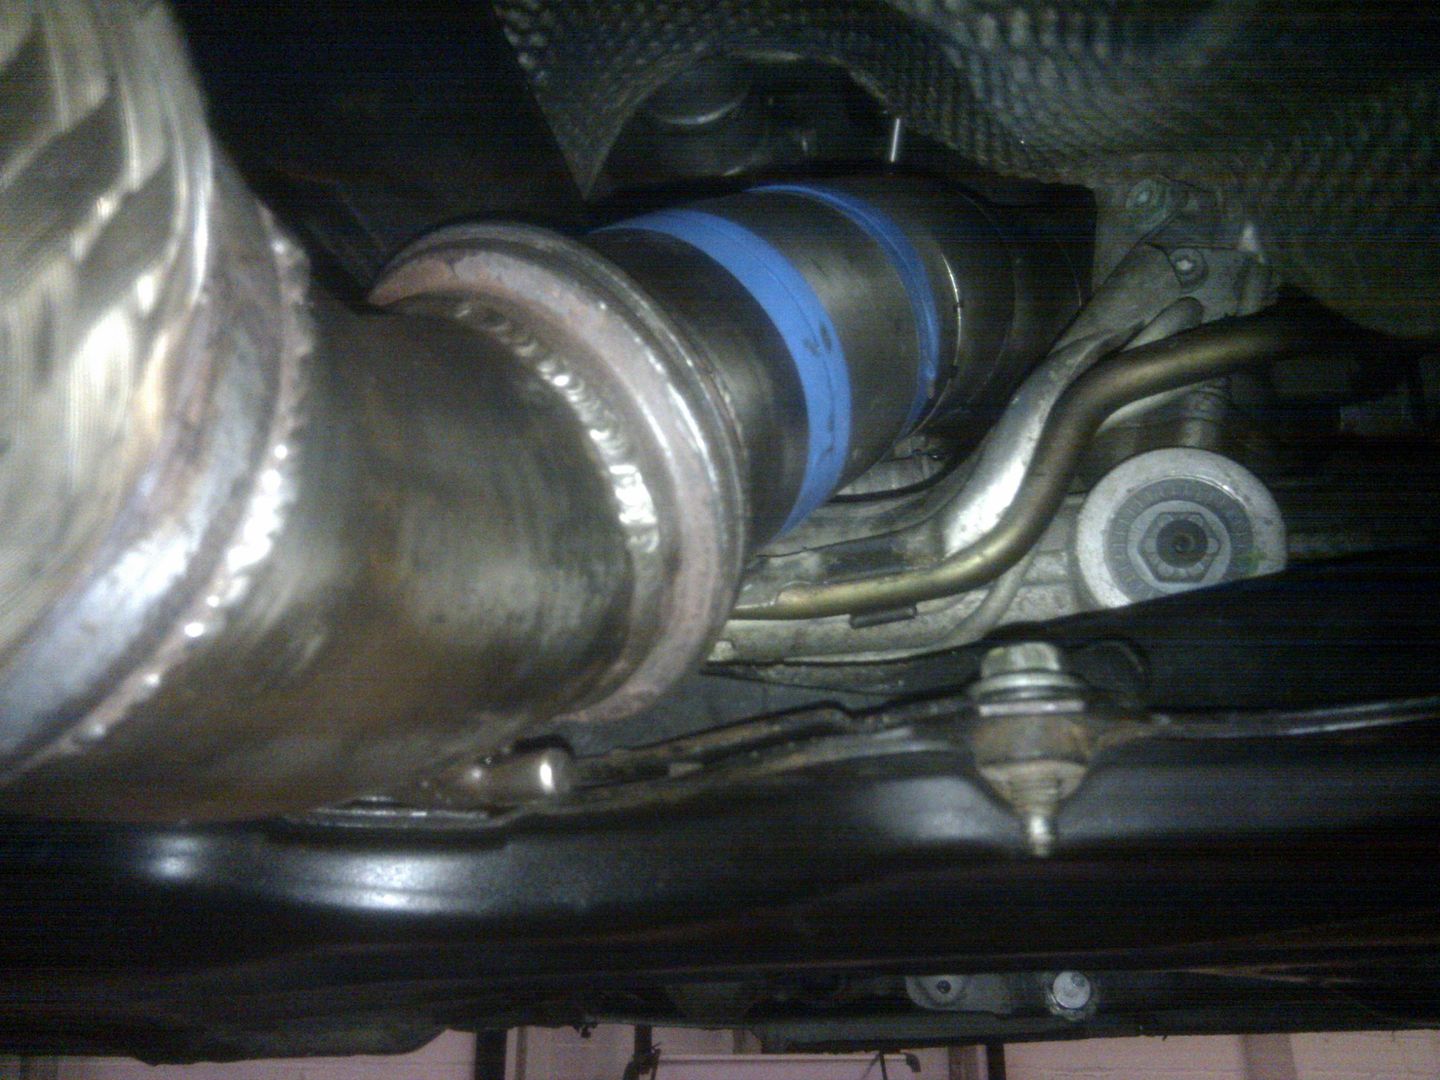
...which looks like this fitted up...
IMG_20111227_161102.jpg


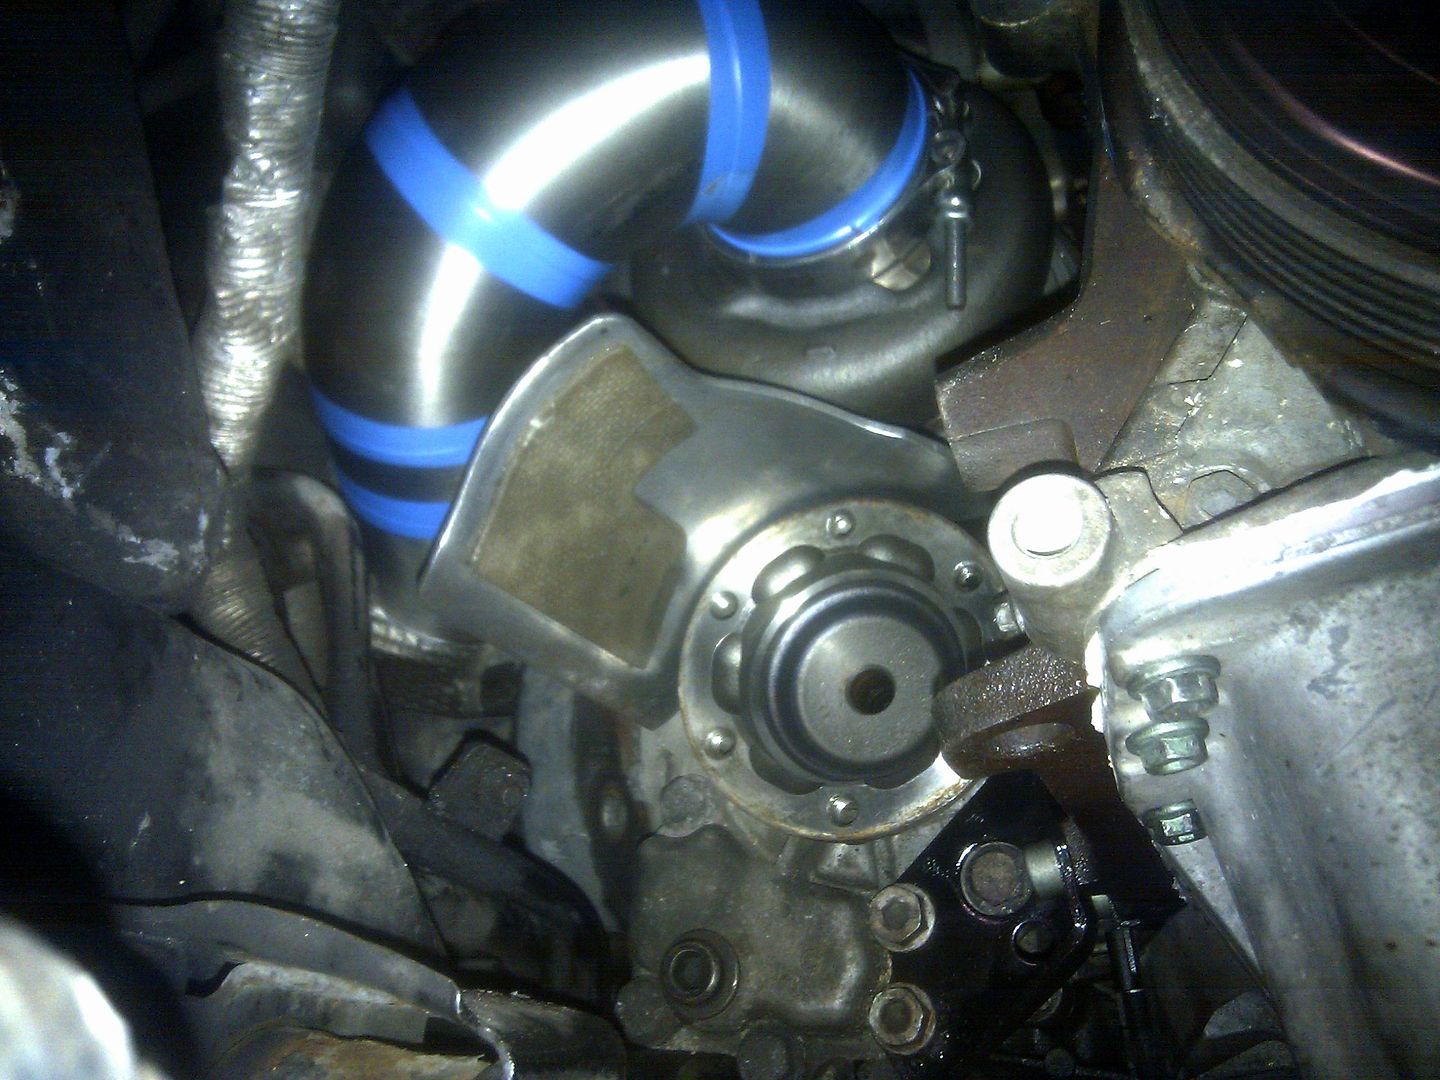
...and the heatshield now fits... result!!! no more melted (dried up and cracked to be precise..) inner cv boots...
IMG_20111227_161157.jpg


Doesn't look much for a couple of hours work I know but its the first downpipe I have cut up for myself (with Bill on hand for pointers...) so I was triple checking everything before cutting it as I didn't really fancy the idea of wasting too much tube by making silly mistakes...

Had to leave early though due to family commitments else I am sure I would have finished it and made a start on the TIAL pipework too...

Back at it tomorrow... hoping to start her up at the weekend... tall ask I guess but gotta have a goal :)

<tuffty/>
 

tufftybloke

Badger 5 Edition
Feb 28, 2009
657
0
Gloucestershire, UK
Been one of those days where you seem to have done lots but don't have much to show for it...

Started off with fitting a new earth lead to replace the haldex earth strap that corroded... I ended up buying one from Halfrauds as I had some money on a gift card from when I left my last job and needed to get some other stuff anyway... the one I bought was probably a little longer than it needed to be but I cable tied it out of the way to keep it safe and neat... you can just see the earth point on the diff and the earth point on the car body in this pic...
IMG_20111228_113641.jpg


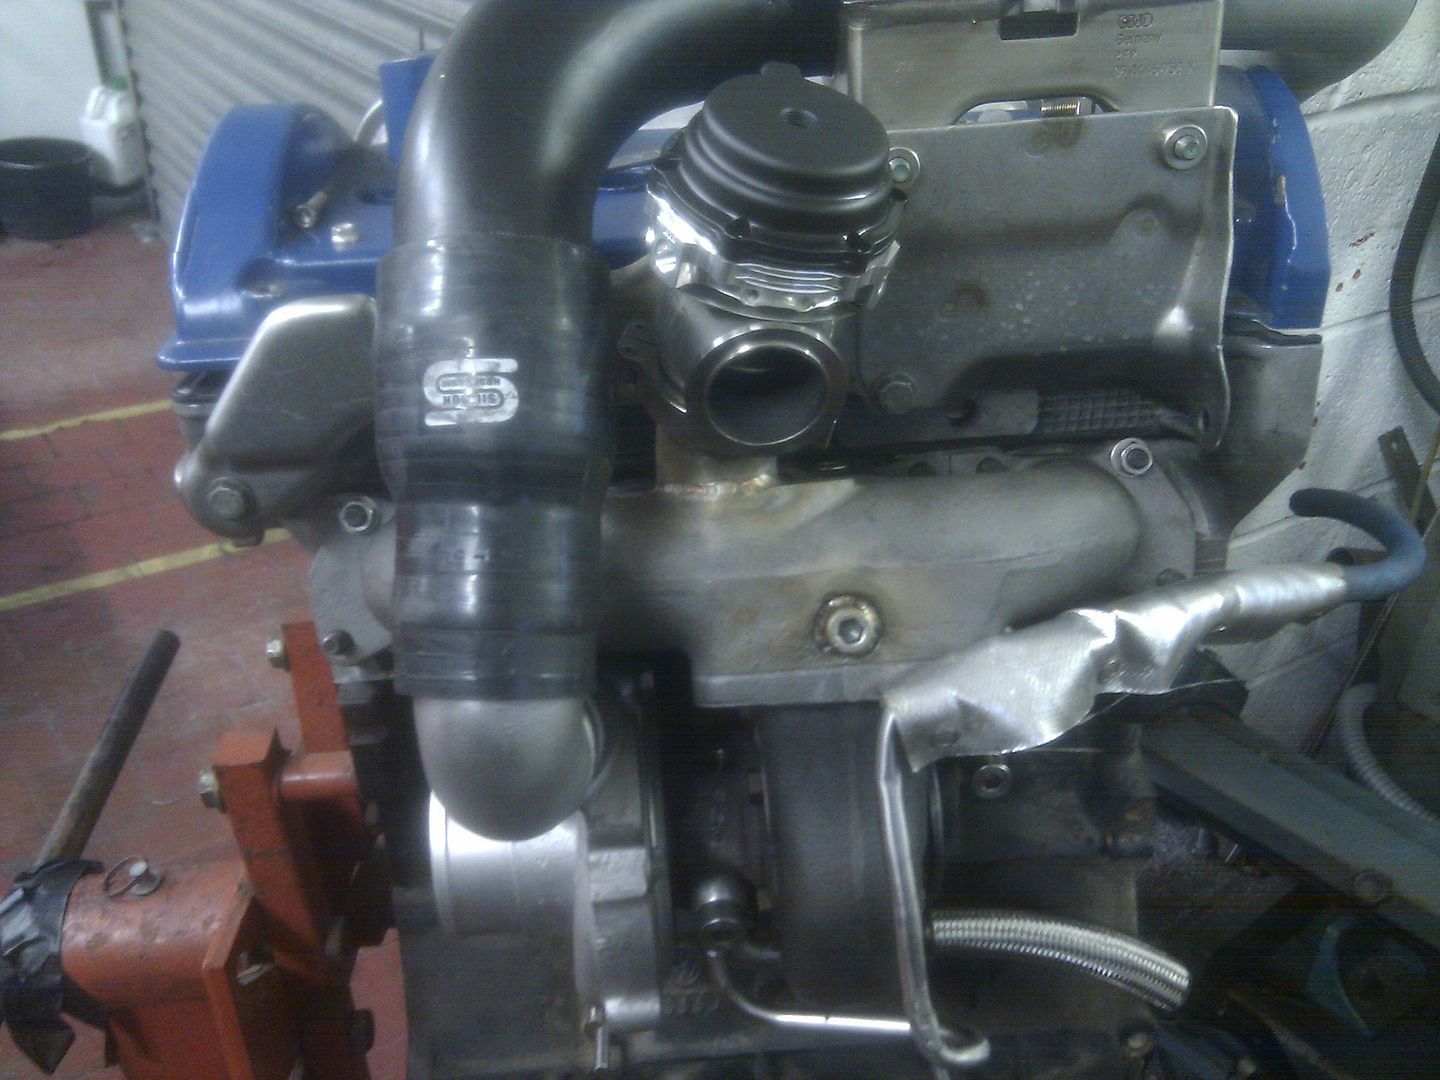
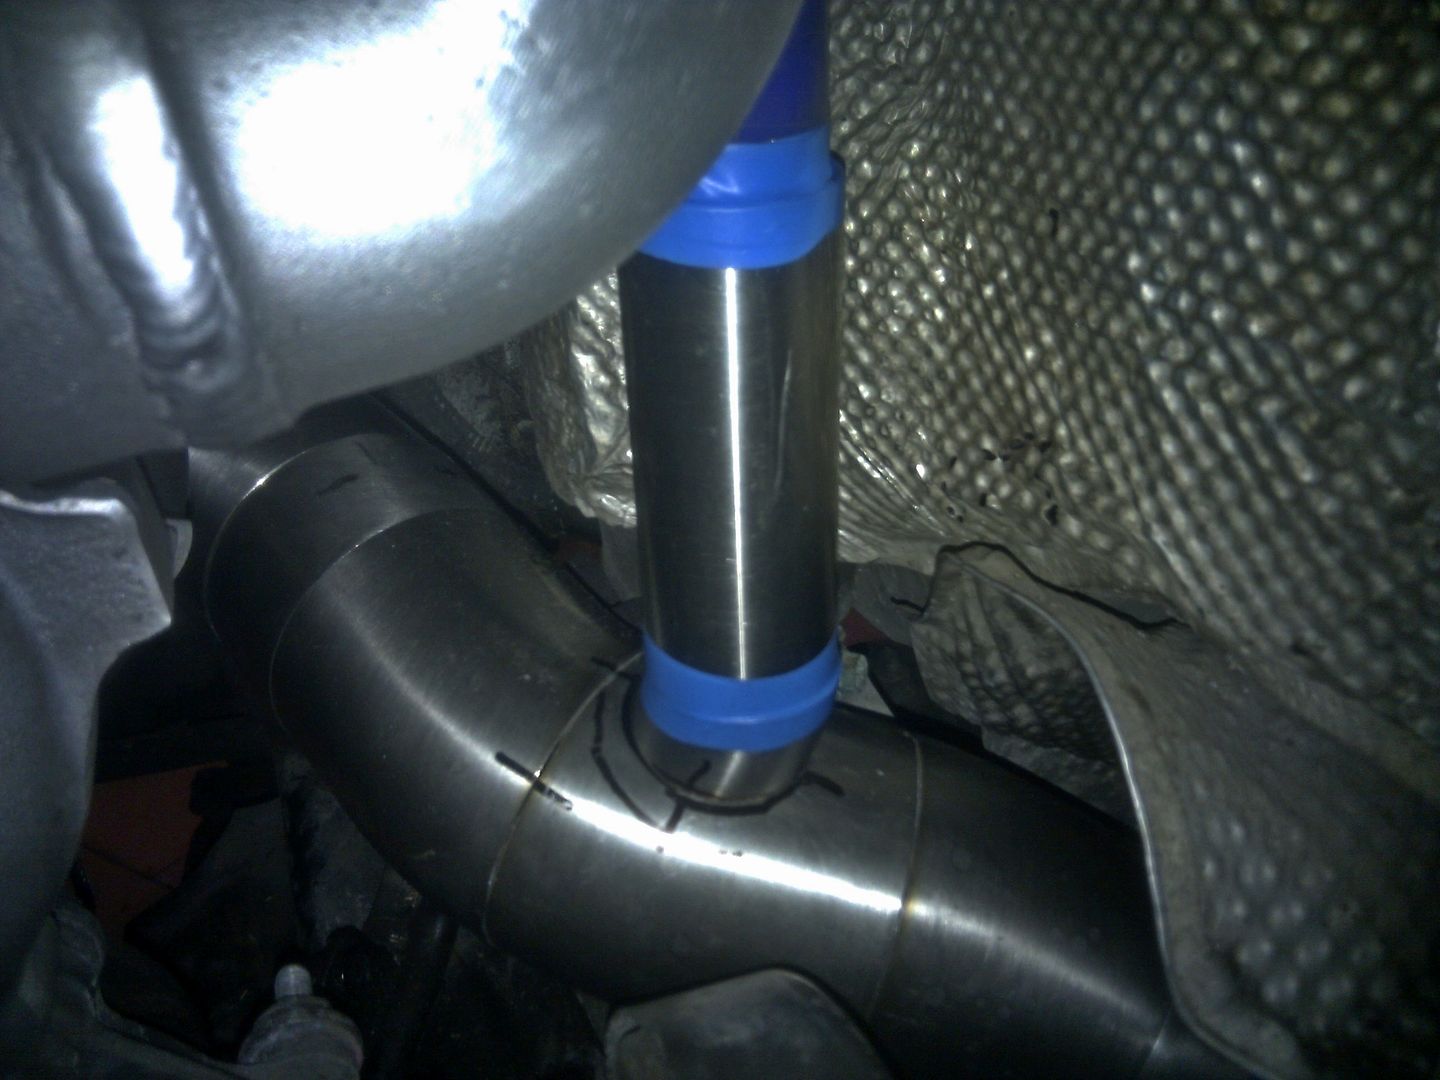
Then cracked on with finishing the downpipe and TIAL pipework... Bill tacked what I had done so far together so it didn't move about and make the measurements go out of whack and managed to get the new downpipe to line up wit the rest of the system... result..
IMG_20111228_165428.jpg


...and prior to welding...
IMG_20111228_172903.jpg


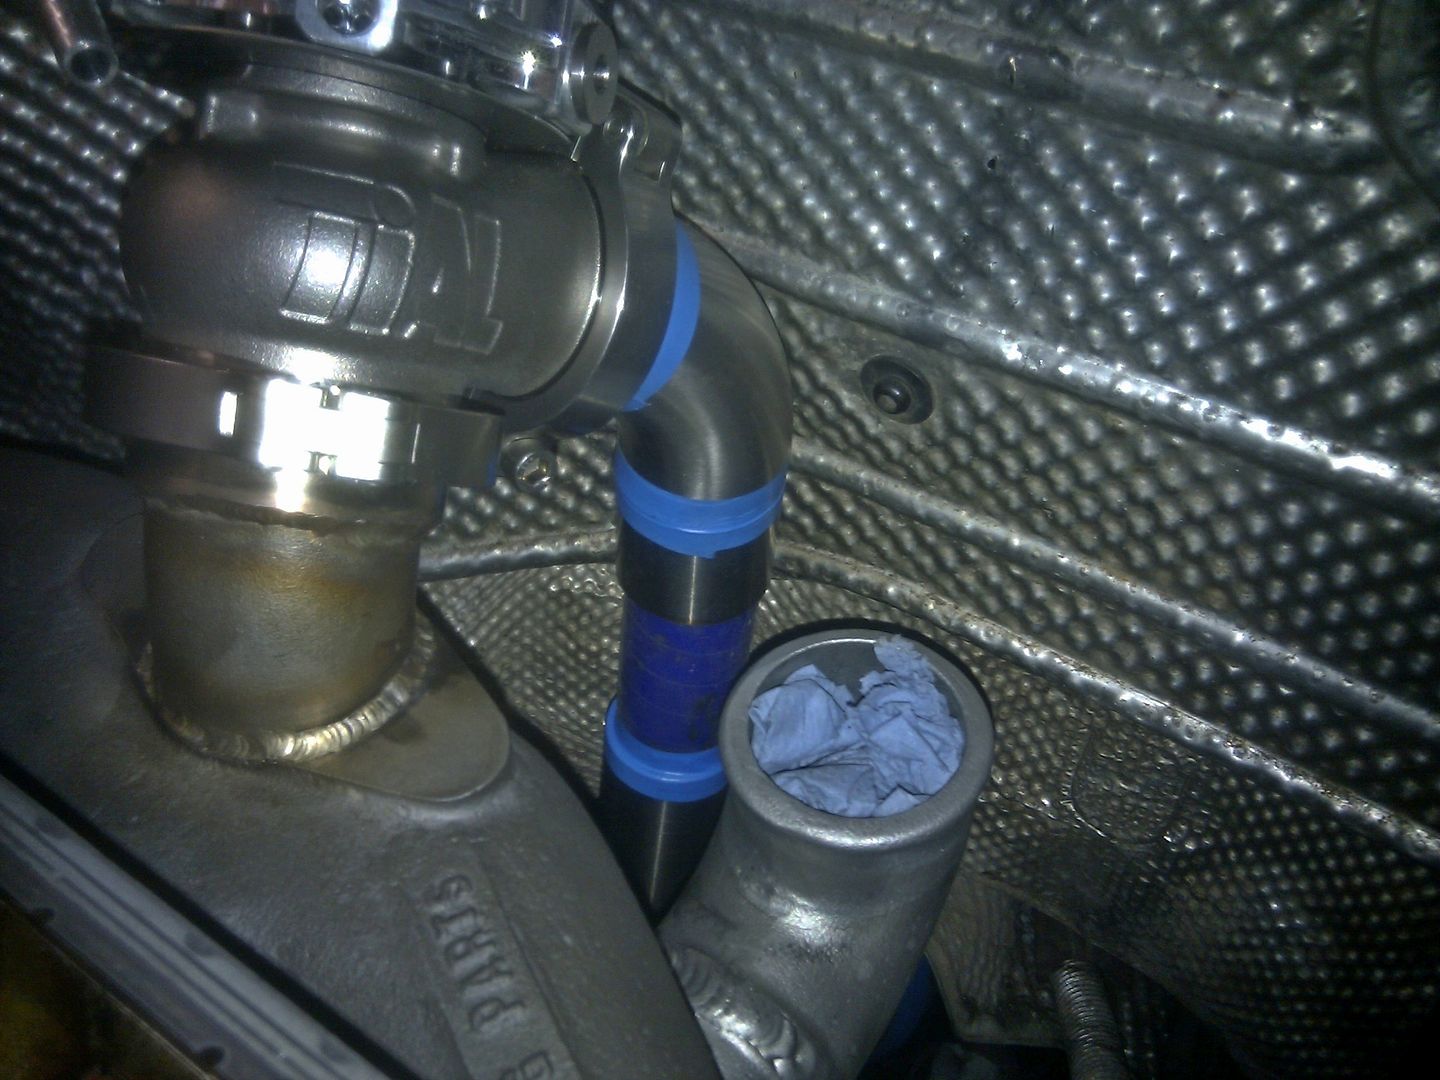
Once welded I will need to drill the holes for the lambda boss, EGT boss and wastegate pipe... speaking of which...
IMG_20111228_163333.jpg


IMG_20111228_163321.jpg


The blue hose will be replaced with a flexi of course... :)

So... essentially all thats left to do is weld it all up and wrap it in heat wrap then its a case of bolting everything back on, adding fluids and bobs yer muscle etc...

Like I said... doesn't seem a lot but its all the measuring, double checking, removing, refitting etc that goes on that takes the time... even had to undo the dogbone and undo the propshaft to move it over as with the v-band on and how tight the space is its near impossible to fit without doing it... my last downpipe was the same tbh... then of course you have to put the prop back on and do it all up again else everything is out of alignment...

Still... home straight now...

<tuffty/>
 

tufftybloke

Badger 5 Edition
Feb 28, 2009
657
0
Gloucestershire, UK
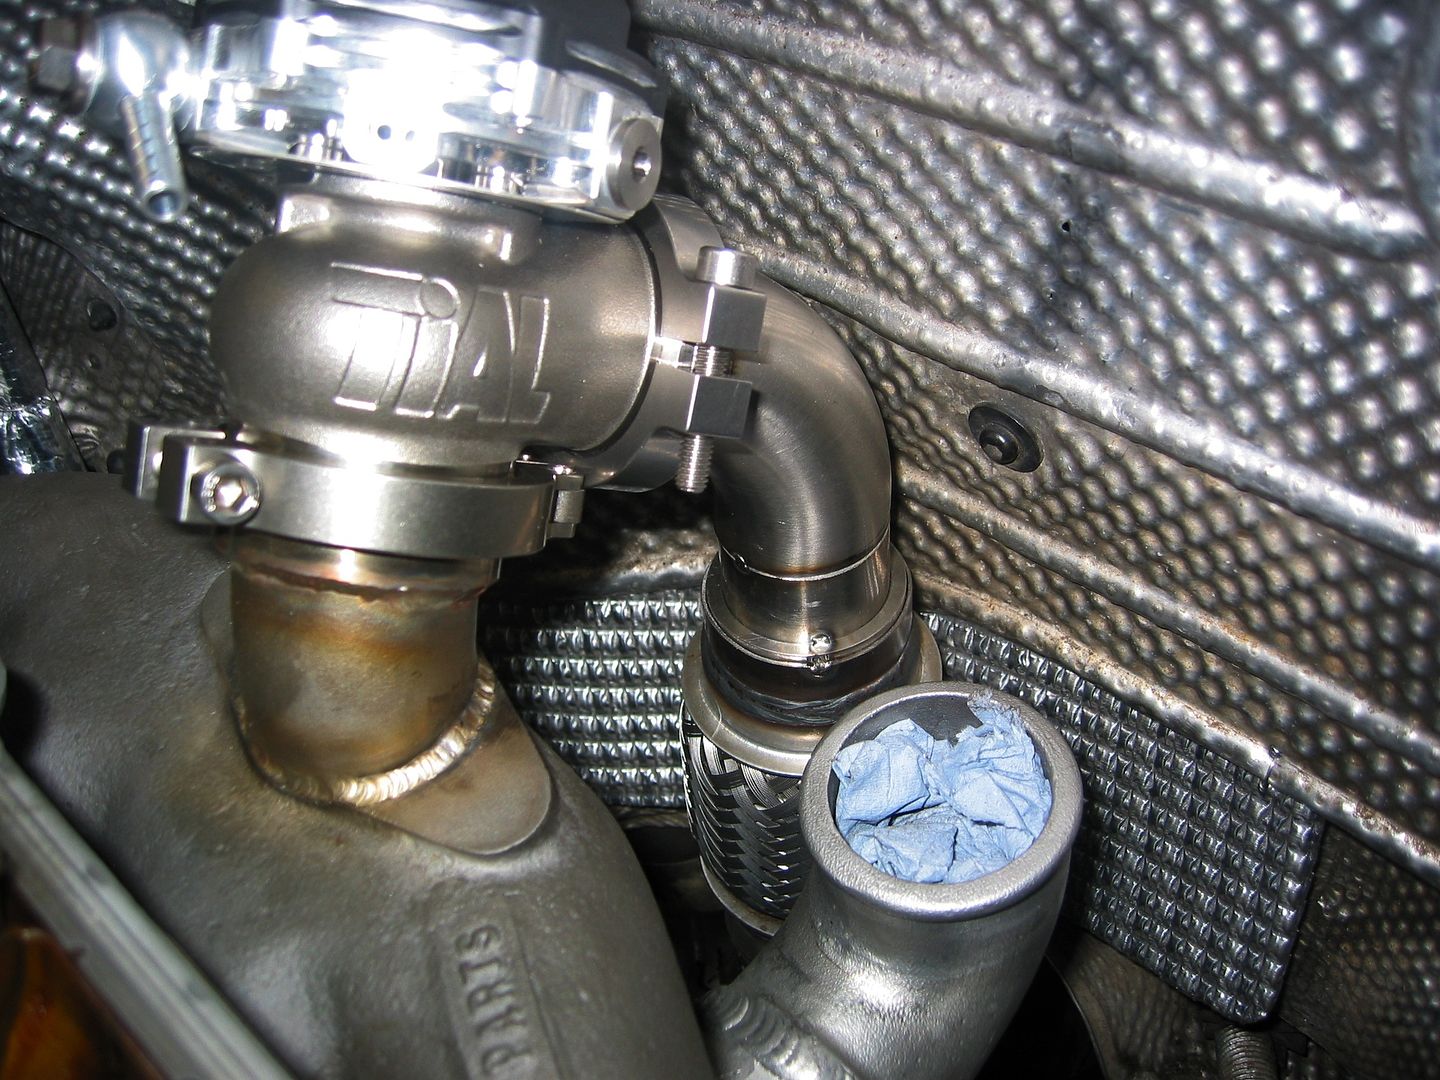
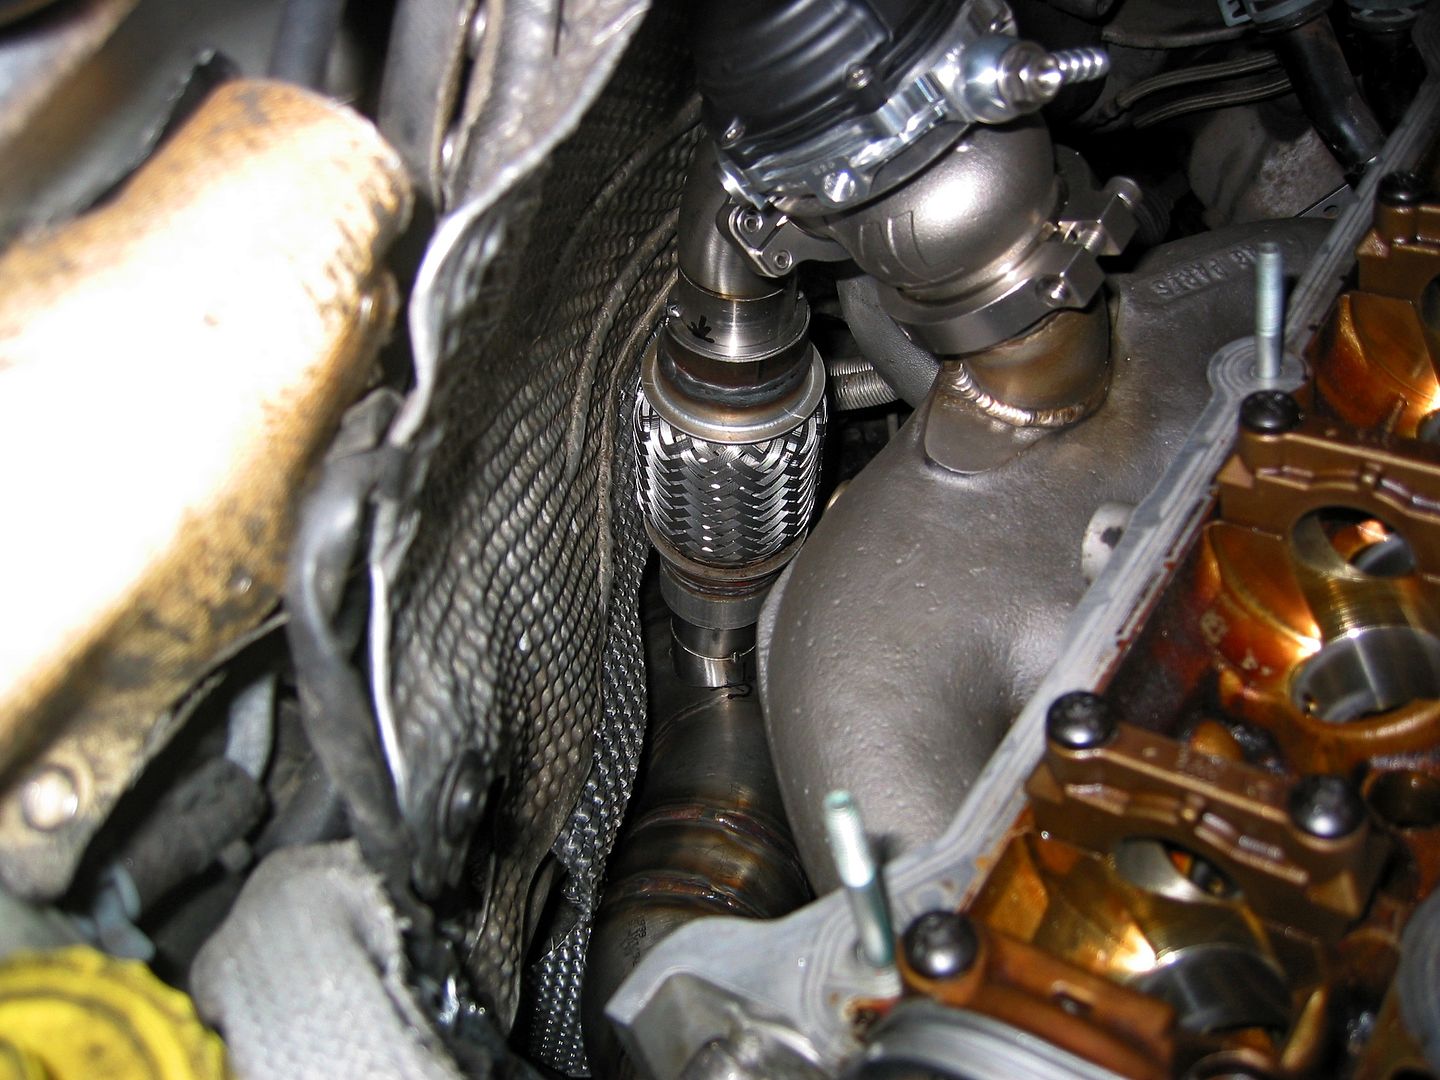
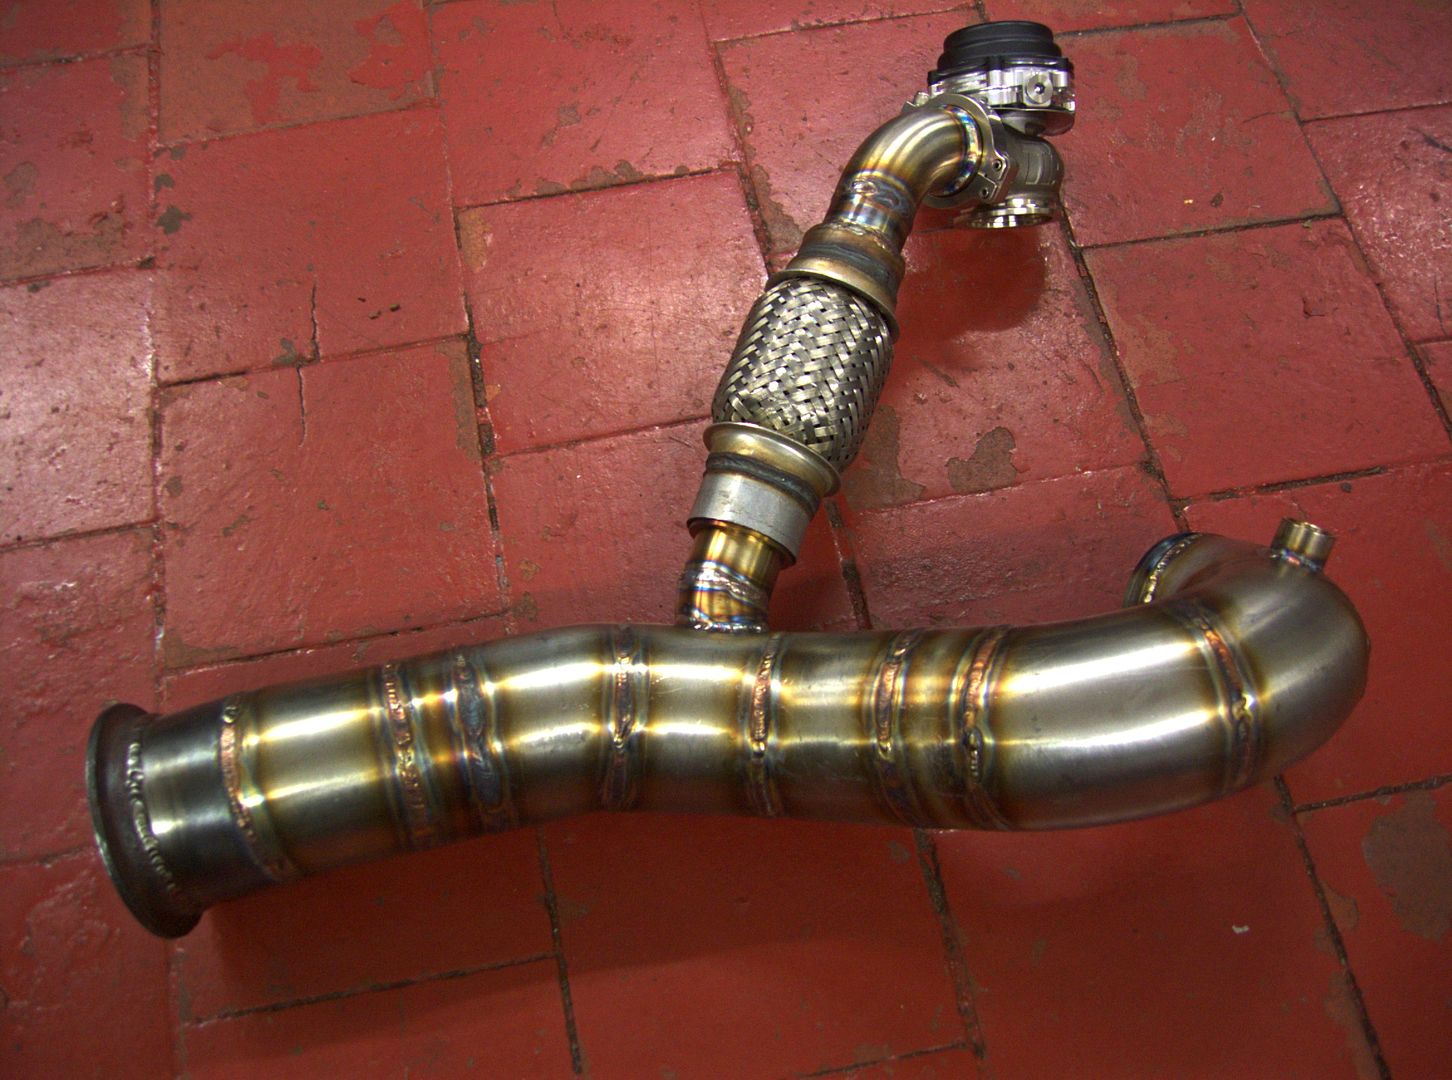
Busy day... Bill welded up the downpipe and then I finished mocking the wastegate pipework up with a flexi this time...
IMG_4349.jpg


IMG_4353.jpg


...while Bill was busy welding all my stuff up I cracked on putting his Ibiza back together...
CRW_4358.jpg


..and here it is prior to wrapping...
CRW_4360.jpg


So, tomorrow after wrapping the DP it will be a re-assembly job and hopefully turn of the key for close of play... not just for mine either as the Badgerwagon should be firing up tomorrow too :D

<tuffty/>
 
SEATCUPRA.NET Forum merchandise