• Guest would you be interested in CUPRA or SEAT valve caps? let us know in the poll

  • Welcome to our new sponsor Lecatona, a brand dedicated to enhancing performance for VAG group sports cars, including SEAT, Audi, Volkswagen and Škoda. Specializing in High Pressure Fuel Pump (HPFP) upgrades.

Tracked Mk3 Ibiza Cupra - Track Pics/Videos - Knockhill - 11/41/16

Watson©

FKinDubs
Sep 29, 2011
192
6
35
Grangemouth/Scotland
www.fkindubs.com
The vid won't play buddy.
Might be cause your trying to play it on your phone?

Works perfect on my laptop :)

it plays on my laptop. actually quite funny some of it.
Cheers dude :p

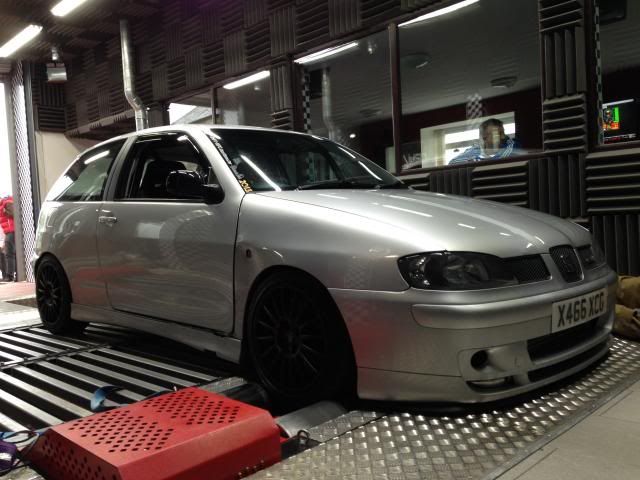
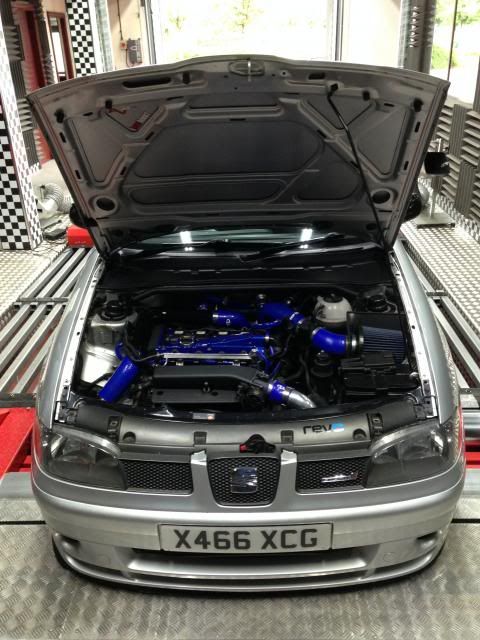
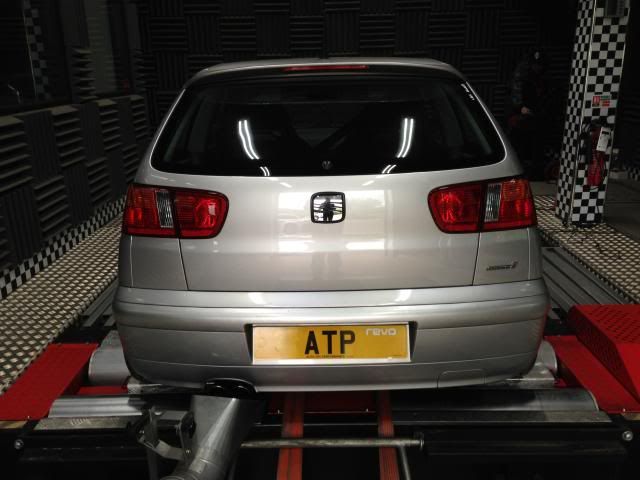
Put my car on the rollers at the weekend to see what power it has before I fit the ko3s and go Stage 2...

IMG_4419_zpsce552743.jpg


Knocked out 190bhp and 283ft.lbs, not too shabby!

Hopefully get my turbo fitted in the next couple of weeks then I'll go back for a map :D

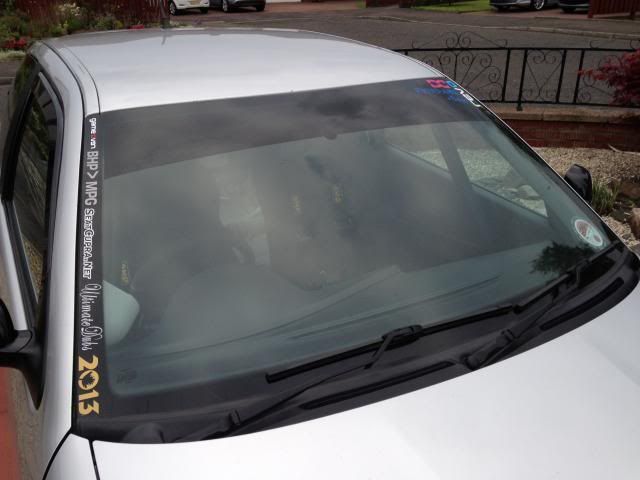
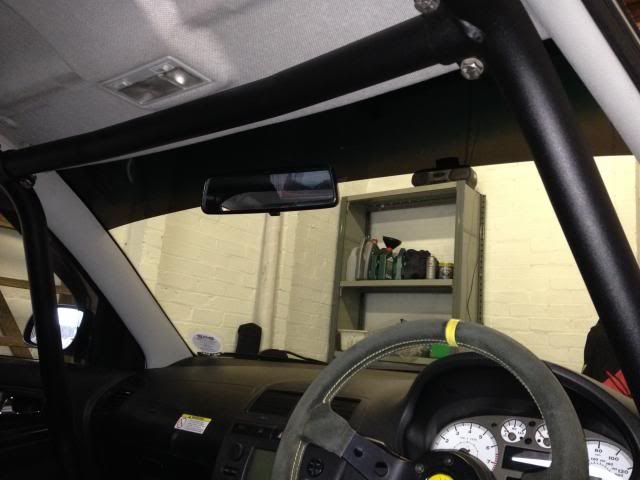
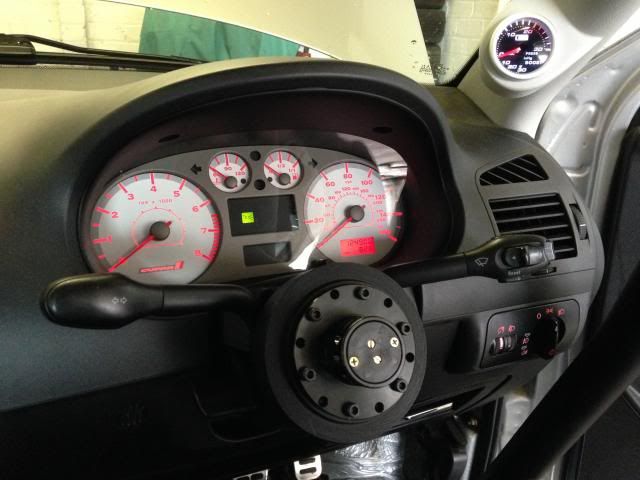
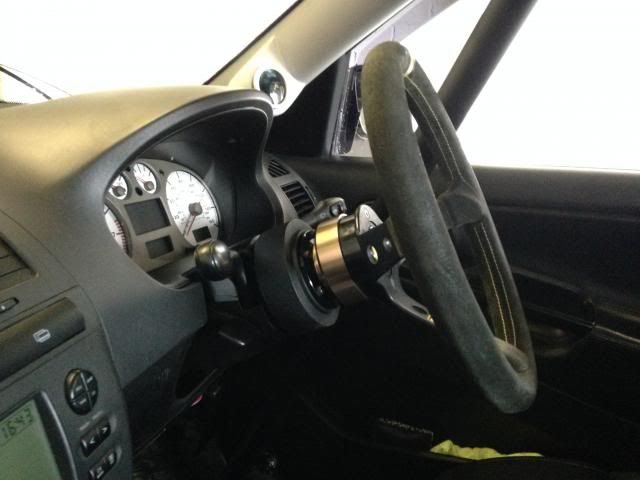
Since I had to remove my sun visors for the cage I got a sun strip made [B)]

Only a small one, as I'm not overly keen on the mega low ones. This looks good though :)

IMG_4449_zps7b09d294.jpg


IMG_4456_zpsa333137b.jpg


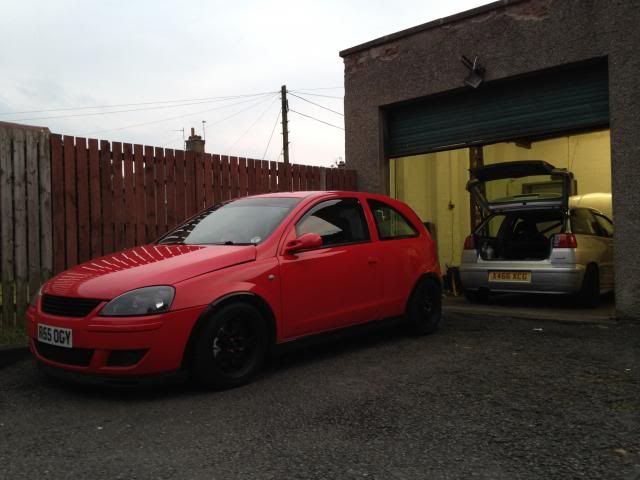
And here's a pic of my mates 330bhp Corsa that I share the unit with...

The thing is a weapon!!! :blink:

IMG_4457_zpsbe73645e.jpg
 

Watson©

FKinDubs
Sep 29, 2011
192
6
35
Grangemouth/Scotland
www.fkindubs.com
Been busy lately getting it ready for more power....

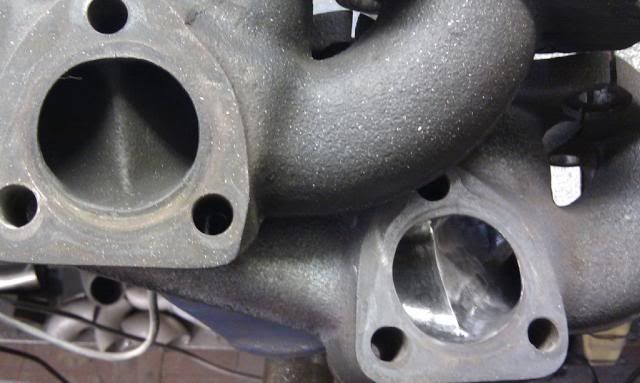
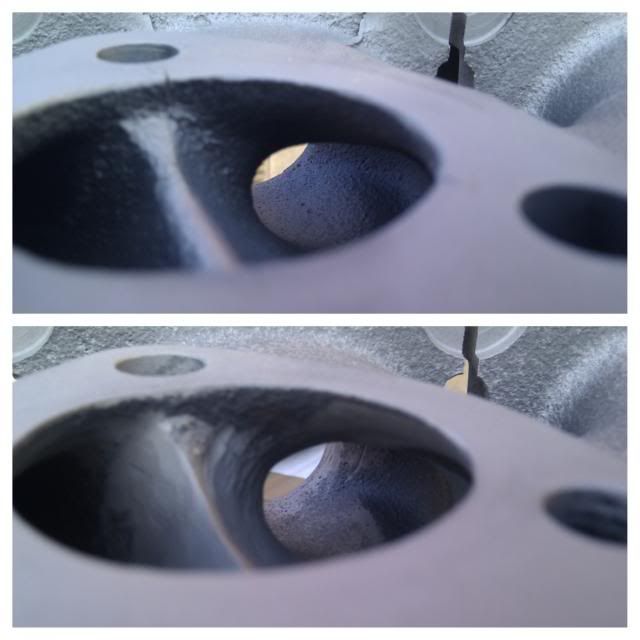
Bought a uncracked manifold and sent it too Badger5 to get ported :)

Comprising pics un-ported vs ported...

IMG_4594_zpsd697ea72.jpg


IMG_4595_zps7309d598.jpg


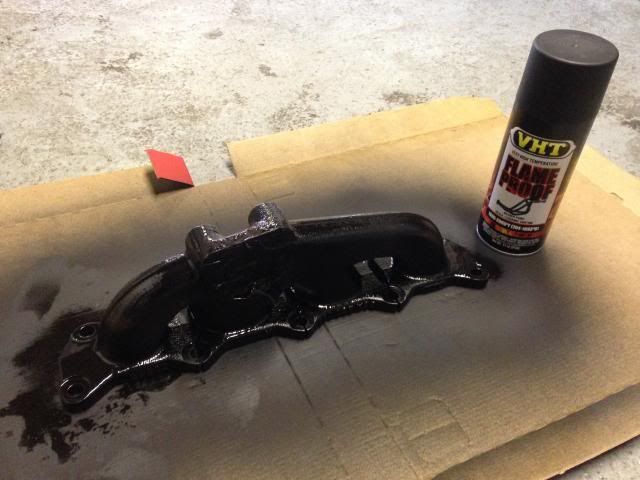
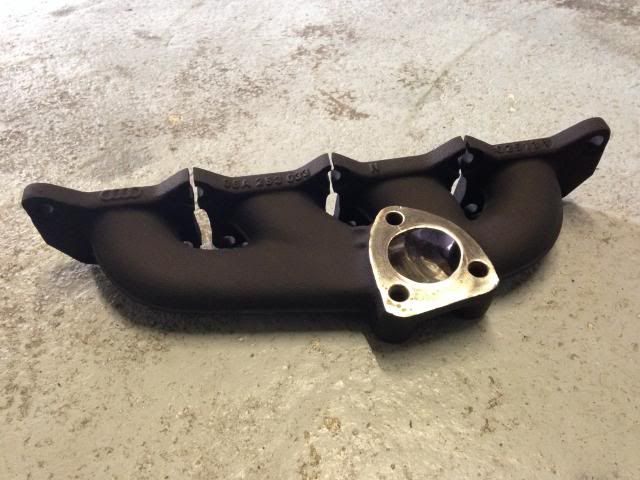
Sprayed some VHT Fireproof paint before fitting

IMG_4588_zps9e4998e1.jpg


IMG_4604_zps6f5e29f2.jpg


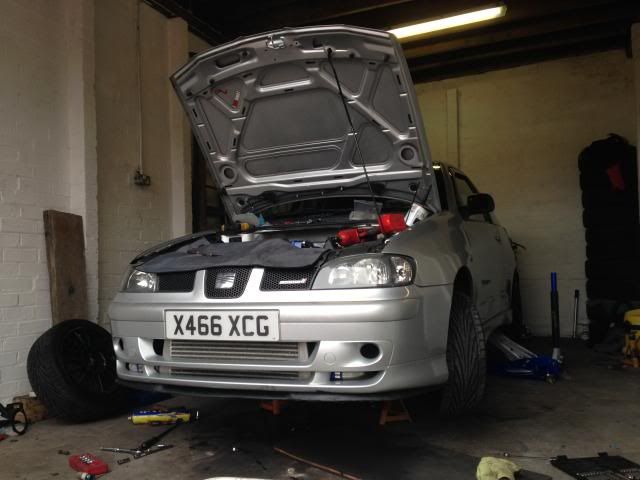
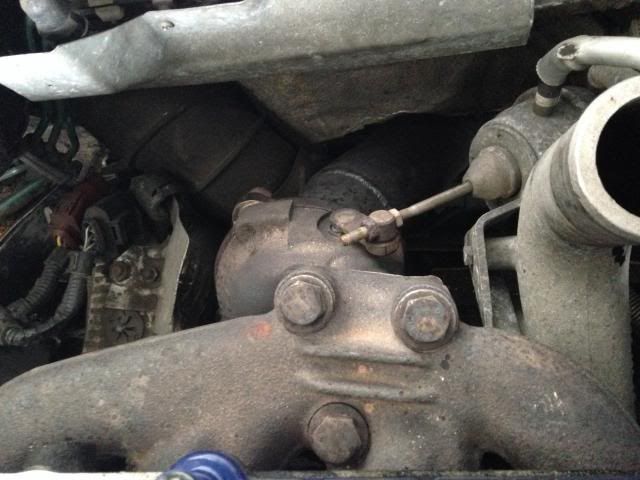
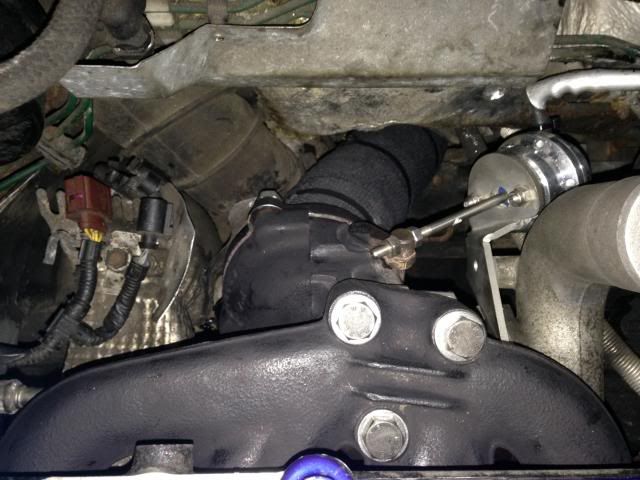
Time to take the old Ko3 off and put on the Ko3s Ive had lying bout for ages...

IMG_4605_zpsd76f286a.jpg


Half way through, old turbo out...

IMG_4610_zpsb6e51d14.jpg


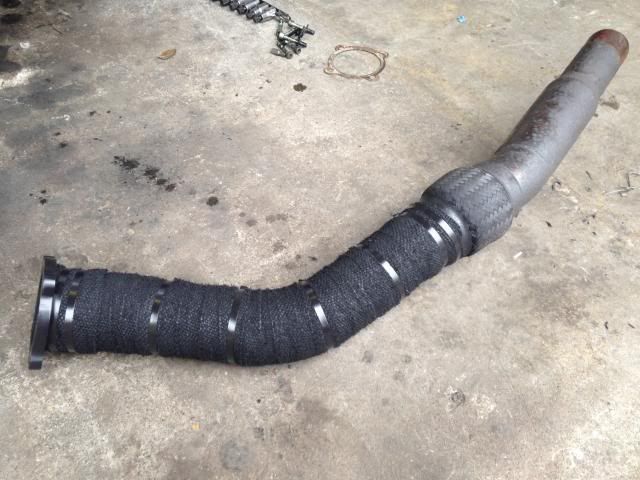
Downpipe off, heatwrapped and DEI Hi-Temp Silicone spray applied :p

IMG_4608_zps85227954.jpg


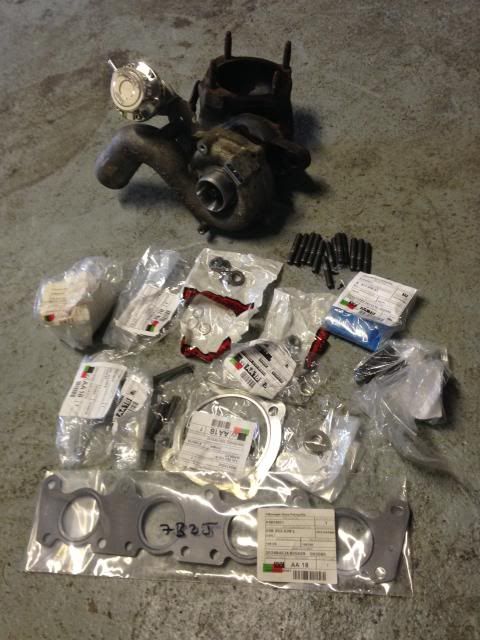
Ko3s and all genuine seals, gaskets, washers, nuts and bolts for the change over...

IMG_4587_zpsf8586175.jpg


Before / After

IMG_4607_zpsdbdcf51d.jpg


IMG_4616_zps8fb9cd25.jpg


So after all that I took it out for a test drive to see if everything was running sweet and all done up right.

No problems and no leaking, so it was a success!

So now I'm booked in for Stage2 map on Saturday! Excited! :funk:

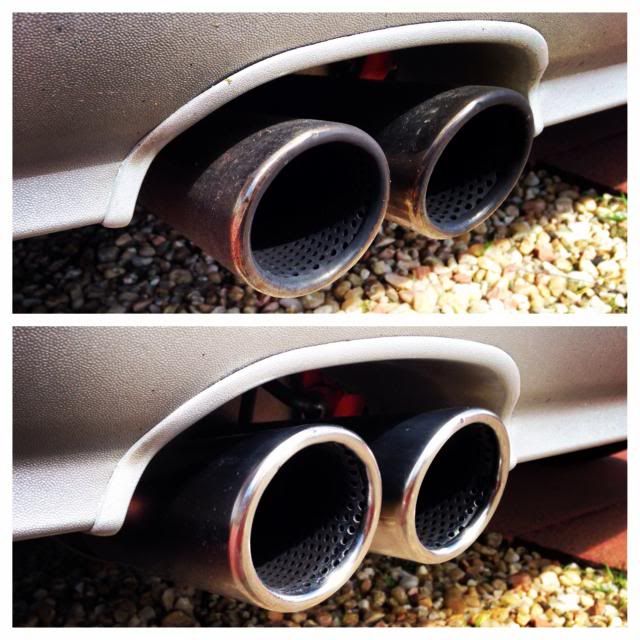
Polished my exhaust since it had been neglected since last year...

IMG_4482_zps8c9a5822.jpg


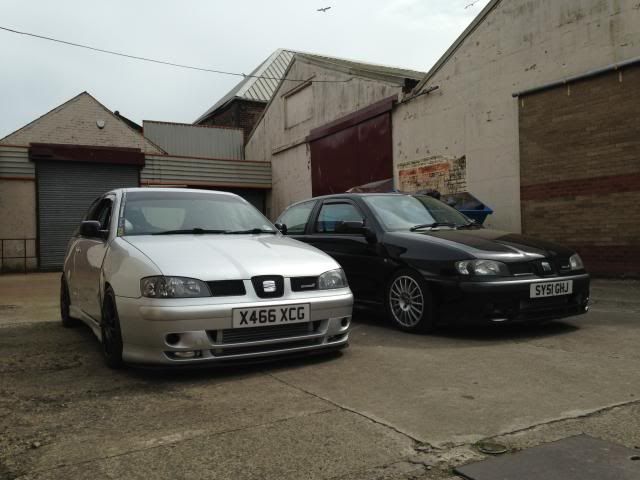
Popped along to a mates unit after doing the turbo swap, who also has a Cupra ;)

So would be rude not to take a cheeky shot :whistle:

IMG_4632_zpsebbe8945.jpg
 

Watson©

FKinDubs
Sep 29, 2011
192
6
35
Grangemouth/Scotland
www.fkindubs.com
Stage2 map update...

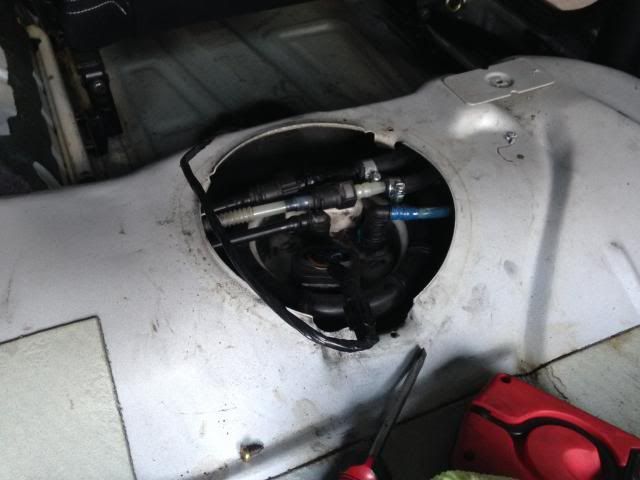
Since I was going to be getting my map done soon I had to change my fuel pump and fuel pressure regulator...

IMG_4644_zpse3b2abaa.jpg


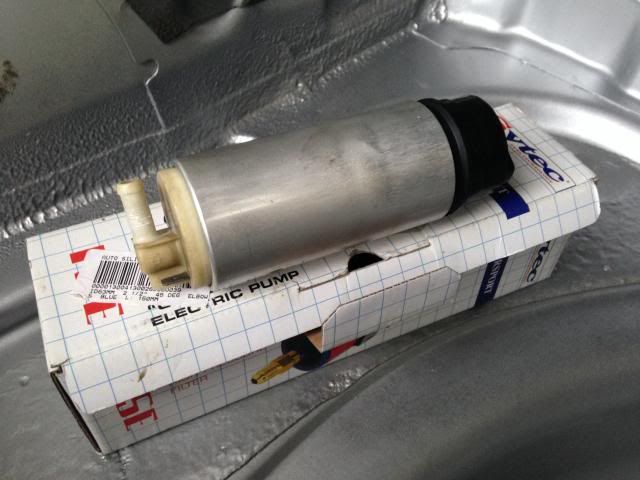
Walbro uprated fuel pump...

IMG_4642_zps59f2dfda.jpg


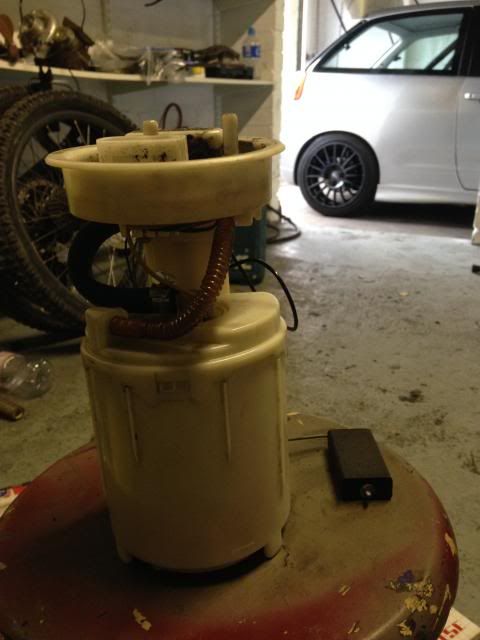
Changed over pump and inside ready to be put back in the car...

IMG_4643_zps831ce84b.jpg


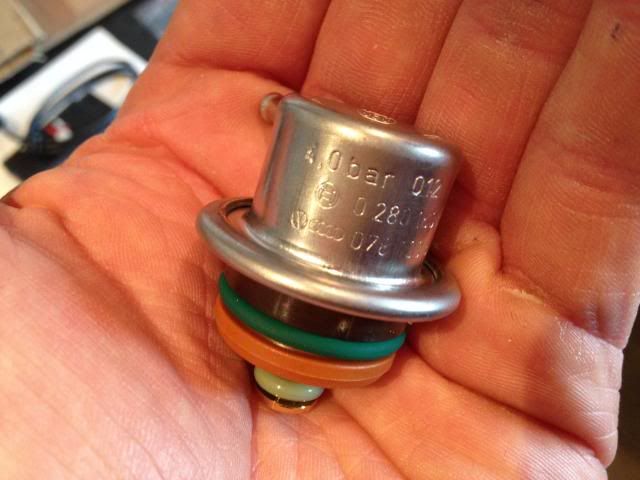
Nice new 4bar FPR

IMG_4677_zpsf0ff7bed.jpg


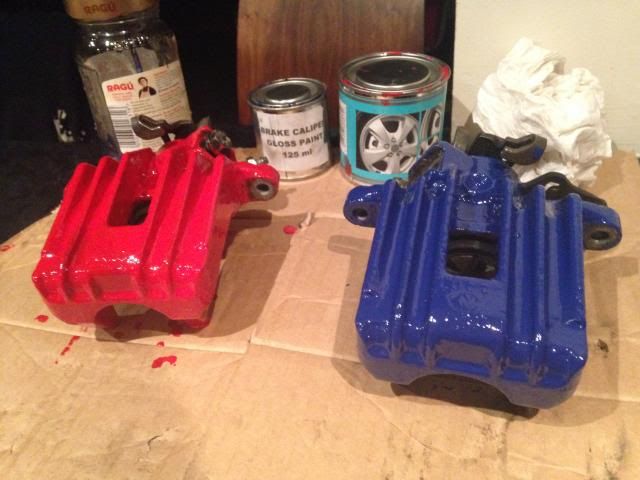
Also noticed my rear caliper was seized and started binding! So ordered a replacement pair.

The Lupo needed one also and that was the other side from mine, so turned out lucky I ordering the pair lol

So painted them up before fitting...

IMG_4651_zps196c19f3.jpg


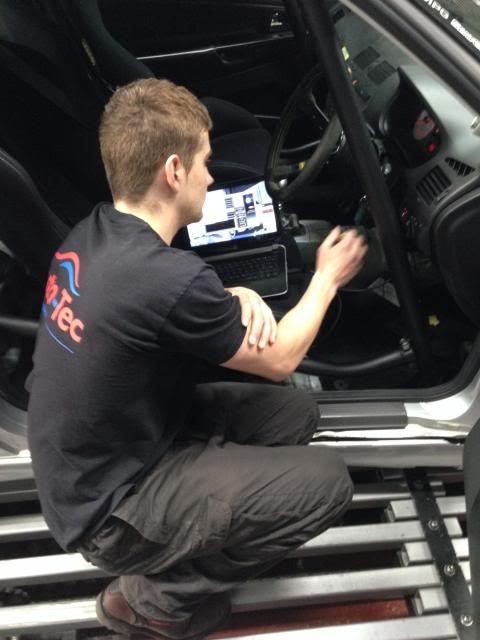
Heading down to Auto-Tec Performance in Glasgow for my Revo Stage2...

IMG_4684_zpsfae18540.jpg


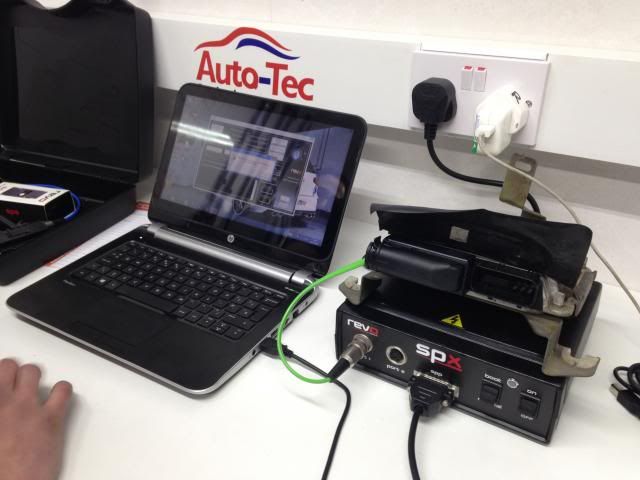
My car was being a right pain from the word go, couldn't read the ECU.

So it had to be taken out from the car and done on the bench to upload the file.

That solved the problem. Apparently they're is two models in the whole VAG range that it needs to be done too.

Just so happens mines was one of the them eh haha

IMG_4689_zps7036c121.jpg


File was then uploaded and ECU fitted back in the car

Took it for a blast on the streets to make sure everything was running good and checked with vag.com

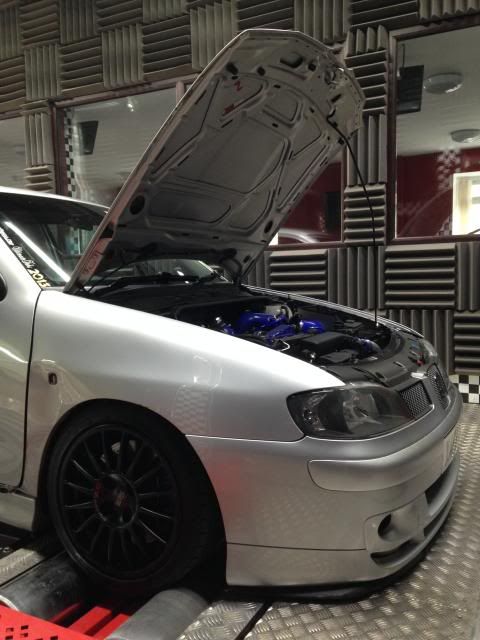
Then fired it on the dyno for some finishing tweaks with boost and timing settings...

IMG_4691_zps880323cb.jpg


IMG_4695_zps27c26cc2.jpg


IMG_4696_zps727e67f8.jpg


Video on the rollers...

https://www.youtube.com/watch?v=DAwtVAoewNs&feature=youtu.be

https://www.youtube.com/watch?v=56bAVCSnd1s&feature=youtu.be

Final results were 229bhp & 303ft.lbs :D

Pretty happy with the figures...

Pulls and holds boost really well through the revs. And its a lot smoother compared to the aggressive Stage1 map

Now I need to go on the hunt for some new prey on the roads! :whistle:

Also fitted a snap off boss...

IMG_4719_zpsabad1f1a.jpg


IMG_4720_zpsc119c59c.jpg


:)
 
Aug 8, 2010
706
0
greenock
Wish I could have got along on Saturday mate but couldn't manage it :( going to order a few bits and bobs for mine and get it tweaked again! Might need to pester you about a few bits and bobs!
 

Watson©

FKinDubs
Sep 29, 2011
192
6
35
Grangemouth/Scotland
www.fkindubs.com
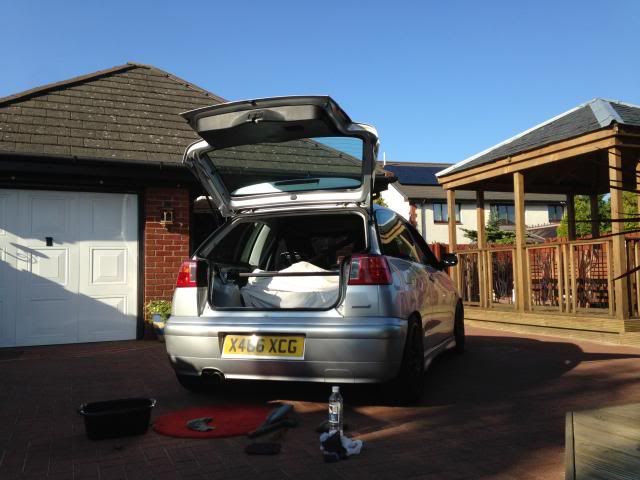
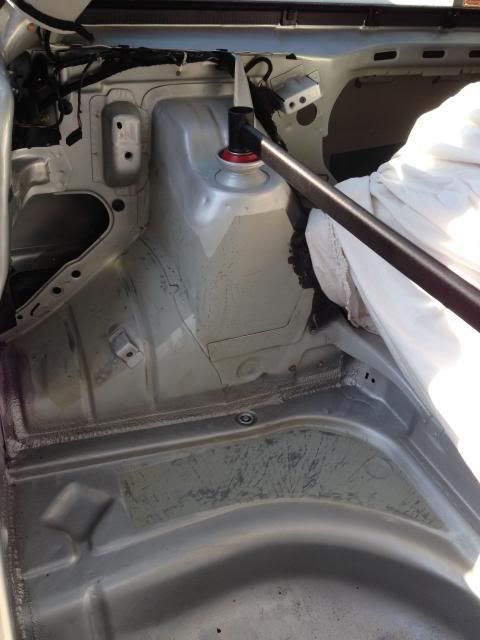
Was a glorious weekend up in Scotland so decided to make a start at ripping out all the sound deadening in the car...

IMG_4789_zpsc2036717.jpg


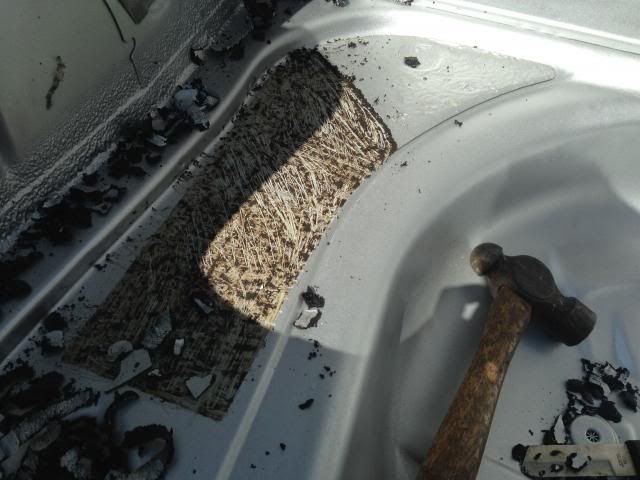
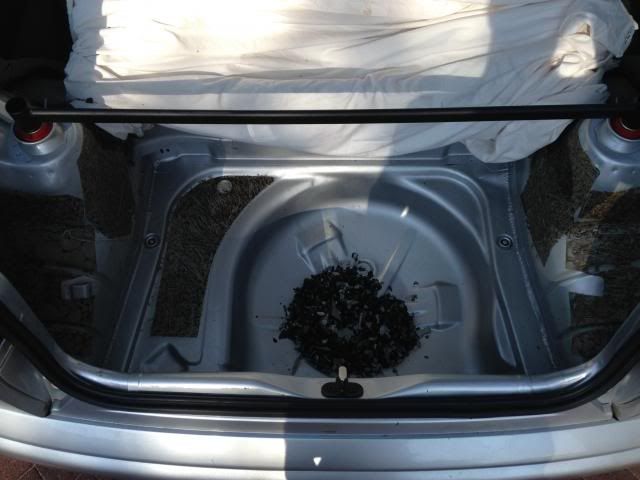
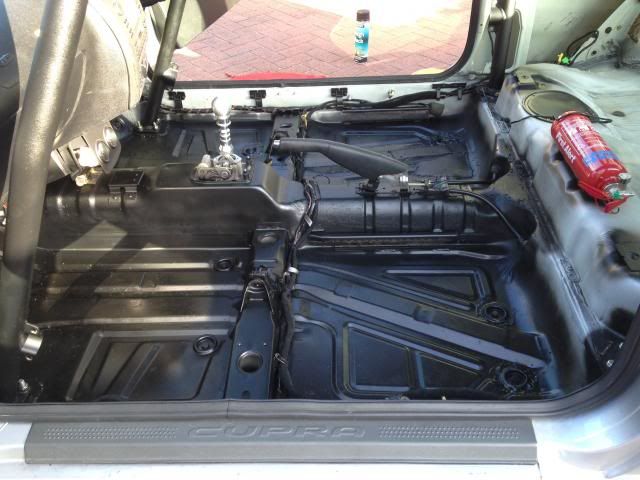
Started with the boot area...

IMG_4783_zpsd920bc5b.jpg


IMG_4788_zpsb2a603d9.jpg


Now it was just a case of rubbing it all down and getting rid of all the excess crap ready for painting

IMG_4795_zpsca989bae.jpg


IMG_4791_zps58843ab9.jpg


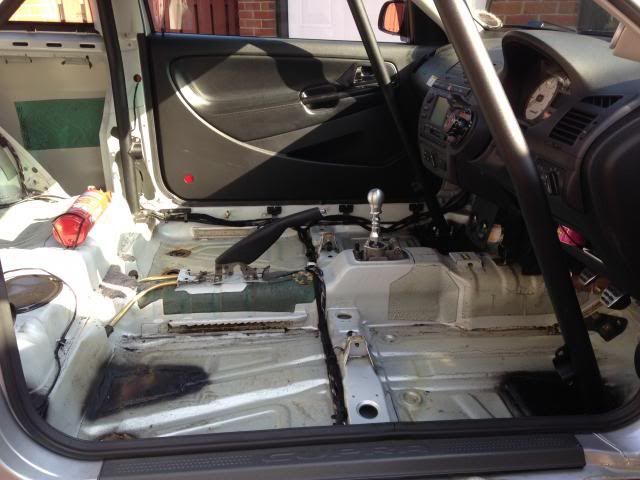
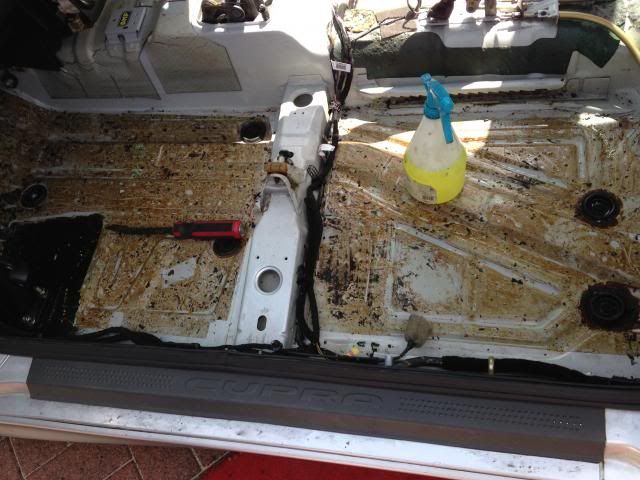
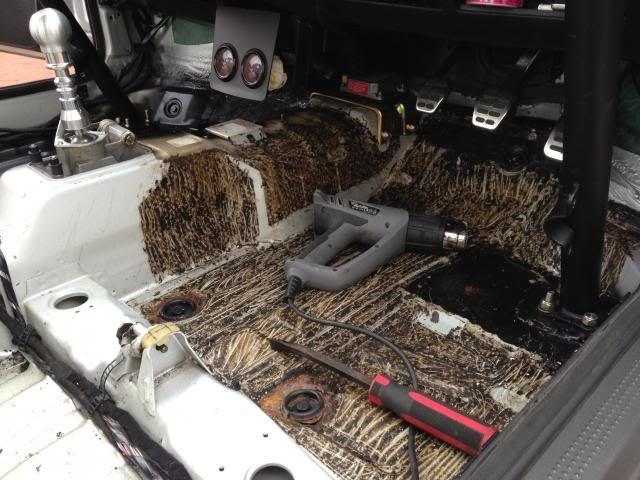
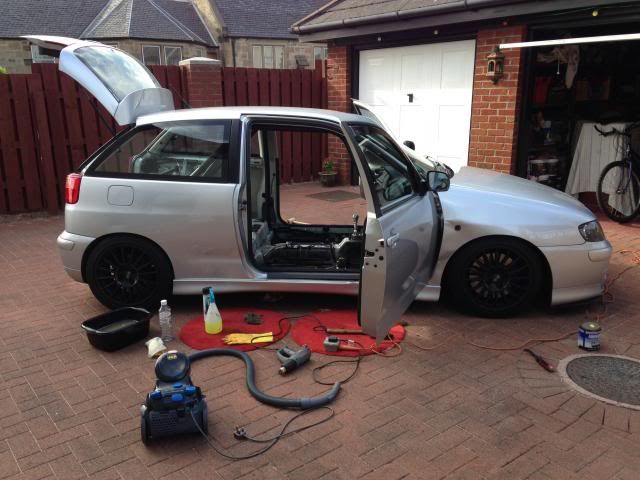
Since I was on a roll, I decided to take on the rest of the car the following day due to it being another nice weathered day :D

Got up bright and early to get started.

So out came the door bars from the cage so I could remove the harnesses and seats.

IMG_4803_zps69469935.jpg


Time for the fun and games again :blink:

IMG_4806_zps10fb6a8f.jpg


IMG_4807_zps3ec69a81.jpg


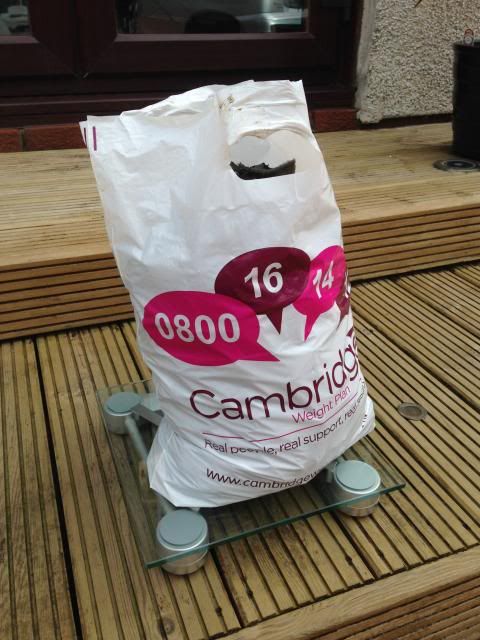
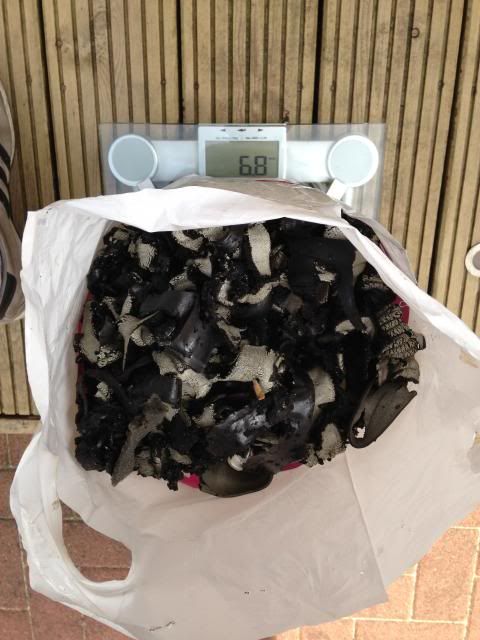
I gathered all the deadening in one bag so I could weight it at the end...

IMG_4809_zps7494b035.jpg


IMG_4810_zpsbcc46be3.jpg


Loosing 6.8kg is actually a not too bad result (Using the Cambridge Diet bag wasn't planned, never noticed until I re-looked at the pictures haha :p)

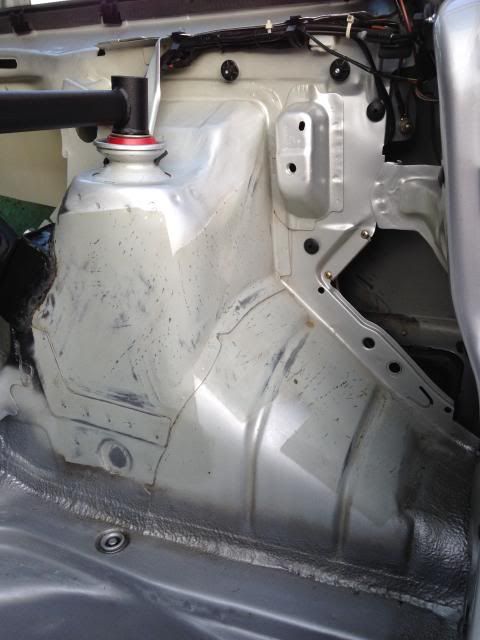
Rubbed the rest down the same as the boot area in prep for paint.

Glad I had finished doing all that, cause it was a bloody messy, time consuming and nightmare of a job!

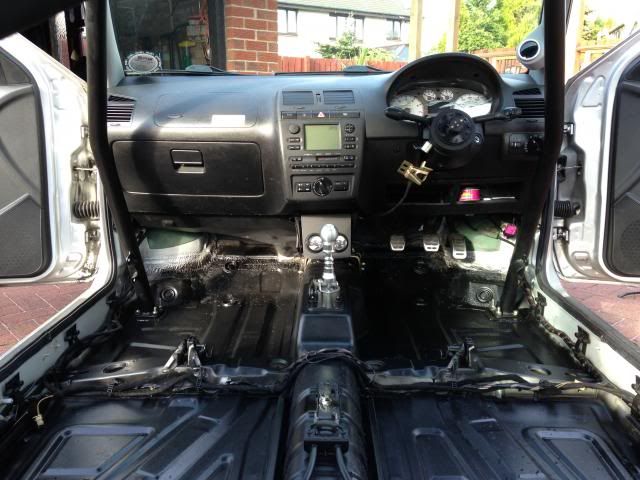
Gave the floor a couple of coats of black paint to freshen it up...

IMG_4812_zps3c70f5a3.jpg


IMG_4816_zps7b01beaf.jpg


Airing the car out as I was getting high on the fumes lol

IMG_4811_zps324b7704.jpg


Once it was left for a couple of hours and dried up, I put everything back together...

IMG_4818_zpse3bf3a79.jpg


Still need to paint the rear seat and boot area, but that's for another time.

Spent pretty much 2 days doing all that so I had enough for now :)

Went a well deserved blast later that night [B)]

IMG_4837_zps370e91ad.jpg


IMG_4847_zps5b7733c0.jpg
 

Watson©

FKinDubs
Sep 29, 2011
192
6
35
Grangemouth/Scotland
www.fkindubs.com
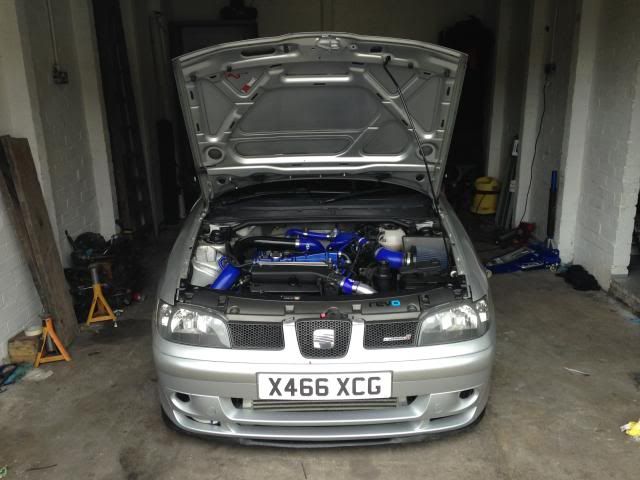
A few things have happened since my last update...

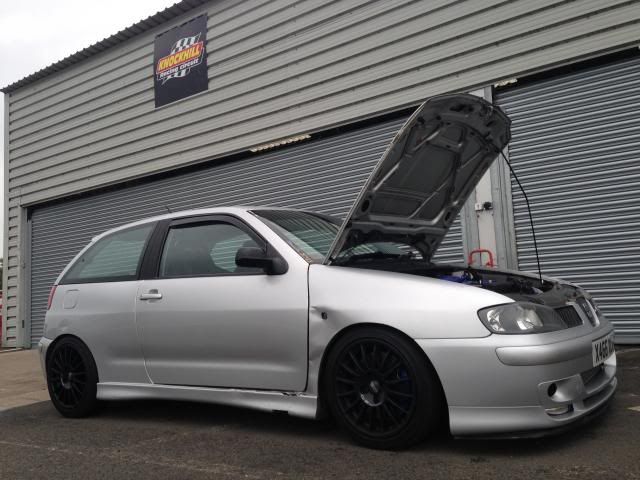
Took the car onto Knockhill Race Circuit. First time I've ever been on a track and it was bloody awesome! :D
Loved every second of it. So more track days will be happening in the future for sure.
The car performed sweet, very happy with it... Only issue I had was a boost pipe pooping off which resulted in me getting the session red flagged, woops! :redface::whistle:

IMG_4984_zps25aaa074.jpg


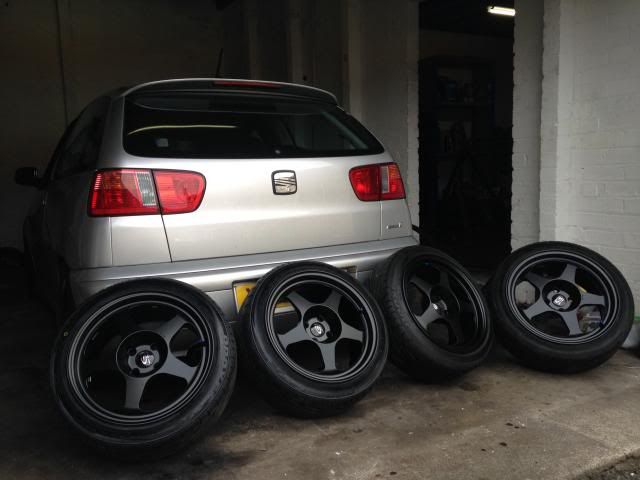
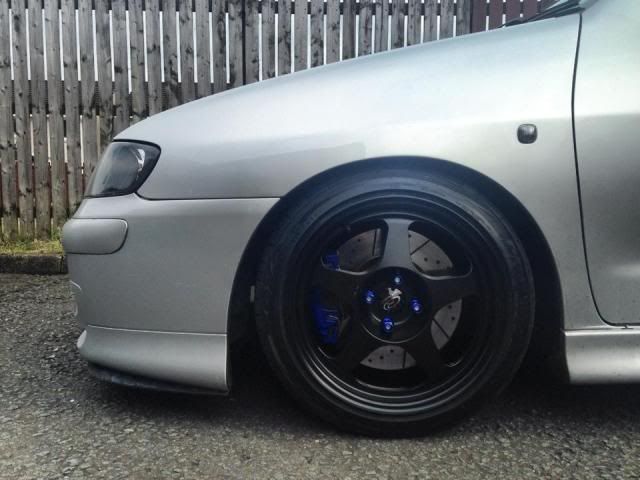
Bought some new wheels from eBay for a good price..

They weren't in the best of conditions so I got them powdercoated to give them a brand new fresh look :p

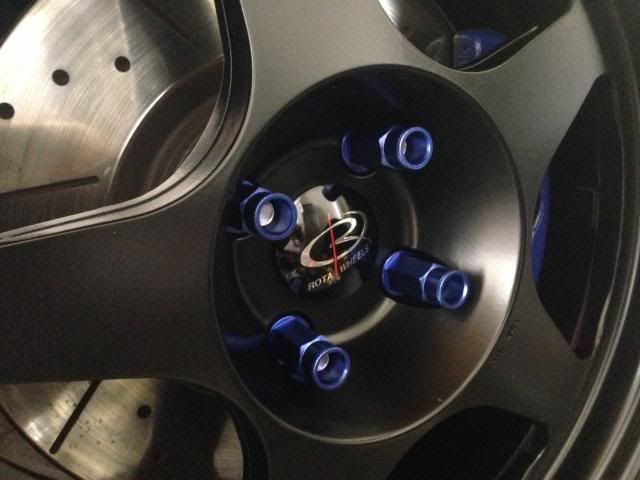
Rota Slipstreams - 16x8

IMG_4990_zps9078d59e.jpg


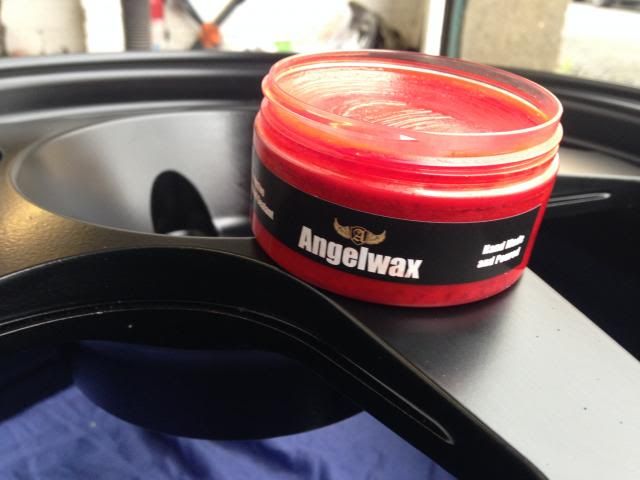
Before fitting I applied some Angelwax wheel sealent

IMG_4988_zps555e72ee.jpg


So now I have the Rota's I'll be using my OZ Super T's as my track wheels.

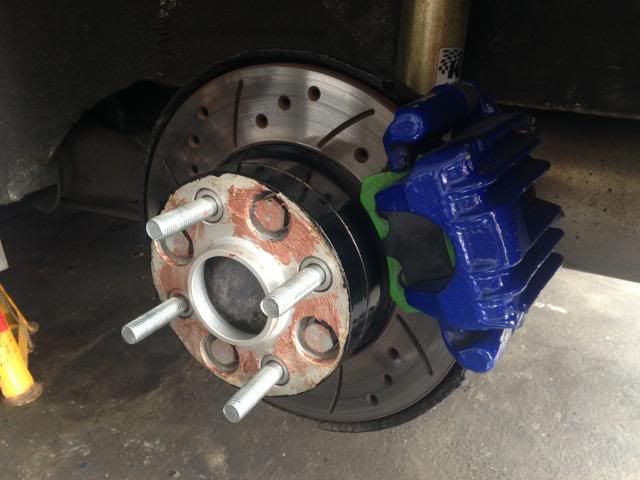
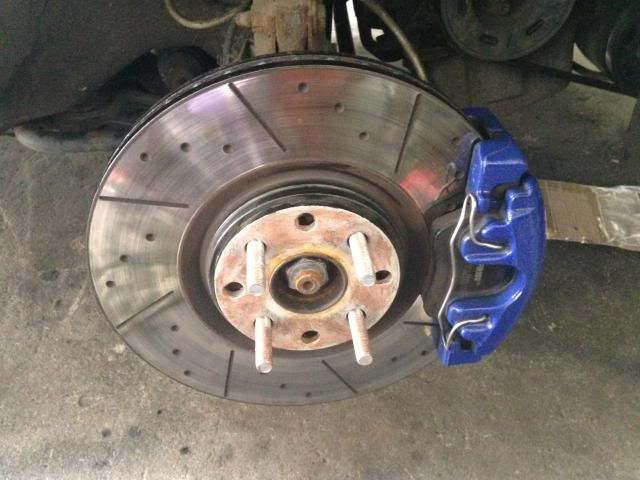
Continuing the Motorsport route I'm going down I got my hands on some studs to do a stud conversion...

IMG_5017_zps9b3f3fd0.jpg


IMG_5013_zps6944e18c.jpg


All threadlocked and fitted correctly, it was time to fit the wheels.

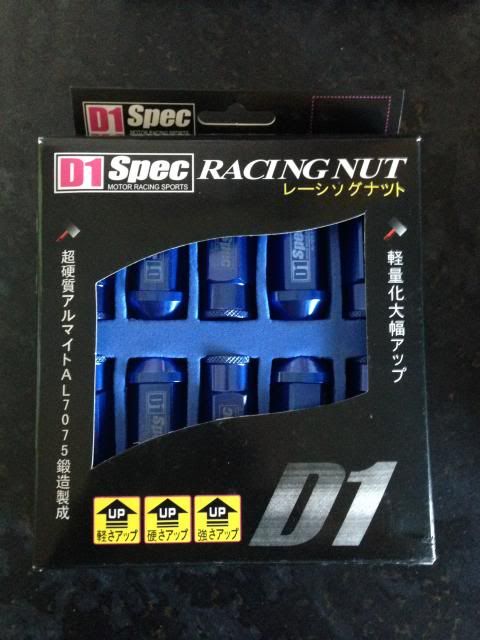
I had to get some fancy 'Jap' wheel lugs/nuts to go with my Rota's though lol :p

IMG_4866_zps234d8df1.jpg


IMG_5015_zps0f40ddb7.jpg


IMG_5025_zpsfad293fd.jpg


IMG_5024_zpse3be89bf.jpg


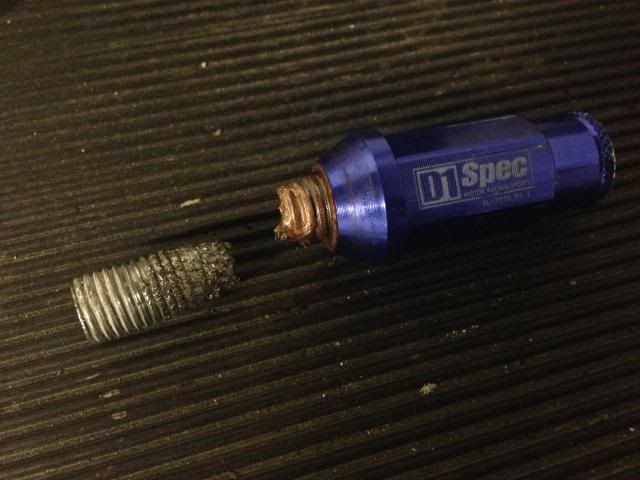
Came across a small problem though... When I was tightening the nuts up (with a torque wrench may I add) I sheared a stud completely in two :blink:

IMG_5041_zps8a79d619.jpg


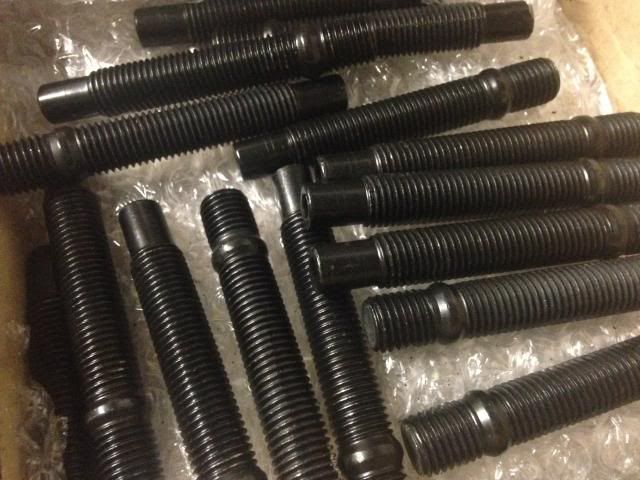
So now having no real trust in the rest, I took them all out and bought some more expensive high tensile studs so I know they would be strong!

IMG_5042_zpsc51ebb52.jpg


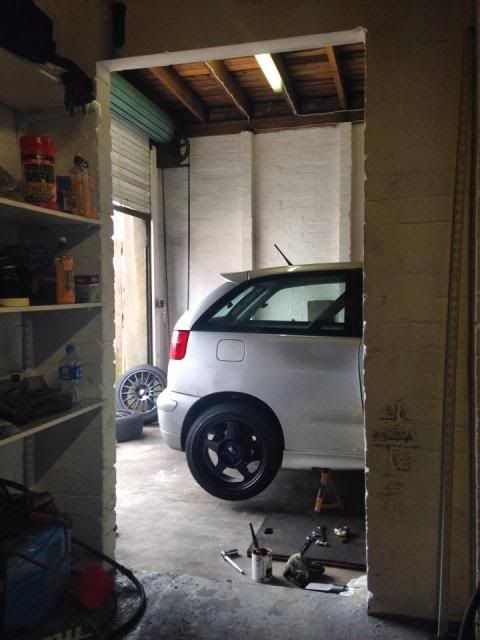
New studs on and torqued up with no issues I felt happy to thrash the car! :rolleyes:

IMG_5082_zps84d09c05.jpg


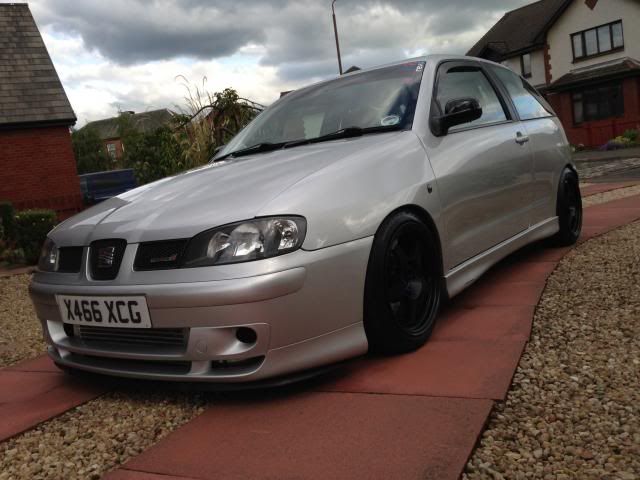
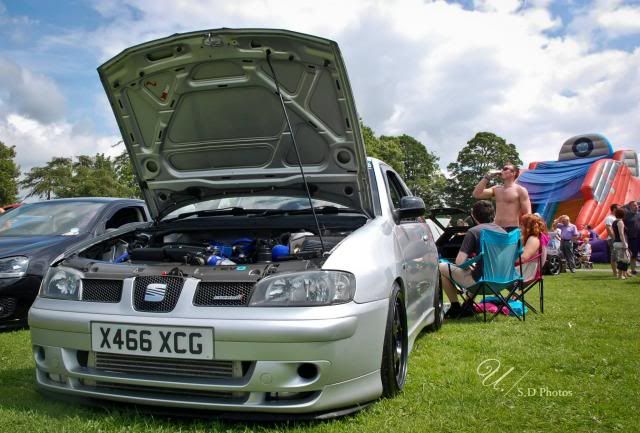
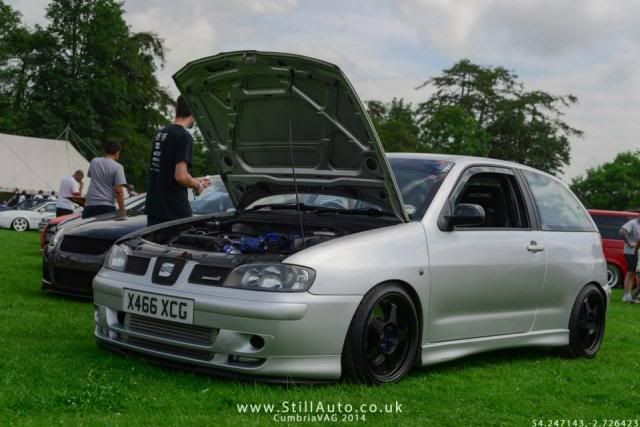
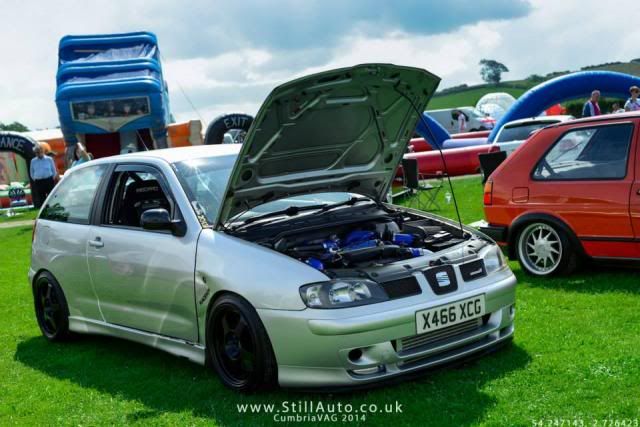
Headed down to CumbriaVAG last weekend with a few mates.

So put my car on display at the show, would have been route not to eh ;)

Some snaps from people...

10460677_729444287123419_4266164312284477471_o_zps0f374998.jpg


10334246_901515773198368_360994746607404346_n_zpsfca2e911.jpg


10464099_901515546531724_6595358994172365290_n_zpsda5579aa.jpg


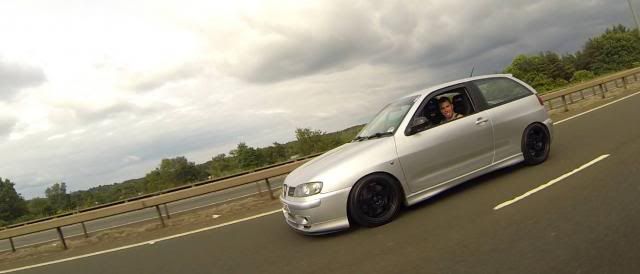
Got a good rolling shot from my mates GoPro on the way home also...

10484165_415491911926392_2228529369685943018_o_zps013cf94b.jpg


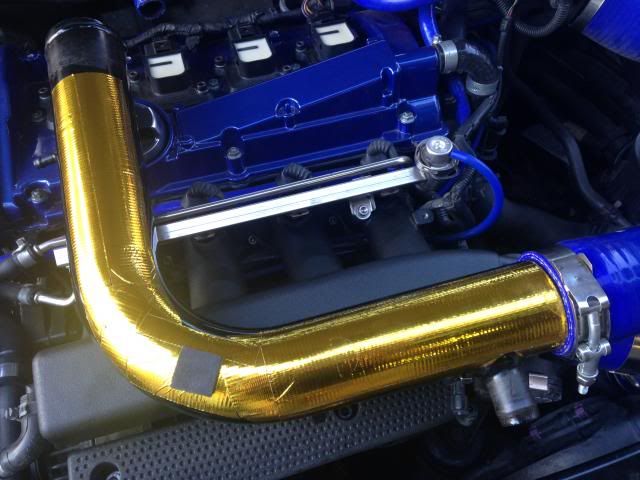
Started making a attempt at reducing the heat around the turbo/manifold area.

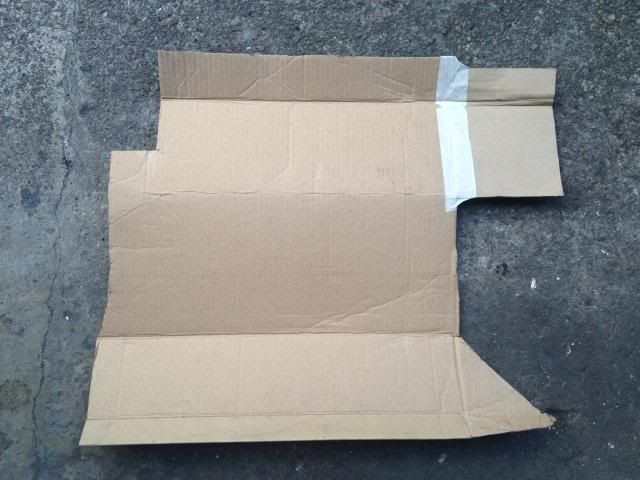
Covered the underside of the charge pipe with gold reflective tape and mocked up a template for me make a heatshield at my work :)

IMG_5066_zpsaf08413d.jpg


IMG_5069_zpse02d4f11.jpg


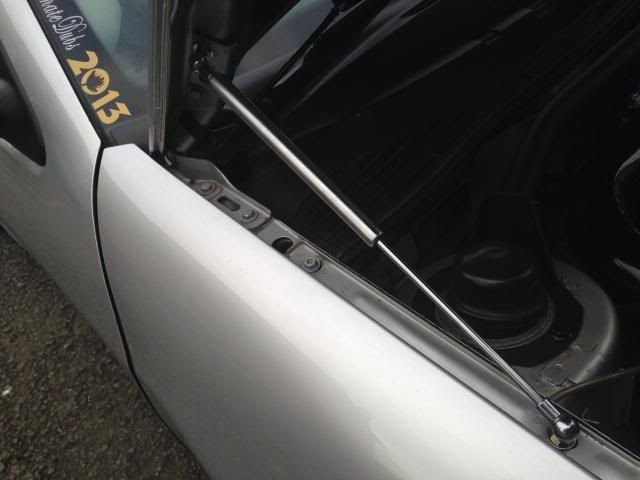
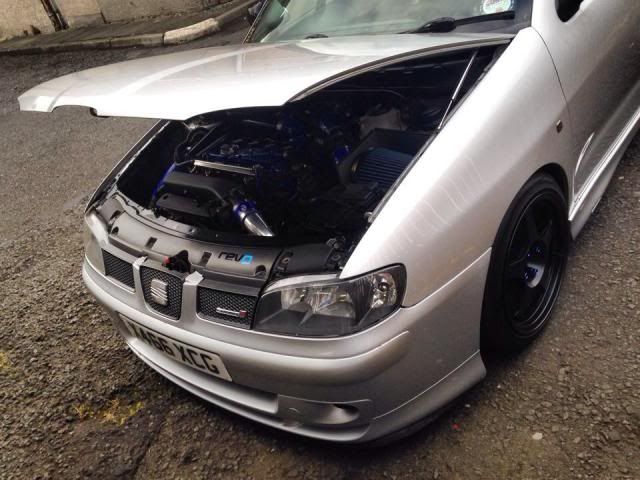
Fitted some bonnet lifters also to freshen up the bay...

IMG_5157_zpsd9c5d2a9.jpg


IMG_5159_zpsfaab355c.jpg


That's all for now folks! ;)
 
Last edited:

Steve_20VT

Active Member
Apr 21, 2014
29
0
Plymouth
Lovely car especially with them Rotas on where abouts did you get the stud conversion? ;)


Sent from my iPhone using Tapatalk
 

Watson©

FKinDubs
Sep 29, 2011
192
6
35
Grangemouth/Scotland
www.fkindubs.com
My mate recently bought a GoPro so I decided to get some footage of my car with it.

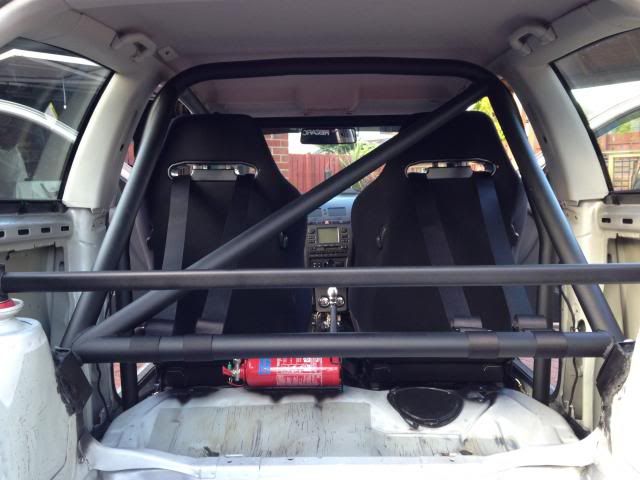
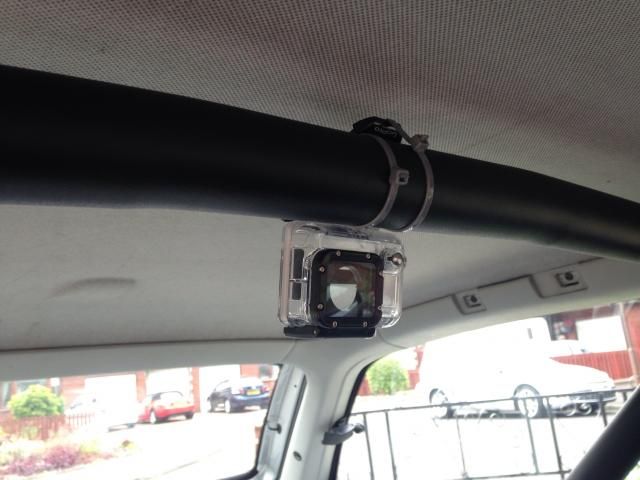
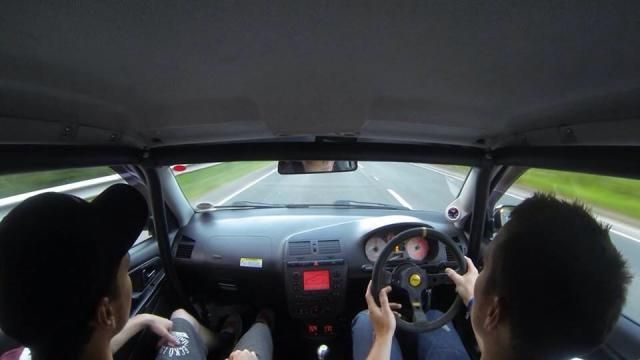
Strapped it to my rollcage with some cable ties to get the 'cockpit' look but also seeing the road. Well that's what I thought anyways lol Turns out the position I had it in wasn't the greatest, we didn't know that until the end of the night when we plugged it into the computer :( You can still make out whats happening, just cant see any of the road due to it sitting high up. If I didn't have the front bar and sun strip you cold have seen it :p

image_zpsfacaf645.jpg


Trial and error I suppose eh.

I still made a video from some of the clips from that night anyways... Have a gander!

https://www.youtube.com/watch?v=_4eNWLDAmZs

image_zpsd15778b7.jpg


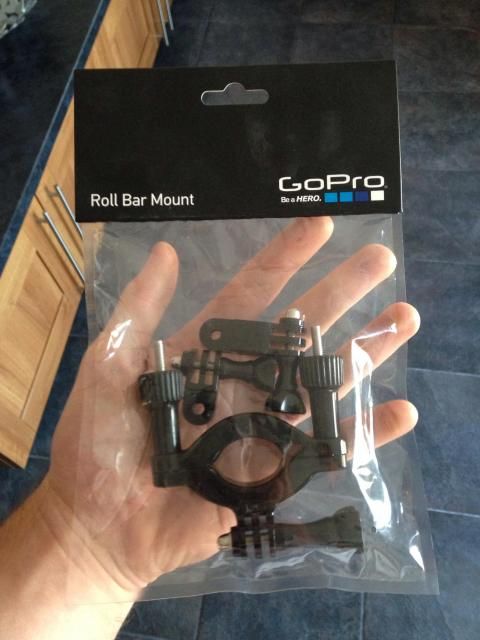
First thing I done the next day was buy a GoPro Roll Bar Mount

image_zpsee07872a.jpg


So I can now put it anywhere I like lol

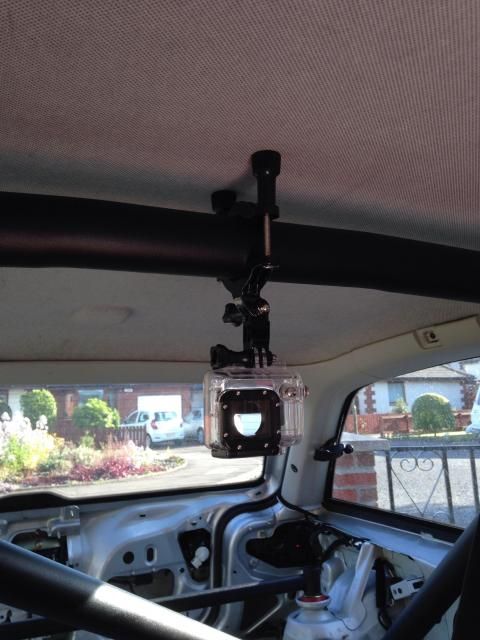
I put it in the same place as before though as it now sits lower...

image_zps0cff3f88.jpg


So it should give a good angle, will give it a go next time my mate lets me use it.

Thinking about buying myself a GoPro anyways for when I do more track days etc :)

I had a free weekend there, so decided to do a big job that has been on my to do list for a while.

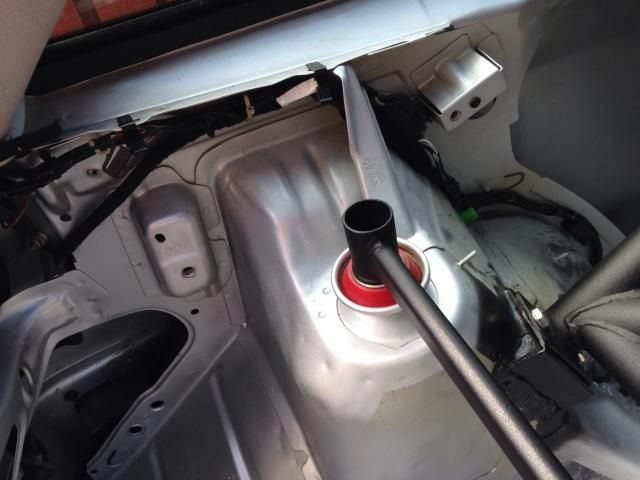
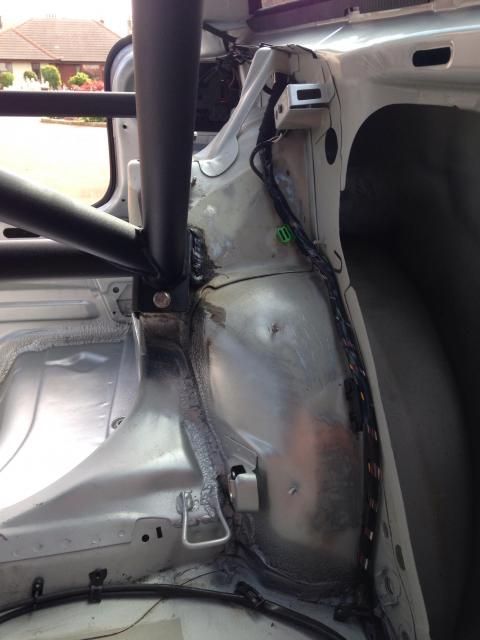
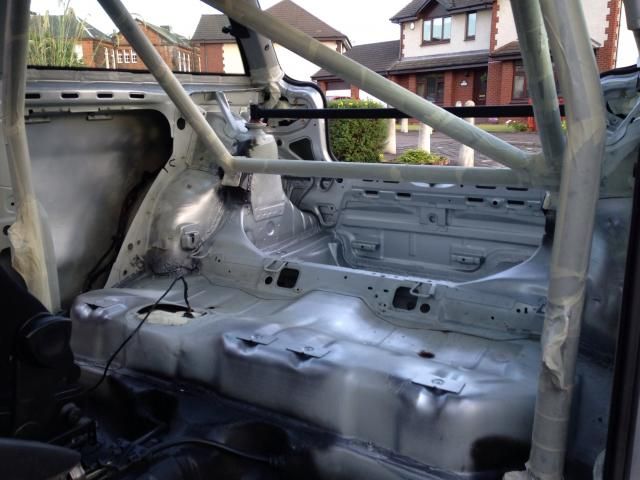
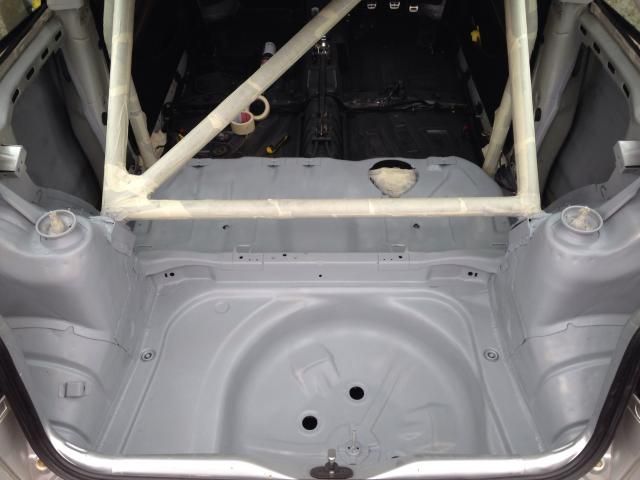
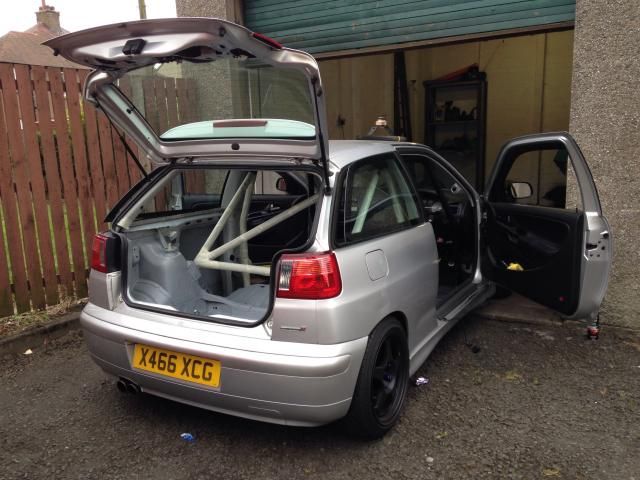
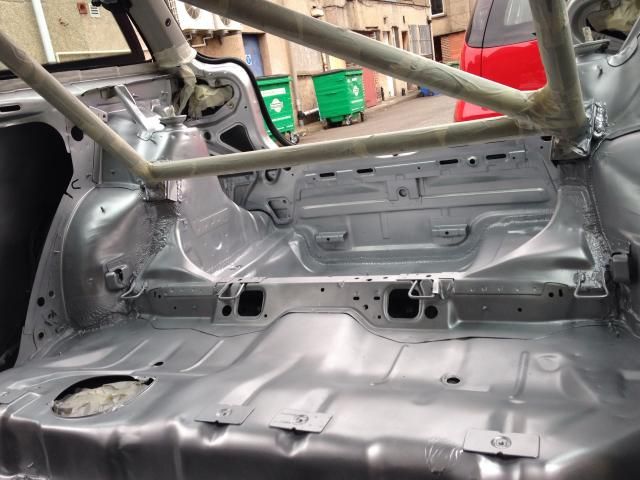
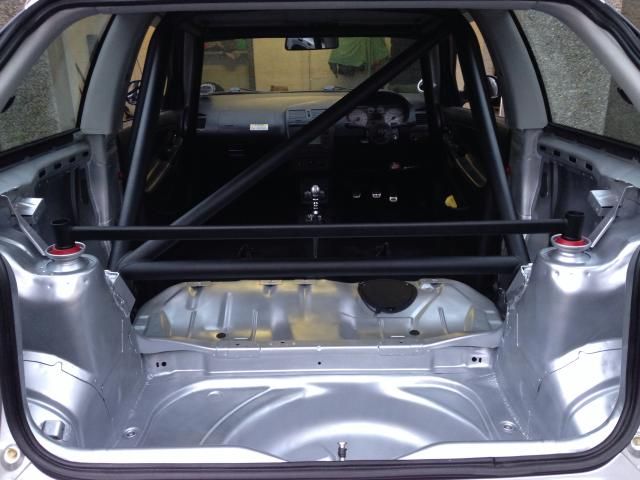
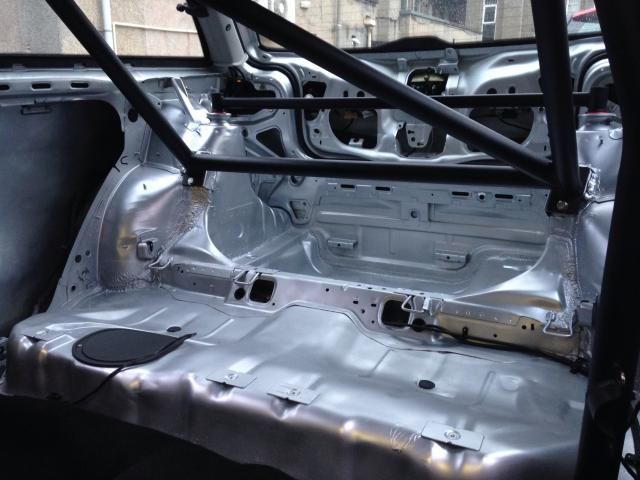
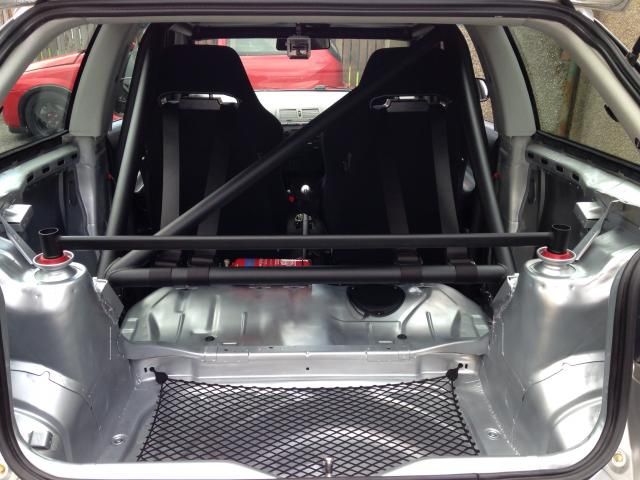
Paint the back half of the car silver to tidy it all up, since it was all rough looking from removing the sound deadening.

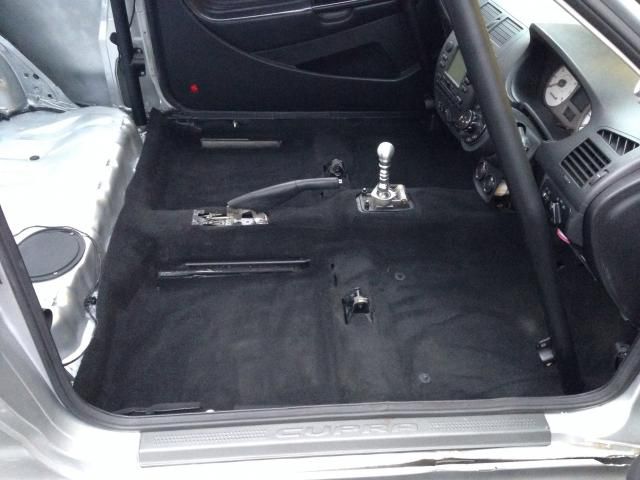
And I wanted to put the front half of the carpet back in!

So it began like this...

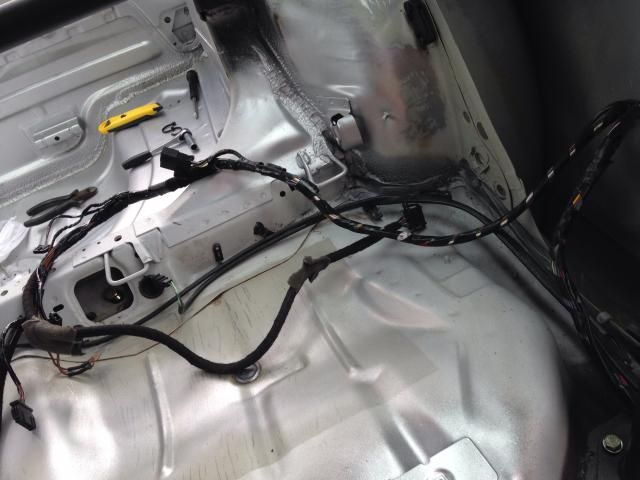
Decided I wanted to tidy/declutter and hide all the wires as much as possible

Was the same on the otherside.

image_zps3930db46.jpg


image_zps35a2e848.jpg


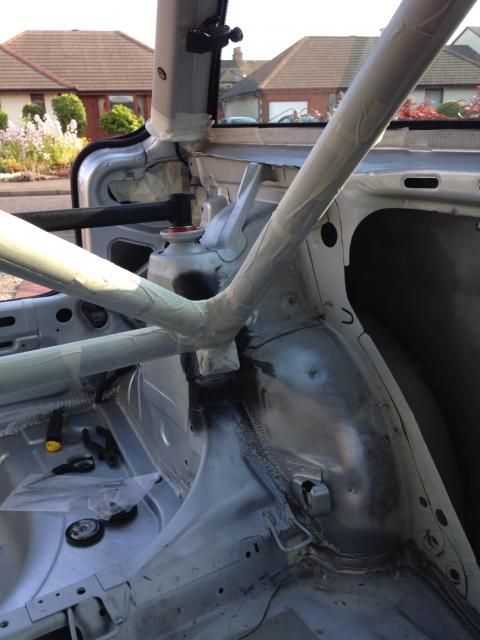
So I took the wires back and relocating them out of view and then masked up the cage and other surrounding parts/areas that wasn't getting hit with paint.

image_zpse6b77e4f.jpg


image_zps9f1dc117.jpg


image_zps0617590b.jpg


Looks tidier all ready without the wires! :p

Coat of primer...

image_zpsbb979782.jpg


Then let the car air out and dry before applying the 1st coat of silver...

image_zps713dbe5f.jpg


1st coat of silver...

image_zps0735bf62.jpg


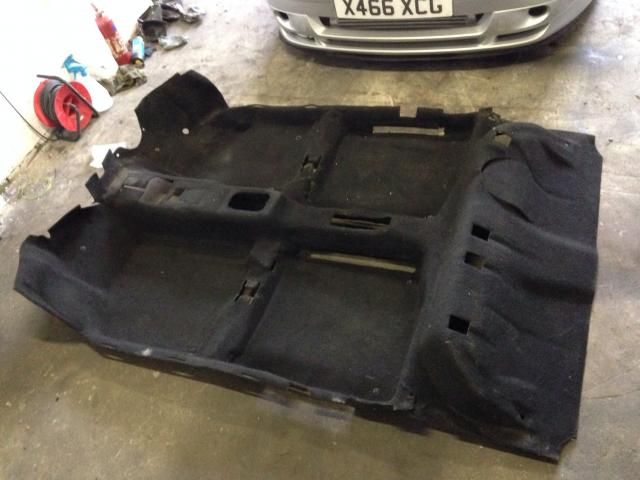
So while that was drying I got the carpet back out from the lockup...

image_zps35db6db8.jpg


Hovered it, ripped out all the sound deadining from the underside and then cut the back section off so it stopped just before the back seat area.

2nd coat got applied, dried and everything fitted back into place

Trying to get the carpet to fit back in the car with the cage was a small challenge but I got there in the end with the help from my trusty Stanley knife ;) ...

image_zpsbcdf1deb.jpg


image_zpsf4d99e52.jpg


image_zpscd1dda8a.jpg


Well happy with the results, it took bloody ages but was worth it in the end! :D

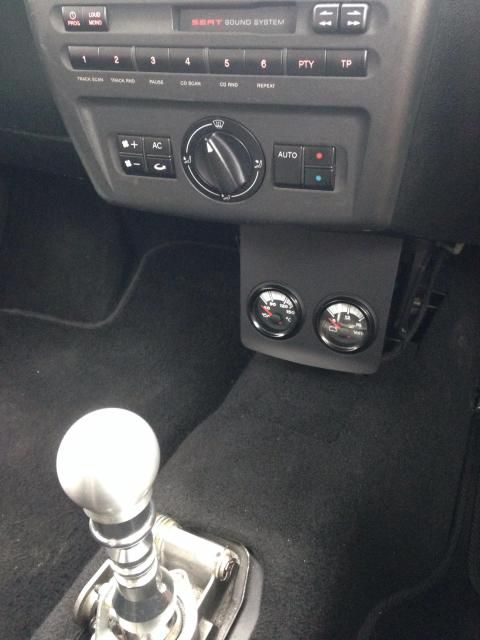
Looks good without the centre console and carpet combo...

image_zpsc76810b2.jpg


Everything all bolted back in place and where it all should be.

The finished article...

image_zpse904aa02.jpg


I've got a few more ideas up my sleeve for the inside, but for a later date! :whistle:

That's it for now.
 
Adrian Flux insurance services - discount for forum members.