• Guest would you be interested in CUPRA or SEAT valve caps? let us know in the poll

  • Welcome to our new sponsor Lecatona, a brand dedicated to enhancing performance for VAG group sports cars, including SEAT, Audi, Volkswagen and Škoda. Specializing in High Pressure Fuel Pump (HPFP) upgrades.

what have you done to your car today ?

csd_19

Full Member
May 11, 2005
2,279
28
Angus / Edinburgh
just make sure that plastic wing sits on properly and does not get pushed off when you put the rubber bit back, i did that to mine but only found out when i had a swimming pool in the passenger footwell [:@]

Which bit do you mean mate? The skirted pollen filter cover? Made sure that was on right ;) used a cane to make sure it was sitting properly :)
 
Last edited:

Dozer360

mk1 Seat Leon 20v T
Jun 1, 2010
1,026
1
southampton
Which bit do you mean mate? The skirted pollen filter cover? Made sure that was on right ;) used a cane to make sure it was sitting properly :)

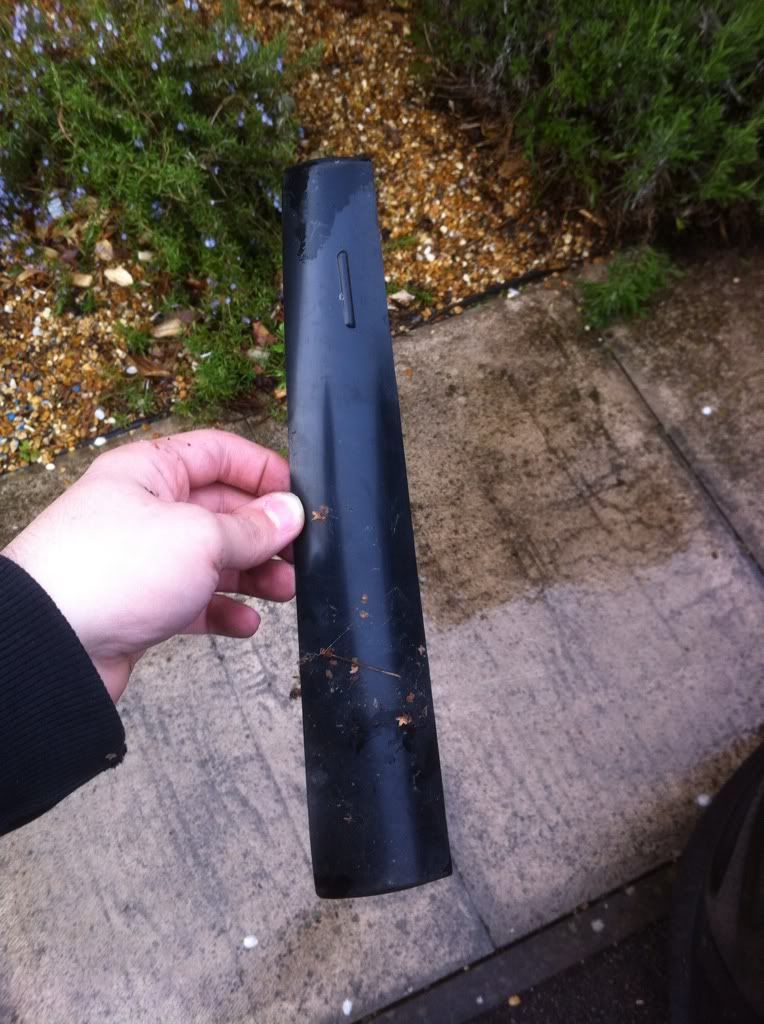
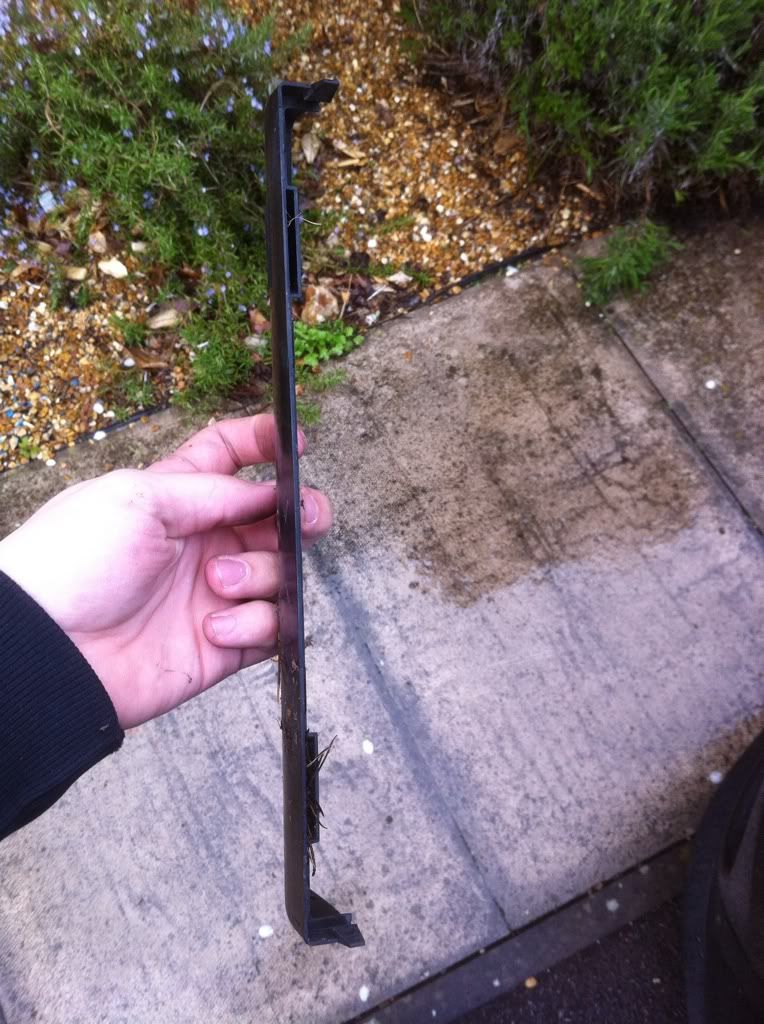
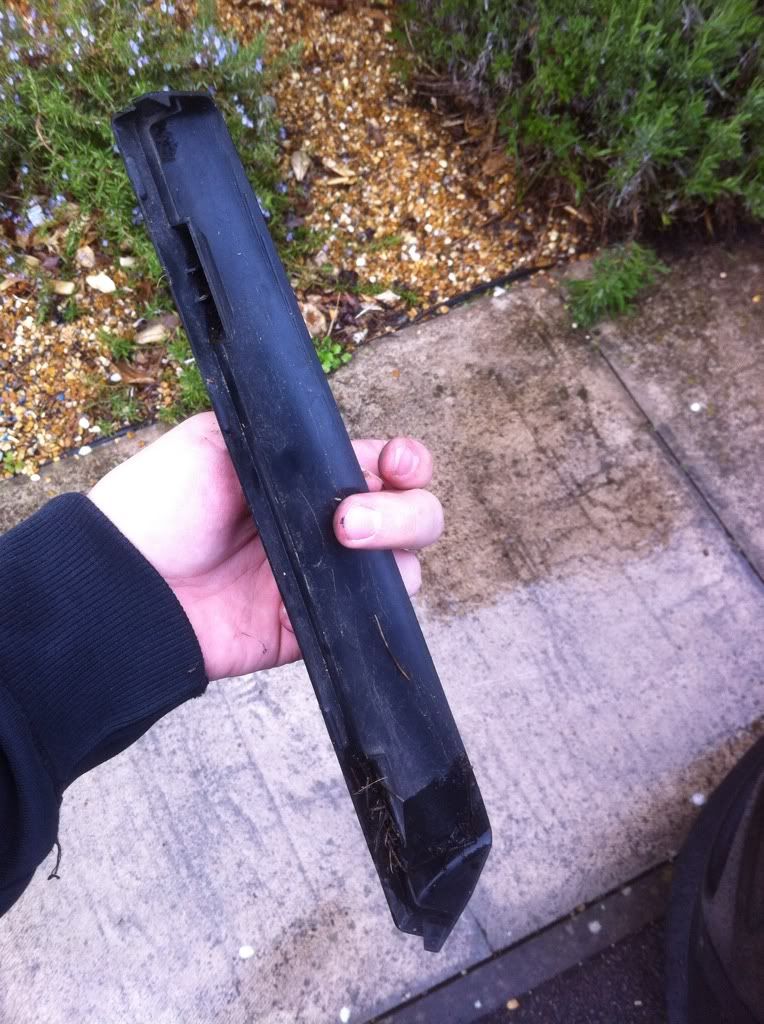
if thats what its called, its this bit
306d31ed.jpg


73a687cc.jpg


0f62b471.jpg
 

csd_19

Full Member
May 11, 2005
2,279
28
Angus / Edinburgh
if thats what its called, its this bit
306d31ed.jpg


73a687cc.jpg


0f62b471.jpg

Hmmm where the feck does that go?? Never seen that part on the car :think: I've got the rain guttering fitted above the filter, then the scuttle, the the filter cover....

Wouldn't surprise me if it was lost considering the bodged state of the cover (see my earlier posts in here for the pics).
 
Last edited:
Sep 4, 2012
719
1
Rainham essex
Hmmm where the feck does that go?? Never seen that part on the car :think: I've got the rain guttering fitted above the filter, then the scuttle, the the filter cover....

Wouldn't surprise me if it was lost considering the bodged state of the cover (see my earlier posts in here for the pics).


I found this on mine the other day when changing my pollen filter think it goes on top of the black plastic bit that goes on after the filter.
 

Mackay3

Guest
Yesterday, fitted the new glow plug wiring harness, and got my eml light canceled. Hopfuly all is good now.
 

csd_19

Full Member
May 11, 2005
2,279
28
Angus / Edinburgh
I found this on mine the other day when changing my pollen filter think it goes on top of the black plastic bit that goes on after the filter.


Cheers fellas :)

I've never seen that bit round my pollen filter before, looks like it protects the back edge of the filter from muck and water ingress... explains a lot considering what I found yesterday :rolleyes:

Well its been a minging day here so far,

AB12083F-orig.jpg


so I'll go check on things, fingers crossed there's no puddles in the footwells!
 

csd_19

Full Member
May 11, 2005
2,279
28
Angus / Edinburgh
Lol better change mine then as I put it at the front. Cheers lee


**EDIT**

No it does go at the front, that ETKA screenshot is for a LHD car so it should be right at the leading edge.

The rubber skirt on the new filter cover I put on reached down a fair distance over the filter housing, and there were no signs of water ingress at the leading edge of the filter or the housing. Not sure how necessary the extra bit is :confused:

On a plus point

6E5CF0CF-orig.jpg
76D4432B-orig.jpg


Two bone dry footwells, the talcum powder is still perfectly dry! :funk::rocker::cheers::1st:

Now just the joy of putting the interior back in! Not today though, its hosing down!
 

Mackay3

Guest
u3uvumut.jpg


Old glow plug harness versus new, terminal for no. 1 cylinder glow plug had broken off completly.
 

Mackay3

Guest
Oops! No wonder you had the EML on, any change to how its running?

It seemed to be running okay, but needed a bit more cranking when i was starting it on a frost morning. I think it was just the 1 plug that wasnt working but it didnt miss at all when you first started it unlike other dervs I've had.
 

dgjdrummer

Part-timer
Nov 5, 2011
1,310
4
Wrexham, N. Wales
On a plus point

6E5CF0CF-orig.jpg
76D4432B-orig.jpg


Two bone dry footwells, the talcum powder is still perfectly dry! :funk::rocker::cheers::1st:

Now just the joy of putting the interior back in! Not today though, its hosing down!

How much of a PITA is it to strip them out completely? Could you not just peel them back and leave to dry that way? (in better weather of course)

I'd rather not much about taking seats out and stuff when I do mine as it's my daily.
 

csd_19

Full Member
May 11, 2005
2,279
28
Angus / Edinburgh
It seemed to be running okay, but needed a bit more cranking when i was starting it on a frost morning. I think it was just the 1 plug that wasnt working but it didnt miss at all when you first started it unlike other dervs I've had.

Good stuff, sorted then :)

It will start easier on a cold winter morning :)

Been doing some research on audi s3 rad & washer bottle cover

Ahh yes, the long ones which cover the bottles etc, like these bad boys?

http://www.seatcupra.net/forums/showpost.php?p=3985103&postcount=1098
 

csd_19

Full Member
May 11, 2005
2,279
28
Angus / Edinburgh
How much of a PITA is it to strip them out completely? Could you not just peel them back and leave to dry that way? (in better weather of course)

I'd rather not much about taking seats out and stuff when I do mine as it's my daily.

*Apologies for the essay*

Mine was my daily too lol, was driving around for a while with no carpets in at all. Unfortunately the carpet and the underlay are both one massive piece so you need to take the seats out to dry it properly. I ended up cutting my underlay into a rear and front section as where they join at the side of the tunnel was pretty thin anyway.

The carpet is also quite stiff where it is shaped by trim pieces etc so it won't fold back nicely. It does also pass under the centre console as one piece in various areas so you need to take bits out first.

It doesn't really take that long to strip the interior, you'd be surprised tbh. Being methodical was the easiest way to do it, I used two takeaway tubs marked L & R to hold the various screws etc as they came out.

First thing was to get the seats out - ignore all the chat about reclining them and taking them out the rear doors, utter b*llocks, they fit fine in and out the front doors no problem. You also can't recline if they're electric as you need them in an upright position to have enough space to tip back and undo the airbag connector.

Start by removing the ignition key and/or disconnecting the negative on the battery. then slide the seats forward and remove the seat rail covers in the rear passenger footwell. Then slide the seat backwards until you can see the 2 13mm bolts holding the seat to the car, undo these bolts and you'll be able to move the entire seat base etc backwards in the runners. Slide it back until you can then tilt the front of the seat up, you'll be able to see and undo the airbag wiring at the plug. It might be a bit tight!

Once the airbag is disconnected make sure the seat is completely out of the runners and lift it up and out through the passenger door. Repeat for the driver's side.

You only need to remove the rear seat bases to get the carpet out, so flip them forward and squeeze the hinges towards the middle of the car to release (you'd know what I mean if you saw it).

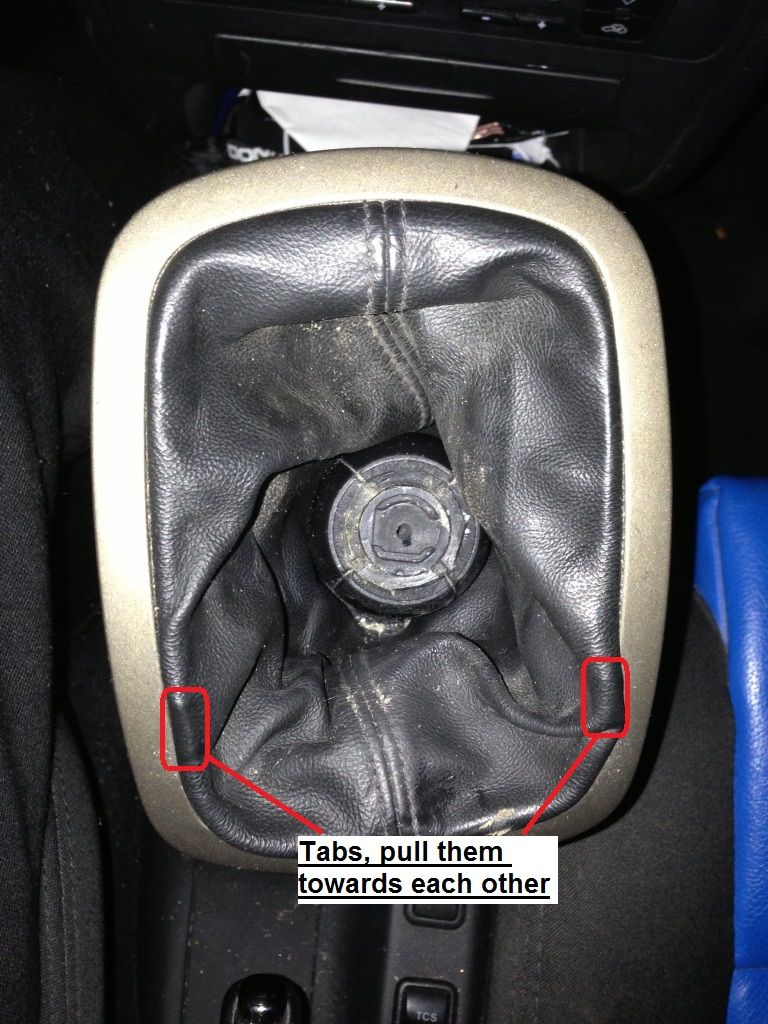
After this I set about removing the centre console, basically undo all screws, bolts etc you can find down the sides of it, I'm sure there's a fixing under the middle of it too (that funny tabbed bit under the handbrake). I also unclipped the gearstick gaitor as I had to use the car. Carefully manoeuvred the console backwards from the dashboard, making sure to push through the buttons for the TCS and fuel filler cap on the way, and push the diagnostic socket out of its location under the ashtray.

Once that was done it was a case of going round the trims at the door openings etc and gently prising them off (T20 torx screw at the base of the B-pillar FYI ;)), you'll need to remove the covers up the bottom half of the B-pillars first though, these just pull off.

Once those are off along with the other trim parts you'll need to also remove the driver's footrest.

The carpet is stuck to the car under the rear seats, but you can peel it off (just double sided sticky pads).

There is one area which might cause issue and that is under the heater in the middle of the dash. You can either make a cut in the carpet (and the underlay) behind the unit which will allow it to slide out, or you can move the rubber seal connecting the heater outlet to the rear foot ducts. It looks a bit like an elastic band lol :) Either way will allow you to coax the carpet and underlay out from under the dash.

Get the carpet out first, which will no doubt feel a bit soggy in places lol, I can guarantee the underlay will weigh a ton in comparison with all the water in it. Partly the reason I cut mine was for ease of handling and subsequent drying.

You can then put your seats back in after mopping up the water in the footwells, just remember you may find more leaks than you originally thought were there! :)

I'd reckon only an hour or two would be needed for this, I can't remember exactly how long it took me. Dropped the seats back in last night in ten mins though ;)
 
Last edited:

Ronin225

Active Member
Jan 17, 2008
4,652
22
Worcester
Changed the glow plugs in my sisters L200 then swapped my 007 with a Baileys DV30 i took from the S3 when i broke it
Got it listed on ebay so thought i better try it out as supposedly they are more audible
 

useyourname

Active Member
Aug 2, 2012
322
0
In a shed
Since it's been raining constantly for about a week I decided to check out my carpets as I need the door seals doing; passenger rear was absolutely drenched and drivers footwell bad aswell. Spent 45 minutes drying and hoovering and made it much better. Left the doors open for a couple hours too. Also ordered my sealant for doing the job next weekend providing the weather holds up.

I had a knocking noise under the bonnet, looks like it was my engine cover as a plastic screw thing was missing from one corner, so I took it off and found a split pipe:
http://imgur.com/a/kyR6e - Ouch :cry:

Also removed the carpet from under the bonnet as I've heard it makes the engine louder :)

Made my car sit there and watch for 2 hours as I valeted the missus Fiesta. It had what looked like half a forrest inside the interior.
 
Genuine SEAT Parts and Accessories.