• Guest would you be interested in CUPRA or SEAT valve caps? let us know in the poll

  • Welcome to our new sponsor Lecatona, a brand dedicated to enhancing performance for VAG group sports cars, including SEAT, Audi, Volkswagen and Škoda. Specializing in High Pressure Fuel Pump (HPFP) upgrades.

what have you done to your car today ?

taff141177

Active Member
Jan 28, 2012
388
0
crewe
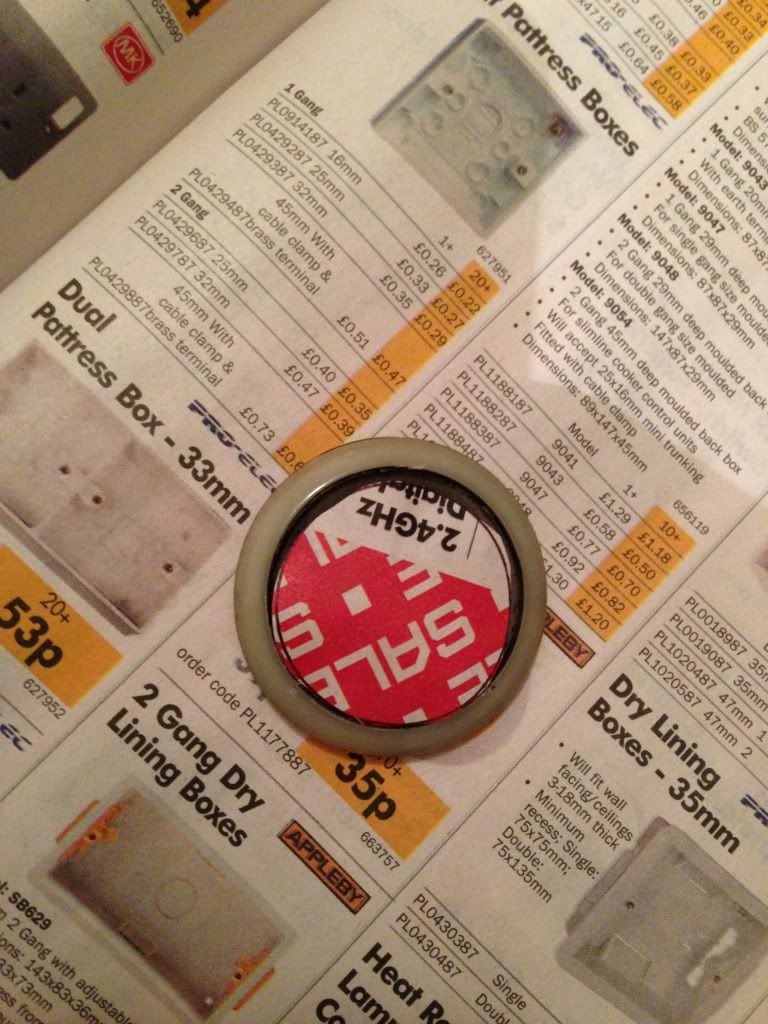
Just removed my multi changer and put the insert in which dave from sere motors supplied and very quick delivery aswell
y8upy9ug.jpg

davevu4u.jpg


Plus put these on yesterday
zuqu2uhu.jpg

zeperyqa.jpg

The last image is upside down oops
 
Last edited:

RaviR50

Active Member
Aug 15, 2012
2,756
6
Southampton
Just did a temporary fix on the seals, bit of cling film taped to the sills, hopefully that will keep a little bit of the rain out till i can get the bits needed for the fix
 

Fozzy84

Active Member
Apr 23, 2012
252
137
Took mine to a trackday at oulton park and spent £70 in fuel and managed 11.4mpg average!
Car performed very well and outran some more powerful motors!
 

dgjdrummer

Part-timer
Nov 5, 2011
1,310
4
Wrexham, N. Wales
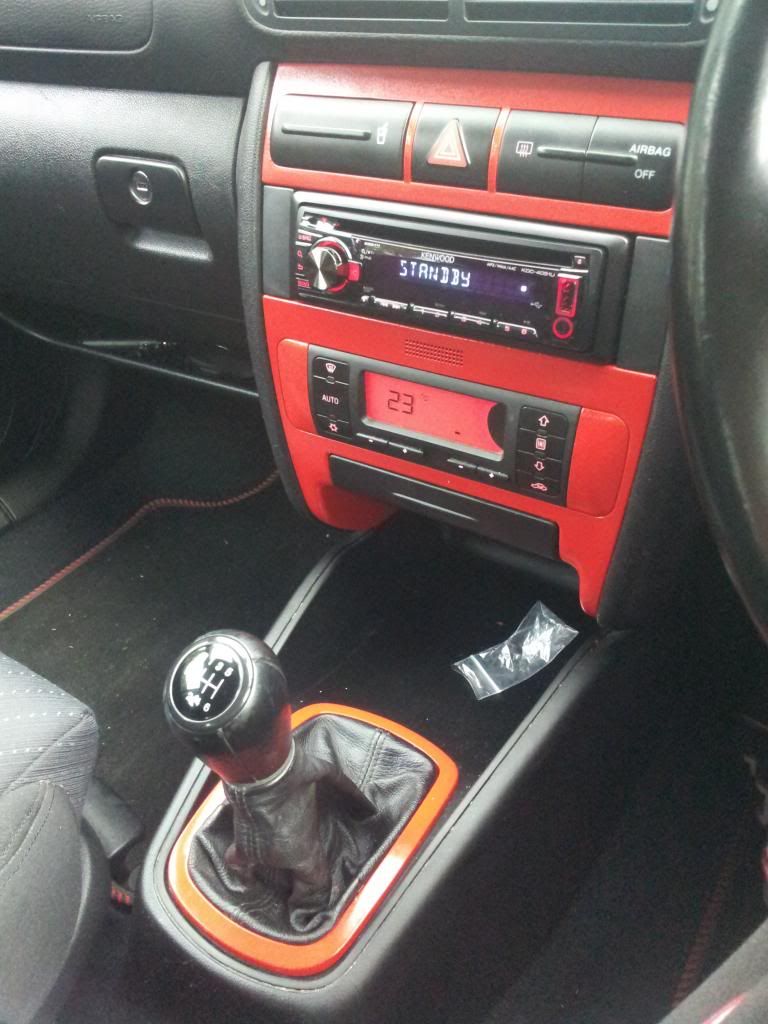
How did you colour your gear knob? Looks pretty cool

Cheers :D whatever you do, DON'T attack the sides of it with a screwdriver and chip it like I did :censored:

Get a small flatblade screwdriver under the little badge on the top and lift this off. There's a screw there holding the surround on (the bit I've painted). Unscrew it and the surround just lifts away, then simply spray and fit back together :) removing/re-fitting takes all of 2 minutes.
 
Last edited:

Dozer360

mk1 Seat Leon 20v T
Jun 1, 2010
1,026
1
southampton
Cheers :D whatever you do, DON'T attack the sides of it with a screwdriver and chip it like I did :censored:

Get a small flatblade screwdriver under the little badge on the top and lift this off. There's a screw there holding the surround on (the bit I've painted). Unscrew it and the surround just lifts away, then simply spray and fit back together :) removing/re-fitting takes all of 2 minutes.

nice, i will have to attempt this now, always wanted mine blue rather than the worn out grey look its sporting atm
 
Jun 14, 2003
547
0
Southampton
Visit site
Cheers :D whatever you do, DON'T attack the sides of it with a screwdriver and chip it like I did :censored:

Get a small flatblade screwdriver under the little badge on the top and lift this off. There's a screw there holding the surround on (the bit I've painted). Unscrew it and the surround just lifts away, then simply spray and fit back together :) removing/re-fitting takes all of 2 minutes.

Thanks for this - cant believe there isn't a Cheeky little guide for this simple mod
 

dgjdrummer

Part-timer
Nov 5, 2011
1,310
4
Wrexham, N. Wales
Hahaha I've been thinking for a while we need a guide for all these small mods that get overlooked!

I managed it after about 15 minutes of trying to pry the thing off the top with a screwdriver (and subsequently taking a chunk out of the side) but it would save other people a lot of hassle!

Let us know how you get on with it :D
 

Dozer360

mk1 Seat Leon 20v T
Jun 1, 2010
1,026
1
southampton
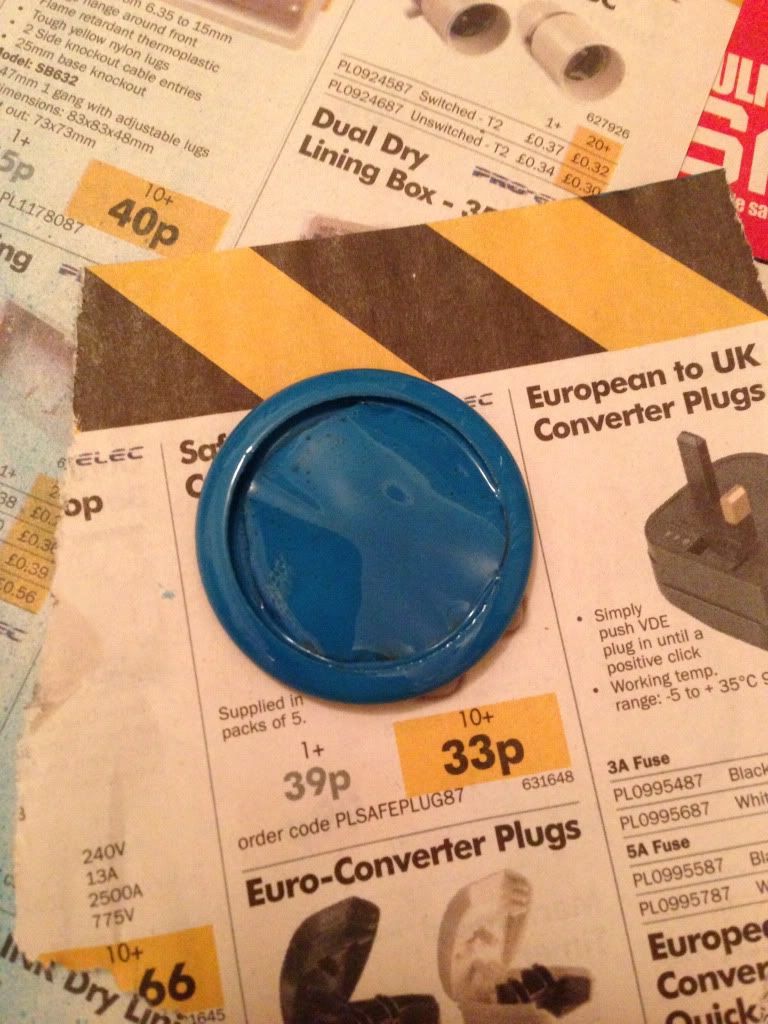
couldnt wait, and the GF has :censored: xfactor on [:@].

null-23.jpg


null-24.jpg


and i just ordered my trainers to match
null-25.jpg


i'll have to wait till tomorrow to find out how to get the gear gaiter surround off then paint that to.
 
Last edited:

RaviR50

Active Member
Aug 15, 2012
2,756
6
Southampton
i'll have to wait till tomorrow to find out how to get the gear gaiter surround off then paint that to.

I've done mine red,
20121018_161753_zps66a9789d.jpg

easy to do, just get the whole thing out, theres 2 tabs either side, then the silver bit unclips with a bit of force, carful not to break the little tabs though it wont go back on otherwise haha
 

Dozer360

mk1 Seat Leon 20v T
Jun 1, 2010
1,026
1
southampton
I've done mine red,
easy to do, just get the whole thing out, theres 2 tabs either side, then the silver bit unclips with a bit of force, carful not to break the little tabs though it wont go back on otherwise haha

thanks, ill give it a go, is the leather bit attached or can i just take the plastic bit off?
 

csd_19

Full Member
May 11, 2005
2,279
28
Angus / Edinburgh
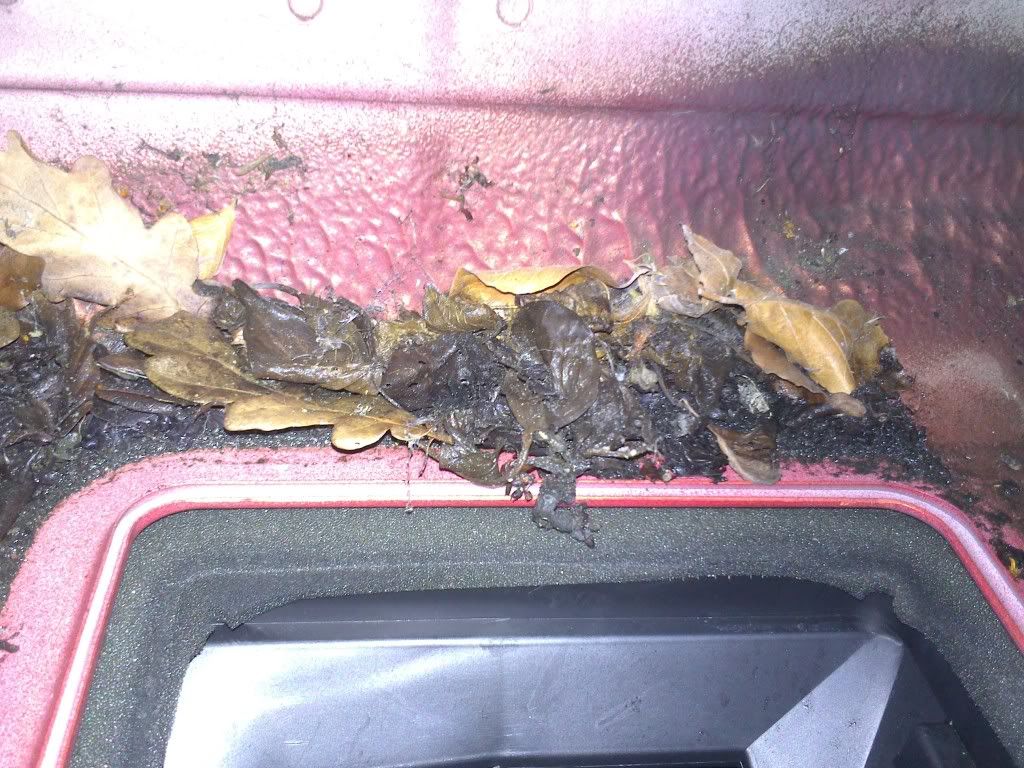
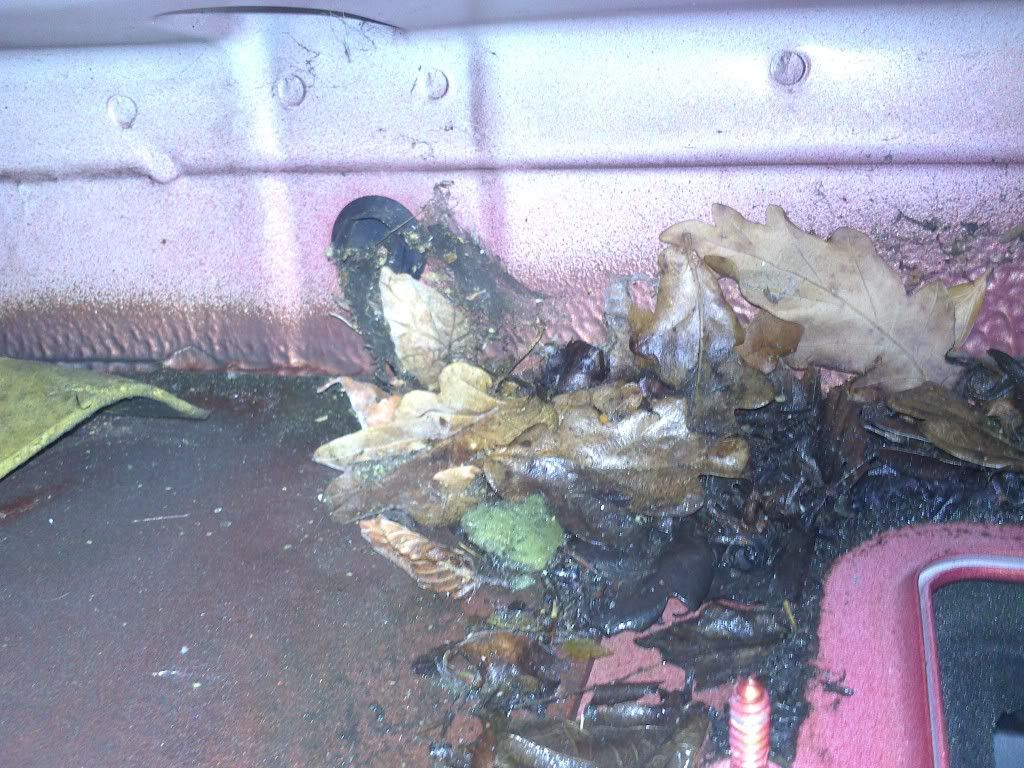
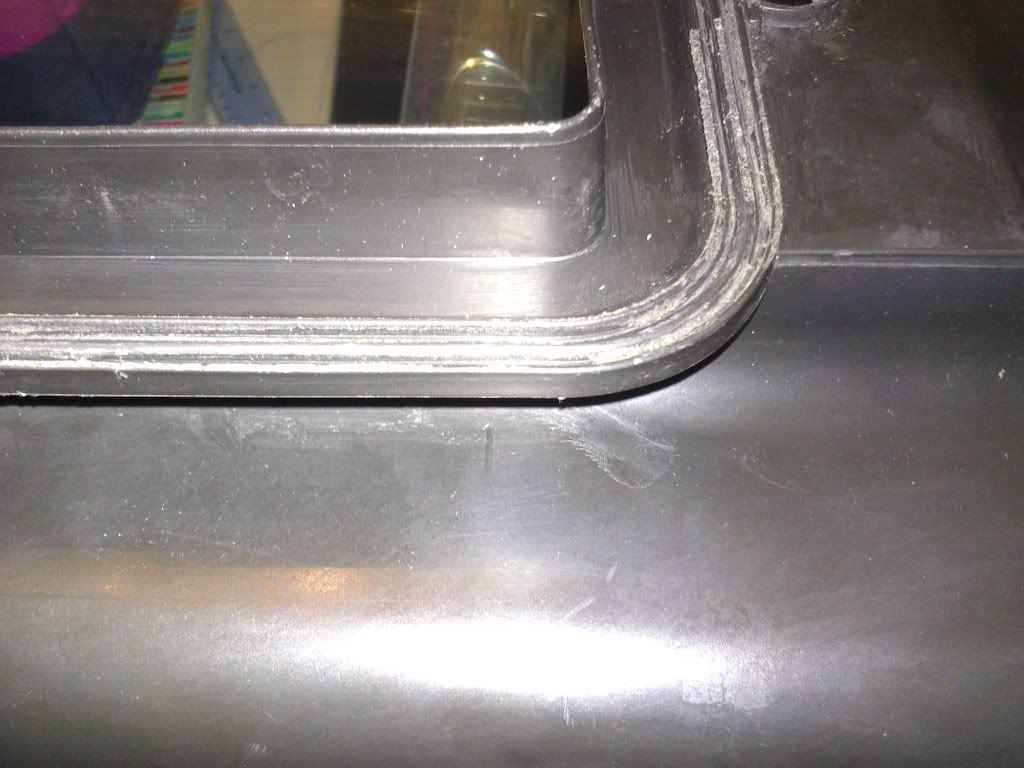
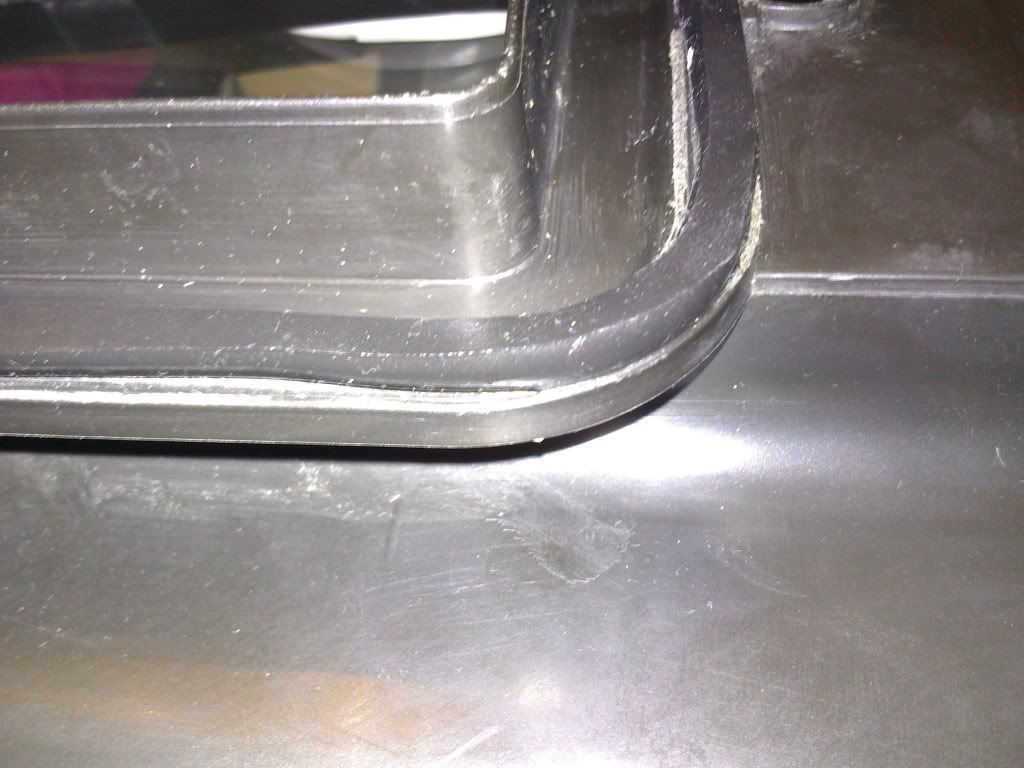
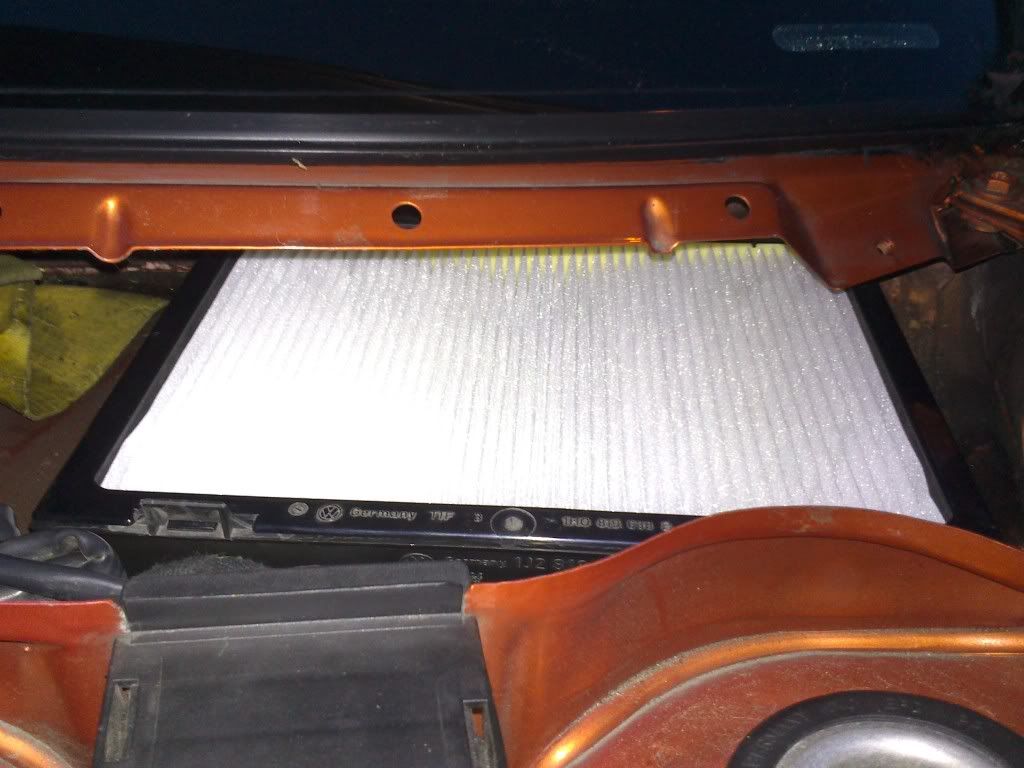
Was determined to find the cause of the final small water leak into the car (after replacing the pollen filter cover) before refitting the carpets. I pulled the glovebox out and with a bit of contorsionism I was looking up at the bottom of the fan unit, and specifically the closed flap for the recirc setting. At the edge of this I could see some moisture and figured there was still water getting in at the filter. So I removed the wipers, engine bay seal, scuttle panel, rain channels, pollen filter (again) and then the actual pollen filter housing. The housing is held in by two 10mm plastic nuts and a foam seal, one nut is inside the housing with the other one outside, between the housing and the inner wing area.

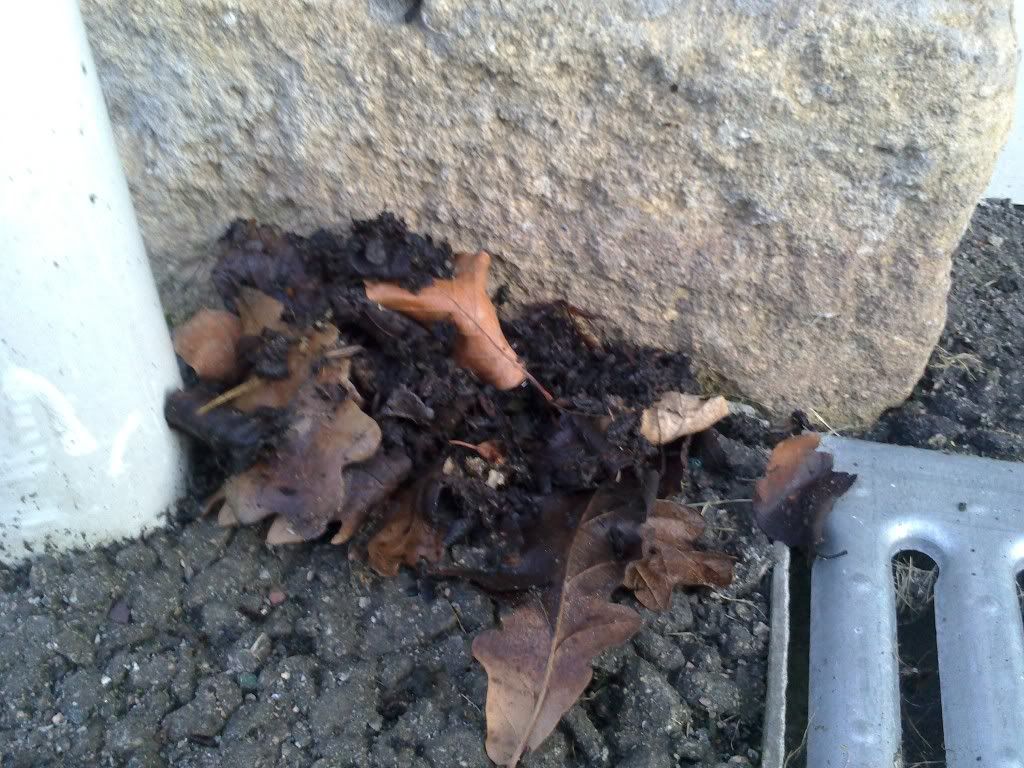
Once the filter housing was out I discovered this small amount of rubbish:

44109E47-orig.jpg


0DD0AD33-orig.jpg


CEAE464E-orig.jpg


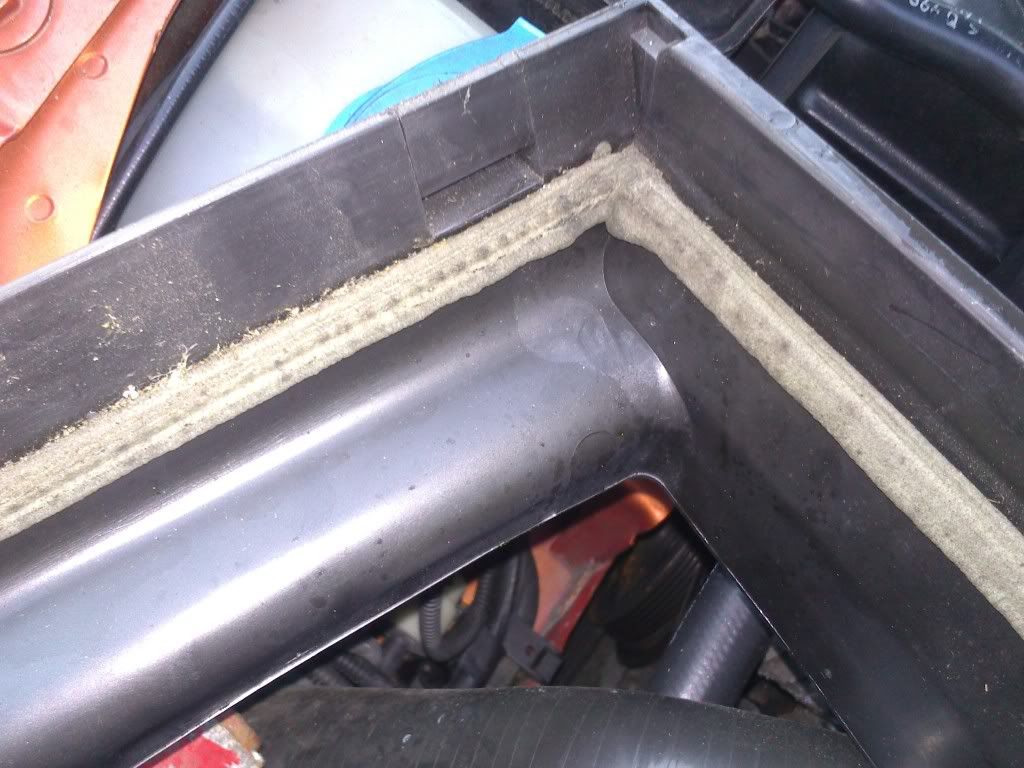
After inspecting the filter housing closely I could see water had tracked down the inside of the filter housing between the filter holder and the housing itself - with the height of damp leaves behind the housing the water must've been slowly making its way into the housing.

56113C30-orig.jpg


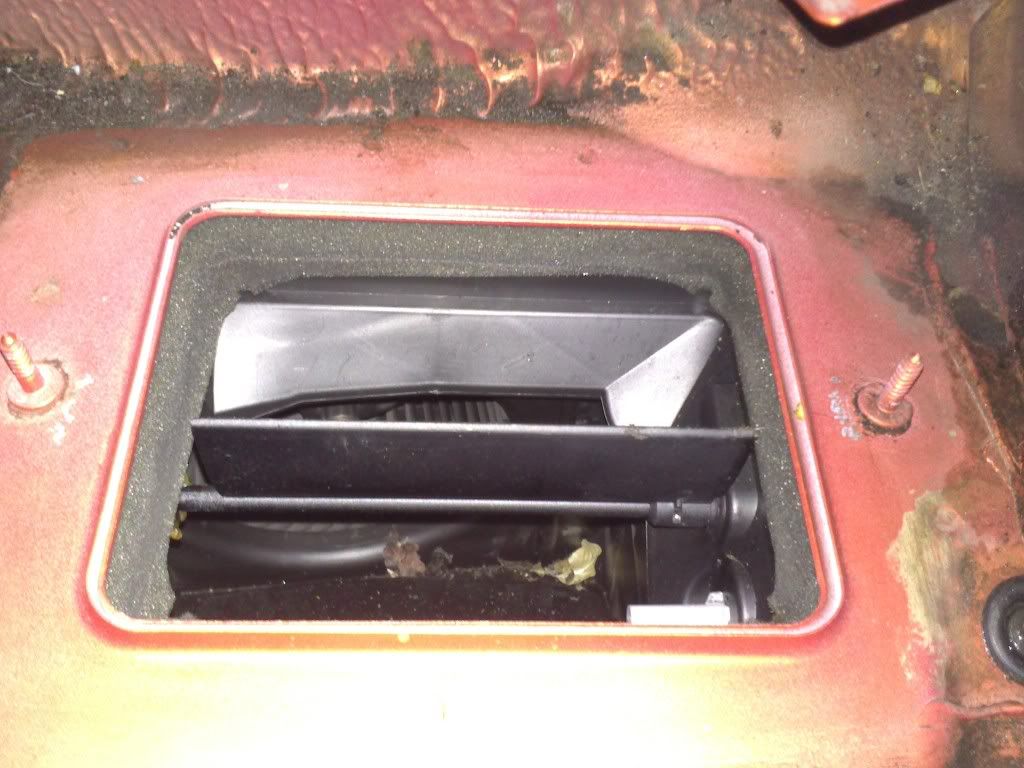
Cleaned all the crap out around the entrance to the fan unit (I hoovered out the few leaves which had fallen in when I took the housing off) - the flap you can see is for drawing in fresh air and closes when the recirc is activated ( and the lower flap opens)

61306732-orig.jpg


The foam seal (ha!) around the base of the housing was soaking as well, water would've been free to pass through it so I peeled and scraped off as much as possible

C9844F54-orig.jpg


before using some of the butyl I had left over from doing the doors to make a new seal

07FC7725-orig.jpg


The filter housing and filter were then reinstalled along with the rest of the bits...

73C7DA9E-orig.jpg


Hoping that is it now, it started hosing down about 20 mins ago so fingers crossed this is the last of it....

If not then it's getting torched/sold/broken! :handbags: ;) :rifle:
 
Last edited:

Dozer360

mk1 Seat Leon 20v T
Jun 1, 2010
1,026
1
southampton
Hoping that is it now, it started hosing down about 20 mins ago so fingers crossed this is the last of it....

If not then it's getting torched/sold/broken! :handbags: ;) :rifle:

just make sure that plastic wing sits on properly and does not get pushed off when you put the rubber bit back, i did that to mine but only found out when i had a swimming pool in the passenger footwell [:@]
 

Dozer360

mk1 Seat Leon 20v T
Jun 1, 2010
1,026
1
southampton
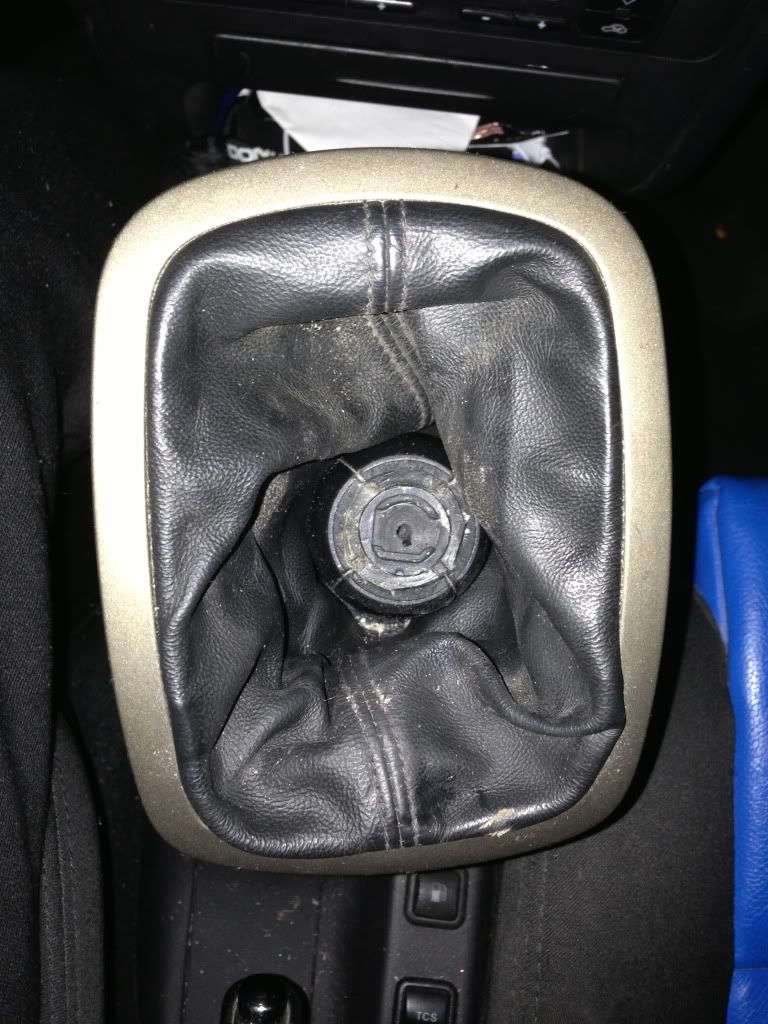
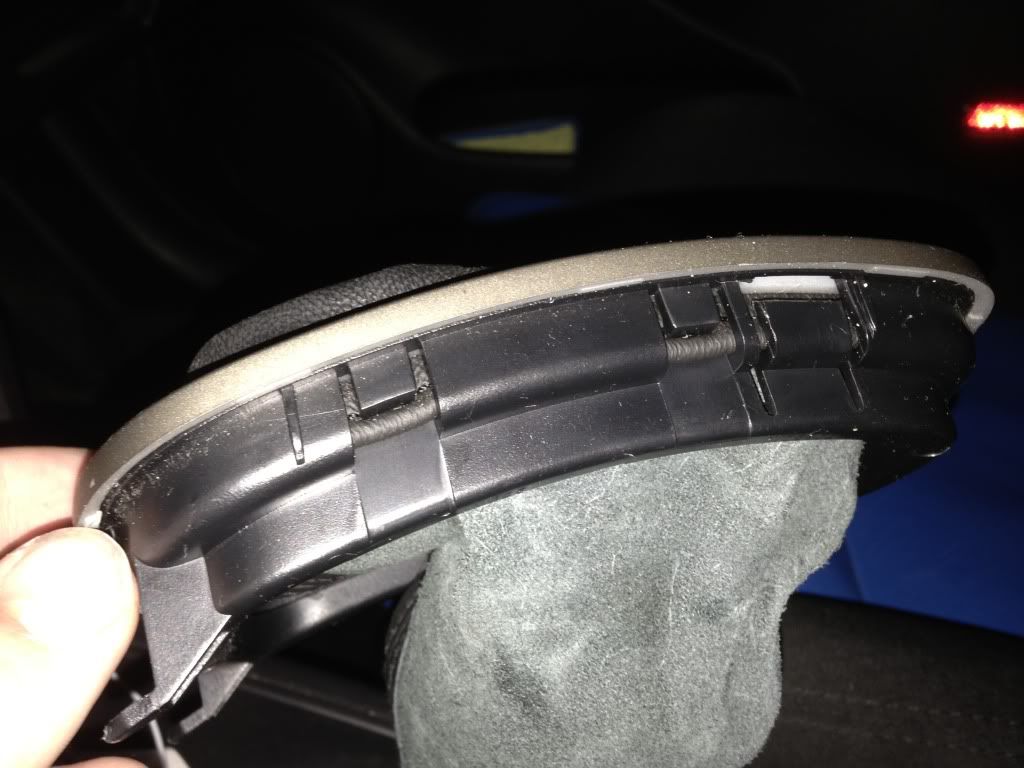
got my gaiter off, didn't know what everyone ment by pushing the tabs so i stuck a flathead down there and it popped out fine
null-26.jpg


was a bit of a pain trying to separate the top part trying hard not to break it using the interior lights to try and see what im doing
null-28.jpg


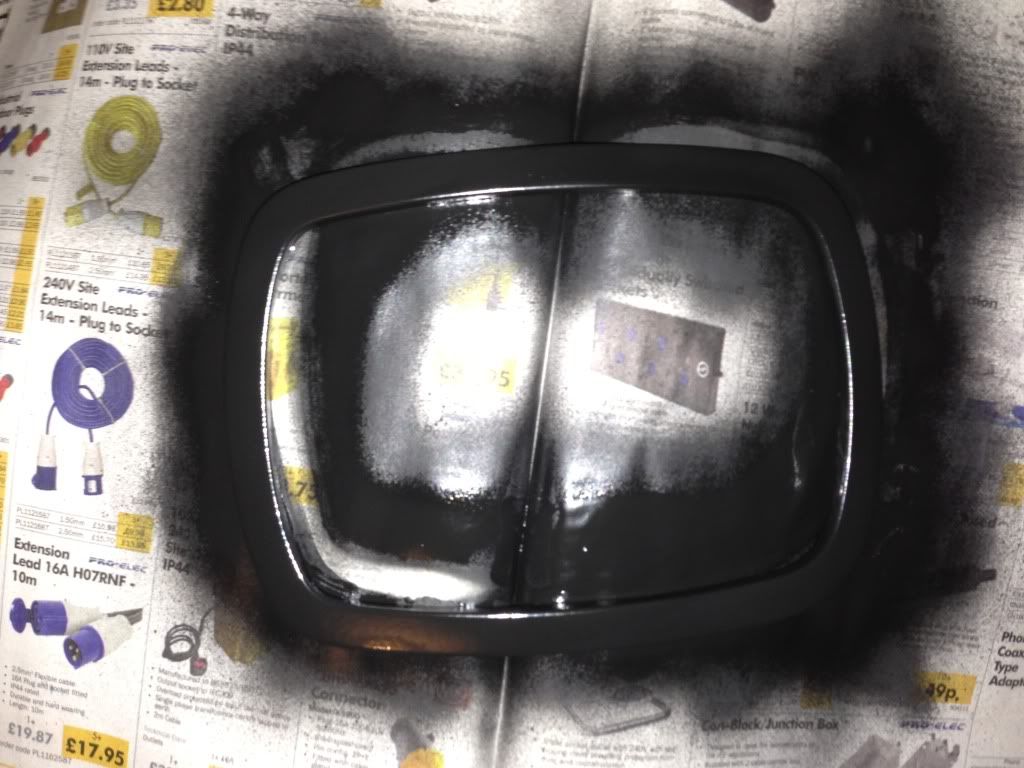
then tried painting it straight away but it wouldnt stick so i rubbed that off and put some primer on first, than that started taking the grey plastic/pain so after scratching it all doen to the clearish plastic i have just put some primer on ready for painting in the morning
null-31.jpg
 
Nimbus hosting - Based solely in the UK.