• Guest would you be interested in CUPRA or SEAT valve caps? let us know in the poll

  • Welcome to our new sponsor Lecatona, a brand dedicated to enhancing performance for VAG group sports cars, including SEAT, Audi, Volkswagen and Škoda. Specializing in High Pressure Fuel Pump (HPFP) upgrades.

Robbie C's Ibiza Cupra

Jan 8, 2007
2,958
1
Wiltshire
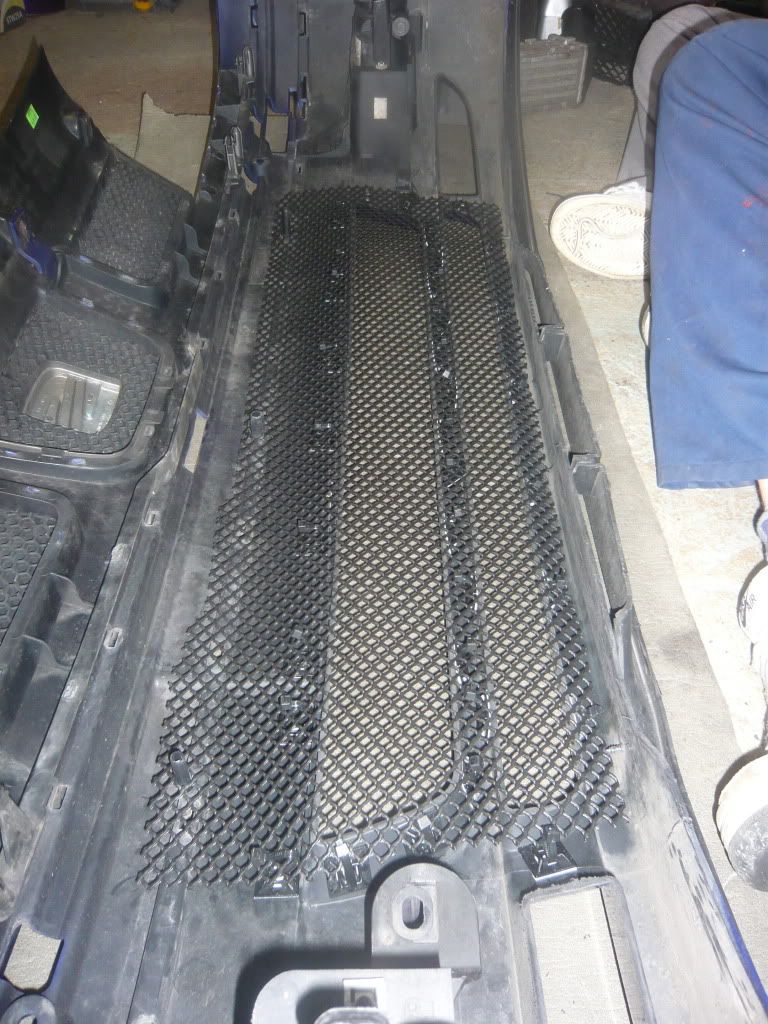
All done and tidied up:
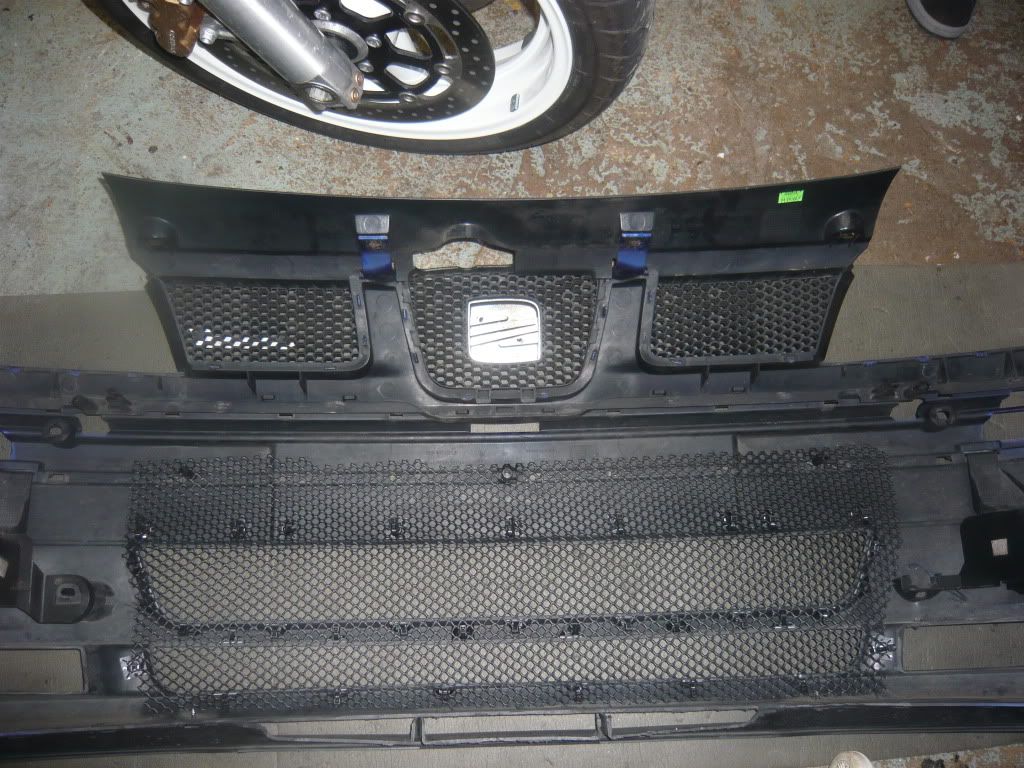
P1000690.jpg


P1000691.jpg


How it looks on the car:

P1000692.jpg


P1000693.jpg


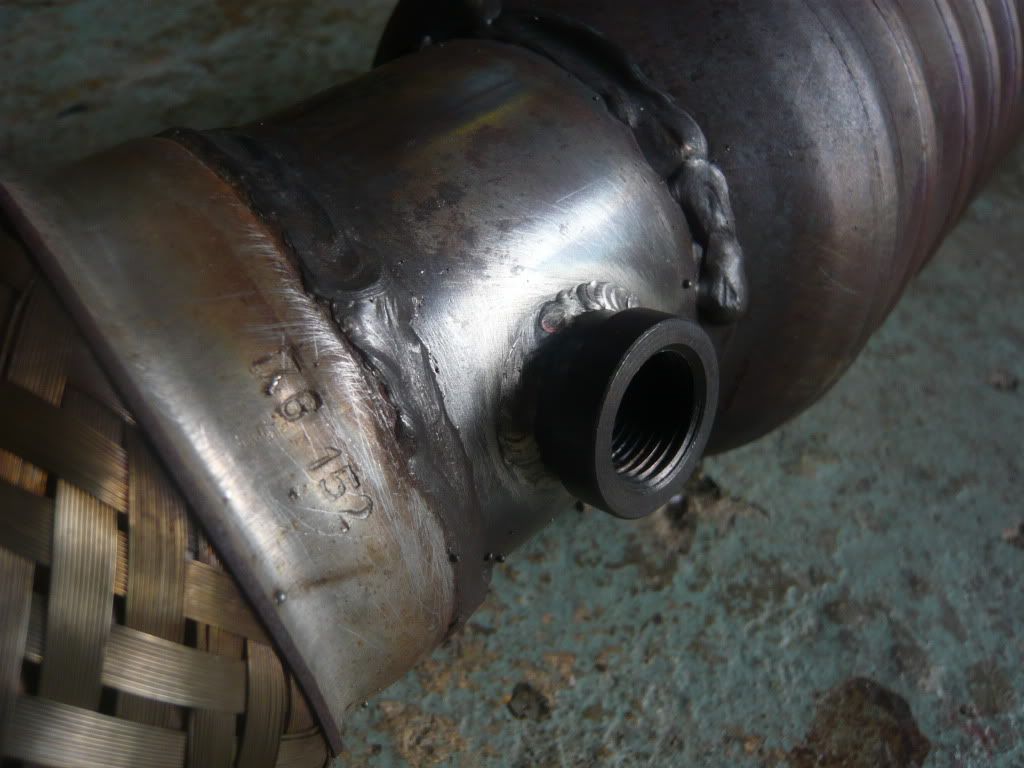
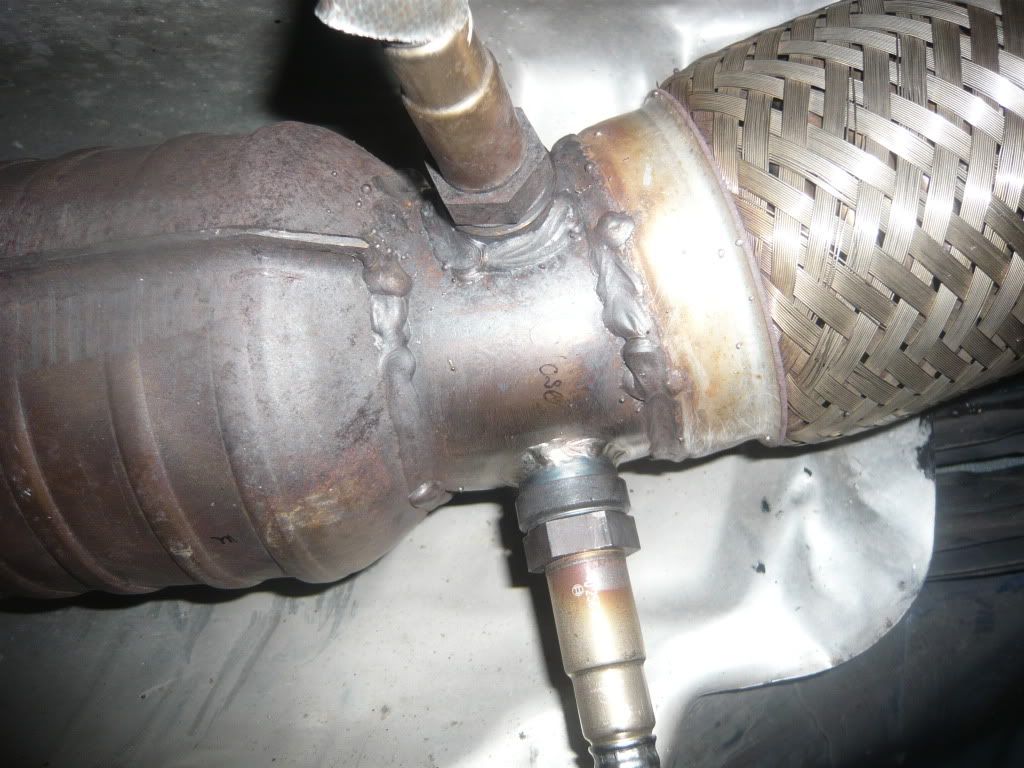
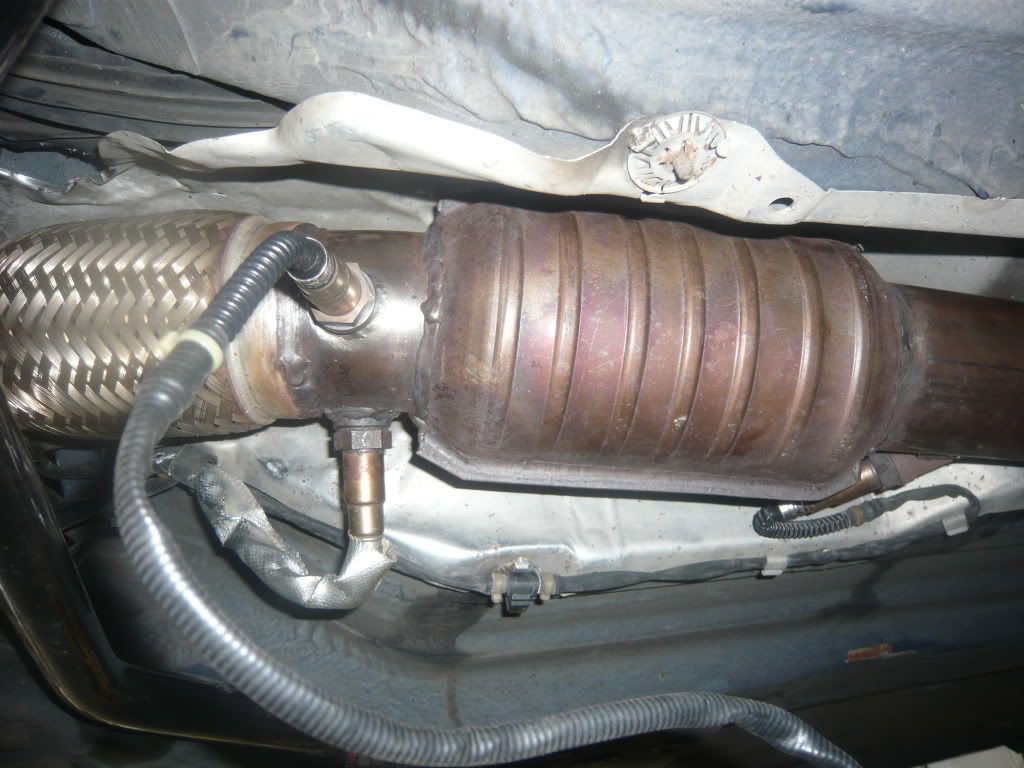
To finish off the evening we then got the downpipe lined up on the turbo to mock up where I needed to weld in an extra bung to accommodate my Bosch LSU-4 wideband sensor. It's advised you fit these at least 16" away from the turbo which meant it was going to sit roughly in the same place as my pre-cat lambda, in-between the flexi and the cat which works out at 17" away on my Blueflame system:
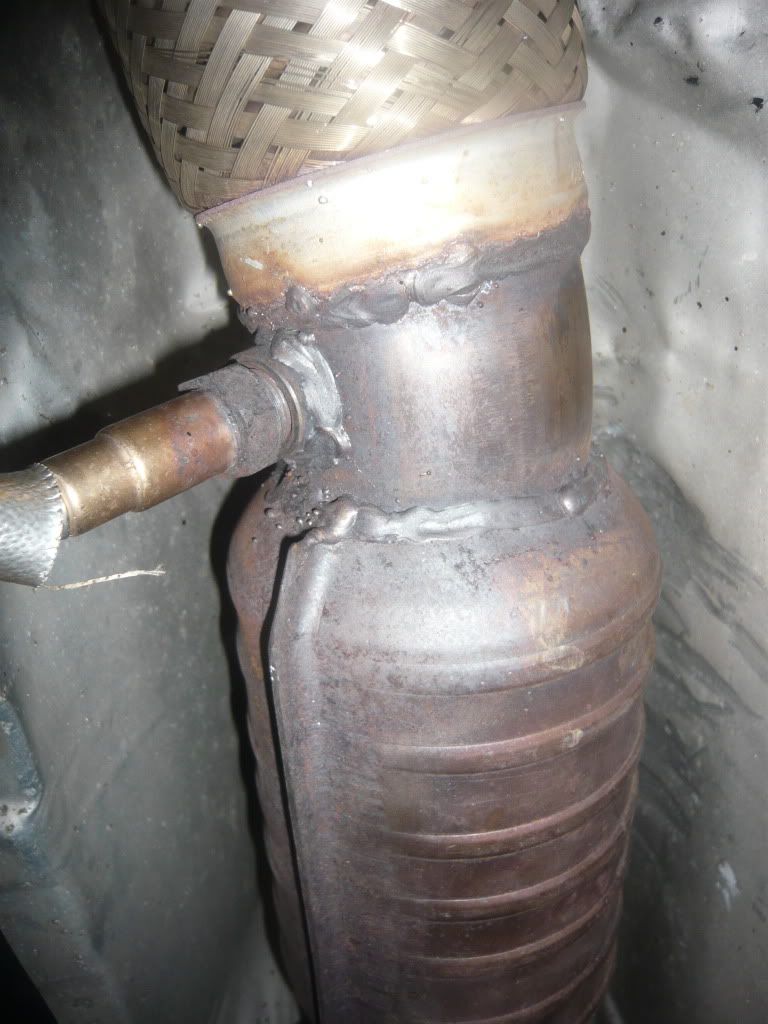
P1000695.jpg


Hole position outlined in black pen with bung on the floor:
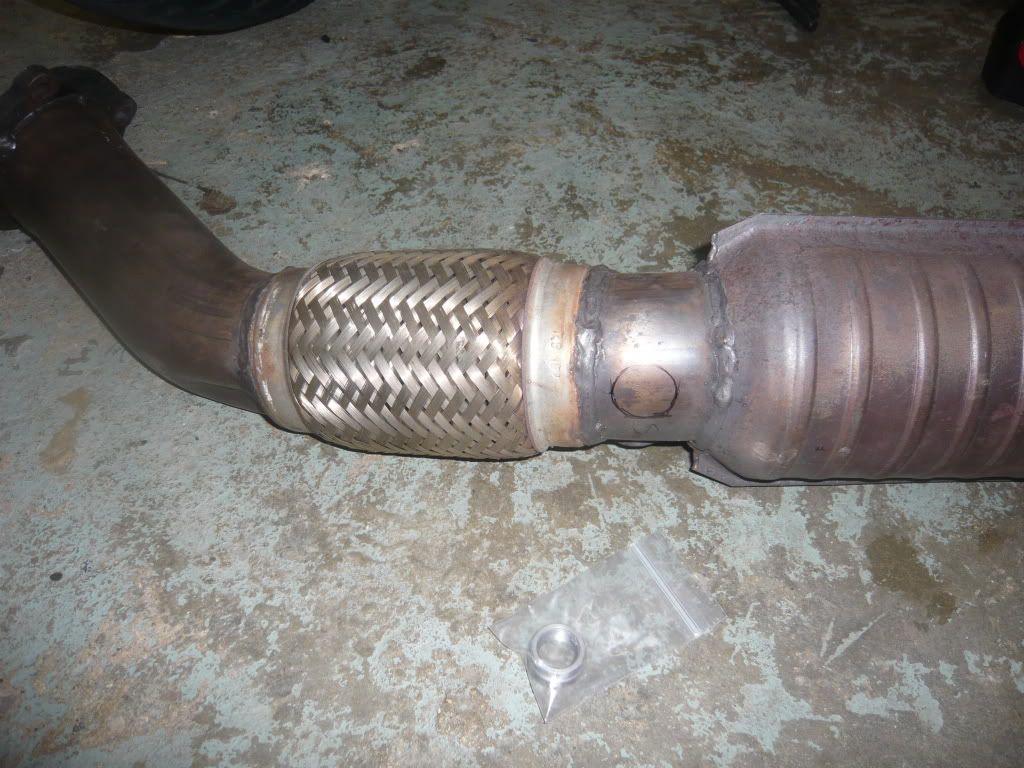
P1000696.jpg


With this marked up it was ready to be sent into my Dad's work the next day for their metal fabricator to weld this bung in place :)
 
Last edited:
Jan 8, 2007
2,958
1
Wiltshire
Day 18

Carrying on from Thursday night the bung was now welded nicely in place, ready for the whole exhaust to be fitted back on the car:

P1000698.jpg


P1000699.jpg


P1000700.jpg


P1000702.jpg


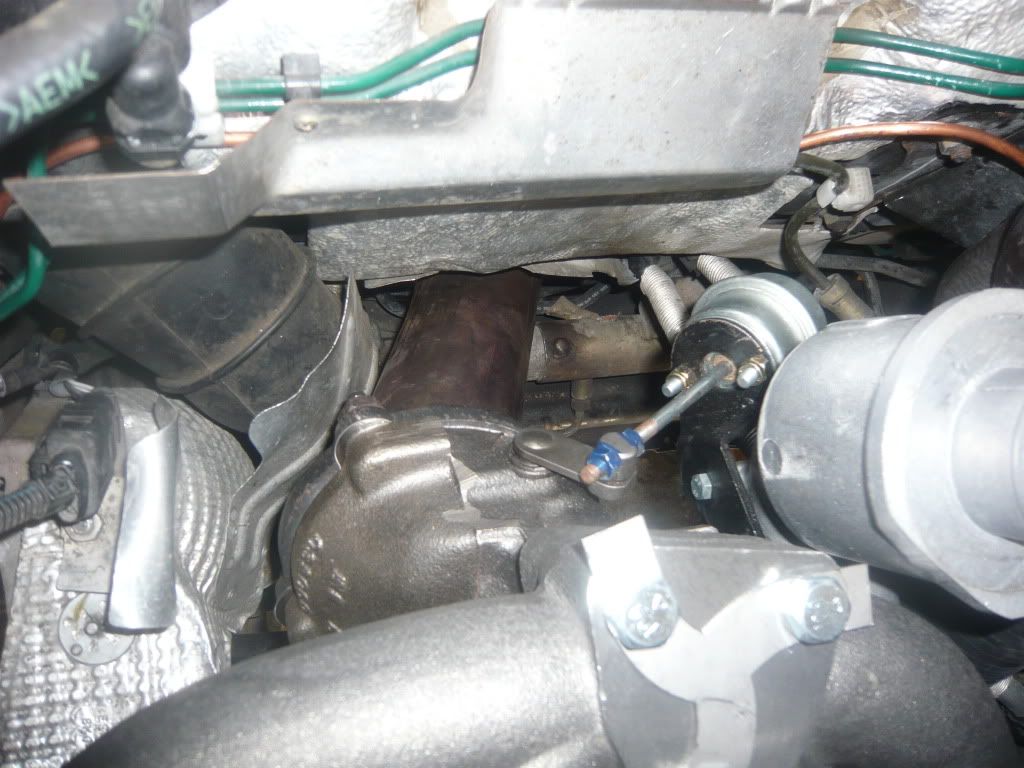
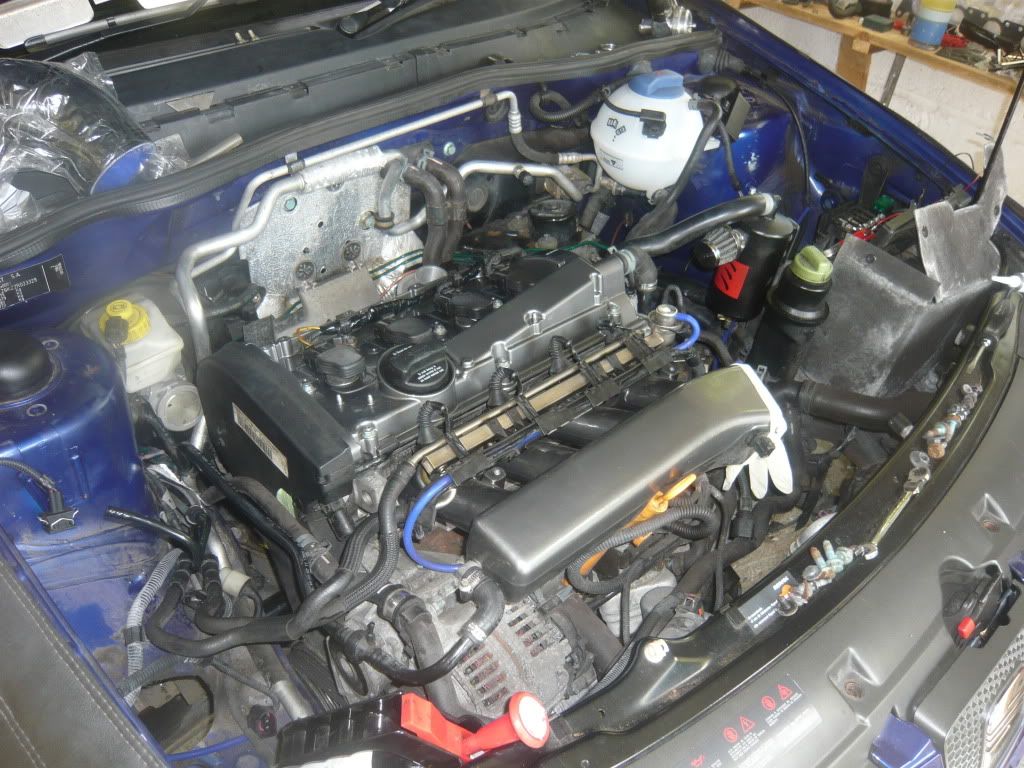
With the turbo and manifold now fixed firmly in position we re-fitted the rocker cover and coils:

P1000701.jpg


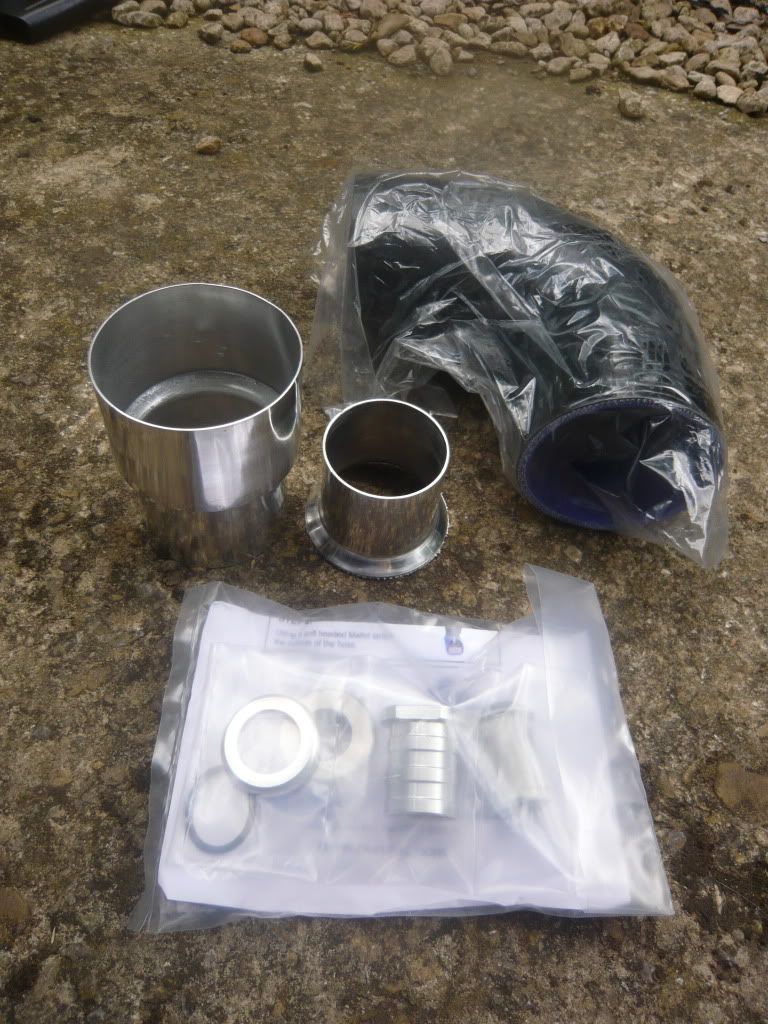
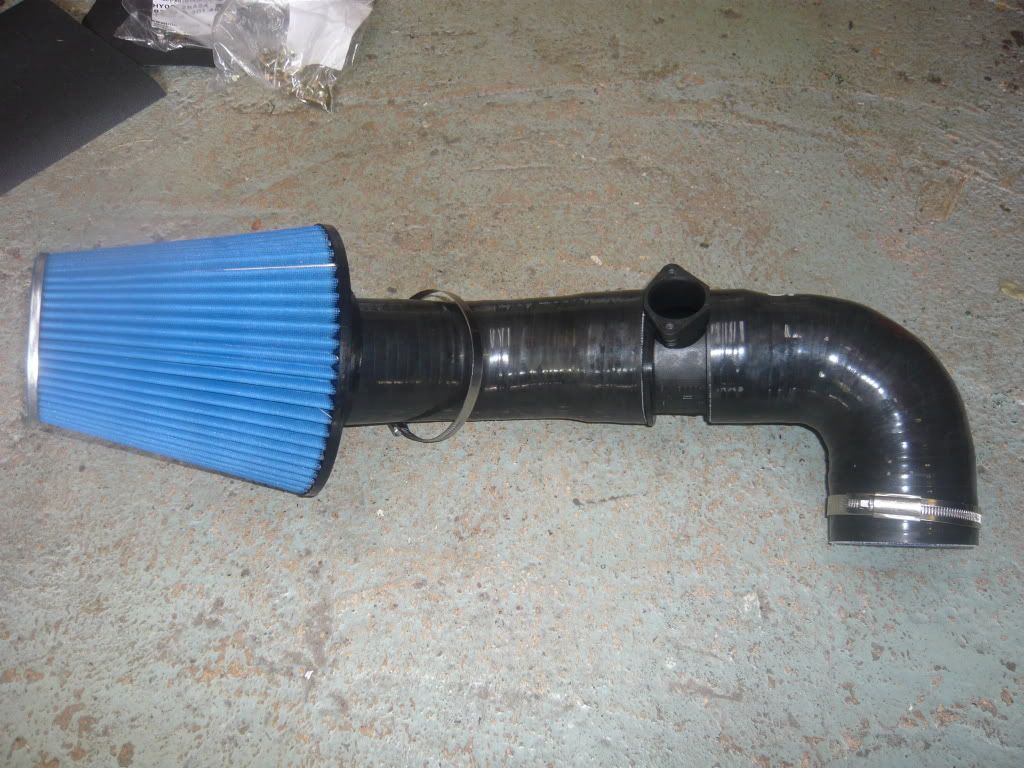
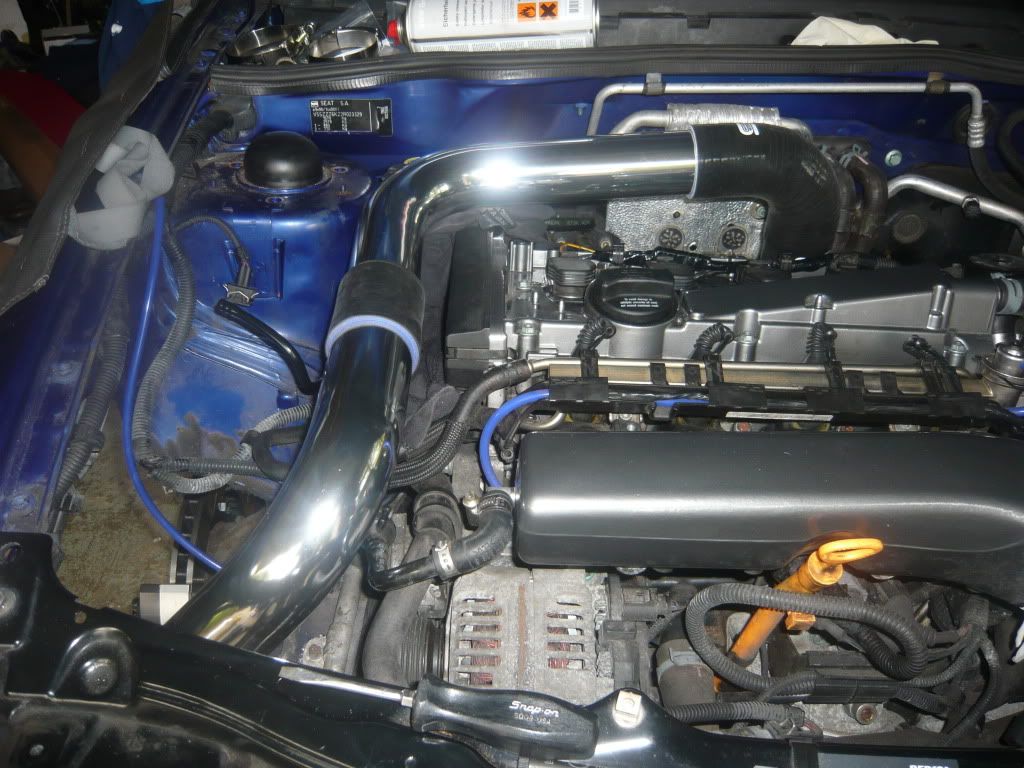
Next up, we began making up my custom TIP using a 63-51mm 90 degree bend onto the turbo, adjoining a 76-63mm ali reducer which joined a 76mm (3") 90 degree silicone bend. This was then mated to my 3" MAF housing which joined onto a 45 degree silicone bend, taking the filter out nicely to the wing where the standard airbox once sat.

In the pic below you can also see my Revotec 25mm self-sealing bung which I'll be using for the diverter valve:

P1000703.jpg


Here's the top half mocked up:

P1000705.jpg


Trying to get the standard MAF element from my Ibiza housing proved seemingly impossible with our tamper-proof and torx heads but we later learned these screws can be undone using a TS25 bit (5 splines as opposed to 6 on a torx head) or simply with some pliers.

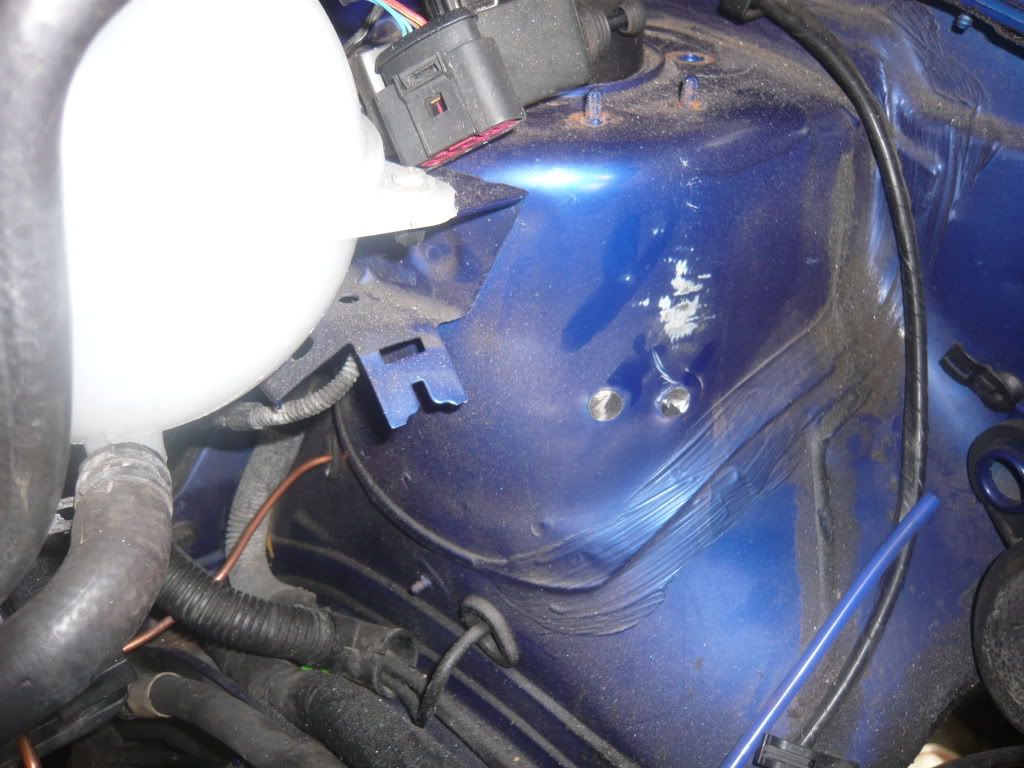
While I thought of it we also ground away the two threaded bolts that protrude from the nearside strut housing as these made a bit of a mess of my last Jetex filter and serve no purpose to me now. I'll be touching these up with some paint in the week to prevent them corroding:

P1000706.jpg
 
Last edited:
Jan 8, 2007
2,958
1
Wiltshire
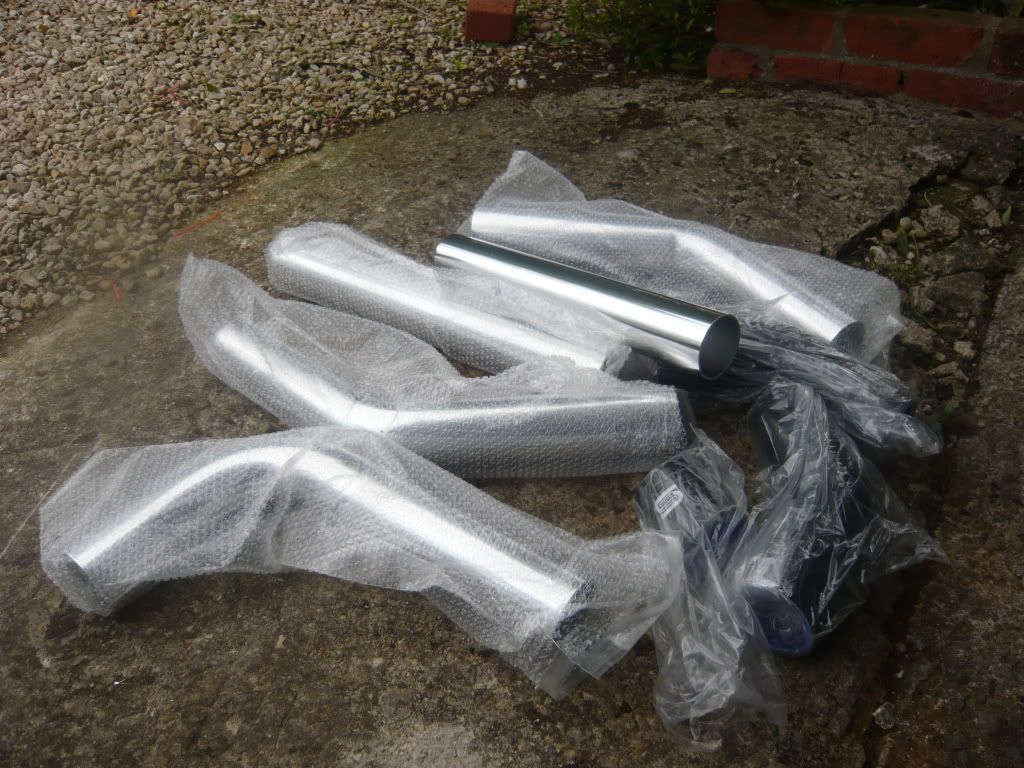
Once this was sorted we then focussed on the intercooler pipework, using a universal 2.5" mandrel bent kit from ebay:

P1000707.jpg


The rubber hoses and jubilee clips that come supplied with the kit are nothing short of laughable so these were scrapped in favour of some proper 4 ply silicone hosing and t-bolt clamps to ensure everything stays in place. The one drawback with this kit is the fact that the pipe ends aren't beaded but seeing as we need to chop them into various sizes it would have been fairly pointless anyway.

I was initially tempted to find an engineering firm capable of beading my pipework once I had everything cut to the correct size but I'm going to push my luck and see how I fare with these clamps first. I've also read of some people making their own beads by sanding the ends of the pipes and running a bead of JB weld in between some masking tape which can also work. I *think* RobDon may have used this method on his Leon?

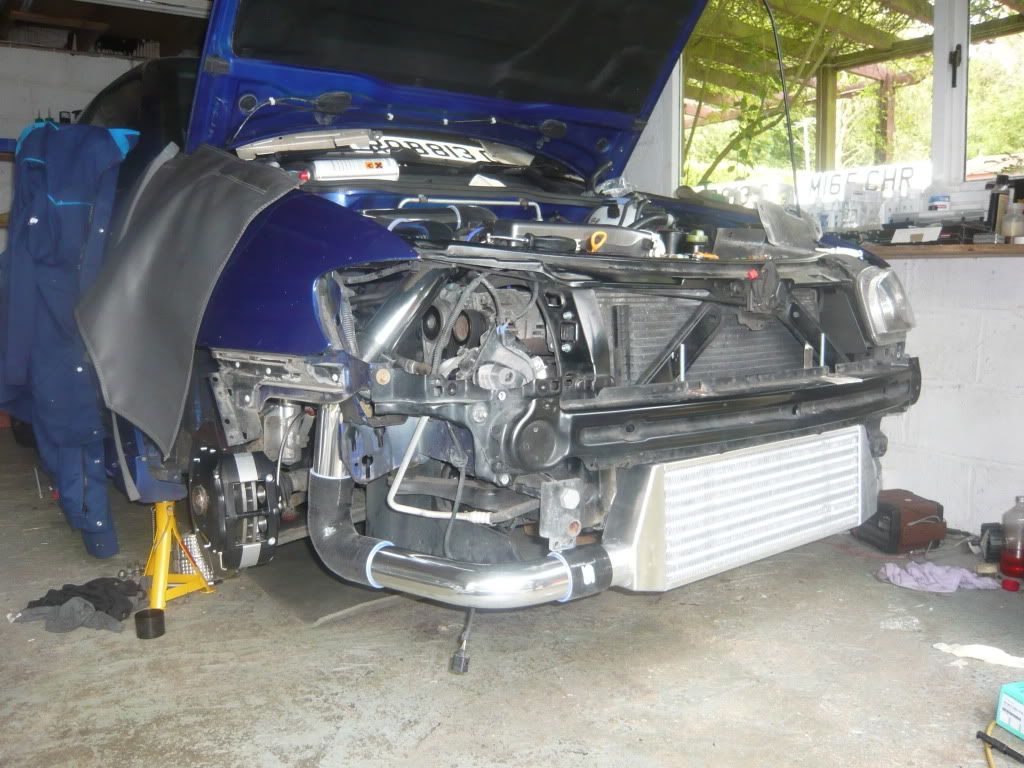
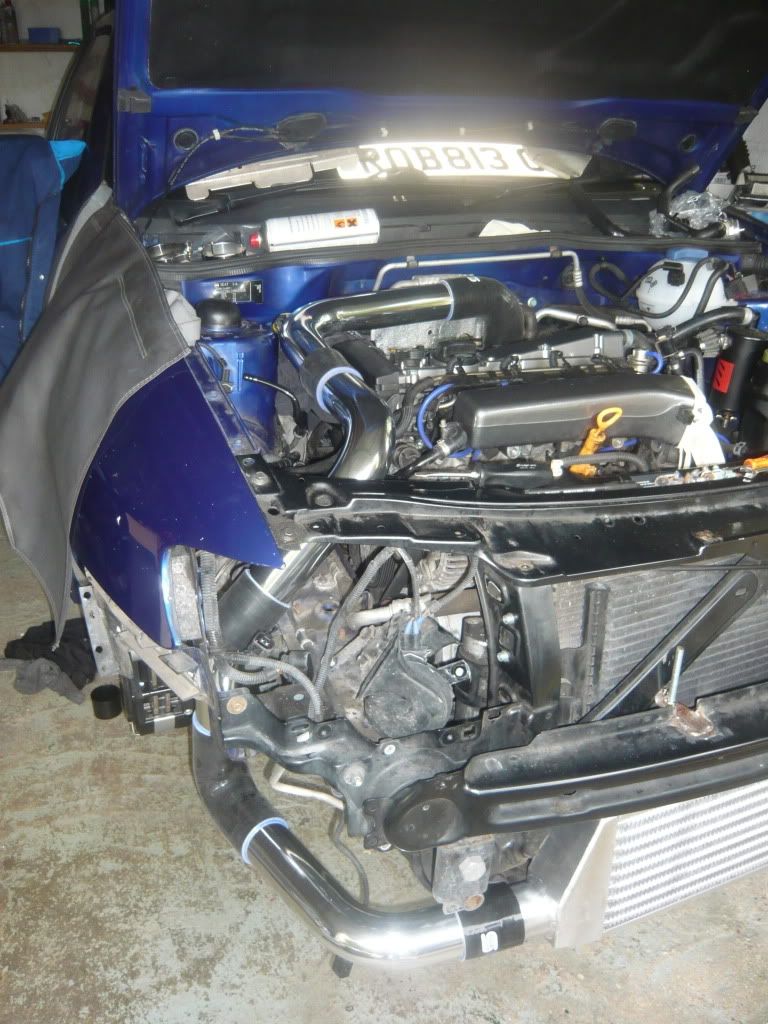
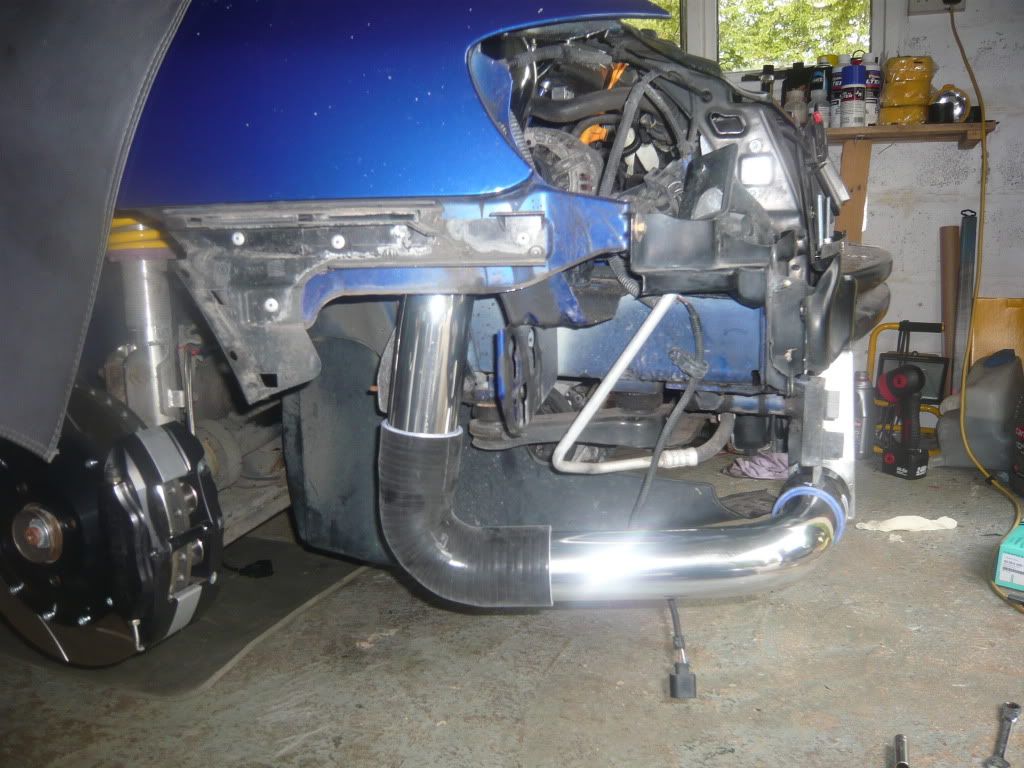
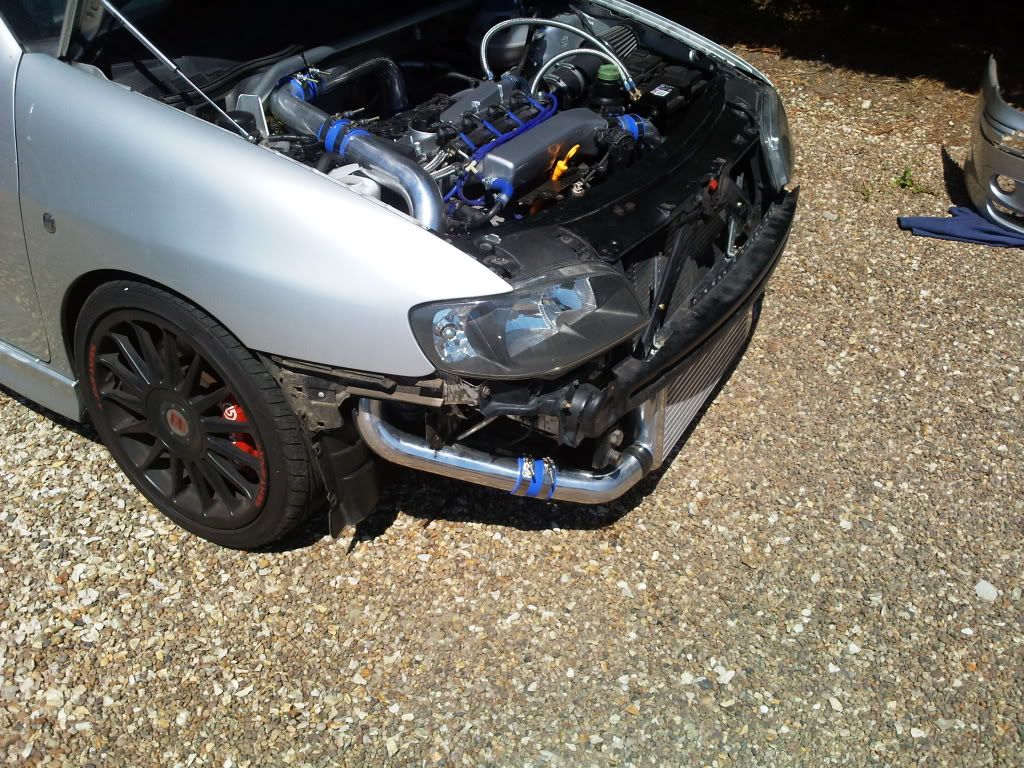
We spent the afternoon making up the turbo side of the pipework, following the same route as the AM kit (whose core I have also had replicated by Pro Alloy) to provide the best flow with the least amount of bends.

Here it is just mocked up at this stage so as to give you all some idea of the route taken and bends used. It still requires a lot of adjustment and minor trimming to get it all straight and looking nice (you can make out quite a severe kink in the bottom 90 degree silicone bend):

P1000708.jpg


P1000709.jpg


P1000711.jpg


P1000710.jpg


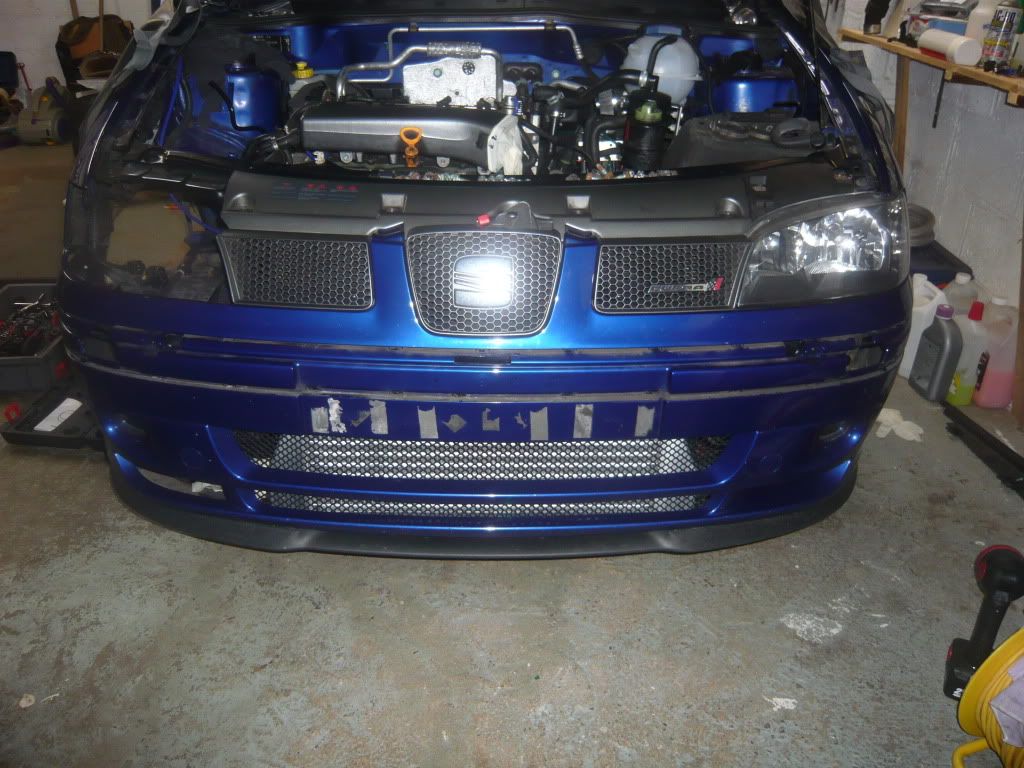
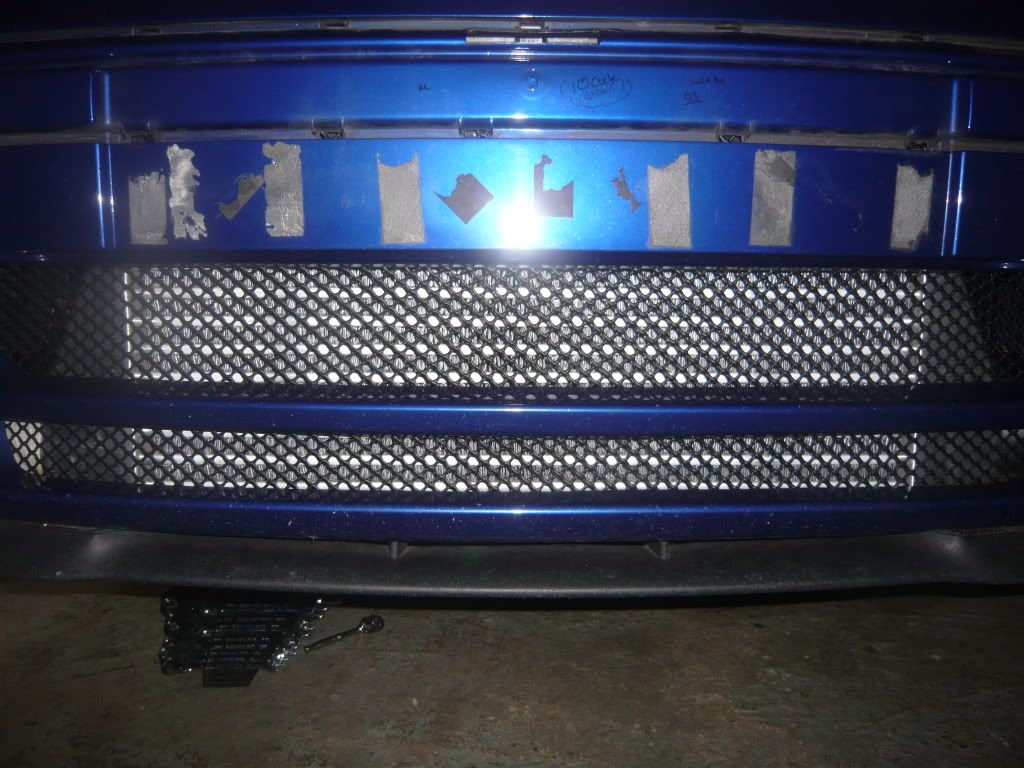
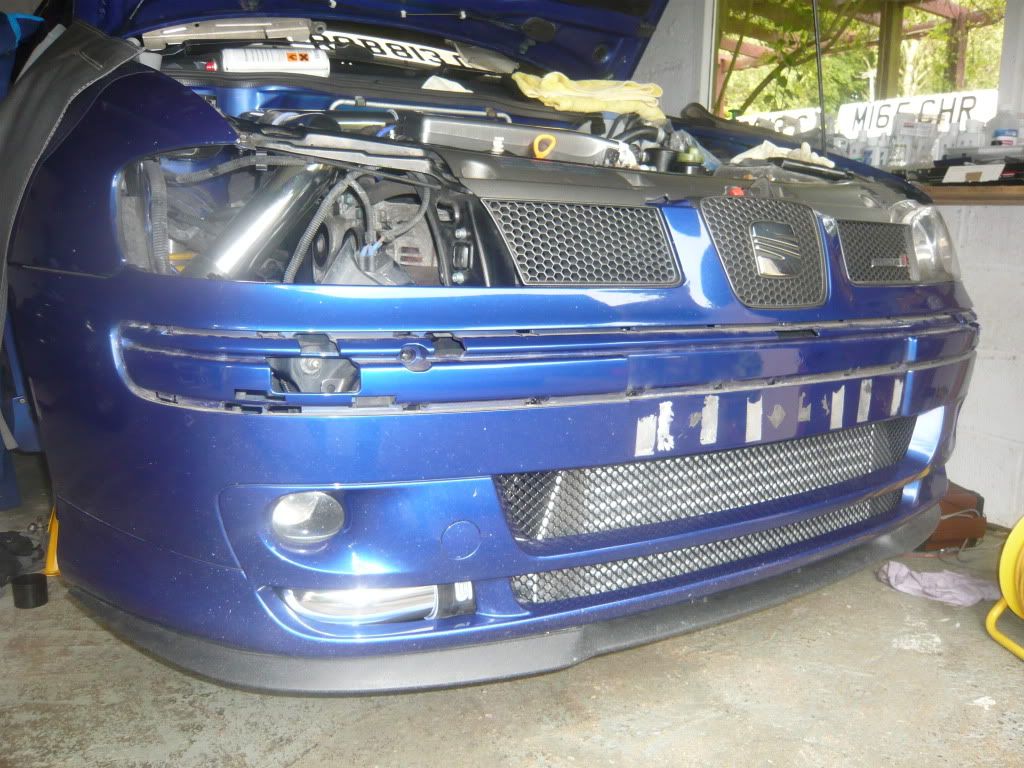
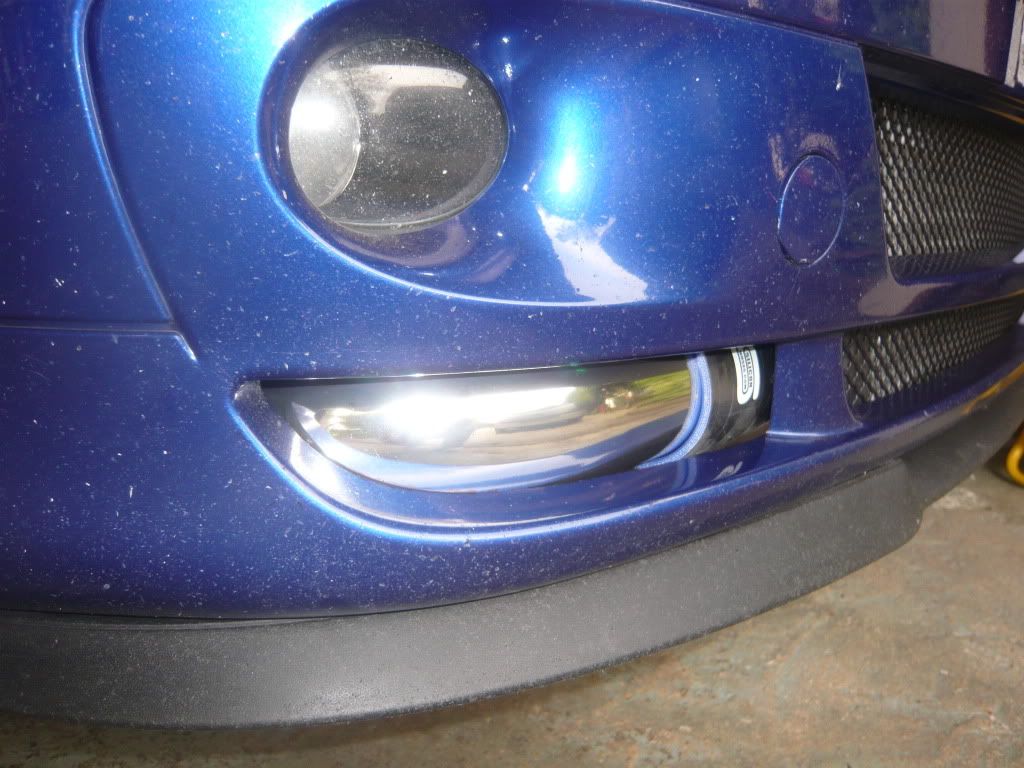
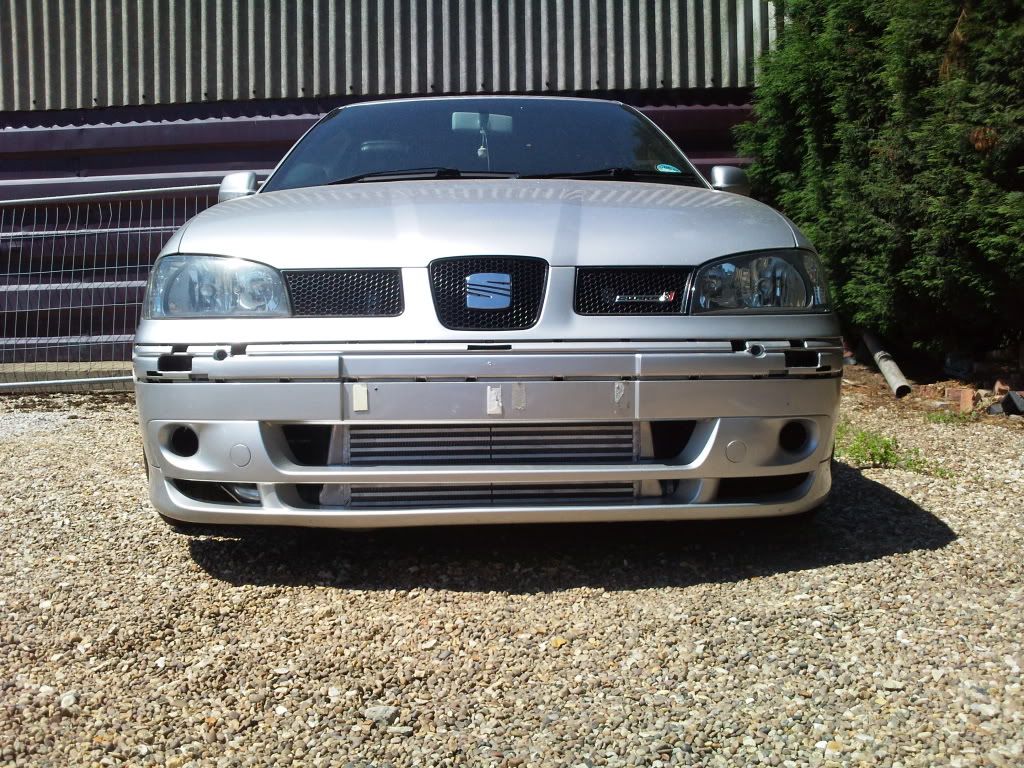
With the bumper fitted you can see just how close the pipework sits to the far offside vent, even after we've trimmed a lot away. I'm not hugely impressed with the way the pipework is so on-show as I want to keep people guessing but I dare say I'll warm to it with time:

P1000716.jpg


P1000717.jpg


For anyone curious about making up the same route with this kit, I've used the following pipes/bends on the turbo side (listed in order from the turbo):

63-51mm straight silicone reducer --> 63mm 90 degree silicone bend --> 90 degree ali bend --> silicone coupler --> 90 degree ali bend --> 45 degree silicone bend --> 30 degree ali bend --> 90 degree silicone bend --> 45 degree ali bend --> silicone coupler into end tank

That just about wrapped it up for Sunday - we're back on it again tomorrow evening where we'll tidy it all up and, time-permitting, make a start on the throttle body side.

Let me know what you think! :D
 
Last edited:

ChrisCurzon

4WD FTW
Apr 9, 2006
1,821
0
Bolton
Pipework looks good mate, follows the old AM lines like you wanted. Is that the same kit Danny has? If it is i see what you mean about the "silicone" pipes supplied with it, some of the worst quality hoses ive seen they just pop off under any pressure there that crap!
 
Jan 8, 2007
2,958
1
Wiltshire
Cheers for the comments :D

Get the Cf product fitted rob... ;)

Shush Danny, all in good time ;) I'll be picking it up one evening this week

That pipework looks awesome, where did you get the chrome pipes from?

Pipework looks good mate, follows the old AM lines like you wanted. Is that the same kit Danny has? If it is i see what you mean about the "silicone" pipes supplied with it, some of the worst quality hoses ive seen they just pop off under any pressure there that crap!

Yeah it's a universal kit from Ebay just like Danny's, just under £70 all in :)
 
Last edited:
Nov 2, 2004
9,335
0
South Wales
I thought it might have been, been thinking of goin this route myself. I might send the message to the seller to see if they would sell without the hoses.
 

__B3NNY__

OEM with a 'Twist'
May 5, 2005
3,449
1
Oxford
Awsome progress buddy, not long now.

Loving the IC set up, you shouldnt suffer from the intake temps i have been with that setup.

Where did you get the bung from for the AFR gauge? Somthing else i need to get :doh:
 
Jan 8, 2007
2,958
1
Wiltshire
Cheers Benny. Yeah I spent a silly amount of time reading up on intercooler setups to try and make sure I used the best possible setup in terms of efficiency and flow so hopefully it'll pay off!

I bought the bung with my Zeitronix kit from the states (http://www.zeitronix.com/order/order.htm) so not really a feasible option for you unless you were looking to buy the full kit :(

You should be able to get them from a lot of other places though, it's just an 18mm x 1.5 bung.

A quick search found http://www.tbdevelopments.com/catalog/index.php?cPath=48&quickjump=1 if that's any help

Also - are you running a phenolic intake manifold gasket yet? That may help a little too
 
Nov 2, 2004
9,335
0
South Wales
Or just take out the post cat and hide it somewhere and use that bung. :)
(as long as your map has the second lambda mapped out youre ok :D)
 

IbizaAlex

AKS tuning
May 11, 2008
532
0
Bedford
I have a bead roller at work if that will help you out? Cooler pipework looks really neat. Been redoing some of my pipework. Also got loads of bungs too :)
 
Jan 8, 2007
2,958
1
Wiltshire
Or just take out the post cat and hide it somewhere and use that bung. :)
(as long as your map has the second lambda mapped out youre ok :D)

Yeah I asked Bill about this before getting the extra bung welded in and he said he prefers to leave the lambdas mapped in

I have a bead roller at work if that will help you out? Cooler pipework looks really neat. Been redoing some of my pipework. Also got loads of bungs too :)

Cool, thanks Alex. If I get any issues with the clamps giving way I'll be in touch ;)
 

SEATCOOBER

LOVE MY IBEEZA!!!
Mar 11, 2007
1,400
0
LINCOLN/NORWICH
great read very impressed with the work just done my new cooler & pipework need to trim abit off the middle of the bumber, was just wondering where you got those tie wrap sticky patches as i glued my mesh last time after my laguna install and it just peeled off, your way looks very neat and less hassle just hope it holds!!lol

few pics
Photo0073.jpg

Photo0068.jpg
 

K16-MYK

Guest
Just read tht thread from start to finish, and i must say that is one fair truckload of hard work, effort and dedication! Be proud man!:happy:
 
Jan 8, 2007
2,958
1
Wiltshire
Thanks for the comments, I need to update this one night this week with the latest pics and progress as the car is pretty much done now and ready for mapping :D

It has been a lot of hard work and stress at times but beginning to feel it will all be worth it once it's back out on the road again :)

great read very impressed with the work just done my new cooler & pipework need to trim abit off the middle of the bumber, was just wondering where you got those tie wrap sticky patches as i glued my mesh last time after my laguna install and it just peeled off, your way looks very neat and less hassle just hope it holds!!lol

I had these lying around in my garage but I know you can pick them up cheap on ebay if needed - they come in handy :)

I've spent the past couple of days trying to find the best insurance deal as my renewal is up this month and managed to end up paying less than I did last year with the car running Revo Stg1 :D Good times!
 
SEATCUPRA.NET Forum merchandise