Leon Cupra project “The Black Mamba” 800++ HP 1.8t build(engine assembly page 9)

Talx

Active Member
Nov 29, 2008
99
2
ok I am back with updates and it is summer time so lots of time to work on the project since I have time off from university

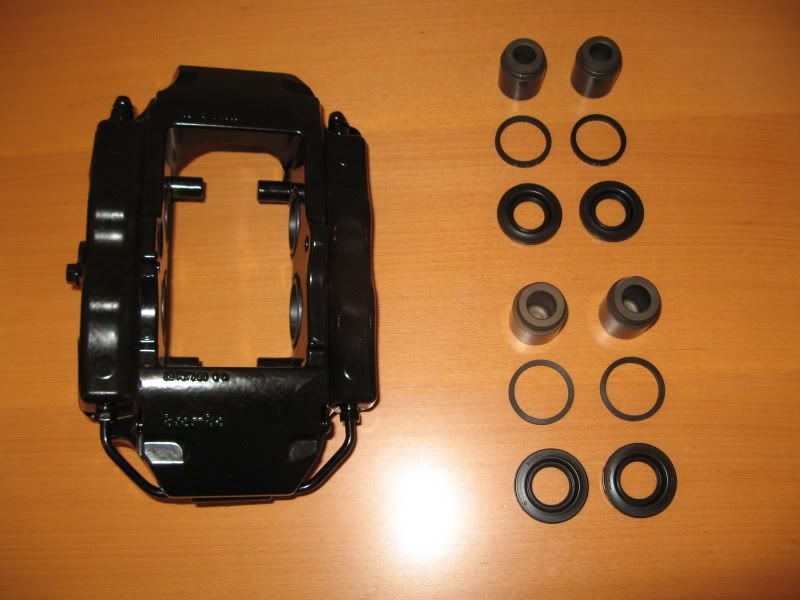
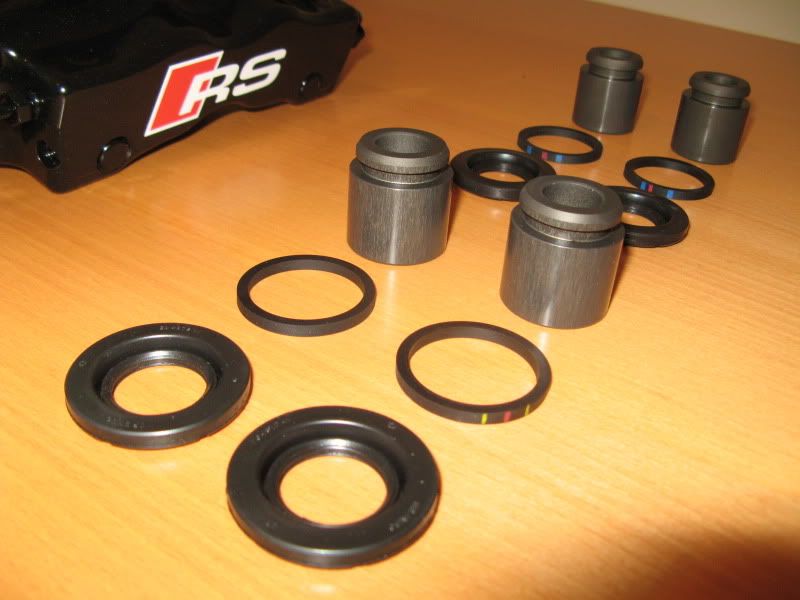
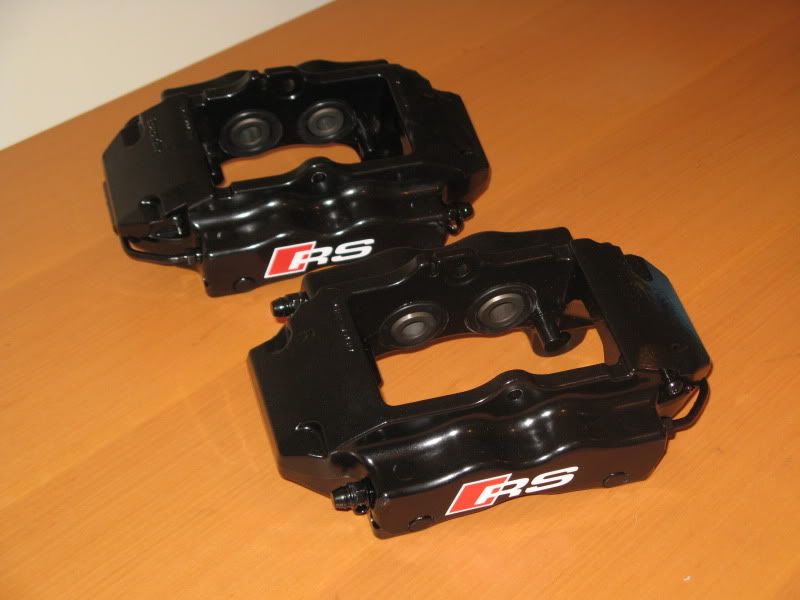
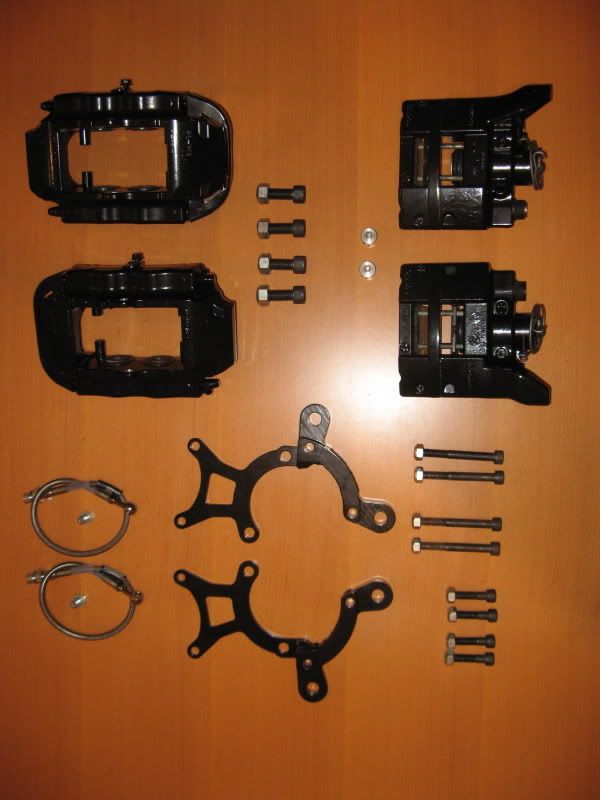
I will start with the rear brakes as you can see I refurbished them and got theme powder coated black to fit the fronts
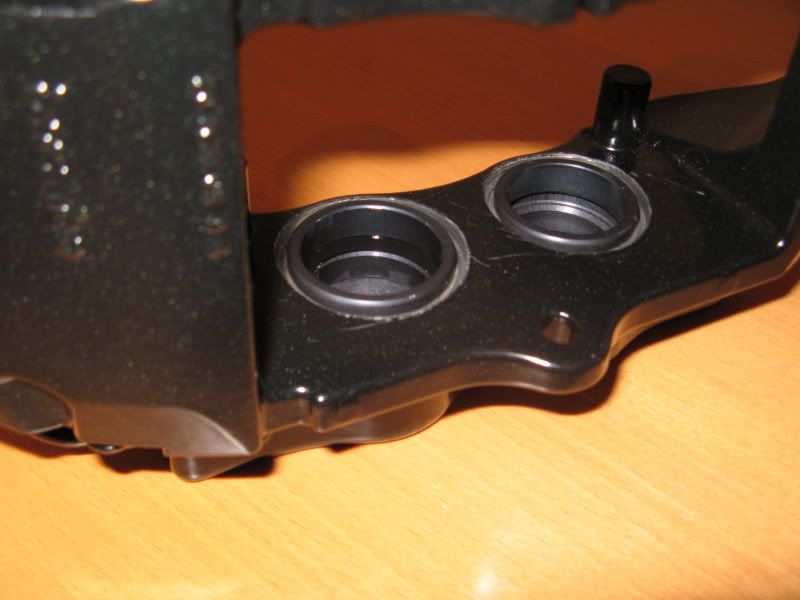
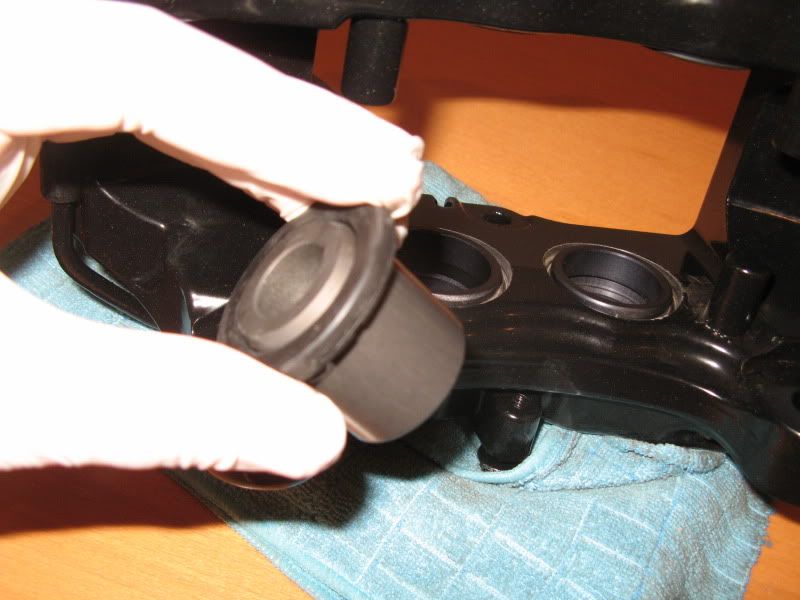
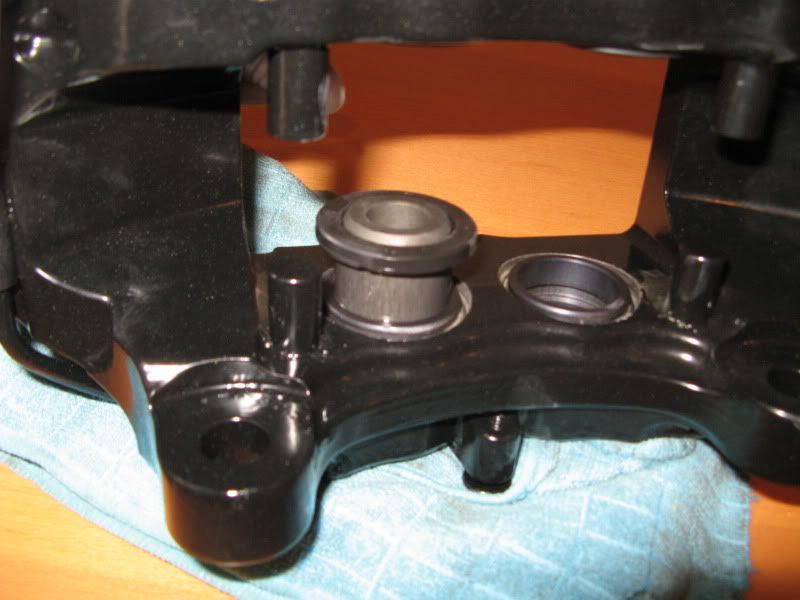
disassembling is easy only need to attach air pressure hose to the brake fluid inlet in the caliper give some pressure and the pistons pop out I do advise to install a wood block in between the pistons so they don't go flying and you don't hurt your self's. installation is easy as well just lobe everything up with brake fluid and install the dost boots into the pistons before installing them because if they get pushed in by mistake which they will you will need to attach the caliper back up to air pressure to get the piston back out
if anyone is interested I can elaborate more on the procedure of refurbishing the calipers
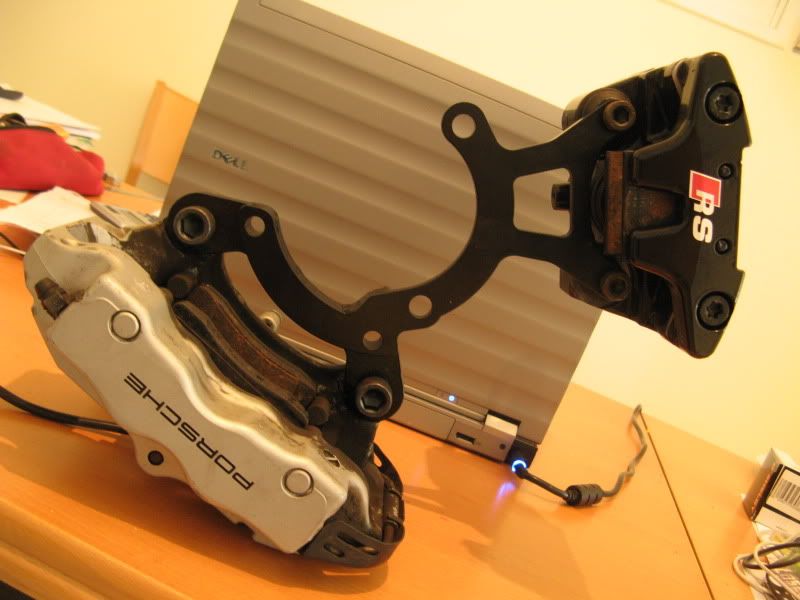
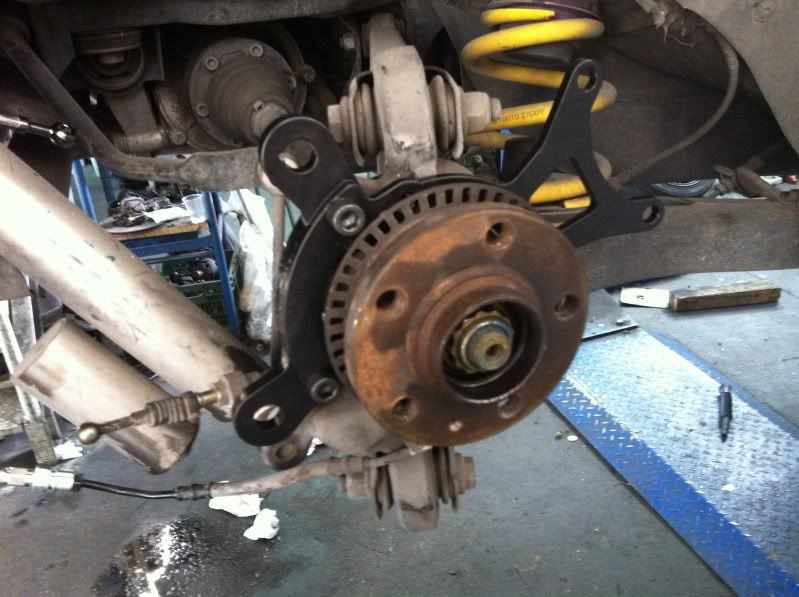
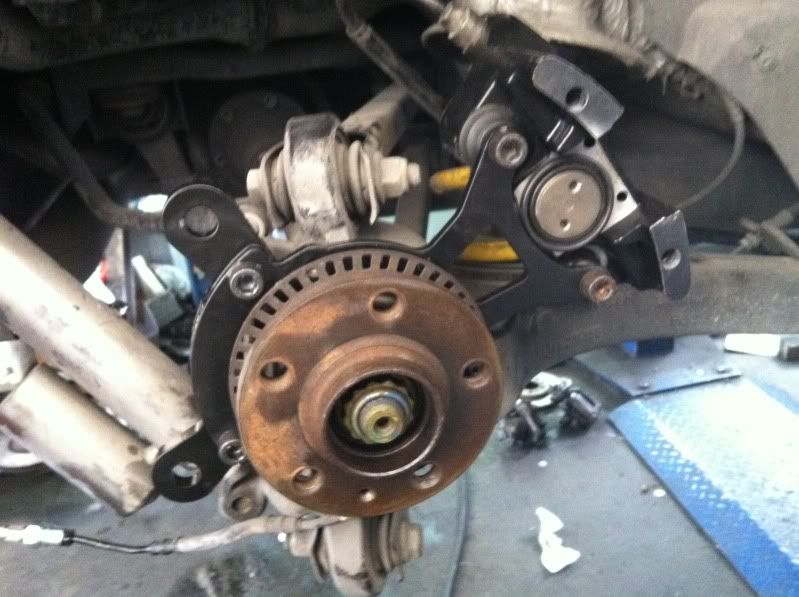
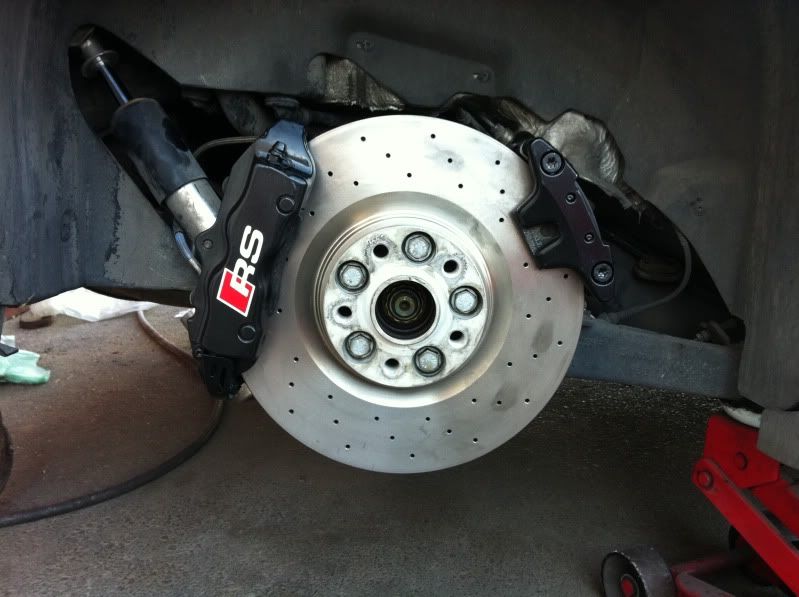
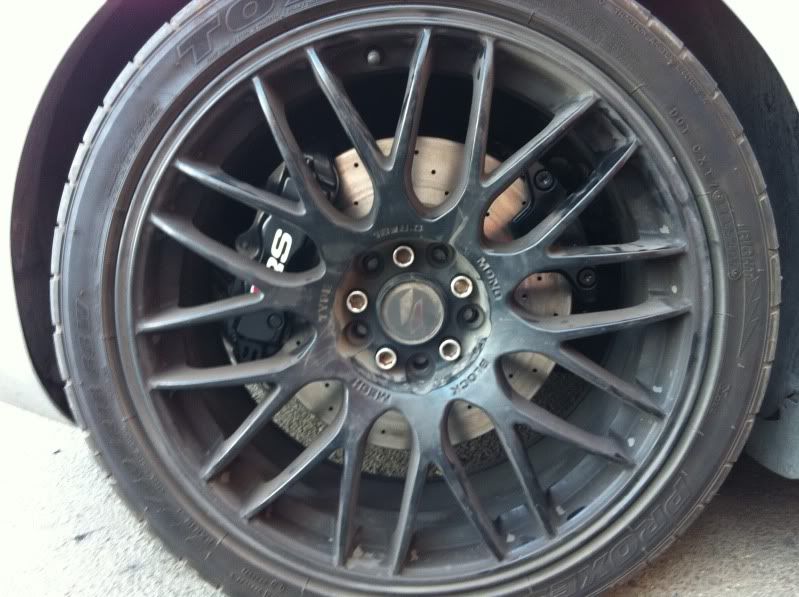
the install not much to say about it I just removed the old calipers and installed the new ones using 312mm discs I'm using solid front discs for now until I finish working on the floating discs and hats I am getting CNC'd

bad pictures in the install because I forgot my camera on my way to my shop so Iphone pictures for now I will get better pictures when I get around to giving the car a wash

IMG_0004.jpg


IMG_0018.jpg


IMG_0019.jpg


IMG_0022.jpg


IMG_0024.jpg


IMG_0025.jpg


IMG_0027.jpg


IMG_0030.jpg


install (more pictures soon!!!)

IMG_0366.jpg


IMG_0371.jpg
 
Last edited:

Talx

Active Member
Nov 29, 2008
99
2
IMG_0400.jpg


IMG_0401.jpg


I also did the front wishbone bushings I got whiteline polyurethane bushings because they looked better made to me than what powerflex had to over for this specific application I didn't get any hard core bearing type bushings because they are intended for the track and although this car is getting the best high quality parts bearing will need some attention and replacing due to excessive ware of day to day driving so they are not suitable for the road
you can see that in the front bushing I got an aluminum bushing milled and press inserted into the controlarm this is to lower the flex of the MK2 type controlarms in the TT that come with 45mm bushings instead of the original 30mm ones this should give the car sharper response and less understear basically I am using regular 30mm polyurethane bushings with an aluminum 45.1mm exduser ,30mm inducer and 40mm long bushing inserted into the controlarm this is a simple but effective modification

IMG_0351.jpg


IMG_0357.jpg


IMG_0358.jpg


IMG_0361.jpg


IMG_0363.jpg


IMG_0365.jpg
 
Last edited:

Talx

Active Member
Nov 29, 2008
99
2
now to the surge tank I did the initial design on Solidworks then made a cardboard box replica of it and inserted it into the front wing under the right body panel below the chassis after making sure it fit I went forward and got it fabricated I didn't do any of the welding that was done by my friend who is a master fabricator and an aviation grade welder
after we got the surge tank fabed we positioned it inside the wing in order to position the fuel hose inlets ,outlets and mounts.
the surge tank is utilizing two 044 Bosche motorsport pumps with individual check valves using 8AN pickups going into 10AN hose via y fitting
you can also see I designed the surge tank with a slope in order to assure a supply of fuel at all times,also made a flap that will stop the fuel from escaping the pickups in corners and hard accelerations.

inlet into the surge tank is from the original line return line goes from the regulator back to the surge tank and an overflow line is attached from the surge tank back to the original return line.
these lines will be attached using original fittings to connect to the original lines positioned next to the right strut .
surge tank has a 4 liter capacity, this should all assure a constant supply of fuel under all occasions and requirements.

surgetank1-1.png


surgetank2-1.png


surgetank3-1.png


IMG_0378.jpg


IMG_0379.jpg


IMG_0381.jpg


IMG_0383.jpg


IMG_0386.jpg
 

Talx

Active Member
Nov 29, 2008
99
2
hmmmm not much interest in my project :blink:

maybe black Anodized surge tank and fittings will get more attention [B)]


IMG_0054.jpg


IMG_0058.jpg


IMG_0053.jpg


IMG_0061.jpg


and a powdercoated accessory mount

IMG_0065.jpg
 

dedon

Active Member
Aug 31, 2011
46
0
hey hows it going?

sorry to bring up an old post again. could i ask where you got the eyebrows for your lights?

Cheers
 

Homar

Guest
Incredible work! The subject of spectacular brakes, I'm behind a brake adapters as you put your back, you could send me information by private or by email? Thank you very much:) [email protected]
 

Talx

Active Member
Nov 29, 2008
99
2
thanks guys nice to get some response I just got back from the weekend at the Italian grandprix in Monza so I will have updates soon
I am waiting on valves and engine bearings to finish the motor so there will be a big Wright up on that soon also some exotic race prep engine work going on like CNC boring of the motor deck ,cylinder and line boring so look out for updates

by the way the eye brows where n the car when I got it actually I want to remove theme but never get around to doing it
 

Talx

Active Member
Nov 29, 2008
99
2
ok head shots these are old photos of the head I got build a few years ago and is waiting for the rest of the project to catch up to
it's a Schrick solid lifter kit including all the parts: solid lifter billet camshafts, titanium retainers and seats, lifters and springs
schrick say it's good for 10k I don't know about that but I think it will give a good reliable 9K revving engine
the head has gone through some heavy modifying including clearance for the camshafts opening up around the valves and smoothening the combustion chamber
all the ports where ported out on a flow bench for optimal performance exhaust ports have bin smoothened out as well
I also have a set of Ferrea valves that will be arriving soon to be installed in the head what you see in the pictures are the standard valves and also have some special valve guides in it as well
that's it for now ;)


solidlifterhead004.jpg


solidlifterhead009s.jpg


solidlifterhead027s.jpg


solidlifterhead011.jpg


solidlifterhead010.jpg


solidlifterhead018s.jpg


solidlifterhead020s.jpg
 

Talx

Active Member
Nov 29, 2008
99
2
NEW! set of R888 225/40/18 came in finally after a long wait,for some reason we are last to get theme over hear. I had the R1R on for the time being between set's but I am not all that pleased with theme
it's not that I have a problem with their traction it's the fact that they are soggy on the side wall and it was also a drastic switch from the R888 to the R1R I guess after you get used to a semi slick it's hard to go back
although there are the AD08 witch give the same traction as the R1R but with a bit of a harder side wall the R888 will always be a step or two above

R8882254018019.jpg


R8882254018026.jpg
 

EL

Forever Alive
Mar 17, 2008
2,931
1
Bickley, Bromley
Brilliant progress mate. R888's will make a massive difference. Few people I know swear by them and they running them on seriously tuned cars
 
Chris Knott Insurance - Competitive quotes for forum members