• Guest would you be interested in CUPRA or SEAT valve caps? let us know in the poll

  • Welcome to our new sponsor Lecatona, a brand dedicated to enhancing performance for VAG group sports cars, including SEAT, Audi, Volkswagen and Škoda. Specializing in High Pressure Fuel Pump (HPFP) upgrades.

iTB Ibiza Cupra 16v Track Toy - Engine Rebuild, Aero & More Page 73+

Dave_R

Save a Sheep...Buy Brembo
Sep 20, 2004
3,666
1
South Wales
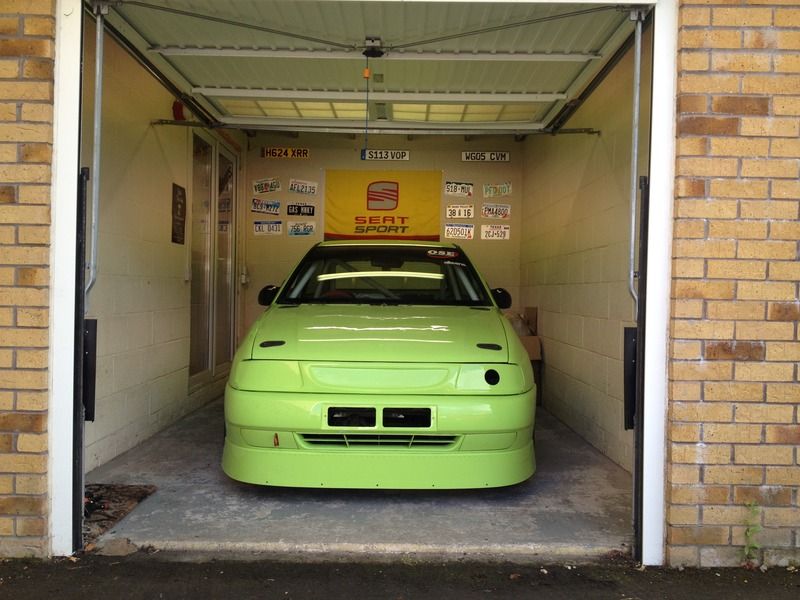
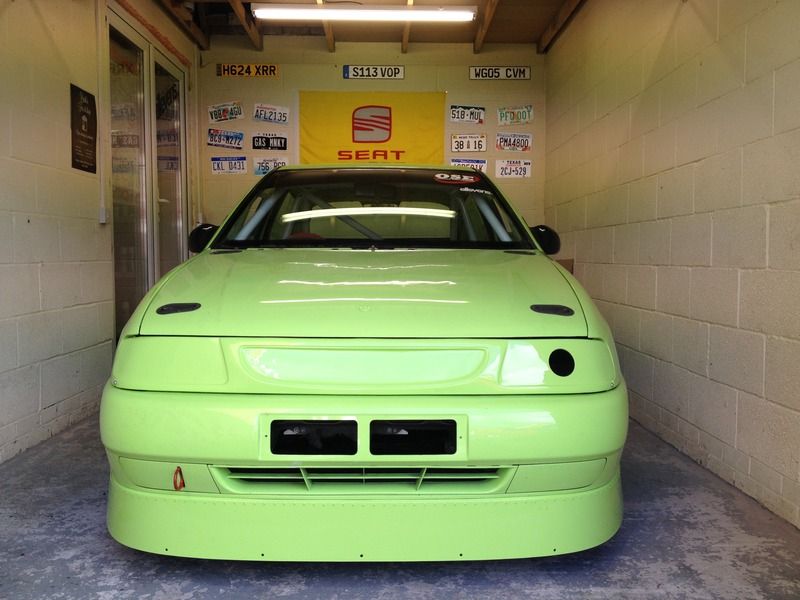
The snot went upto Old School Engineering last Friday for painting and after a family weekend away I collected the car this afternoon when I got home.
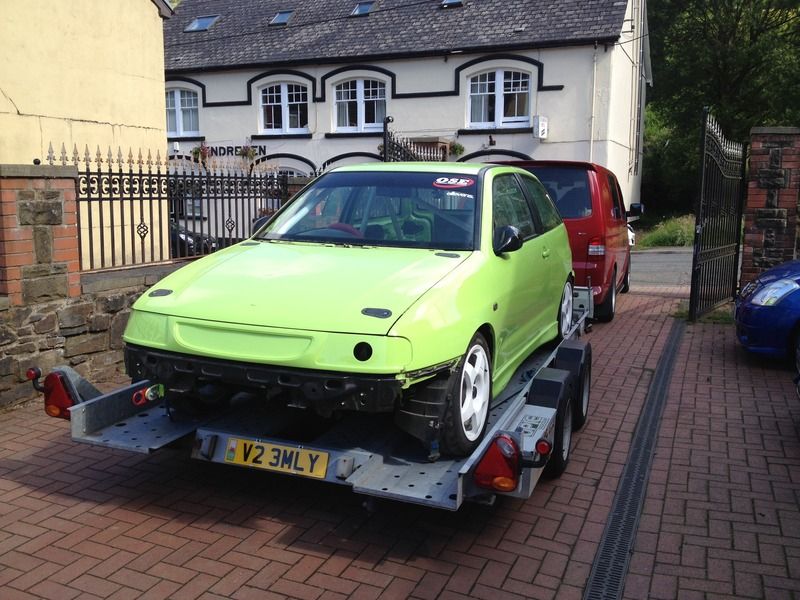


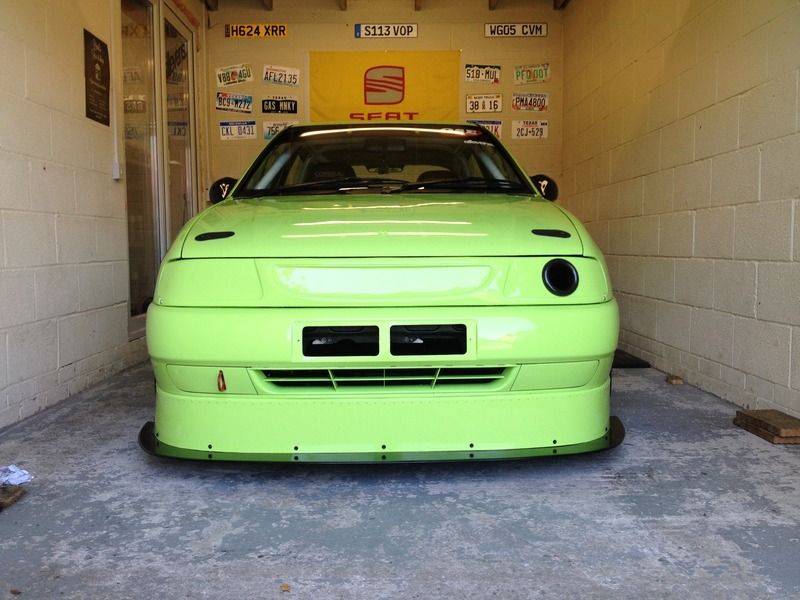
Finally got it into the garage, with no engine it's pretty hard work pushing the car around with the wife steering the car haha. Put the front end together minus the splitter because I'm currently painting that.


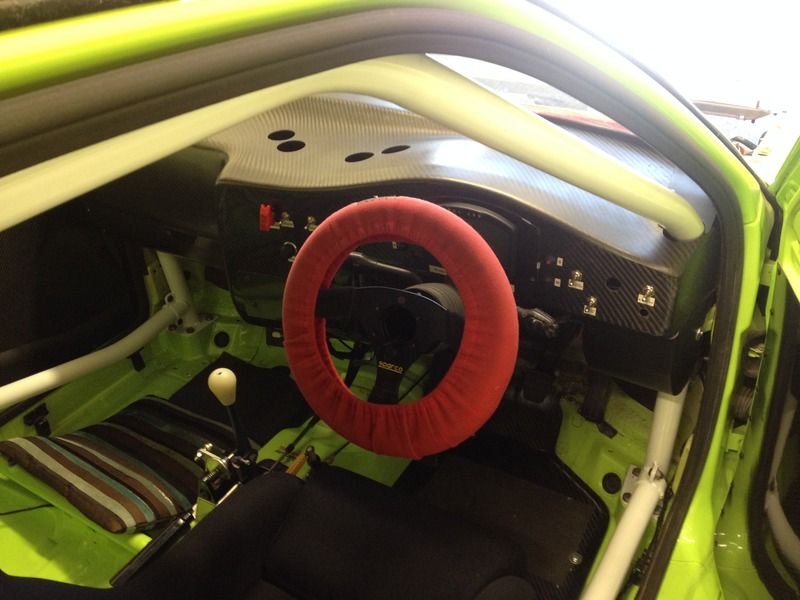
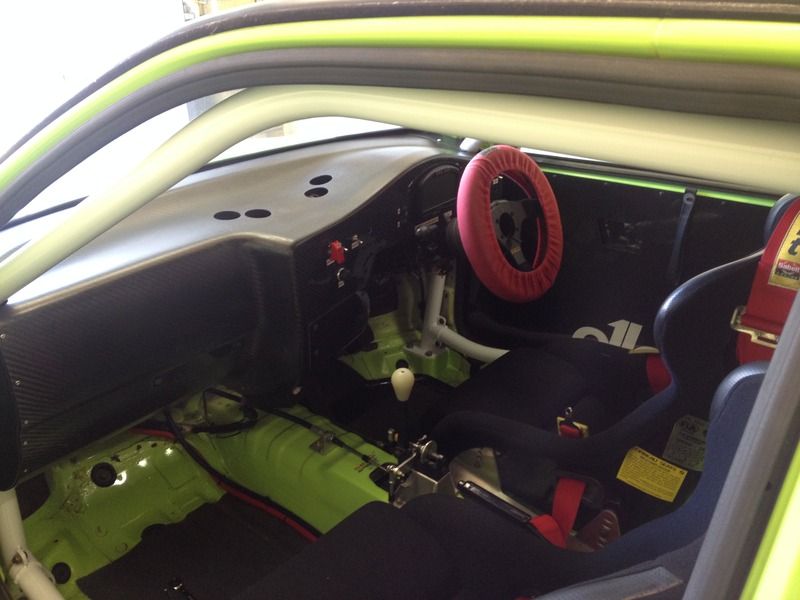
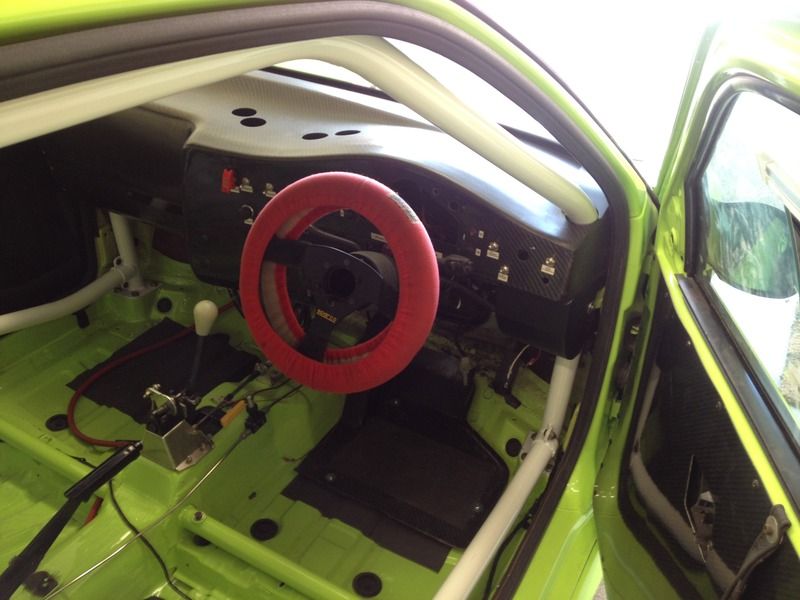
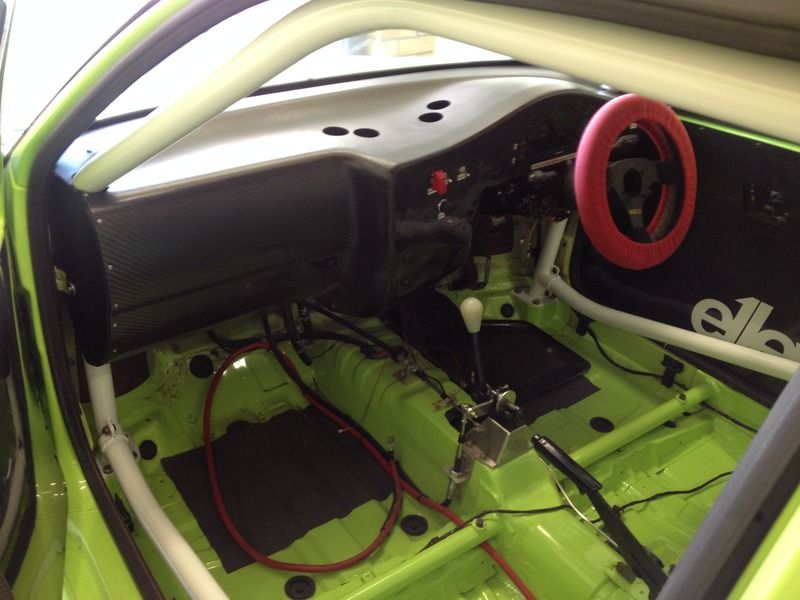
Dash fitted lovely after a bit of trimming at the passenger side and the front roll cage designed, built and painted by EJ Classics. Love the look of my new office


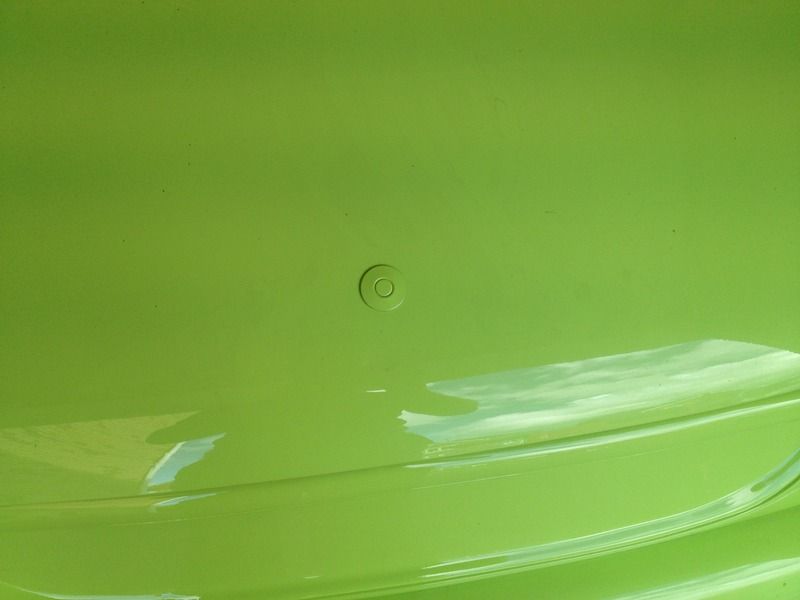
An extra clip put on the bonnet to stop it blowing up a bit and colour coded so it doesn't look too silly lol

And always wanted the engine bay sprayed but never wanted to remove the engine so this blow up gave me a good enough reason to do it!
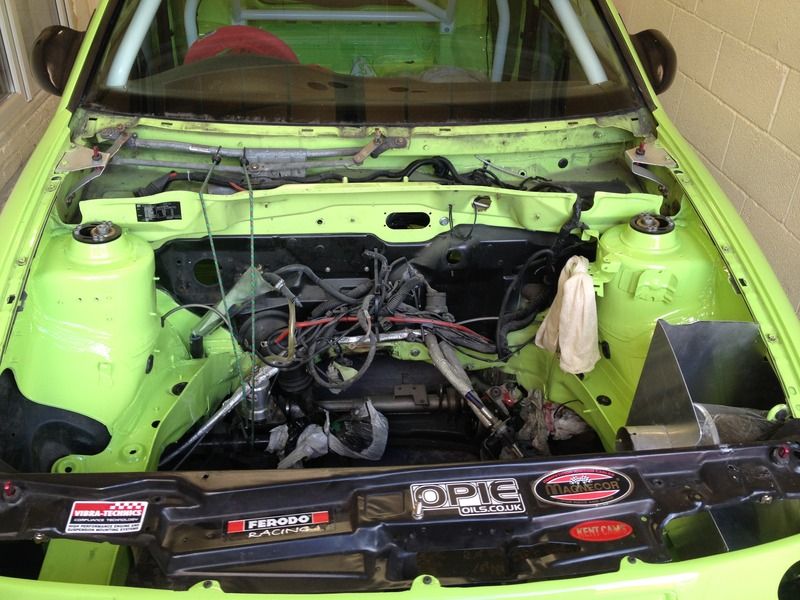

Got a bit of work to do before it's ready for the engine, rebuild the engine bay, refit the brake servo, etc... bleed brakes, got some trick suspension parts to fit, build up the interior and wire up the dash and test it a bit more. Hopefully I can do that all before the engine is ready, few late nights in between work.
 

Dave_R

Save a Sheep...Buy Brembo
Sep 20, 2004
3,666
1
South Wales
I've 3 weeks off from work so last week I managed to spend a bit of time on the car to get it ready to get it down to Saxon Motorsport very soon. Mark has built the engine and looking over my gearbox so now it's all on me to pull my finger out a bit more [8(]

Fitted my Dash 2 onto the dash, very pleased with how this looks


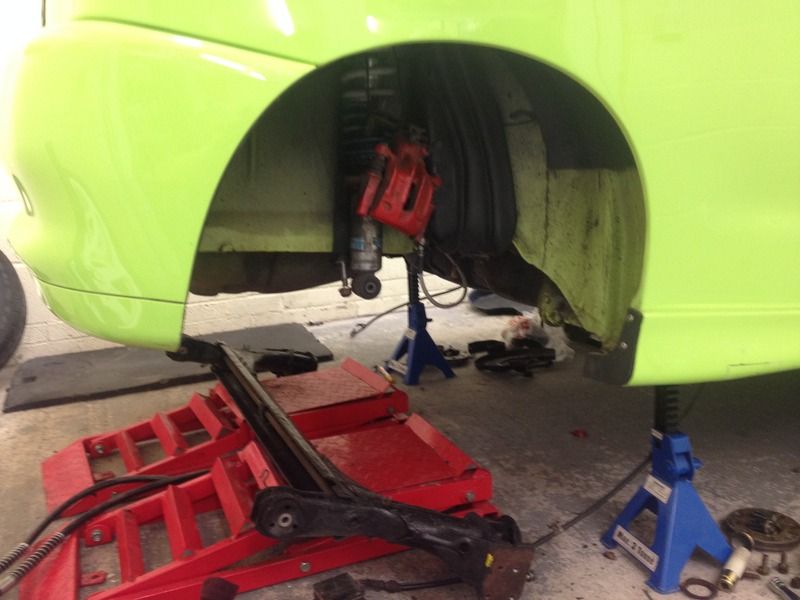
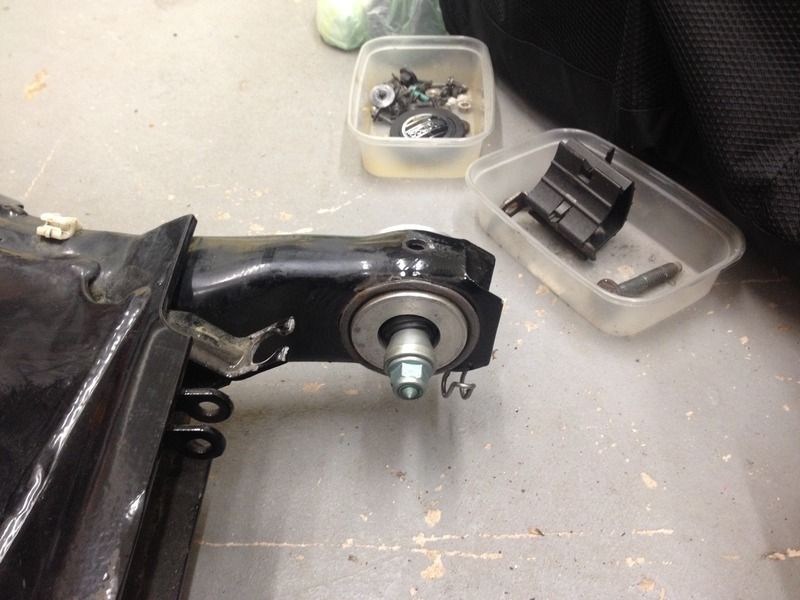
Removed my old rear beam that had the Powerflex Black Series bushes in


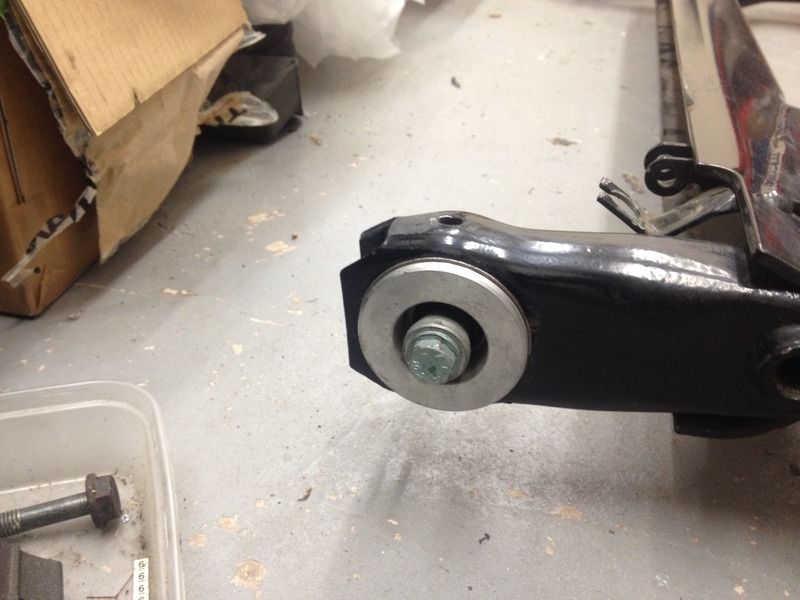
To make room for the new rear beam with rose jointed bushes


Very impressed with the thought that has gone into this beam, even down to the rear arb drop link bracket, so credit to you Rob :thumbup:

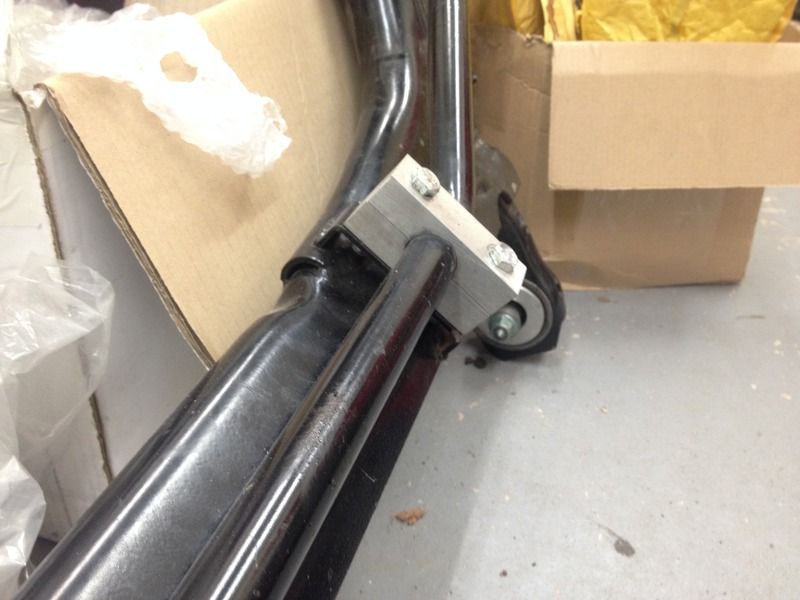
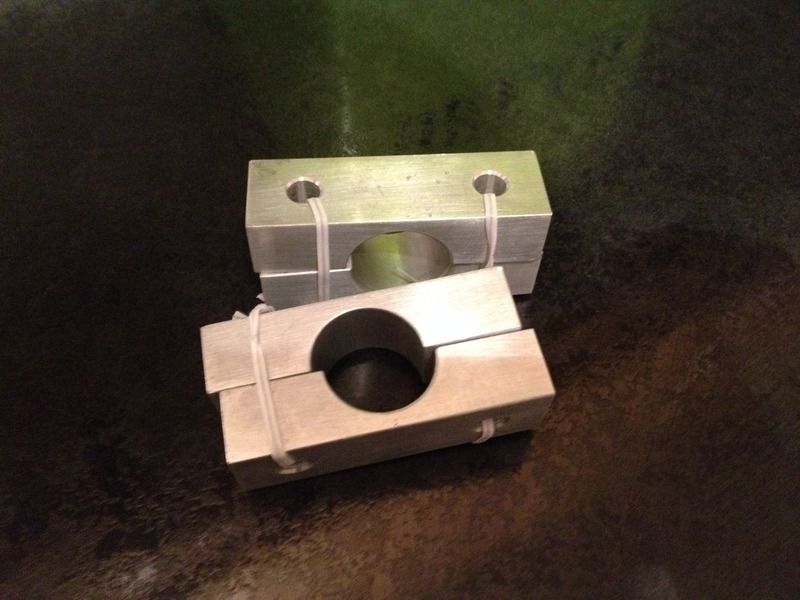
I had some mounts made up with a 28mm diameter so I can fit my 28mm rear arb instead of the 25mm but also means I can try either arb when I feel like.


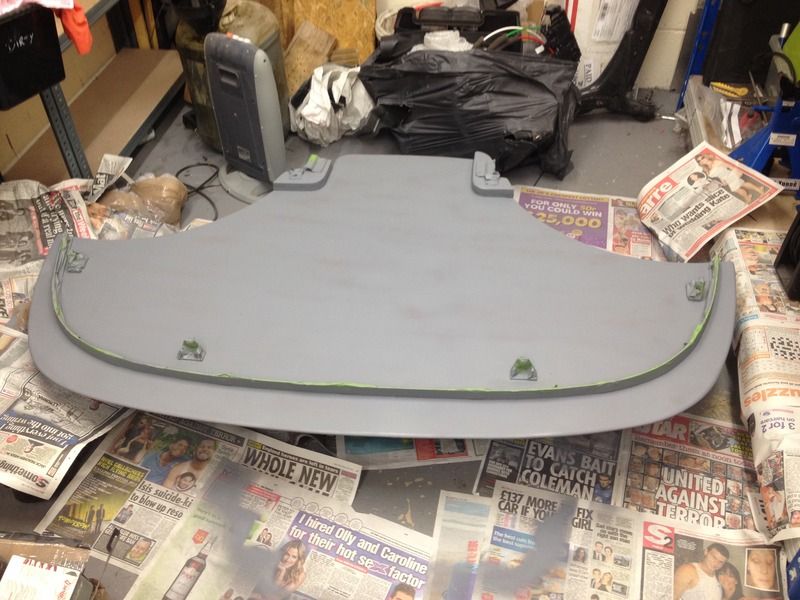
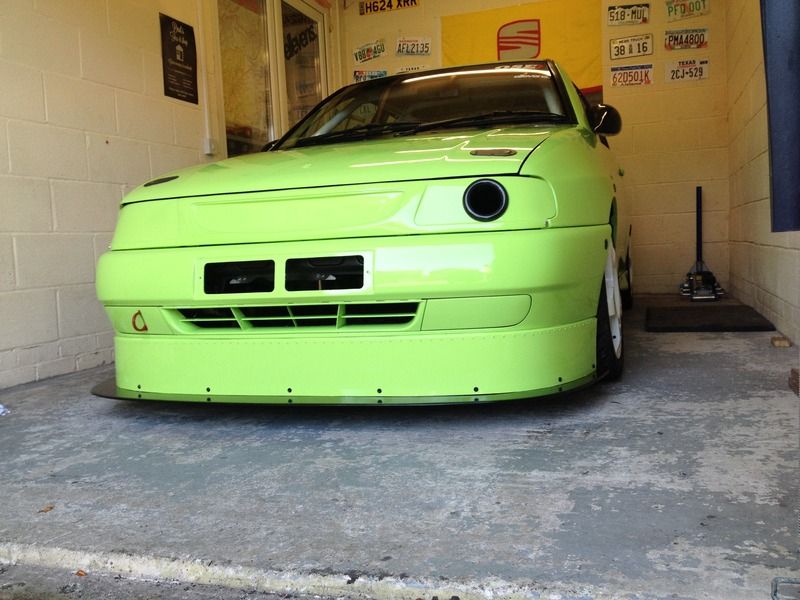
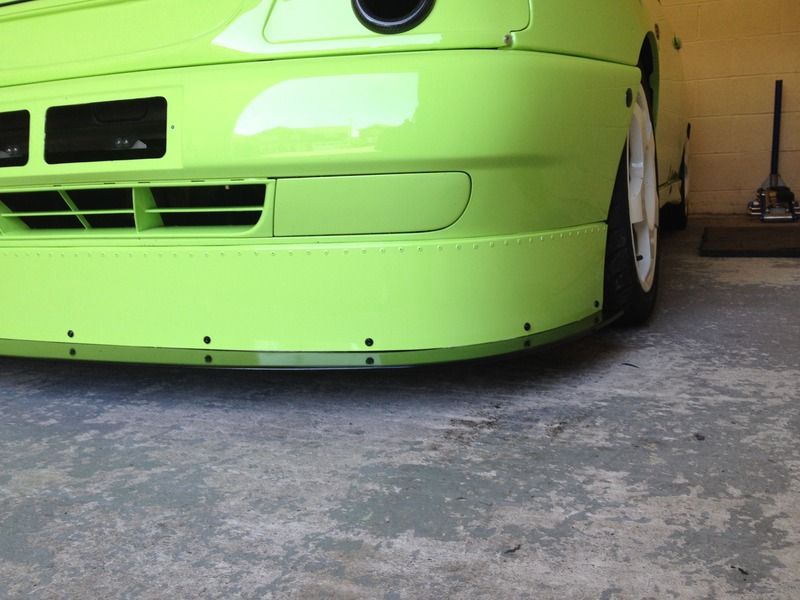
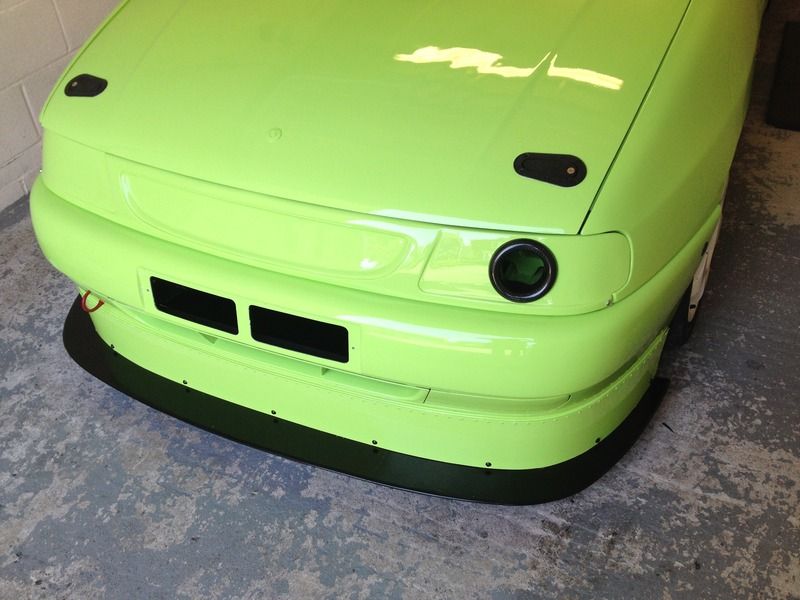
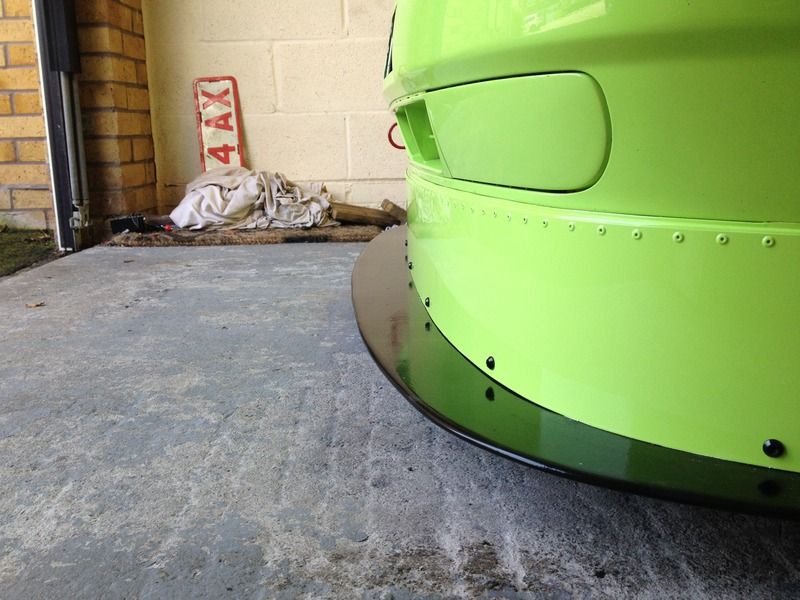
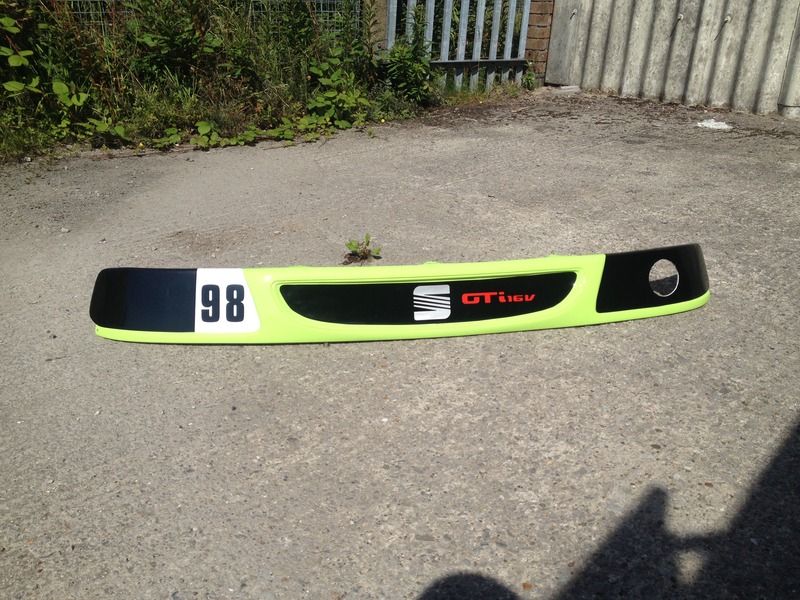
Painted my front splitter


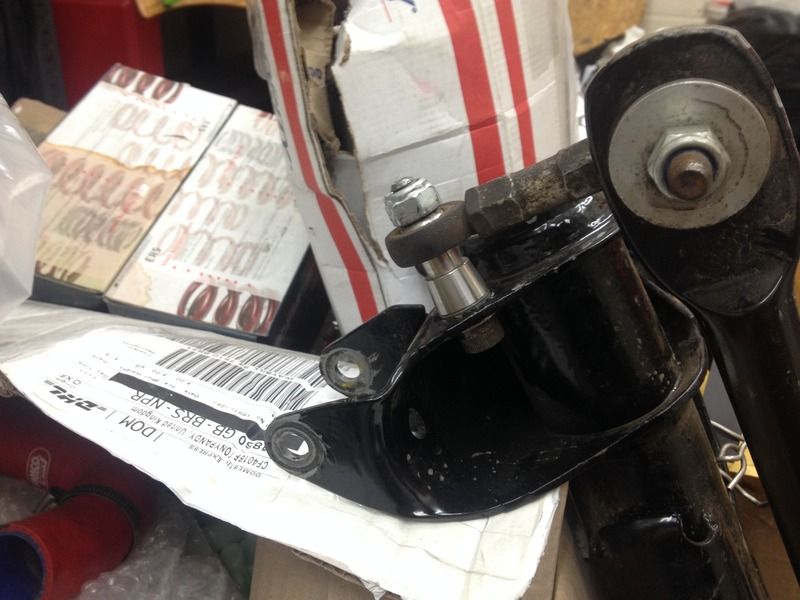
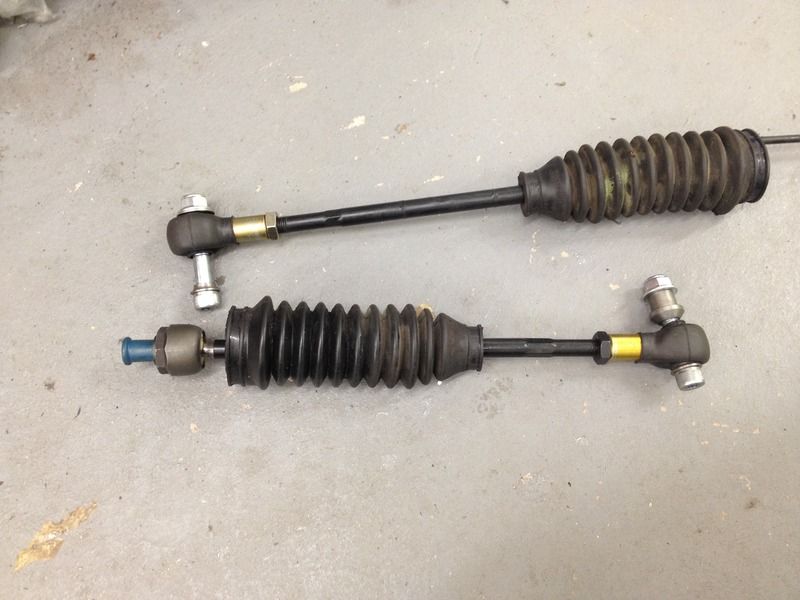
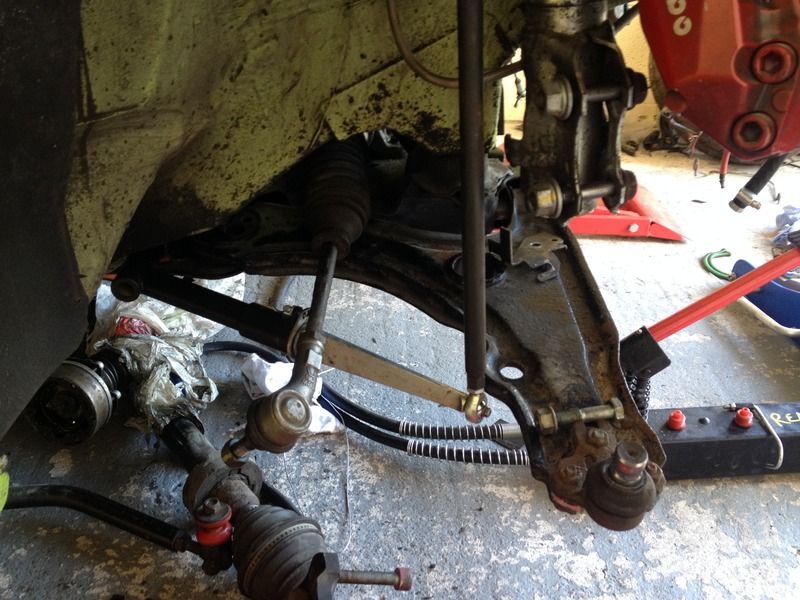
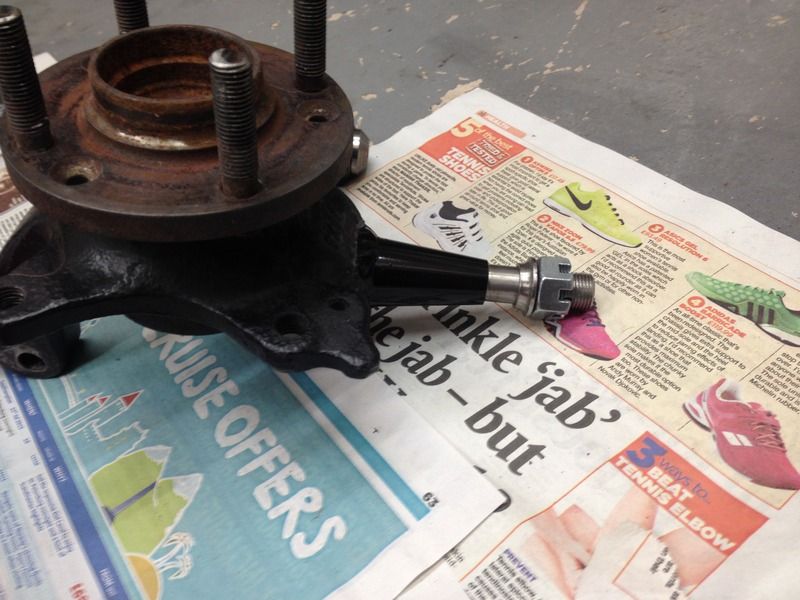
Went about fitting my rose jointed track rod ends


Had to cut about 12 threads off the end to make them suit my car and the uprights have had the track rod hole bored out to suit the sleeve and are now off to have the ball joint extension pin welded onto it.

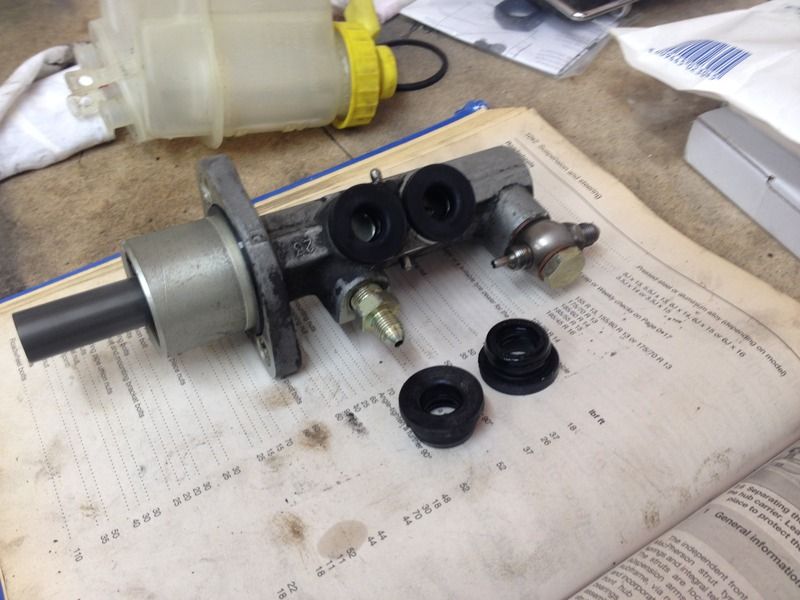
Fitted new seals onto my master cylinder since it was off


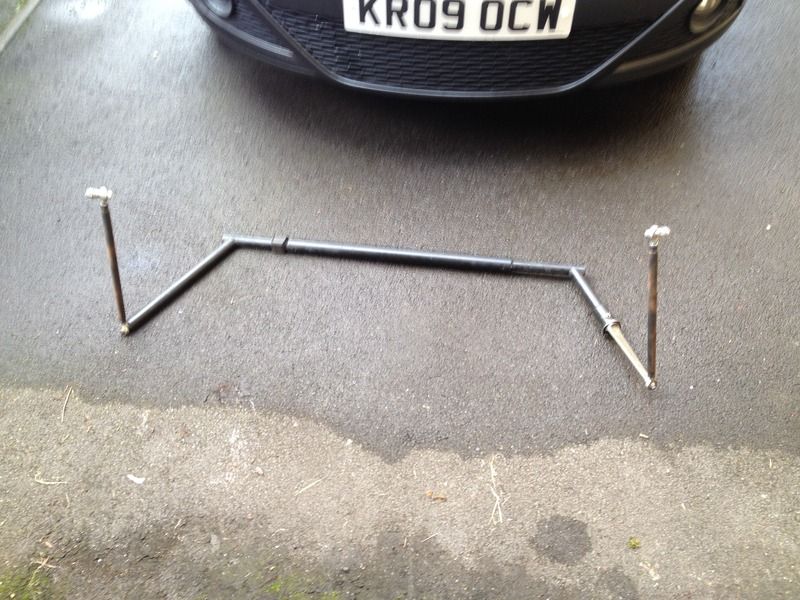
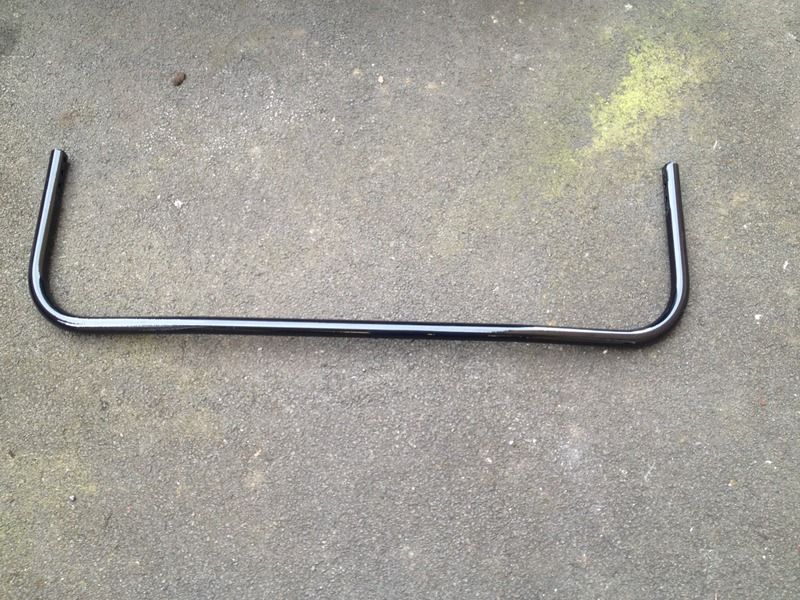
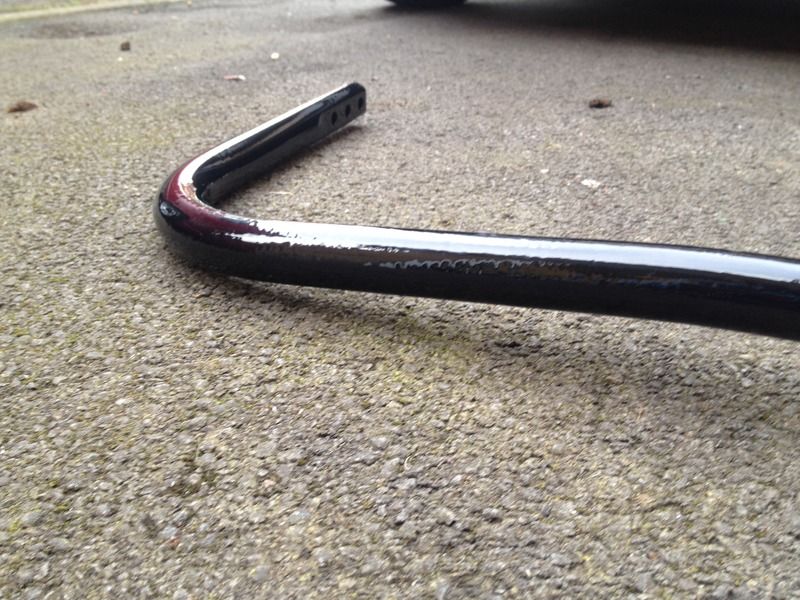
I just didn't get my hands on the rear beam but also the front arb that's adjustable, also again credit to Rob this is a nice piece of work!


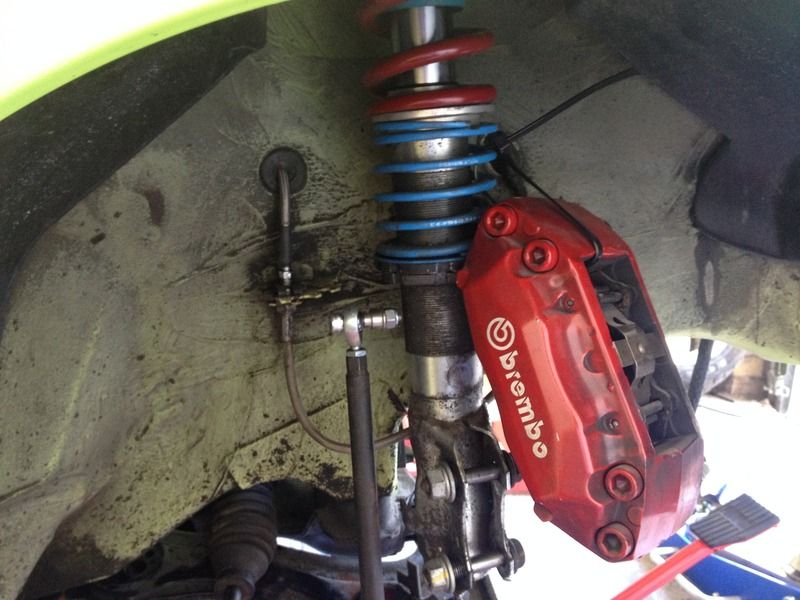
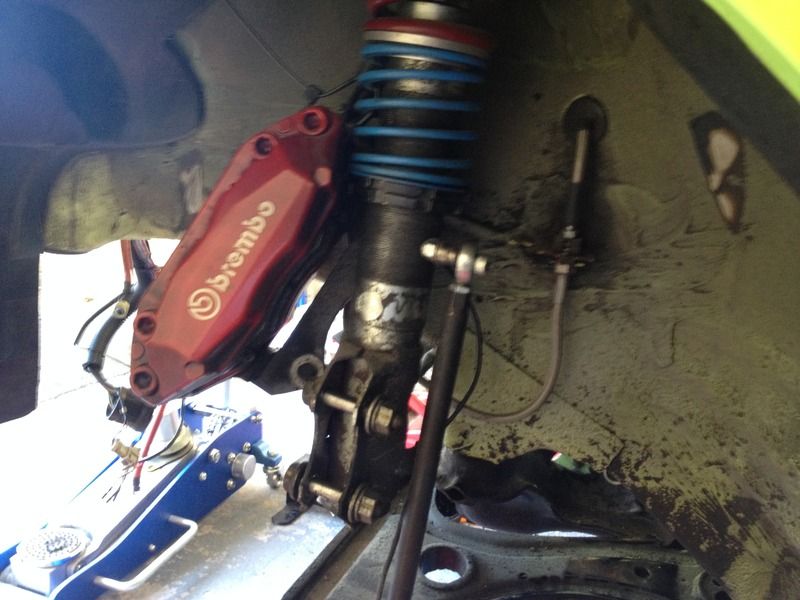
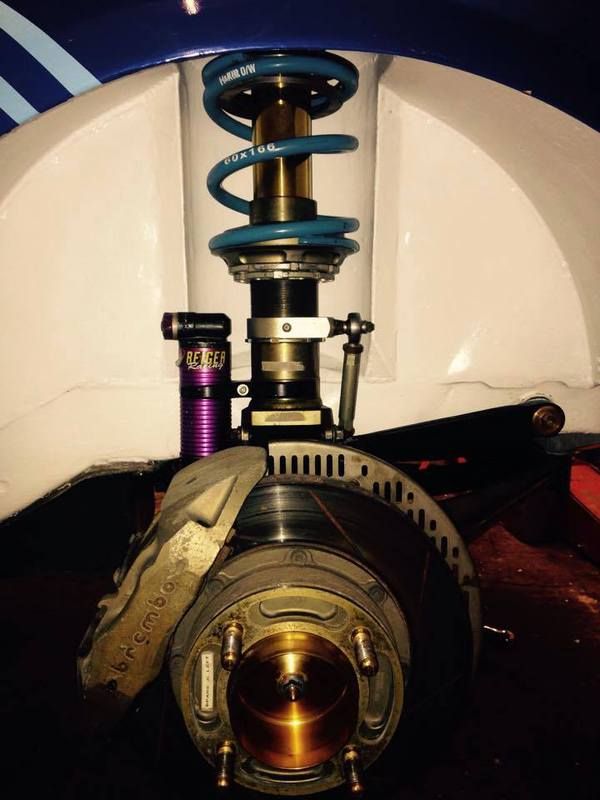
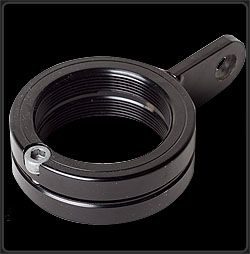
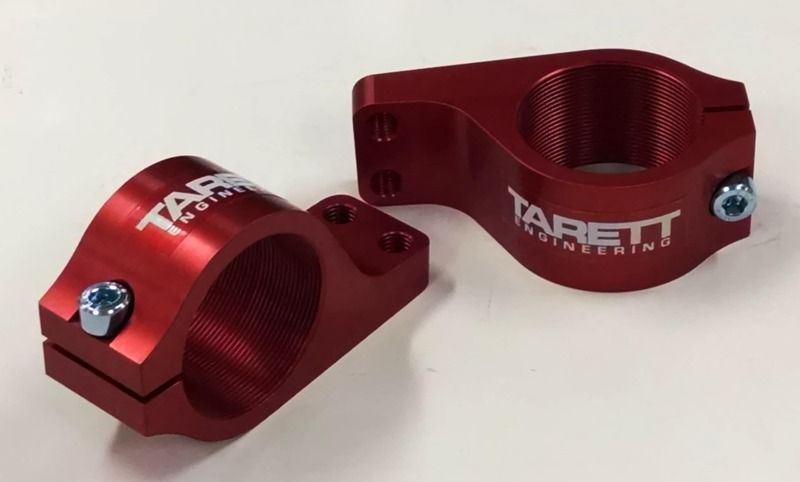
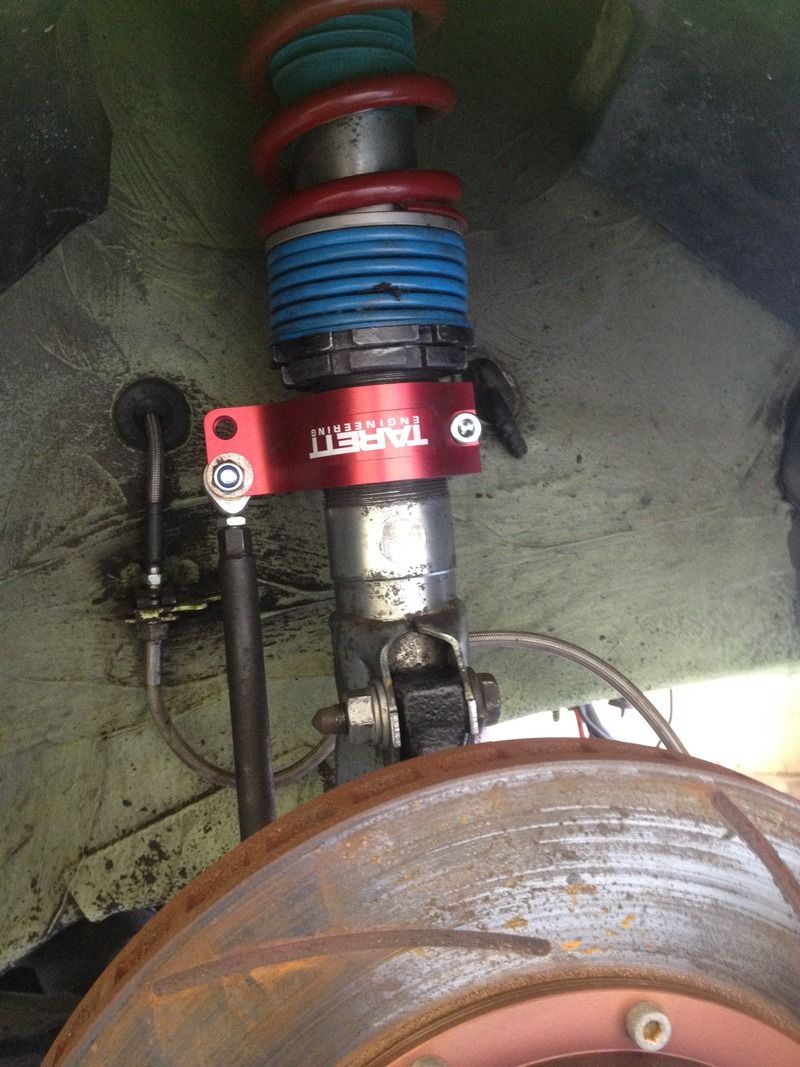
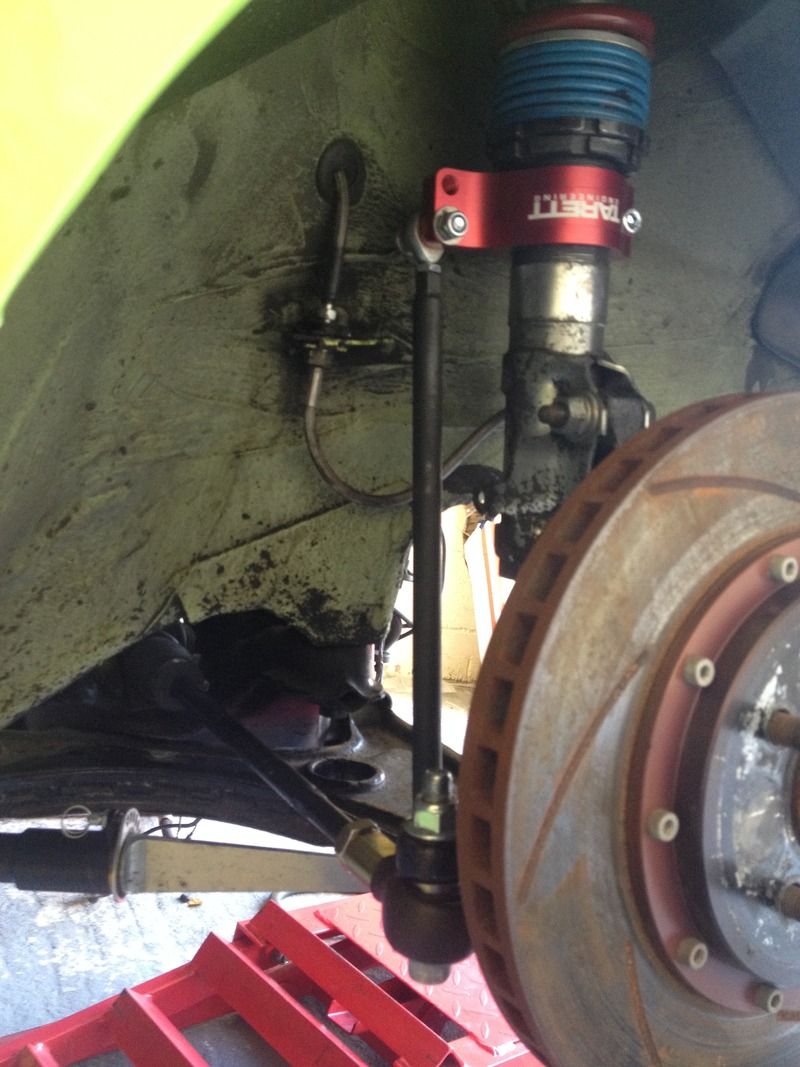
It sits in about the same place like this when the car is on all 4's so instead of welding a bracket like Rob did I'm going to try and use a drop link mounting collar that threads onto the coilover like below;


Found two places in the USA that supply the last two photos, the black one has a 3 week wait and the red one is available now. Personally I think the black collar would be more suited but the red one does look more beefy.

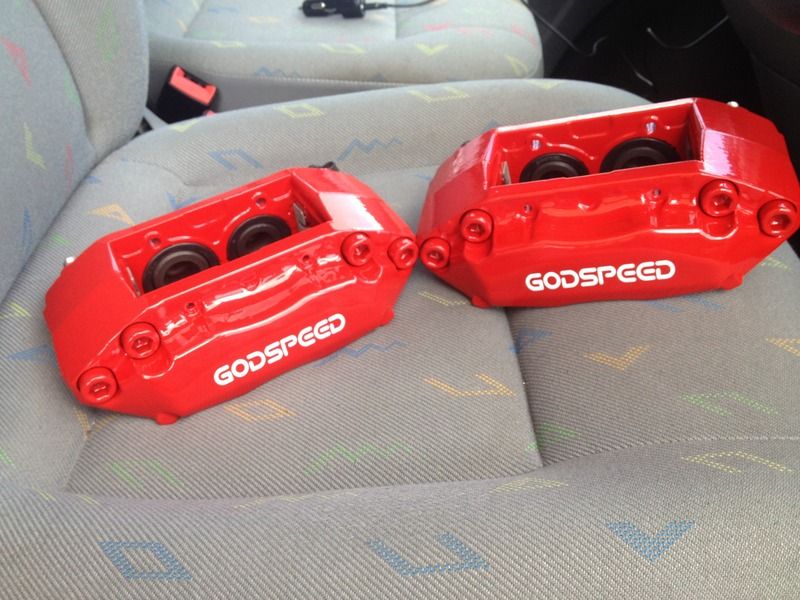
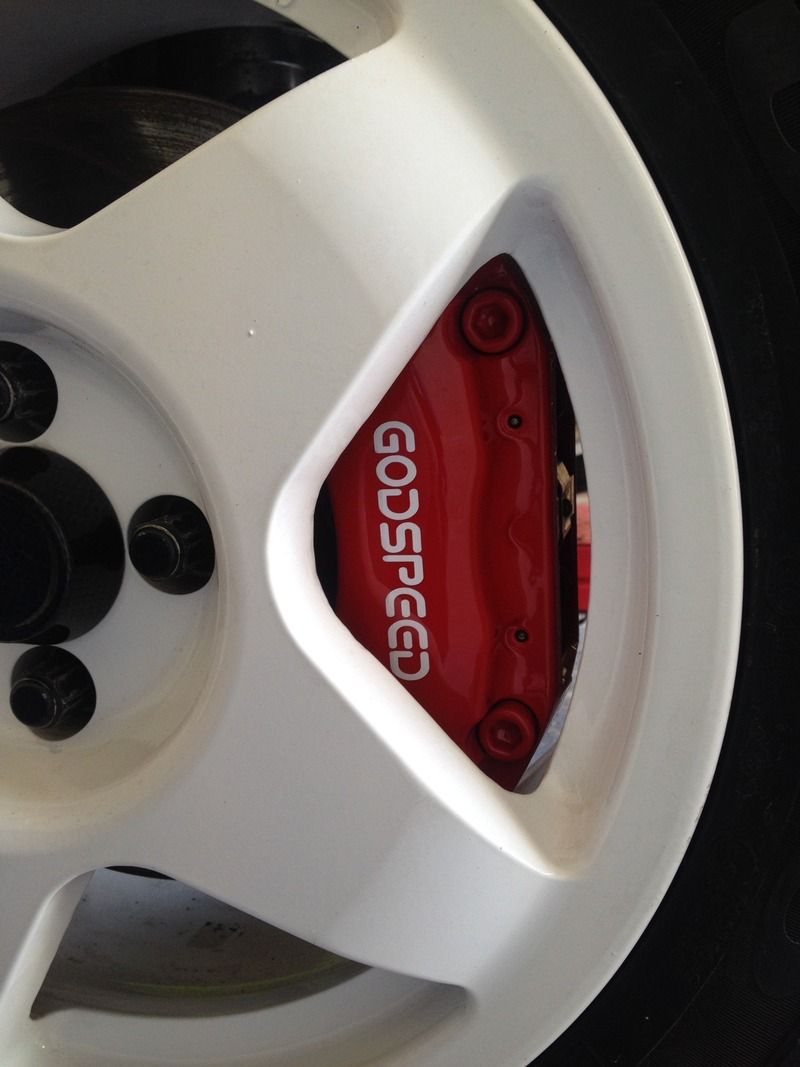
The calipers have also been dropped off down to Godspeed brakes for a check over and fresh paint since they are off so I should get them back this weekend along with my rear arb that's been powder coated.
 

Dave_R

Save a Sheep...Buy Brembo
Sep 20, 2004
3,666
1
South Wales
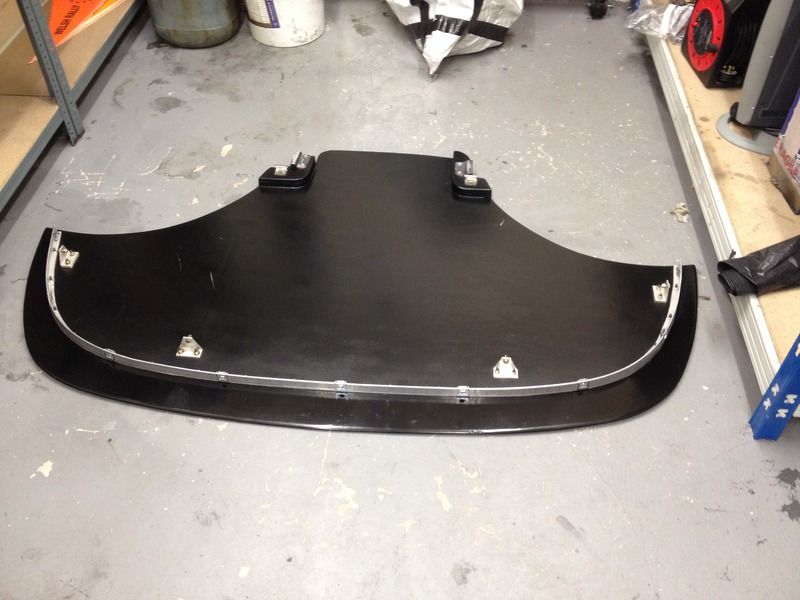
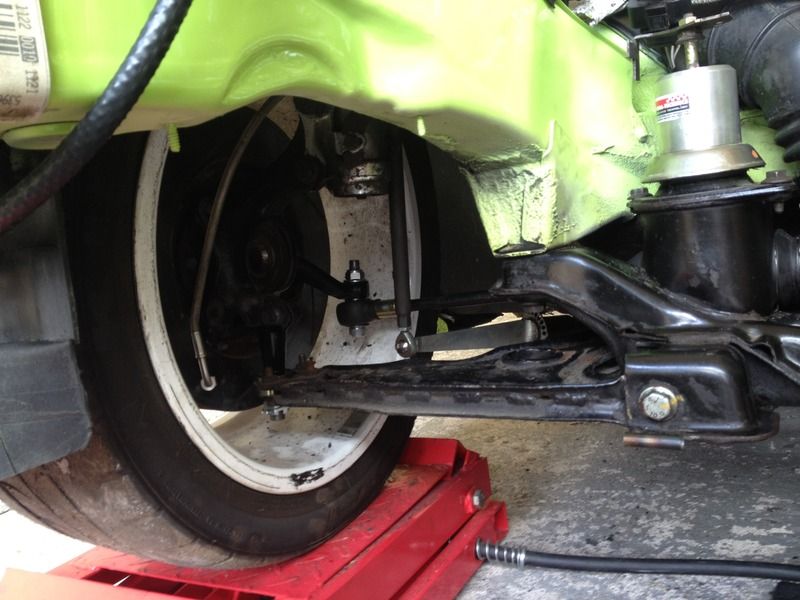
Yesterday I fitted the uprights and I decided to give the car a good wash, clay and wax since I was waiting on my callipers, carb & drop link mounts.... it hadn't been washed in 10 months. Then I couldn't help myself and had to fit the splitter after it was all painted.

Loving the straight lower arms


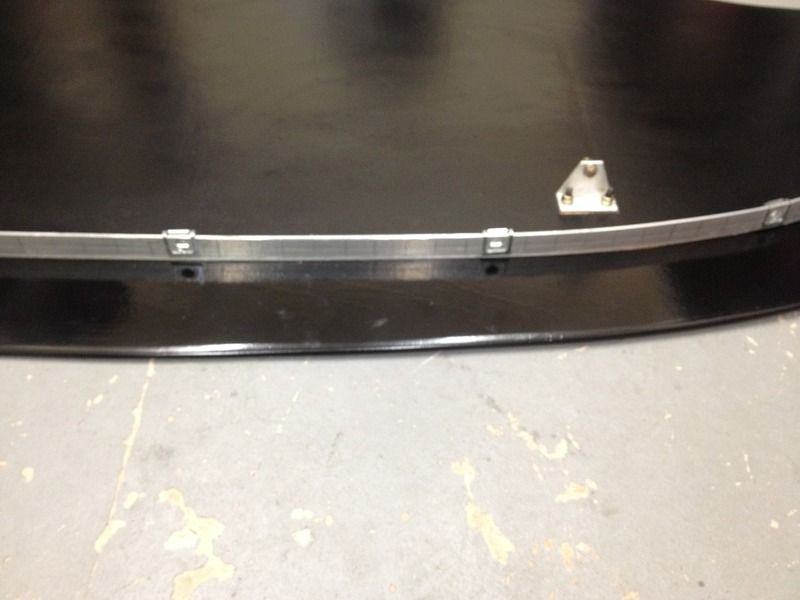
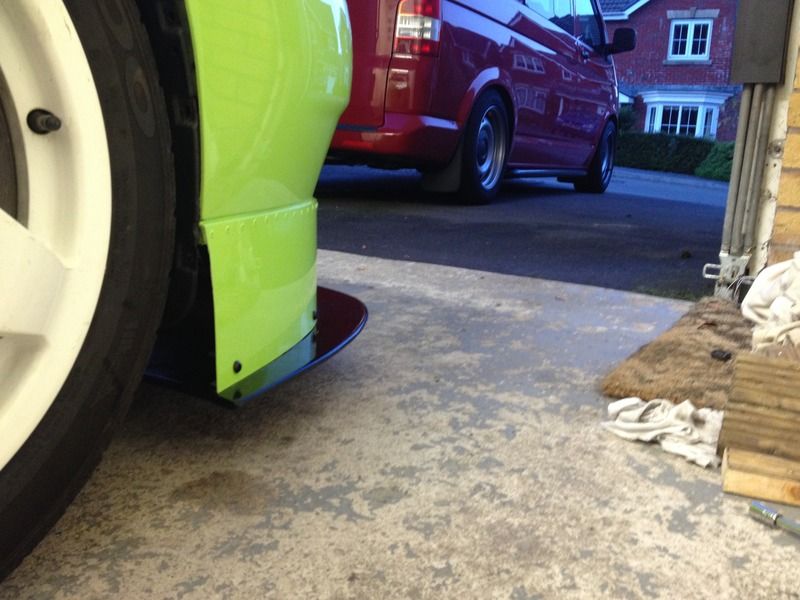
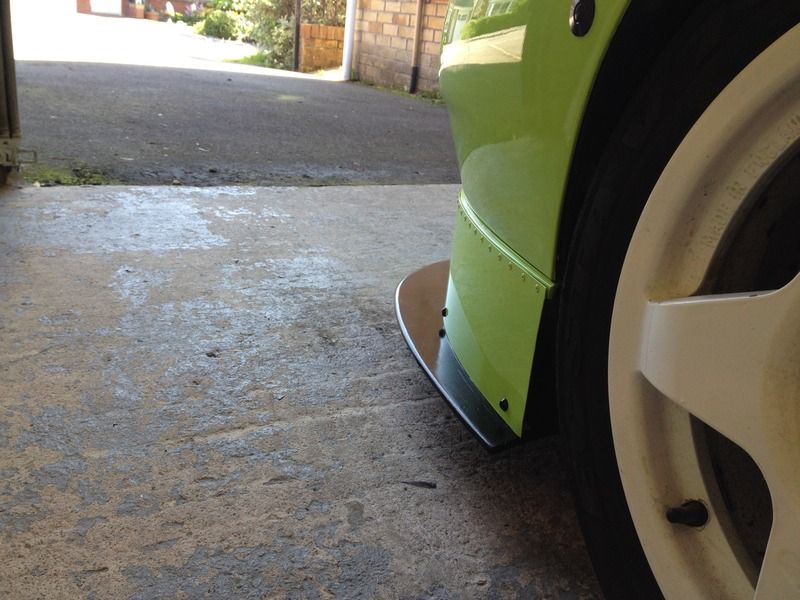
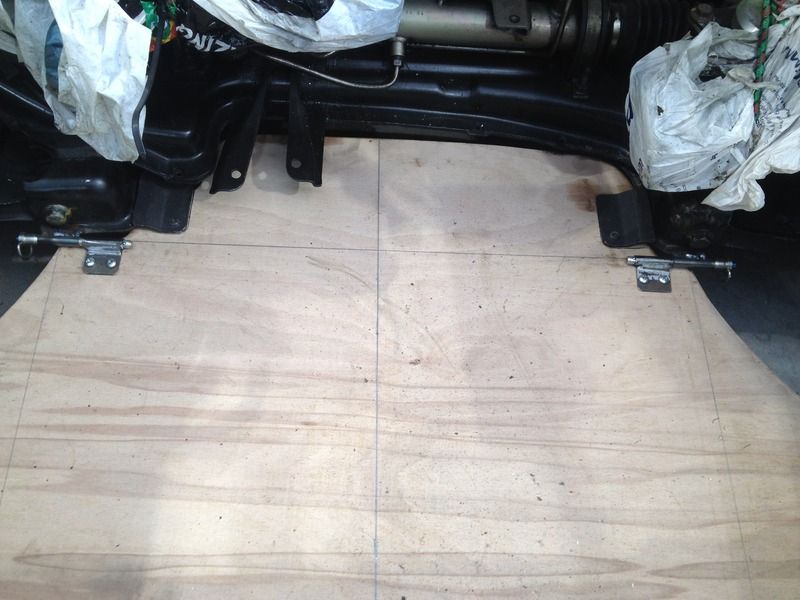
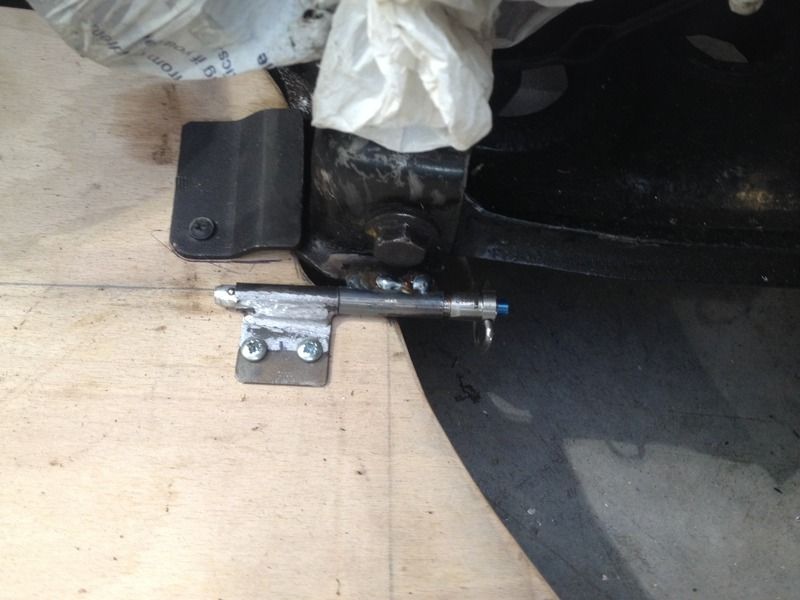
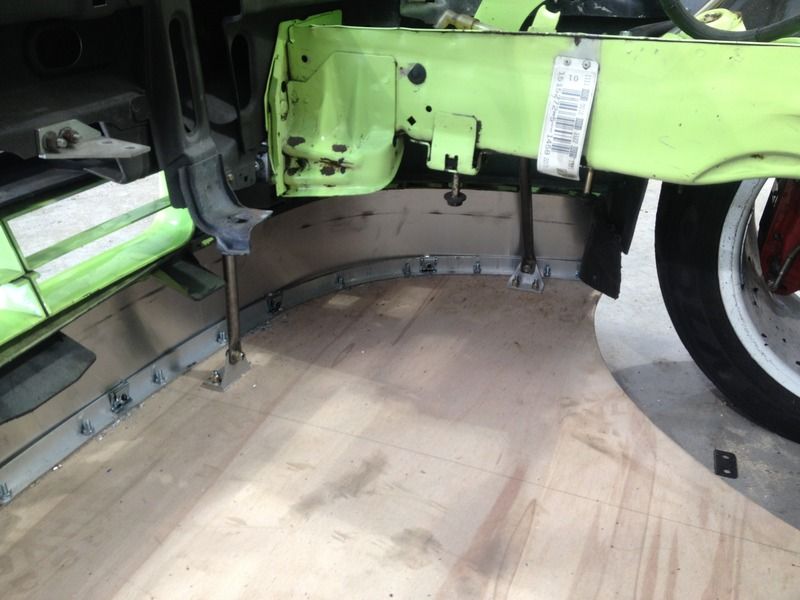
Then fitted the splitter, once I got the hand of it it won't take long to remove and fit, slots onto the subframe and then 4 brackets to bolt on.


Murdered LCR

Wide mouthed mofo
Sep 9, 2006
6,646
8
Murder Inc.
I will get photos of the front brackets next time i put it on, you can see two brackets in the photos.... basically slides onto the subframe and then pins into place.

Looks really good I need to add some more round the front edge of mine don't have much like you have to fix to tho , love the air dam tho
 

Dave_R

Save a Sheep...Buy Brembo
Sep 20, 2004
3,666
1
South Wales
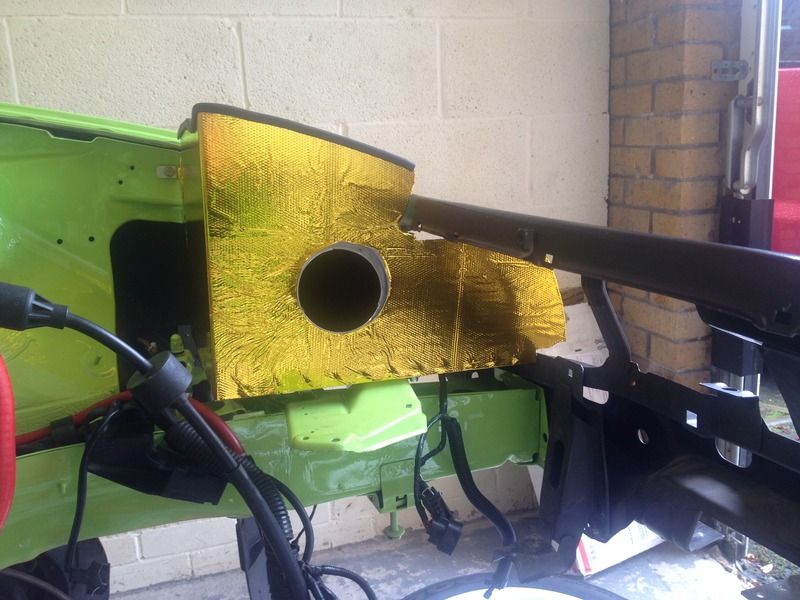
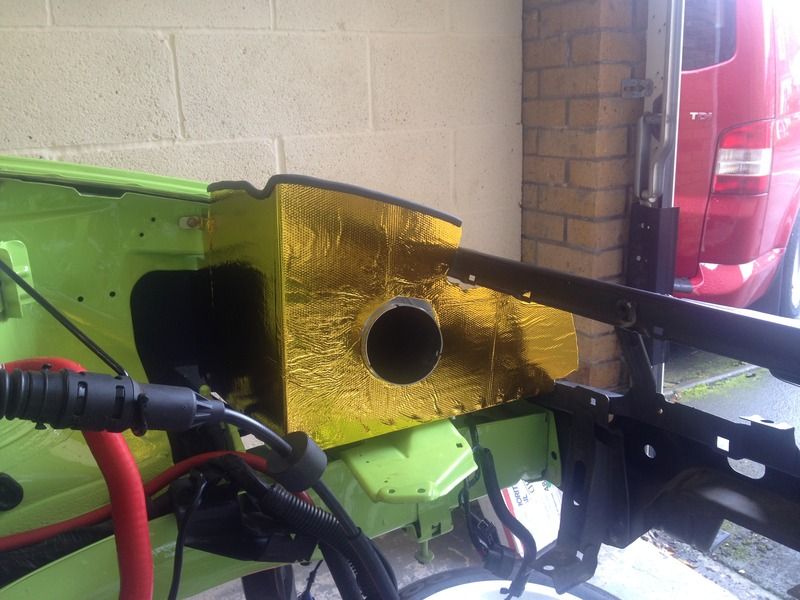
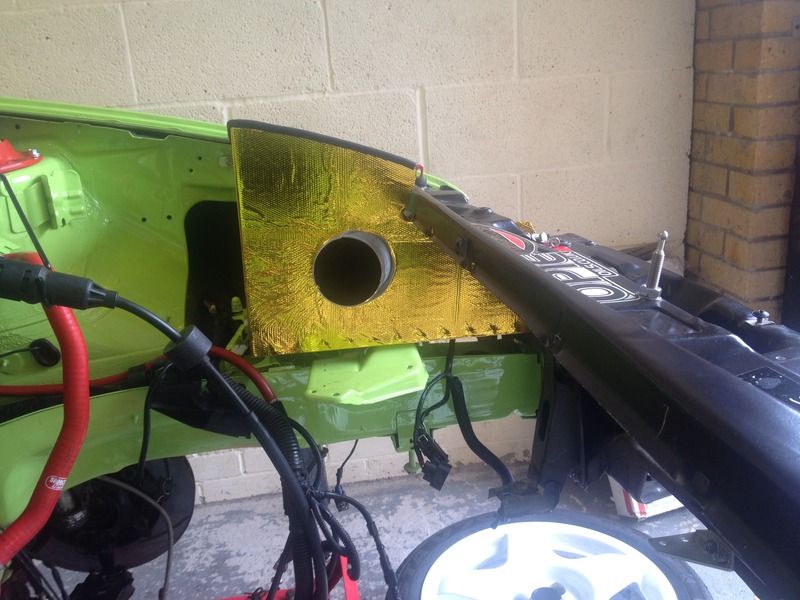
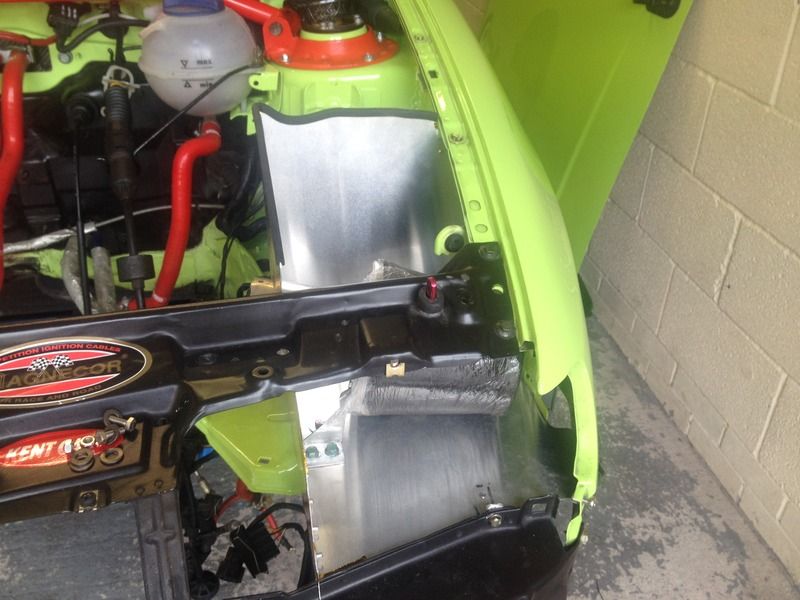
While I was waiting for the Brembo's to be refurbed and my rear arb to come back from the powder coater I used some Dei Gold wrap on my air box. Not a big fan of it but function over fashion is what counts and the wrap doesn't look this bad in the flesh, was pleased with my work until I looked at these photos.


ARB all powder coated


Brembo's all refurbed with new decals, my mate at Godspeed done an awesome job (as usual) on these. Just before Castle Combe (engine blow up) I found some black bits in my brake fluid after bleeding the brakes, lucky my mate mentioned the would benefit with some new paint because on stripping them done he found that I started to melt the seals on the bore so all new seals were fitted and think it's time I look at some brake ducting asap!


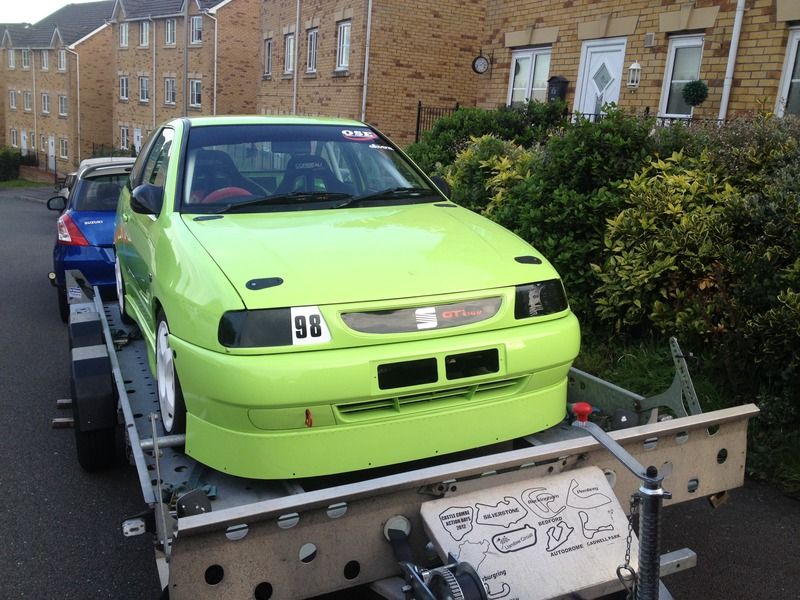
Got my grille all sticker'd up before people ask number 98 is just the Manufacture year of my car and I like high numbers, if I compete in anything soon I'll change the number to whatever number I'm given then.


Ordered the drop link brackets from Tarett Engineering in the states, very pleasant company to deal with, quick on replies, very helpful and sorted my order straight away.... just what you expect and want from a company. They supply Porsche suspension parts but the rear drop links they supply for 993/996 are M50x1.5mm thread which was the same has my dampers. Parcel Force were a bit slow, they came into the UK last Thursday and only yesterday the part tracking showed a charge needed to be paid so a quick drive up to Newport to pay and collect because I couldn't wait till today or Friday to have them.

Saves me getting the dampers stripped, welded and re-gassed


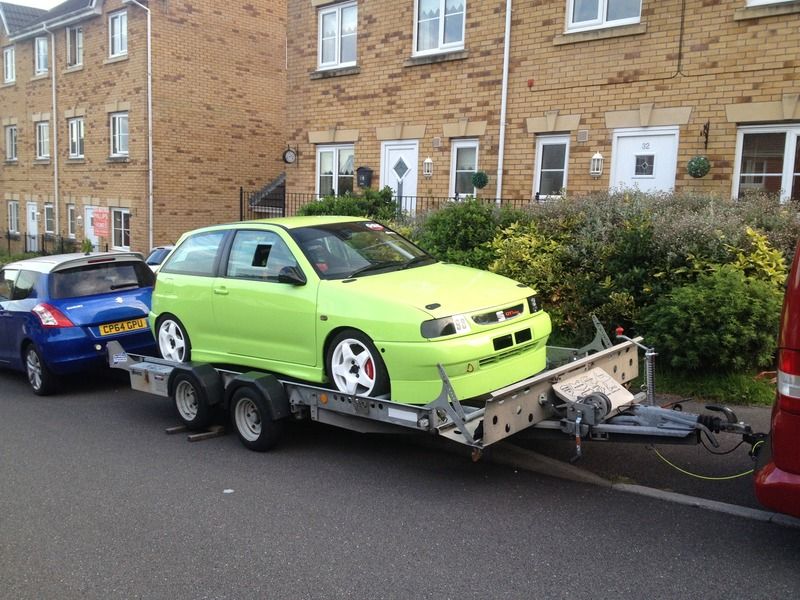
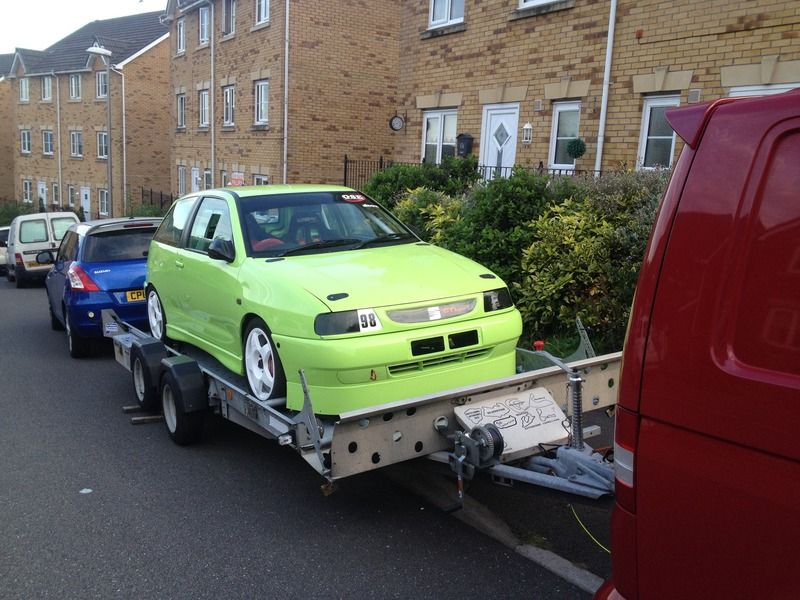
Then later that evening with some help from the wife to get the snot onto the trailer ready for my 3:30am start to Saxon Motorsport this morning


I stuck the carbon air duct on and taped it all up to allow it to set and to stop my filter getting wet on the trip down.

It's been a manic few weeks, had 3 weeks off from work and spent about 2 weeks in total on the car and trying to make some time for the family.... luckily we're heading to Florida soon so I kept reminding them of that when I was in the garage lol. So work is now over to the safe hands at Saxon Motorsport to work their magic and the next time I see the snot it'll be propelled under it's own steam and not by be pushing it!
 

rob929

Active Member
Dec 27, 2012
252
0
plymouth
Be nice to see it all up and running. Love the car mate. Been following your thread and always look forward to updates.
 

rob929

Active Member
Dec 27, 2012
252
0
plymouth
I bet you cant wait to get it back on the track. Really do admire the work thats gone in to it mate. Hats off to you and saxon.
 

Dave_R

Save a Sheep...Buy Brembo
Sep 20, 2004
3,666
1
South Wales
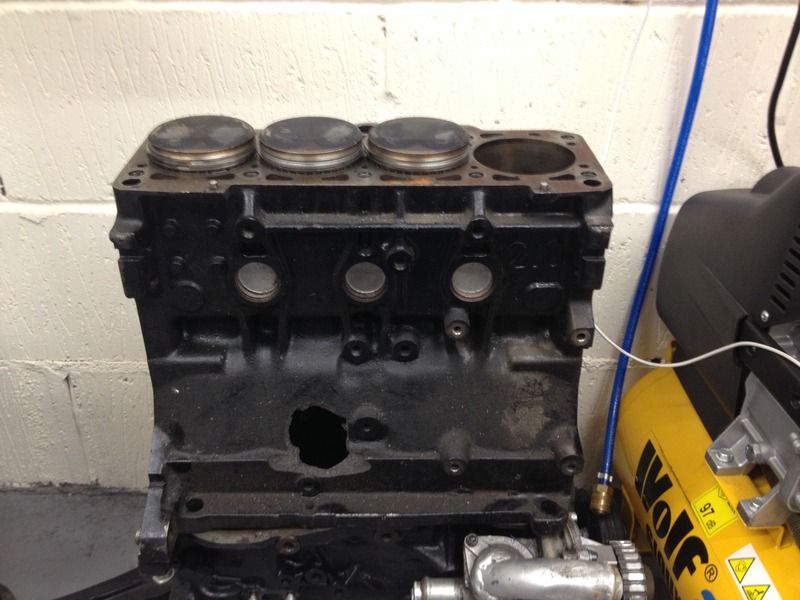
Here's my original block, you can see where the rod exited the engine lol


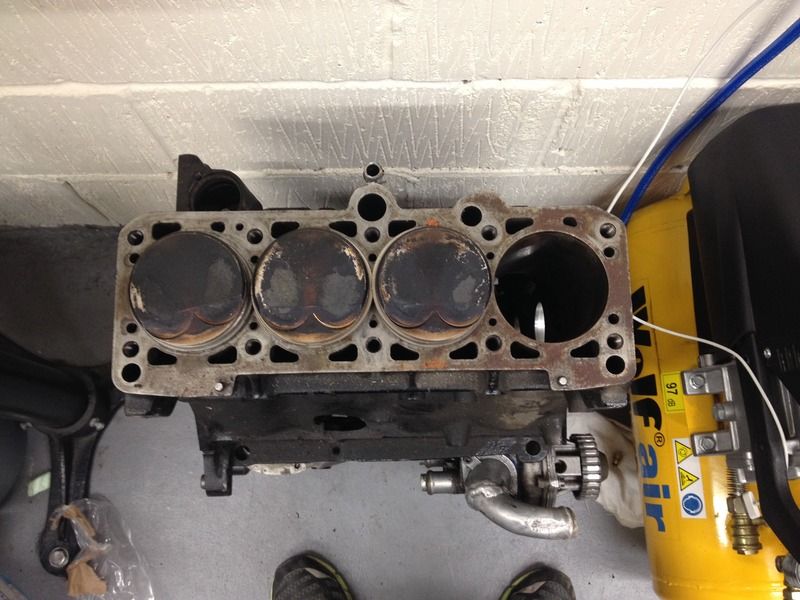
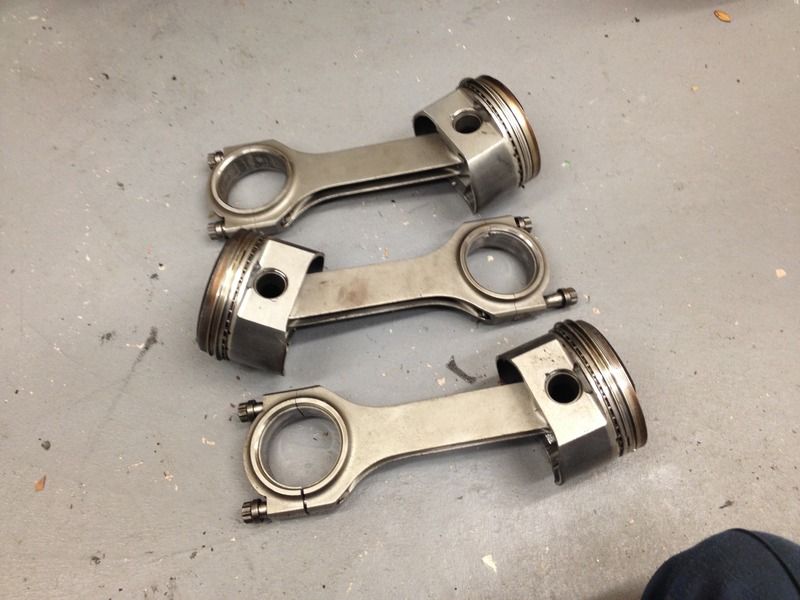
Remaining pistons


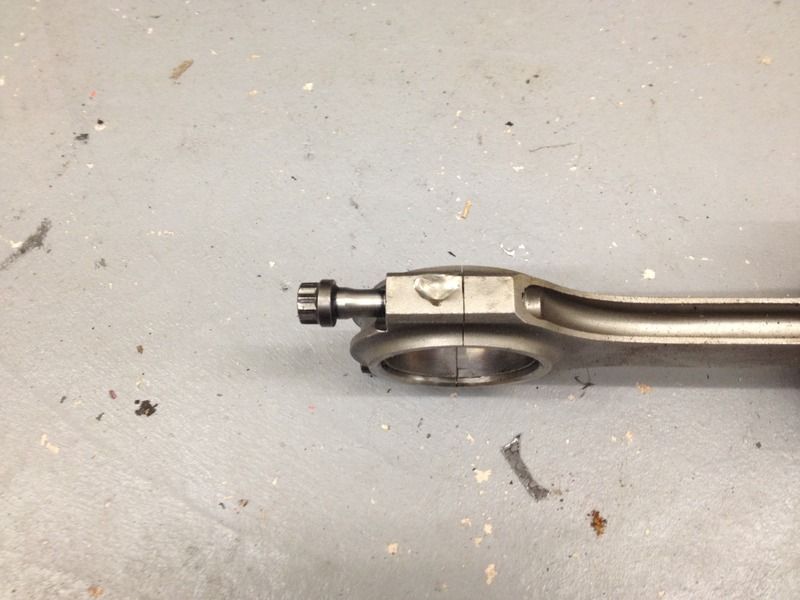
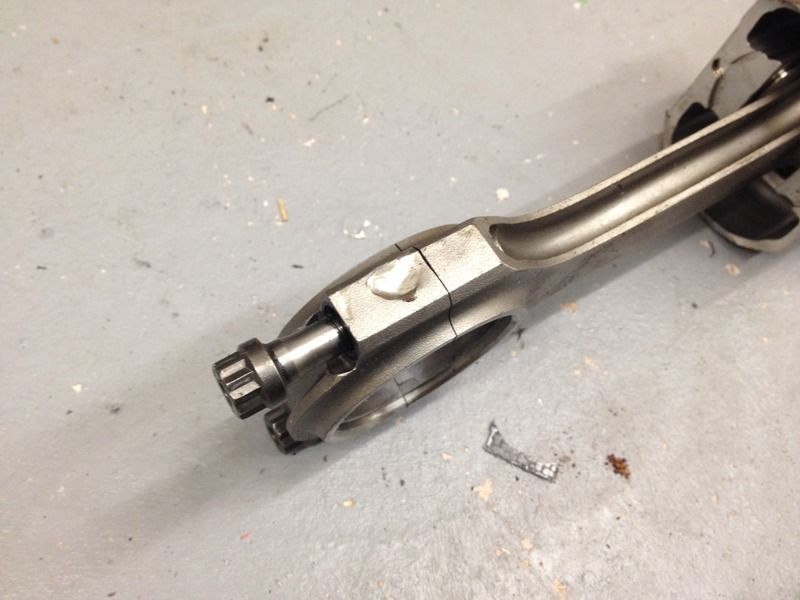
As you can see I have 3 rods and pistons left, one rod is damaged where the broken rod from cylinder 4 got over to cylinder 3 where the rod in 3 hit the broken rod out of the block.


Going to purchase some 50mm clock faces off of eBay and turn them into a corned/piston clock.
 

Dave_R

Save a Sheep...Buy Brembo
Sep 20, 2004
3,666
1
South Wales
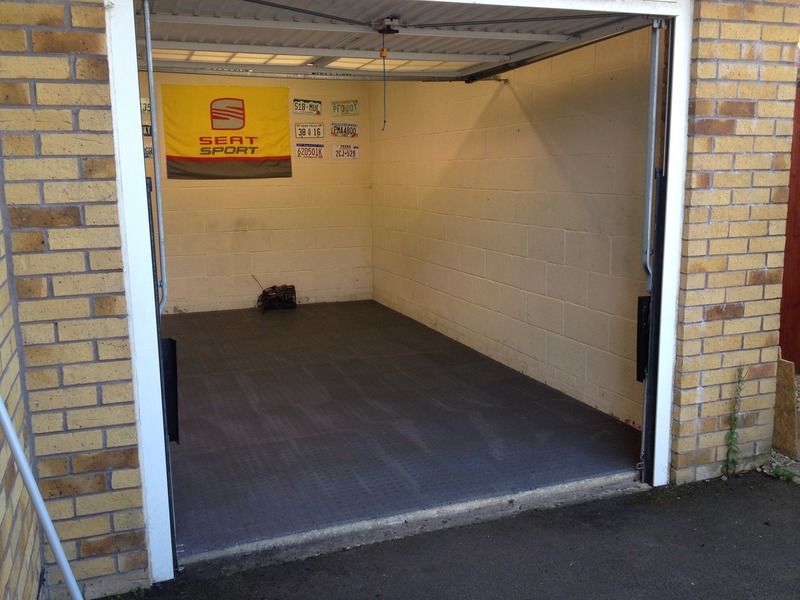
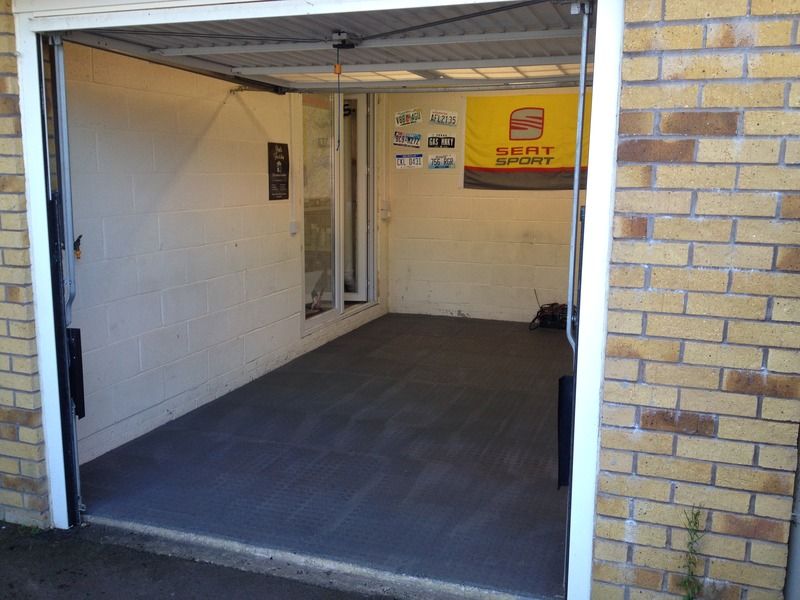
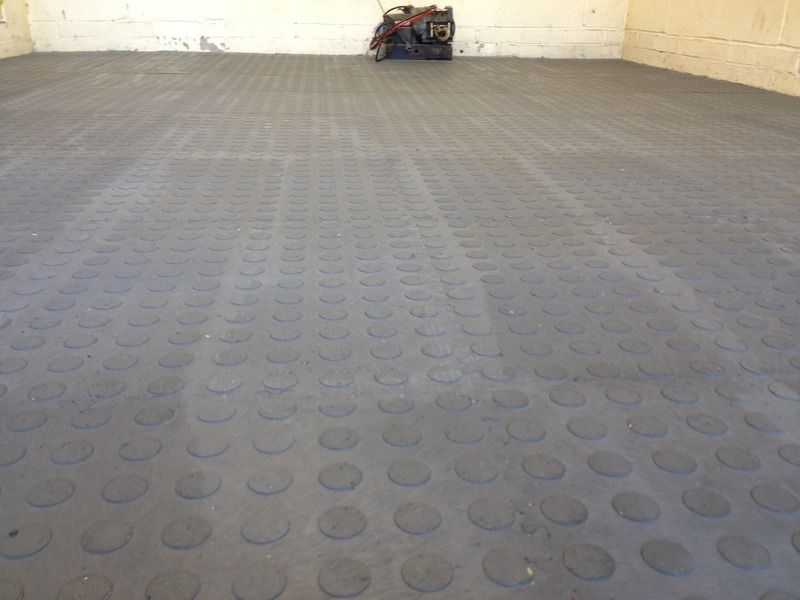
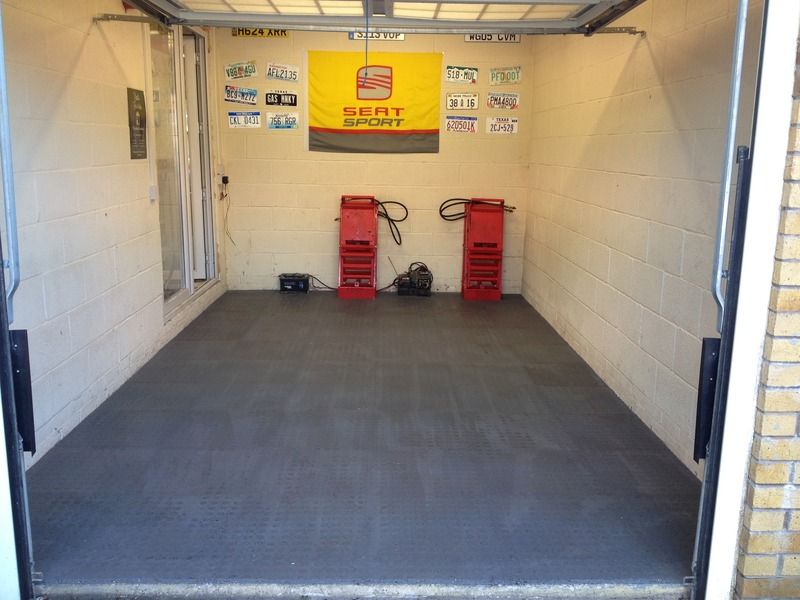
Not an update on the car but since the garage is empty and I thought the floor needed painting again, I decided to get some rubber tiles instead. So ordered a load from Mototile which are a pleasure to deal with, it's basically a big child's jigsaw when it comes to fitting it.... so easy to do but does kill your hand cutting the tiles with a Stanley knife.


I opted for the recycled tiles because they were much cheaper than the new ones and when comparing the samples (scratching with a knife) the recycled tiles were a bit more hard wearing. These tiles come in grey or black and are made up from old tiles and bits of wires, you can see brown, blue & earth cables when you cut the tiles.

If the garage was more of a "show garage" then I would have gone for the new tiles but end of the day when the car is in the garage it's on axel stands longer than it is on it's wheels lol.
 
Progressive Parts, performance parts and tuning specialists