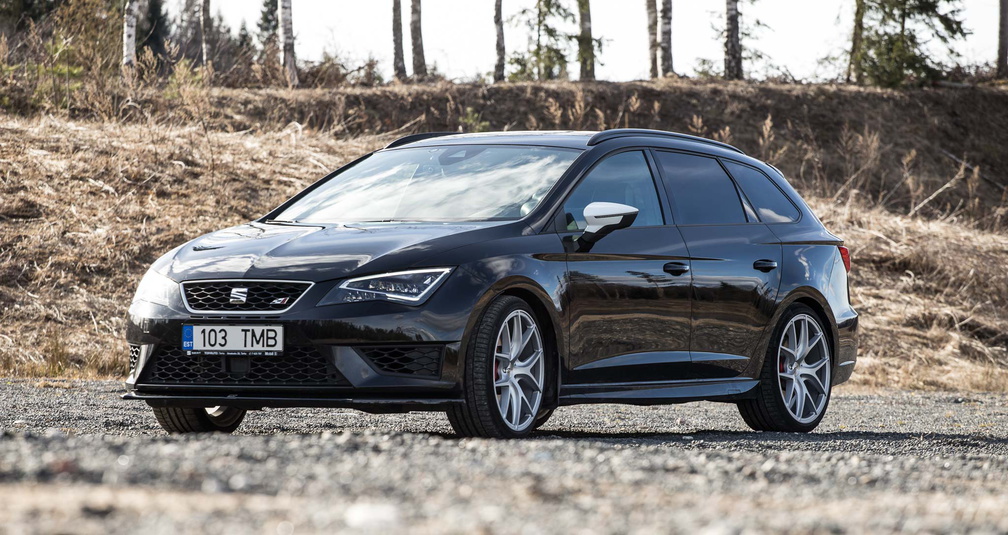
Eggy's Cupra 290 ST Whiteline 283kW 515Nm
- Thread starter Eggy
- Start date
You are using an out of date browser. It may not display this or other websites correctly.
You should upgrade or use an alternative browser.
You should upgrade or use an alternative browser.
Shortshift! Awesome!
Is your splitter gloss black or standard?
Splitter is glossy black.
It has been a productive day. I have now installed the windscreen spray nozzles, heated version, set of 2pcs from Aliexpress 12€. Local VW dealer is asking 50€/set, friend got some older VW ones from scrapyard for 10€/set.
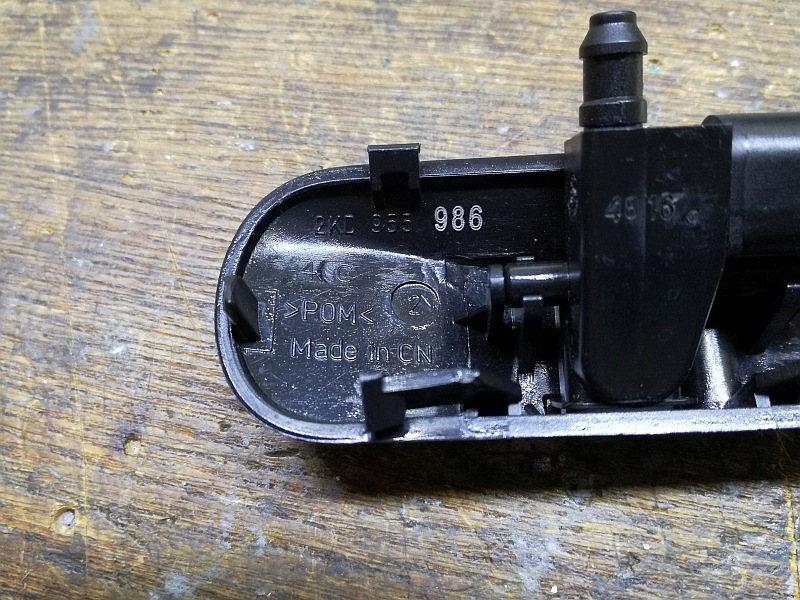
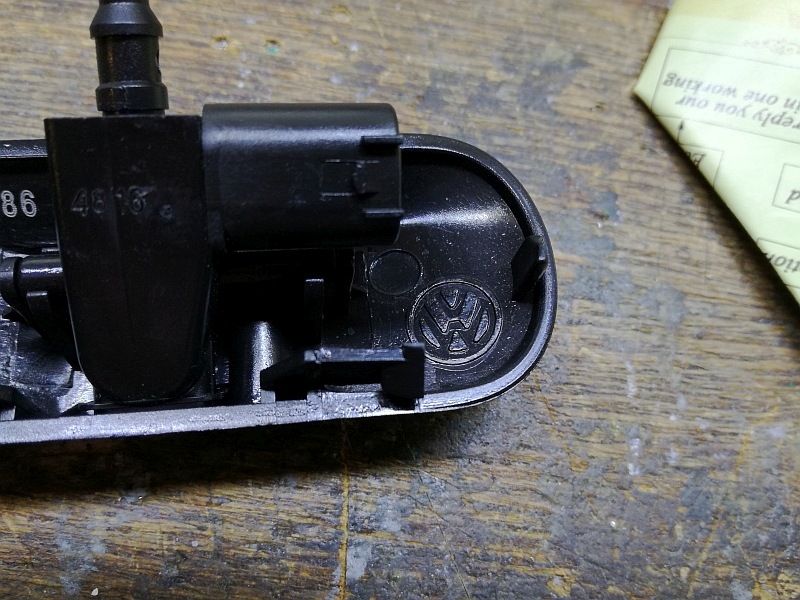
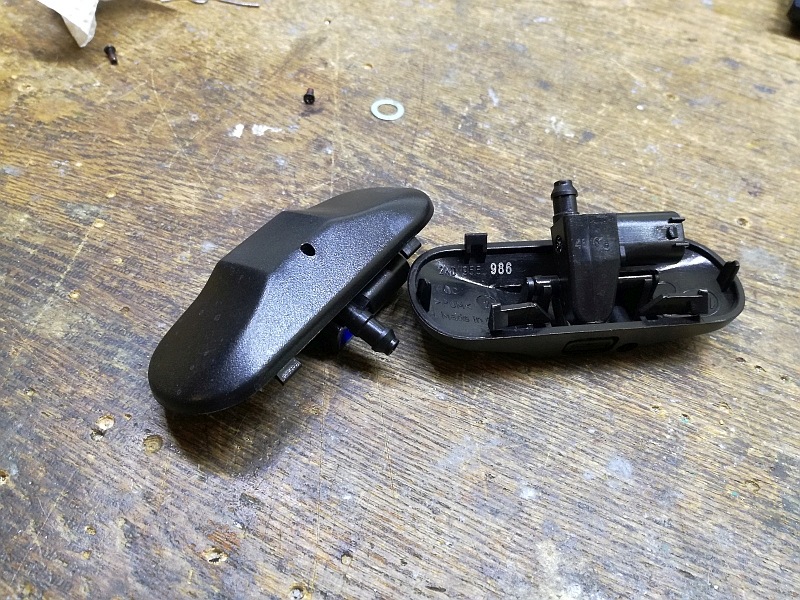
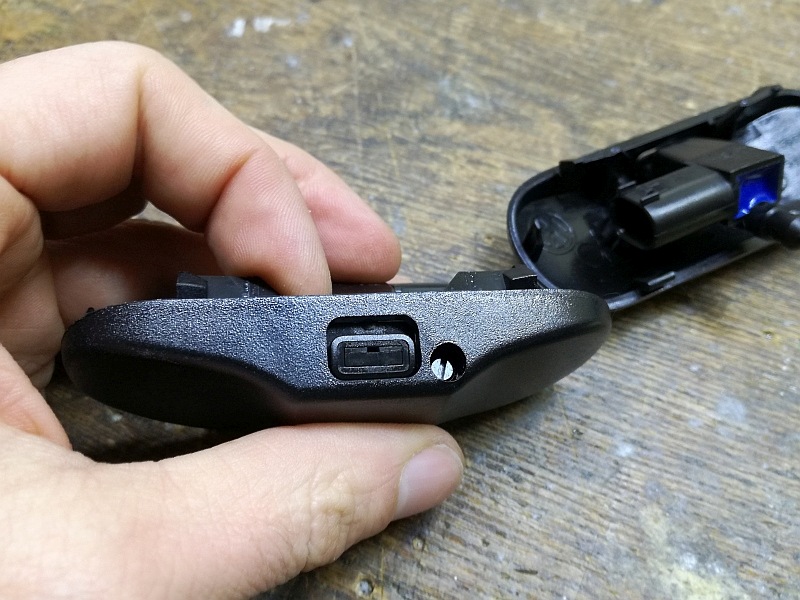
Installation is fairly simple, it took about 3-5minutes.
video: https://www.youtube.com/watch?v=VAwp2WghcTk


Installation is fairly simple, it took about 3-5minutes.
video: https://www.youtube.com/watch?v=VAwp2WghcTk
Dynamic blinker kit got also installed today. This is already some heavier stuff, kind of not for the faint-hearted, but nothing impossible.
The kit was ordered from Ebay user hs-cnc
firstly the packing is nice, metallized plastic bag with lots of scrapped paper and a box They are flexible PCB-s with Atmel MCU driving transistor for each LED. For powering they use 78L05, some hall efect sensor for switching modes. So usable voltage range about 7 to 25V. [end of electo-technical description] Behind the strips there are double sided tape to stick it to the original light guide groove.
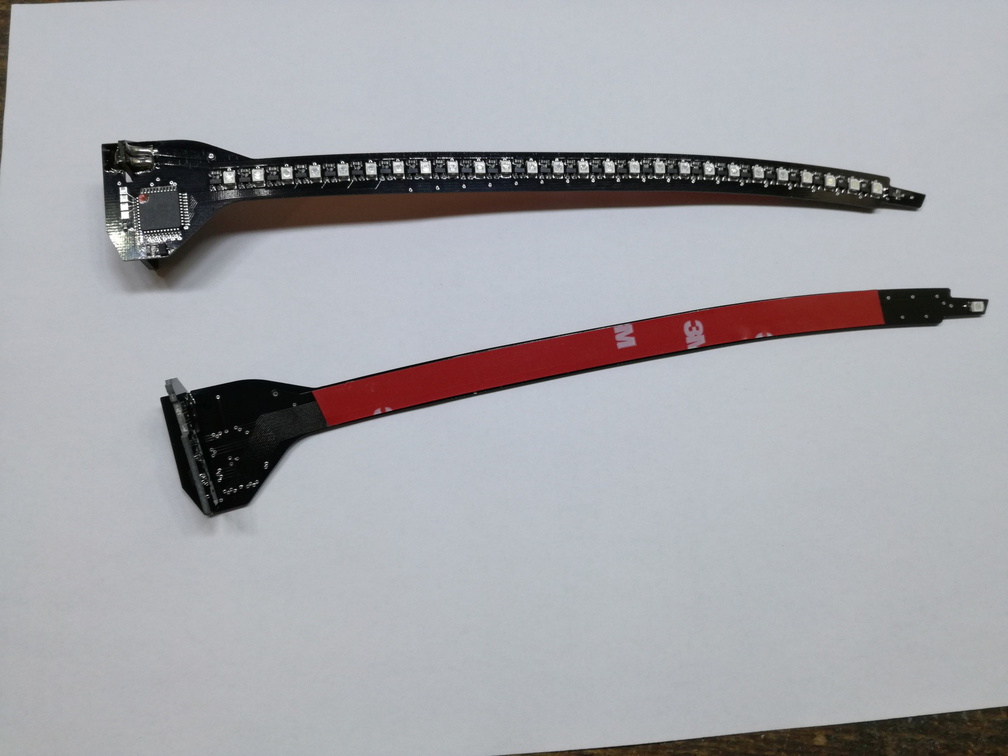
To install the strips:
1) Turn the mirror most inner position, so you can remove the glass by finger, you just must pull it out. I suggest to try to put your finger as far as possible behind the glass and pull. PS! Be careful, the heating element wires are on the car side and not the longest ones. Hold the contacts against the mirror and pull the connectors off.
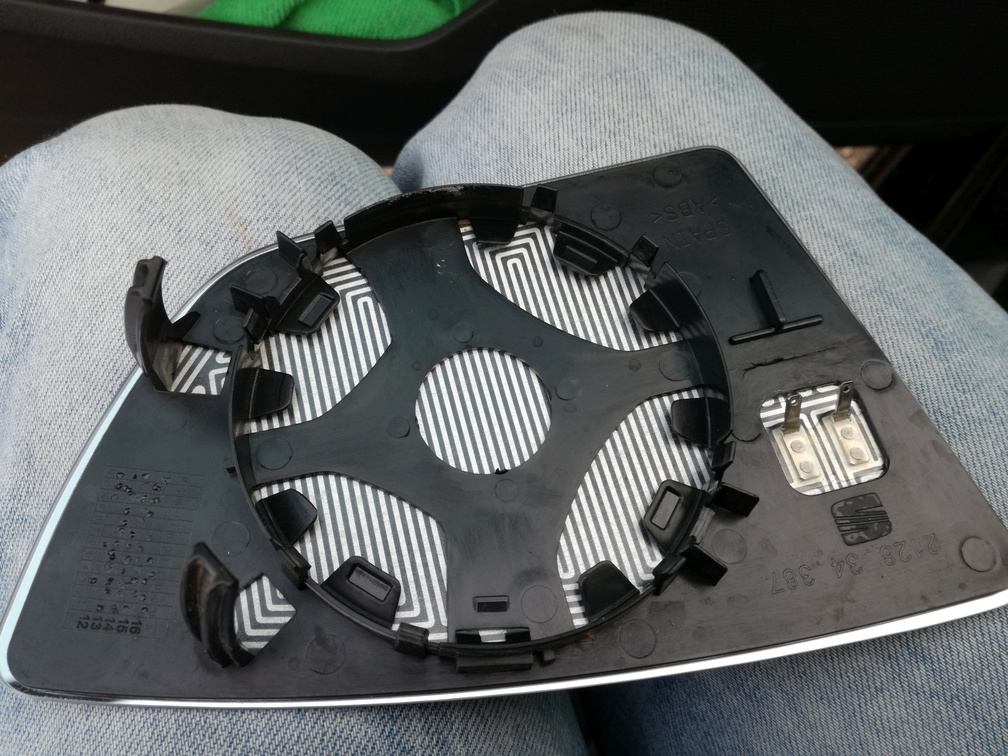
2) Then, in my case, the white mirror cover removal is a bit tricky. It is held from 3 different locations by clips that really want to brake (I managed to break 2 of them). White clips on the top right and left corner and on the left lower corned, "in the hole". This one is between and under the black clips, this is most harder to get to.
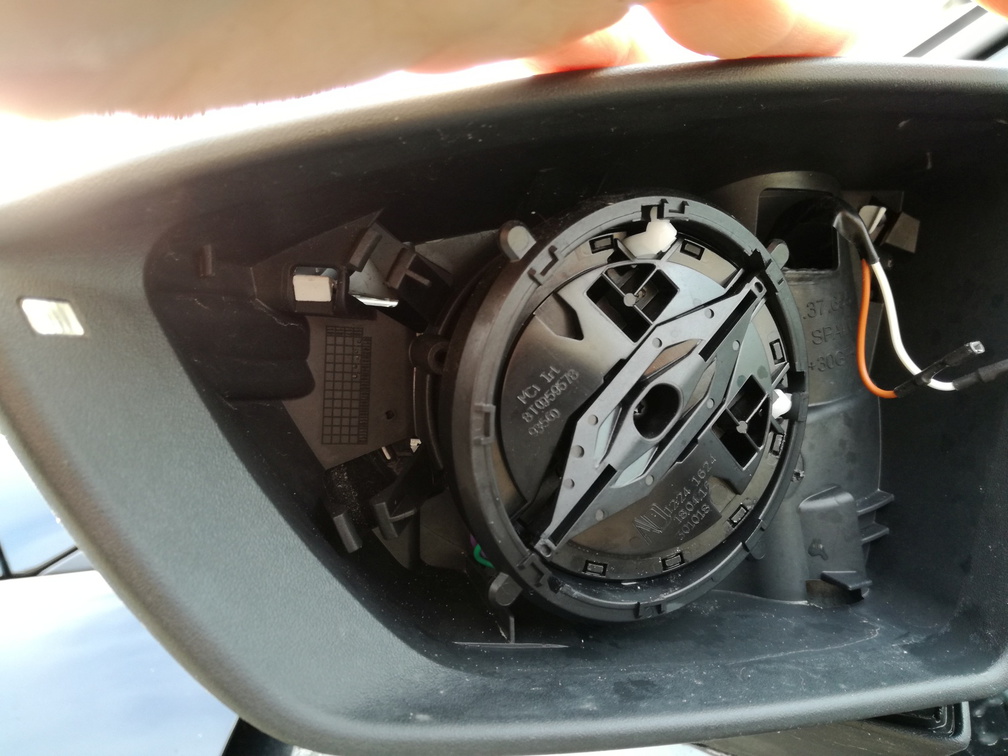
3) To remove the lighting part there is 3 torx screws and some fiddling necessary.
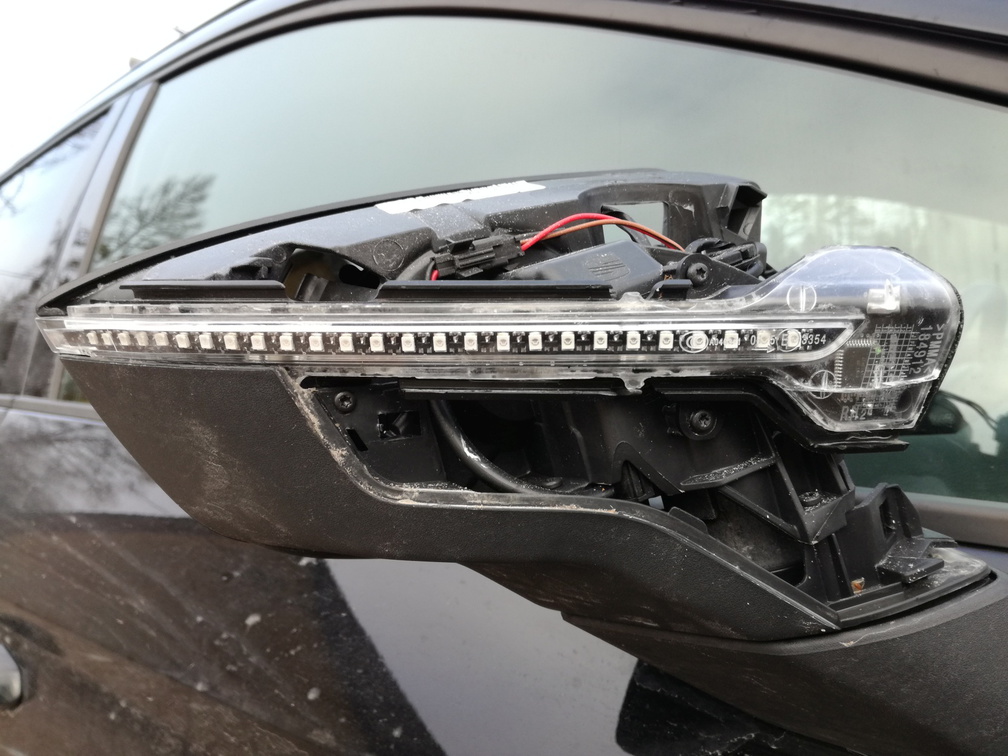
4) Now comes the scary part. The transparent plastic is glued to the place. I used knife to cut and mostly push-pull-break it off. Managed to brake one part of the plastic too, but it is inside the mirror, so no problem. I noticed that one side can be opened much easier and then you just can pull the other part open.
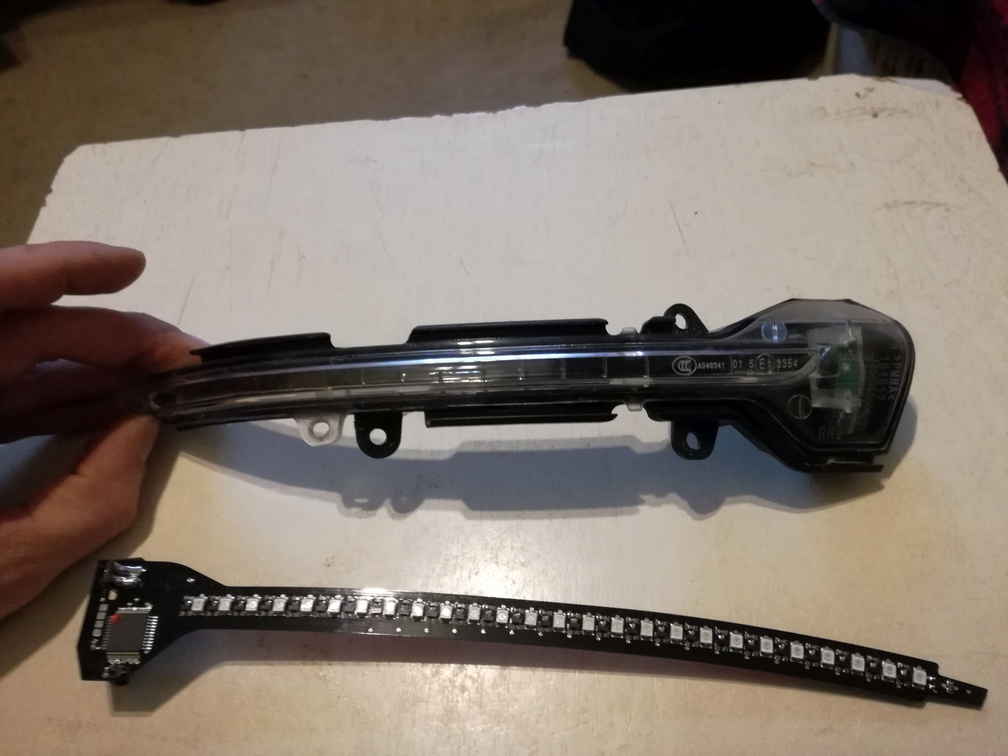
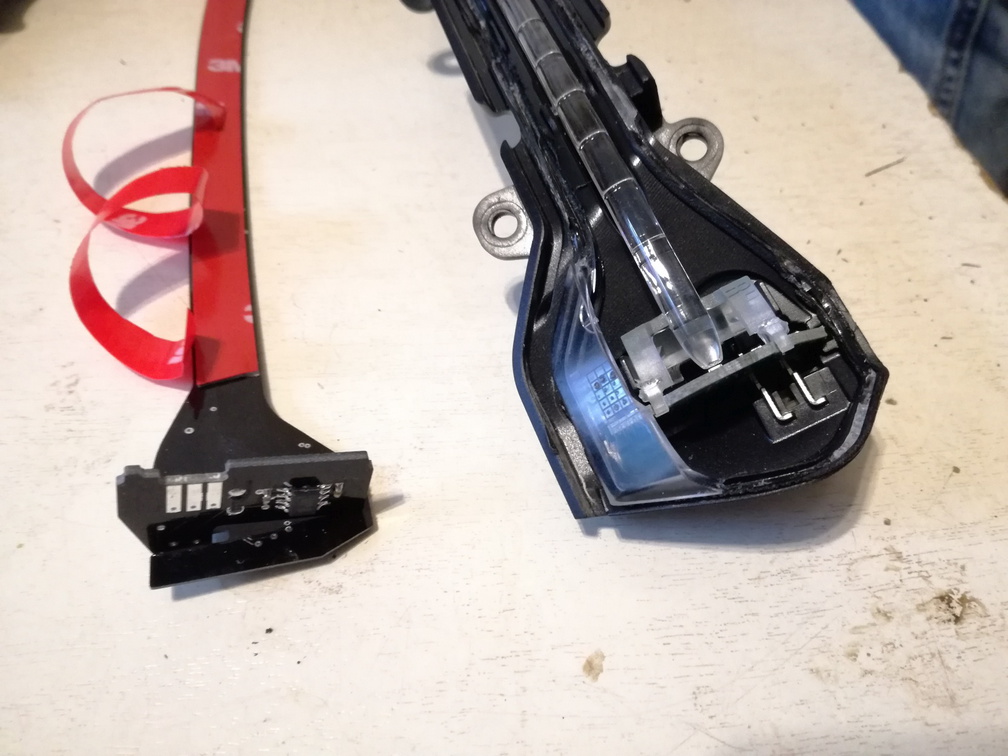
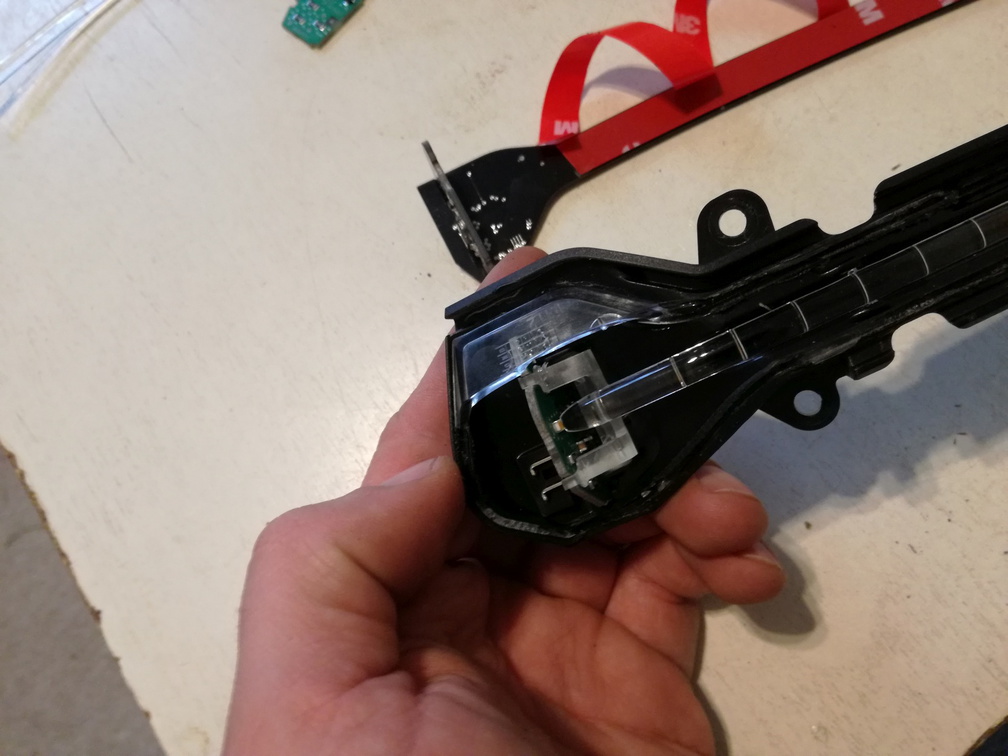
5) Pull the original parts off, the connector has some push-on clamps for electrical connection, put them to the LED strip PCB and mount it. Before removing the double sided-tape make sure you make some trials on fitment.
6) Try the assembly on car BEFORE gluing it back together. I used some Super Attack gel superglue, tried to make it as watertight as possible. It was not the nicest, but all are hidden inside the mirror.
7) Attach it in reverse sequence.
8) Enjoy the turns
more pics: http://www.egertifoto.com/galerii/index.php?/category/923
video: https://www.youtube.com/watch?v=oNLvakIyaCc
PS! Someone could try to leave the light guide in. For me, as an electronics engineer, the distinctly visible LED-s are not the nicest in styling compartment in my opinion. Since mine is glued already I can no test it nor test some semitransparent-foggy plastic sheets there also.
The kit was ordered from Ebay user hs-cnc
firstly the packing is nice, metallized plastic bag with lots of scrapped paper and a box

To install the strips:
1) Turn the mirror most inner position, so you can remove the glass by finger, you just must pull it out. I suggest to try to put your finger as far as possible behind the glass and pull. PS! Be careful, the heating element wires are on the car side and not the longest ones. Hold the contacts against the mirror and pull the connectors off.

2) Then, in my case, the white mirror cover removal is a bit tricky. It is held from 3 different locations by clips that really want to brake (I managed to break 2 of them). White clips on the top right and left corner and on the left lower corned, "in the hole". This one is between and under the black clips, this is most harder to get to.

3) To remove the lighting part there is 3 torx screws and some fiddling necessary.

4) Now comes the scary part. The transparent plastic is glued to the place. I used knife to cut and mostly push-pull-break it off. Managed to brake one part of the plastic too, but it is inside the mirror, so no problem. I noticed that one side can be opened much easier and then you just can pull the other part open.


5) Pull the original parts off, the connector has some push-on clamps for electrical connection, put them to the LED strip PCB and mount it. Before removing the double sided-tape make sure you make some trials on fitment.
6) Try the assembly on car BEFORE gluing it back together. I used some Super Attack gel superglue, tried to make it as watertight as possible. It was not the nicest, but all are hidden inside the mirror.
7) Attach it in reverse sequence.
8) Enjoy the turns
more pics: http://www.egertifoto.com/galerii/index.php?/category/923
video: https://www.youtube.com/watch?v=oNLvakIyaCc
PS! Someone could try to leave the light guide in. For me, as an electronics engineer, the distinctly visible LED-s are not the nicest in styling compartment in my opinion. Since mine is glued already I can no test it nor test some semitransparent-foggy plastic sheets there also.
Last edited:
Impressive mod eggy, looks good. A step too far for my ham fists and sausage fingers
Thank you. I think the biggest challenge will be installing and building and engineering the heated steering wheel. One Leon Mk3 steering wheel is already shipped, should receive it next week. Then I will remove the leather and see how much/how heating cable can be placed. Let's see...I really want one
Small sound example with Ultersport exhaust. Soon the resonator will be removed, hope to get more agressive noise then, more backfire, cracks. Now, on manual gearbox, I do get the cracks on shifting on higher RPM. 
https://www.youtube.com/watch?v=XaM5zN7ML0I
https://www.youtube.com/watch?v=XaM5zN7ML0I
Yesterday we cut out the resonator. From the engine the pipe diameter is 65mm and the other end of the resonator is 60mm pipe. Outside sound is quite agile and awsome. Gear shifting cracks are also very nicely present. I can heare backfires much more often even on low RPM-s. Only downside is the noise in the car, this is too much. Probably put some Simons's resonator there and after that some J-pipes.
We did some measurments (calibrated mic), without resonator and Ultrsport back mufflers it is loud...really loud. 102-104dB in the car is quite normal, but the main noise is from 10 to 30Hz. Bigger peaks were near 120Hz and highest peaks @ 112dB. Probably tomorrow I will get the Simons resonator installed. Let's see how it helps.
Outside noise is quite awsome![Cool [B)] [B)]](/forums/styles/seatcupra/oldforumsmileys/shades.gif) . I had a meeting, reached the parking lot (before that there is straight strip of a road and I was able to push it) and got a message that said something like that: "Oh, was that you, it was loud!? Are you already there? I will be there soon"
. I had a meeting, reached the parking lot (before that there is straight strip of a road and I was able to push it) and got a message that said something like that: "Oh, was that you, it was loud!? Are you already there? I will be there soon" 
Outside noise is quite awsome
![Cool [B)] [B)]](/forums/styles/seatcupra/oldforumsmileys/shades.gif) . I had a meeting, reached the parking lot (before that there is straight strip of a road and I was able to push it) and got a message that said something like that: "Oh, was that you, it was loud!? Are you already there? I will be there soon"
. I had a meeting, reached the parking lot (before that there is straight strip of a road and I was able to push it) and got a message that said something like that: "Oh, was that you, it was loud!? Are you already there? I will be there soon"
Last edited:
So yesterday the Simons resonator got installed and it works as a resonator should...all the cool stuff is gone, almost no cracks at all, much quieter outside and inside. Today i will try to take the sound mesauring testrun. Currently I am thinking, that maybe prallel pipe in parallel with the resonator and valve to cancel it. Without the reso the cracks were even there when lifting off the acceleration on 5th gear at 50kmh, rpms about 1200-1500.
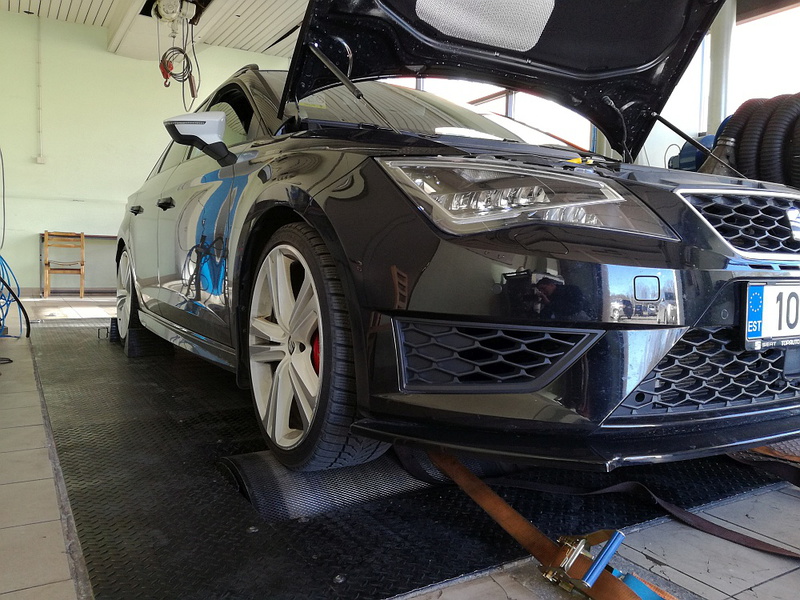
Dyno run results 210kW and 364Nm from the wheels, stock 
short youtube clip too: https://www.youtube.com/watch?v=iL4MBd56gUI&feature=youtu.be

short youtube clip too: https://www.youtube.com/watch?v=iL4MBd56gUI&feature=youtu.be
Love those new alloys Eggy, and the dynamic indicators. Have been looking into the latter for my 280 but looks a little bit beyond my capabilities (might pluck up the courage in due course as I think they look awesome)
Sent from my iPad using Tapatalk
They offered the installation too, you may ask. I do not know exactly how was it supposed to be executed, you should send then something or so..
The alloys selection was hard. The zitos were the obvious choice as I saw them. Then there were no et45 available in Europe. Local dealer was able to get them directly from Zito. Then the gunmetal gray alloys would have been delivery time of ~2-3months. So I took the matt silver hoping thay might be white enough but no...so white plastidip it is
They offered the installation too, you may ask. I do not know exactly how was it supposed to be executed, you should send then something or so..
I saw that on their website- it was pretty pricey at €245+vat and postage if I remember correctly but that included the price of the new caps, which they would refund you if you posted your old ones back to them (at your own cost). Not sure I need dynamic indicators that much but.....
Sent from my iPad using Tapatalk
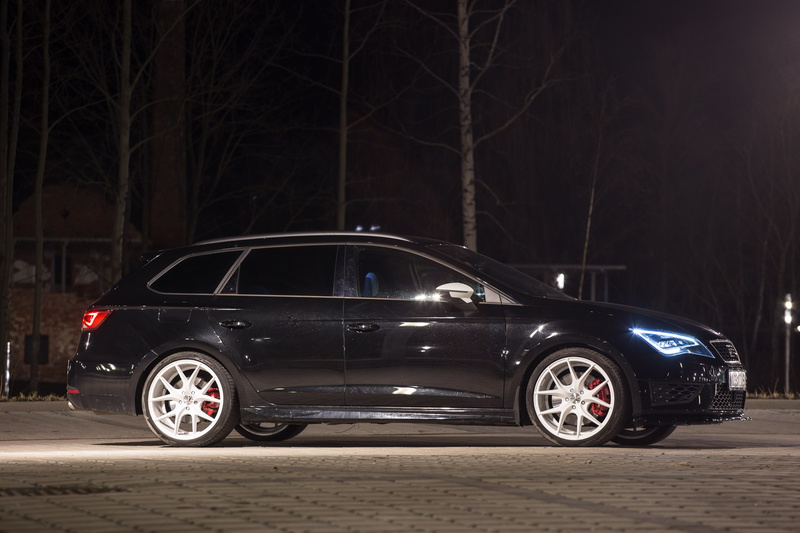
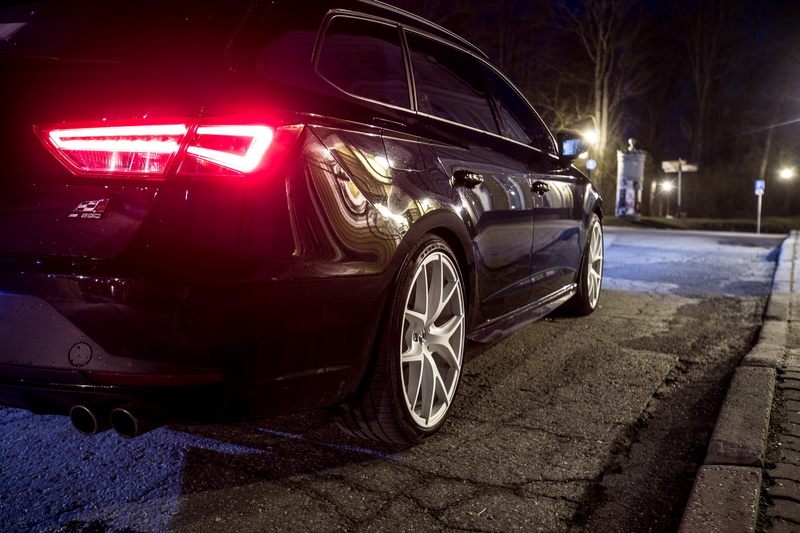
Last weekend I painted the wheels with white plastidip. The white is awsome...coating quality is not as good as I wanted to, probably will get them powdercoated at one point. The wheels looks sooo much bigger than the original ones..or they changed the brakes while installing the new wheels 


Last edited:
Similar threads
- Replies
- 2
- Views
- 688
Model Year 23/24
Formentor 2023 Beats Audio Speaker Spec Question
- Replies
- 1
- Views
- 710
- Replies
- 10
- Views
- 2K


 )
)