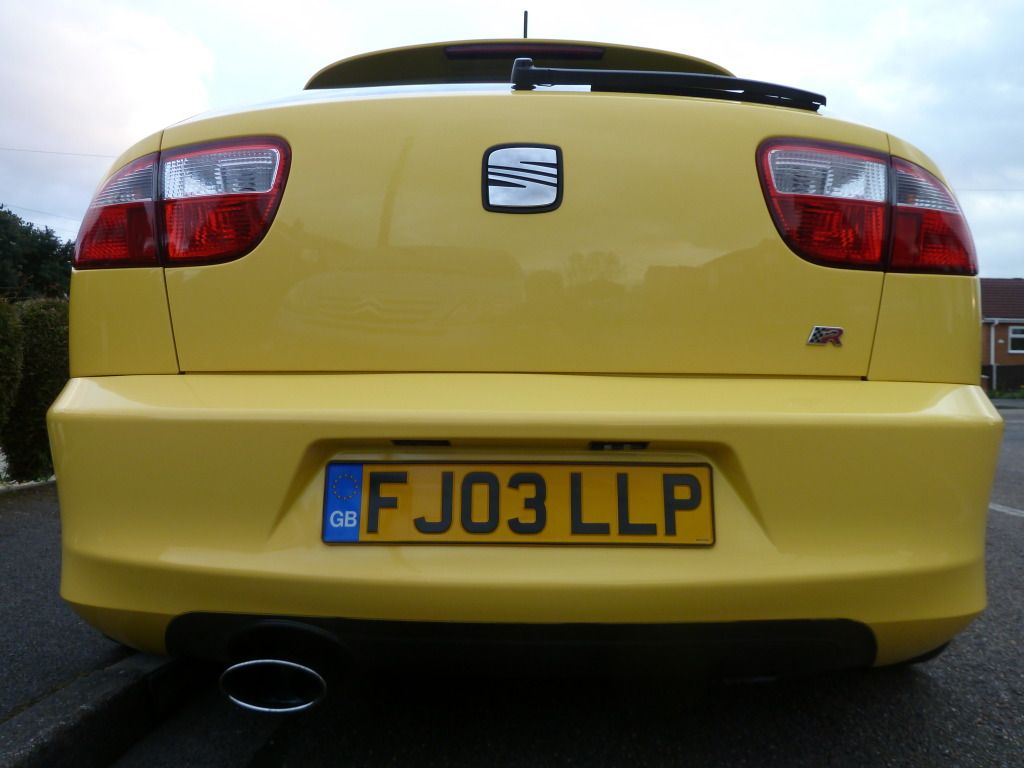
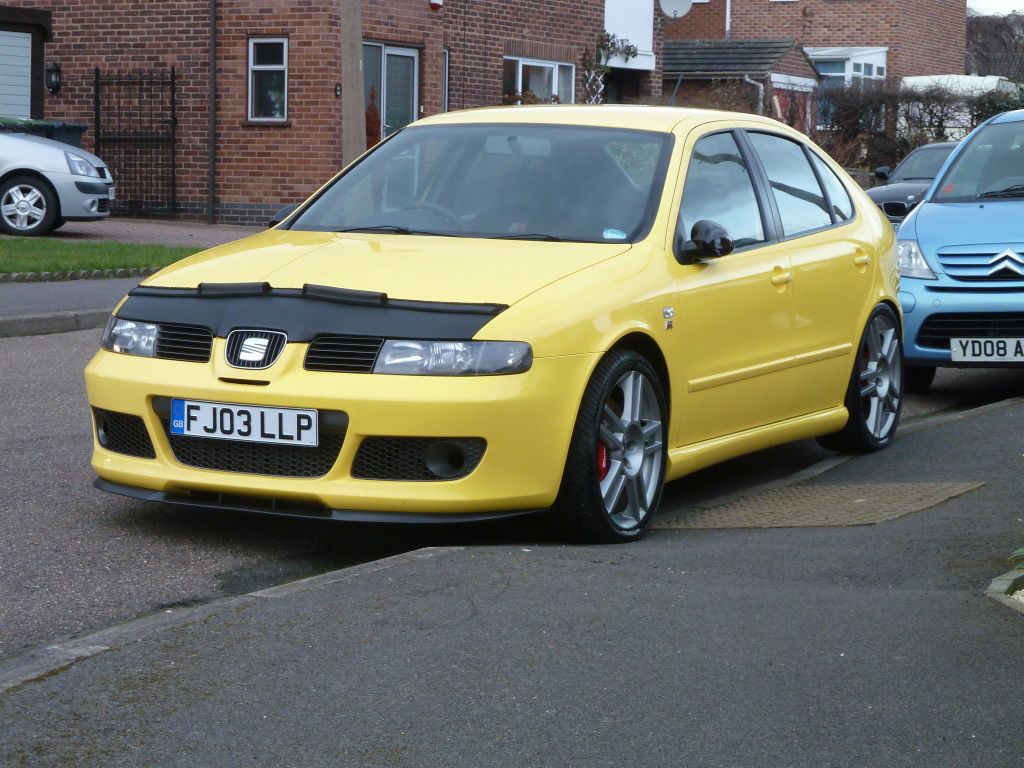
My LCR Since '05 with Static+ Front Air Lift - Project Gone to a New Home.

Oct 21, 2006
1,226
1
Norfolk
They look great mate, well done. I'm always amazed at the level of your work, top notch every time :thumbup:

Looks awesome

Awesome build thread mate and love the engine bay. Cant wait to get mine now


Great work James they look really good!!

Thanks guys. They aren't flawless but every day is a school day...

Looking forward to fitting them and getting the car ready for the spring/summer.
 

D.K

LCR 225
Oct 24, 2007
6,408
3
se london
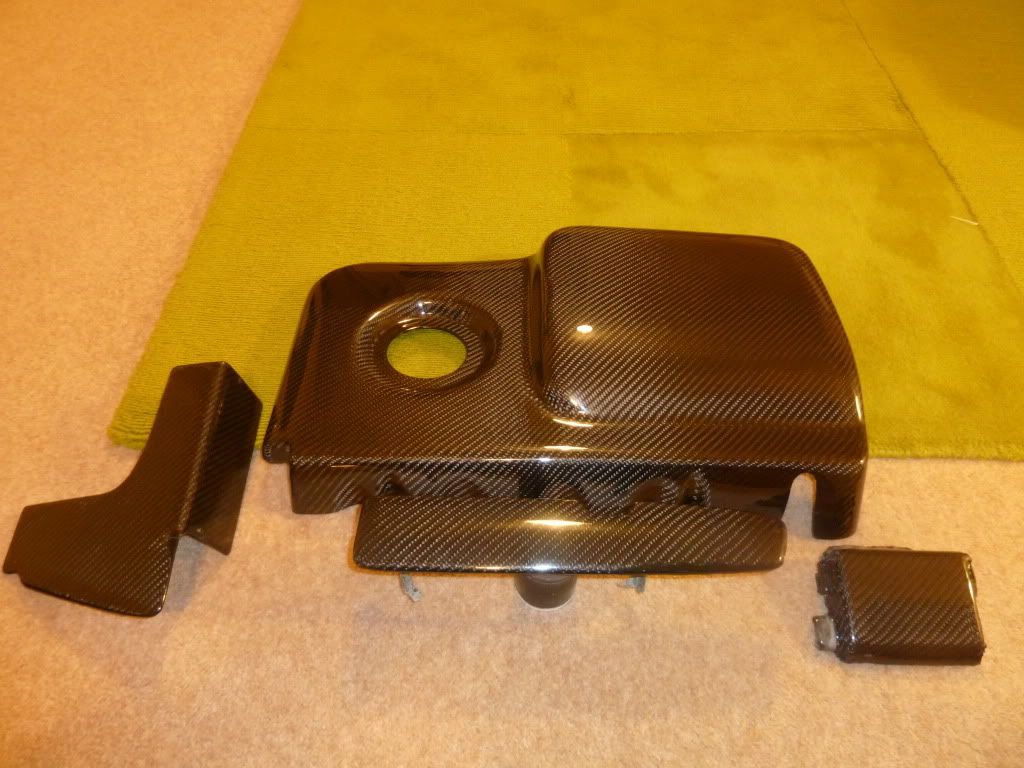
Probably not the best time to show this with D.K's carbon work gracing many threads and looking better and better, but big boy pants on...

P1020751.jpg

Well done James :clap: They've come out really well.
The quality of the ECS cover looks a lot better than they used to be,
 
Oct 21, 2006
1,226
1
Norfolk
Well done James :clap: They've come out really well.
The quality of the ECS cover looks a lot better than they used to be,

Cheers Darren. The lay of the weave of the ECS cover is really good, but I was a little surprised by just how thin it is, but I suppose that's the point. I need to move the screw brackets back 5mm for it to sit perfectly around the oil filler cap. Never seen the Forge one close up, but I know they are highly rated. I only went with the ECS one as it's completely free of markings. It's not cheap either, but my Awesome vouchers helped :D
 
Last edited:
  • Like
Reactions: D.K

D.K

LCR 225
Oct 24, 2007
6,408
3
se london
From your picture I'd say it looks pretty close to the Forge one, I'm pretty sure Forge dont make them themselves.
The only thing that the Forge one's come with is a alloy ring around the filler cap, the stickers just peel off.
Mine sit's very cose to the filler cap aswell, with the Forge cap on the cover actually touch's it.
One thing to keep an eye on is the color of the carbon, Mine has turned yelloish by the Turbo, this is cos they only used normal carbon and not the special heat resistent carbon and resins.
 
Oct 21, 2006
1,226
1
Norfolk
Long overdue update...

Hi everyone,

It has been a while since I last updated my thread. I’ve now moved house and got all sorted, so I can again give the car some TLC. For a 2003 car, it flew through its MOT this past Friday with zero advisories, which I didn’t expect at all! As I’ve moved to a new county, I’ve had to find another trusted garage. I went with a local BMW specialist, because he came recommended and they really like their cars. It was nice that they said that it was the nicest modified car that they have ever had in… can’t have had many then was my response…

So, 8 years of ownership and still going strong… well, sort of… Exhaust at the downpipe has started blowing very slightly. The car isn’t mapped but has all the stage two mods required apart from an exhaust and have been on for an age now. I’ve always wanted reliability, recognising its age and worry about the clutch… seeing loads of members spend some time and money on their engines has really given me a kick up the arse… So, give it a year…

Still probably going to buy an Audi a4 estate in the months ahead, as I would like a solid family car. I don’t think I could part with LCR tbh. I know I could have moved on to something more (S4/S5) but I really like the car’s character and it’s a good car to work on/drive… even though it’s bright yellow… :whistle:

Updates to follow….
 
Oct 21, 2006
1,226
1
Norfolk
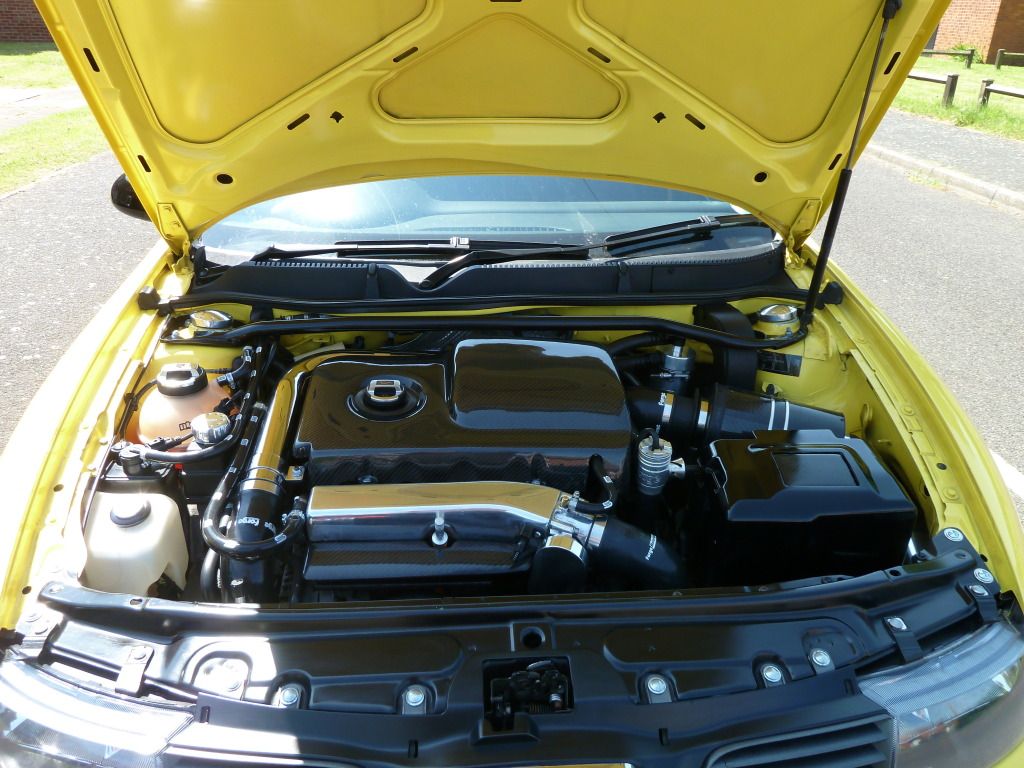
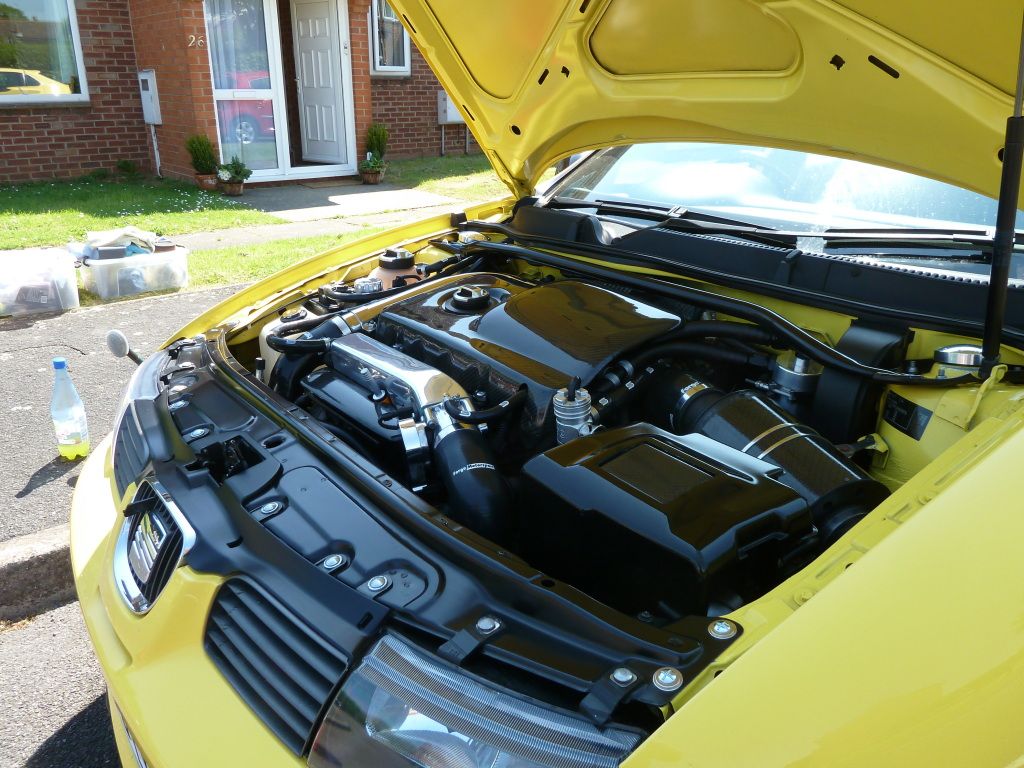
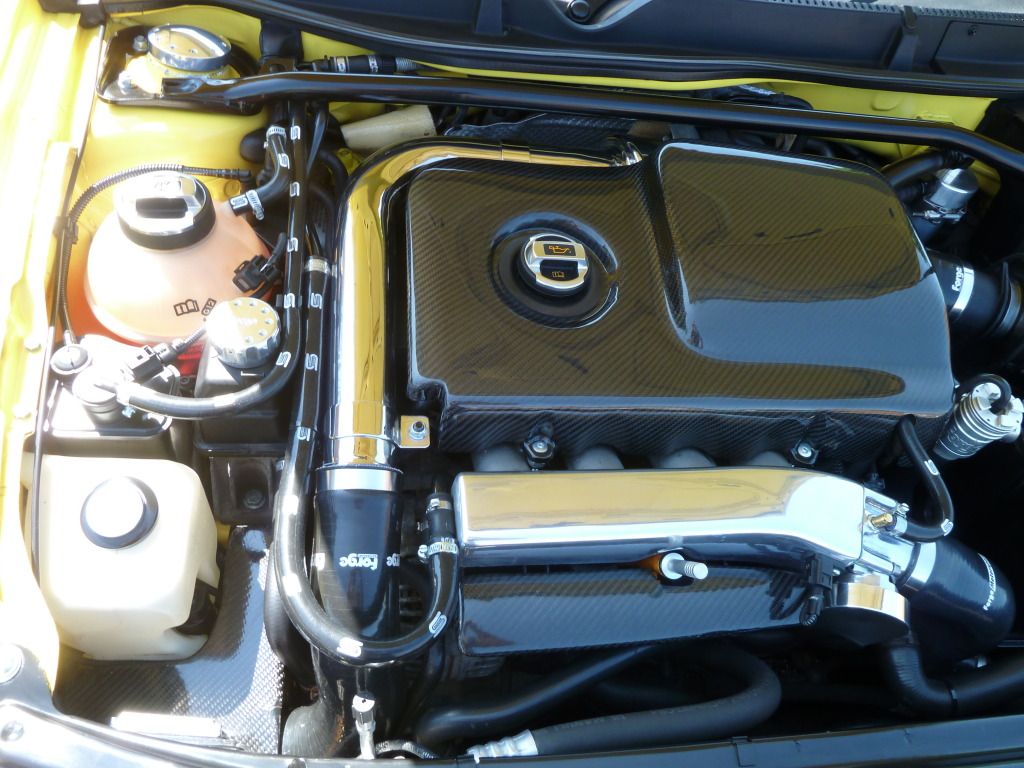
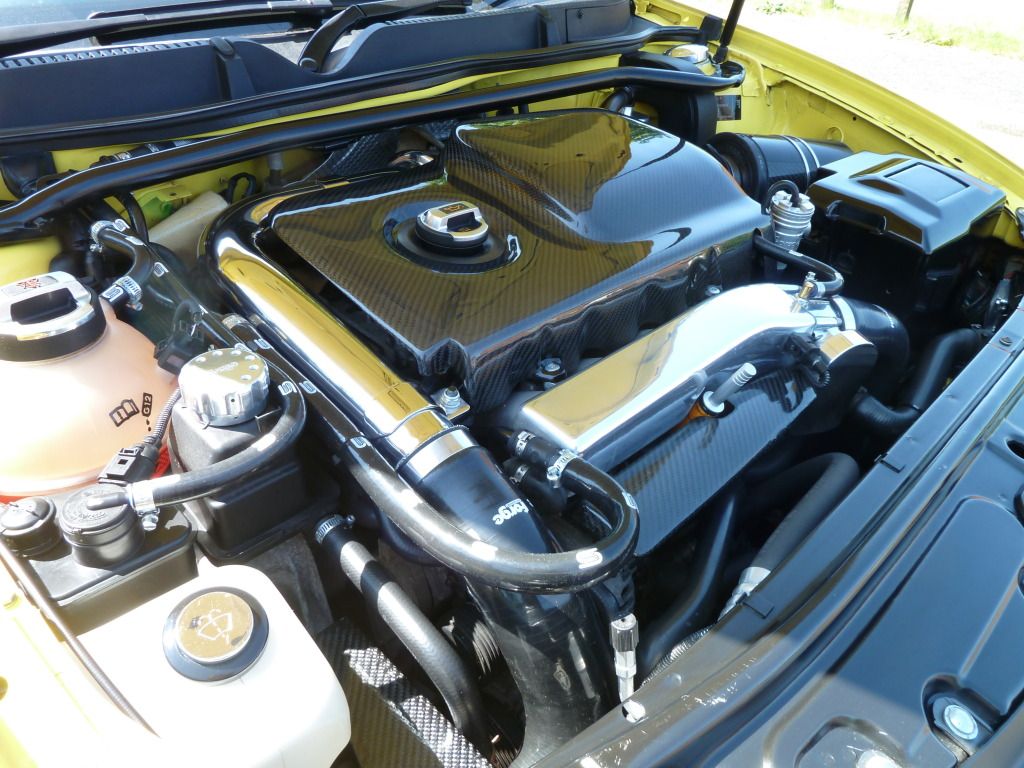
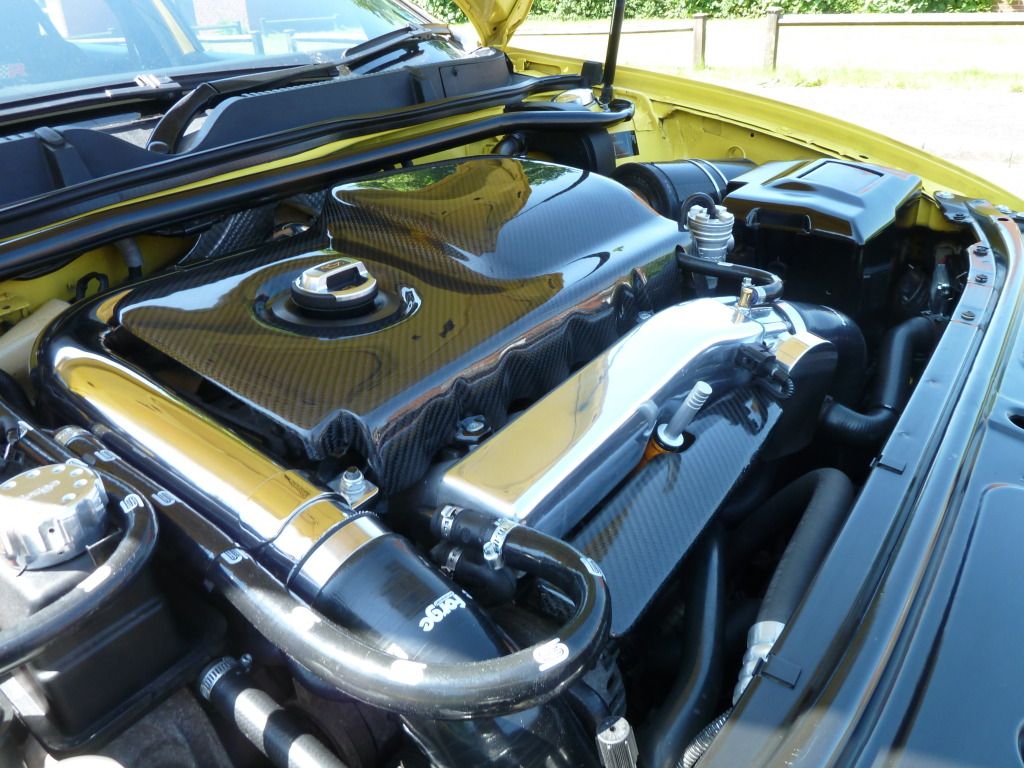
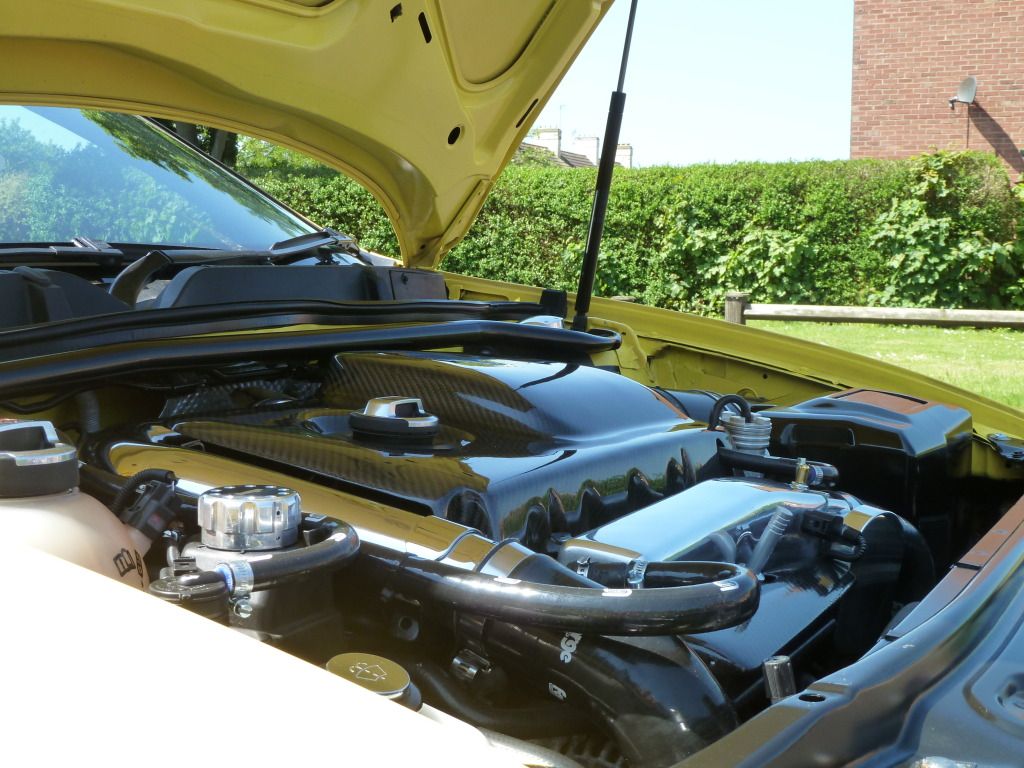
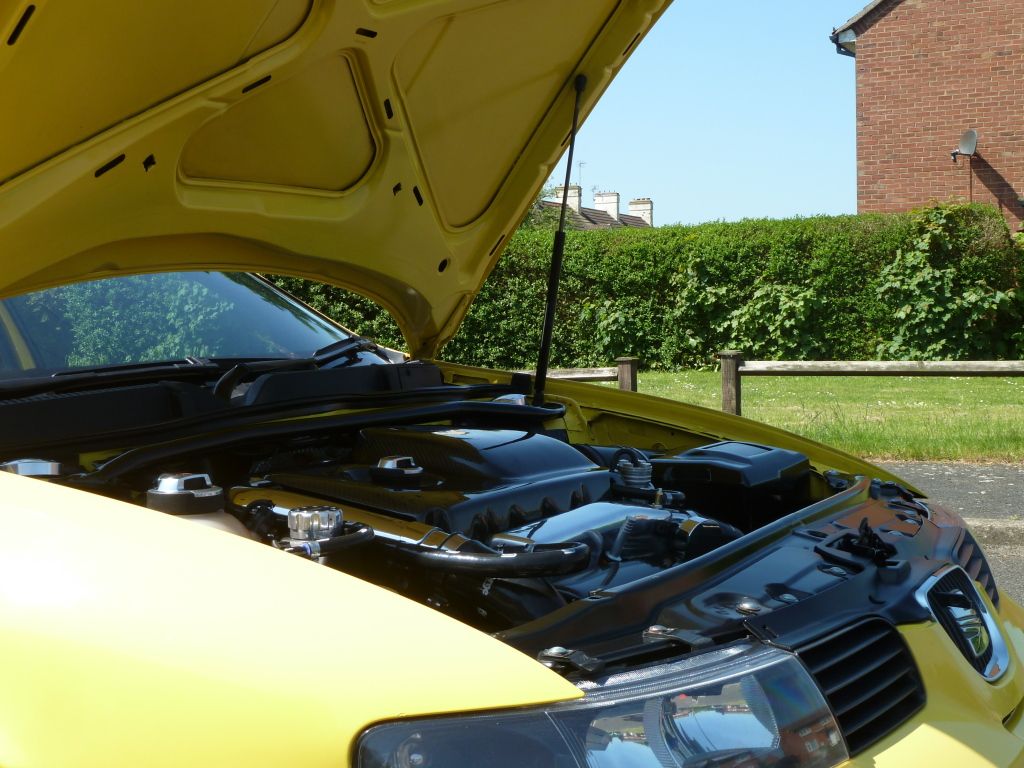
Engine bay done? ...

In posts above, I had carbon fibred a few engine bay items to tie in nicely with the ECS engine cover that I had bought at the beginning of the year. I had also bought a couple of vacuum pipes from Forge just to smarten up the last couple of bits, following the final round of metal polishing.

All fitted and done!!! Sorry fot the amount of pics...

P1020832.jpg


P1020831.jpg


P1020838.jpg


P1020839.jpg


P1020840.jpg


P1020843.jpg


P1020845.jpg


I think it looks really good, but I would say that! Not too in your face. I may paint the alternator silver to tart that up but that’s about it tbh.

Thanks for looking. More to follow...
 
Oct 21, 2006
1,226
1
Norfolk
Pressed plates...

I got some pressed plates from E38 last year. I fitted them on the morning of heading to Ultimate Dubs, which was an awesome show. Blown away! I wasn’t sure whether I had done right by buying pressed plates, but once on I thought they smartened things up a bit…

Took day before UD.

P1020777.jpg


P1020774.jpg


Thanks for looking. More to follow…
 
Oct 21, 2006
1,226
1
Norfolk
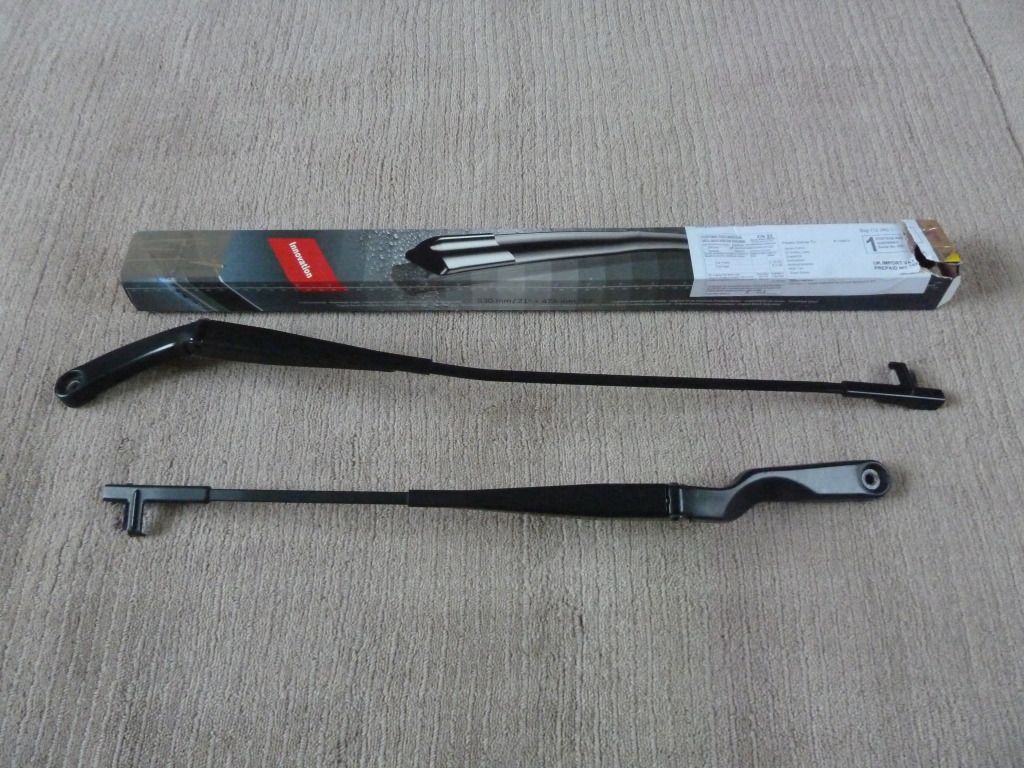
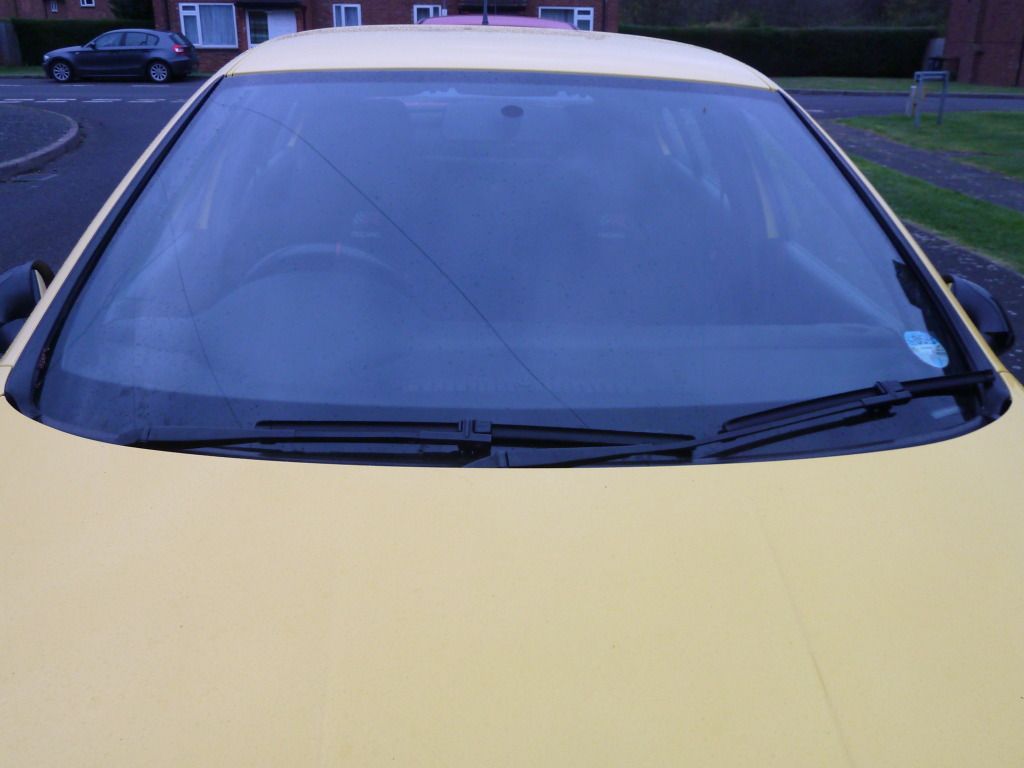
VW Mk4 Aerowipers

I recently bought some Aerowiper arms and new Bosch blades. They sit flusher and are not at all visible from the cabin. Nice little modern touch.

P1020794.jpg


P1020796.jpg


Thanks for looking. More to follow…
 
Oct 21, 2006
1,226
1
Norfolk
The big one...

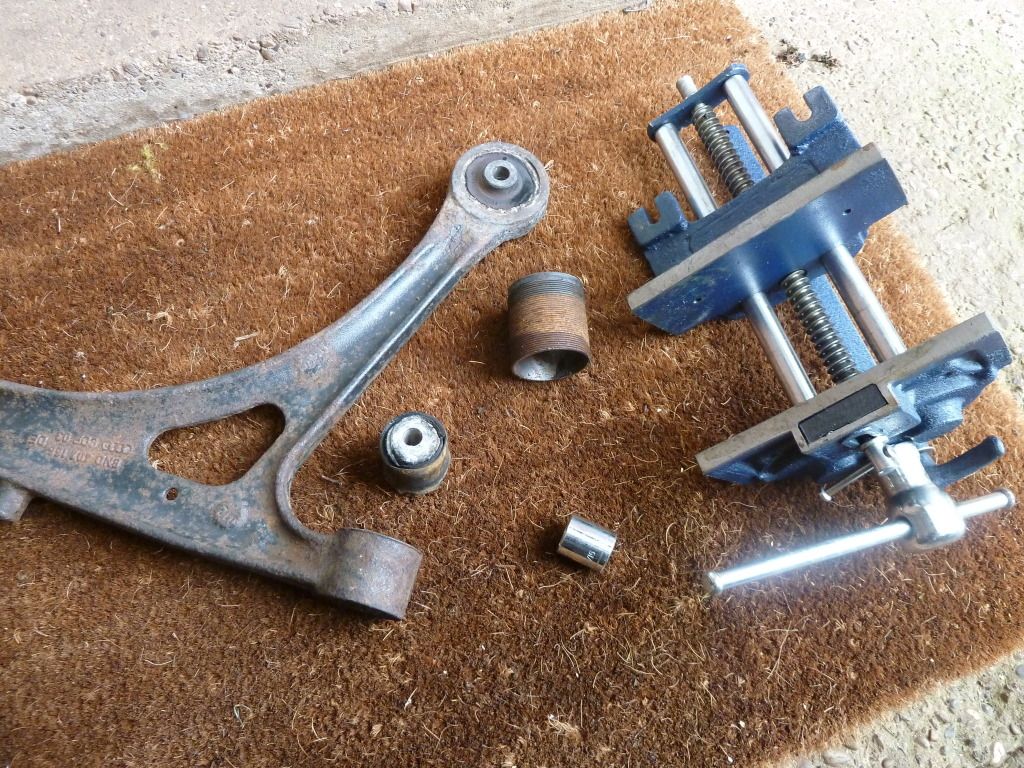
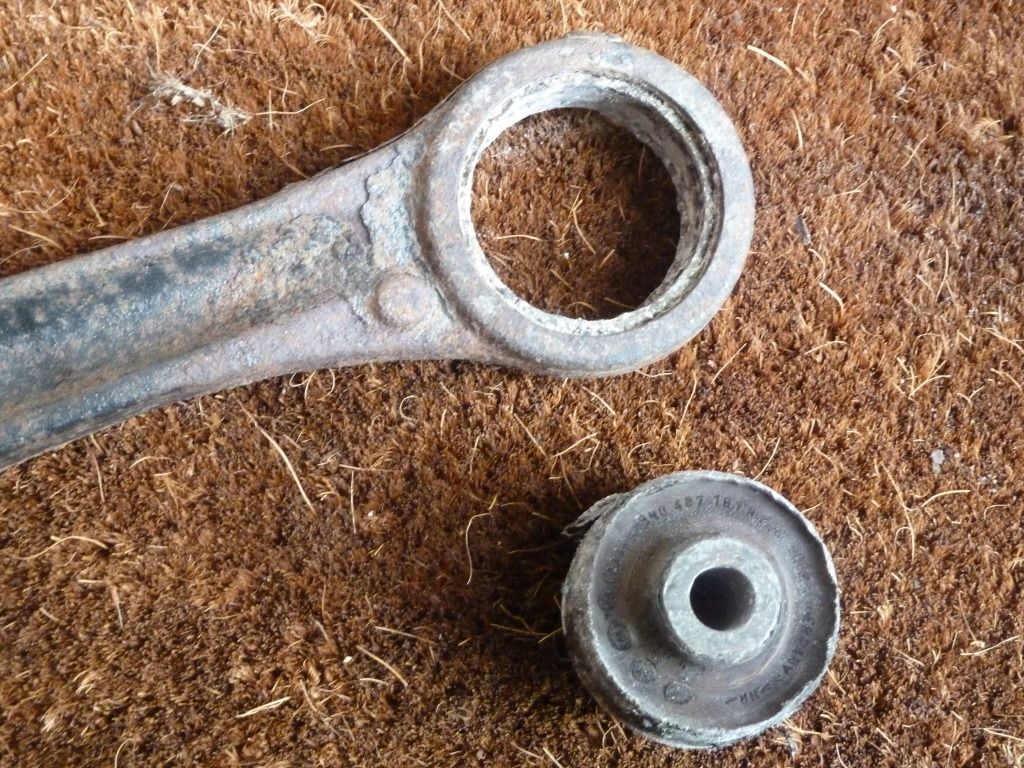
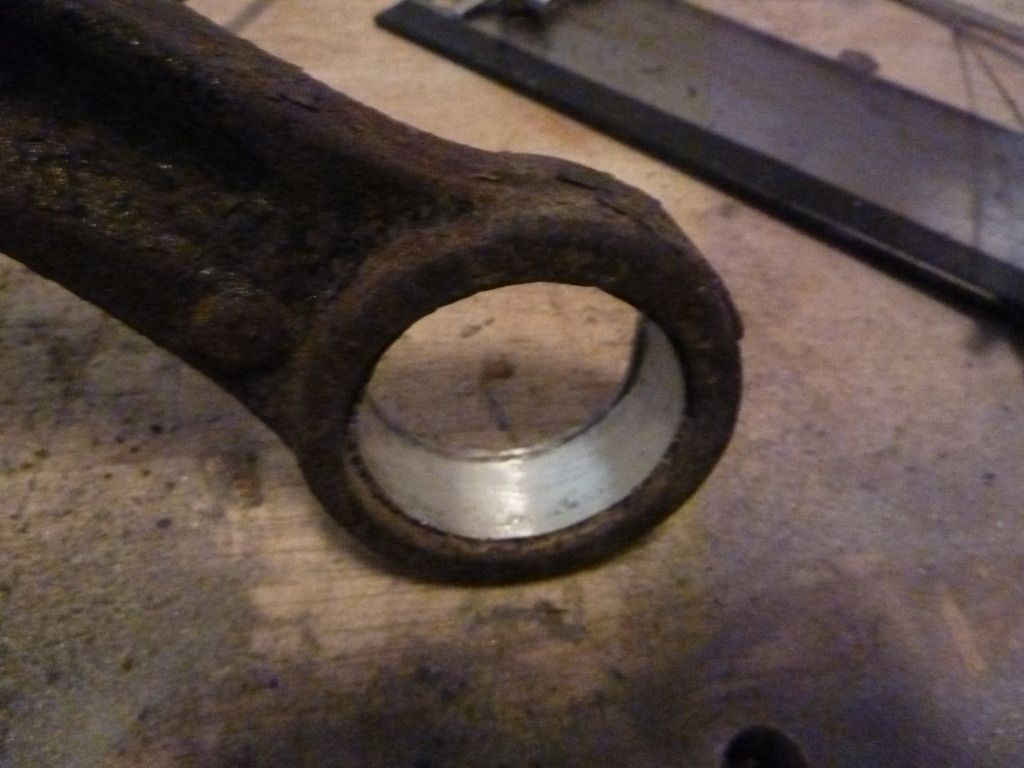
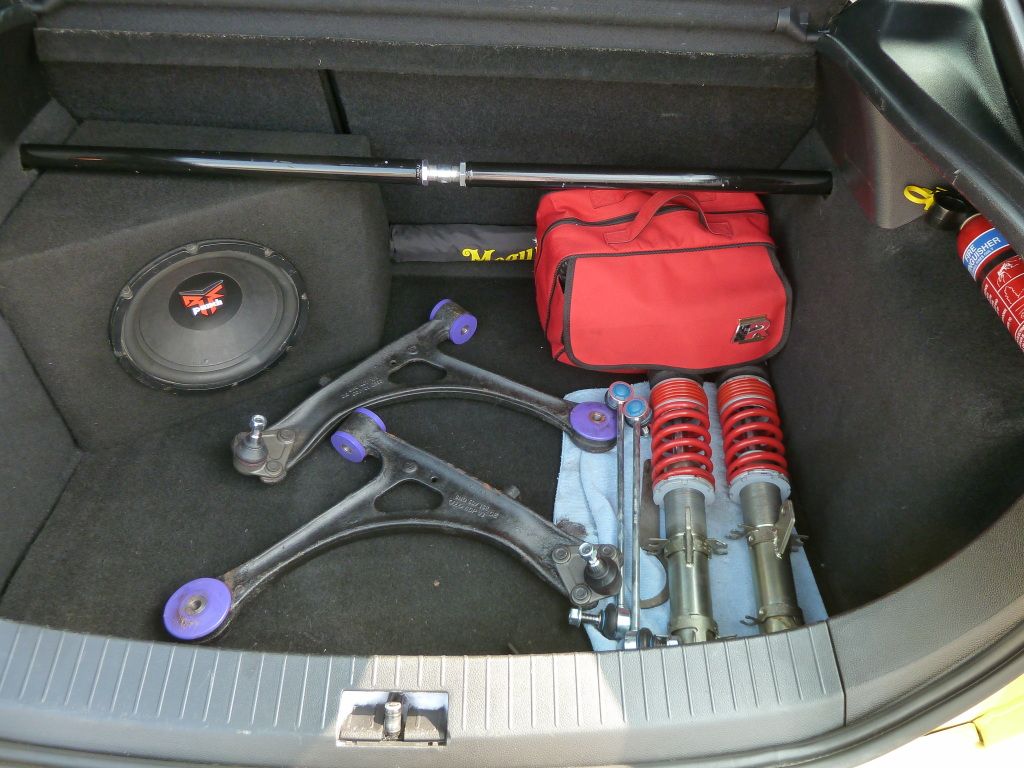
A while ago I purchased some donor wishbones. A couple of years ago (yes, I know…) I bought new Powerflex bushes, new ball joints and new uprated control arms.
I set about following Ronin’s wishbone refurb guide, which was really useful by the way! I striped the old bushes, and then gave them a lick of paint to smarten them up. I was able to fit the front bushes but I had to have the rears hydraulically pressed in, as they just wouldn’t go in all the way in, even with my pretty hefty vice. Ball joints fitted. I also gave the KW front struts a once over and mated them with a suiting spring. All pictured and ready to be fitted… Finally… :ban:

P1020799.jpg


P1020802.jpg


P1020806.jpg


P1020825.jpg


I have been deliberating over whether I should just pay a garage to fit them. I know I’ll need my tracking doing but I can’t justify 300 – 400 in labour to fit it all. I’m not overly confident in doing this, simply as I haven’t done this before, but DJP’s guide is really good, I have all the necessary tools, so I’m going to give it a bash. I want to learn so big balls on… I have six days off come Friday so apart from seeing friends/family on a couple of those days, I can give myself the time to do this.

More to follow… :D
 

n11tht

Active Member
Mar 17, 2009
278
0
under the bonnet
i recently did my wishbones and top mounts for the first time and it was to difficult, the only problem i encountered was bolts being rusted and rounded. my original 4 days to do my changes took an extra week whilst i waited for new bolts to be delivered.
 
Oct 21, 2006
1,226
1
Norfolk
No... This is the big update...

For along time, I hadn't fitted my front coilovers as I lived in the Fens and it was bumpy as hell. I don't have that problem now, but still wanted it to be functional. I can't afford full airride (I save before buying) although I would love to have it.

I've been sold on Stance solutions Static+ airlift kit for about a year now, which lifts the car up 50mm or so when needed. I finally saved my last pennies at the weekend so I have ordered the kit this evening... So happy! It should hopefully be here on Friday, with any look.

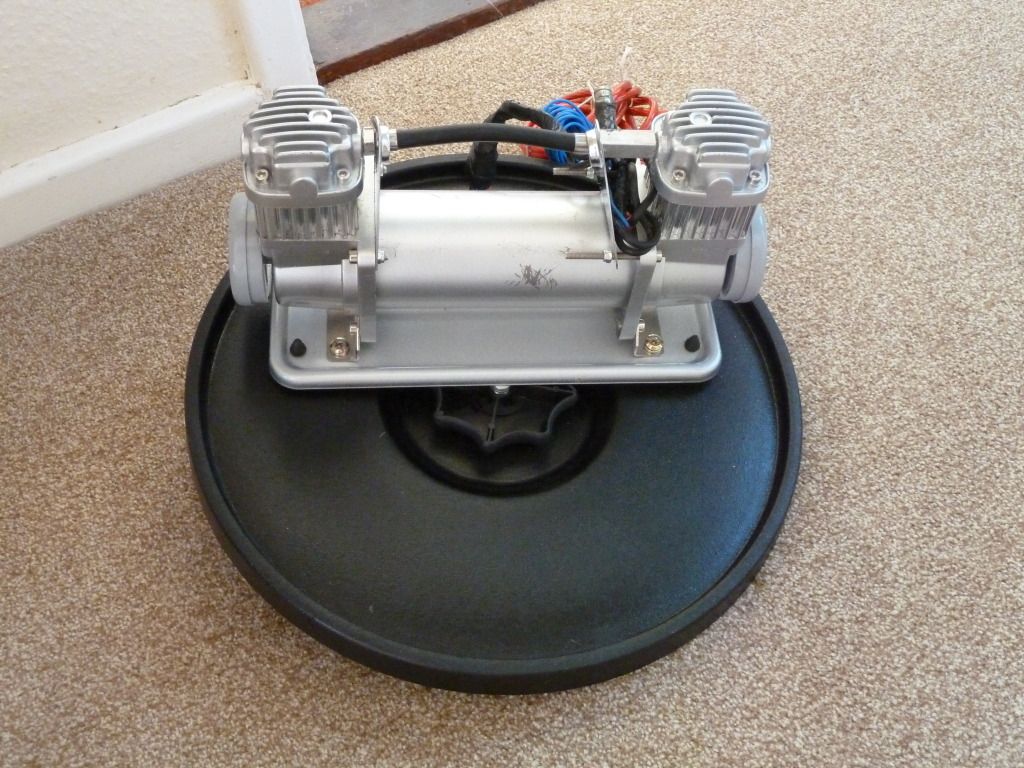
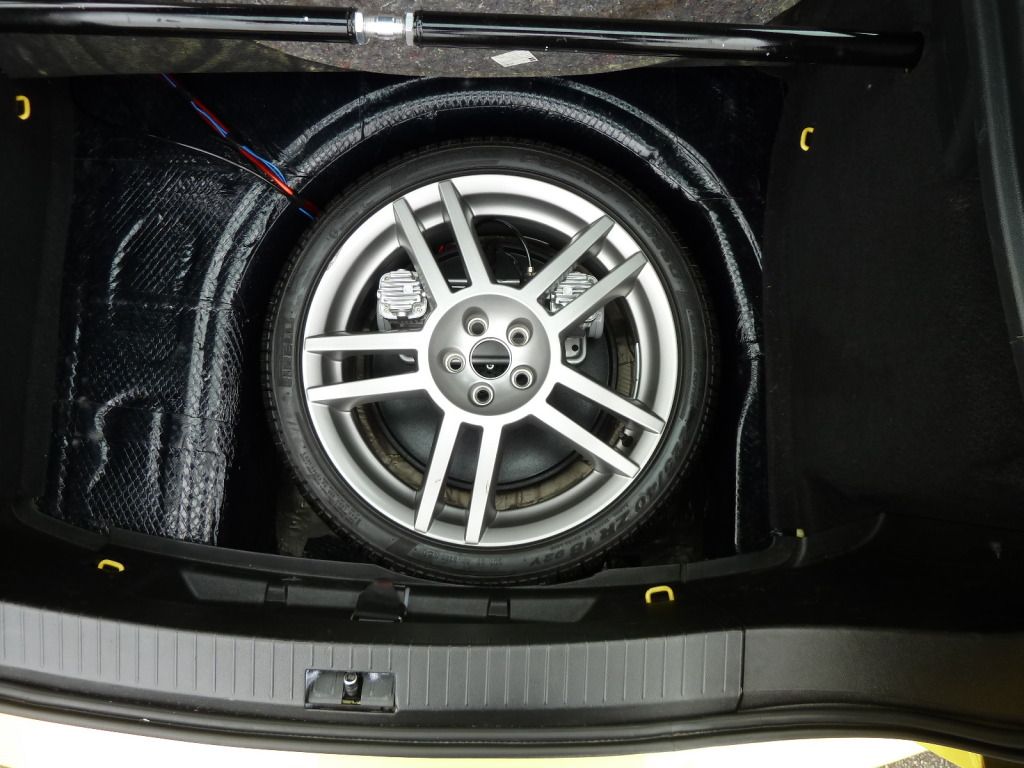
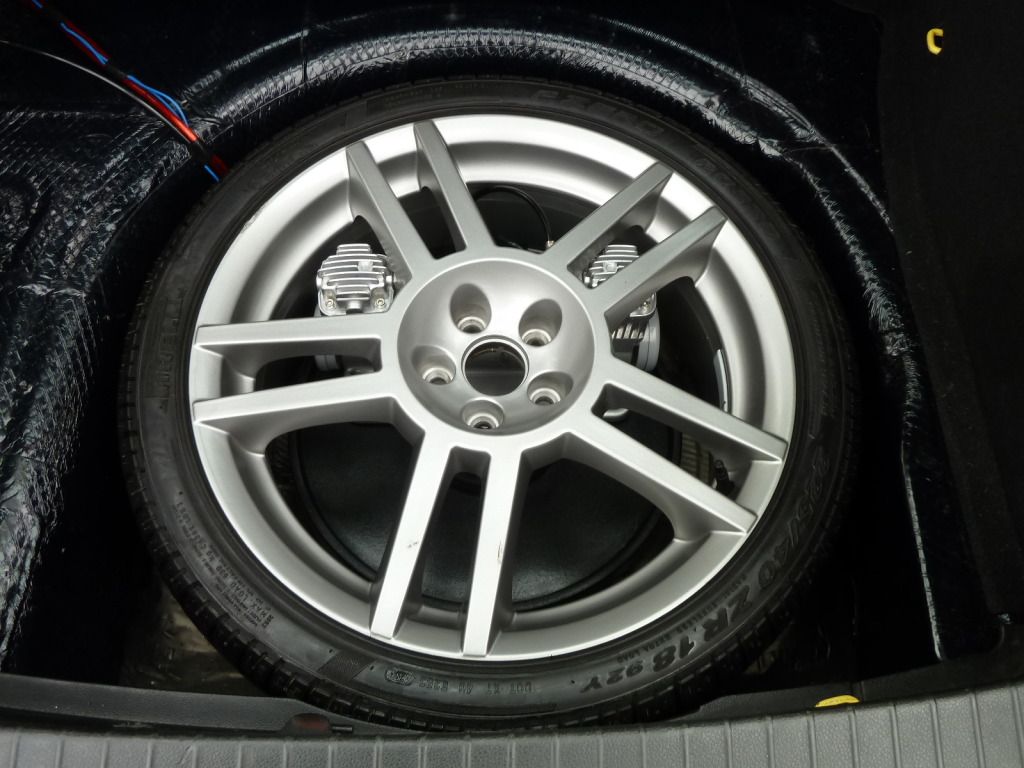
I have had this planned for ages (surprised?) and I've been gathering bits and pieces slowly. A whille ago, I bought a double headed compressor. I've converted the fitting to 1/4" NTP so it will accept the 6mm airline.

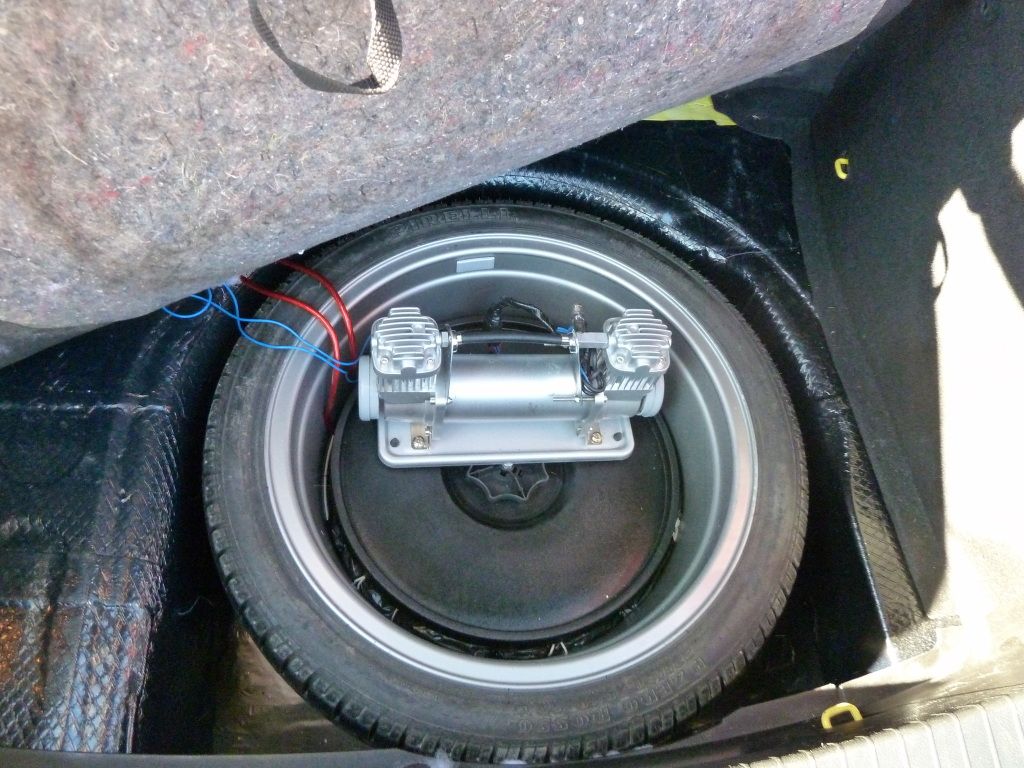
I've made a bit of an install so that it will fit discretely in the wheel well. When finally fitted, it will sit under the alloy, with the alloy's face facing outwards, but all still under the carpet.

P1020847.jpg


P1020860.jpg


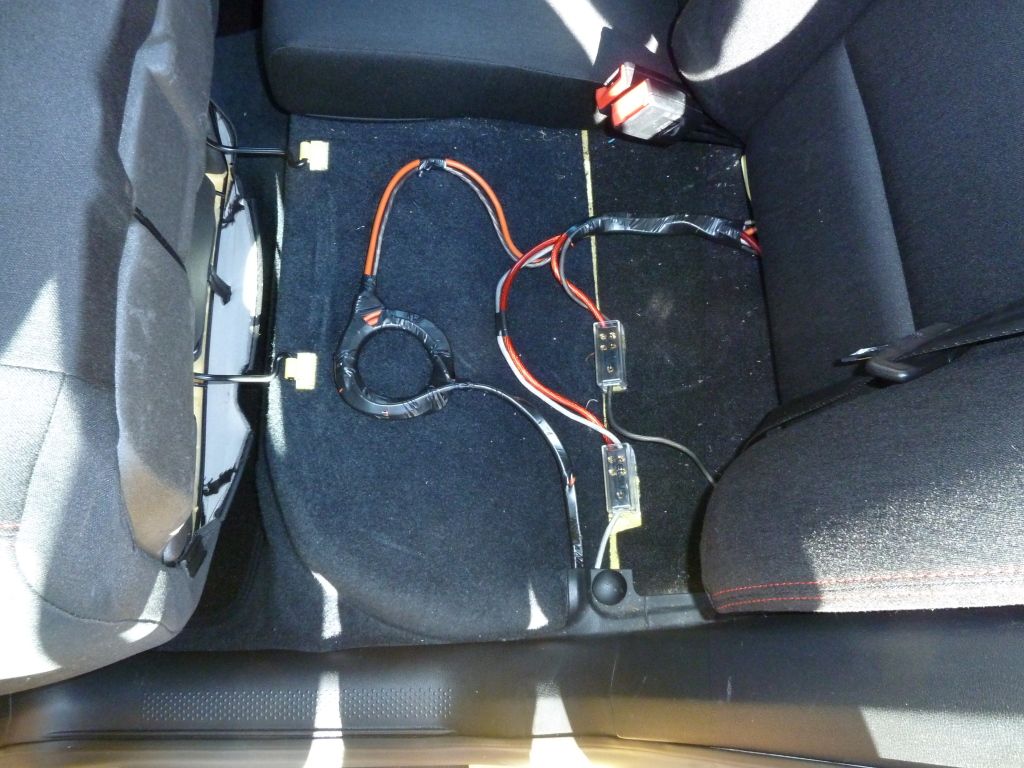
I've wired it all in and everything works... phew.

P1020856.jpg


So, what's left to do? I need to run the airline and made a mounting for the air gauge and switches. I'll be using a paddle switch, as the system is entirely electric. Move the switch upwards and the car will raise, and when downwards it will dump and drop :D

I have bought two new tyres and they are due to be delivered on Friday. I'll get those fitted as and when. I've purchased an aircon recharge kit and a MAF also as it has never been changed, so interested as to what difference it might make. They should all be with me at the weekend.

Alot of updates. Any advice/comments would be appreciated. I'm very excited and can't wait to have the bushes on, to experience that final handling enhancement :D

James :)
 

tyrer

OEM
Jun 6, 2010
1,991
1
Perfect car mate, clean and very loved. I don't think you have done anything that could be seen as ruining it at all!

8 years... Given me some food for thought.

Can't wait to see the static+ kit mate.
 

RDS

OEM+
Aug 11, 2010
2,276
11
Newcastle upon Tyne
:clap: Nice updates mate, you can tell how well this car is looked after everything is done to a high standard. Your engine bay is looking awesome too. Looking forward to seeing the static+ kit fitted.
 
Oct 21, 2006
1,226
1
Norfolk
Thanks everyone for the encouraging words :)

With regards to the Static+ Air Lift Kit, I had an email from Adam at Stance Solutions this morning, and he told me that there's a three day lead time for production... Upshot is that I probably won't have them for the weekend :cry: However, I still need to get everthing off and replaced. I'm in no rush to get the car back together as I don't need it for the work commute etc, so no big deal. Plenty to be getting on with. I just need to get it done now, and stop worrying about the what's gonna go wrong....

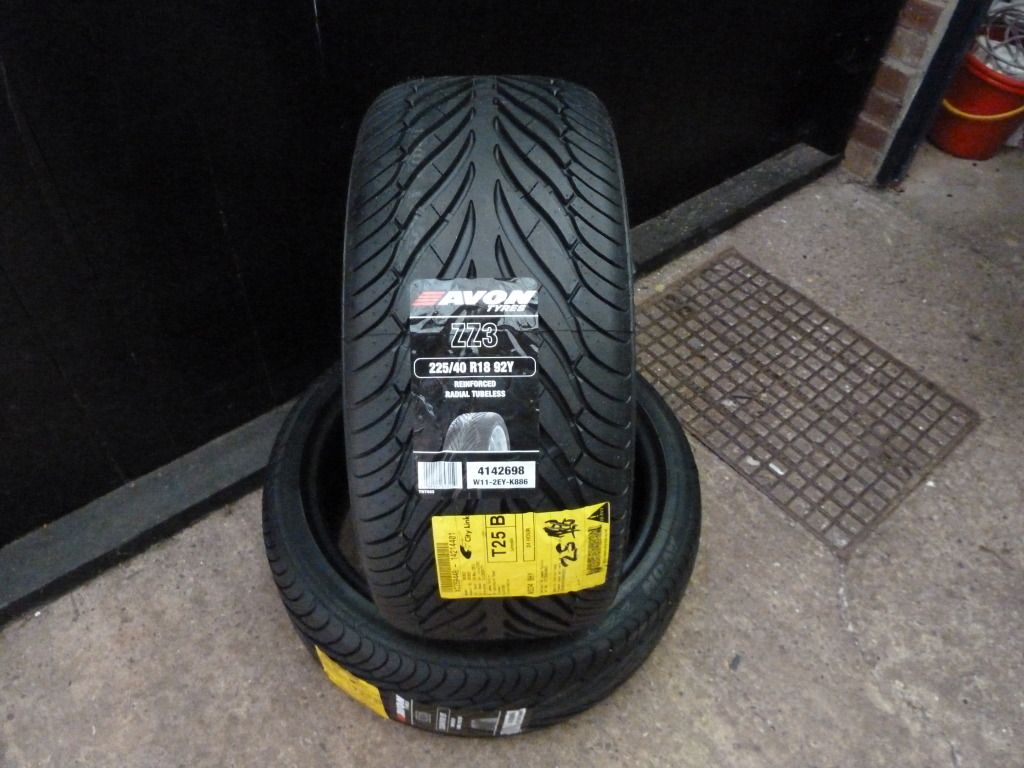
On another note, my new tyres arrived ahead of schedule today. I've always had Avon ZZ3 225/40/R18. They were on the car when I bought it all those years ago. I stuck with them because I wanted all the tyres to match :rolleyes: Really good tyre in my opinion.

P1020862.jpg


I'm sure I'll get them fitted over the next few days. The reason I got them was becasue my o/s front tyre was really worn on the inner edge. Really frustrating as there's about 6mm of tread left on them.

Thanks for looking :)
 
Oct 21, 2006
1,226
1
Norfolk
Hi all,

I managed to find an hour today to finish off the wiring for the compressor, and to feed the air line/ wires to the front of the car. It’s all in and fits perfectly under the spare wheel, as if it was never there… Since taking the pictures, I’ve placed a small foam pad between the top of the compressor heads and the alloy so that nothing rubs/ damages anything. It’s surprisingly quiet when it runs. I may run a small air tank in the future… we’ll see. This double headed compressor will take no longer than ten seconds to fill the front air lift units and so the car will lift pretty quickly, and with the solenoids it drops within two or so seconds.

P1020874.jpg


P1020871.jpg


I’m just waiting for the kit to arrive now from Stance Solutions. I’ve run the wiring to the centre console. The psi gauge and paddle switch is going to be located to the right of the handbrake. I’m just making a plastic cover for the coin/storage box so that it sits flush in the gap, as a complete unit. The pictures will make better sense… I’ll take some when it’s done.

I’m out all day tomorrow but on Sunday I’m hoping to strip the front of the car and fit all the new wishbones/control arms/brake pads and top mounts, all in prep for the air lift kit, which will sit on the KW struts (all pictured in an earlier post). I’m a bit nervous about tackling it all… There’s some really good guides around so I shouldn’t **** it up… Even watched YouTube guides on how to tackle rusty nuts… WD40 and a blowtorch at the ready :blink:

James :)
 
Last edited:

t0m

LCR 225
Apr 29, 2007
8,133
7
Kent
James, I'm not sure why I haven't commented on this in so long!

The car is looking pretty damn sweet mate :) Loving the work. The bay is beautiful and the work on the bushes is such a good job done! Well done.

This is a cracking LCR which doesn't get enough looks on here IMO! Great work :)
 
Genuine SEAT Parts and Accessories.