-
Hey Guest one of our sponsors Progressive Parts is running Black Friday and Cyber Monday offers - more details here
Rear Lights- LEDs Purchased
- Thread starter n1ff
- Start date
You are using an out of date browser. It may not display this or other websites correctly.
You should upgrade or use an alternative browser.
You should upgrade or use an alternative browser.
ok. first off you will need a set of lights. i would recomend getting a second set as this takes a bit of time.
first off you need to split the lights. i only have a few pics of doing this as i got excited doing them and never thought to take pics

on the lights in the body of the car you need to remove the black trim on the side of the light. this will be needed to go back on. i think it keeps the rain/water from going into the back quarter of the car. it is heald on with 4 clips on the bottom and 4 on the top. one of each seen in this pic.
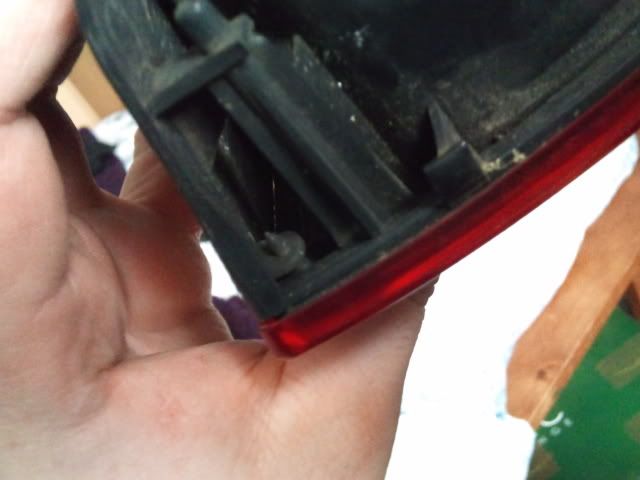
the bottom ones can be broken off with a flat screwdriver. the two outside top ones need to be cut down level and then the 4 of them drilled out.
it will come off and you will be left with something like this.
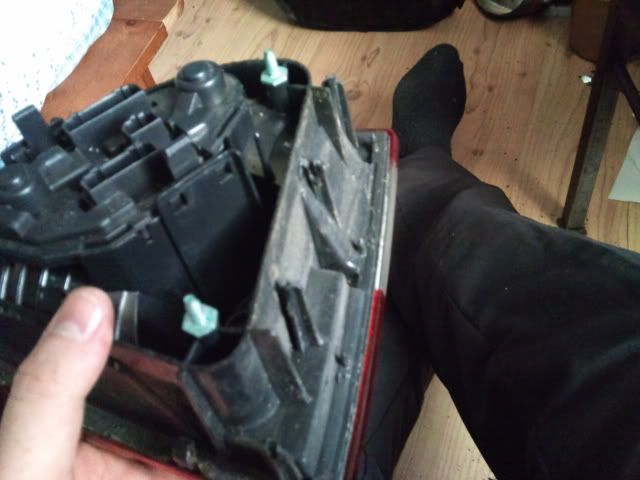
i used a dremmel cutting disk to cut along this line all around the light. becarefull not to go too deep and damage the lense.
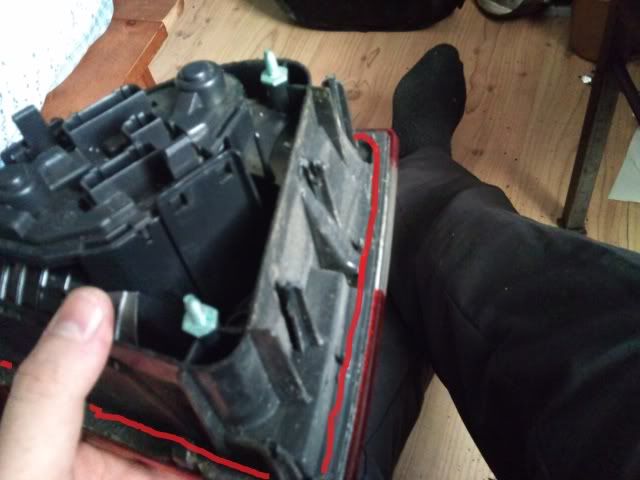
you should be left with something like this.
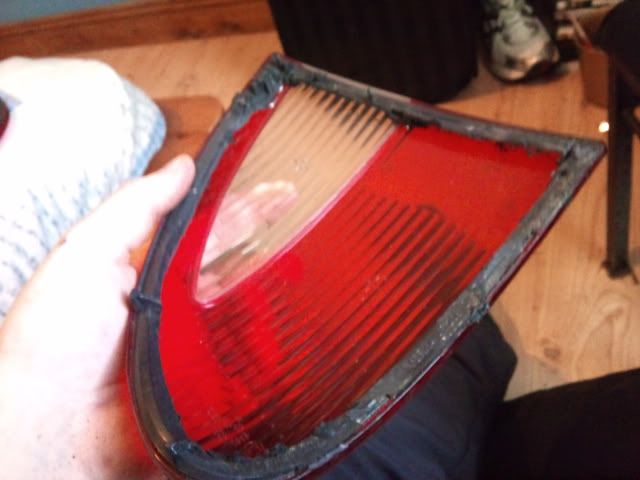
it will need to be smoothed down for the next stage. i used a mini angle grinder and grinding disk but a sanding wheel should give a better finish!
first off you need to split the lights. i only have a few pics of doing this as i got excited doing them and never thought to take pics

on the lights in the body of the car you need to remove the black trim on the side of the light. this will be needed to go back on. i think it keeps the rain/water from going into the back quarter of the car. it is heald on with 4 clips on the bottom and 4 on the top. one of each seen in this pic.

the bottom ones can be broken off with a flat screwdriver. the two outside top ones need to be cut down level and then the 4 of them drilled out.
it will come off and you will be left with something like this.

i used a dremmel cutting disk to cut along this line all around the light. becarefull not to go too deep and damage the lense.

you should be left with something like this.

it will need to be smoothed down for the next stage. i used a mini angle grinder and grinding disk
next step is to make new backs for the lights. i used some 4mm perspex sheeting. your local hardware shop might have some off cuts that you could get for free. if not it can be got on ebay
perspex
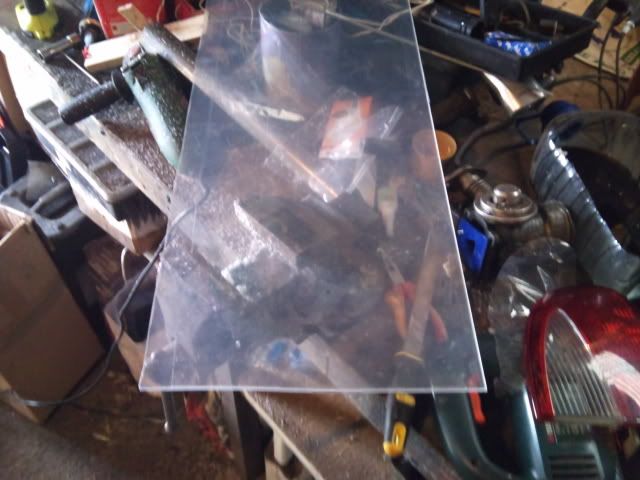
line the lense up on the perspex

use a permenant marker to trace the outline of the light

then use a jigsaw to cut it out

peal off the protective film from both sides
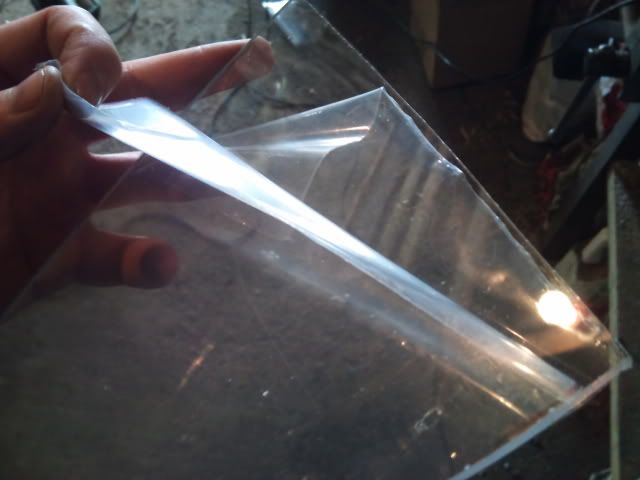
and line it up with the lense
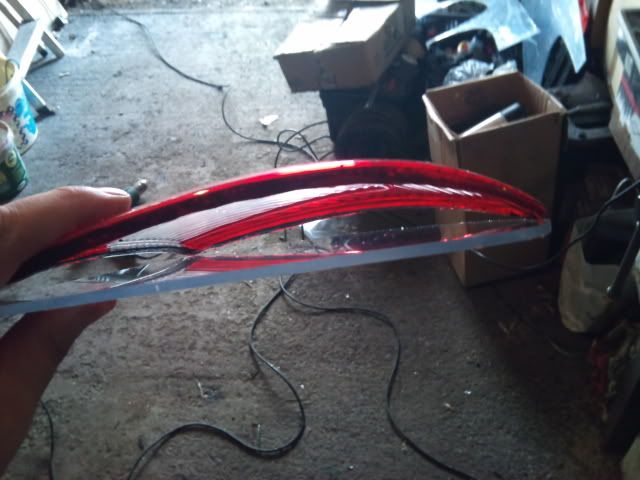
perspex

line the lense up on the perspex

use a permenant marker to trace the outline of the light

then use a jigsaw to cut it out

peal off the protective film from both sides

and line it up with the lense

as you can see the flat perspex dose not match the curve of the lense. this is the tricky bit.
you need to clamp the perspex to the lense. i used crocodile clips for this. easily and cheaply avilable in motorfactors and halfords. i only had 3 but 6 would be a lot better. use some card to protect the perspex and your lense from the teeth.
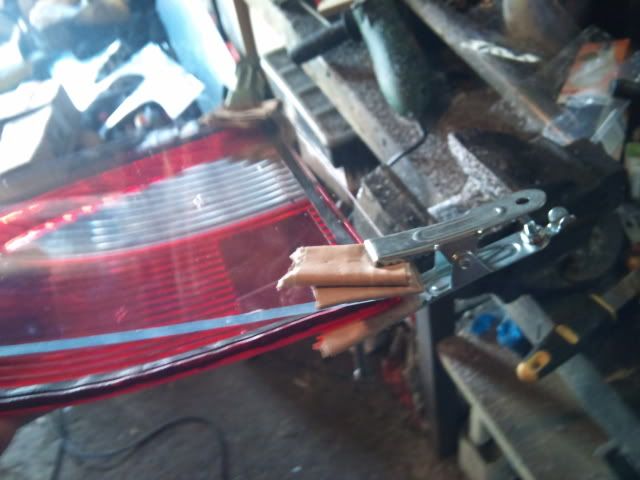
next take your hot air gun and heat up the perspex. you need to get it fairly hot but not so hot it melts! this is where the card will stop the teeth of the clamps sinking into the perspex.
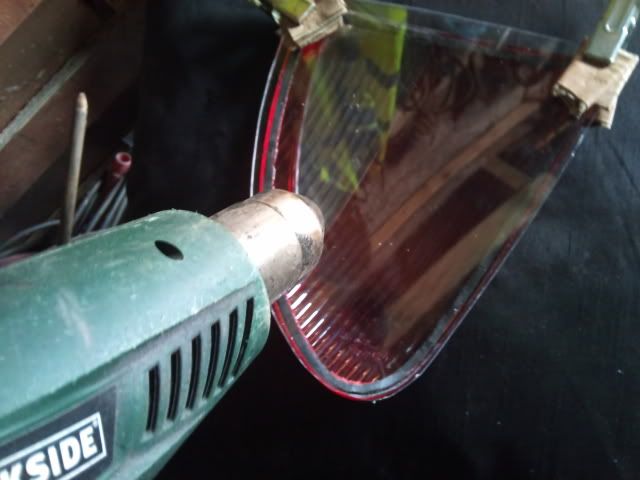
when you have it nice and hot you need to bend it into the curves of the lense. i used rattle can to do this
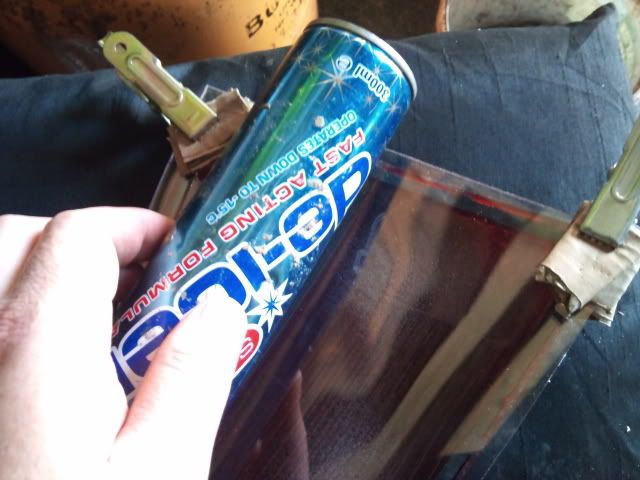
move the clamps to where the big curves are to keep the bend in place untill it sets. this would be where more clamps would be handy
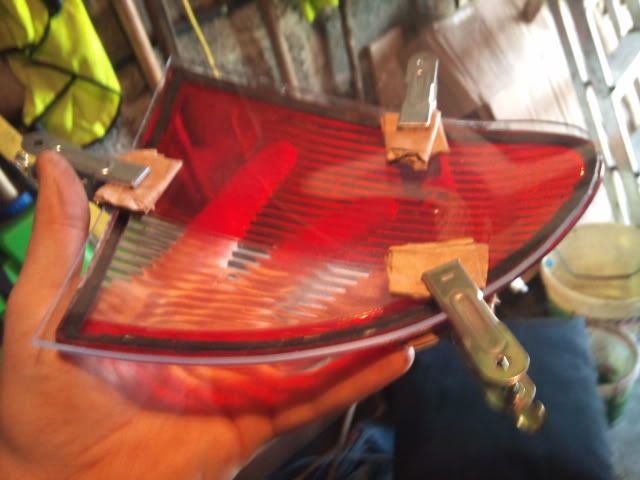
as you can see the perspex is now in line with the lense
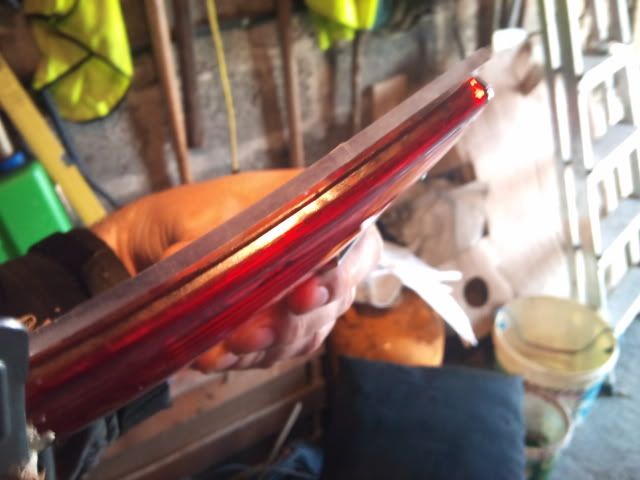
next step it to trim the perspex flush with the lense. you can use the jigsaw if it has a speed setting on it. mine has not so it just burns the perspex when cutting small bits off. a good file and/or sanding paper/wheel will trim it down in no time. the perspex is very easy to work
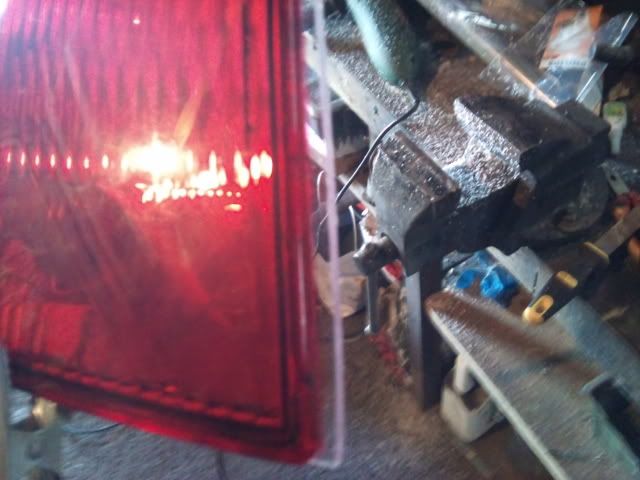
this is where i am at this stage. next i plan to cut the reflectors out of the old lights and have them ready to fit in. but first its dinner time!

you need to clamp the perspex to the lense. i used crocodile clips for this. easily and cheaply avilable in motorfactors and halfords. i only had 3 but 6 would be a lot better. use some card to protect the perspex and your lense from the teeth.

next take your hot air gun and heat up the perspex. you need to get it fairly hot but not so hot it melts! this is where the card will stop the teeth of the clamps sinking into the perspex.

when you have it nice and hot you need to bend it into the curves of the lense. i used rattle can to do this

move the clamps to where the big curves are to keep the bend in place untill it sets. this would be where more clamps would be handy

as you can see the perspex is now in line with the lense

next step it to trim the perspex flush with the lense. you can use the jigsaw if it has a speed setting on it. mine has not so it just burns the perspex when cutting small bits off. a good file and/or sanding paper/wheel will trim it down in no time. the perspex is very easy to work

this is where i am at this stage. next i plan to cut the reflectors out of the old lights and have them ready to fit in. but first its dinner time!
Last edited:
cheers. everyone seems to be waiting on megood one sean, been waiting for someone else to get this done!
cheers mark. ya i will keep taking pics as i go along and keep ye informed.Good start - Glad to see your doing a photo diary/guide
Wondered how you got them to face out, now i know.
when your good your good
Last edited:
hmmm will defo have to wait for the finished product but would be better if the full lights were led`d the red bits and the white
hmmm sound mate nice one!! I was wondering what the spares were for.
Or should I say "grazie signore dirmi domani!"
here i am!!
sorry for the late reply,i had problems.
however,i've fixed the dashboard,cruise control and the 3rd stop error,given by the led lights.
if you look the rear side of the lights,there must be two white connectors,one is connected to the leds and the other one is blank/free.
i cut the blank connector and i connected the red and the black wire to a boot light/number plate light bulb(5 watts).
now i am not getting none of these errors,
to do this,you can get the whole tail light block/boot light block to fit the 5 watt bulb into it.
i've modified only the left tail light...
i'm not english,i'm writing from italy,so,please,pardon my bad english.
i just wanted to share my experience with you.
thankyou all.
Last edited:
Similar threads
- Replies
- 0
- Views
- 206
- Replies
- 4
- Views
- 994
- Replies
- 3
- Views
- 840


