My LCR Since '05 with Static+ Front Air Lift - Project Gone to a New Home.

RDS

OEM+
Aug 11, 2010
2,276
11
Newcastle upon Tyne
I actually used Halfords grey primer and matt black aerosols. The lacquer is a high temp lacquer.

I've found from trial and error RDS that you have to be as thin as you can with the coats. Little and often. If you have a build up of paint that hasn't quite cured, it never will once another layer has been applied. This is why you get the bubbling effect, due to the heat given off by the engine.

Little and often with lots of prep before hand to ensure as good a key as possible. I literally applied a dusting of lacquer. I then let it dry for a week or so then applied a couple of layers of wax for added protection before fitting it.

Over the last year, it has lasted really well. Over the winter, I plan to sand it all back, fill the holes with an expandable resin before repainting. There is a spray shop near by and I might get them to spray it with a 2pk paint, as it is far more durable that an aerosol finish.

As a note, some don't bother with a lacquered finish. It is, of course, down to personal preference.

I hope this helps RDS?

James.

Cheers mate! :thumbup:
 

golf on 20s

Guest
lovely looking car mate. onvi yellow is the future!!! lol
really like the engine cover. think i may have to have a bash at that myself
 
Oct 21, 2006
1,226
1
Norfolk
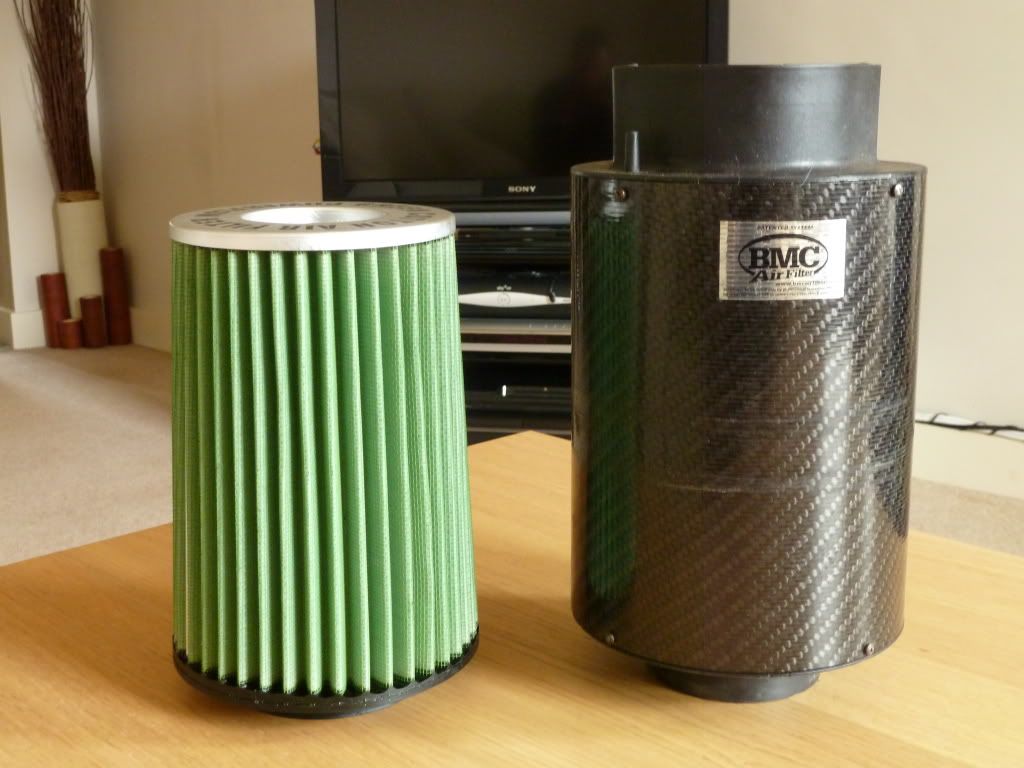
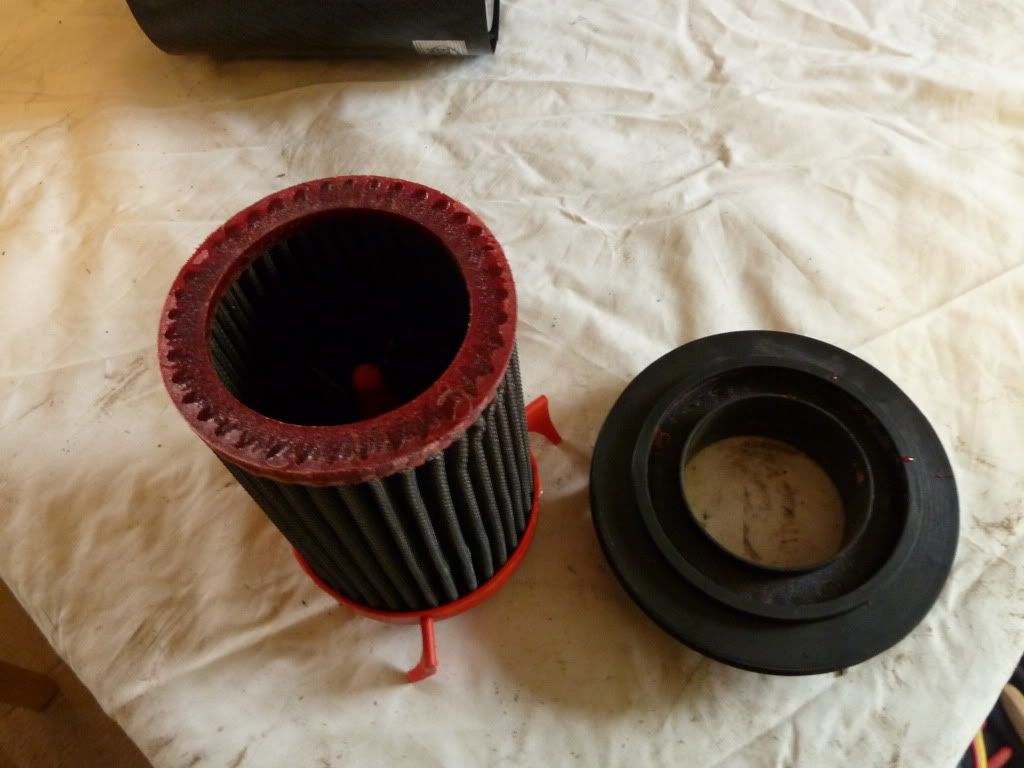
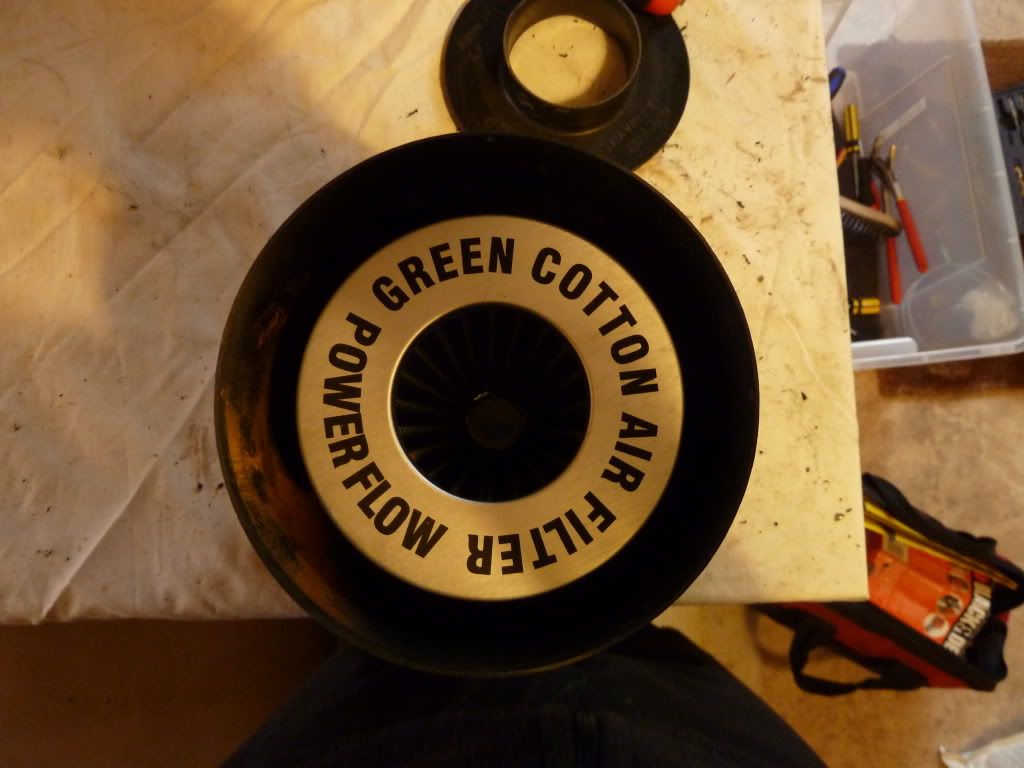
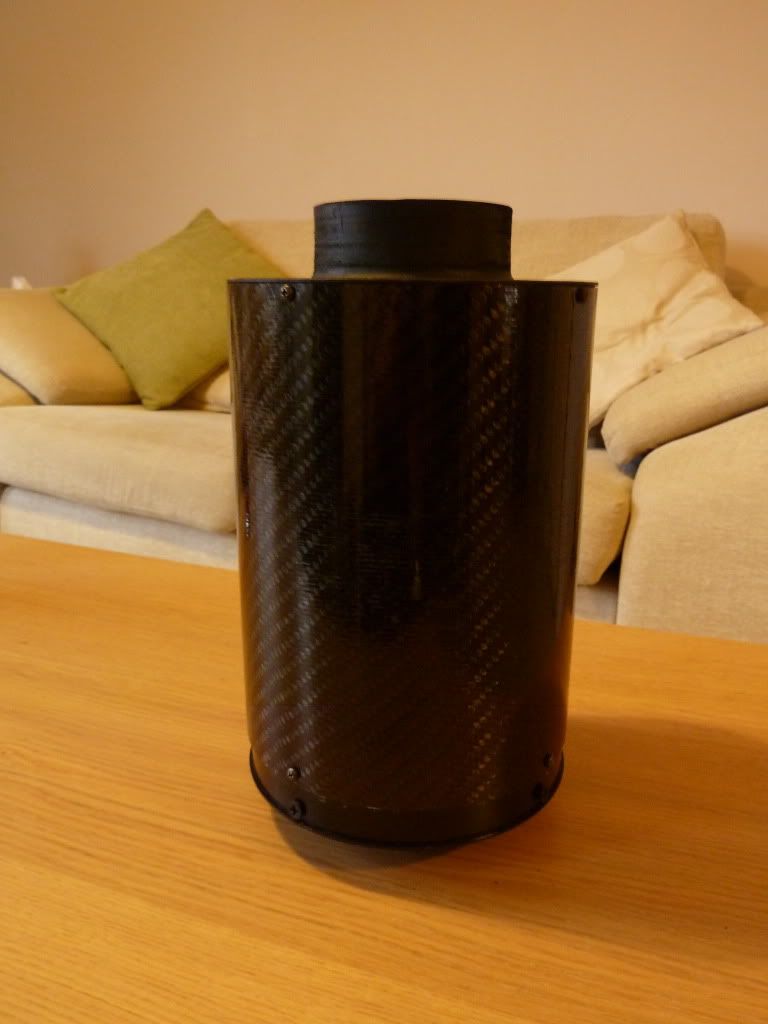
A little later than expected, I’ve recently received a Green Cotton Dual Open Cone in the post. The cone has an 80mm maf inlet, is 140mm in diameter and 200mm in length. As some of you may know, I have, for a few years, used a BMC CDA and in more recent months, a twin air feed was added. For me, I was happy with the filter as it was relatively quiet but had a nice note under throttle. Most of all, I liked its aesthetics. It is generally known that the BMC CDA can be rather restrictive and so I thought I would try a different filter.

Here they are side by side.

P1010538.jpg


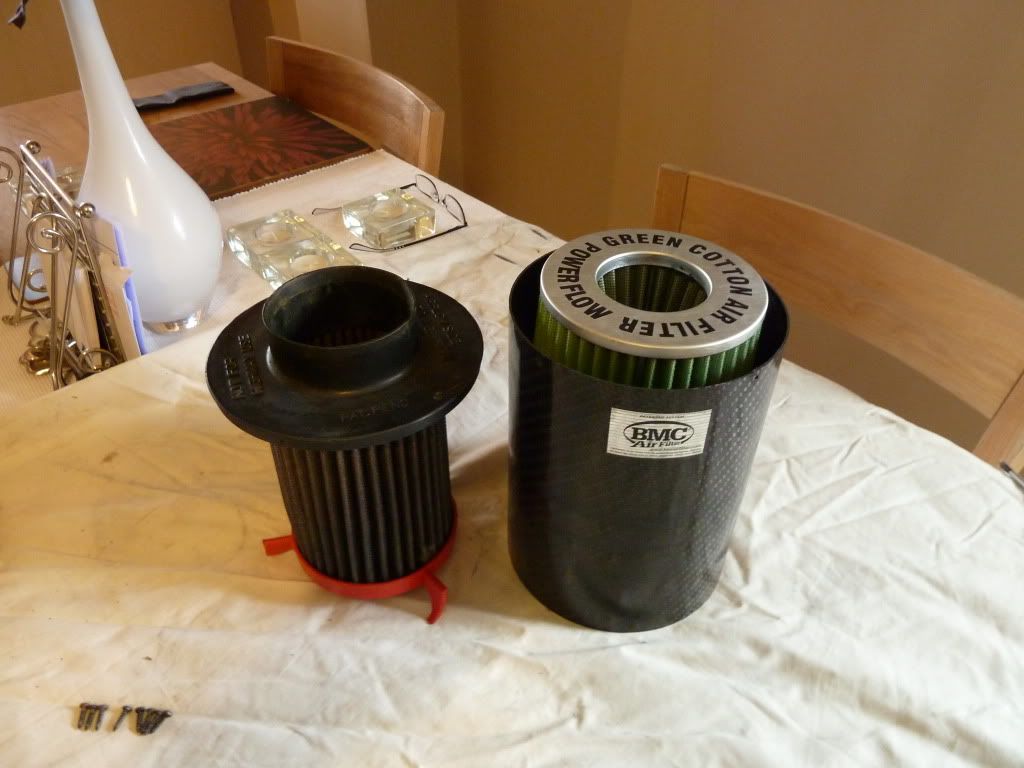
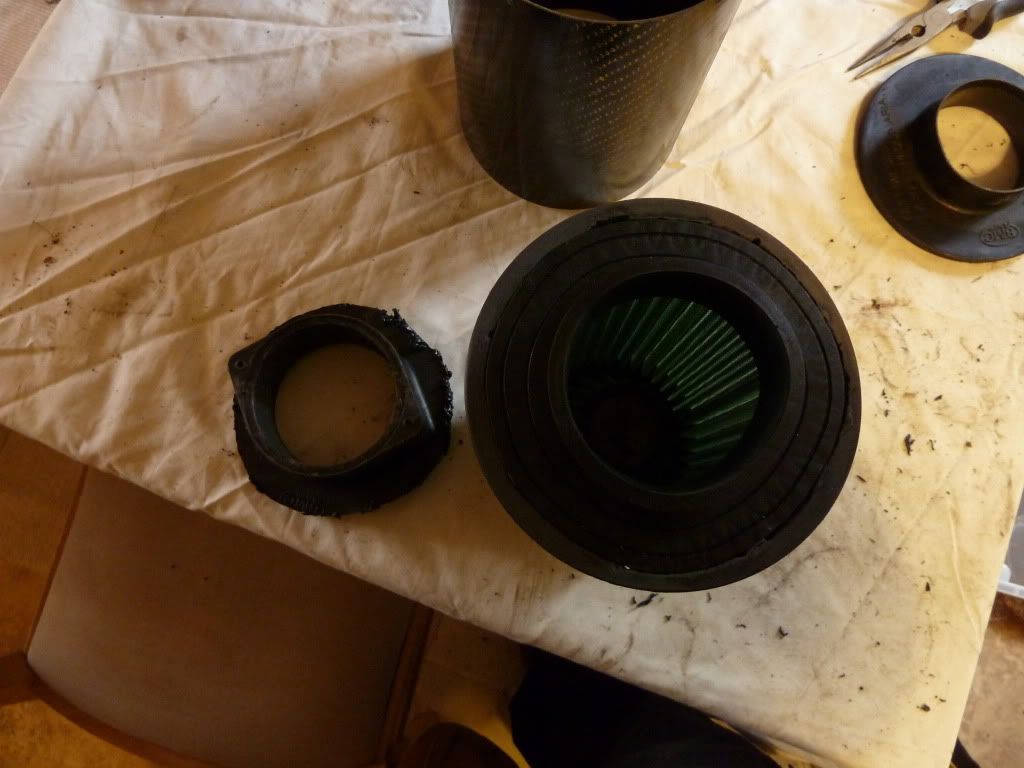
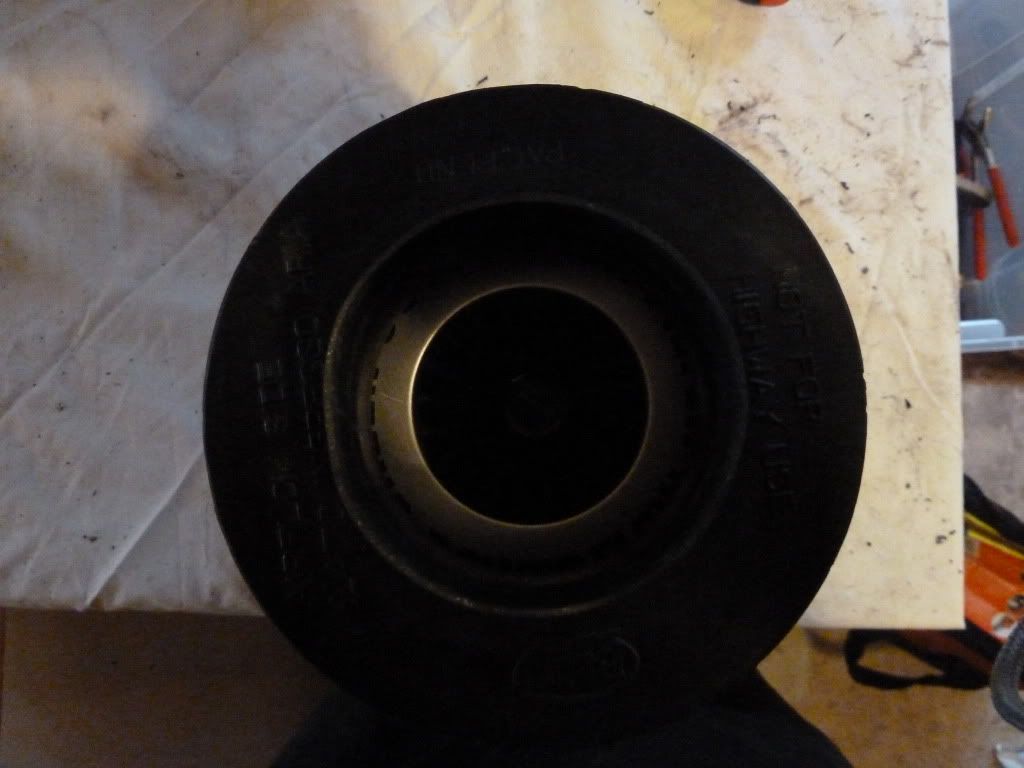
I brought the new filter with the intention of replacing the BMC filter element with the Green filter whilst using the BMC casing and cold air feed already in situ. As you can see from the below picture, the new filter was slightly too large for the outer casing and so some adjustments were required.

P1010541.jpg


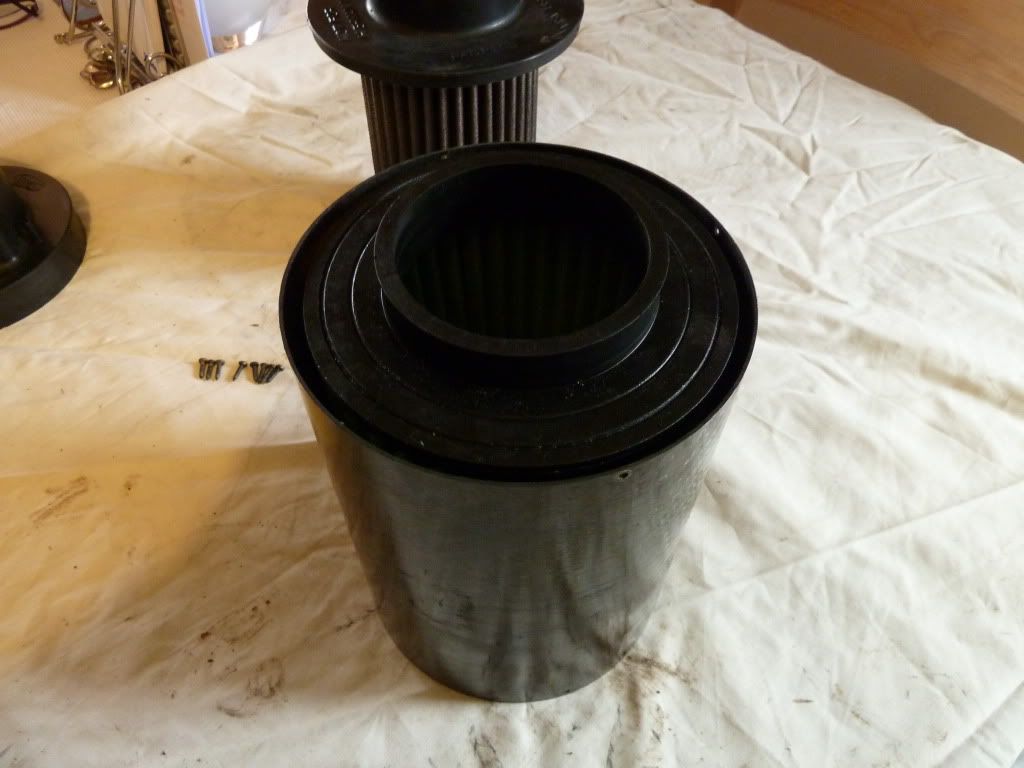
Width wise, it was going to be a tight fit.

P1010543.jpg


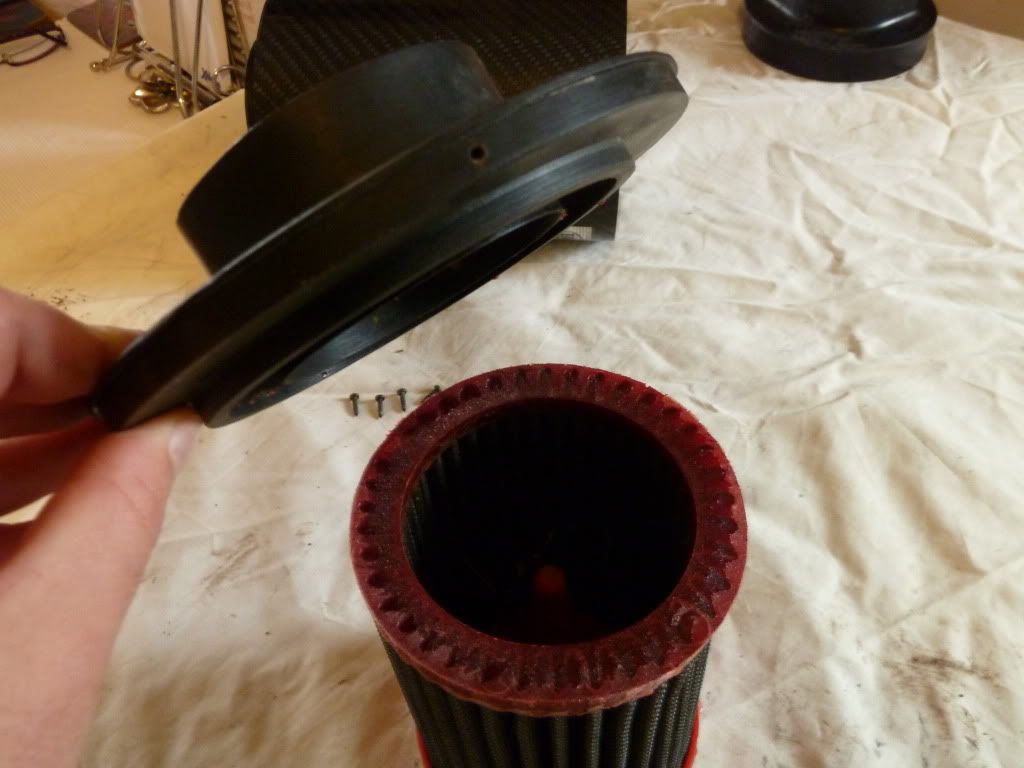
At this point, I was still unsure of where I was going to gain an inch or two without it looking like the cone was too big for the outer casing so whilst thinking, I set about removing the original filter element; it simply peeled away, like so.

P1010546.jpg


P1010547.jpg


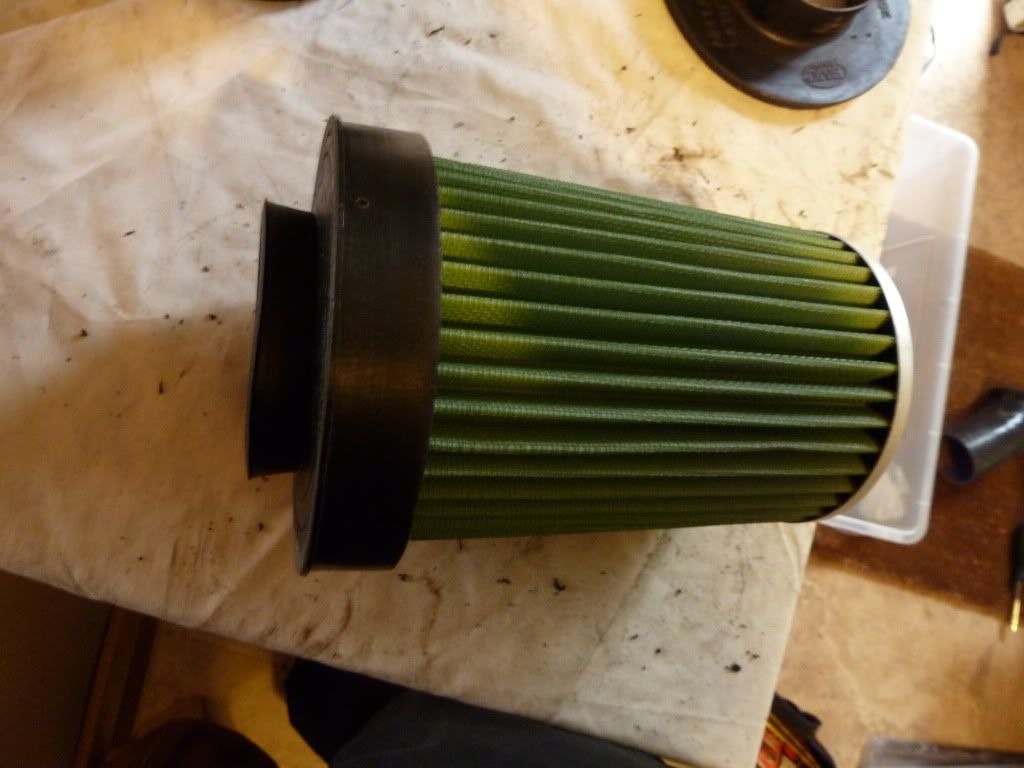
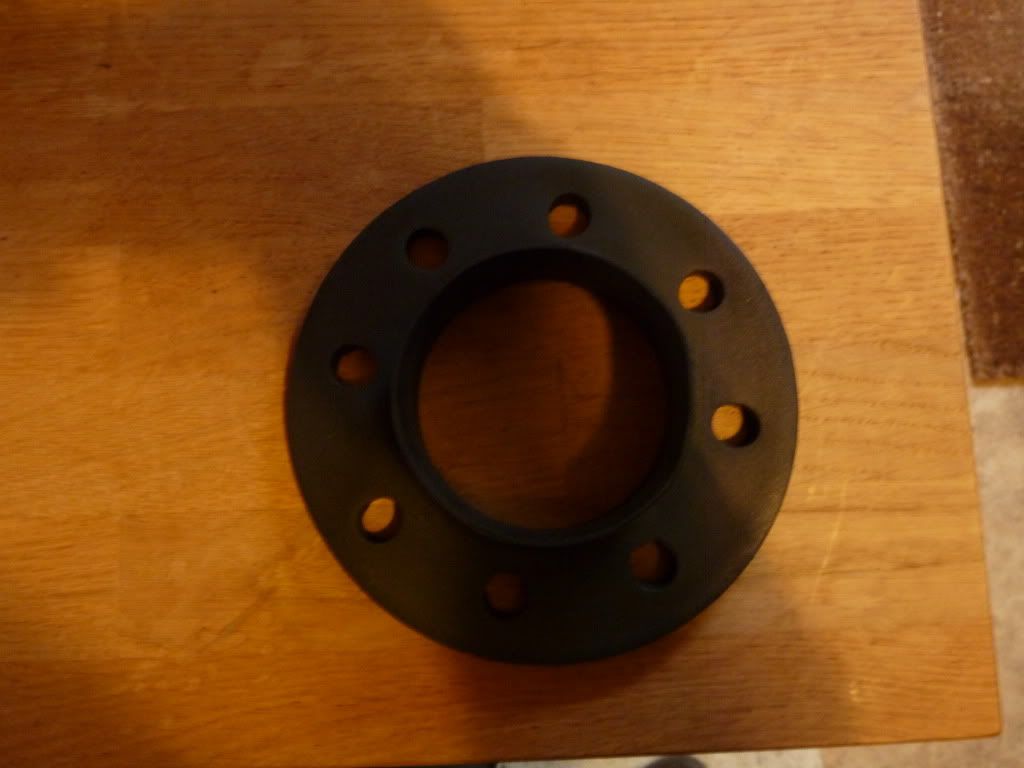
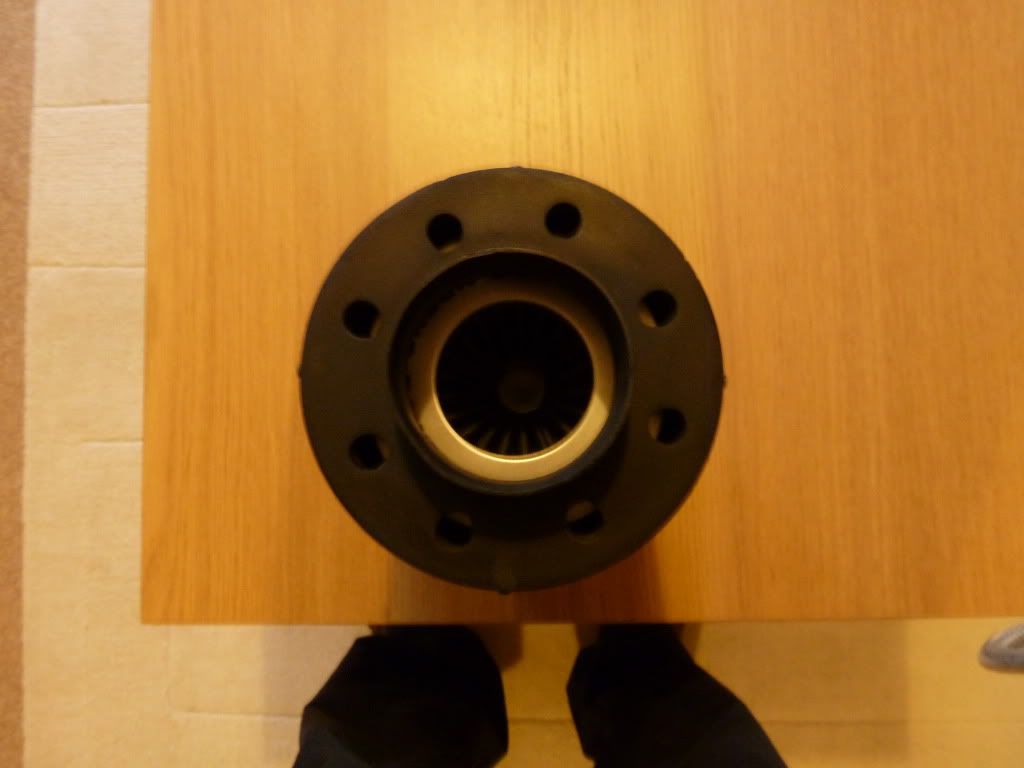
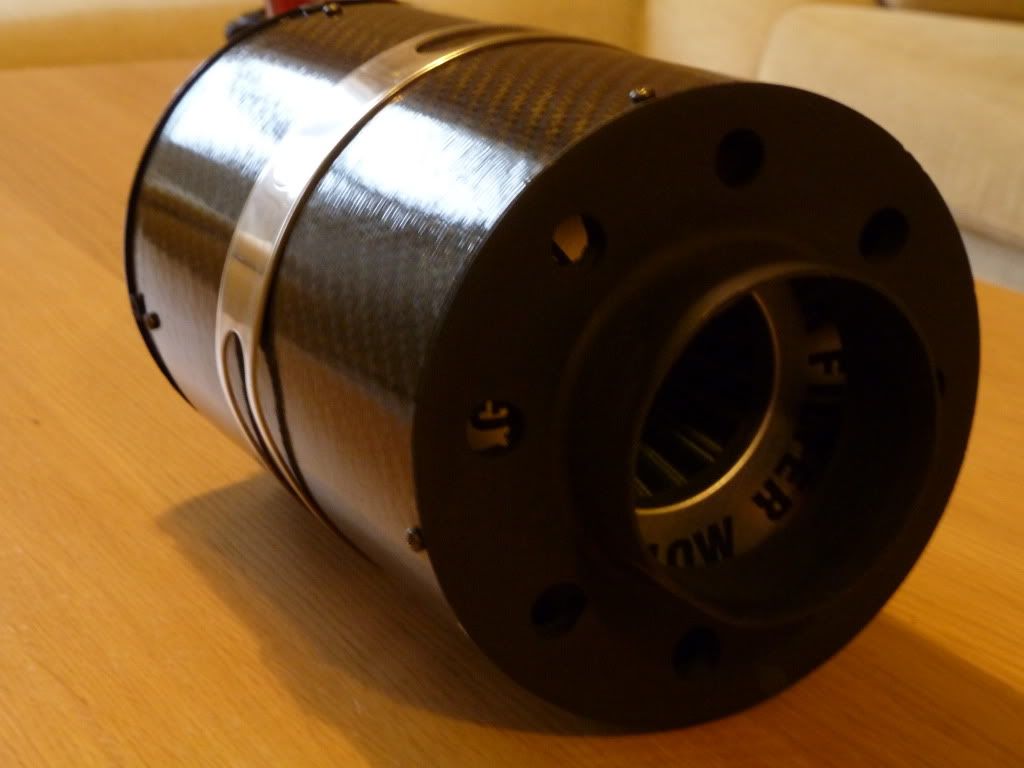
Next, I removed the two plastic rings that you can see above with a Dremel and an electric sander, leaving a flush finish. Once happy with the finish, I then decided to use the other end of the BMC (maf inlet) as there was still not enough room in side. I used a Jigsaw to cut the outer of this piece so that the new filter would fit in side. With this in place, I could use it as both a fixing point and as an extender, like so.

P1010549.jpg


P1010551.jpg


P1010556.jpg


P1010557.jpg


Continues on the next post......
 
Oct 21, 2006
1,226
1
Norfolk
Continued....

With the maf end finished, I returned to the inlet end. This picture shows how it would sit when enclosed.

P1010563.jpg


I then drilled eight holes into the inlet cover to avoid the potential of restricted air flow.

P1010565.jpg


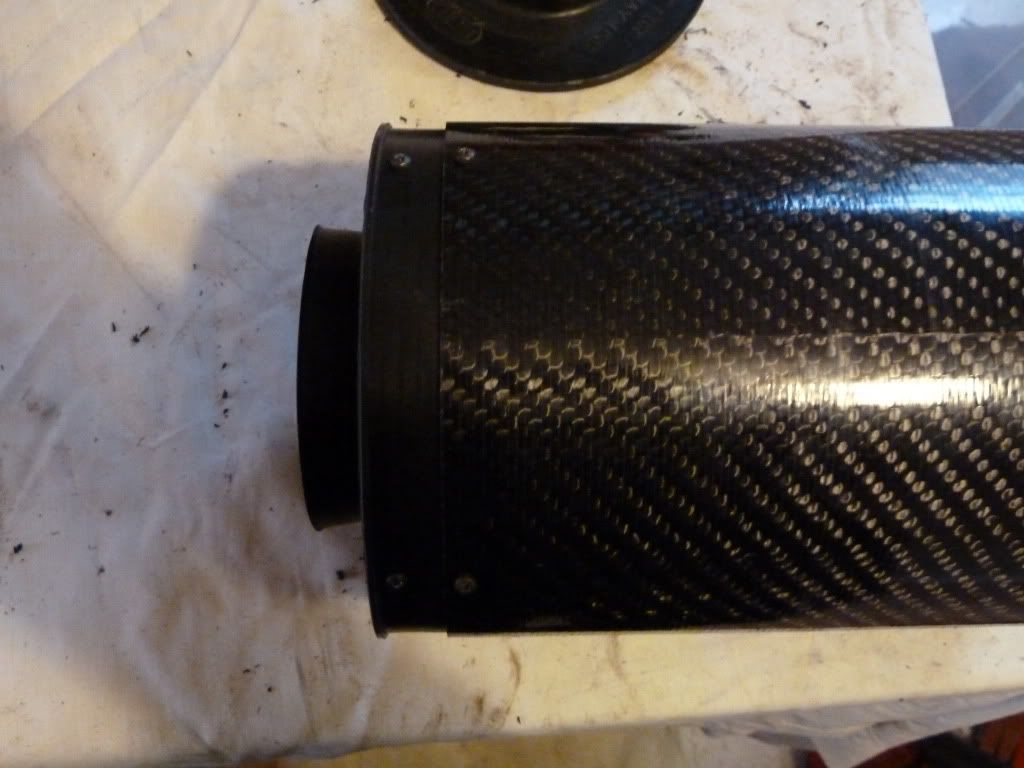
With everything now measured, cut and drilled, I sprayed the plastic bits with gloss black spray paint to finish it off. Once dried, everything was assembled.

P1010576.jpg


P1010577.jpg


P1010582.jpg


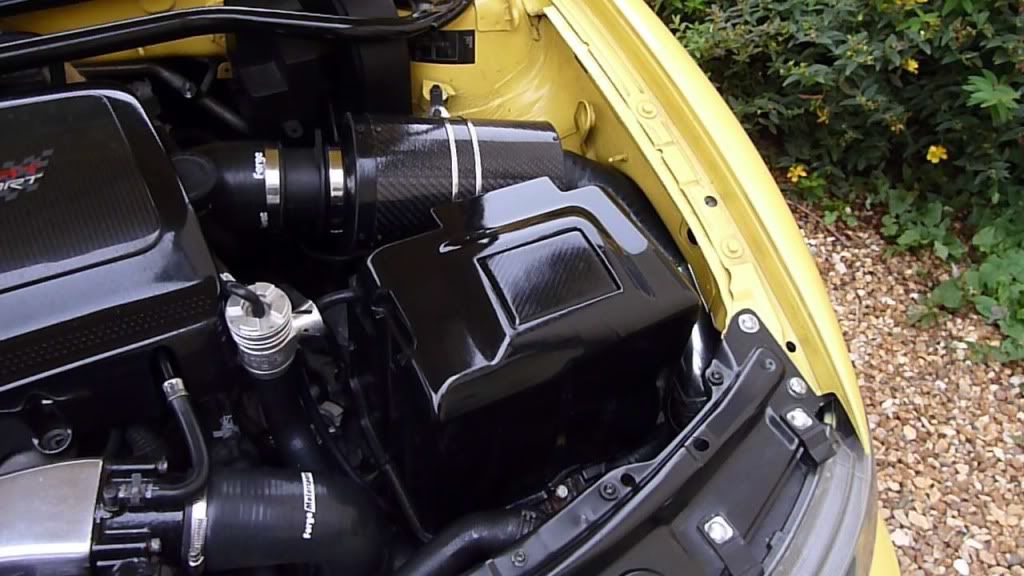
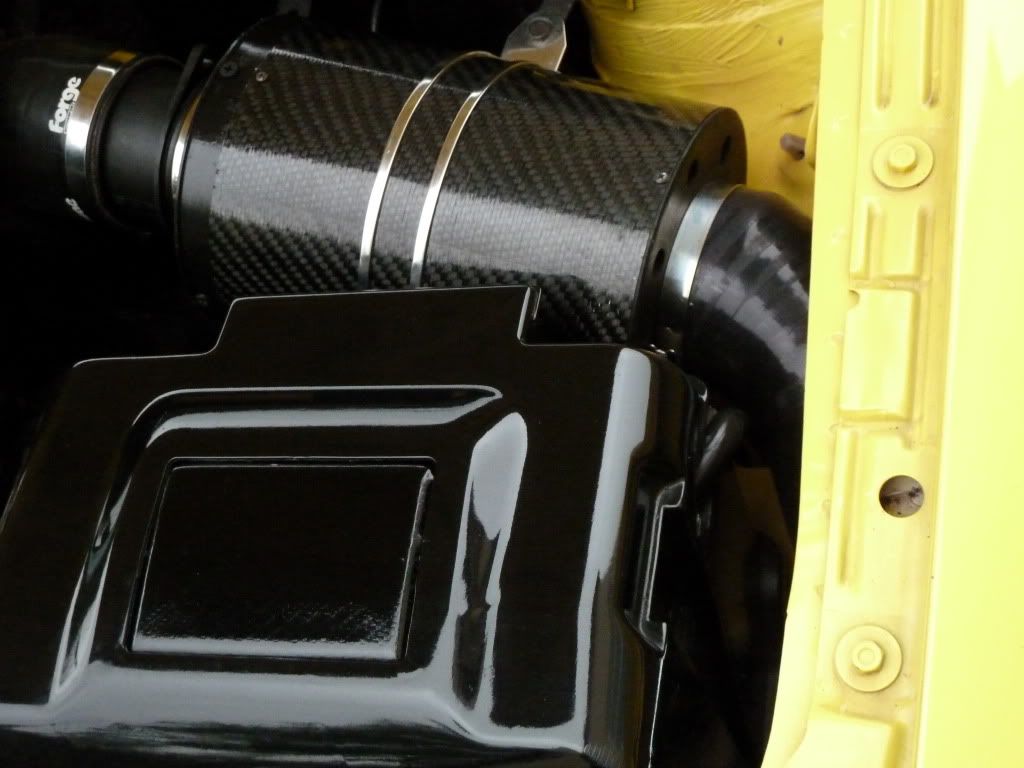
And here it is fitted to the car.

P1010583.jpg


P1010589.jpg


I took the car out just before the rain came down yesterday evening. The car had a nice note without being too intrusive. I couldn’t tell whether it made much difference to the way it pulls, but the sound is great and I’ve achieved the look that I wanted. Since fitting, I have disconnected the battery and left it disconnected for 30 minutes or so, to reset everything.

The bay is about finished now. Over the winter, I plan the respray the plastics again to freshen everything up for next year. I may also fit an S3 screen wash and water coolant cover. The thing that puts me off is that it doesn’t quite fit but if I can learn how to plastic weld, I may have a go at squaring off the cover to sit flush with the wing.

Next on the agenda is a 5000 miles oil change and gear box oil change (arranged for mid Oct).

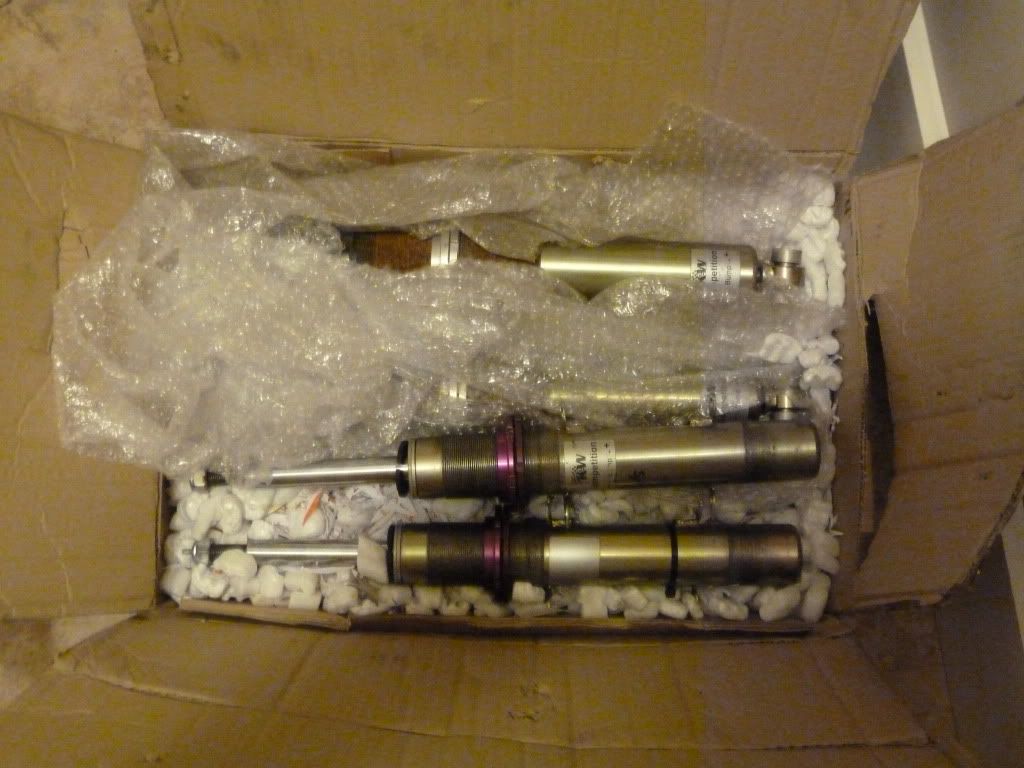
I also took a punt at some KW Variant 1 coilover dampers, without springs, that were on eBay. I got them for 67 pounds, which was a bargain. They have adjustable dampening.

P1010590.jpg


As I have the pi coilovers sat in the shed, I will use those springs with the KW coilover dampers, if KW springs turn out to be too much money. Hopefully, the ride quality will be just as good. These will be fitted in November time once I’ve bought some new top mount rubbers and some bushes for the wishbones.

As always, thanks for reading.

James :)
 

D.K

LCR 225
Oct 24, 2007
6,408
3
se london
Good effort with the filter but I cant see you being any better off than you was before, the fillter is sitting too close to the casing and it's just going to sufercate it.
 
Oct 21, 2006
1,226
1
Norfolk
Good effort with the filter but I cant see you being any better off than you was before, the fillter is sitting too close to the casing and it's just going to sufercate it.

Thanks for the comments Darren.

The filter has a much bigger surface area than the original filter so by rule of thumb flow should increase. The distance between the filter and the outer casing may look close in the photos but there is adequate space; it is basically adopting the design of the Green Dynotwist. Furthermore, it has direct 80mm air feeds from both fog lights in addition to the extra breather holes, which I should imagine to be better than the original/OEM layout. I know it is a turbo but I wanted to keep as much cool airflow as possible.

Having driven it a little more, I'm really happy with how it has turned out. It sounds great, doesn't feel laboured, seems robust and looks good aesthetically, in my opinion.

James :)
 

J@mes W

Stage 1 Revo'd LCR
Jun 28, 2009
985
1
Colchester
Cool car, you've done some very cool little touches. I really like the engine cover and battery cover, i'm going to steal your idea and do the same with mine.;)

Keep up the good work.
 
Oct 21, 2006
1,226
1
Norfolk
Cool car, you've done some very cool little touches. I really like the engine cover and battery cover, i'm going to steal your idea and do the same with mine.;)

Keep up the good work.

Thanks Doc! I hope it turns out well. As I mentioned in an earlier post, I found that by sanding the plastics completely flat, especially on the engine cover, it helped achieve a glass-smooth finish.

James :)
 
Oct 21, 2006
1,226
1
Norfolk
I this weekend planned to wash my car as it has been used as my daily driver over the past couple of weeks whilst the polo has an MOT and a mini service carried out; I’ve just not had time to get it into the garage so the LCR has been used, which is no bad thing apart from it’s filthy now.

My old hosepipe had seen better days so off to Homebase I went (I lead an exciting life as you can tell…..). Whilst there, they had a Karcher on offer and so I bought one of those too, convincing myself that my Halfords own brand pressure washer was on its way out, which it wasn’t, but a bargain is a bargain.

The Halfords pressure washer, which cost me £30 I think in a sale a couple of years ago, is naturally worlds apart in terms of both build quality and performance. The Karcher I bought is the K2.56 deluxe model. I also got a Karcher 4 way lance thrown in for free. Using the Karcher, I noticed that it was quieter and the pressure was a lot stronger (1.2 bar), in comparison. My car is seven years old now and whilst there is no evidence of lacquer peel, I’ve known of a few cases occurring with LCRs, amongst others, and so I was a little cautious at first, but it was fine. I was very impressed with the results but now I need to buy a new snow lance as my current one is not compatible with the Karcher’s fixings. I’ll buy one at some point in the future, probably from Clean Your Car. The Ulimate snow foam that they sell, in my opinion, is an excellent product.

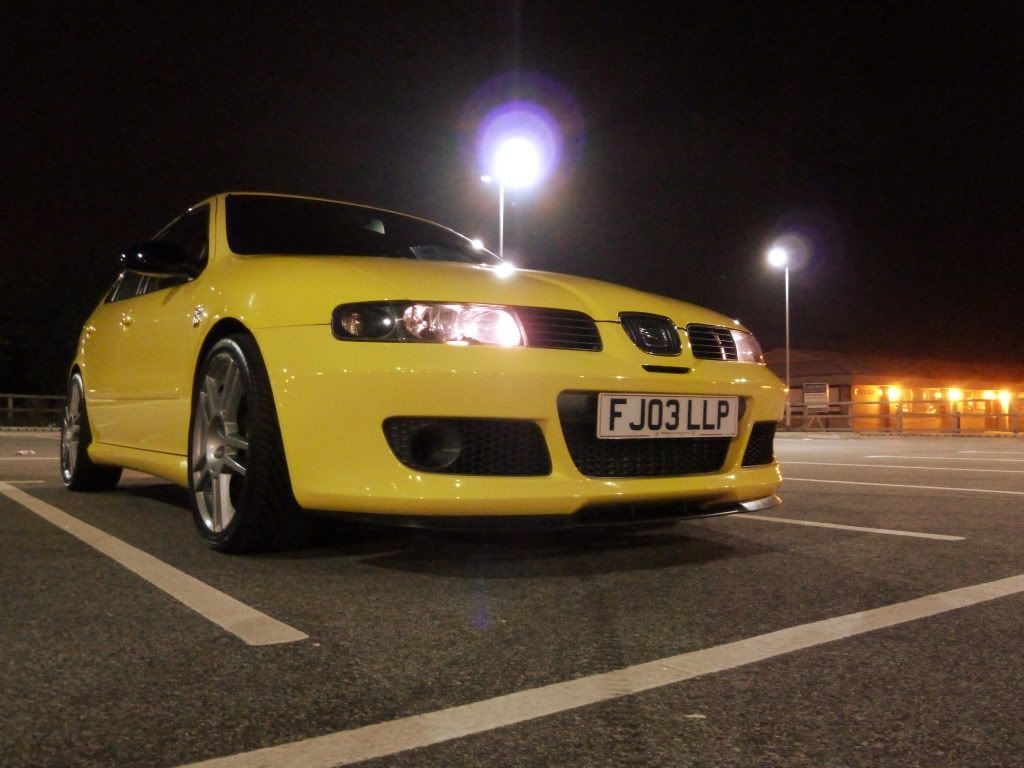
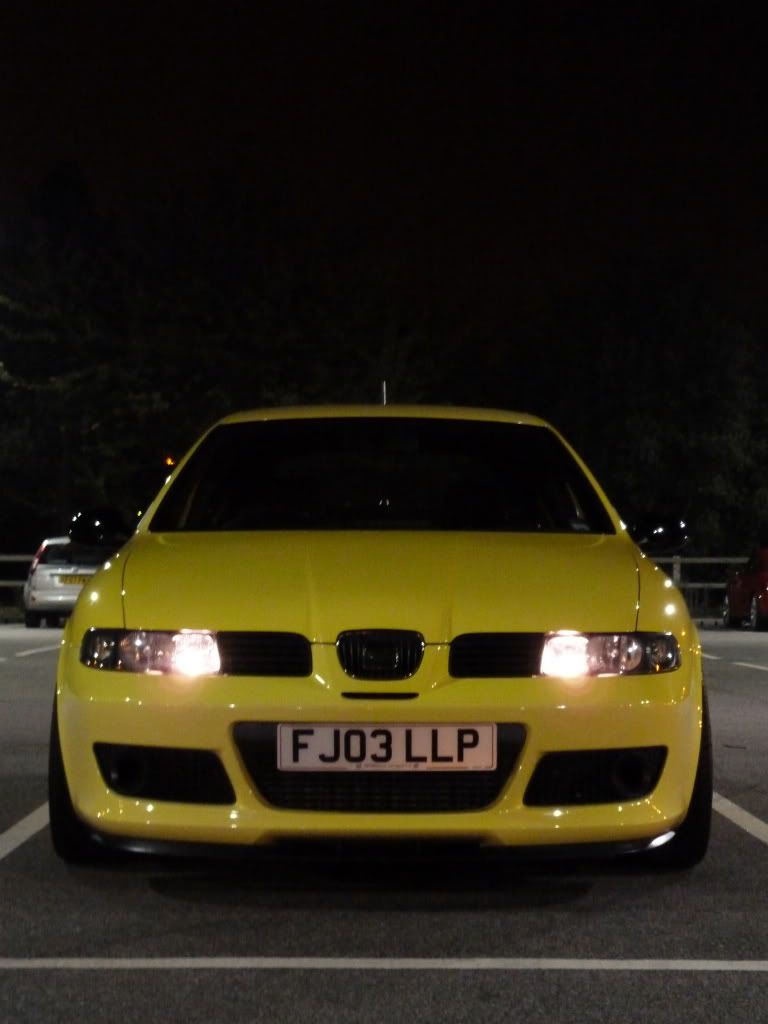
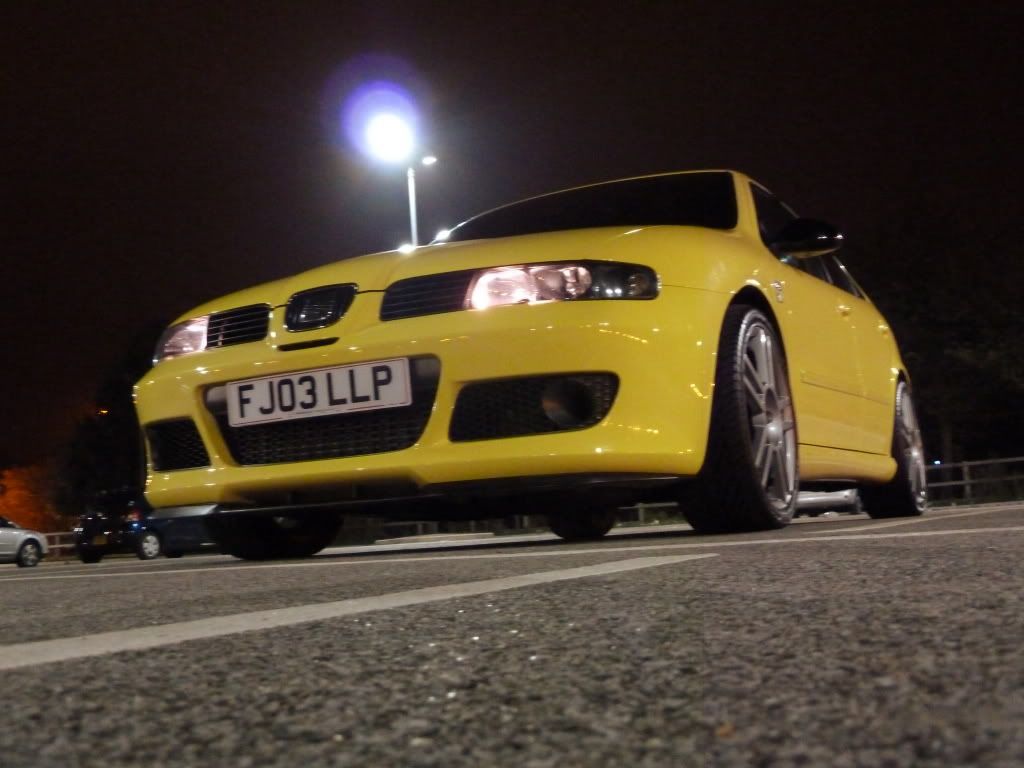
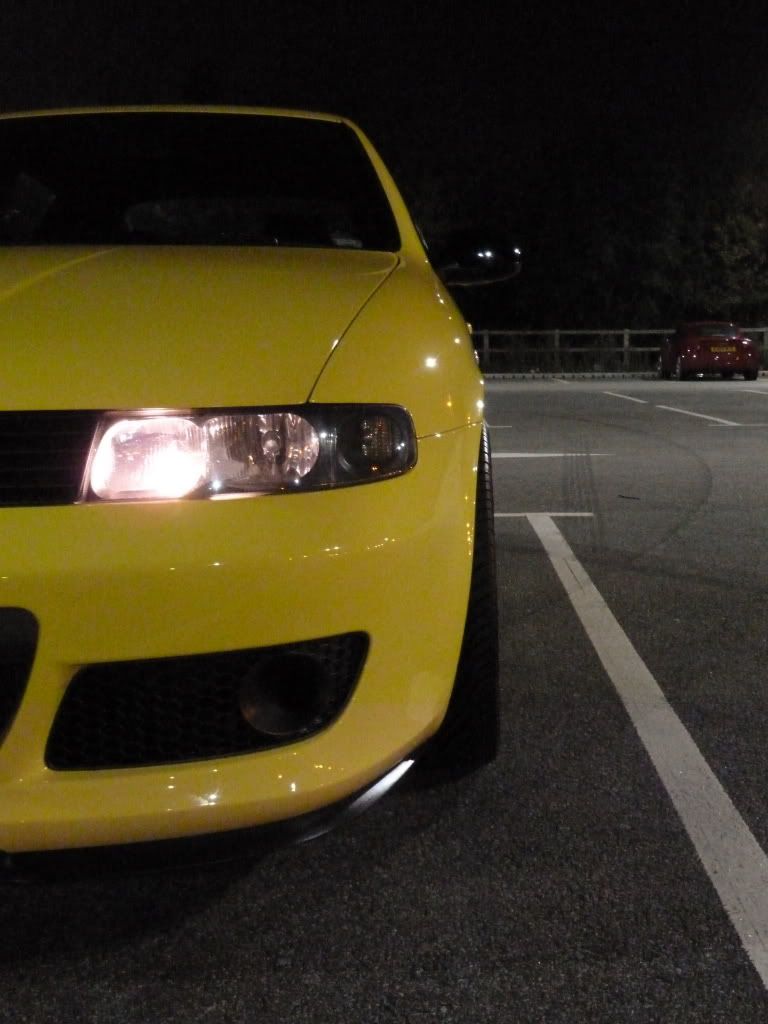
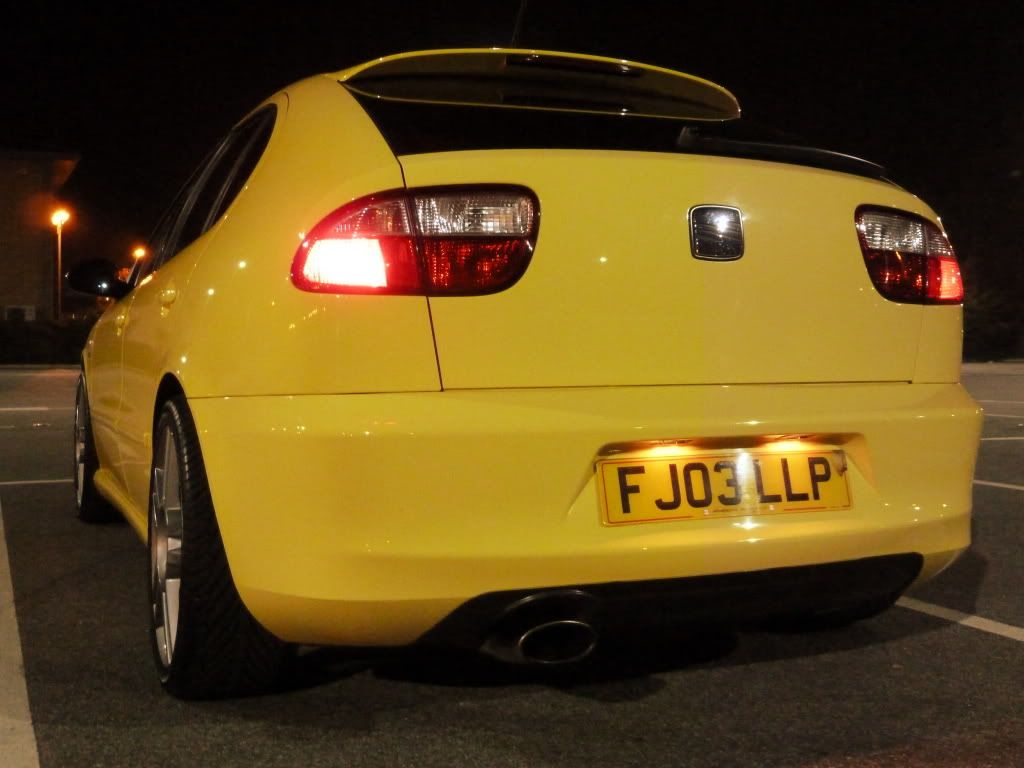
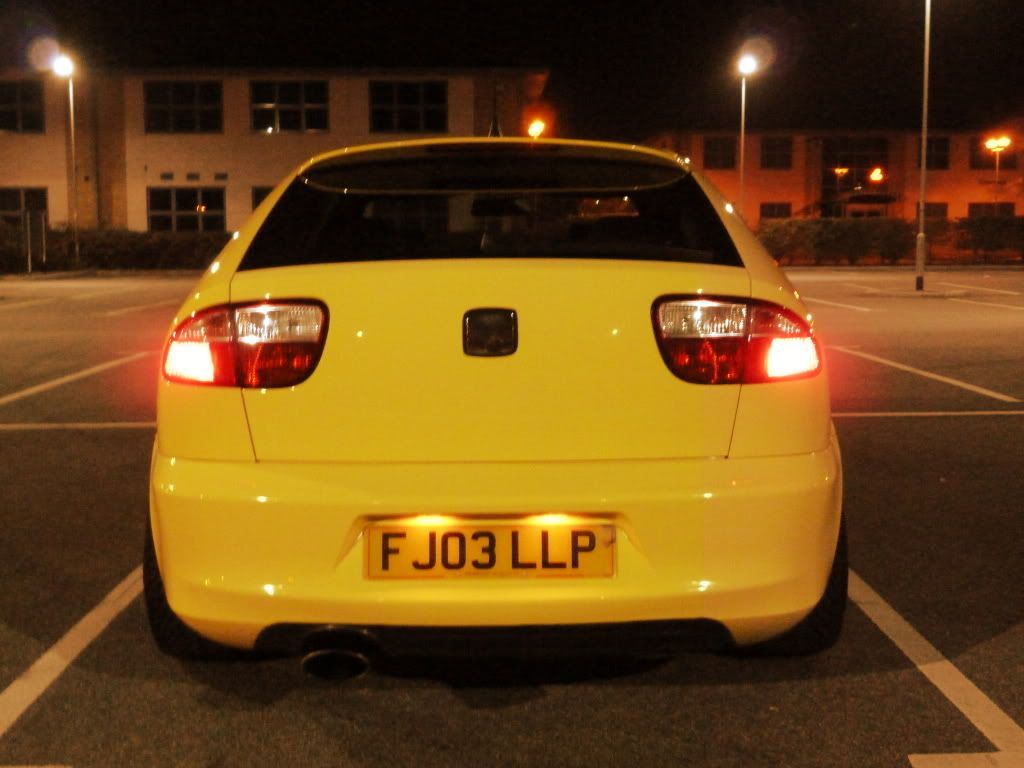
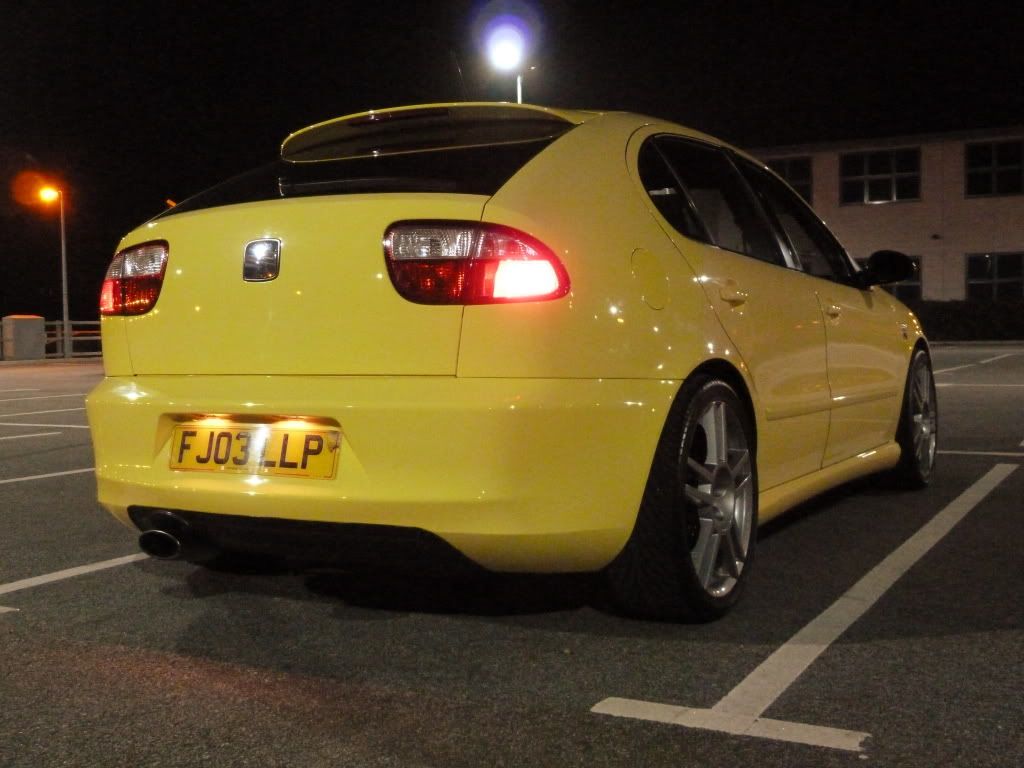
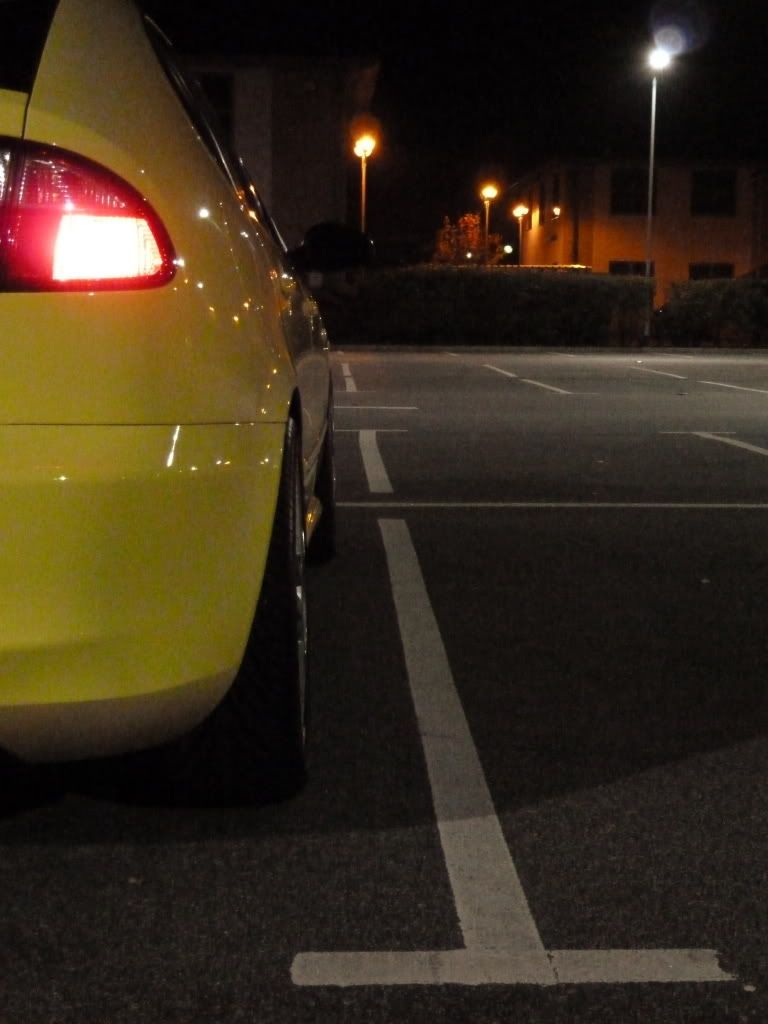
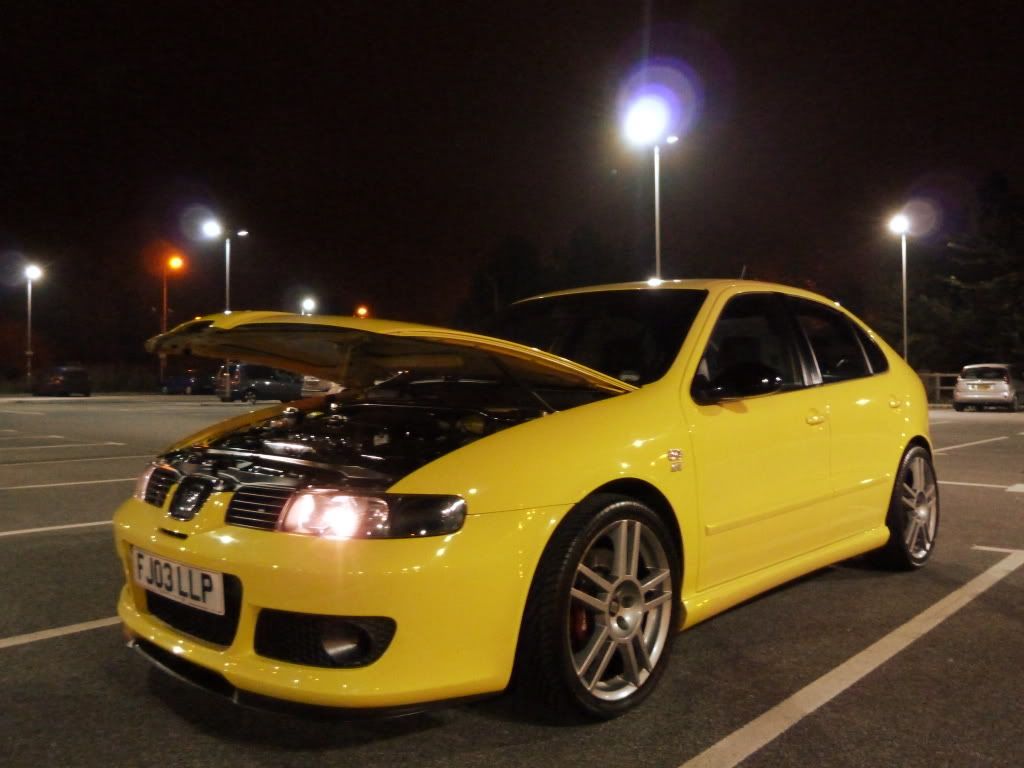
With the car washed and waxed, and a bit of spare time this past evening, I decided to go take some photos of the car as the majority, if not all, of my photos had been taken on my driveway which is sloped and gives a disproportionate view of the stance.

The location was nowhere exotic or interesting (I apologise) but the photos give a 360 view of the car.

P1010629.jpg


P1010599.jpg


P1010604.jpg


P1010606.jpg


P1010608.jpg


P1010612.jpg


P1010613.jpg


P1010616.jpg


P1010624.jpg


I think it’s fair to say that the car's stance will look much better once the coilovers have
been fitted. I'm starting to give some serious consideration to the choice of colour when refurbishing the wheels now, although I will probably do it after the winter; not sure what colour to choose. I like the wheels current colour but I've seen a LCR set painted black with a light pearl lacquer, which gives it a nice glossy finish. Black wheels would make sense as I have black wing mirror caps and the bay's theme is generally black, but in the flesh, I'm just not sure.

Any comments/advice welcome. Thanks for reading.

James :)
 
Last edited:
Oct 21, 2006
1,226
1
Norfolk
Looks amazing under the lights,really clean

Thanks turbo009; I wish it would stay clean!

stunning car with a lovely selection of mods - I also spend alot of my time in Ely as my missis lives there, maybe see you around some time. :)

Thanks Liam. I'll make sure to keep a look out for you :)

I need to give some more thought to a better location and to take more time over actually taking the photos. I have a good camera (Panasonic Lumix DMC-TZ8 - if that means anything to anyone...) that is rather good at capture in the 'point and squirt' mode. I think days of decent weather are numbered though :(

James.
 

nomsky

Guest
Car looks really nice (and clean). I like you am in the process of investing in for once top quality cleaning products. Keep up the good work and every chance you get take plenty more pics!! ;)
 
Oct 21, 2006
1,226
1
Norfolk
Love the new pics mate! cars looking stunning! :D

Cheers as always mate :D I'm really quite happy with the quality of the pictures. I can't forsee myself getting rid of this car anytime soon. I enjoy keeping it looking its' best but there's loads to do... I think the eventual aim is a full respray, once everything else is up to standard. Our house doesn't have a garage, not that you need one, but I would ideally like to keep it stored out of the elements. You know, detailtastic and all that...

James.
 
Oct 21, 2006
1,226
1
Norfolk
Car looks really nice (and clean). I like you am in the process of investing in for once top quality cleaning products. Keep up the good work and every chance you get take plenty more pics!! ;)

Thanks nomsky :D In my opinion, it makes all the difference to the end results if you use something that you like using. At the moment, bar a few products, I really like the Meguiars range as it's really well priced, is user-friendly and gives great and lasting results.

Do you tend to stick too any particular brands or are you a bit more experiemental?

Your signature is super-cool mate [B)]

James.
 

jonjay

50 Years of 911
Jun 27, 2005
5,843
1
Essex
James your blowing me away with the amount of detail in your updates! Great work and car looks immaculate.
 

nomsky

Guest
Do you tend to stick too any particular brands or are you a bit more experiemental?

In all honesty, I'm very new to both lcr ownership and meticulous cleaning and general detailed upkeep of any car I've owned, so I am researching as much as I can on here atm aswell as asking a couple of good friends who have been doing this sort of thing and using these products for some time now.

Hopefully it won't be too long before I can voice my own opinions and recommendations, but in the meantime I'll enjoy the good threads such as your own and hopefully continue to be inspired!! :D

Thanks for the sig comment! ;)
 
SEATCUPRA.NET Forum merchandise