
A few people have asked me how I colour coded my tailgate handle/badge so i've knocked up a brief guide using my spare handle on how it all comes apart. It is pretty simple you just need to have gentle fingers and take your time. A new handle is about £50 iirc.
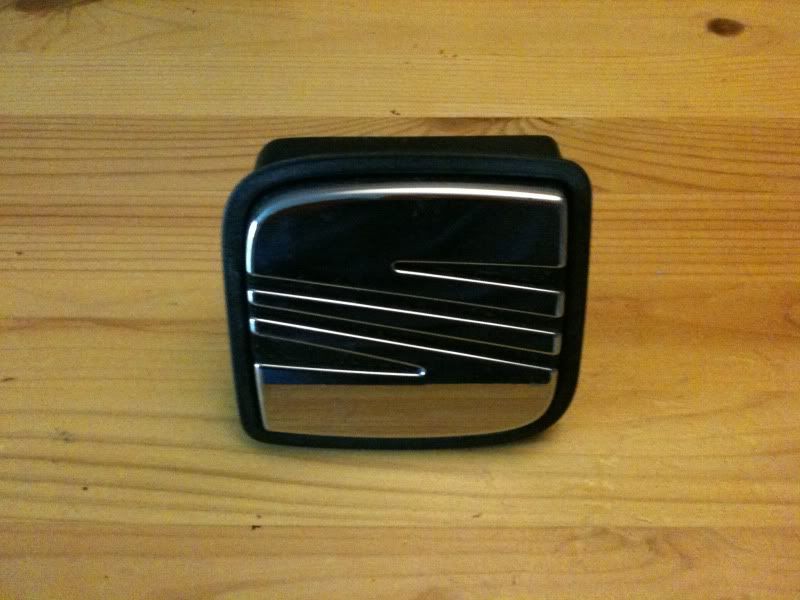
1. Your handle as is.
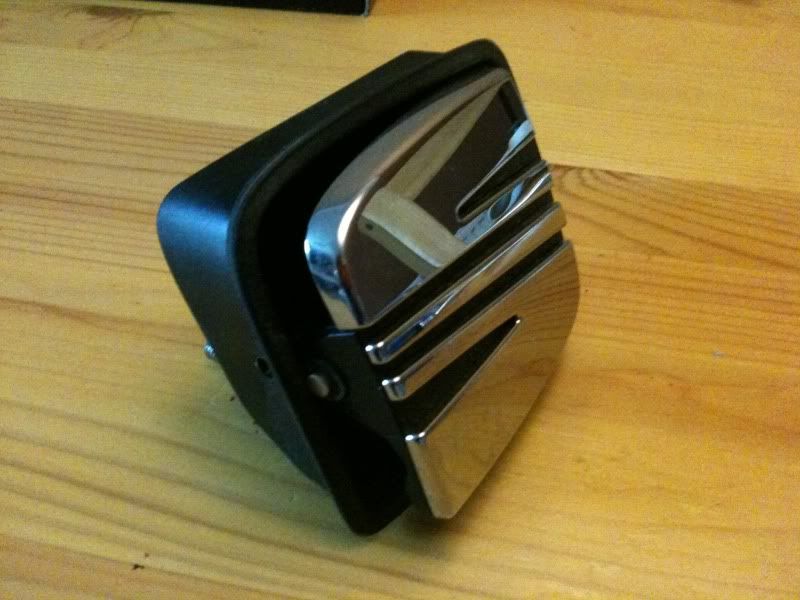
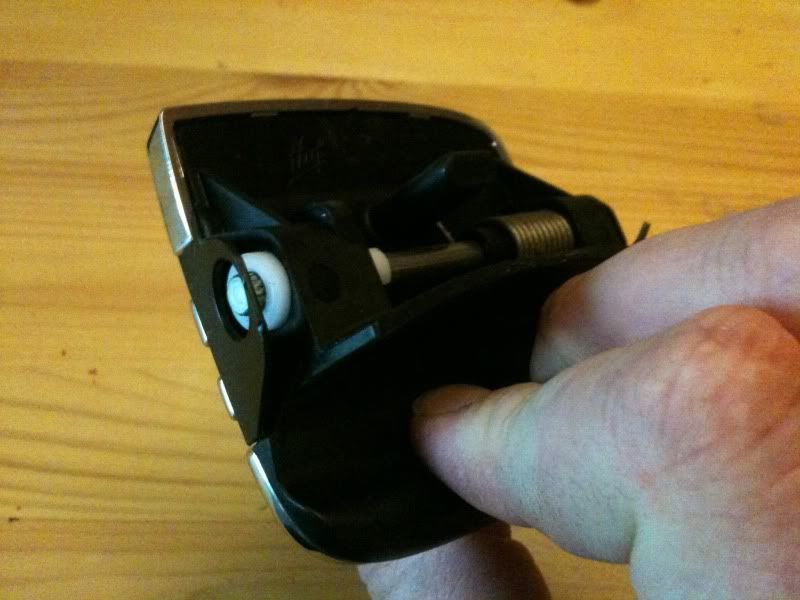
2. Take a decent size flat blade screwdriver and insert next to the hinge pin and twist

3. This will lever the side of the housing out and allow you to pivot the handle out.
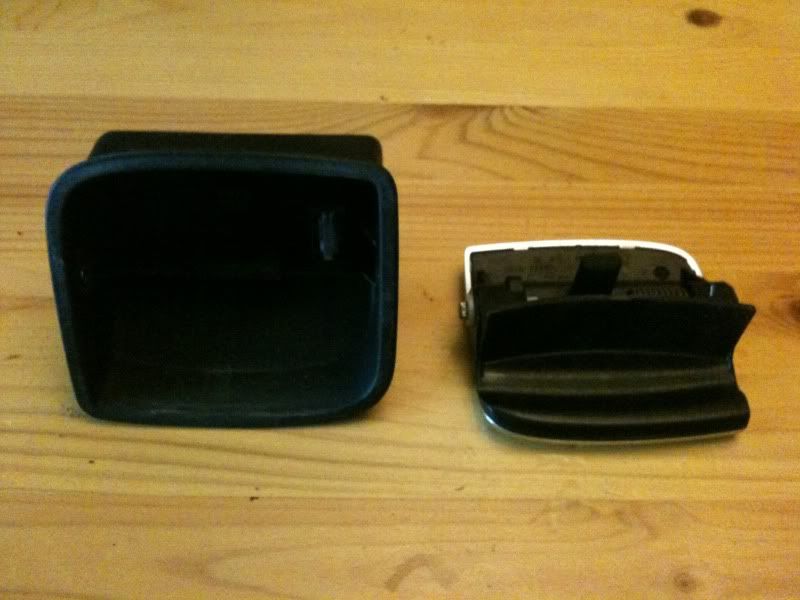
One part is now two..
4. Now you can seperate the badge itsself from its backing. Along the top edge you can see two chrome tabs. Place the badge face down on something soft and insert a small flat blade screw driver next to the tabs and twist, then lever the badge off, it clips in the other end so once levered up pull downwards.
Two parts are now three

5. All thats left is the black plastic inlay trim. Flip he badge over to its back, then you see the two tabs in the centre at the inner edges of the 's'. Poke them out.

Now spread the side tabs and seperate
note I know badge is still on the backing on this picture, just figured out it was easier to remove afterwards.
Now three is four
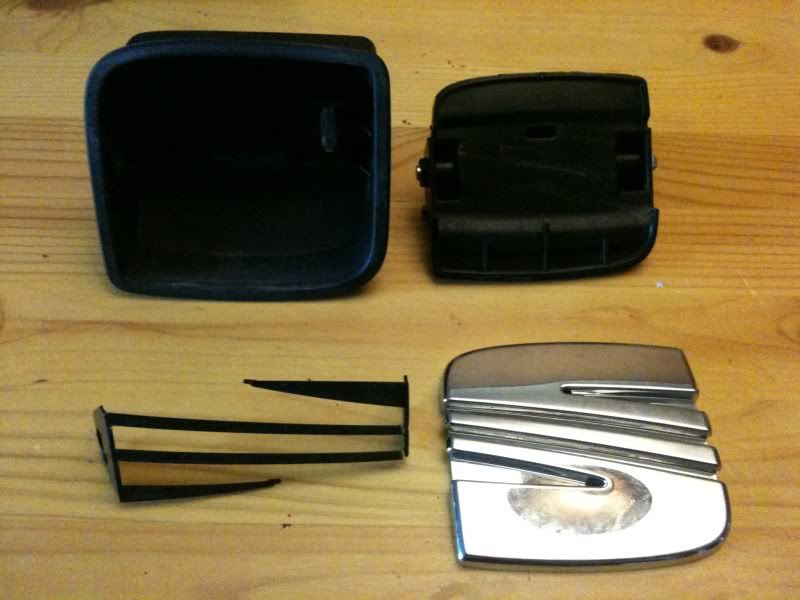
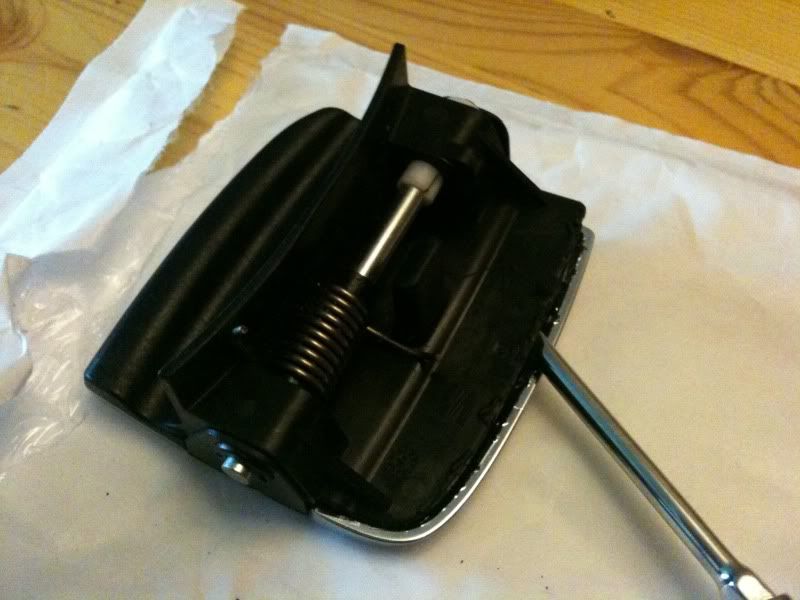
Now you can do what you like with the parts. Refitting is reversal of removal, you just need to make sure the spring on the backing piece locates properly in the housing so the handle springs back into place.
Hope this helps.
1. Your handle as is.
2. Take a decent size flat blade screwdriver and insert next to the hinge pin and twist
3. This will lever the side of the housing out and allow you to pivot the handle out.
One part is now two..
4. Now you can seperate the badge itsself from its backing. Along the top edge you can see two chrome tabs. Place the badge face down on something soft and insert a small flat blade screw driver next to the tabs and twist, then lever the badge off, it clips in the other end so once levered up pull downwards.
Two parts are now three
5. All thats left is the black plastic inlay trim. Flip he badge over to its back, then you see the two tabs in the centre at the inner edges of the 's'. Poke them out.
Now spread the side tabs and seperate
note I know badge is still on the backing on this picture, just figured out it was easier to remove afterwards.
Now three is four
Now you can do what you like with the parts. Refitting is reversal of removal, you just need to make sure the spring on the backing piece locates properly in the housing so the handle springs back into place.
Hope this helps.
")


