Okay, so you may have seen the MK1 Leon LED taillights floating around on Ebay. I liked the idea of them because they looked pretty stock, so I bought a set.

To be honest, I was a bit disappointed when they showed up because they didn't look as OEM as I'd hoped. The crystal lenses are a bit lary for my tastes.
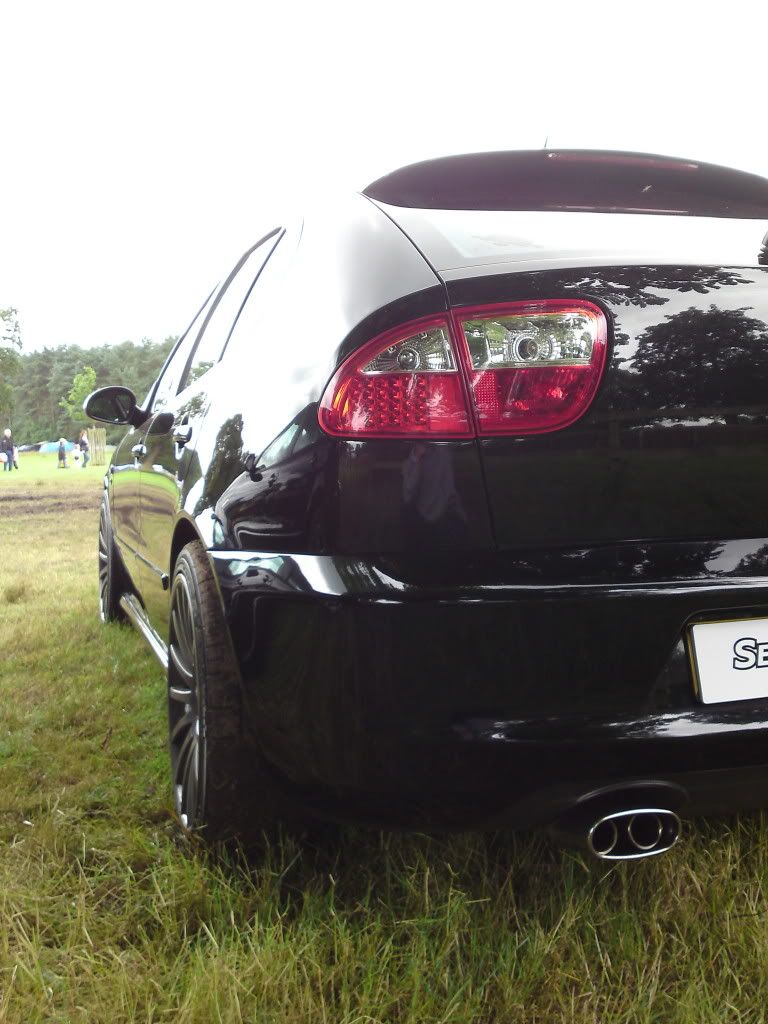
I sported them on the car for about a year before I decided that they were looking a bit too blingy.
This is when I decided to buy another set of stock lights and replace the lenses on the LED ones with the stock lenses. How hard could it be?
Here is a step by step guide showing what I have done so far and hopefully you can all learn from my mistakes if you are thinking of doing the same. I should warn you to wear gloves and goggles, I have cuts on my fingers from doing this and don't want to imagine what could have happened if I wasn't wearing my sunglasses when using the Dremel.
First, I removed the lights from the car and replaced them with the stock set I had lying around. I've kept them so that I can put it back to original spec if I ever feel the need to sell up or something.
Next, it was time for the fun part. Take the expensive LED lights and smash the crap out of them - I mean very carefully remove the lenses.
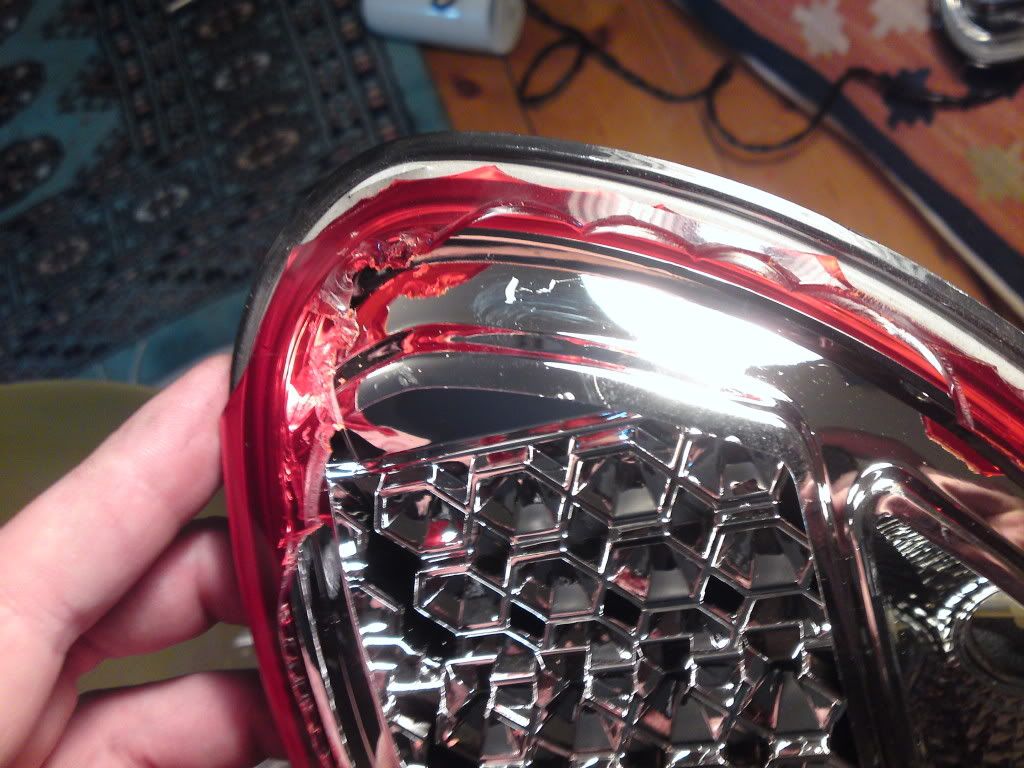
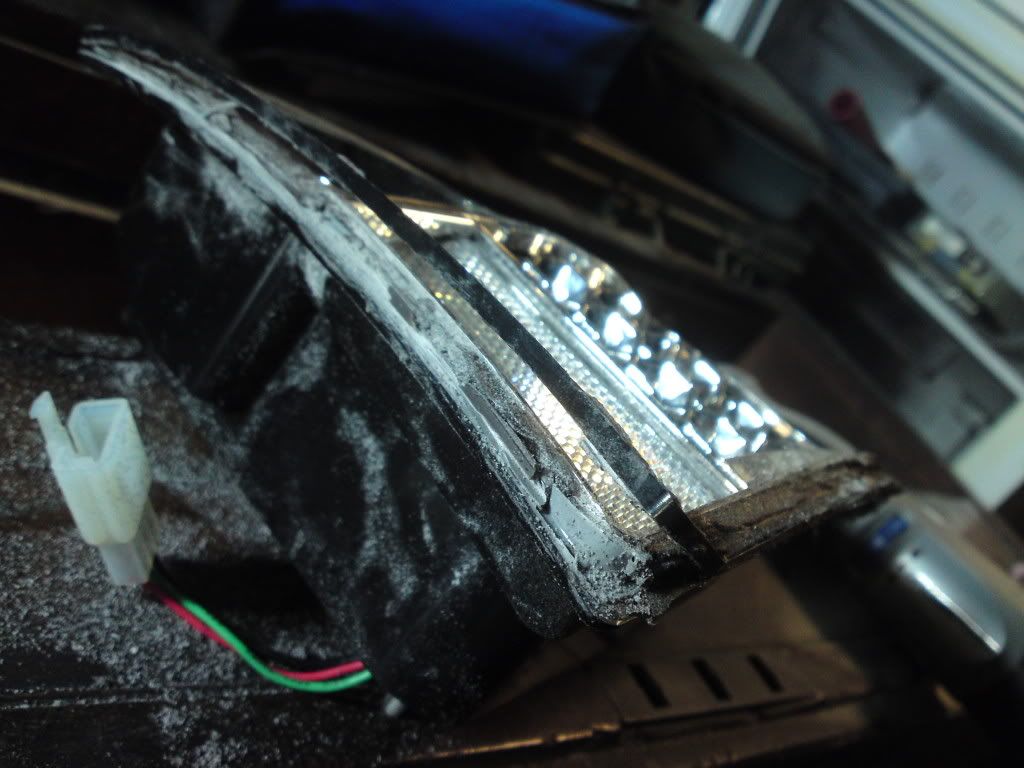
Once you've done this, pop them in the oven and leave them on about 90 degrees for about 4-5 minutes (I take no responisbility for your melted lights so keep an eye on them). This should loosen the adhesive on the lenses and allow you to pry the remaining bits of the lenses off the cluster.
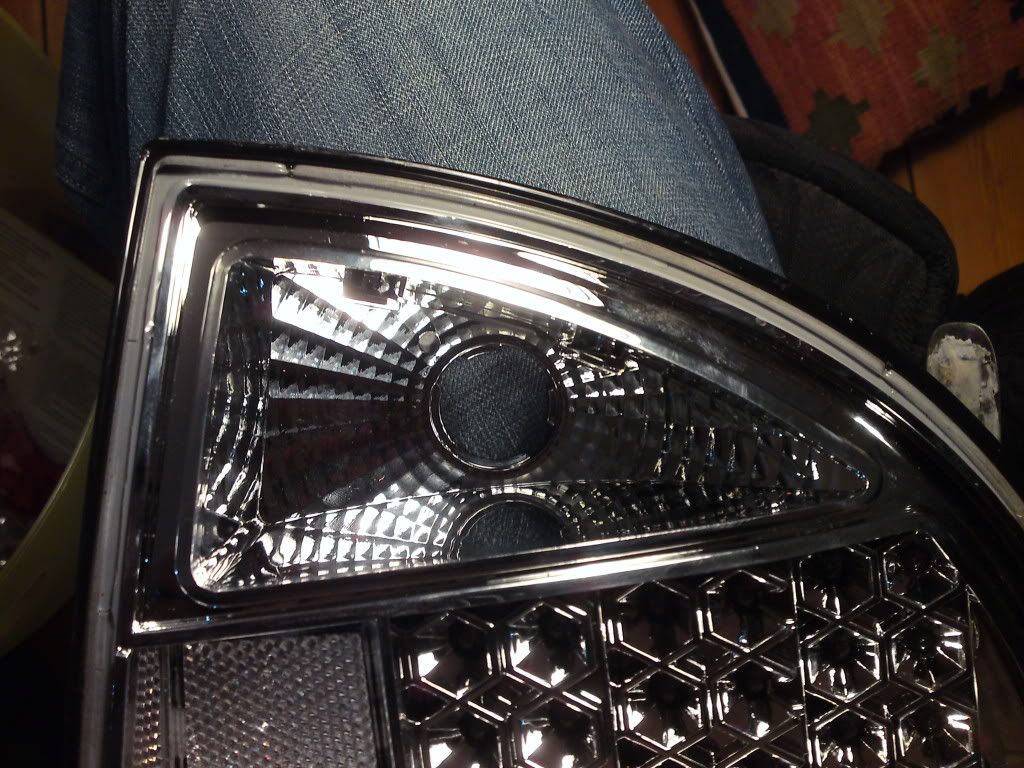
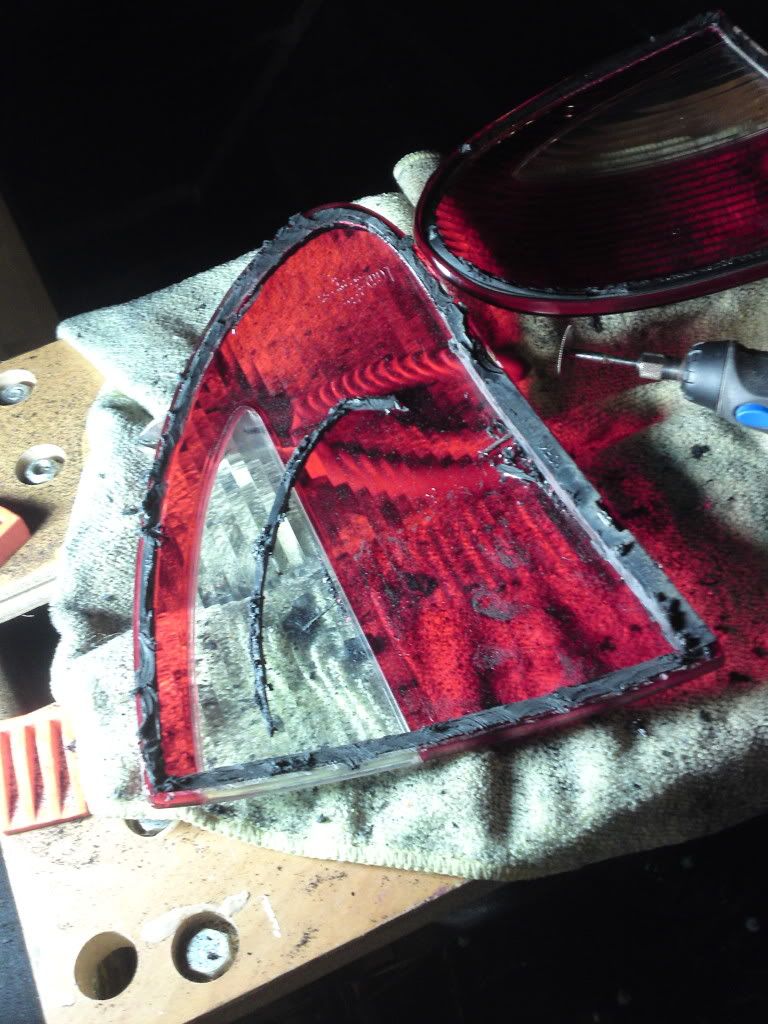
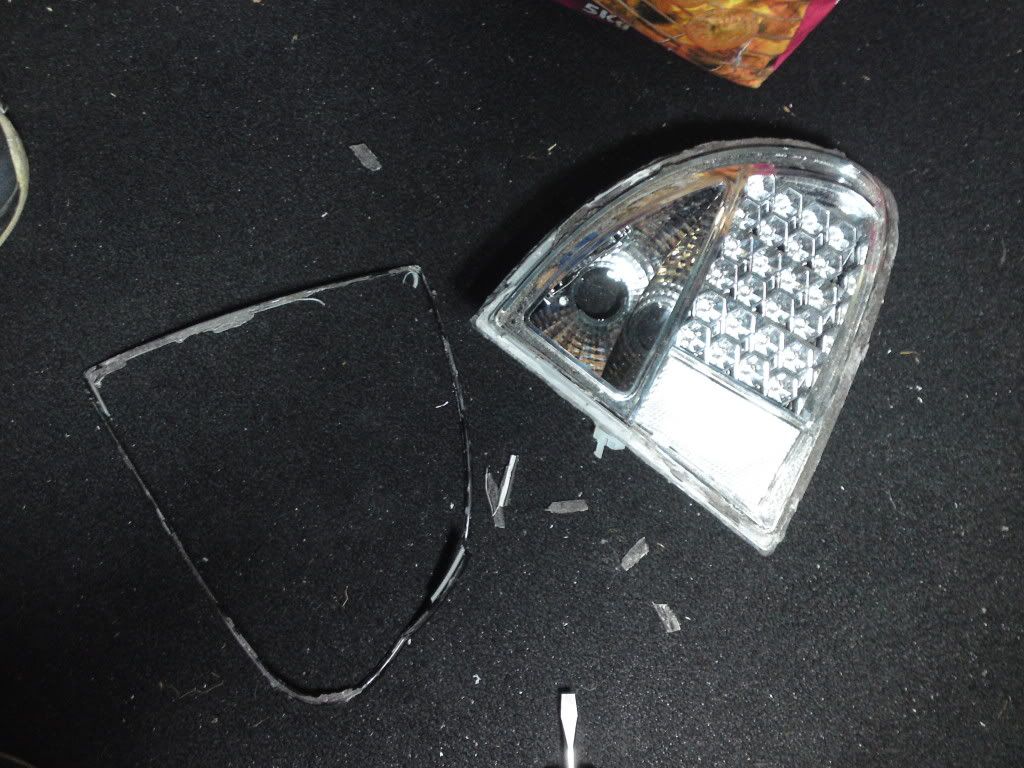
Now it's time to destroy your nice new stock lights (thanks Phatchoonz1). I first tried putting them in the oven to see if I could just pry the lens off, but there was no way. I even made a big hole in the cluster so I could push out the lens, but they are too brittle and will just crack. This meant that I had to Dremel around the edge of the cluster to remove the lens.
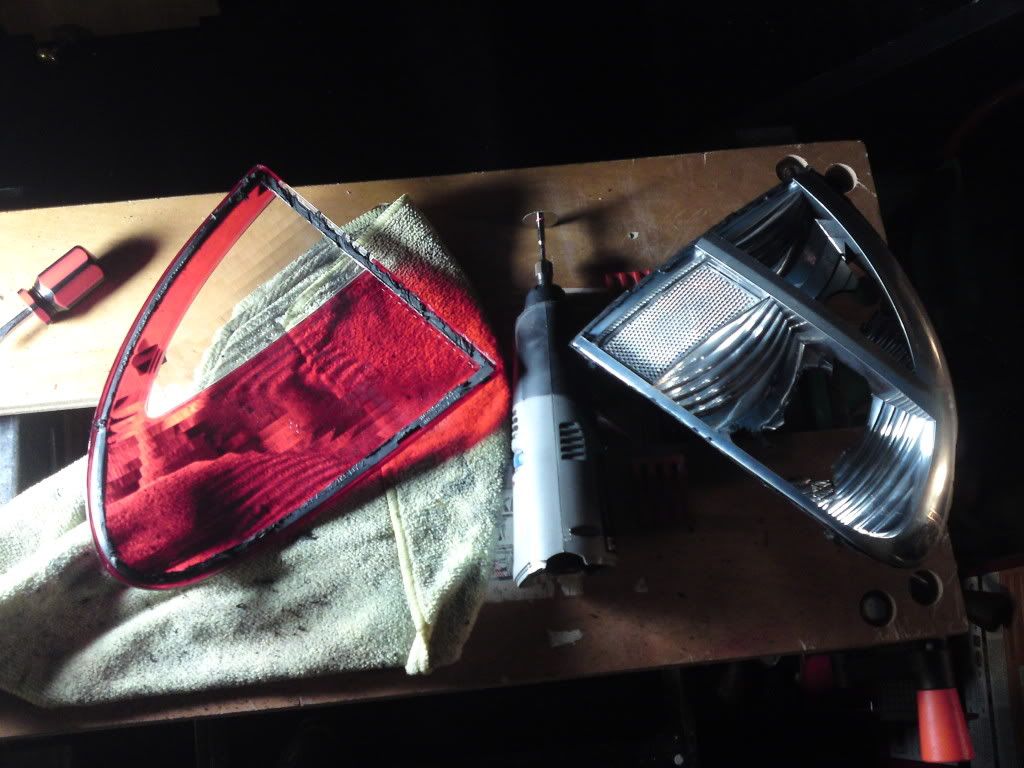
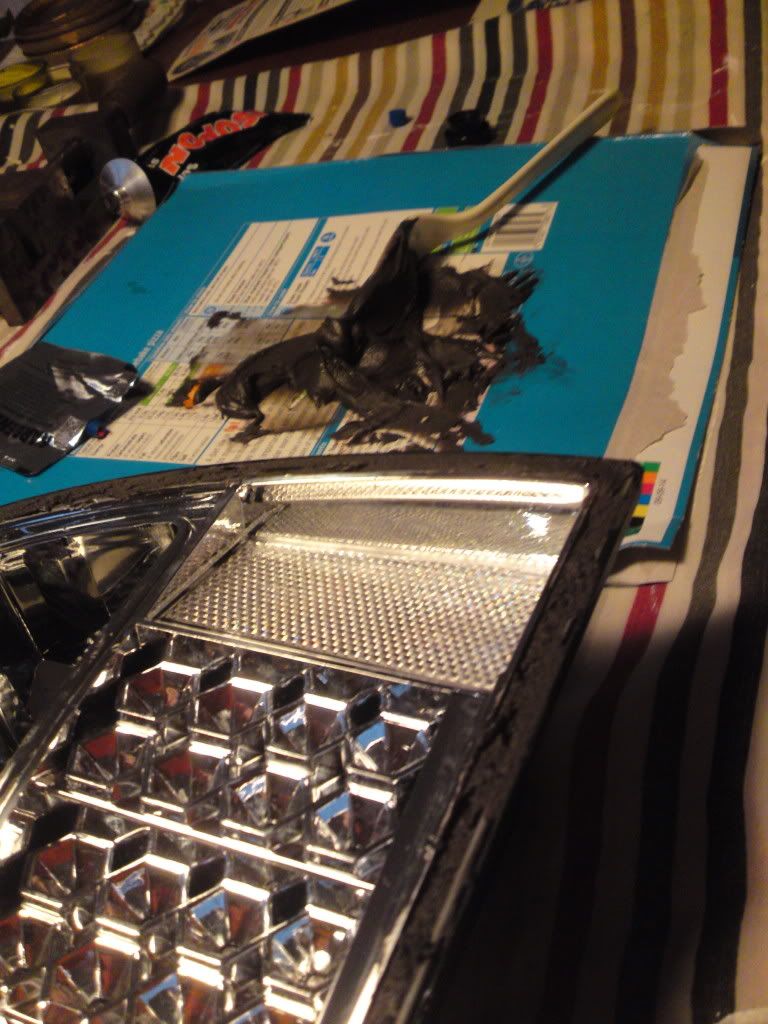
The next step is to grind the remaining plastic down as far as possible to give a snug fit on to the LED cluster. I would recommend that you test fit them on the car so that you get the best possible fit and make sure one side is not higher that the other. Glue them on with silicone or some other strong adhesive.
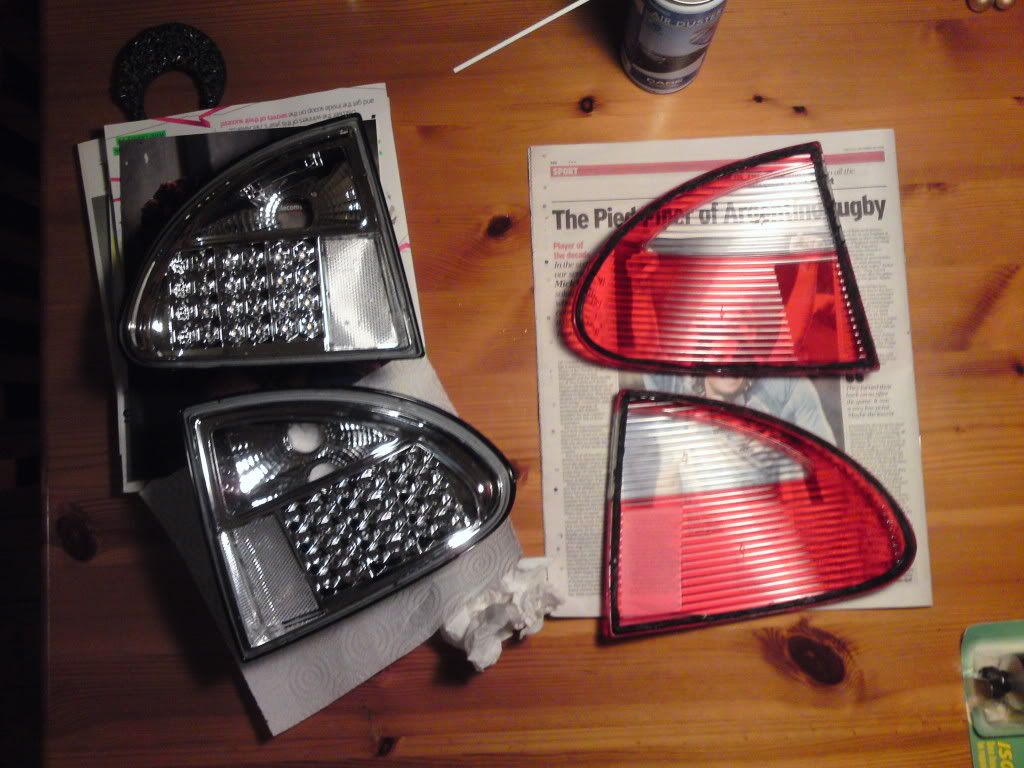
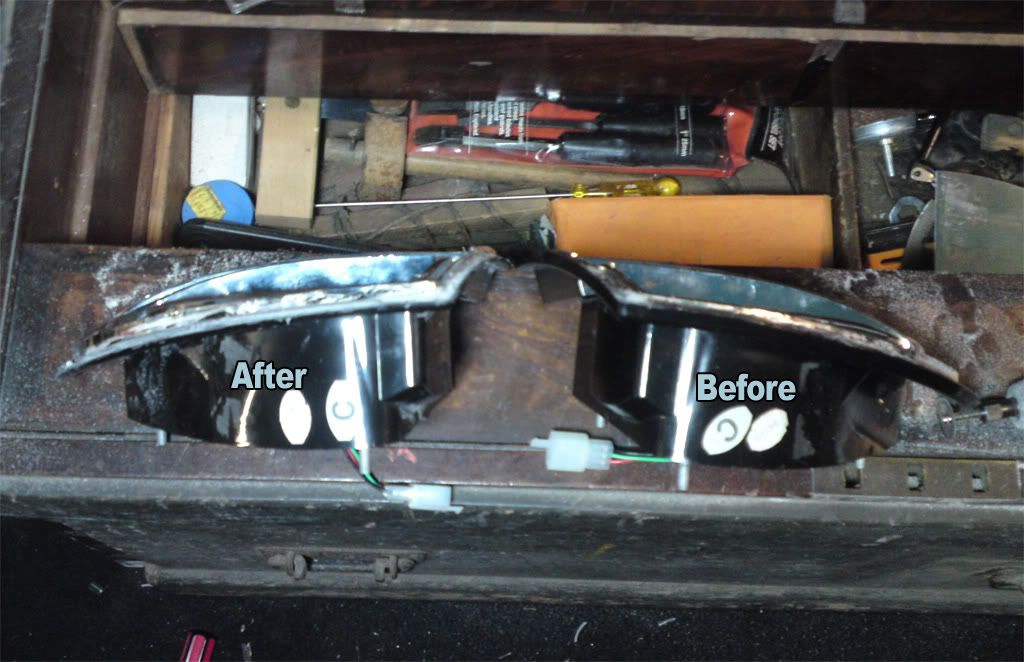
Here's a before and after:
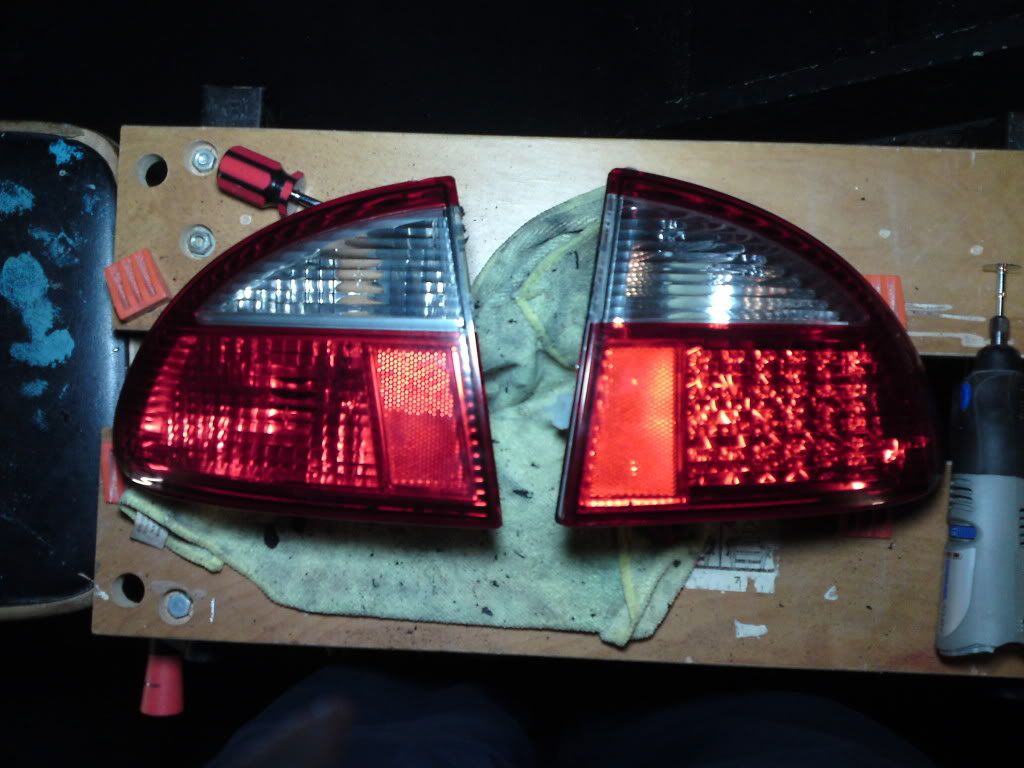
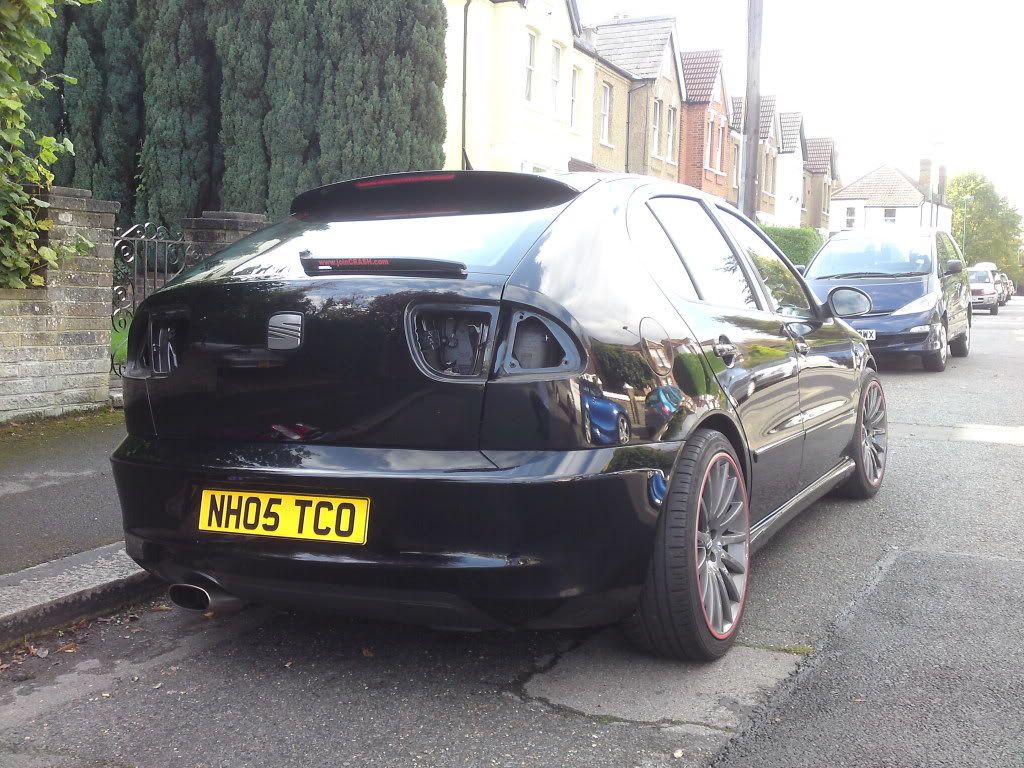
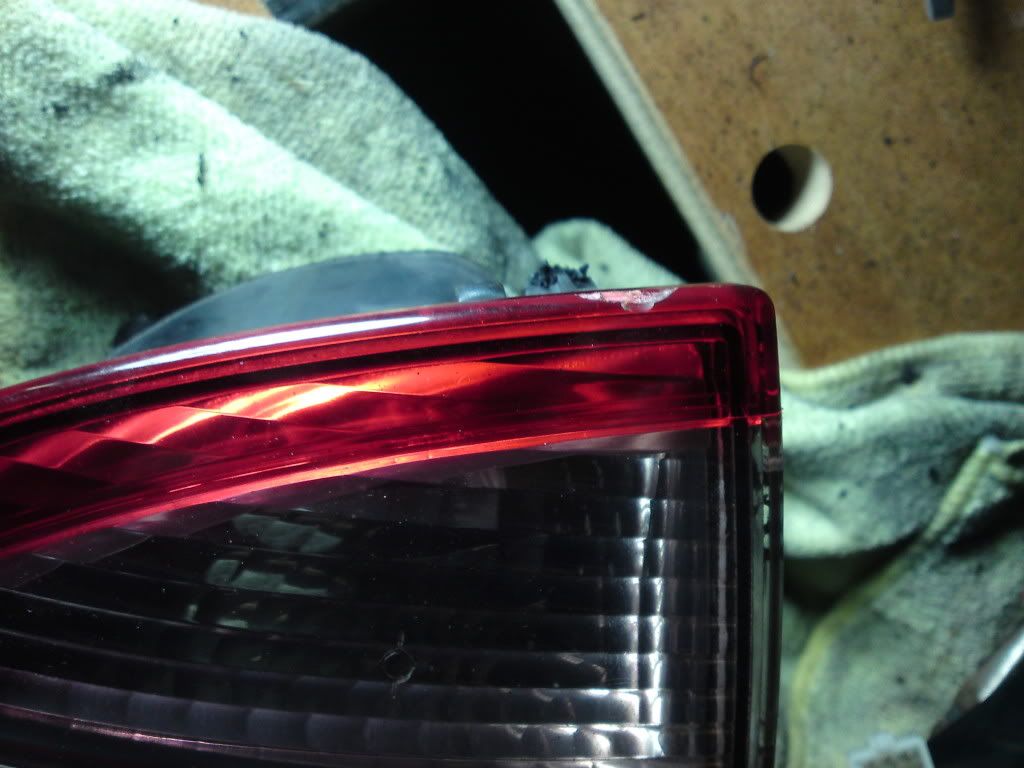
Unfortunately, I caught the top edge of the second lense when I was cutting it, and am now after a replacement. Here is a picture of what not to do:
I will update this thread once I've got a new nearside cluster and hacked it to bits.
Hopefully I won't need more than one!

To be honest, I was a bit disappointed when they showed up because they didn't look as OEM as I'd hoped. The crystal lenses are a bit lary for my tastes.

I sported them on the car for about a year before I decided that they were looking a bit too blingy.
This is when I decided to buy another set of stock lights and replace the lenses on the LED ones with the stock lenses. How hard could it be?
Here is a step by step guide showing what I have done so far and hopefully you can all learn from my mistakes if you are thinking of doing the same. I should warn you to wear gloves and goggles, I have cuts on my fingers from doing this and don't want to imagine what could have happened if I wasn't wearing my sunglasses when using the Dremel.
First, I removed the lights from the car and replaced them with the stock set I had lying around. I've kept them so that I can put it back to original spec if I ever feel the need to sell up or something.

Next, it was time for the fun part. Take the expensive LED lights and smash the crap out of them - I mean very carefully remove the lenses.

Once you've done this, pop them in the oven and leave them on about 90 degrees for about 4-5 minutes (I take no responisbility for your melted lights so keep an eye on them). This should loosen the adhesive on the lenses and allow you to pry the remaining bits of the lenses off the cluster.

Now it's time to destroy your nice new stock lights (thanks Phatchoonz1). I first tried putting them in the oven to see if I could just pry the lens off, but there was no way. I even made a big hole in the cluster so I could push out the lens, but they are too brittle and will just crack. This meant that I had to Dremel around the edge of the cluster to remove the lens.

The next step is to grind the remaining plastic down as far as possible to give a snug fit on to the LED cluster. I would recommend that you test fit them on the car so that you get the best possible fit and make sure one side is not higher that the other. Glue them on with silicone or some other strong adhesive.
Here's a before and after:

Unfortunately, I caught the top edge of the second lense when I was cutting it, and am now after a replacement. Here is a picture of what not to do:

I will update this thread once I've got a new nearside cluster and hacked it to bits.
Hopefully I won't need more than one!
Last edited:


