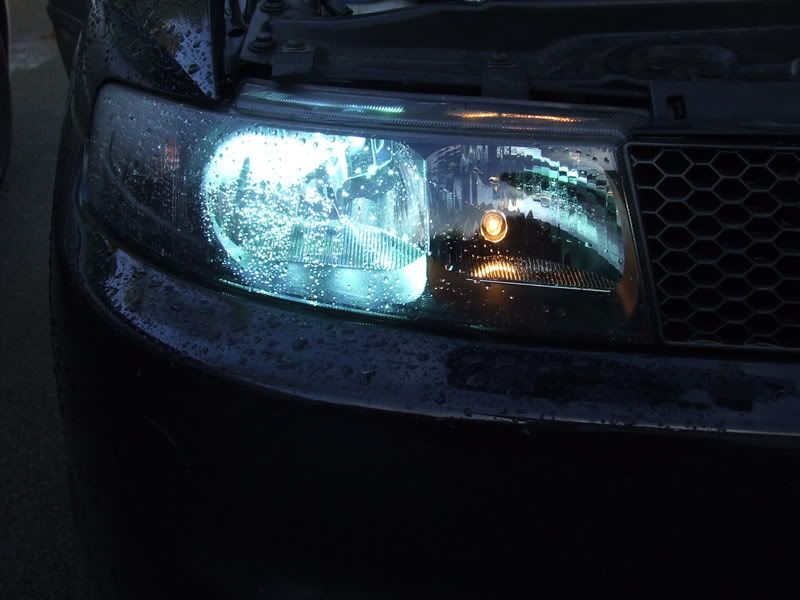
Ok everybody... as promised, here is my
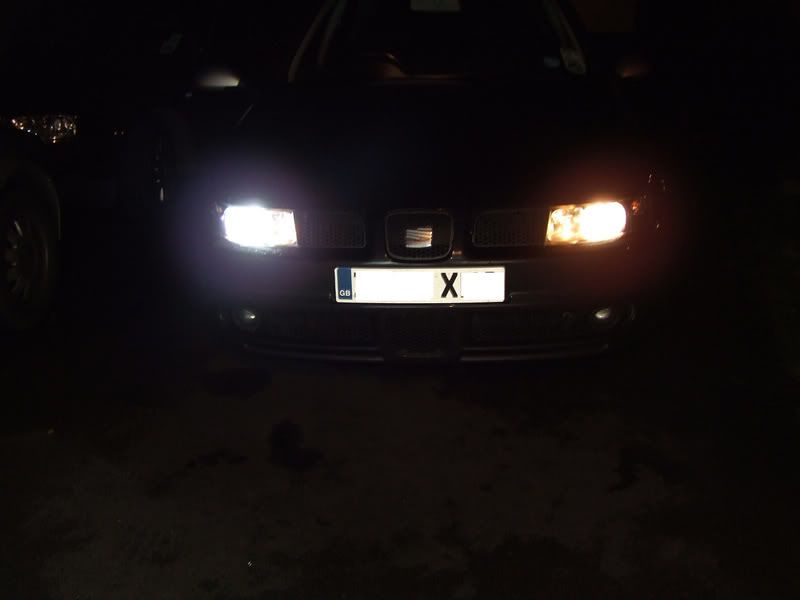
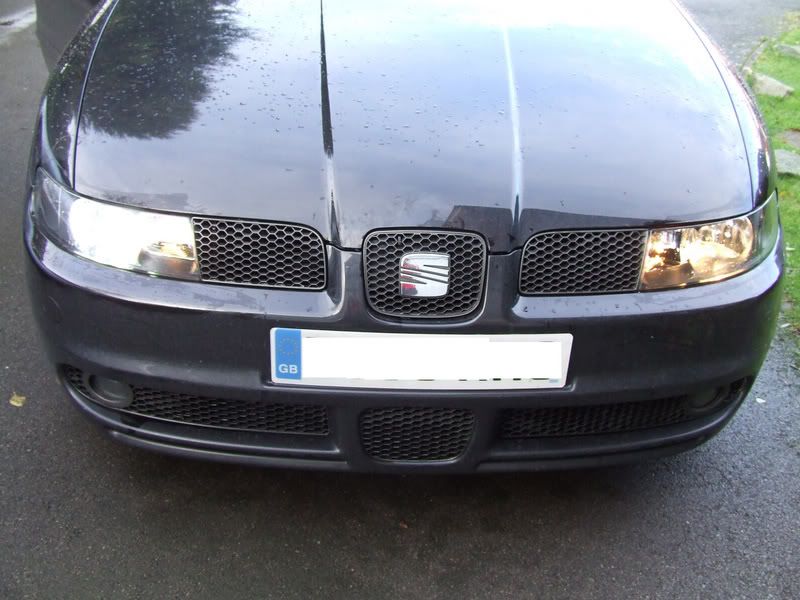
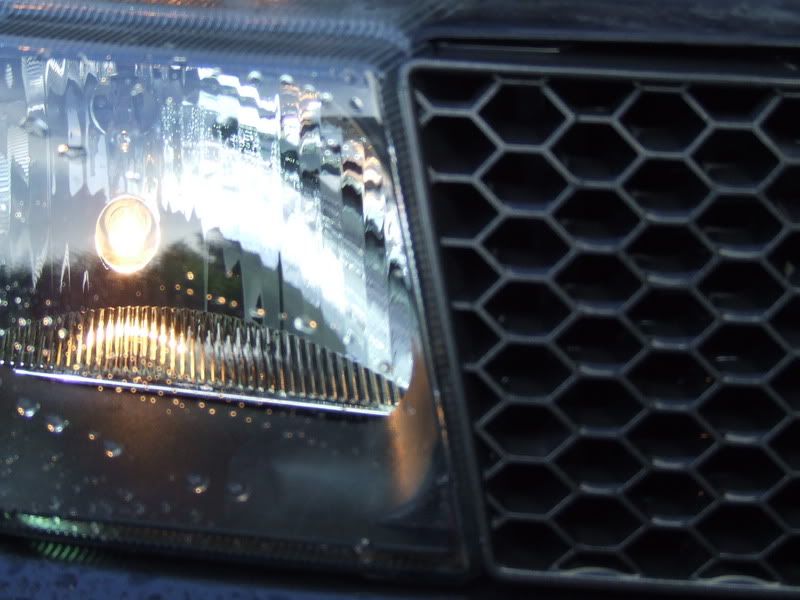
guide to fitting HID's. I completed this this morning and including fitting side lights, taking photos and notes and dodging the rain it took me an hour and a half. The longest part was cutting the holes in the back of the light covers, this took longer than every other step (not helped by the battery on my Dremmel dying....)
Please note: This
guide is based around the kit I bought from MyDepots.com and therefore you may need to adapt the instructions and use common sense if some parts are different in the kit you purchase.
Ok, so here goes....
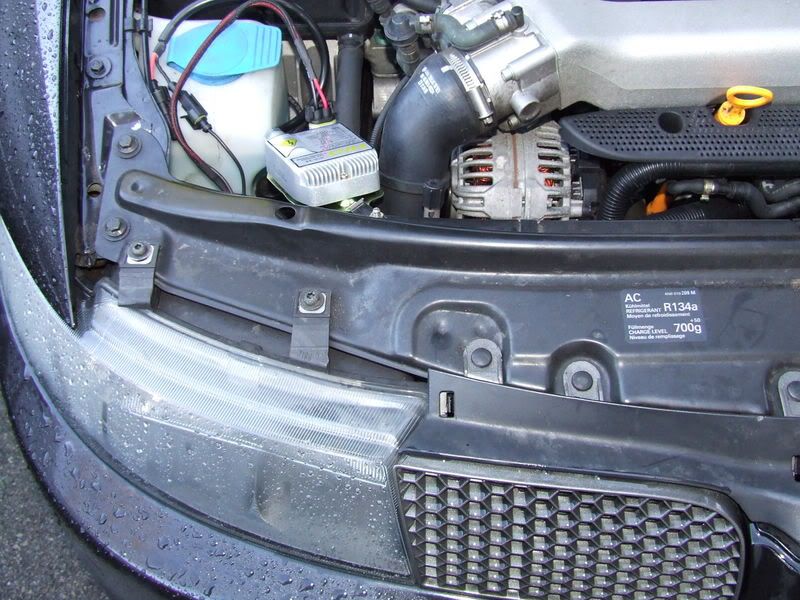
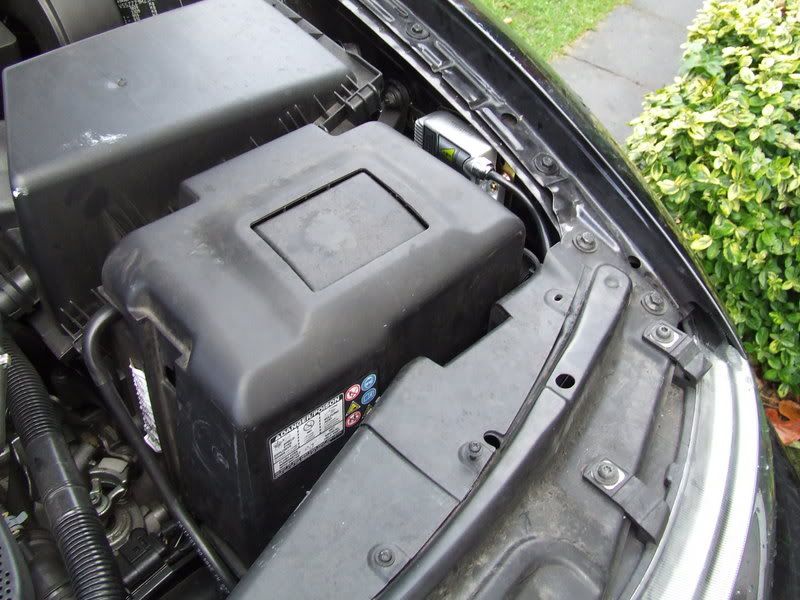
Firstly, you need to remove the light covers from the back of the headlights. On the passenger side you need to remove another plastic cover first, by unscrewing two screws as seen below:
Then, when you have access to the back of the lights, simply pull aside each of the two silver metal bars, as seen below:
Once the covers are off you need to unplug and remove the wiring attached to the back of the bulb and then remove the bulb itself.
Make sure you unclip the wiring
before the metal clip, or else things get tricky.
To remove the metal clip, you need to push it in towards the light and to the side at the same time to unclip it, as seen below:
Once the bulbs have been removed, you can start to think about the wiring of the HID kit. The pictures below show what plugs into where. As noted above, this is based on the kit I bought and other kits my vary. Refer to your instructions for specific information if you are unsure.
In the first picture, the top two circles are fairly obvious, they only physically fit into one place in one direction. The wiring in the bottom circle plugs into the cars bulb wiring that you removed earlier (see black connection in picture three).
The last picture shows the ballasts and how the wiring from the HID bulbs connect. Again this can only go into one place in one direction, so nice and straight forward.
The next step is the part that took me the longest - drilling the holes in the light cover you removed earlier.
Firstly, hold the cover up to the back of the headlights so you can see roughly where you should be aiming your hole for.
Secondly, I found it easier to drill a decent sized hole in the back of the cover and then use a Dremmel to enlarge the hole. You could use a file if you wish, or a circular bit on a drill. It's up to you, whatever you feel most comfortable doing.
Please note: Take your time at this stage. You don't want to make the hole too big, as you wont get a good, secure fit with the rubber grommet. So when you get to the stage where you think the hole is nearly big enough, check the fitment and if necessary enlarge the hole. It doesn't have to be a perfect smooth circle, but this does make life easier. The picture below was taken part of the way through cutting the hole, hence it's not perfect yet:
Once the hole is finished you can push the wiring through and attach the grommet.
Please note: Don't forget to remove the plastic container the bulb is in
before pushing the bulb through for the final time. The picture below was taking when test fitting, so still has the container in place.


