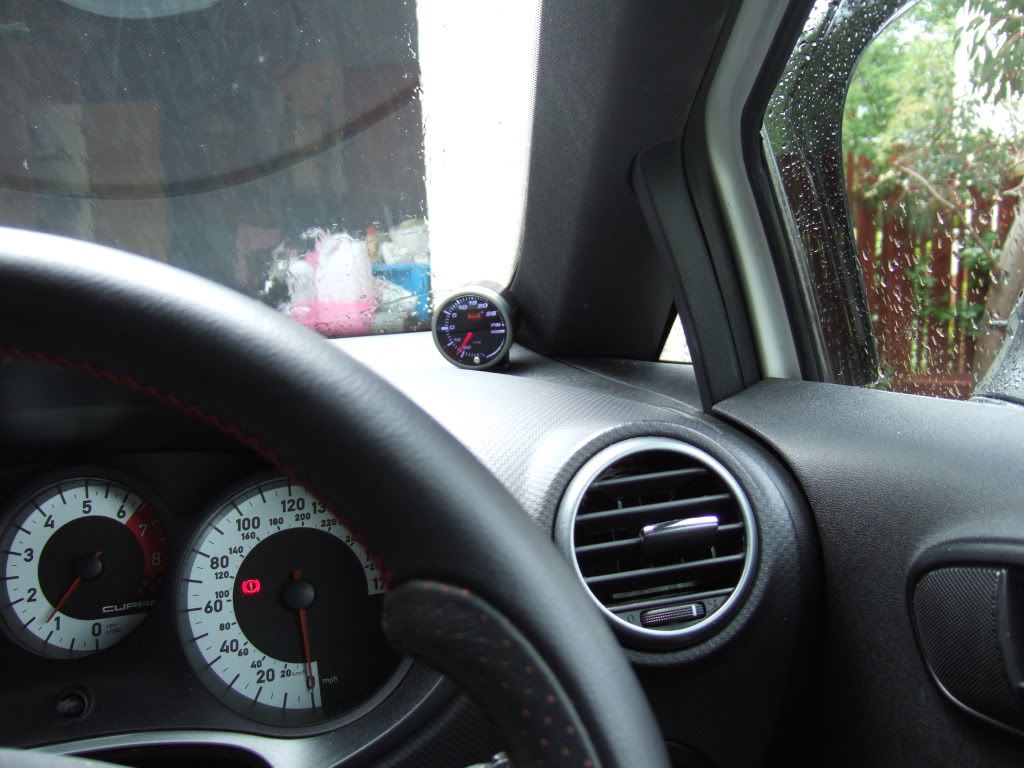
Thought I would write up my recent experience to help anyone else thinking about fitting a boost gauge.
Parts Used:
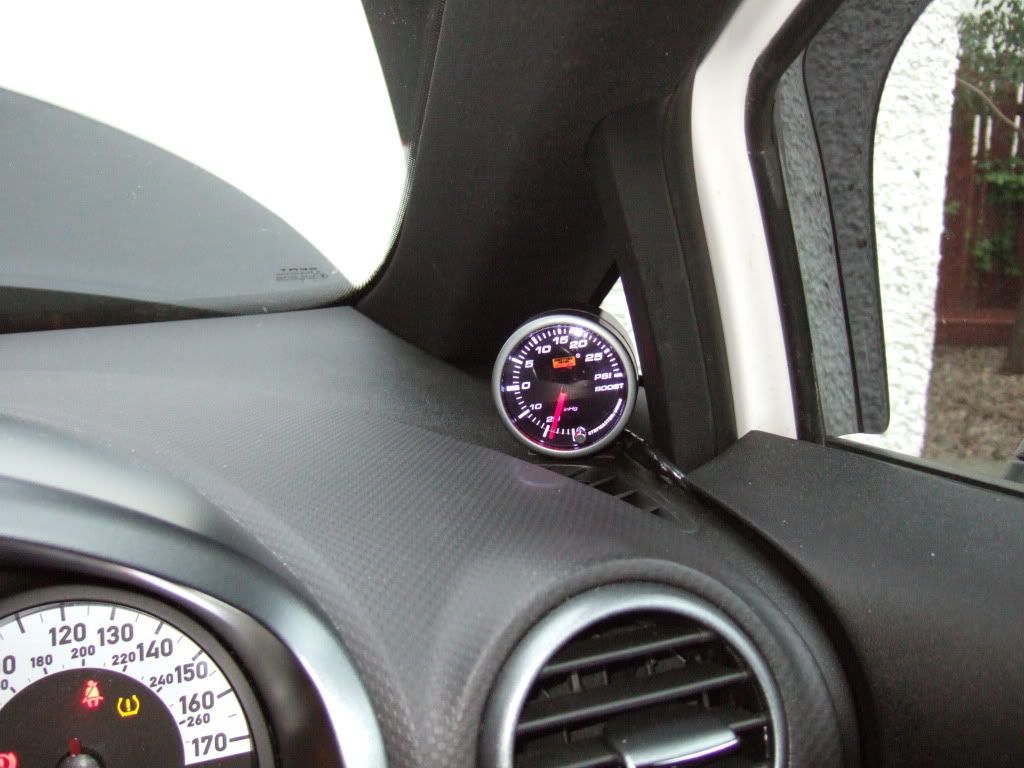
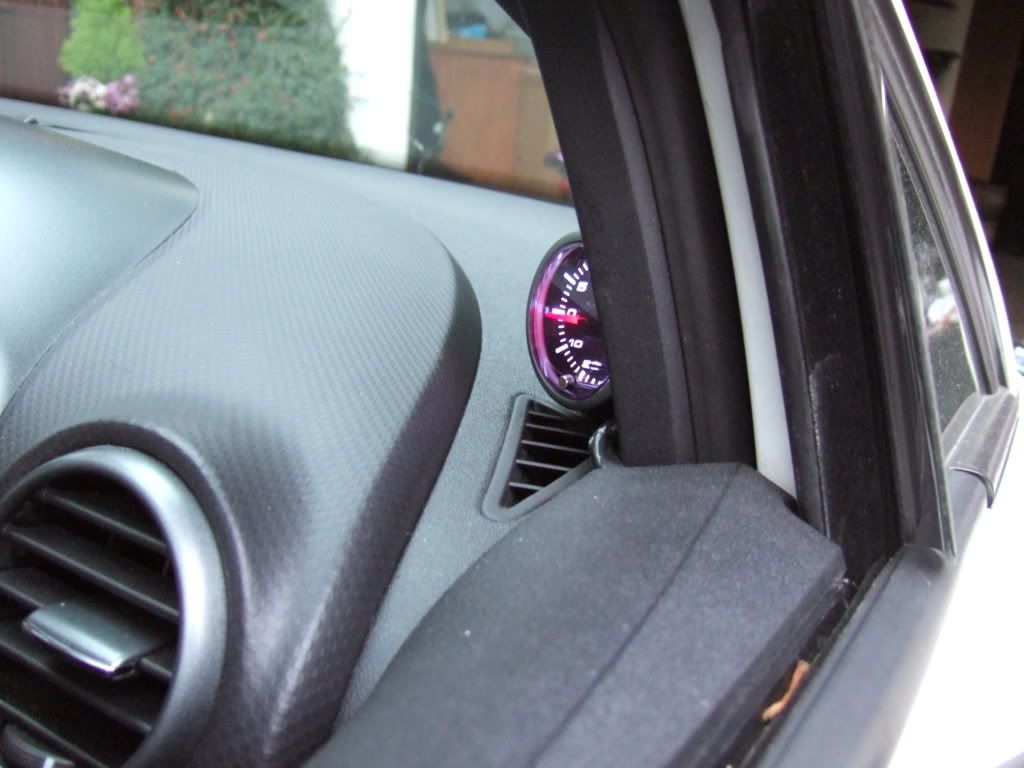
Boost Gauge - I used a Stepper Motor Electronic Meter with white backlight

http://www.rspec.co.uk/index.php?ma...id=325&zenid=d09be2b4327b62b47f46a73fafe67ab0
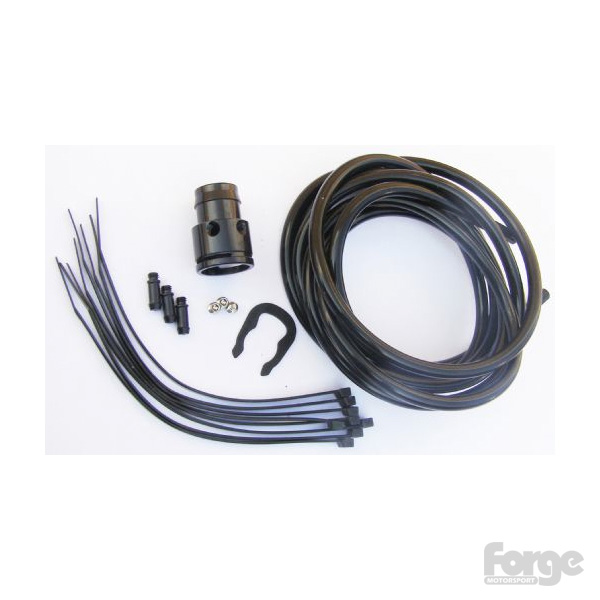
Boost gauge fitting kit - from Forge FMBGFK2
http://www.forgemotorsport.co.uk/Bo..._VW_and_Audi_20_Litre_FSiT--product--915.html
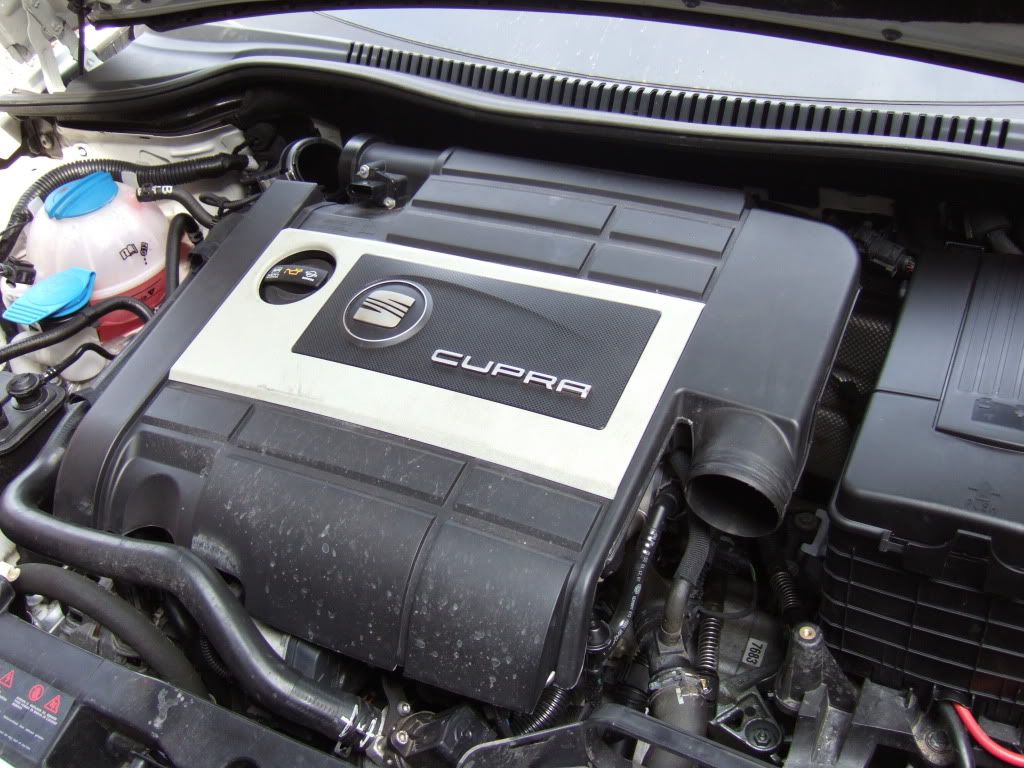
First (and most challenging) part is to remove the engine cover. With help from Cupra R and Knight Rider I eventually got it removed.
Remove the cold air feed front right - squeeze the metal clip together and slide hose off (I used large pliers).
Remove maf sensor plug from top left of engine cover - carefully use flat head screwdriver to release the clip. Ease the plastic lever down gently and pull the plug off (being careful not to snap any plastic on the plug)
Remove the turbo hose top left - push the metal clip in the middle and pull the end of the clip free - there are two of these.
Now for the hard part!
Remove the Engine Cover
The cover is held on by 4 rubber 'washers' that slip over 4 cone like stumps with a ridge on top. These can get nearly welded on with the dirt and heat. The cover itself is quite thin in places (left hand side for example) and is easy to crack if you pull too hard.
You can only see one of these connectors when the cover is on - left hand side about a third way up from the front. If you look in the side you will be able to see it - Spray some WD40 around it to loosen it up a bit.
From then on its a lot of firm pulling and rocking to loosen the other three. Some suggest pulling up from the rear first but I eventually released the front left (after spraying) by pulling up and forwards towards the front of the car. Once it released the right hand one came loose and a little more rocking and pulling released the rear!
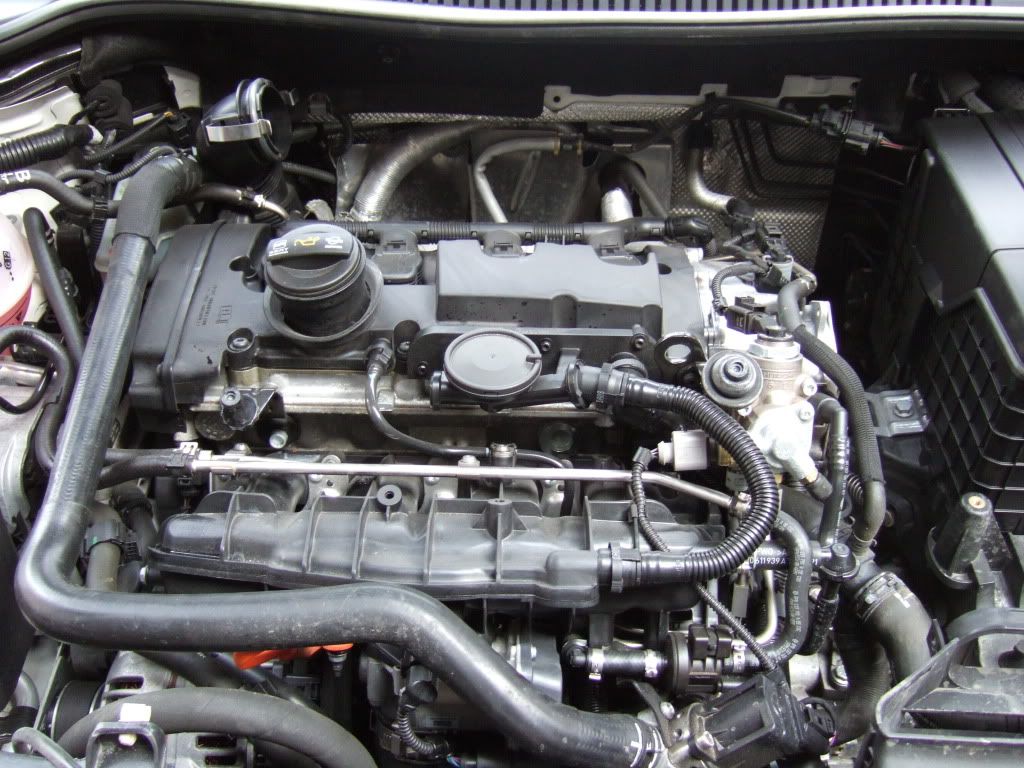
Fit Boost Gauge Tap
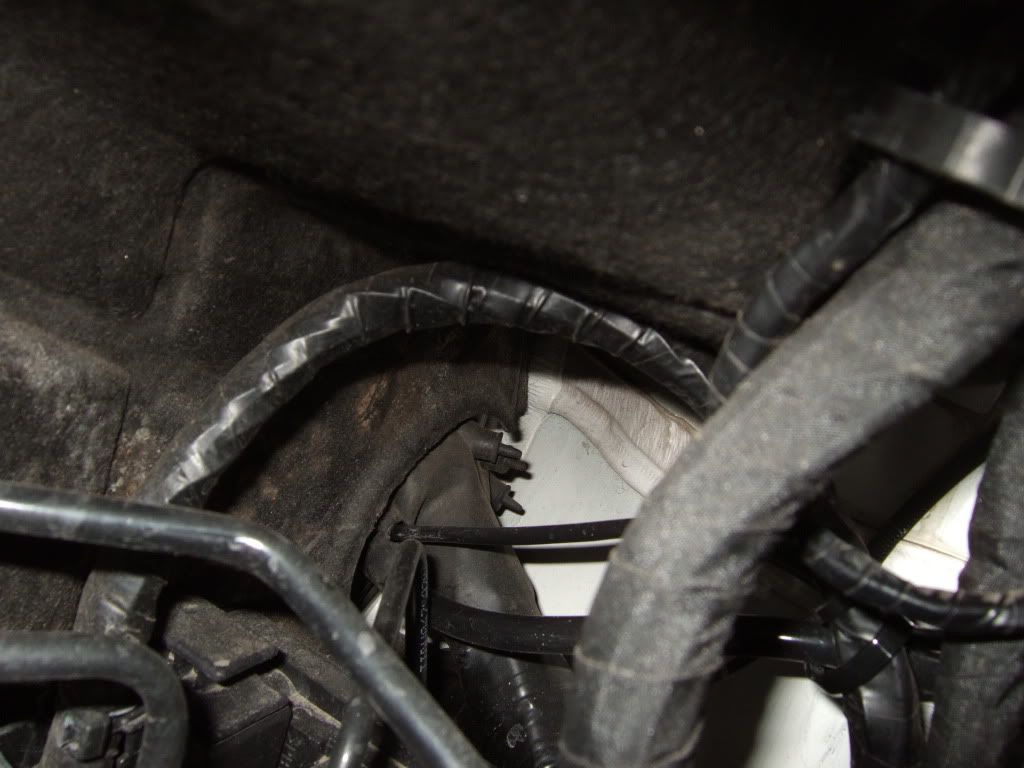
Now its time to fit the boost gauge kit to tap into the pipe from the pcv. The correct pipe is indicated by the point of the screw driver.
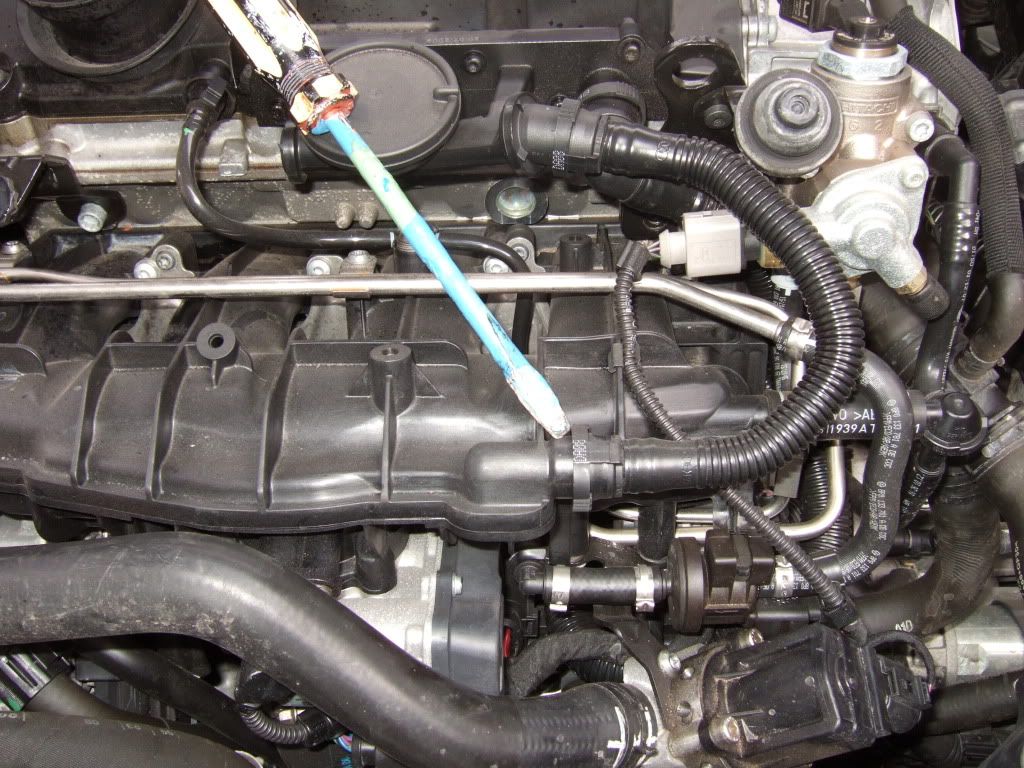
Squeeze the clip together an pull to the right to remove the hose.
Insert the boost gauge tap from the kit (just push in until it clicks and slide on the horse shoe clip)
Re-attach the hose to the other end of the tap - make sure it clicks into place.
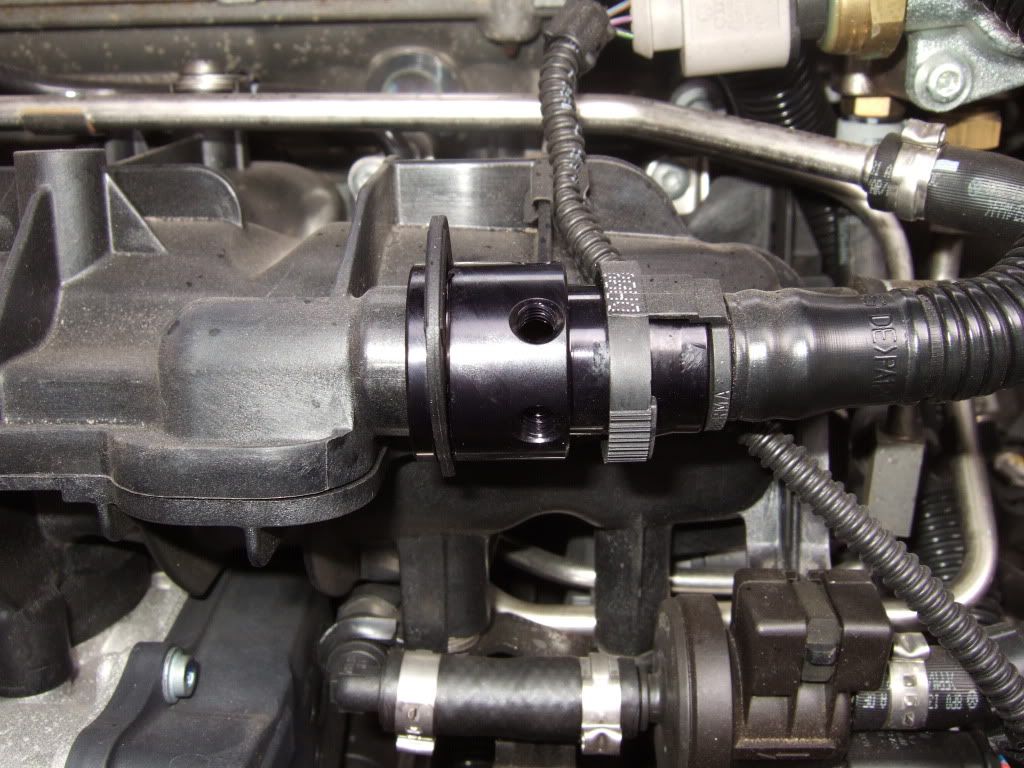
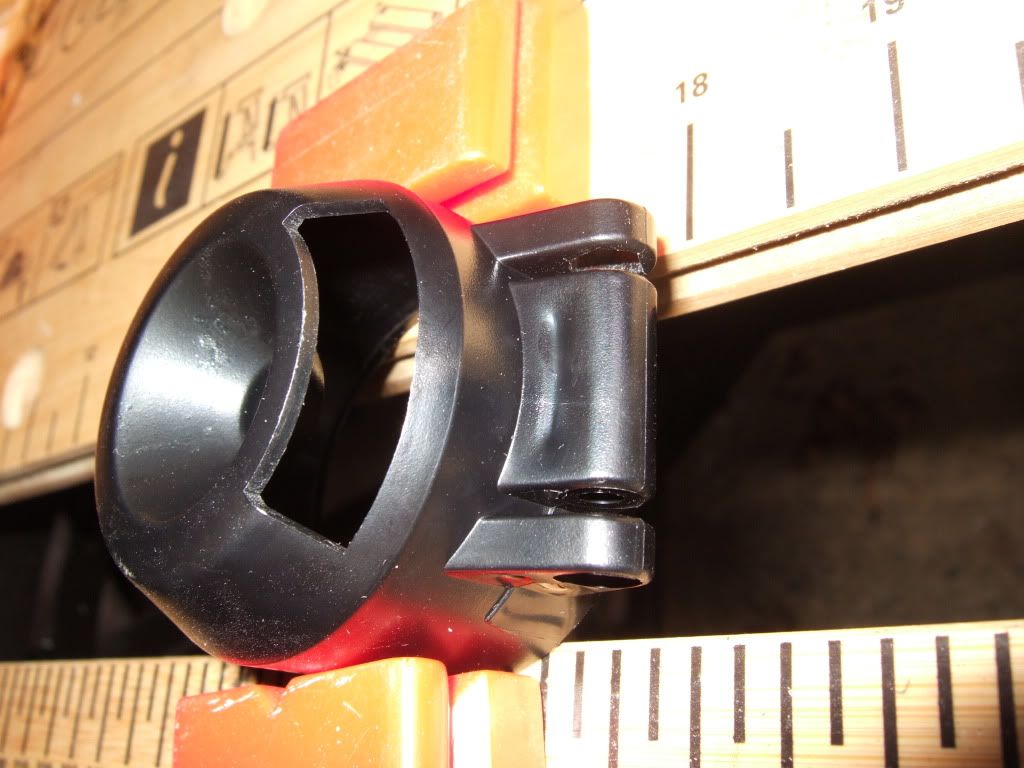
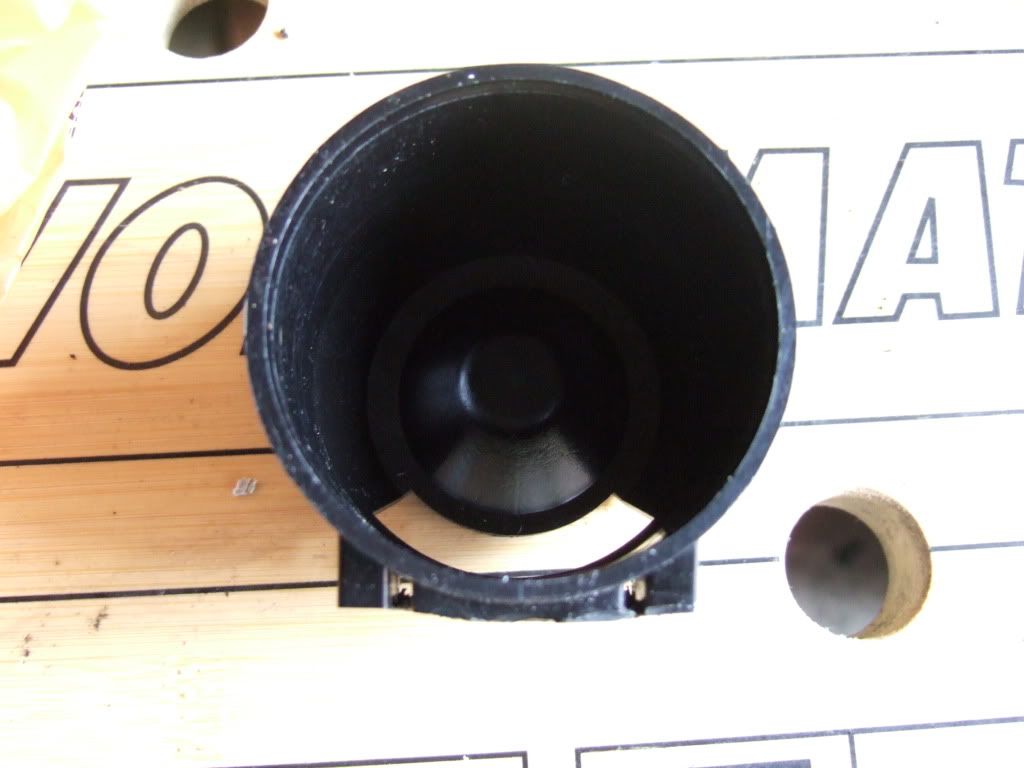
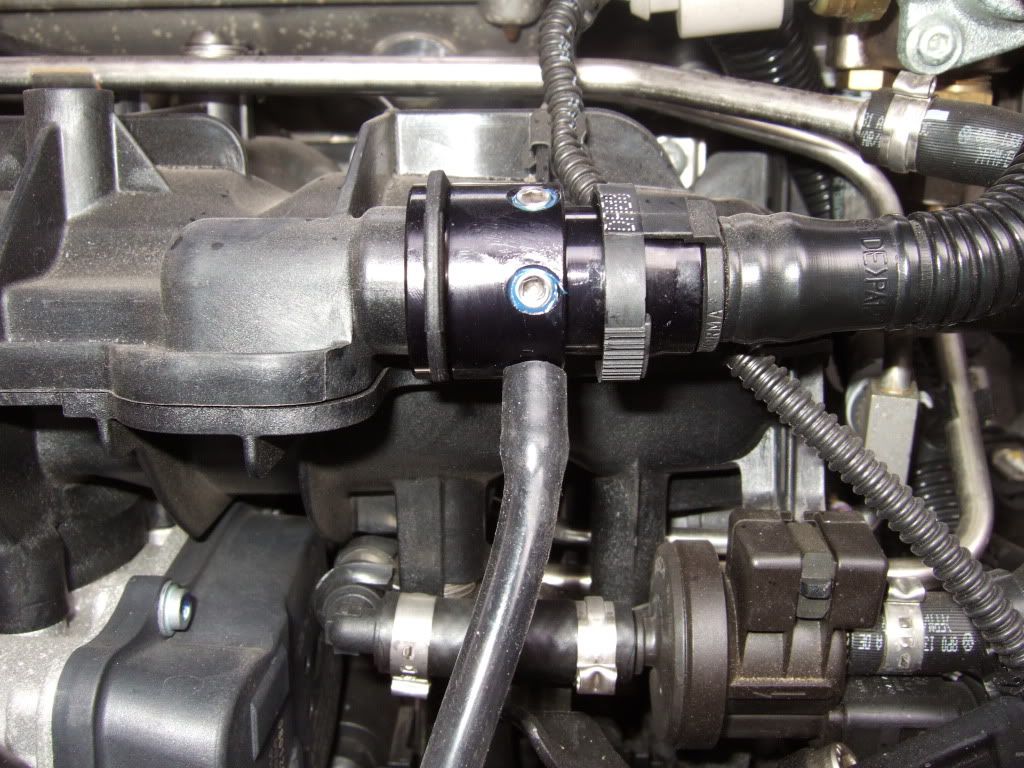
You can connect up to 3 hoses but I only needed one so I fitted two blanking plugs and one vacuum nipple - smear the threads with Threadlock (from Halfords) to prevent them vibrating loose and just screw in.
Picture shows the hose attached but do this after the next stage.
Parts Used:
Boost Gauge - I used a Stepper Motor Electronic Meter with white backlight
http://www.rspec.co.uk/index.php?ma...id=325&zenid=d09be2b4327b62b47f46a73fafe67ab0
Boost gauge fitting kit - from Forge FMBGFK2
http://www.forgemotorsport.co.uk/Bo..._VW_and_Audi_20_Litre_FSiT--product--915.html
First (and most challenging) part is to remove the engine cover. With help from Cupra R and Knight Rider I eventually got it removed.
Remove the cold air feed front right - squeeze the metal clip together and slide hose off (I used large pliers).
Remove maf sensor plug from top left of engine cover - carefully use flat head screwdriver to release the clip. Ease the plastic lever down gently and pull the plug off (being careful not to snap any plastic on the plug)
Remove the turbo hose top left - push the metal clip in the middle and pull the end of the clip free - there are two of these.
Now for the hard part!
Remove the Engine Cover
The cover is held on by 4 rubber 'washers' that slip over 4 cone like stumps with a ridge on top. These can get nearly welded on with the dirt and heat. The cover itself is quite thin in places (left hand side for example) and is easy to crack if you pull too hard.
You can only see one of these connectors when the cover is on - left hand side about a third way up from the front. If you look in the side you will be able to see it - Spray some WD40 around it to loosen it up a bit.
From then on its a lot of firm pulling and rocking to loosen the other three. Some suggest pulling up from the rear first but I eventually released the front left (after spraying) by pulling up and forwards towards the front of the car. Once it released the right hand one came loose and a little more rocking and pulling released the rear!
Fit Boost Gauge Tap
Now its time to fit the boost gauge kit to tap into the pipe from the pcv. The correct pipe is indicated by the point of the screw driver.
Squeeze the clip together an pull to the right to remove the hose.
Insert the boost gauge tap from the kit (just push in until it clicks and slide on the horse shoe clip)
Re-attach the hose to the other end of the tap - make sure it clicks into place.
You can connect up to 3 hoses but I only needed one so I fitted two blanking plugs and one vacuum nipple - smear the threads with Threadlock (from Halfords) to prevent them vibrating loose and just screw in.
Picture shows the hose attached but do this after the next stage.
Last edited: