• Guest would you be interested in CUPRA or SEAT valve caps? let us know in the poll

  • Welcome to our new sponsor Lecatona, a brand dedicated to enhancing performance for VAG group sports cars, including SEAT, Audi, Volkswagen and Škoda. Specializing in High Pressure Fuel Pump (HPFP) upgrades.
Jun 17, 2007
1,032
0
Aberdeenshire
Time for another update -

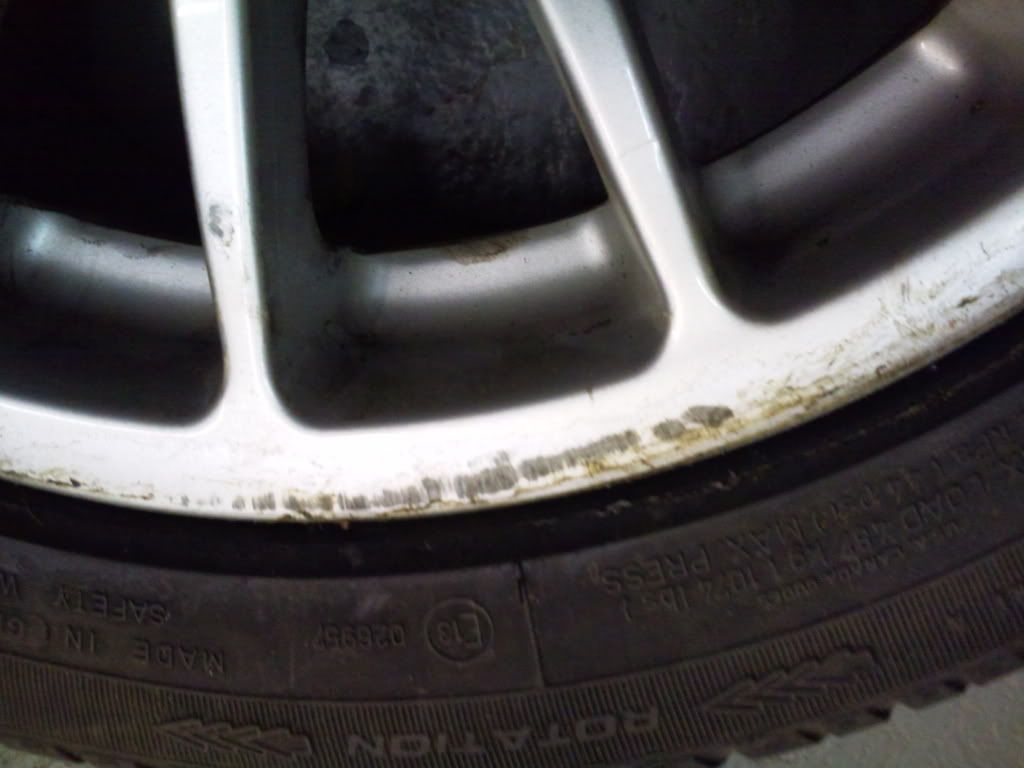
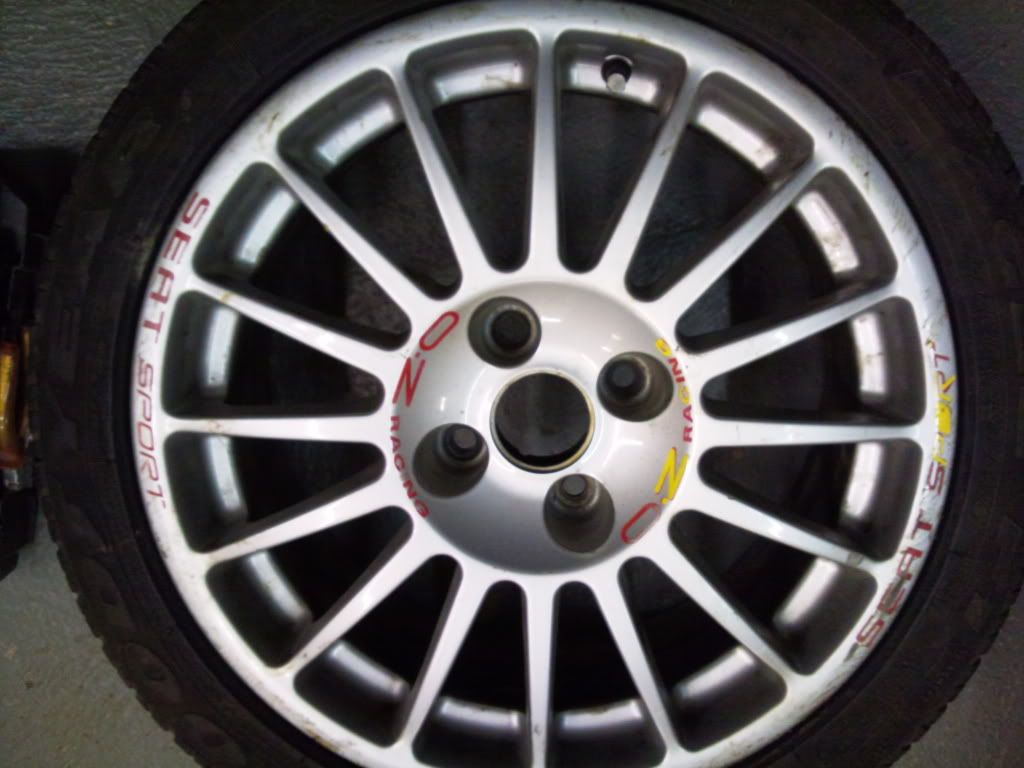
I needed my wheels refurbed but couldn't get a straight answer from powdercoating companys if they could fit my stickers during the process for the super t's.

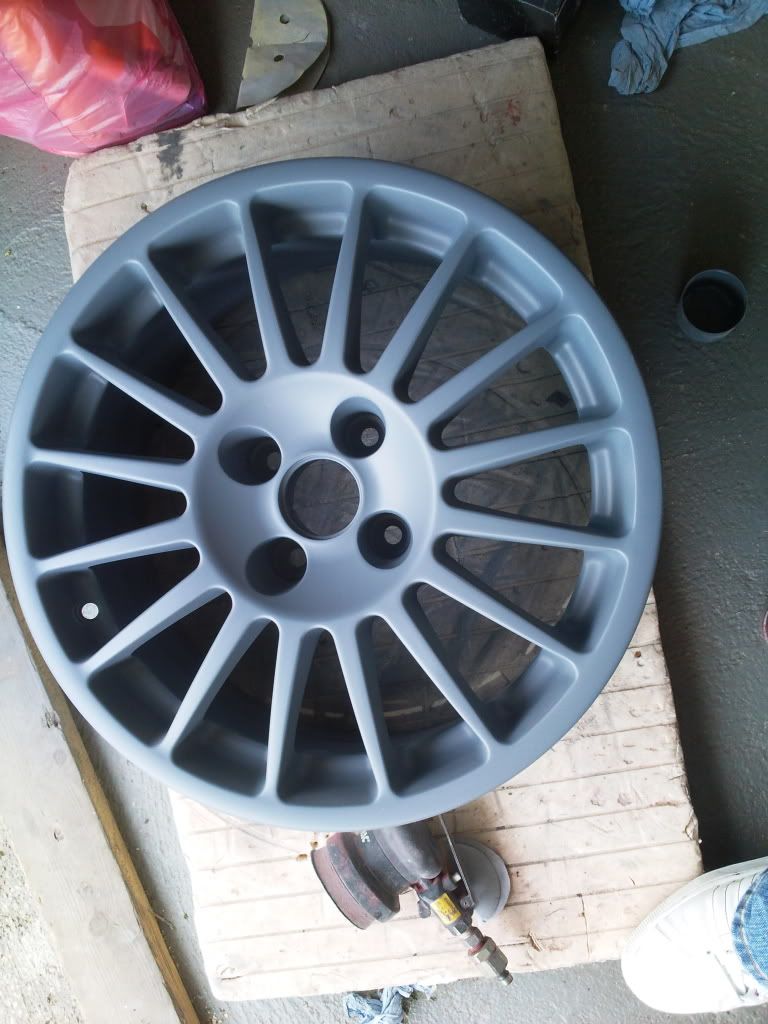
So father had a bright idea and thought hey i have friends with the tools ie a sandblaster a spray booth, though well its been years since he has painted properly in good conditions, will let the pictures do the talking. I thought well with it being an R and having a 5th spare alloy no harm in letting him do it so off we went to work well i sanded.lol.

Some before pictures, with the idea of yellow stickers.
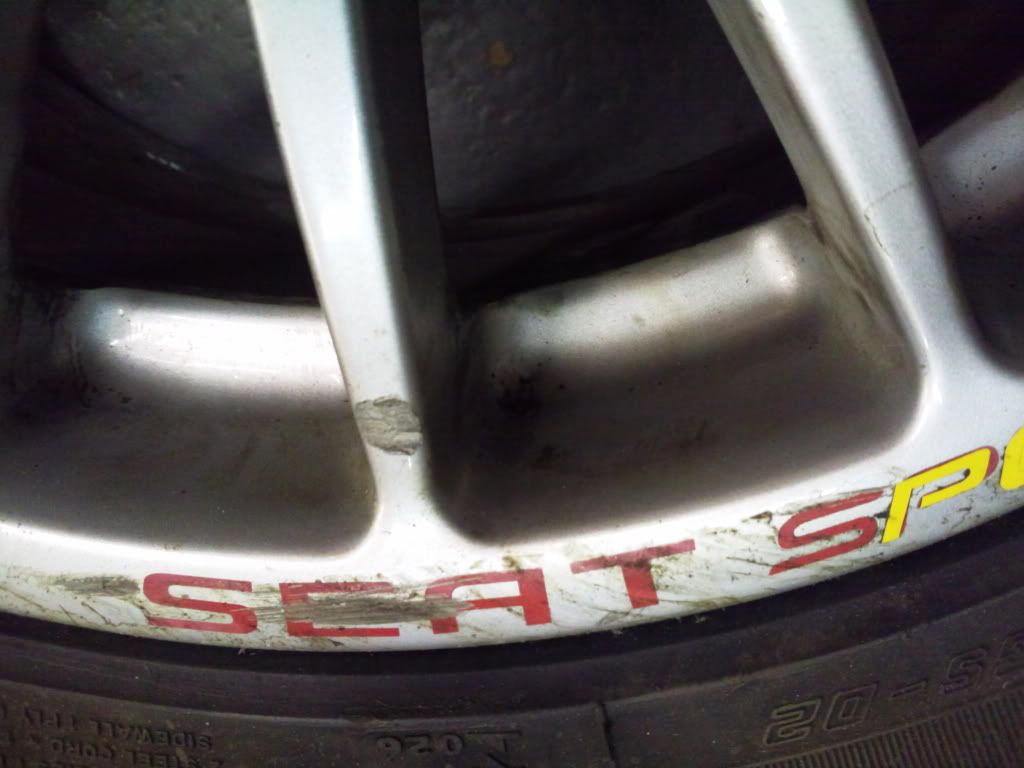
Photo0094.jpg

Photo0095.jpg

Photo0096.jpg


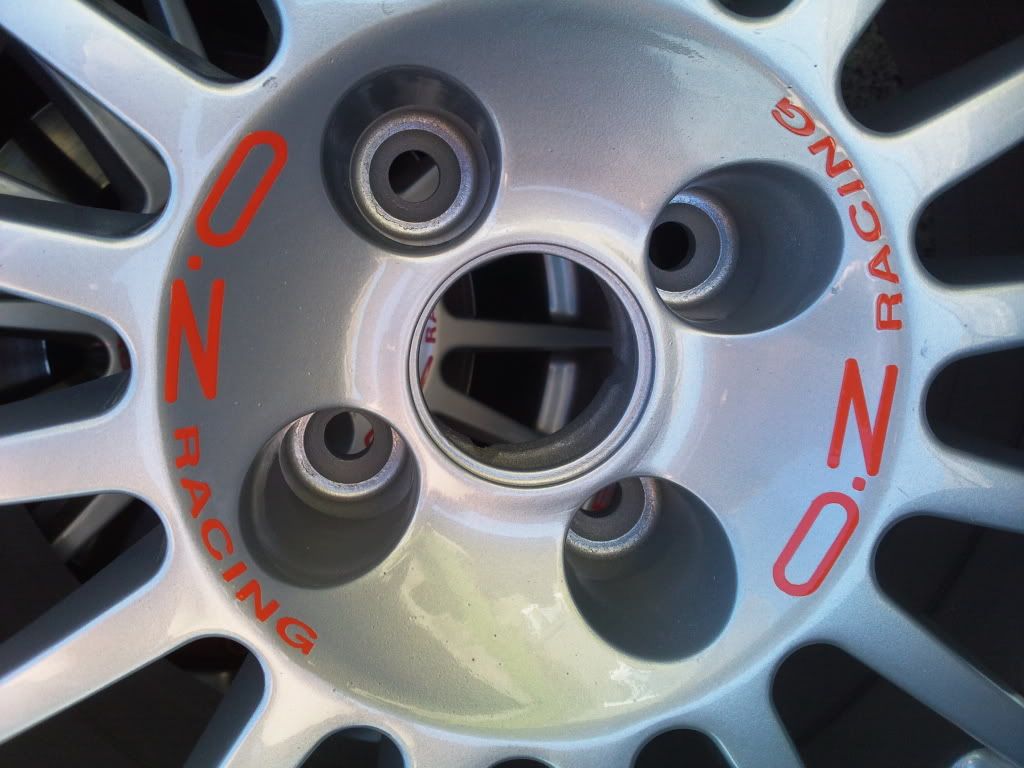
I don't have any pictures of the prep work with the bead blasting, sanding, repair work some nasty scrapes on the wheels (not by me!) a have some pictures of the priming on the inside but can’t find them, so you will have to do with the finished results -
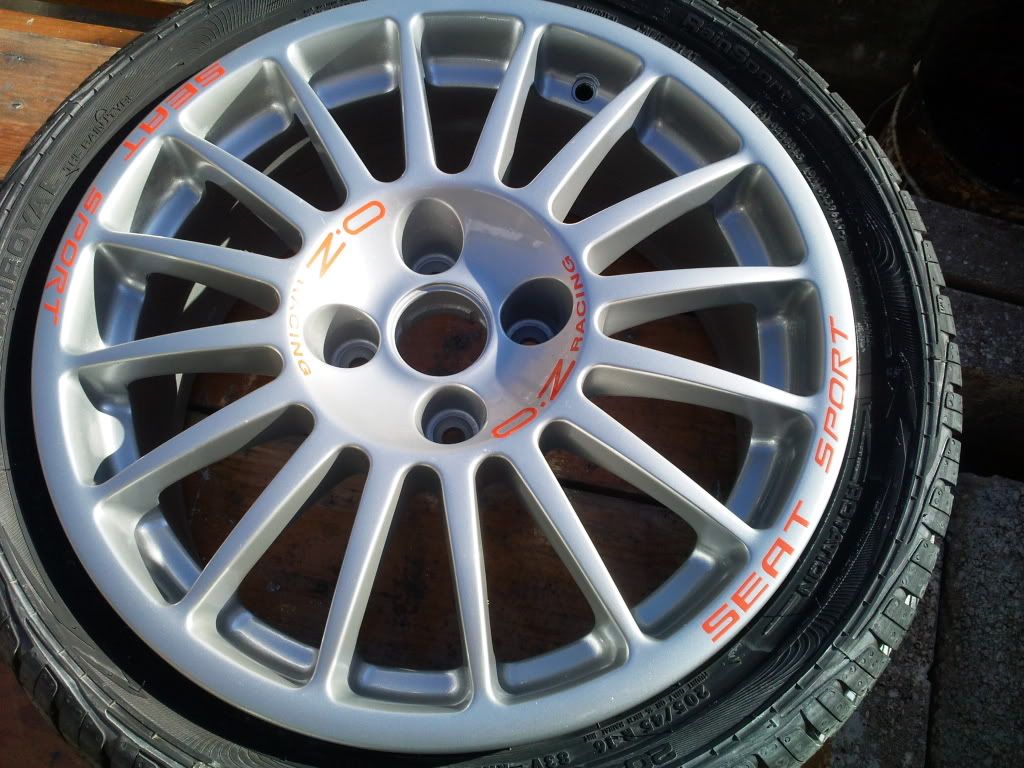
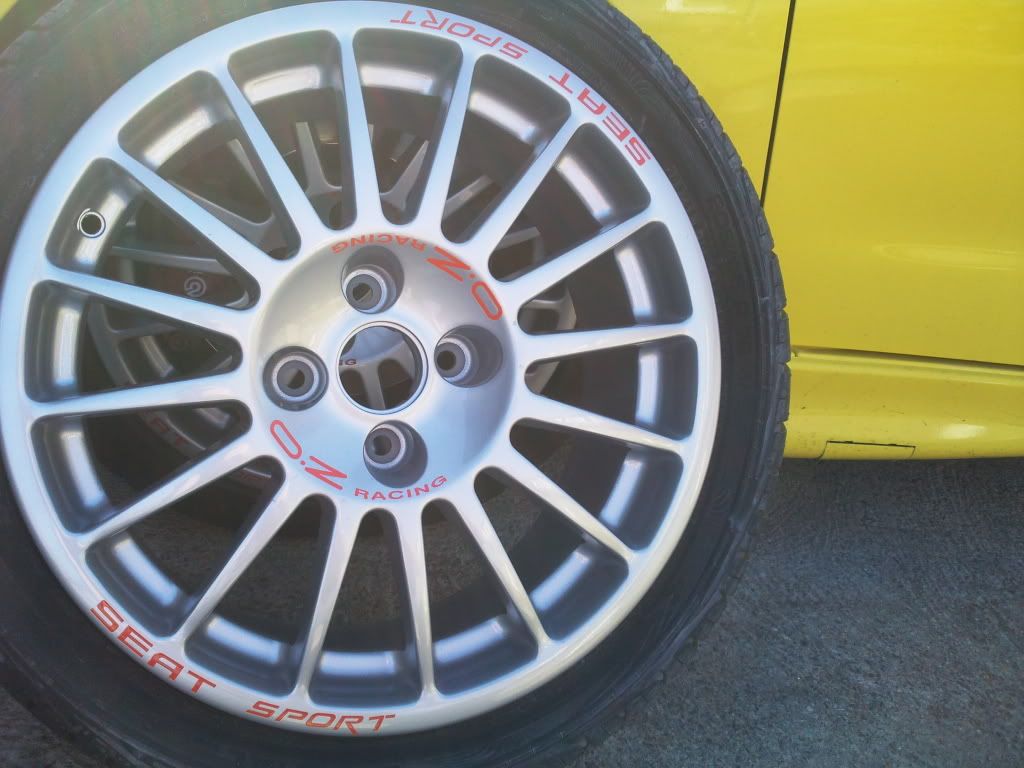
Photo0140.jpg

Photo0142.jpg

Photo0143.jpg

Father says about 8 coats of lacquer! make sure the stickers don't peel off.
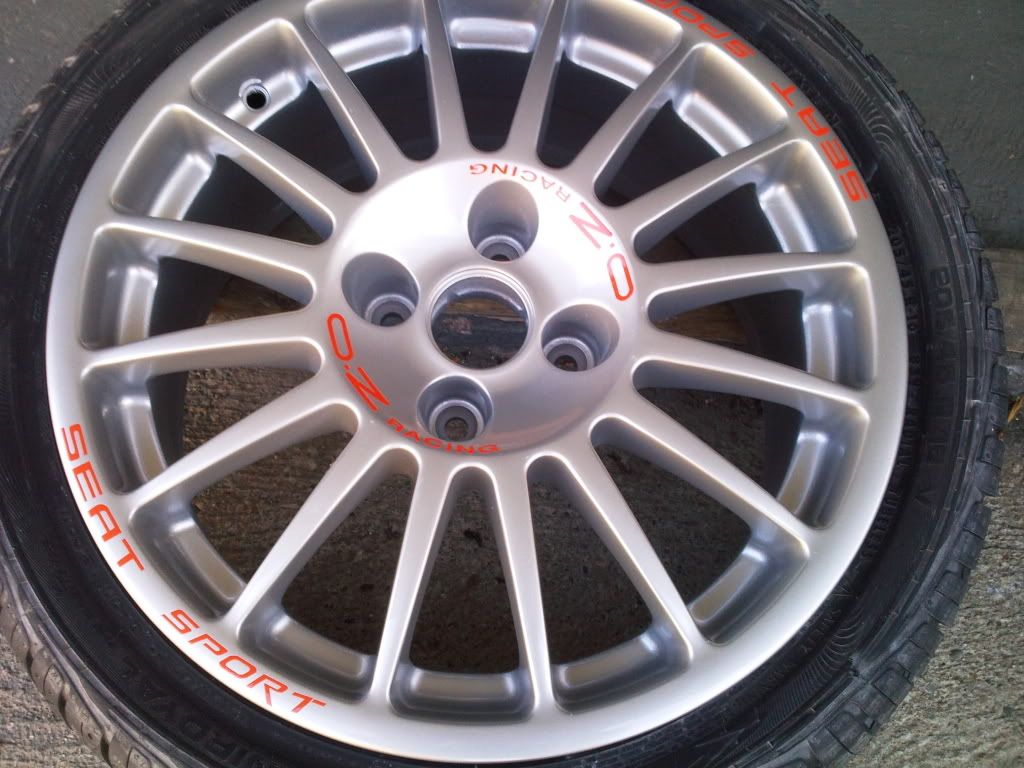
Photo0144.jpg


He just got let loose with the shade of silver didn't even get to see it till it was on the wheel and finished. Plenty of etching primer coats of silver and lots of lacquer, i think my father has made an excellent job:clap: So hoping to get 18's tomorrow to run about on so that the rest of the wheels can be done,

ps the wheels still need to be polished and sealed,
 

Riko

MURDER WAGON
Jun 10, 2007
1,481
0
Milton Keynes
They look fantastic Will! My T's are off at the mo so I need to refurb mine with the seat sport decals. Do you know what was used to fill in the scrapes etc?
 

OliMonty

Mk 3 Ibiza Cupra
Mar 13, 2007
70
0
Nice one Will, look fantastic. Just got mine resprayed in white with the new decals over the top and lacquer over the top. In terms of 'sealing' the wheel, what you going to use? just normal car wax or a specalist wax for wheels (had a look in halfrauds only to find brake dust repellent?!)...
 
Jun 17, 2007
1,032
0
Aberdeenshire
They look fantastic Will! My T's are off at the mo so I need to refurb mine with the seat sport decals. Do you know what was used to fill in the scrapes etc?

To be honest no I don't know will ask my dad when he gets home, really good job he has made though.

Looking perfect the Wilz, dad played a stormer.

Whats next?

He sure has, so he certainly has the contract to do the other 4 wheels,

Emm not a lot really money spending is going to stop for a while, as going to Florida in july for two weeks so need to save for that,

But since you have asked:)

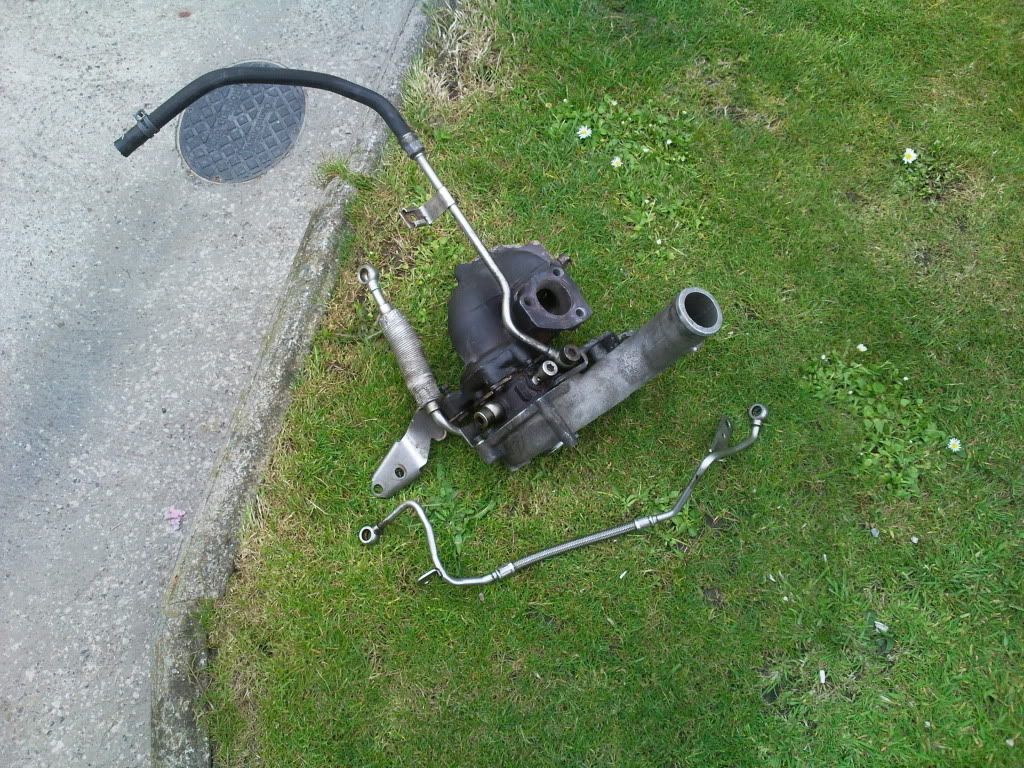
Before then hopefully a 3" alloy tip which i am in the process of making just waiting on some silicone hoses for the dv,n75, a £" reducer to 2.5 for going to the turbo and silicone joiners for either side of the maf going black for the stealth look should be here soon. Make my engine bay fresher with some shiny bits and also plumb in my catch tank.

After holiday it will be the big things like fmic and hybrid[B)]

Nice one Will, look fantastic. Just got mine resprayed in white with the new decals over the top and lacquer over the top. In terms of 'sealing' the wheel, what you going to use? just normal car wax or a specalist wax for wheels (had a look in halfrauds only to find brake dust repellent?!)...

Exactly how mine were done, the decals look good eh?

Poorboys wheel sealent, the mutz nutz for sealing wheels in my opinion.
 
Jun 17, 2007
1,032
0
Aberdeenshire
Time for another wee update,

Finally got round to getting the catch tank plumbed in, process as follows thanks to Bill (ibiza cupra) -


PCV valve removed, the block breather which fed it is joined by the rocker cover vent with a T piece and then feeds the breather/catch tank. The vacuum port off the manifold is then blocked. A much easier way of understanding the threads on here and a much neater install with less hoses etc. would have preferred to use some braided hoses but funds won't allow and i am impatient.

So the 1st problem I had was that I got the wrong hose fitments from the eBay seller only 14mm when I needed 19 to match the oem hoses.

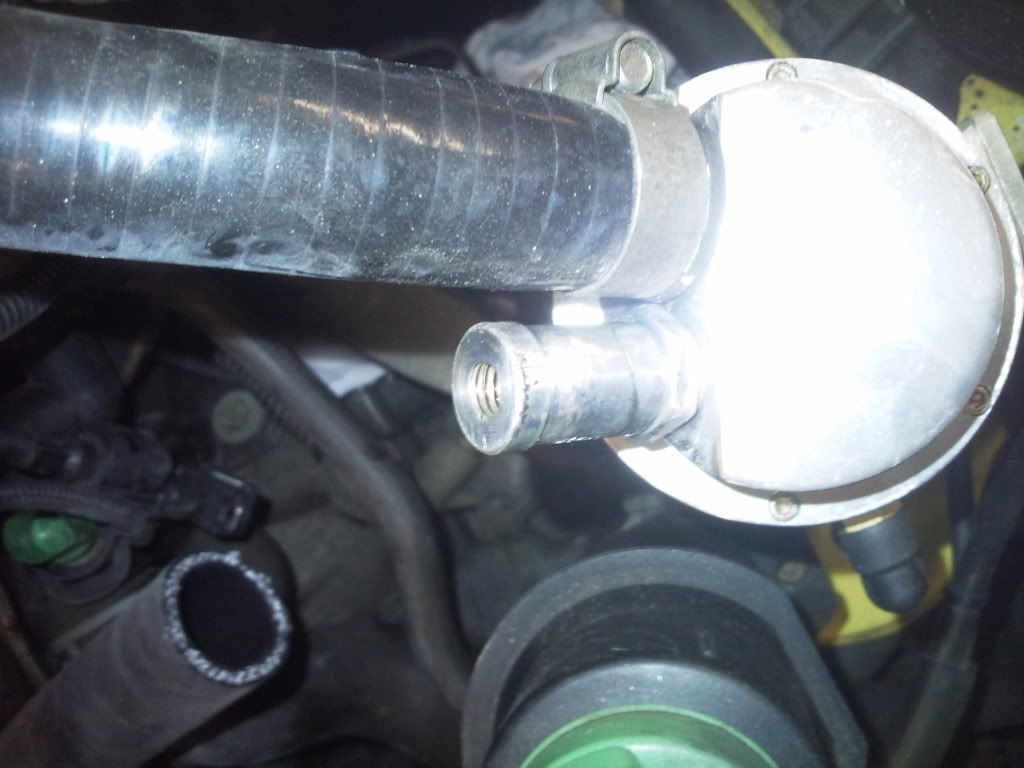
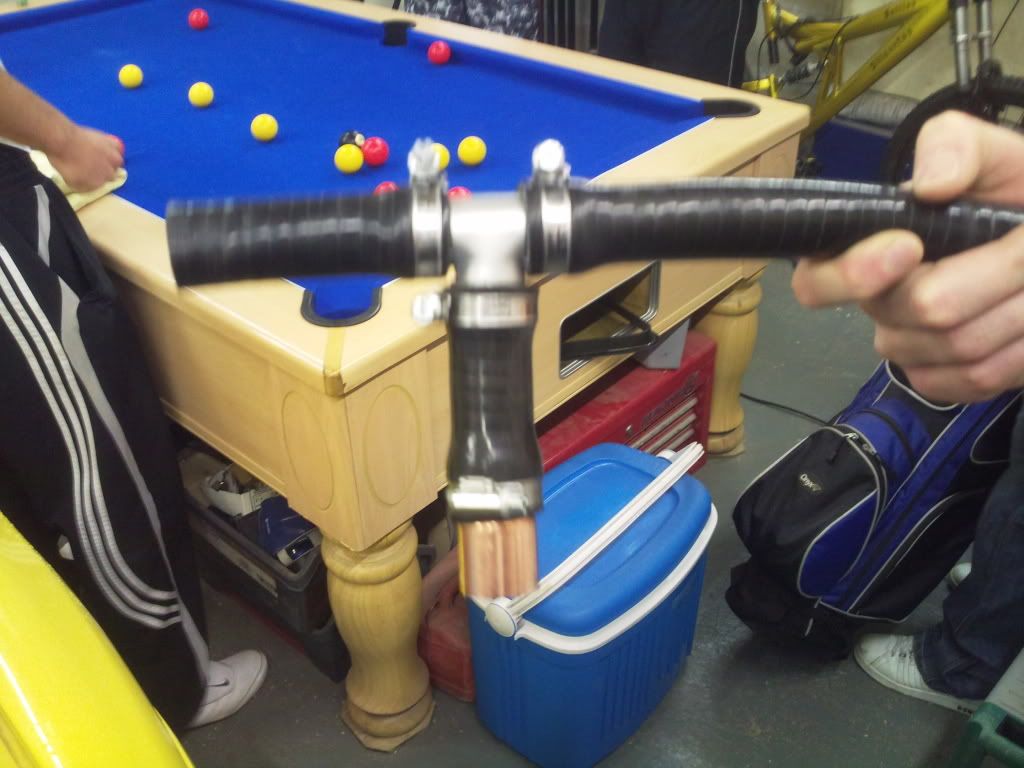
So I got a friend’s father to screw cut the existing fittings to M14 and to machine a o/d 19mm bar with a hex on the bottom for ease of removing and tightening with an m14 internal thread, hey presto that solved my problem, so on the fittings go on with some locktite.

Photo0070-1.jpg


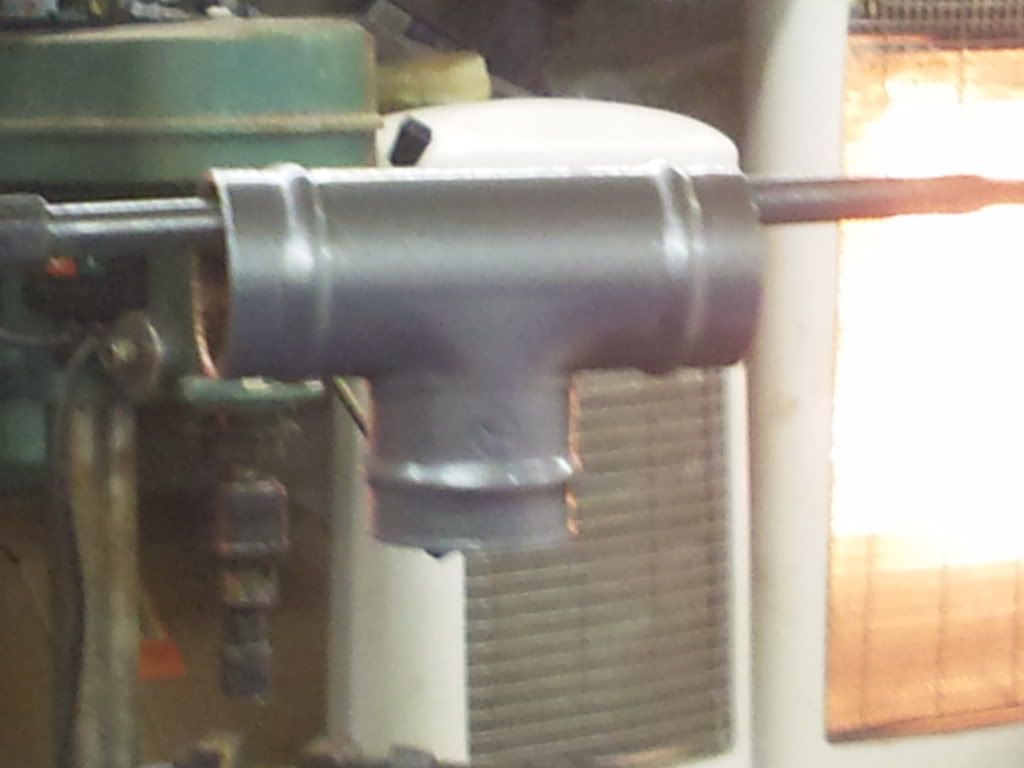
Here what was my copper T piece from my local plumber, I though you will see this so painted it silver not to look so bad -

Photo0069.jpg


And fitted with all the necessary hoses including the copper reducer needed to mate the 21mm hose from the breather block to the 19mm T piece -

Photo0072.jpg

Some heat was required to get the hoses to fit don't think the copper parts were 19 and 21 diameter but there on and it’s a tight fit.

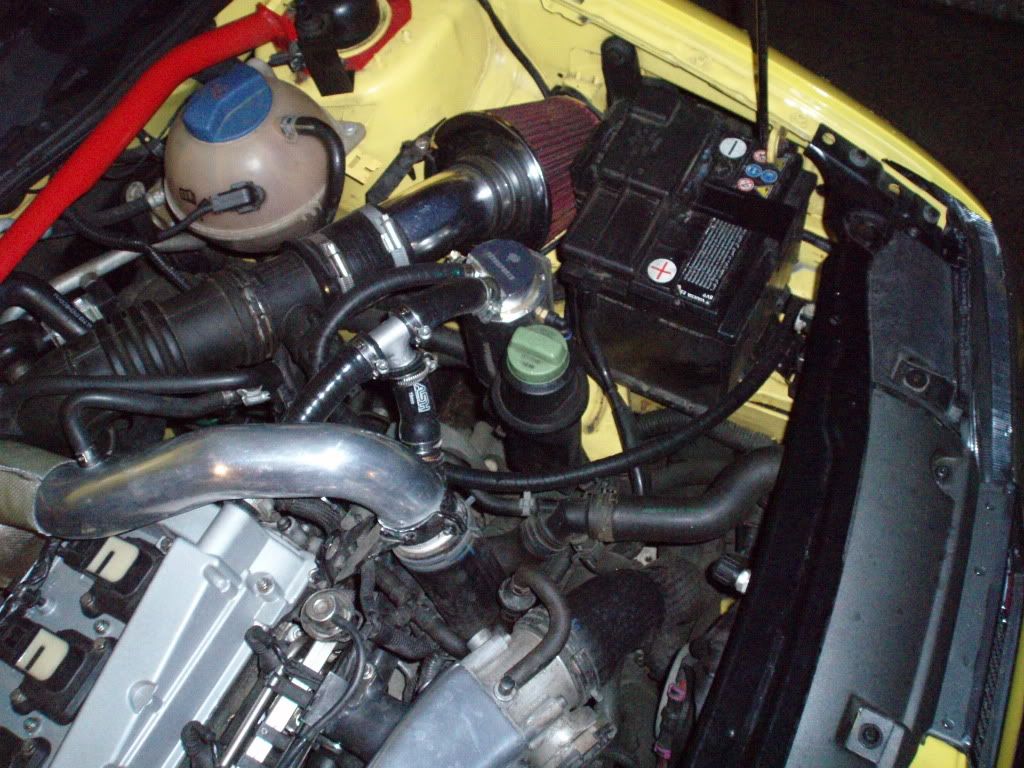
Word of warning this was my finished install of the catch tank, take note of the breather on the port next to the hoses, this caused so much fumes into the compartment hence chocking me.

So new route taking below -

P6280068.jpg

With some flexi hose bending round and down the wing beside the battery, no nasty smells for me now.

Have had this setup for a couple of weeks now and you can see stuff in it already, our poor mafs,

If you have not got this done, do it
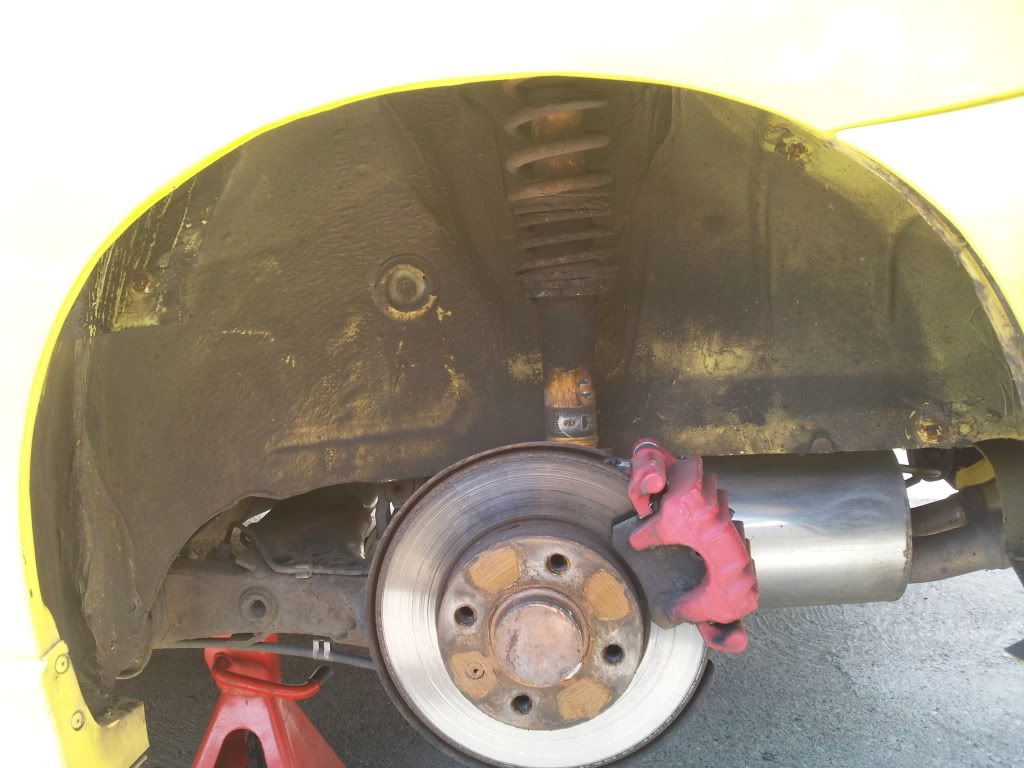
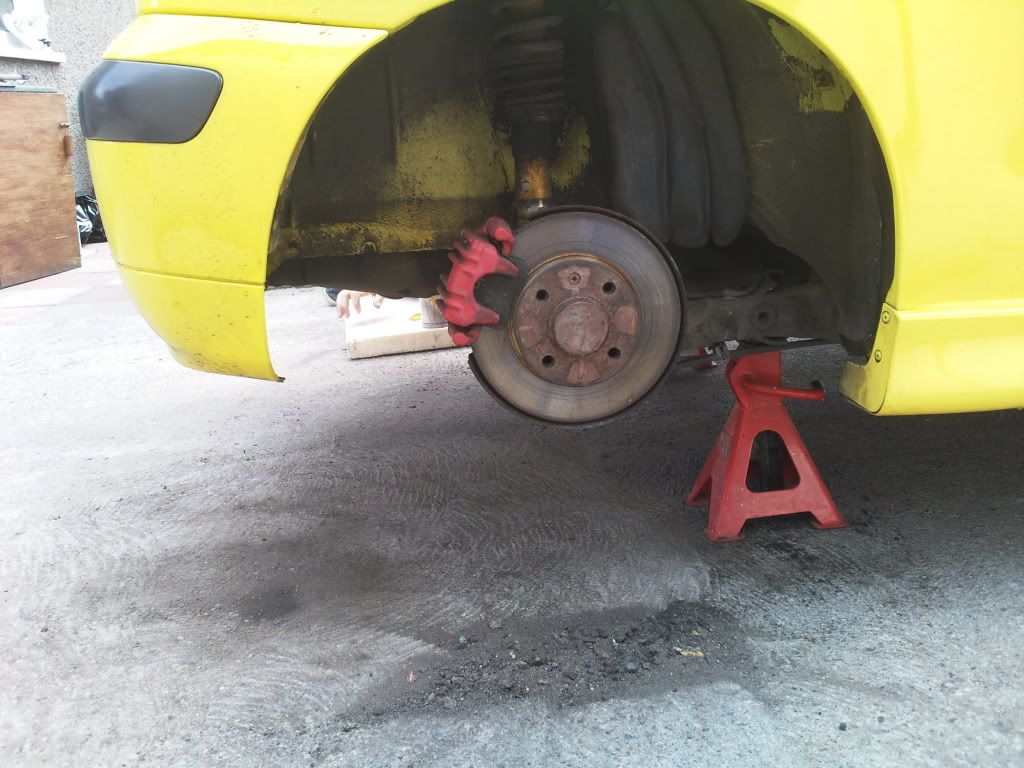
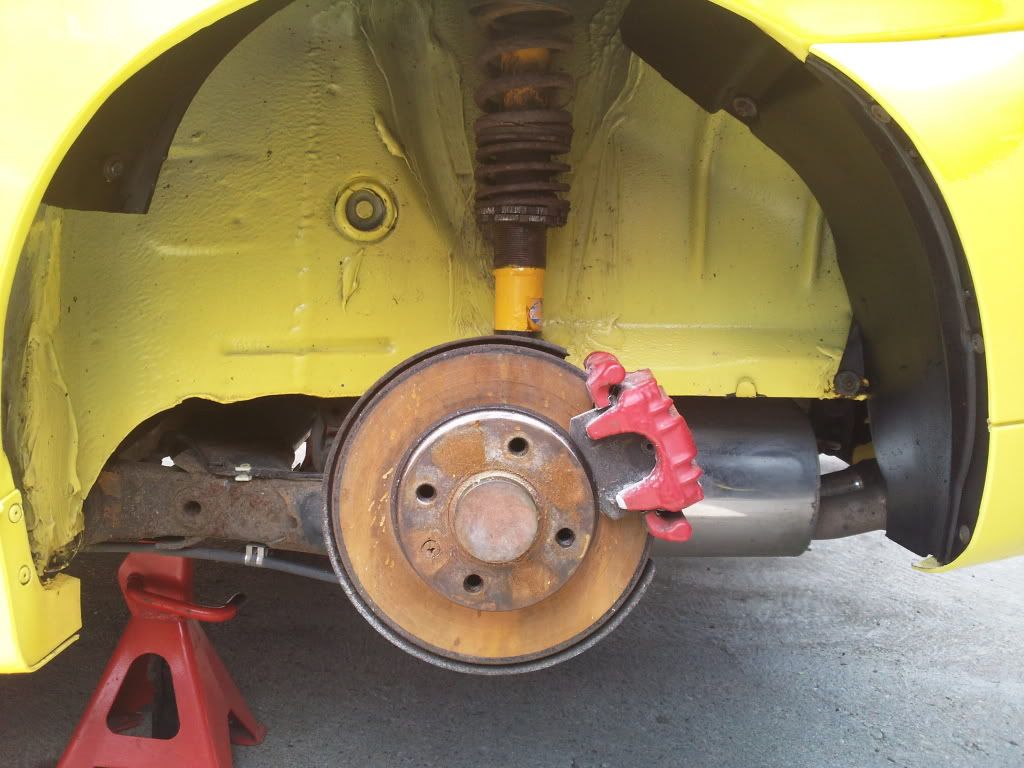
This weekend I decided to clean out my rear arches ! The before pics - Which must be 9 yrs of crap,
Photo0018.jpg

Photo0025-1.jpg


And the after pic -
Photo0026-1.jpg


There were some signs of rust which father tackled and got rid of, some undercoat, paint and a touch of lacquer the arches look as good as new,

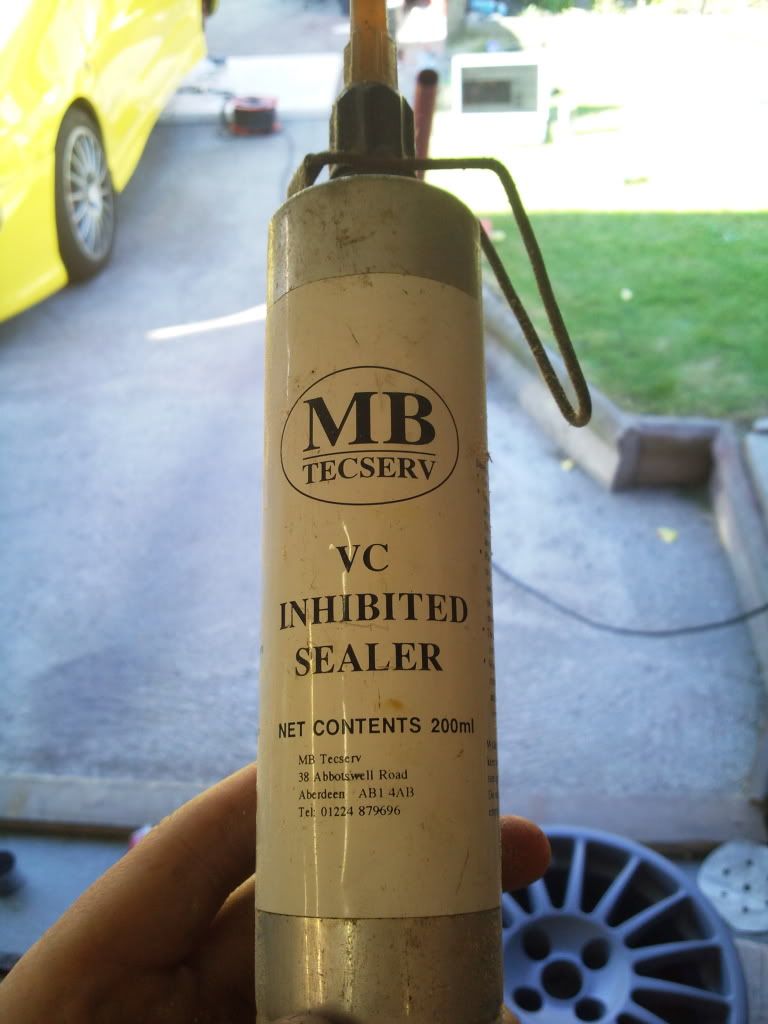
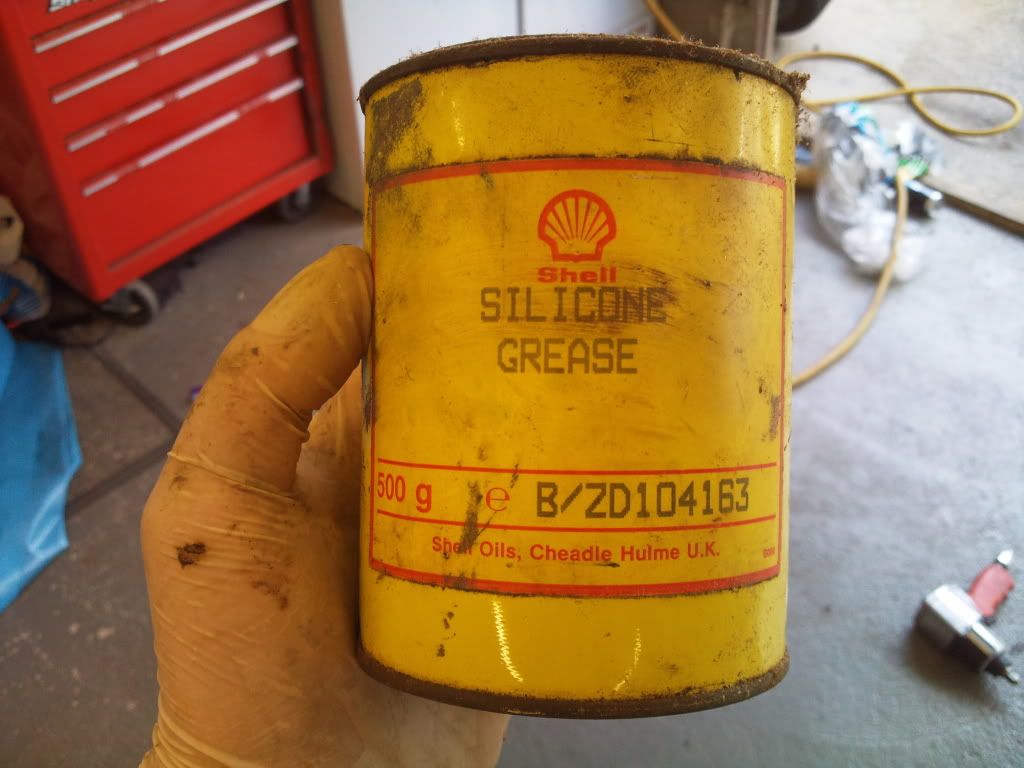
I also packed the arches full of this grease that is used offshore to cover hard to reach places that they don't want to rust, so my arches should hopefully be in good nick for some time -
Photo0023.jpg


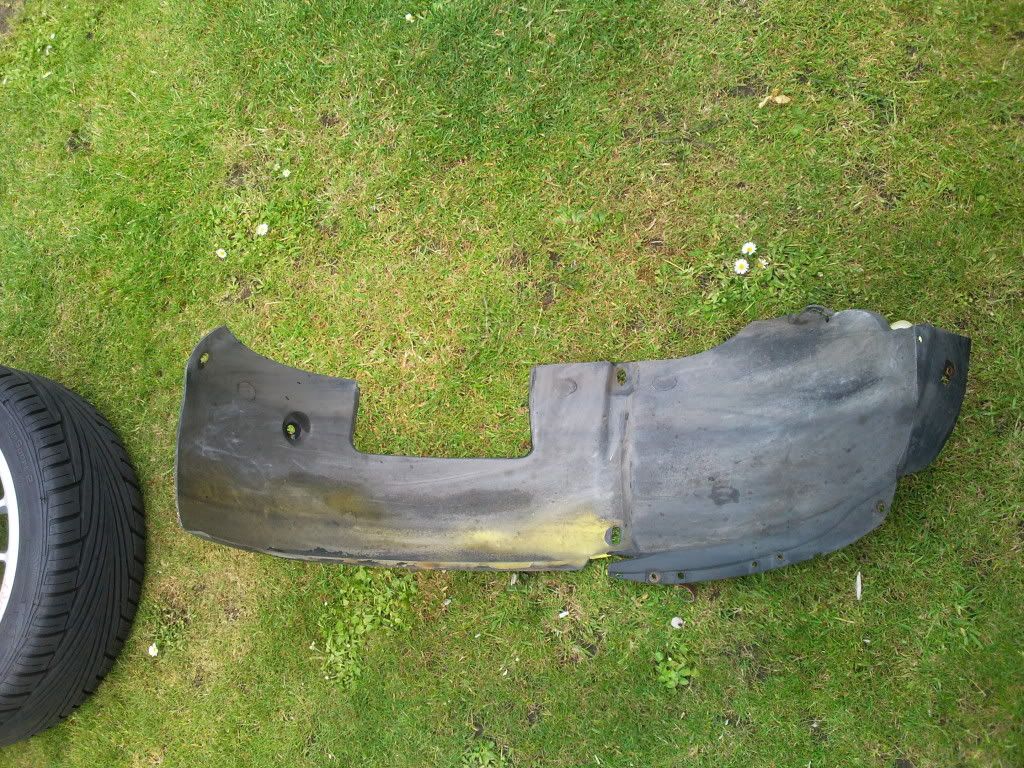
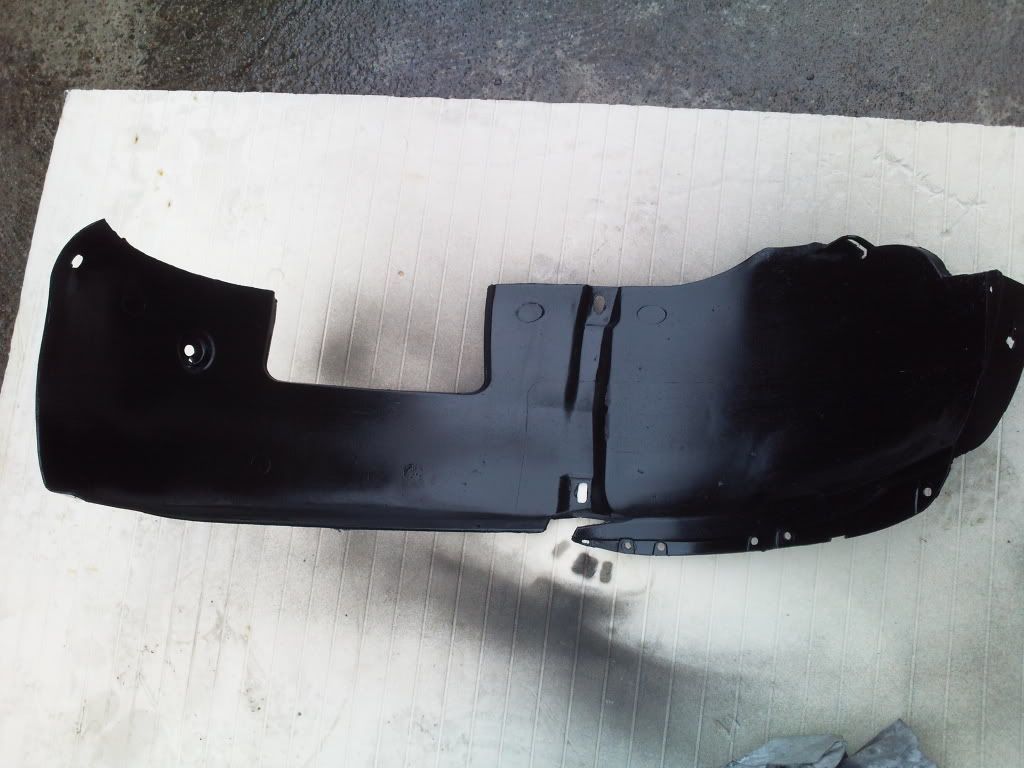
The dough ball of a spray painter never covered my arch liners so ended up looking like this -
Photo0027-1.jpg

Tried removing most of it with thinners but it wouldn't budge so out comes the good old spray paint and as good as new,
Photo0028.jpg
 
Jun 17, 2007
1,032
0
Aberdeenshire
I also purchased a little something for a project today,

a half eaten chewitt for who can guess -

Photo0029.jpg


What could this be for:think:

Cheers Baz for coming all that distance to deliver, hope you got home ok with the bodged hose :help:

Oh I also got a picture of the 2nd wheel in undercoat, father is slowly getting there

Photo0016.jpg


I recently lost interest in the car till the last Seat meet I now have interest in the car and should be back to good condition on my return from Florida.
 
Jun 17, 2007
1,032
0
Aberdeenshire
Sure am,

the tip should be ready this week and get it fitted at the weekend.

Remeber i need that little plastic thing from your engine bay so you can lose more weight,
Clean out your arches must ba a few grams to be had there, mine were full o crap.
 
Sure am,

the tip should be ready this week and get it fitted at the weekend.

Remeber i need that little plastic thing from your engine bay so you can lose more weight,
Clean out your arches must ba a few grams to be had there, mine were full o crap.

What's the TIP going to fit? The K03? I am searching for one but nobody has them for sale and I'm not too keen to pay £100+ for a new one..!
 

Willie

LCR Track car
Aug 6, 2004
8,939
1
Sunny Scotland
Sure am,

the tip should be ready this week and get it fitted at the weekend.

Remeber i need that little plastic thing from your engine bay so you can lose more weight,
Clean out your arches must ba a few grams to be had there, mine were full o crap.

LOL at the arches, you saying my car is mingin like??

Take WD40 and a big assed philips screw driver to the next meet and it's yours.
 

CraigW

Craig.
Apr 12, 2007
4,607
1
Hawick, Scottish Borders, Scotland
Car looks good as always mate. [B)] :drool:

I know what you mean about the arches, I cleaned my rears out last October and they were full of mud etc. Going to do them again and Im going to do some rust-proofing etc. I must be lucky and I have absolutely NO signs of the dreaded Mk2 rusty arches. Alittle bit on the lip but none under the arch liners.

And your catch tank fitting has helped me solve a problem. :idea: So cheers. :thumbup:
 
Last edited:
Jun 17, 2007
1,032
0
Aberdeenshire
What's the TIP going to fit? The K03? I am searching for one but nobody has them for sale and I'm not too keen to pay £100+ for a new one..!

Sure will its only a hard pipe with a reducer down to the turbo when i fit it i will take pivctures and explain, Reducer from turbo to hard 90 degree bend pipe, silicone joiner to maf, silicon joiner to another hard pipe forgot the degres and then the filter, easy as.

I have some sort of deristricted hard pipe coming from my turbo already up to my reducer, so in your case you would need a 90 degree silcone reducer. simples!

I am crap at explaining things.


LOL at the arches, you saying my car is mingin like??

Take WD40 and a big assed philips screw driver to the next meet and it's yours.

Shall do boss, might miss next one if i'm away.

Bazzle will vouch for my garage having everything might even take a drill just incase


Car looks good as always mate. [B)] :drool:

I know what you mean about the arches, I cleaned my rears out last October and they were full of mud etc. Going to do them again and Im going to do some rust-proofing etc. I must be lucky and I have absolutely NO signs of the dreaded Mk2 rusty arches. Alittle bit on the lip but none under the arch liners.

And your catch tank fitting has helped me solve a problem. :idea: So cheers. :thumbup:

Why thankyou very much i do try. :redface:

I think its the salt water up here as i live next to the shore line bit of a pain.

Not a problem just tried to do a decent explanation that was easier to understand but as above am crap at explaining things. :redface:
 

CraigW

Craig.
Apr 12, 2007
4,607
1
Hawick, Scottish Borders, Scotland
Why thankyou very much i do try. :redface:

I think its the salt water up here as i live next to the shore line bit of a pain.

Not a problem just tried to do a decent explanation that was easier to understand but as above am crap at explaining things. :redface:

I know you try and you can tell, the car shows that very well!!

Yep the salt water in the air will be abit of a problem.

It was a decent explanation and it has helped my solve a problem for the fitting of my catch tank.
 
Jun 17, 2007
1,032
0
Aberdeenshire
Well another update -

(baz - Josh, another wheel arch post and something else. )

Well to start off here was the state of the passenger arch no drivers side pics but much and such the same,
Photo0032.jpg


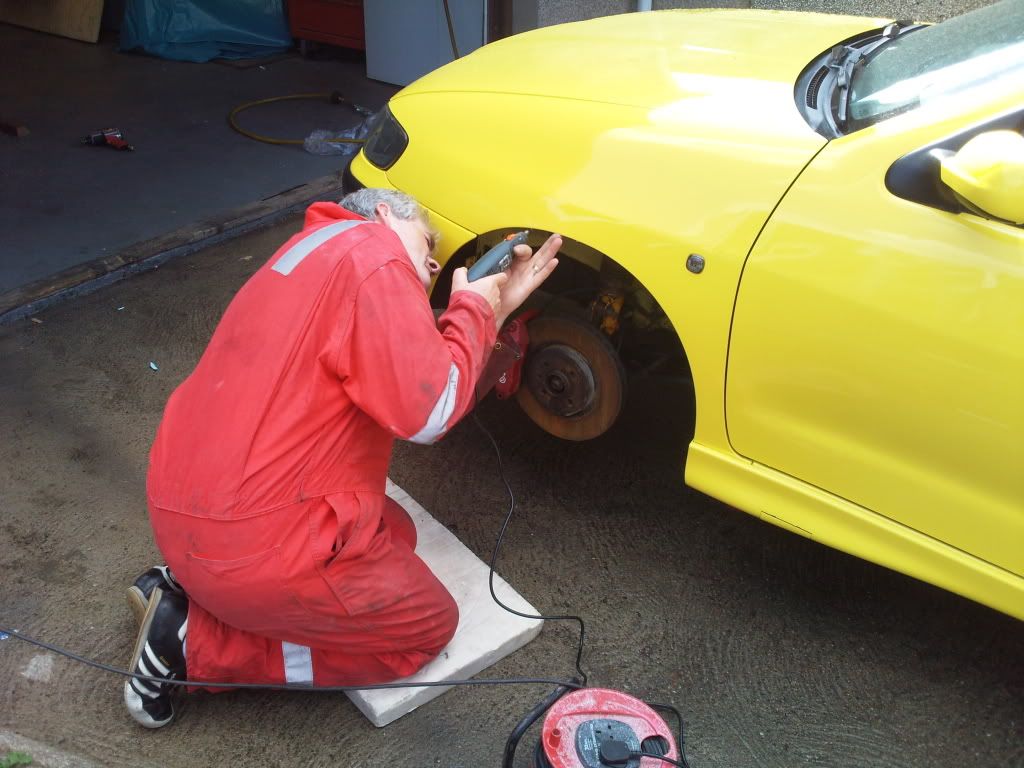
We found some more rust just on the passenger side mind you, so action shot of father attacking the rust.
Photo0033.jpg

Which was followed with some airbrushing to repaint the arch lip.
I ran out of that sealer stuff so i found a replacement hiding away in the garage, which should prevent rust. Good old shell.
Photo0034.jpg

The arches were packed with this stuff, so it should hold its own against the rust.

So a picture to show the improvement in the arch, which is the drivers side for some reason
Photo0044.jpg
.

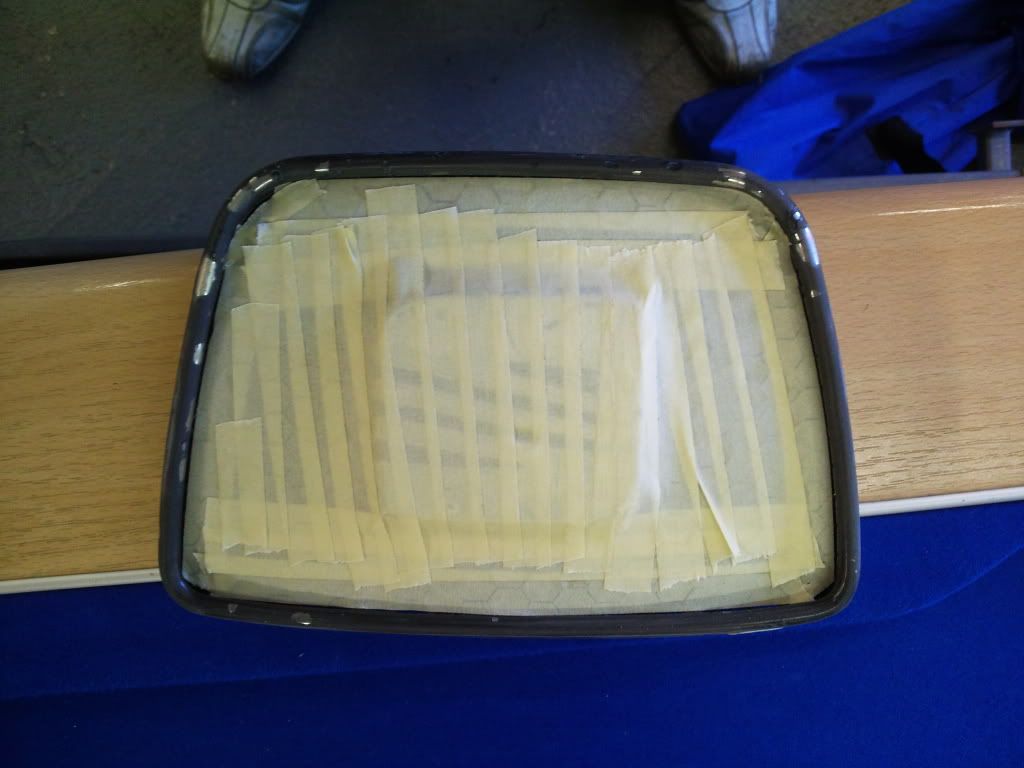
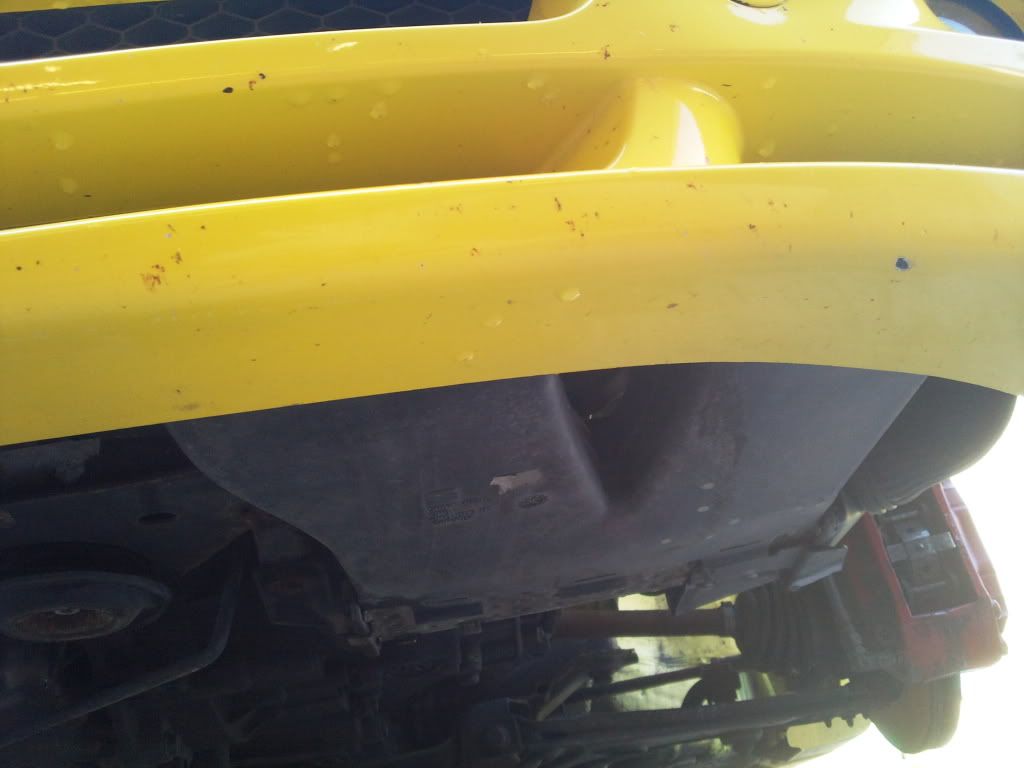
My grill surrounds were looking a tad tacky with all the stonechips so some prepping and masking -
Photo0041.jpg

Photo0043.jpg

Photo0042.jpg

This was then followed with loads of laquer(sp) And the finished result not a good photo i know
Photo0051.jpg


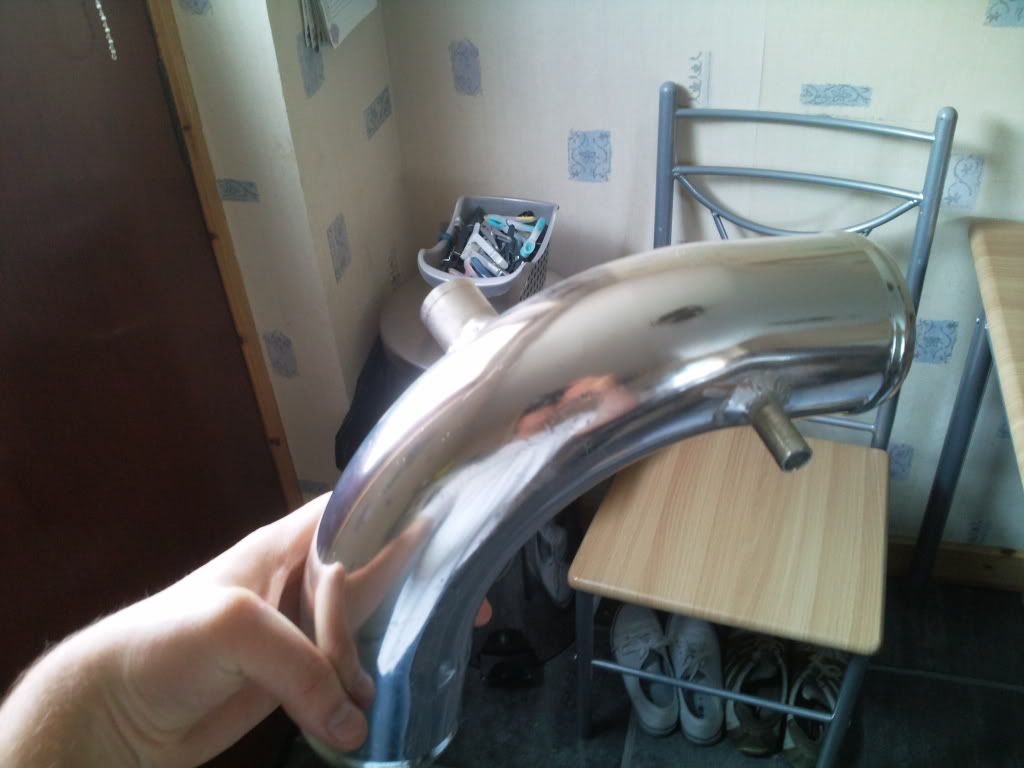
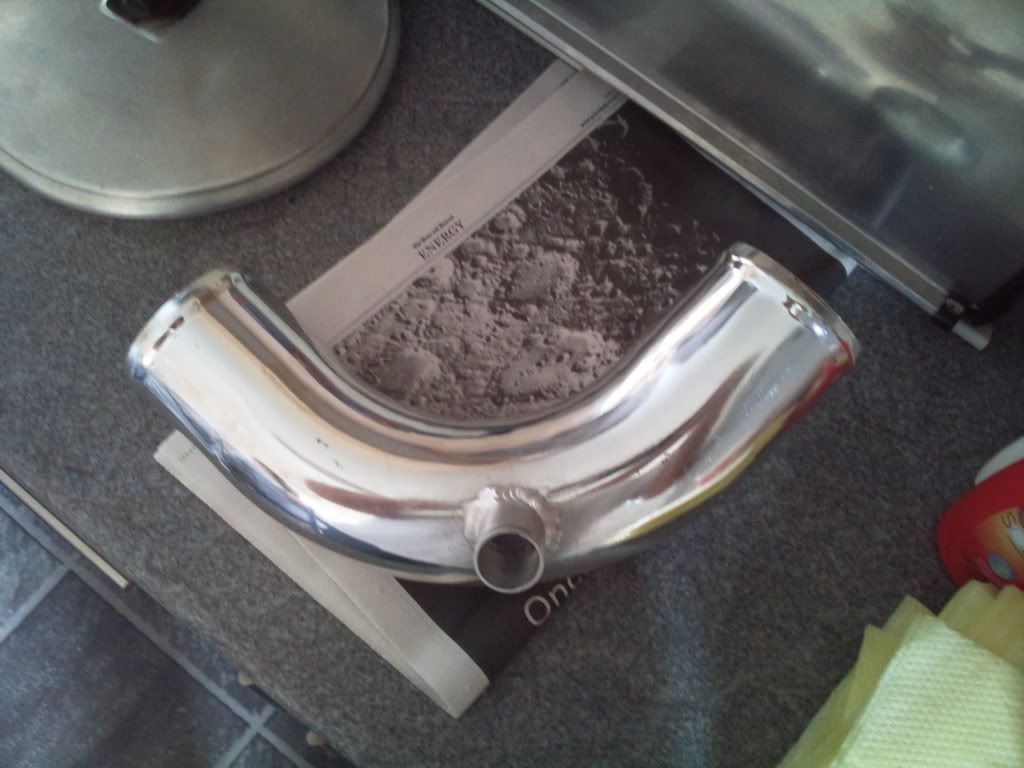
My alloy elbow has finnaly had the bungs welded on, one for the n75 and the other for the DV, pictures of the arrangement before its fitted of how it all joins to the rest of the airfilter route for the benifit of Josh. and some pics of it fitted, which father should hopefully do next week while i'm in Florida.
Photo0052-1.jpg

Photo0053-1.jpg


Handy having a friend whos a machineist that can make up the bungs.
 
Last edited:
Jun 17, 2007
1,032
0
Aberdeenshire
continued -

Just a question this time and an idea to improve airflow,

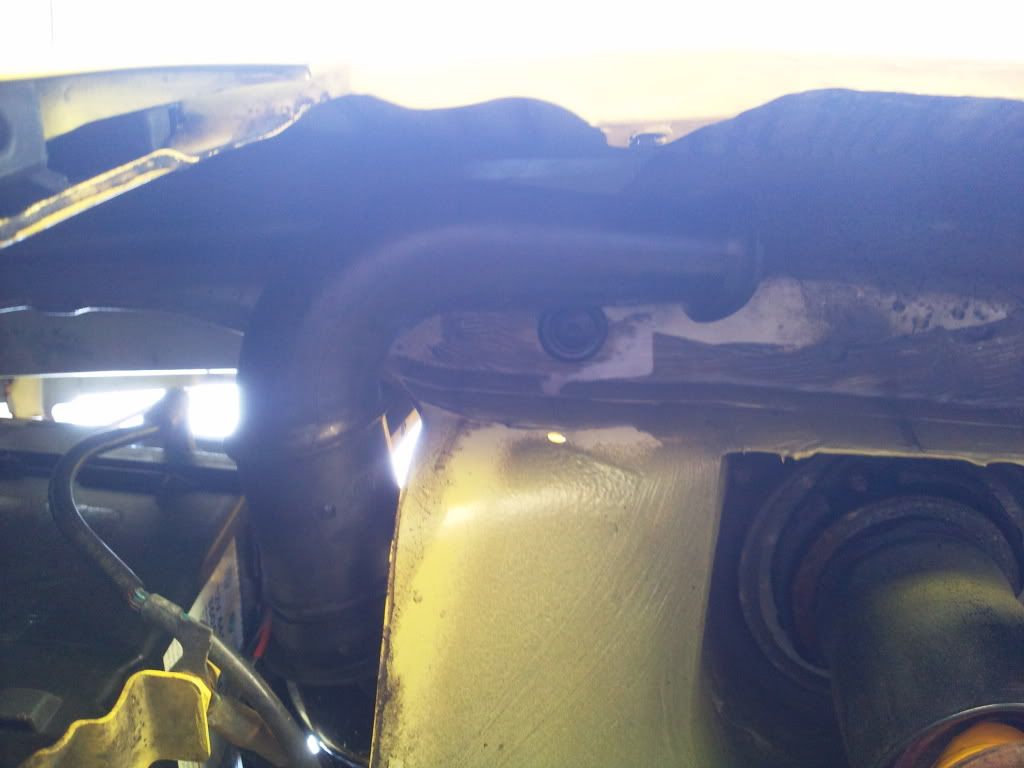
Does anyone want to explain the logic behind having the pipe in the belwo picture pointing towards the back of the car suppling air to the filter -

Photo0036.jpg


There will be a reason for this but i don't know what, so i have an idea, pleas anyone that thinks am speaking rubbish telll me so. Has it something to do with the wheel generating air maybe?

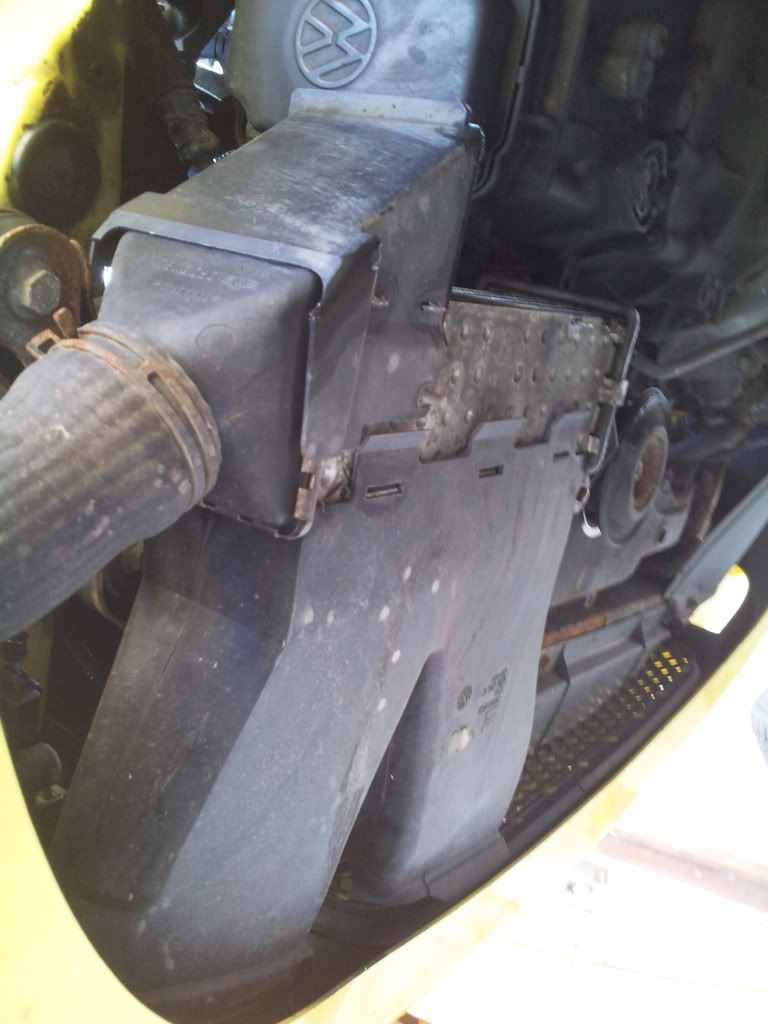
Would it not be better to use one of the ducs that supply the smic with a pipe coming from that up through the wing and supplying cold air coming direct from the front of the car to the filter -
Photo0038.jpg

Photo0040.jpg


Just bodge the ducs so that you use the right hand one to leave room for the fmic or just use a pipe to get air from the front to the filter.

The above would be subject to me getting a fmic of course. Plus its just a thought.
 
SEATCUPRA.NET Forum merchandise