The Dreaded Ibiza rear arch!!!

Pongo

Guest
Dont know if this should be in readers ride or on here but i'll give it a go anyway

Well about a year ago i bought a 1998 Ibiza 16v cupra sport. I noticed the orange peel on the rear quarters didn't quite match the rest of the car, but you had to be looking seriously close to even notice! The bloke I bought it of informed me the rear arches had just started to bubble a little (as so many of them do) so he had them professional treated/ repair and the quarters touched up. He seemed like a genuine bloke and I needed a car by the end of the week so the money changed hands and i drove off into the distance...

A year later and one arch was bubbling seriously badly, so I figured it was about time i'd have a look at the "professional" repair job...

nothing like a bit of filler to repair the rust holes, fill the rust pits and rebuild the arch with is there! Man I was Pi**ed!!!

IMG_0757.jpg


IMG_0747.jpg


IMG_0749.jpg


IMG_0755.jpg


IMG_0756.jpg


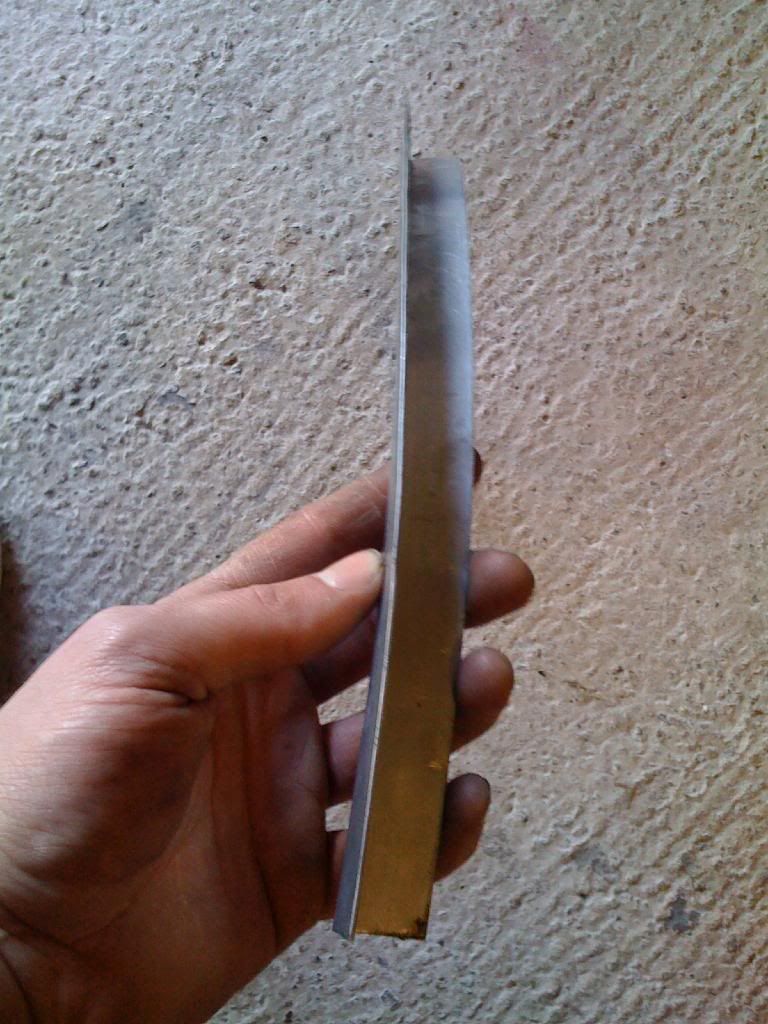
So for me there's only one choice for it and it doesn't involve filler or fiber glass! So I started searching for a repair panel... to my horror i found that all thats available is a complete rear quarter at £124 each through beaverpanels and all i needed was an inch all the way round the arch.

So i went about fabricating my own, first ever time i've attempted shaping of the magnitude! So i started with a meter of angled 1.2mm thick steel
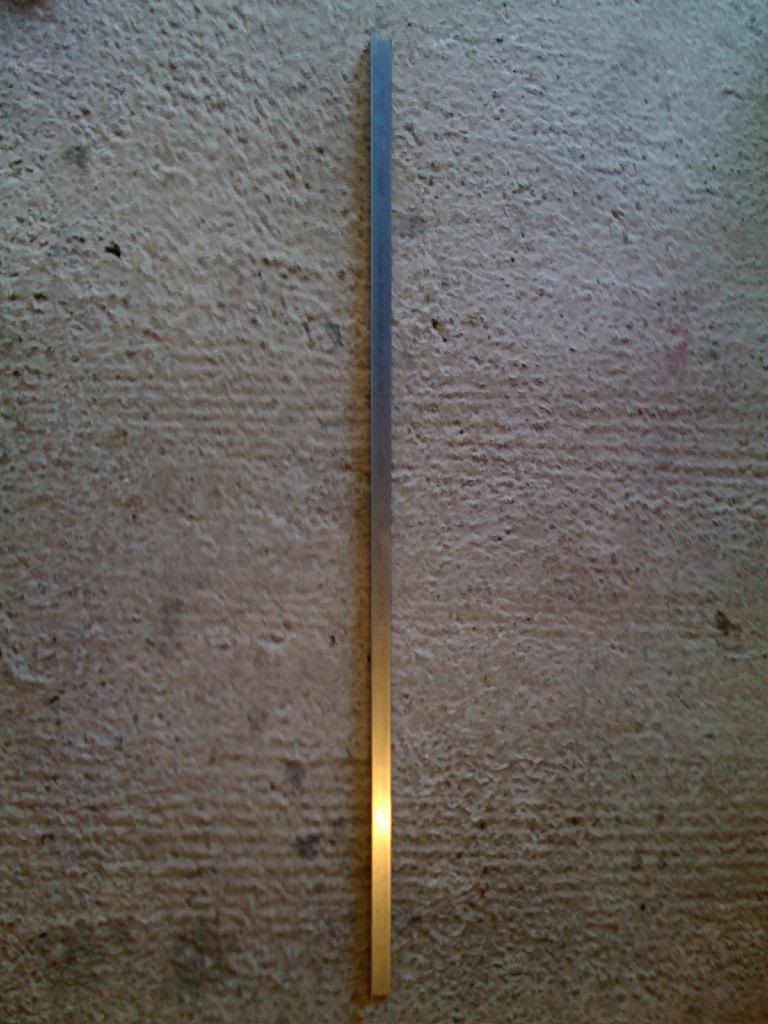
IMG_0758.jpg


and after a couple of hours, with a stretcher, a shrinker, hammers and dollys had it pretty much bob on

IMG_0759.jpg


IMG_0760.jpg


IMG_0761.jpg

following the contours of the body

IMG_0762.jpg


....
 
Last edited by a moderator:

Pongo

Guest
I was pretty please with the fit for my first attempt with out a template and only by eye...

IMG_0763.jpg


IMG_0764.jpg


IMG_0765.jpg


So I marked off where the panel fitted to

IMG_0766.jpg


Measured again and started cutting...

IMG_0768.jpg


IMG_0769.jpg


IMG_0770.jpg


IMG_0771.jpg


IMG_0772.jpg


Also had to trim some of the inner arch out ...
 
Last edited by a moderator:

Pongo

Guest
I man the smaller inner arch patches in a few mins and then tuck my time to weld them in

IMG_0777.jpg


IMG_0779.jpg


IMG_0780.jpg


I finished welding the inner arch and started lining up the outer panel and started tweaking it a little here and there...

IMG_0783.jpg
 
Last edited by a moderator:

Pongo

Guest
Then my phone battery went so i stopped taking pictures and started welding. It tuck bloody ages as every inch I welded I then cooled straight away with damp paper/ clothes to minimis the panel distortion. the moved on to the opposite end of the panel, constantly checking everything was looking good.

IMG_0784.jpg

most of the welding done and start grinding it all back.

IMG_0785.jpg


IMG_0786.jpg


IMG_0787.jpg


IMG_0788.jpg

not looking to bad just a little more felting to do!

IMG_0789.jpg

not looking to bad just a little more felting to do and a touch more welding!


IMG_0790.jpg


IMG_0791.jpg


IMG_0792.jpg

First layer of filler... I shouldn't need any ore than about 2mm thick/deep at the most as I managed to keep the panel distortion down to a minimum, with just 3 areas require a little more shaping, 1x high spot and 2 low spots and the odd bit here and there. Tho then realised I'd ran out of hardener for the filler lol
 

Pongo

Guest
Nearly there etch primered and some high build

IMG_0793.jpg


IMG_0795.jpg


IMG_0796.jpg


just needs a little more work then now... then ready for the top coat.

:)
 

truCido

Race Lupo in progress...
Dec 11, 2003
2,938
0
Bristol
www.vagowners.co.uk
good work and fair play!! I don't think I could ever attempt that I'd just mess it up lol.

My driver rear arch is completely destroyed but I'm just going to have to take it somewhere for repair
 

OllieL

2.0 16v Cupra Sport GTi
Dec 10, 2006
1,868
0
Birmingham
Amazing mate - really good work.
Such a common problem on these cars.
Again so much better than bodging it with filler as with a lot of cars I've seen

Impressive work

Ollie
 

CraigW

Craig.
Apr 12, 2007
4,607
1
Hawick, Scottish Borders, Scotland
Looks like a good quality job there mate.

I think Im lucky with my car. No signs of rust on the rear arches. Just a bit on the very edge or the lip where the panel ends but thats it. That a job to do over the next few months. Or when I get my re-spray.
 

M4TTYF

V.A.G. for life
May 28, 2008
205
0
hadfield glossop
i must be the only ibiza mk2 driver with galvanised rear arches as everyone i have seen has had a bubble or scab on its rear arches. but bloody good job mate must have taken a fair few hours to do but it looks like a new arch now fantastic work
 

Pongo

Guest
Impressive work, but please tell me you took the tyre off when you did the actual welding

Also I've never heard any welder advise you to cool a newly placed spot or seam weld with a cool rag, as apparently it can weaken the weld. Meh I wouldnt quote me on that though as I only know folks who do big industrial stuff at power stations not car body work

No I left the tyre/wheel in place but covered it with an inner wheel arch and welding blanket so not to damage it. Also as far as body work goes, when you weld thin metal such as body work the heat can distort the panel. You can sometimes see this happening before your very eyes, once you remove your welding mask of course. If you cool the panel as soon as you can it minimises the distortion and again you can witness the panel shrinking back into shape! Seam welding produces more heat in a localised area than spot welding as effectively your adding more weld/metal and creating longer runs, so i wouldn't nessecarly use this technique with spot weld. But then a seam weld can be stronger and you dont leave gaps between to surfaces for the possibility of moisture to get trapped and corrosion to take hold. Its common place in restoring classic cars to use this technique, especially where larger panels are concerned, that are prone to warping!

On a modern car you'd more likely replace the whole panel with a factory replacement or scrap it or in my case find a big chunk of filler.

Cooling metal in this mannor may not be advised for industral stuff where tolarences are messured and so high, but given the choice of fresh metal and well penertrated welds or rust, rot and holes I know which wins hands down ;)

P.s. Cheers for all the comments :) still got a little work to do to it, then have a look at the other side, then the car gets a fresh coat of paint, always handy when your best mate paints cars for a living ;)
 
Last edited by a moderator:

Cupra Kid

Has a TDI!!
Oct 13, 2005
3,380
1
Chesterfield, Derbyshire
Its looking very good, the only extra thing i would do is investigate the back as thats where the rust comes through from and make sure it won't come back through this way and ruin your great work.
 
Genuine SEAT Parts and Accessories.