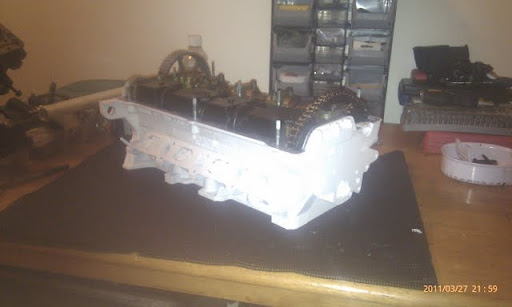
Red Cupra GT2871R
- Thread starter Jonny95 SXE
- Start date
You are using an out of date browser. It may not display this or other websites correctly.
You should upgrade or use an alternative browser.
You should upgrade or use an alternative browser.
its not mapped yet man so dont have many of the answers,
it was running 17psi but will be hoping to run allot more than that now.
maybe 350bhp? depends on the rollers it ends up on really!
The turbo is pulling well from 3500 onwards but at 4k its at 17psi.
Get yourself over to Surrey Rolling Road Jonny!!! Top roller
What I plan on doing is using bills as a benchmark in the UK and within a day or so do a RR at the irish "proving grounds" and then, if there is a difference I will be able to calculate how much varience there is.
Temps permitting etc.
it's such a lottery though
Temps permitting etc.
it's such a lottery though
Hi all, going to stick 2 threads together now, since the mission was successful!
Hi all, Just an idea. I am taking loads of pics while rebuilding a spare engine I have. Is it worth while?
I got hold of a clean AYP (the original handwriting under the rear engine mount is still on the block allong with all of the white part number stamps and labels)
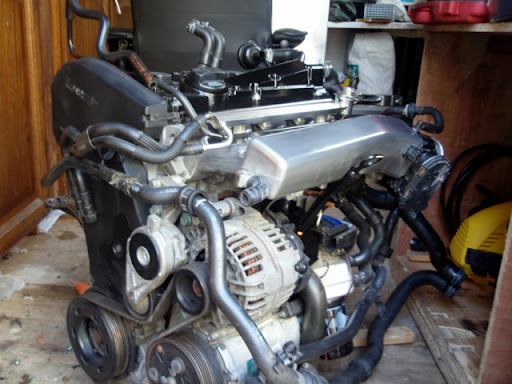
From here the plan was to strip the engine down completely,
hone the cylinder block
rebuild using new forged rods
use existing 20mm wrist pin mahle pistons (since it is one of few 20mm piston engine codes and have been known to handle 500+bhp)
new rings and piston seals
new big ends and crank bearings/seals
port/polish head
renew valve seals
reseat valves
skim head
reassemble
all while re finishing the exterior of the engine.
simple as.
so on night one project kitchen rebuild commenced
unload engine to kitchen and strip to the point just before oil falls out!
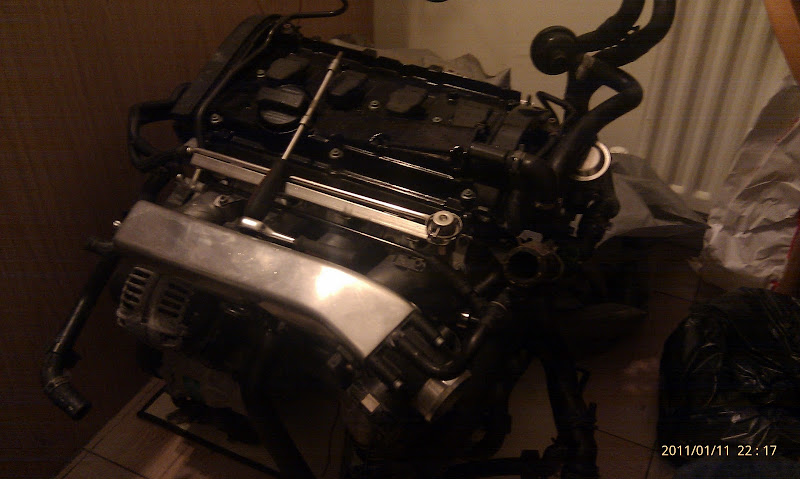
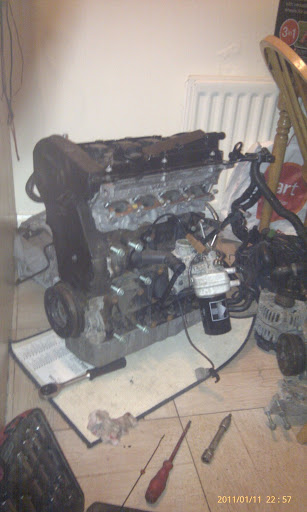
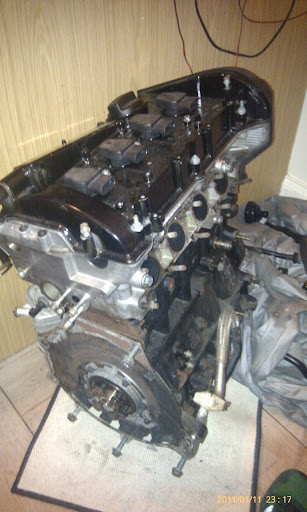
on night two.
was greeted by a house mate earlier wondering "what the f&ck is in the kitchen" so that went down well!
I didn't have the tool to remove the head to hand so I did what I could.
I removed:
oil filter housings
Timing belt and tensioner
rocker cover
Marked all cam retainers
Timing chain tensioner
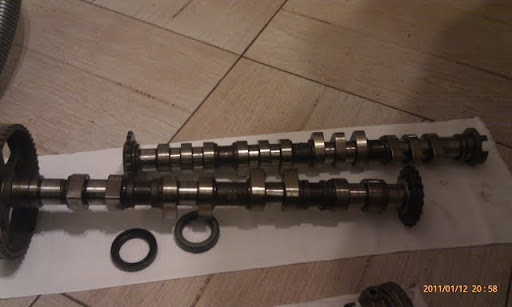
Cams
Timing Chain
Seals removed from cams
All seals where in working order.
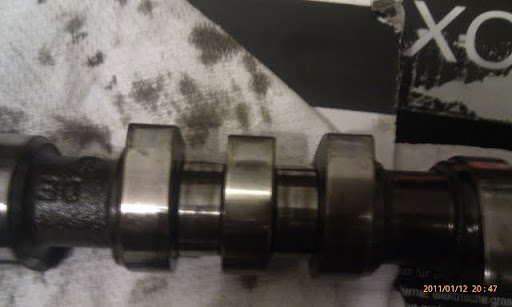
The head seems to have minimal wear with cam lobes perfect and hydraulic lifters perfect also
Is there any way which I could test the lifters?
and for progress,
everything has been re oiled now and stowed away wrapped in cling film.
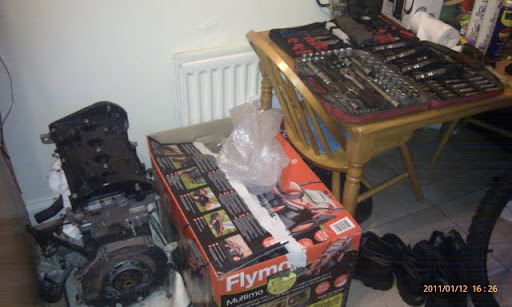
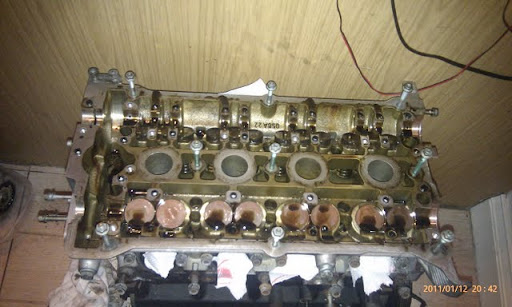
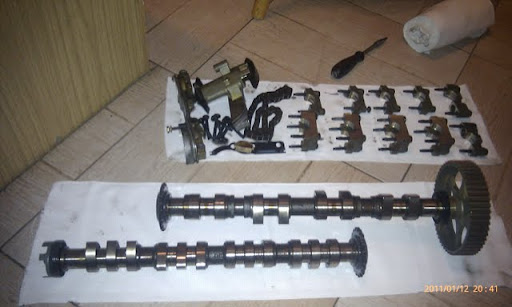
Hi all, Just an idea. I am taking loads of pics while rebuilding a spare engine I have. Is it worth while?
I got hold of a clean AYP (the original handwriting under the rear engine mount is still on the block allong with all of the white part number stamps and labels)
From here the plan was to strip the engine down completely,
hone the cylinder block
rebuild using new forged rods
use existing 20mm wrist pin mahle pistons (since it is one of few 20mm piston engine codes and have been known to handle 500+bhp)
new rings and piston seals
new big ends and crank bearings/seals
port/polish head
renew valve seals
reseat valves
skim head
reassemble
all while re finishing the exterior of the engine.
simple as.
so on night one project kitchen rebuild commenced
unload engine to kitchen and strip to the point just before oil falls out!


on night two.
was greeted by a house mate earlier wondering "what the f&ck is in the kitchen" so that went down well!
I didn't have the tool to remove the head to hand so I did what I could.
I removed:
oil filter housings
Timing belt and tensioner
rocker cover
Marked all cam retainers
Timing chain tensioner
Cams
Timing Chain
Seals removed from cams
All seals where in working order.
The head seems to have minimal wear with cam lobes perfect and hydraulic lifters perfect also
Is there any way which I could test the lifters?
and for progress,
everything has been re oiled now and stowed away wrapped in cling film.


and up to current.
night 3
head off,
valve buckets out,
sump off,
oil pump off,
big ends off,
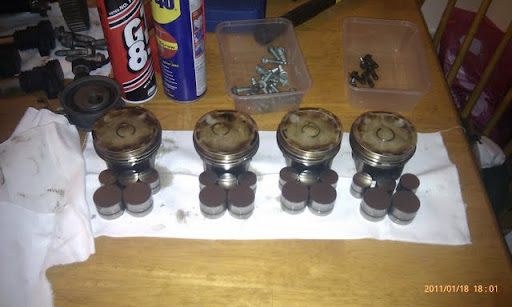
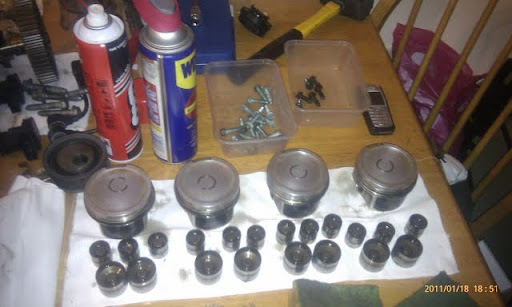
pistons marked
pistons removed.
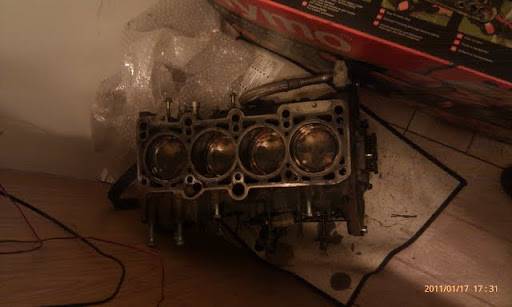
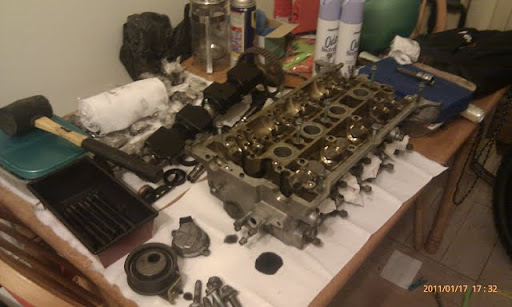
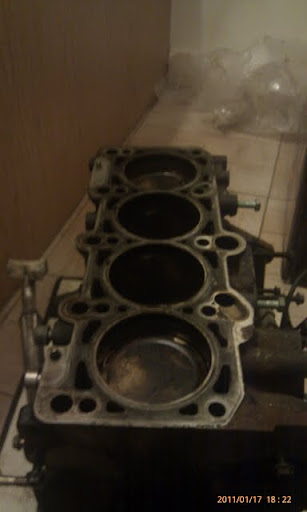
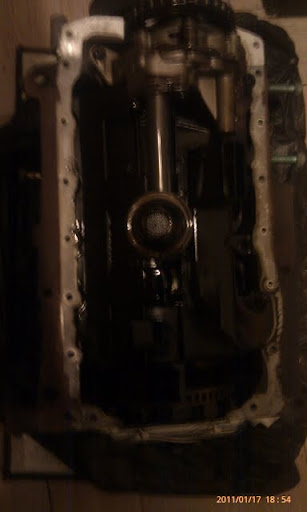
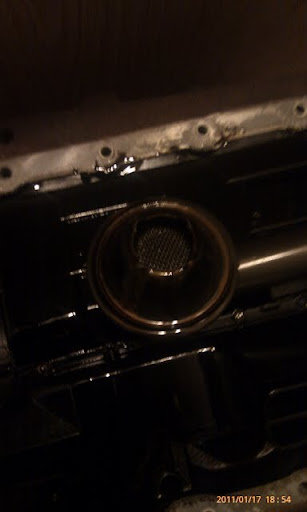
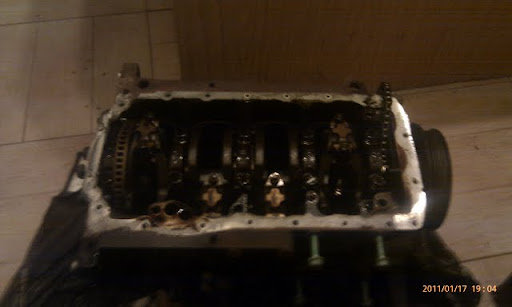
night 3
head off,
valve buckets out,
sump off,
oil pump off,
big ends off,
pistons marked
pistons removed.


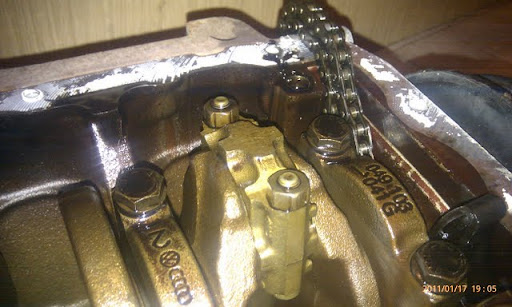
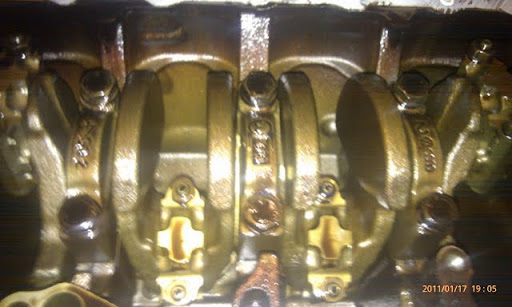
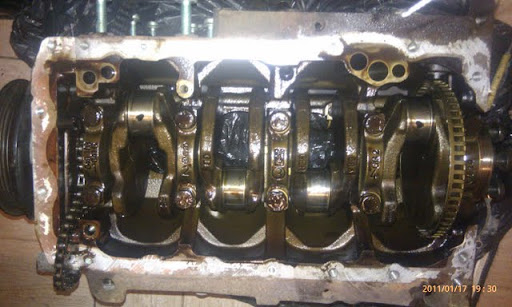
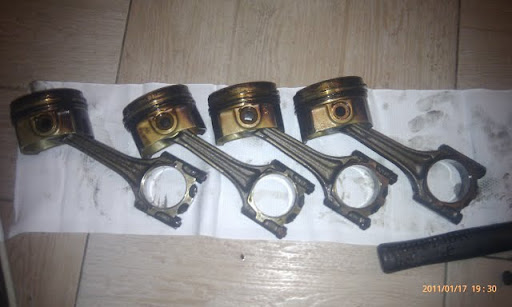
Pistons are off rods now also will take pics.
Thats all for now.
the big cleaning operation is next and paint (boring)
Update for tonight parts are finally cleaning up a bit. Got the sump clean, oil filter housing, rocker cover and other pieces cleaned as well as a first pass on the head and pistons. I think I might have the final color scheme sorted also so looking forward to paint prep. all I need now is a valve spring compressor to strip the last of the engine,
where it all began
and ended
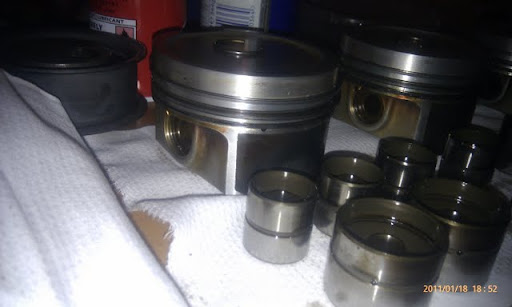
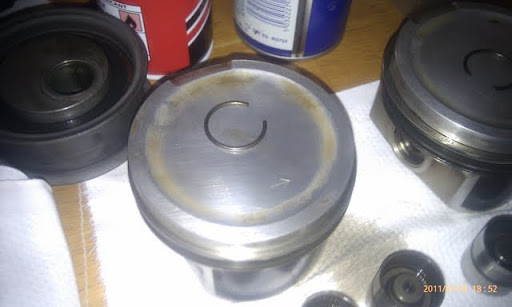
is this kind of wear acceptable?
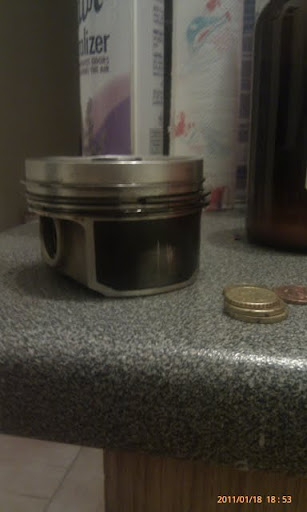
quickly scrubbed
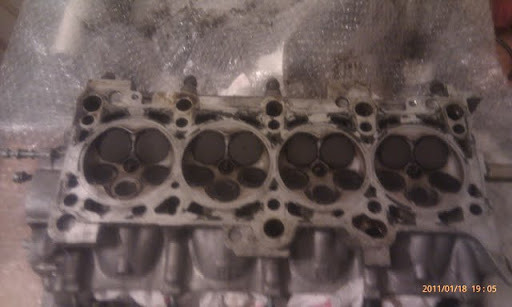
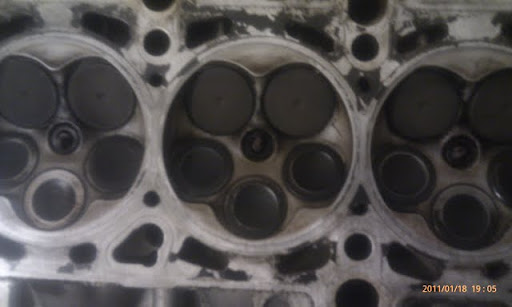
night 4 down...
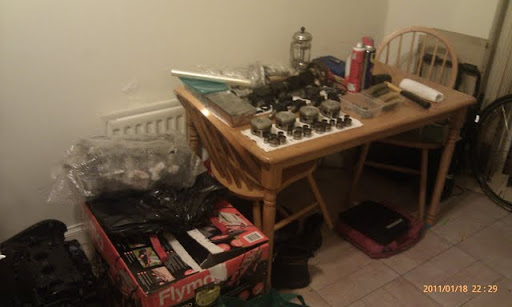
where it all began

and ended


is this kind of wear acceptable?

quickly scrubbed


night 4 down...

Sorry for not getting more up on this all,
mad busy with workthese days so it is lacking slightly.
So for night 5. Tools arrived to remove all piston rings and valves. standard piston spreader and a motor bike valve spring compressor with a 21mm adapter for the intake valves. Took me ages to sort it out but finally got one on ebay for 30 quid.
right. so head on its side and lets begin

screw driver came in handy as did a magnetised screwdriver for collets and a agnetic pickup tool (impulse buy in aldi the night before)
intake valves out

placed into cardboard to maintain locations

spring compressor in action

exhaust valves out

nice shiny seats with no pithing or marks


intake tracks loverly and clean

exhaust, not so much

next job now is to "decoke" the head and have it skimmed. and also hone out the block. There is a 3 week lead time on rods at least I can have it all painted and ready by then.
nexy updatewill be monday night i'd say.
mad busy with workthese days so it is lacking slightly.
So for night 5. Tools arrived to remove all piston rings and valves. standard piston spreader and a motor bike valve spring compressor with a 21mm adapter for the intake valves. Took me ages to sort it out but finally got one on ebay for 30 quid.
right. so head on its side and lets begin

screw driver came in handy as did a magnetised screwdriver for collets and a agnetic pickup tool (impulse buy in aldi the night before)
intake valves out

placed into cardboard to maintain locations

spring compressor in action

exhaust valves out

nice shiny seats with no pithing or marks


intake tracks loverly and clean

exhaust, not so much

next job now is to "decoke" the head and have it skimmed. and also hone out the block. There is a 3 week lead time on rods
nexy updatewill be monday night i'd say.
while removing the valves and pulling the stem seals I put a piece of acetake plastic into the bore for the followers just to make sure if you do slip it will minimise damage.
pics are crap but you can jst see it in the second valve from the left


Just for peace of mind really.
pics are crap but you can jst see it in the second valve from the left


Just for peace of mind really.
Neglecting this a bit recently,
so in the last few ive managed to paint the block, 4 layers of high temp 2 pack paint for the back (around the turbo area)
3 layers of black enamel for the front followed with a blue pearl and 4 layers of High temp fuel resistant clear coat.
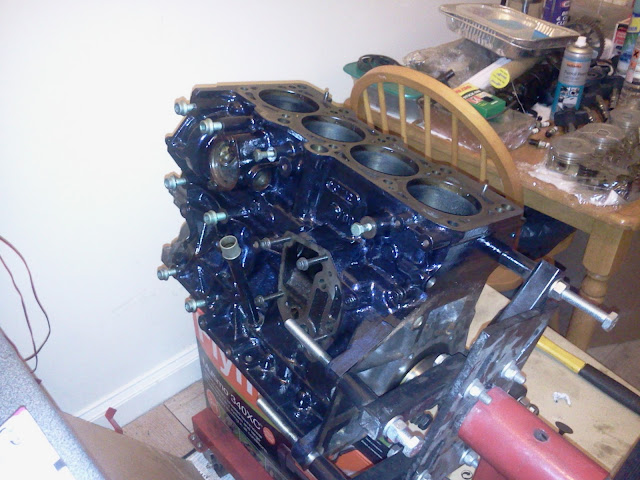
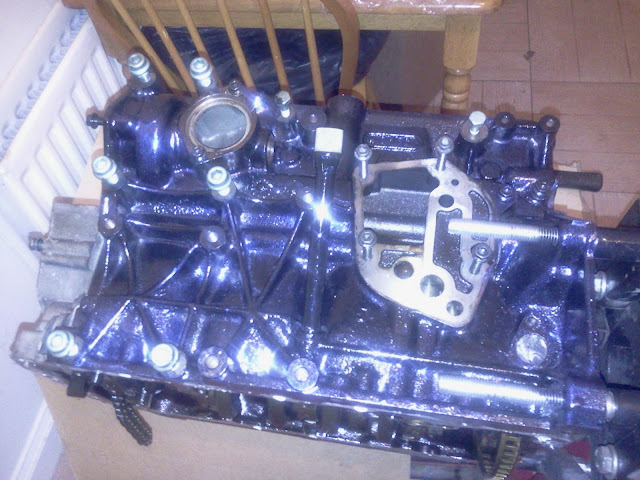

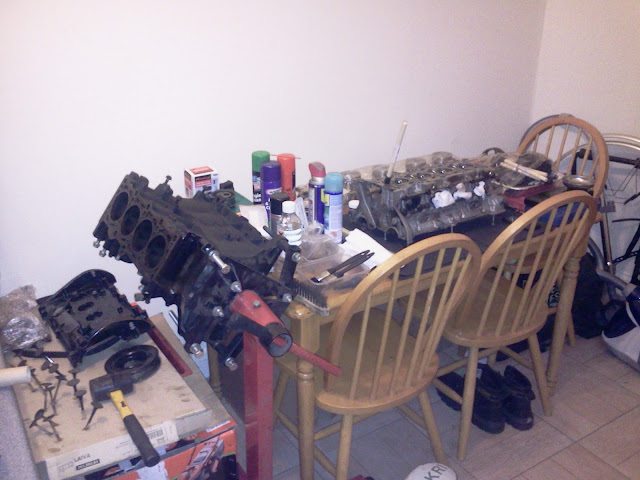
I have converted one of the guys in the house here aswell!
so we have an engine builder in the making.

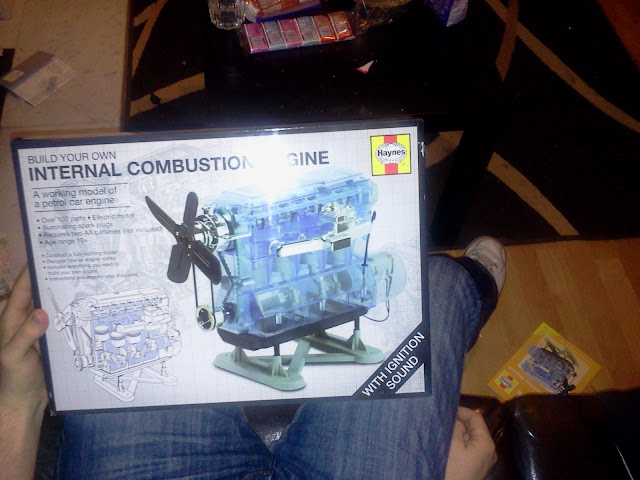
Got to work on lapping in the valves. Job finally done, a single course cut followed with a fine paste. The seats where pretty good to start with. there was a build up of carbon at the closest part of the exhaust valves on all cylinders. so a before (left) and after (right) shot.
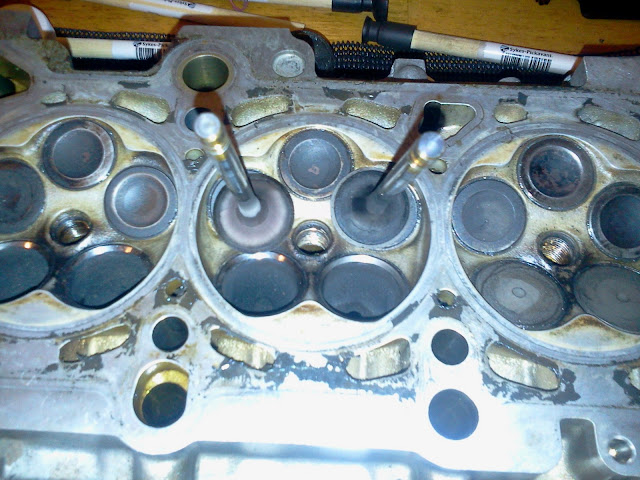
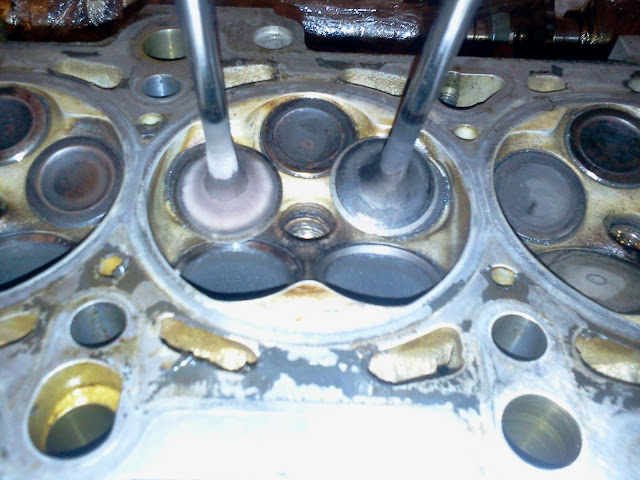
and a finished inlet valve.
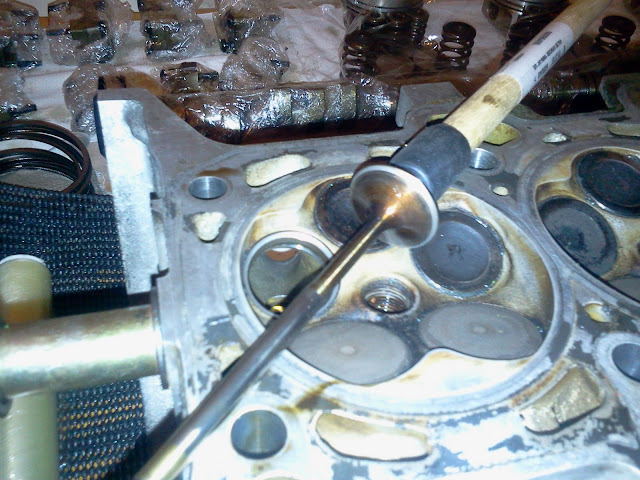
So from here Its off to get the head acid dipped and "de coked", skimmed and get the valves ultrasonically cleaned,
Ordering up a hone as I type ere so thats going to be next weeks work. All parts for the rebuild are finally being ordered on Monday.
What are peoples thoughts on polished mani's? I have one but am thinking about painting it...
so in the last few ive managed to paint the block, 4 layers of high temp 2 pack paint for the back (around the turbo area)
3 layers of black enamel for the front followed with a blue pearl and 4 layers of High temp fuel resistant clear coat.


I have converted one of the guys in the house here aswell!
so we have an engine builder in the making.


Got to work on lapping in the valves. Job finally done, a single course cut followed with a fine paste. The seats where pretty good to start with. there was a build up of carbon at the closest part of the exhaust valves on all cylinders. so a before (left) and after (right) shot.


and a finished inlet valve.

So from here Its off to get the head acid dipped and "de coked", skimmed and get the valves ultrasonically cleaned,
Ordering up a hone as I type ere so thats going to be next weeks work. All parts for the rebuild are finally being ordered on Monday.
What are peoples thoughts on polished mani's? I have one but am thinking about painting it...
So today turned into an engine rebuild day!
got a nice bit done.
Got all my parts from seres.

reassembled the head


fitted valve seals


fitted valves, springs, retainers and collets


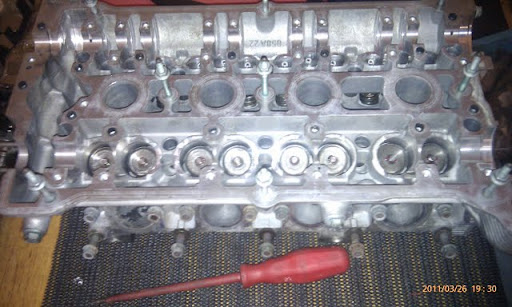
now all clean


got a nice bit done.
Got all my parts from seres.

reassembled the head


fitted valve seals


fitted valves, springs, retainers and collets


now all clean


followers and cams fitted and torqued up
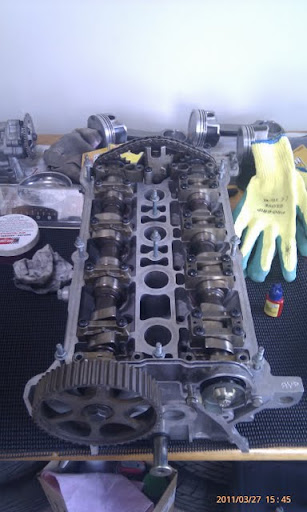

coffee break

now for the bottom end
new piston ring set

the first ring (silver), second ring (black) and the oil seal ring,

new CatCam rods, rings, pistons and calico coated race bearings


rings ground in and gapped.

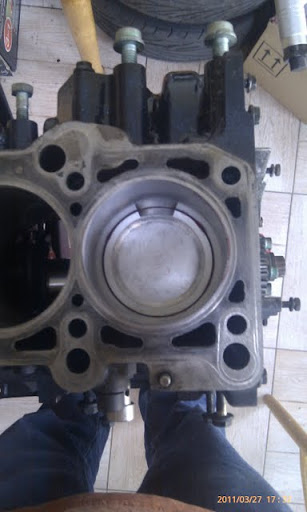


coffee break

now for the bottom end
new piston ring set

the first ring (silver), second ring (black) and the oil seal ring,

new CatCam rods, rings, pistons and calico coated race bearings


rings ground in and gapped.


two

gapping the rings for cylinder 3, went for 16 thou on 1st and 18 thou on the second 20 thou on oil ring


three

plastigauge on cylinder 4
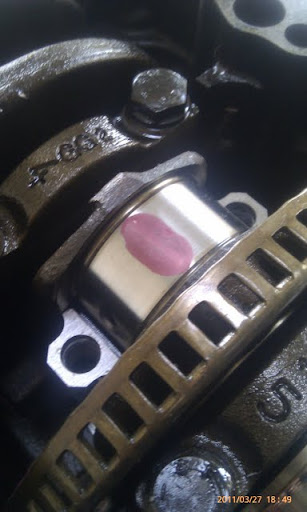
all big end bolts where torqued to 20 then 35 then 50 ft lbs for plastigauge test then to 50, loosened and retightened to 50 afterwards.
then fitted the new all pump and pick up

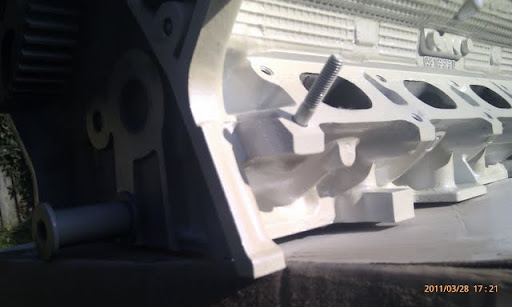
have base coat on the head now, needs lacquer later in the week.

gapping the rings for cylinder 3, went for 16 thou on 1st and 18 thou on the second 20 thou on oil ring


three

plastigauge on cylinder 4

all big end bolts where torqued to 20 then 35 then 50 ft lbs for plastigauge test then to 50, loosened and retightened to 50 afterwards.
then fitted the new all pump and pick up

have base coat on the head now, needs lacquer later in the week.
got a bit of paint work sorted today
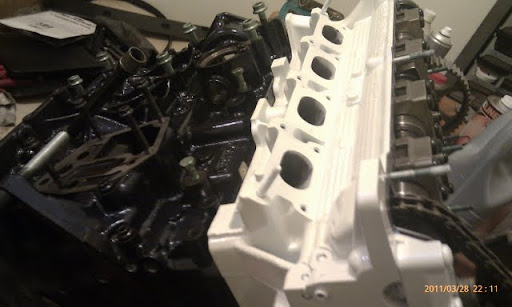
head is now white with a blue pearlescent high temp lacquer, rocker is a textured black which I am not totally sure about and am open to any opinions, might change back to flat...
wentmessing with the left overs of the blue peary too

so the rocker cover
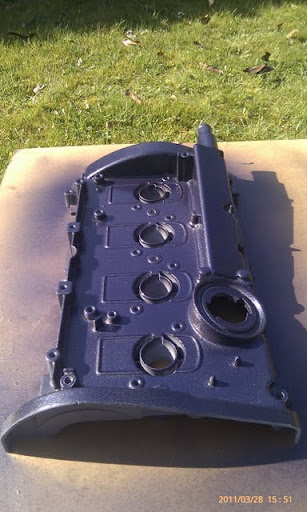

the head

top meets bottom
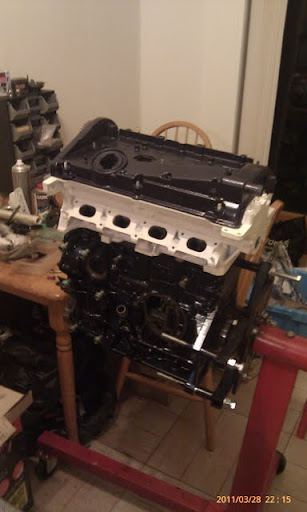
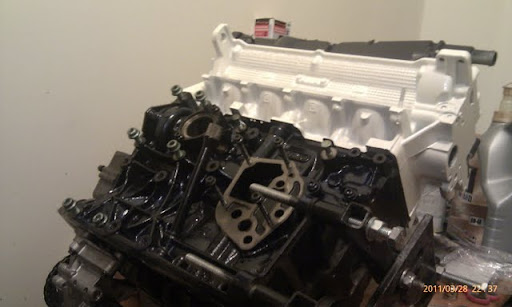
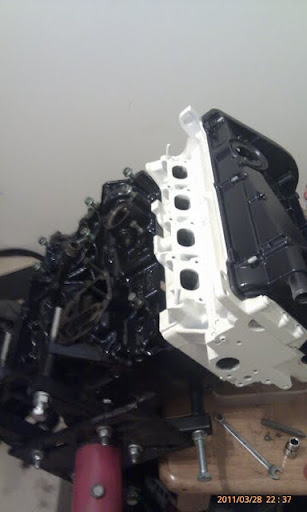
next up is all the ancillaries.
getting there though!
head is now white with a blue pearlescent high temp lacquer, rocker is a textured black which I am not totally sure about and am open to any opinions, might change back to flat...
wentmessing with the left overs of the blue peary too

so the rocker cover


the head


top meets bottom


next up is all the ancillaries.
getting there though!
Said I would upload a few pics to keep this going...
The last order arrives from SEAT


final assembly begins


Engine removed (Thanks lads)

FILTHY car
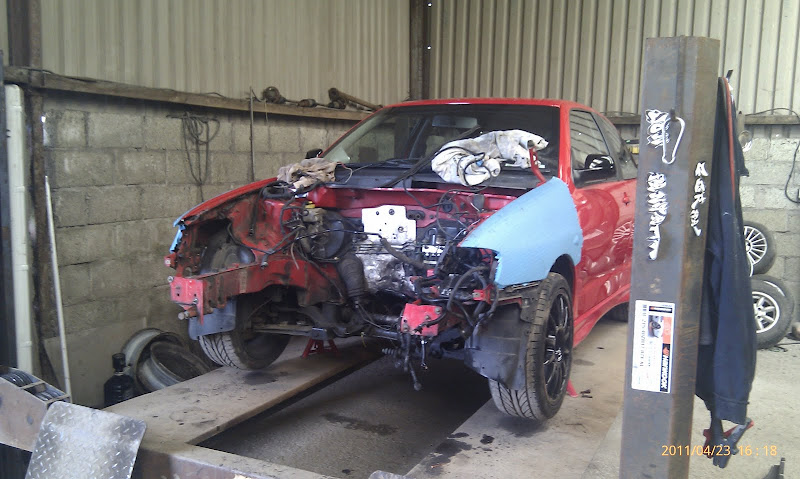
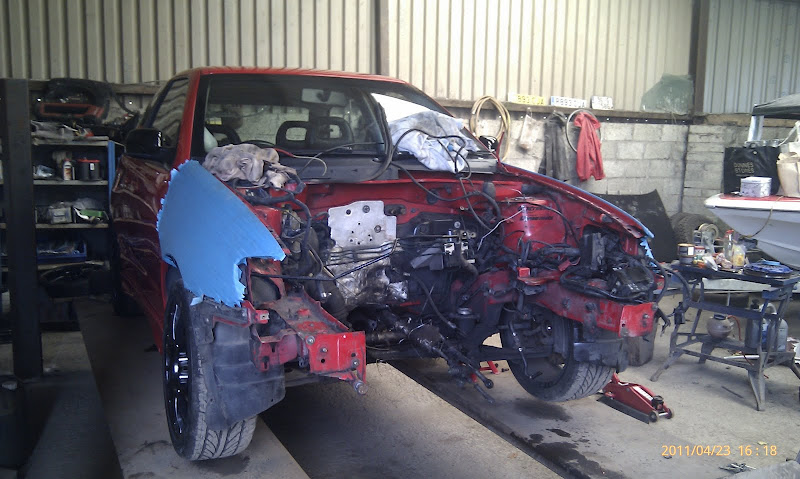

The last order arrives from SEAT


final assembly begins


Engine removed (Thanks lads)

FILTHY car


Similar threads
- Replies
- 1
- Views
- 1K


