Tools needed.
Star screwdriver ( the one in the boot tool kit is good )
Drill with small bit for pilot holes
Torx set
Sanding block
Cloths
The kit that comes with the side skirts
Large bed/dust sheet
Start by jacking the rear of the car and removing the rear wheel. I jacked on the spring seat so that the jack was out the way of the side of the car. You can also turn the front wheel to give access to the screws for the front of the skirt.
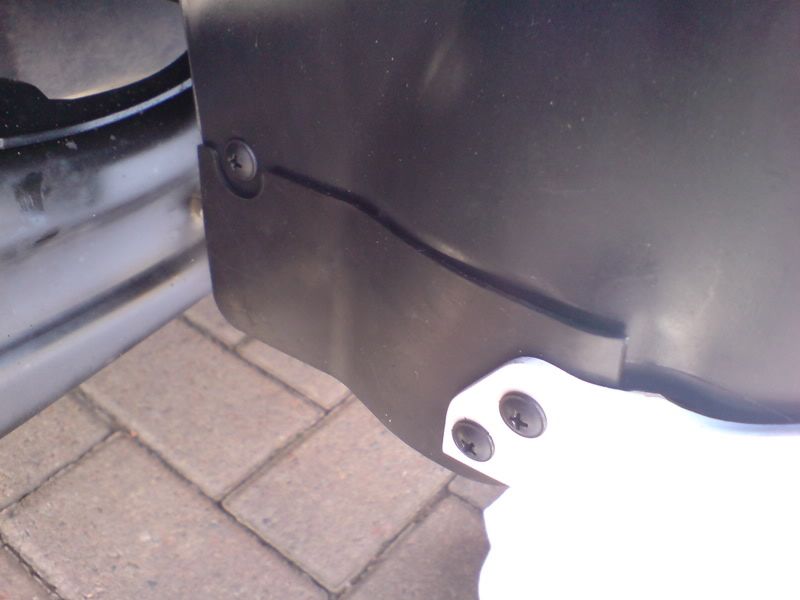
Once the wheel is removed you can fit the extra rubber piece to the inside of the rear arch. You remove the original screw, slide the new piece into place and screw it on using the old screw and a new screw along with a clip from the kit.
You can see the new black piece in place here.
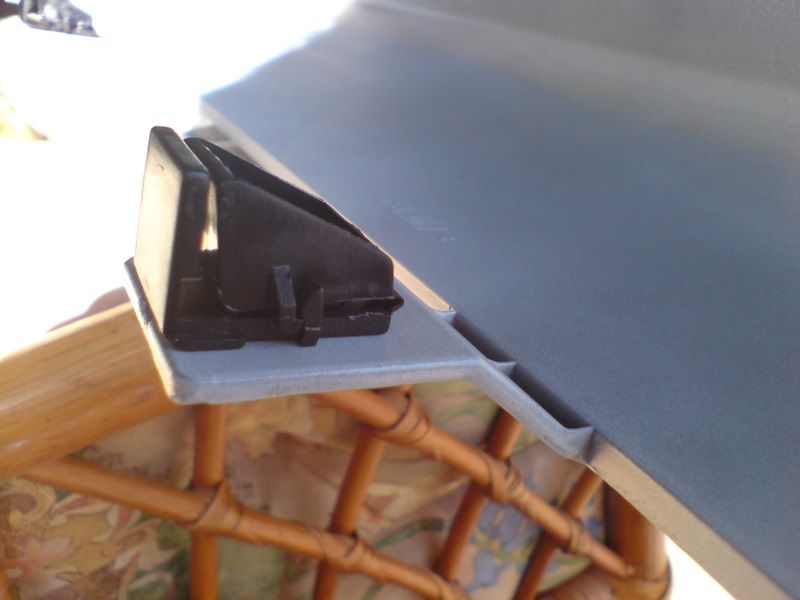
You can now fit the clips onto the side skirts. These are used to clip onto the seam under the car. Don’t fit them too tight so that you can move and adjust them under the car.
Clips in place on skirt.
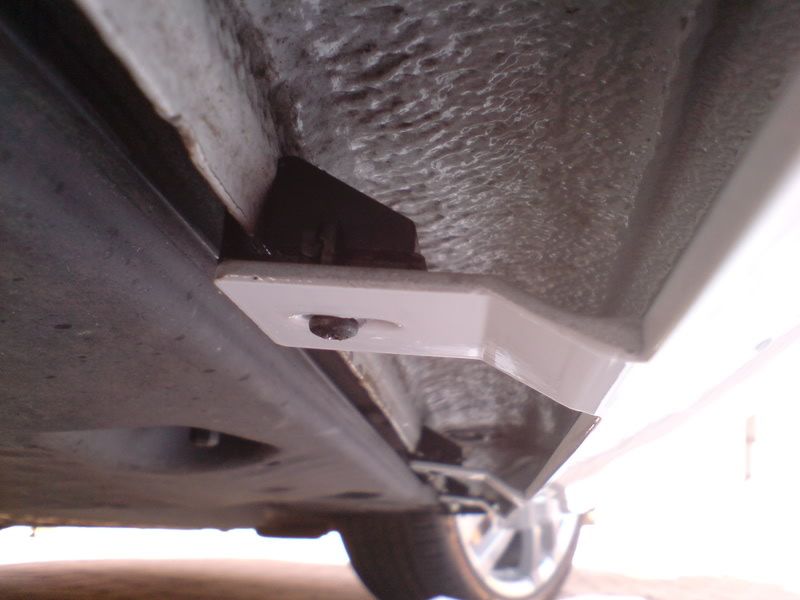
How they fit under the car
Once this is done you can fit the skirts without the adhesive so that you can get all the holes and screws in place before the final fit. You have to drill 2 pilot holes for the front 2 screws as they screw into the arch liner. You also drill 2 holes for the rears and use the thin silver clips for the rear of the screw.
Screws in place.

I only have 1 of the 2 screws here but did use both for final fit.
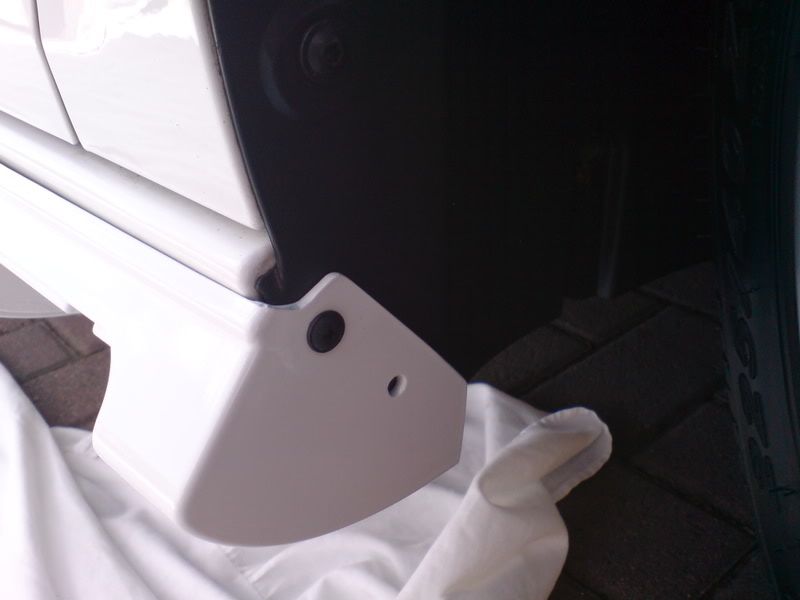
Skirts on car before final fit with adhesive.

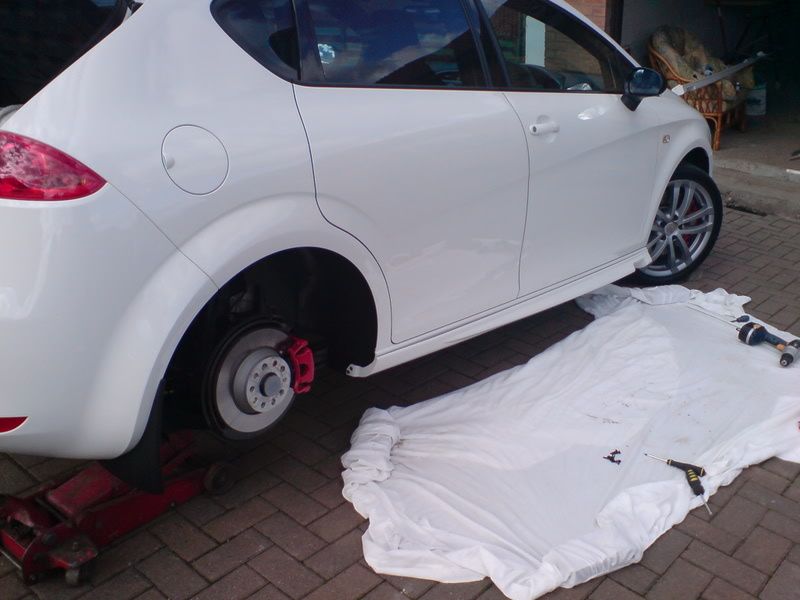
Now that you are happy with the fit and have all the screw holes done you can add the adhesive. First you have to use the supplied can of thinners and wipe/clean the area on the sill that the skirt with attach to. You must also lightly sand the area where the adhesive goes on the skirt, then take the small bottle of primer and paint it along the line that the adhesive will be applied.
Once this is done you can apply the adhesive to the skirts. It doesn’t come out the tube very fast but if you take your time you can get a nice even line. Its also easier to use the metal winder from the kit to squeeze the tube.
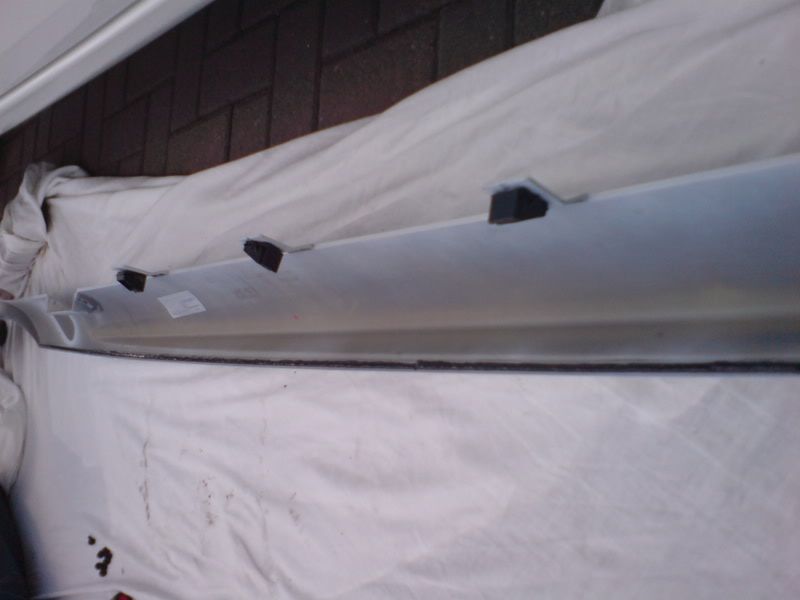
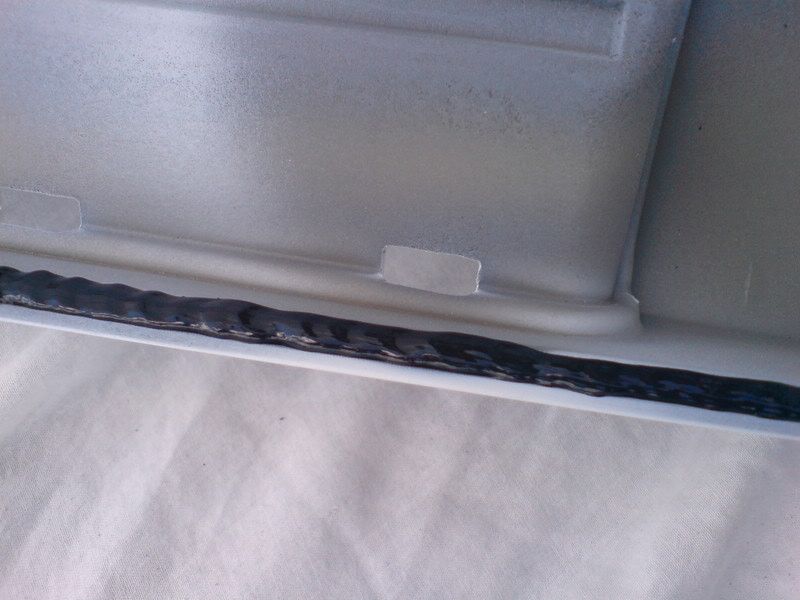
Now its time to fit. (the hard part)
The best way we found was to hold the skirt up and screw in the rear screws first while making sure there is no contact with the car. Next you want to fit the 2 front screws. Again making sure there is no contact. The best way to do this is for the person holding the skirt to put their thumbs between the skirt and the sill. This leaves the other person free to fit the screws. Once they are done you can line up the clips under the car and get them inplace.
Once all this is done, remove the thumbs from the gap and press the skirts onto the car. Attached to the car using masking tape so as to pull the skirt toward the car to get a good bond. Its easier to do this with the doors open.
Put the tape along the whole skirt as varied spaces.
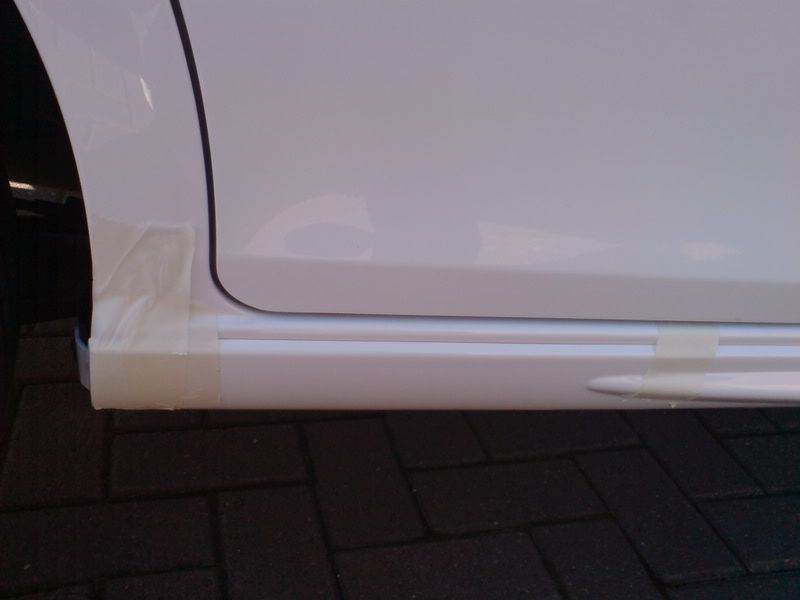
You can clean off any adhesive using the thinners supplied, but its not easy to get off if you get a lot on the sill/skirt so take your time when fitting.
Now you tighten the clips under the car, trying not to move the skirts too much while doing it.
Finally, fit the jacking point covers.. These are matched to each side. Not sure if they're marked, but if they don't look right like the first one I fitted..then try the other one.
Leave the masking tape on for 24hrs to allow the adhesive to bond well. Ideally you should leave the car indoors if the weathers bad as moisture won’t help the bonding.
I'd say it should take at most a few hours start to finish.
Star screwdriver ( the one in the boot tool kit is good )
Drill with small bit for pilot holes
Torx set
Sanding block
Cloths
The kit that comes with the side skirts
Large bed/dust sheet
Start by jacking the rear of the car and removing the rear wheel. I jacked on the spring seat so that the jack was out the way of the side of the car. You can also turn the front wheel to give access to the screws for the front of the skirt.
Once the wheel is removed you can fit the extra rubber piece to the inside of the rear arch. You remove the original screw, slide the new piece into place and screw it on using the old screw and a new screw along with a clip from the kit.
You can see the new black piece in place here.

You can now fit the clips onto the side skirts. These are used to clip onto the seam under the car. Don’t fit them too tight so that you can move and adjust them under the car.
Clips in place on skirt.

How they fit under the car

Once this is done you can fit the skirts without the adhesive so that you can get all the holes and screws in place before the final fit. You have to drill 2 pilot holes for the front 2 screws as they screw into the arch liner. You also drill 2 holes for the rears and use the thin silver clips for the rear of the screw.
Screws in place.

I only have 1 of the 2 screws here but did use both for final fit.

Skirts on car before final fit with adhesive.


Now that you are happy with the fit and have all the screw holes done you can add the adhesive. First you have to use the supplied can of thinners and wipe/clean the area on the sill that the skirt with attach to. You must also lightly sand the area where the adhesive goes on the skirt, then take the small bottle of primer and paint it along the line that the adhesive will be applied.
Once this is done you can apply the adhesive to the skirts. It doesn’t come out the tube very fast but if you take your time you can get a nice even line. Its also easier to use the metal winder from the kit to squeeze the tube.


Now its time to fit. (the hard part)
The best way we found was to hold the skirt up and screw in the rear screws first while making sure there is no contact with the car. Next you want to fit the 2 front screws. Again making sure there is no contact. The best way to do this is for the person holding the skirt to put their thumbs between the skirt and the sill. This leaves the other person free to fit the screws. Once they are done you can line up the clips under the car and get them inplace.
Once all this is done, remove the thumbs from the gap and press the skirts onto the car. Attached to the car using masking tape so as to pull the skirt toward the car to get a good bond. Its easier to do this with the doors open.
Put the tape along the whole skirt as varied spaces.

You can clean off any adhesive using the thinners supplied, but its not easy to get off if you get a lot on the sill/skirt so take your time when fitting.
Now you tighten the clips under the car, trying not to move the skirts too much while doing it.
Finally, fit the jacking point covers.. These are matched to each side. Not sure if they're marked, but if they don't look right like the first one I fitted..then try the other one.
Leave the masking tape on for 24hrs to allow the adhesive to bond well. Ideally you should leave the car indoors if the weathers bad as moisture won’t help the bonding.
I'd say it should take at most a few hours start to finish.
Last edited:


![Cool [B)] [B)]](/forums/styles/seatcupra/oldforumsmileys/shades.gif)
