• Guest would you be interested in CUPRA or SEAT valve caps? let us know in the poll

  • Welcome to our new sponsor Lecatona, a brand dedicated to enhancing performance for VAG group sports cars, including SEAT, Audi, Volkswagen and Škoda. Specializing in High Pressure Fuel Pump (HPFP) upgrades.

Fitting Coilovers - Leon Cupra

DPJ

...........
Dec 13, 2004
7,996
2
NN Yorks / Salento
www.seatcupra.net
***Work in progress***
*****Instructions + Torque figures to be added*****​

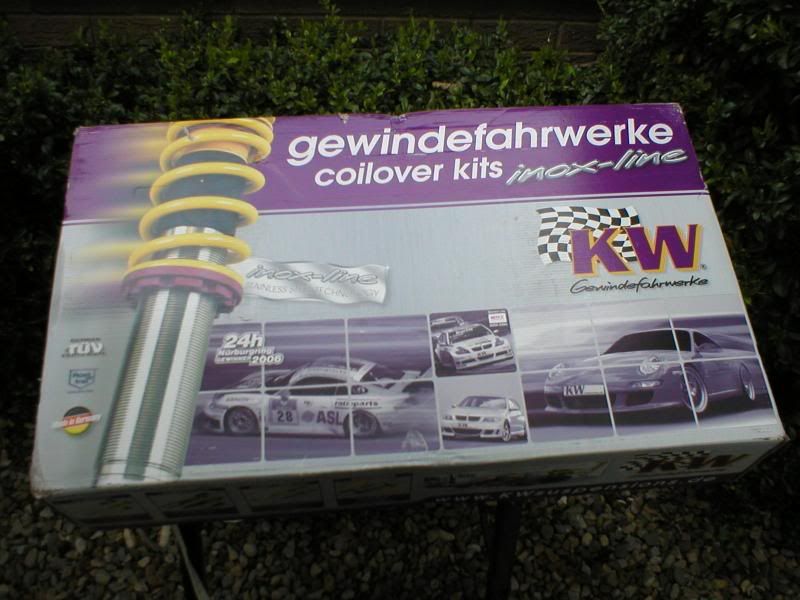
KW Variant 2 Coilovers

New VAG parts required (Recommended)
(Part numbers for Leon Cupra)
front
2 of 1J0412249 axial grooved ball bearing
2 of 1H0412365A threaded bush
2 of IJ0412331C suspension strut storage **(Check this is correct for your chassis)
2 of N90353604 Hex Nut
rear
2 of N10403701 Hex Nut
2 of IJ0512131C Rubber Stop **(Check this is correct for your chassis)
2 of 1J0512149B base upper


Tools required:
.............
.............
.............
White grease

Front

Removal of existing suspension struts.

Remove your brake discs and calipers. It is not necessary to disconnect the hydraulic brake lines.
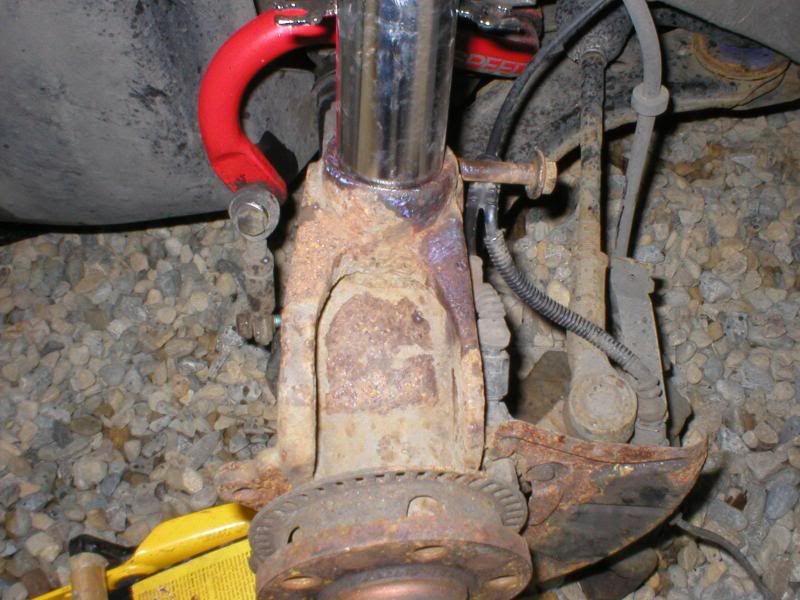
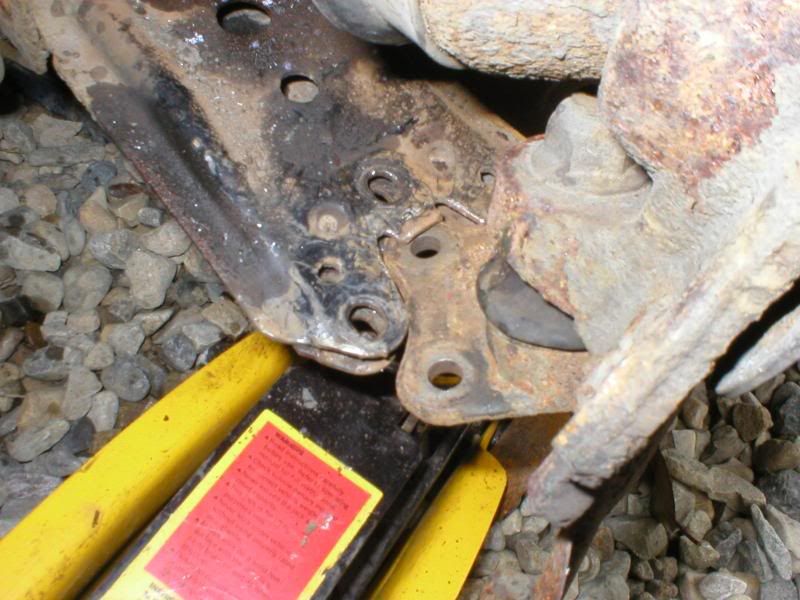
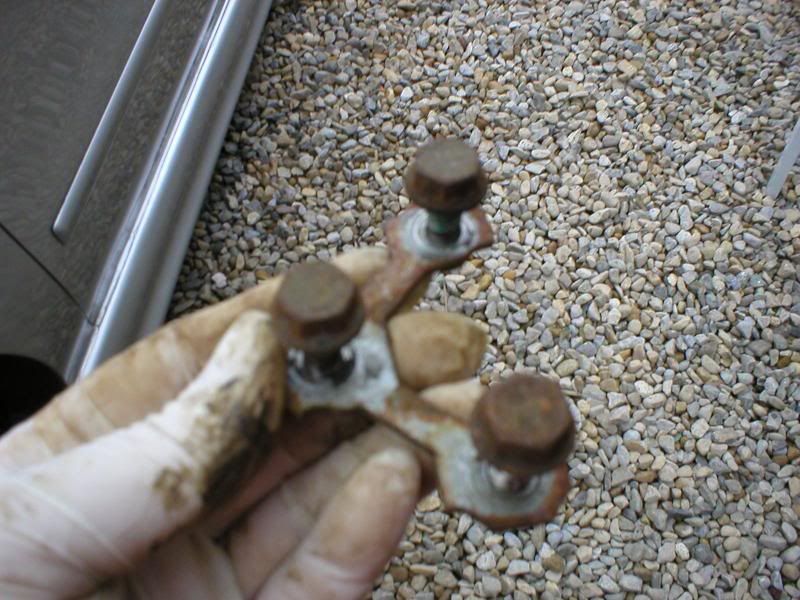
Unbolt the three bolts that hold the bottom balljoint plate to the end of the wishbone arm. Pull the plate out of the wishbone end. This will give you more clearance.

Unbolt an anti-roll bar droplink from the car on one side only.

Unclip the wiring from the suspension struts.

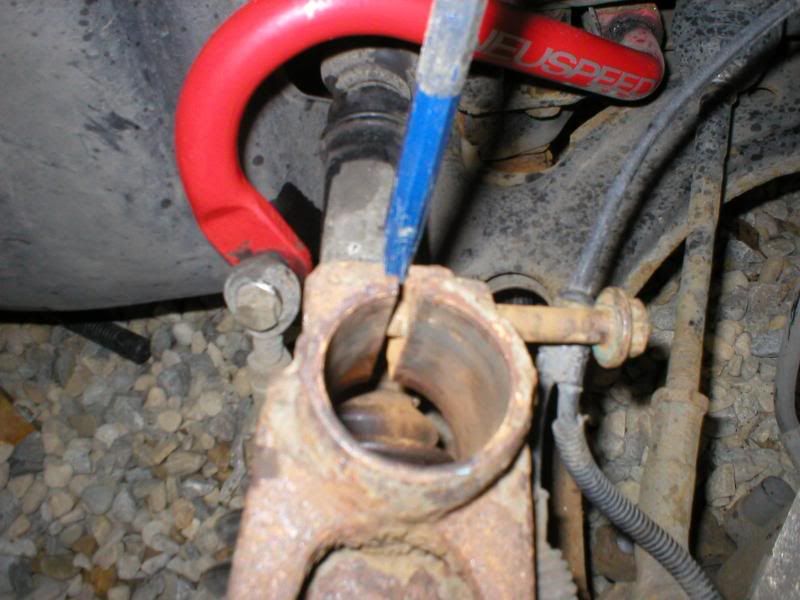
Undo the clamp bolt at the rear of the wheel bearing housing that secures the suspension strut. Fit a wedge into the slot at the back to open the joint. (A large flat screwdriver or a small cold chisel is ideal). You should now be able to push the wheel bearing housing down off the bottom of the strut.

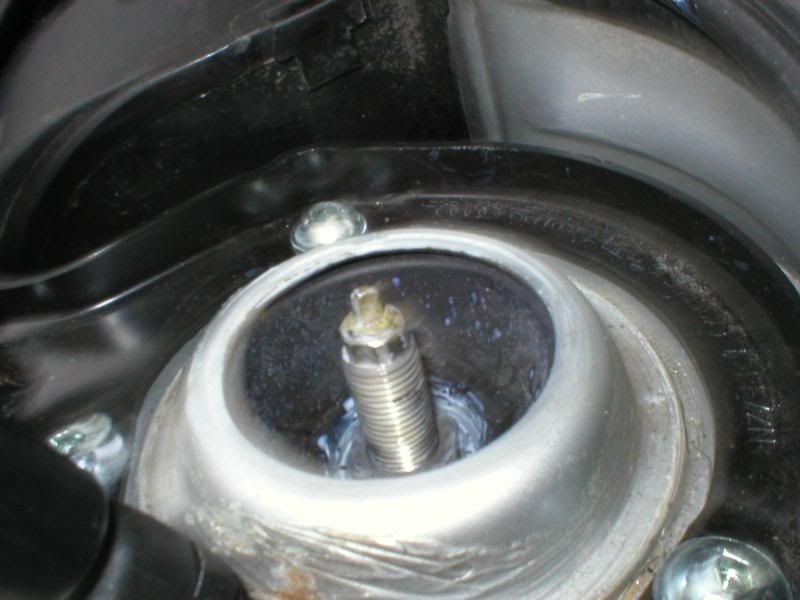
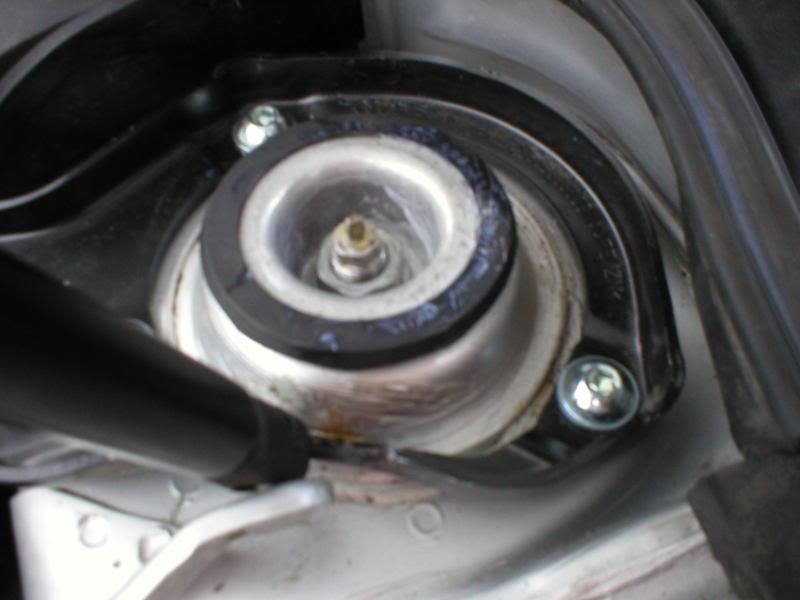
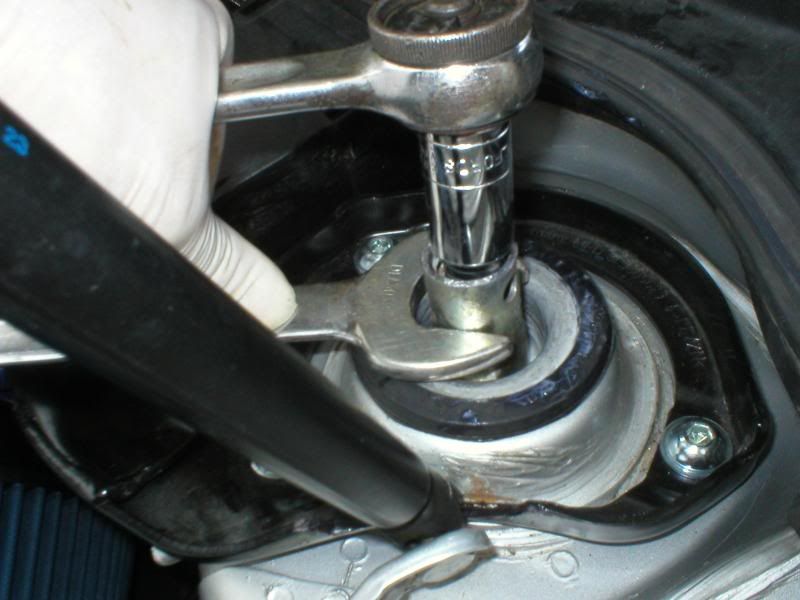
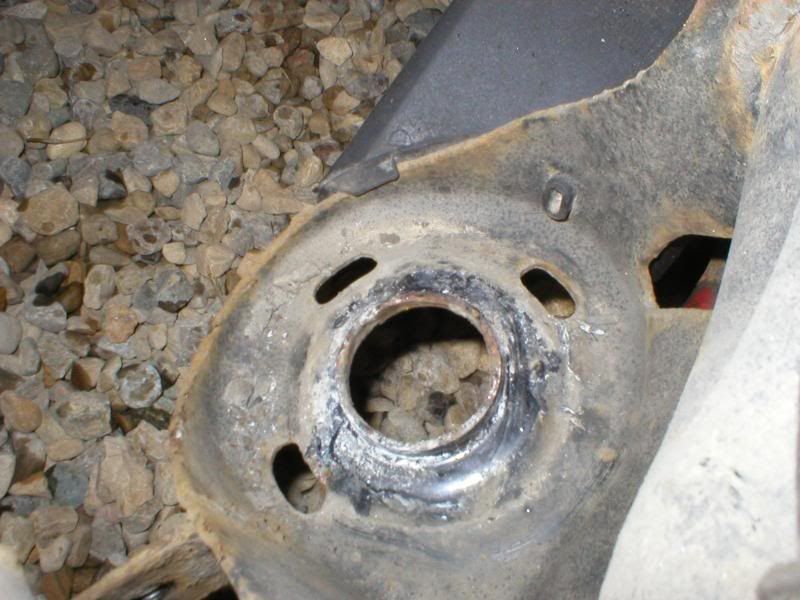
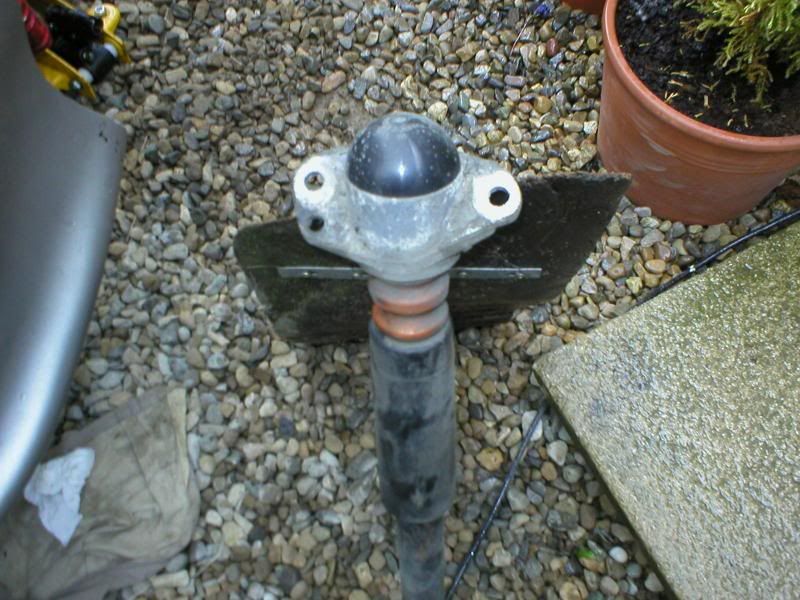
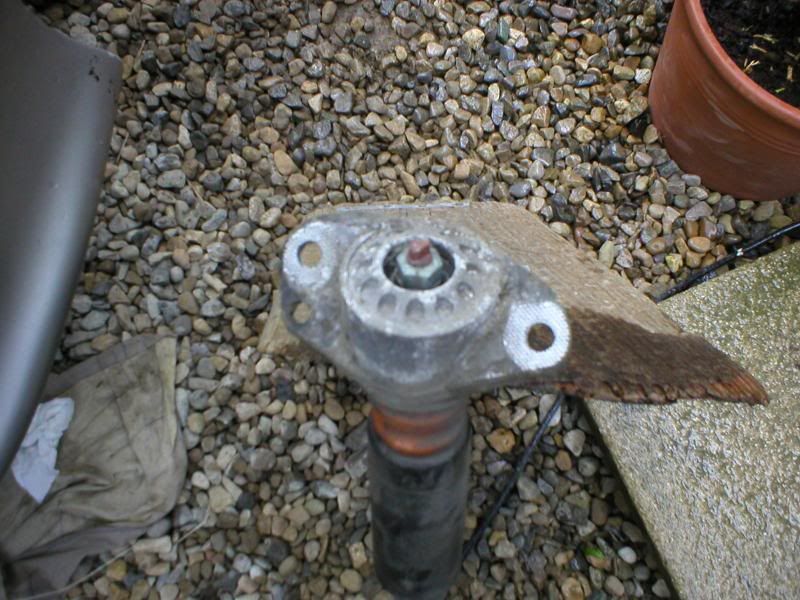
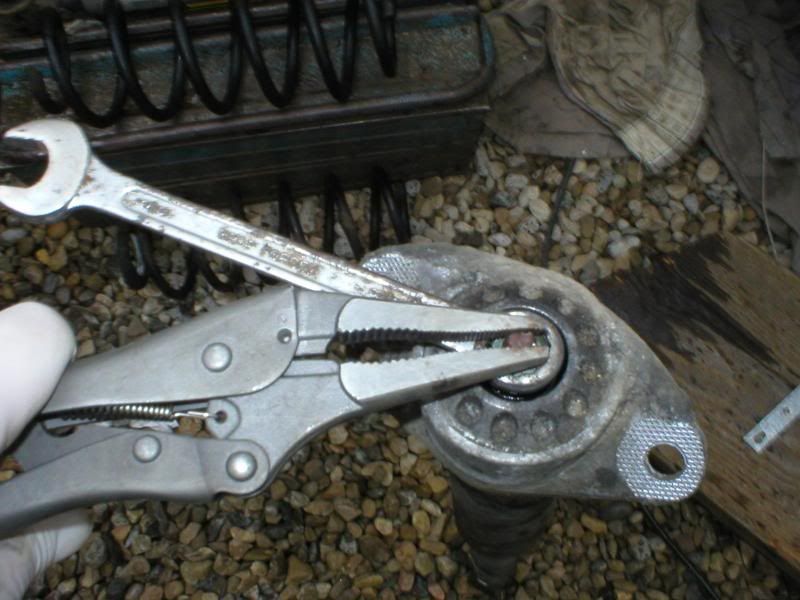
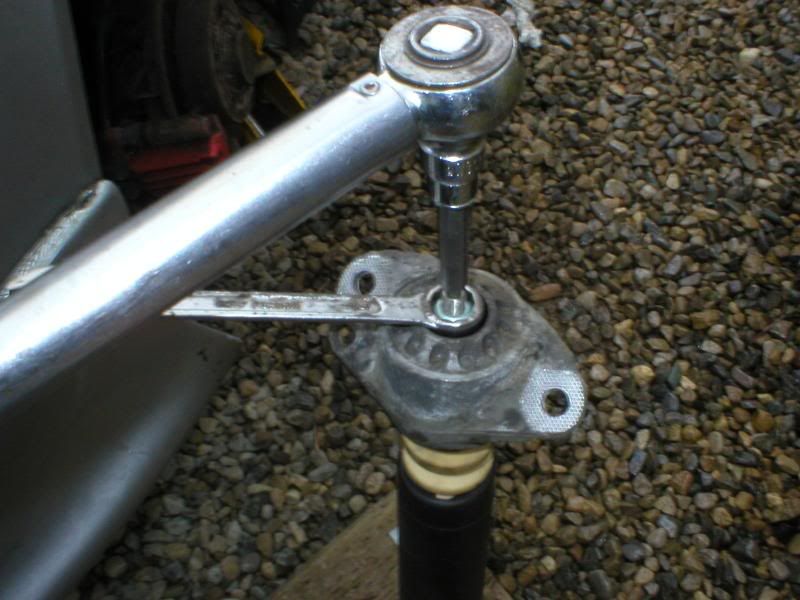
Moving to the top of the suspension strut, move the plastic cover, then using a hex (allen) bit to stop the piston rotating, undo the securing nut and remove the mounting plate.

You should now be able to remove the entire suspension strut.

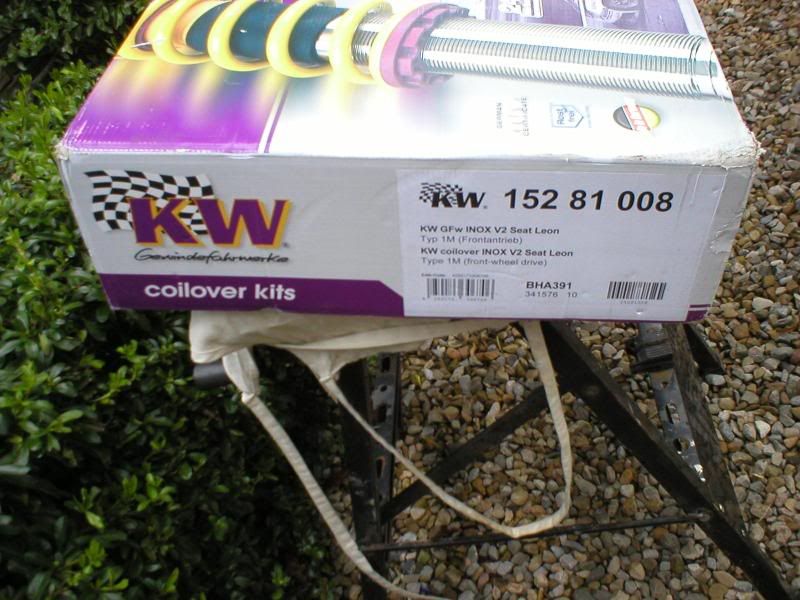
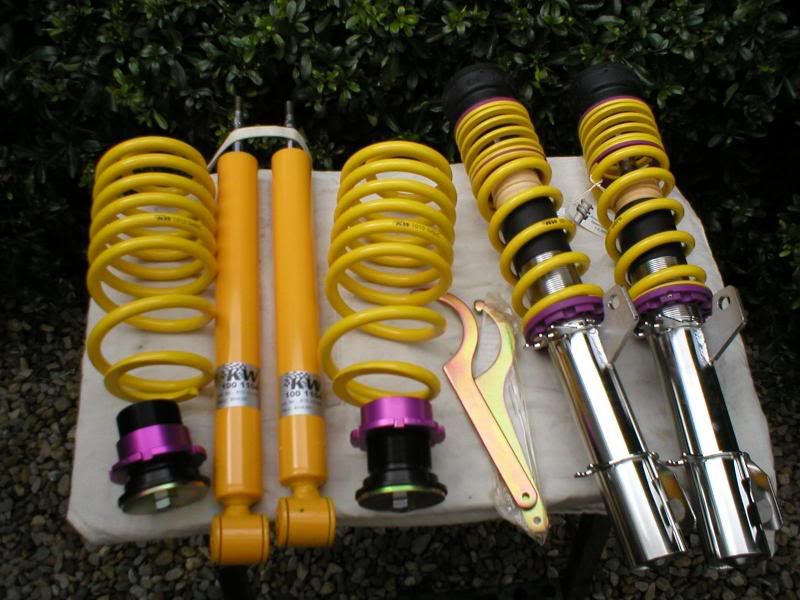
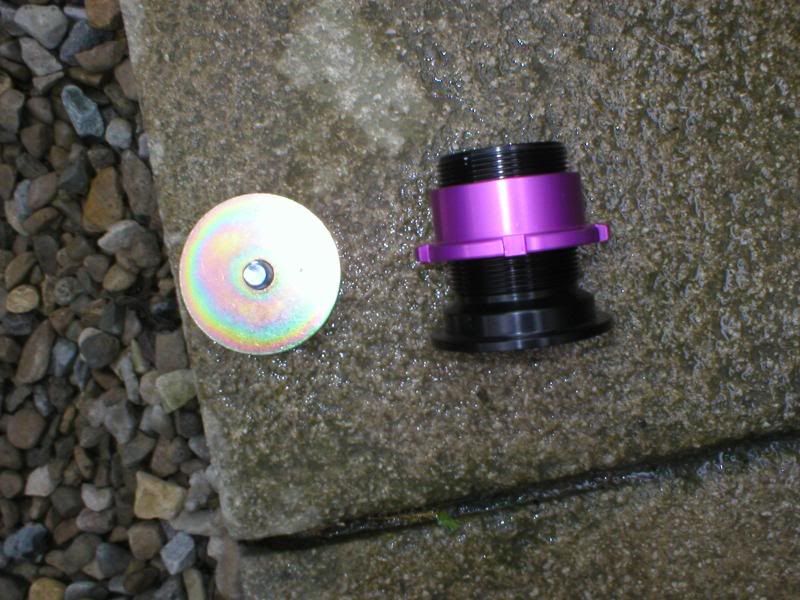
Take a moment to admire your new coilovers and check everything is there.....

P1010073.jpg

P1010074.jpg

P1010075.jpg

P1010076.jpg


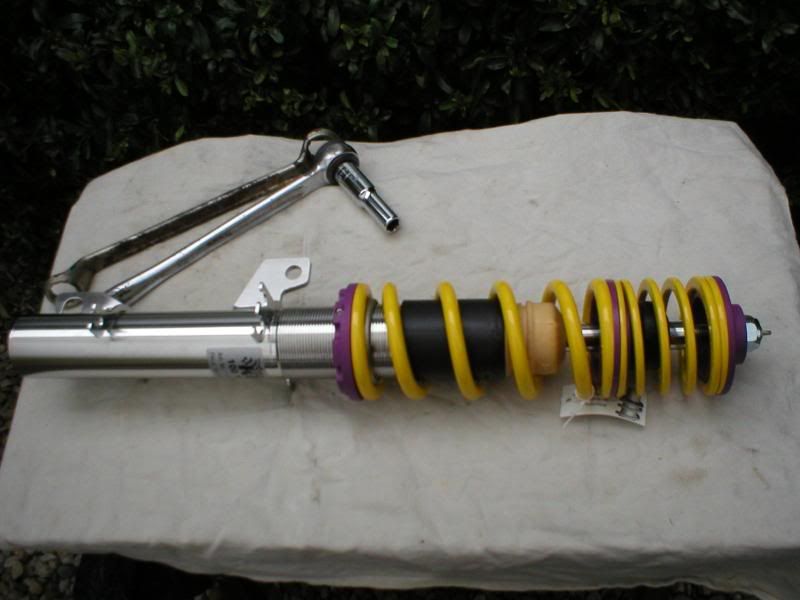
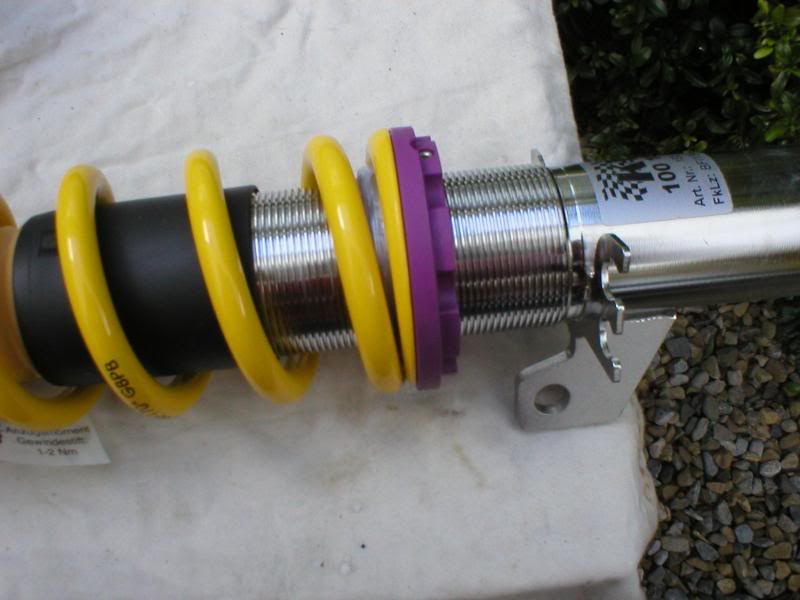
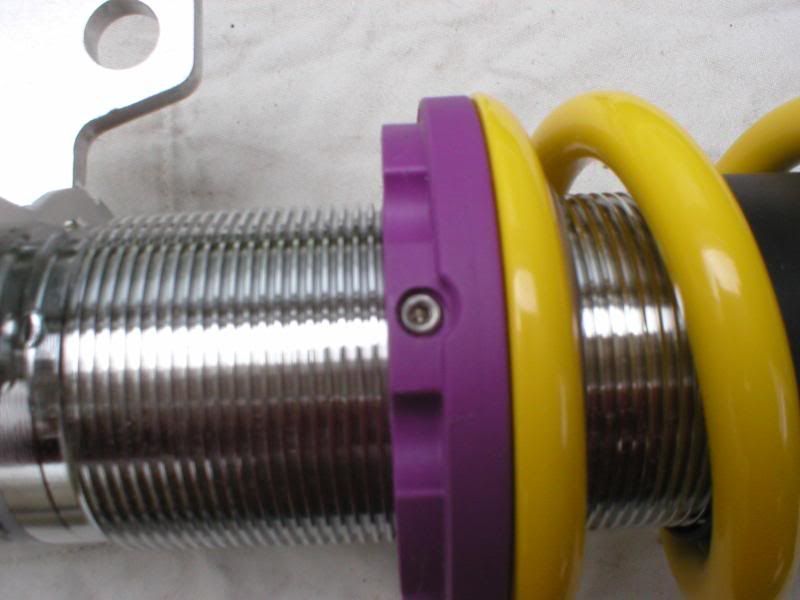
Note the locking screw on the height adjuster. Undo this now.
P1010077.jpg


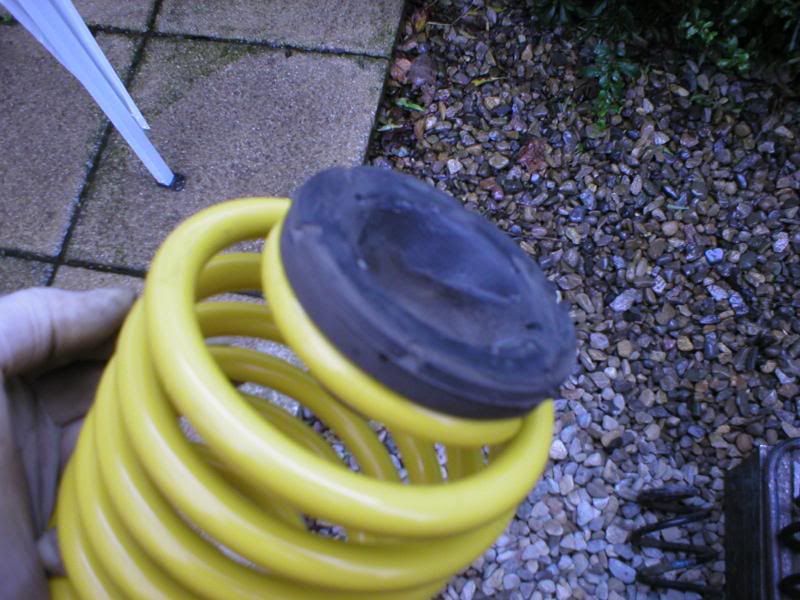
The KW front coilovers come with two height restrictors fitted to prevent anti-roll bars fouling the driveshafts. You can see these inside the top spring.
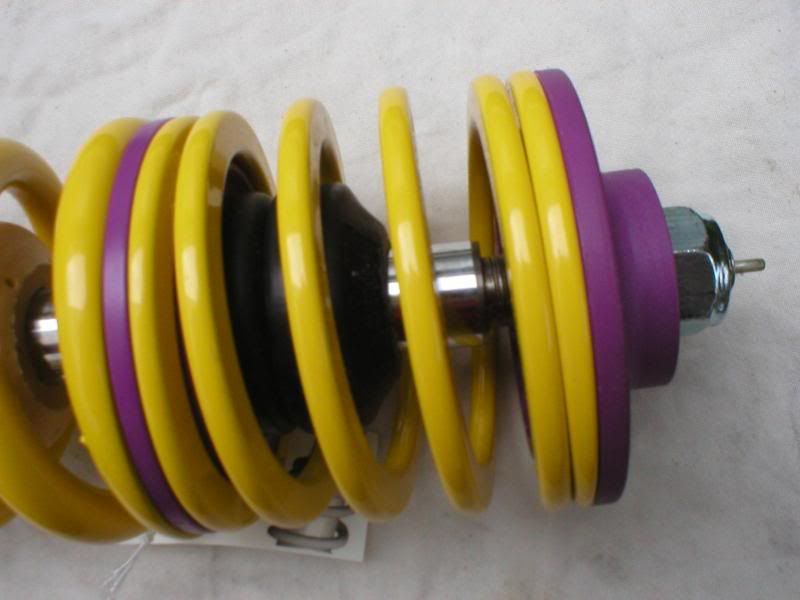
P1010078.jpg


To make it easier for yourself, lower the height adjusting ring as far as it will go. This will take the spring pressure off.
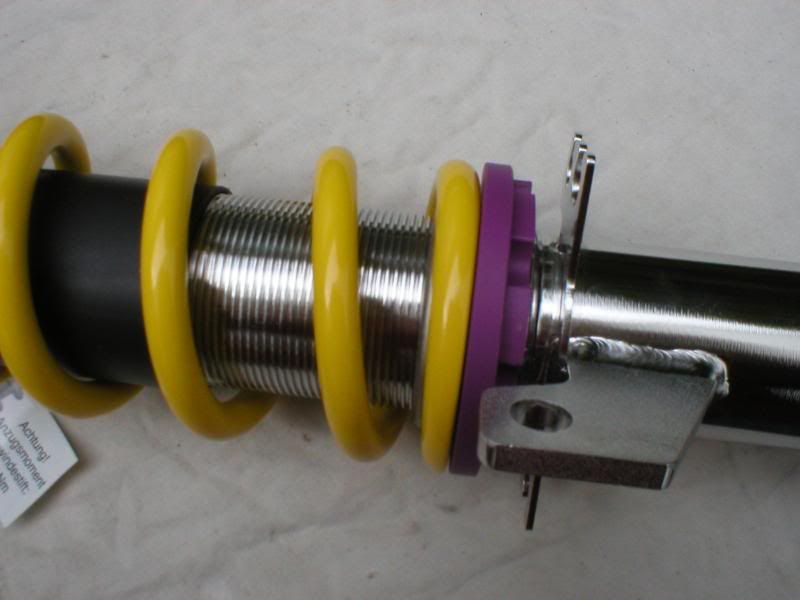
P1010079.jpg


Now, remove the locking nut that comes fitted to the top of the coilover.
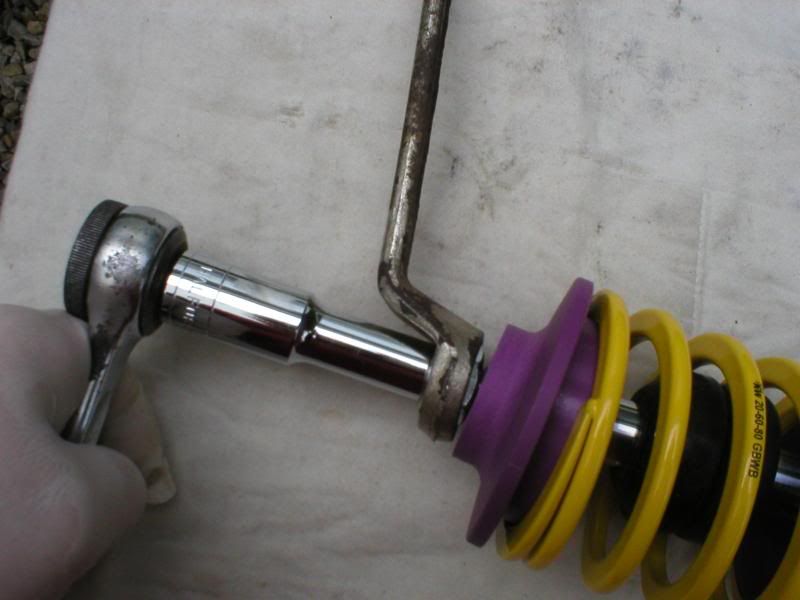
P1010080.jpg


You can now remove one or both of the height restricting rubbers, depending on the configuration of rollbar you are running.
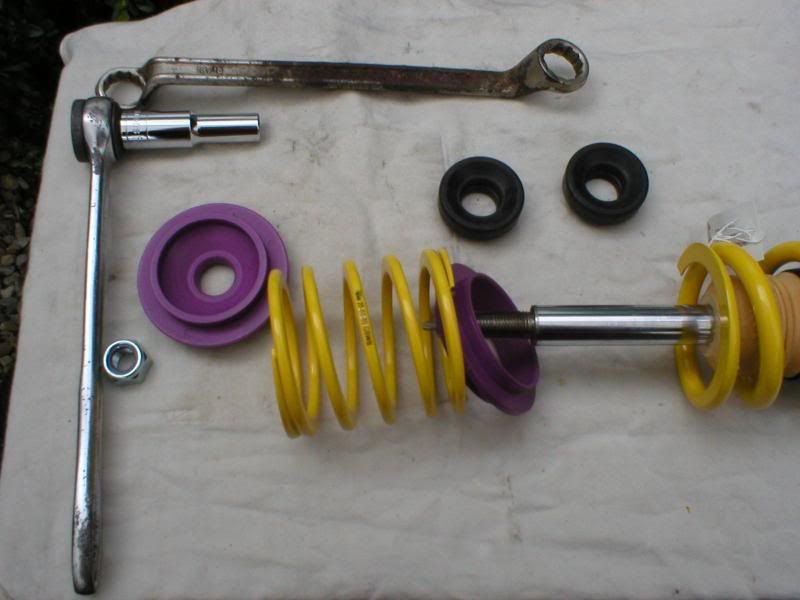
P1010081.jpg


Now, refit the top spring and the top purple mount.
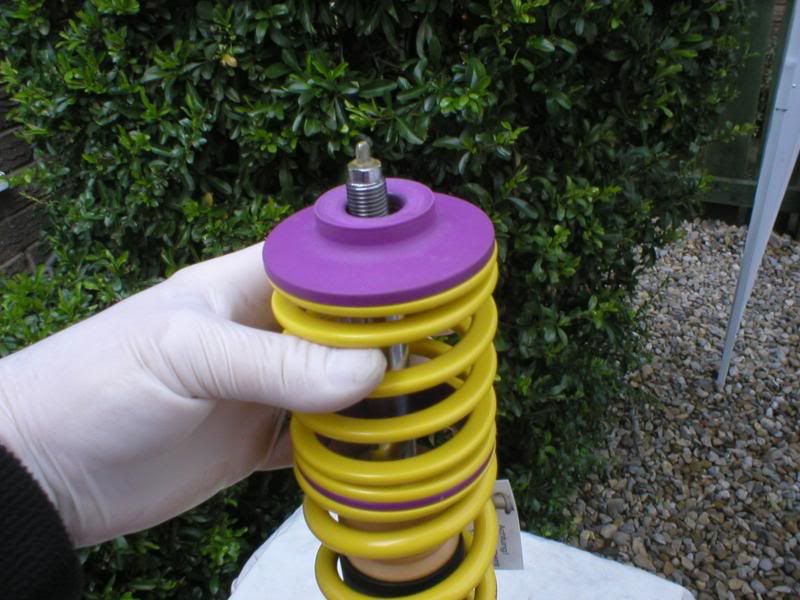
P1010082.jpg
 
Last edited:

DPJ

...........
Dec 13, 2004
7,996
2
NN Yorks / Salento
www.seatcupra.net
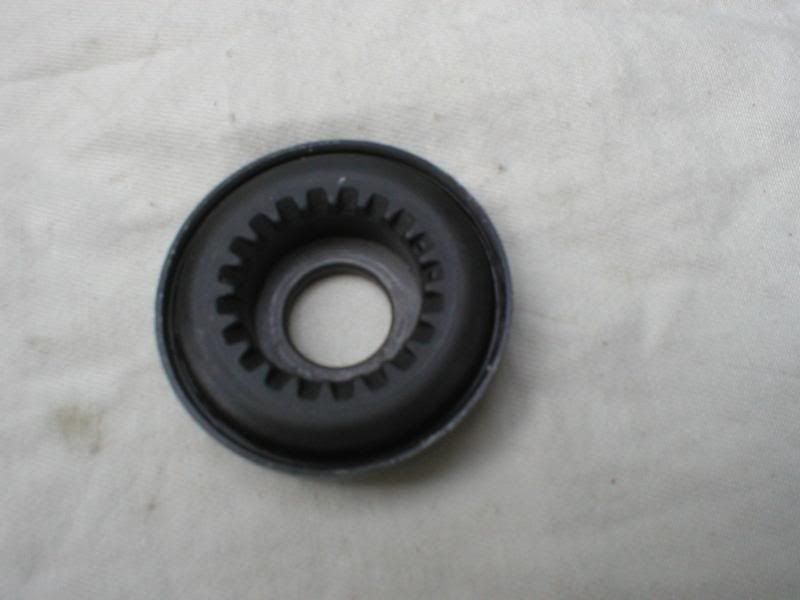
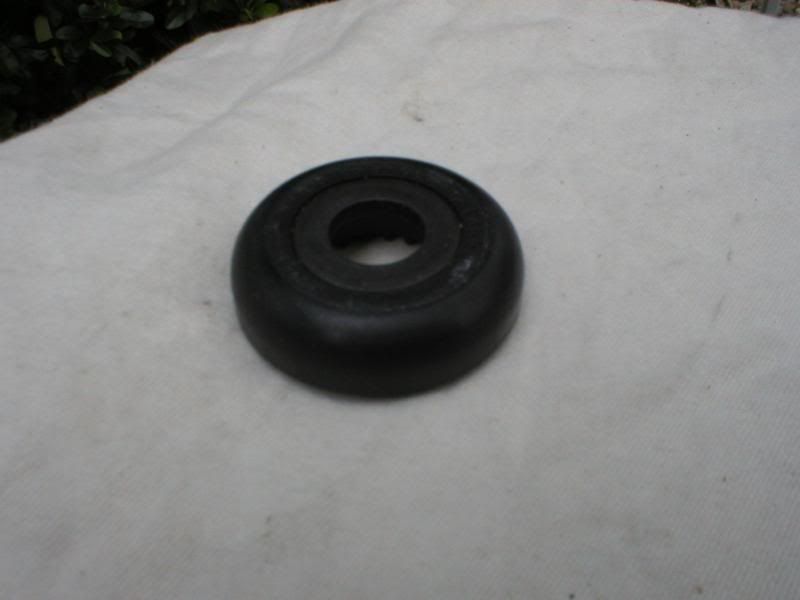
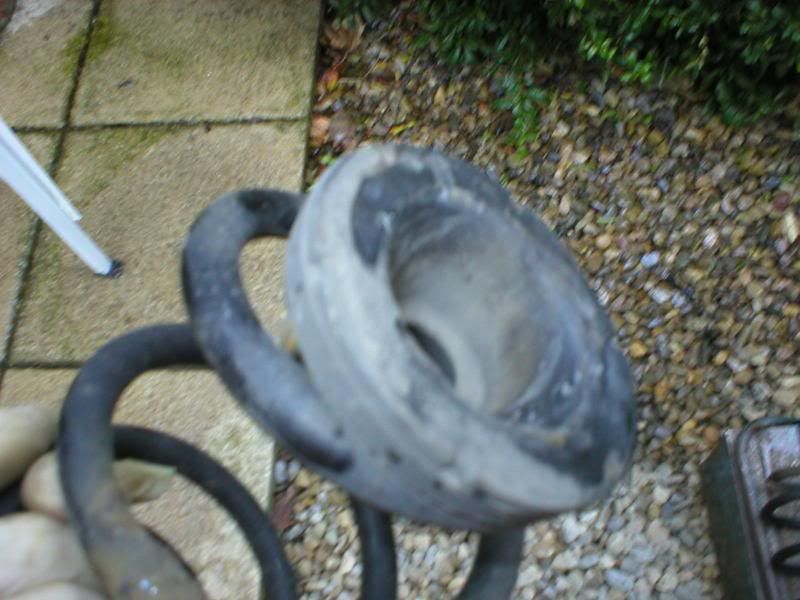
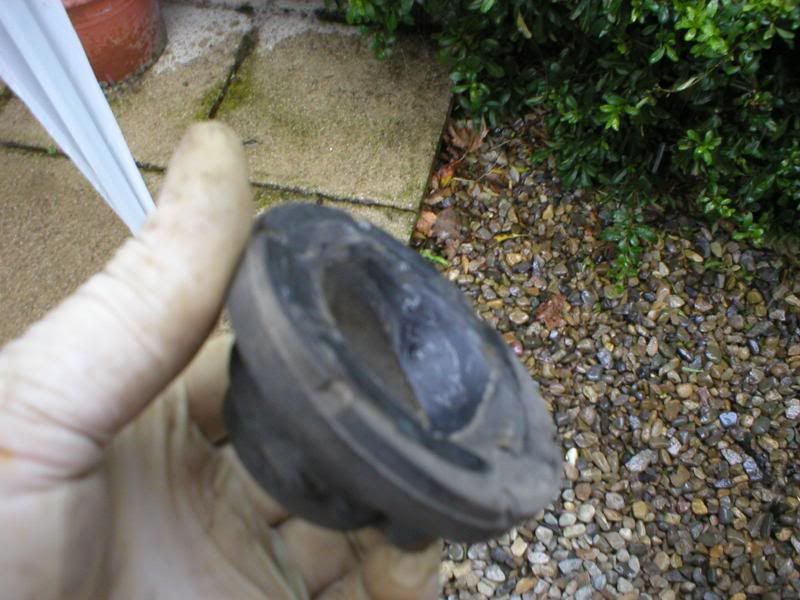
You should have bought a new top bearing for each side. Note the curved face should face upwards.

P1010083.jpg

P1010084.jpg

P1010085.jpg


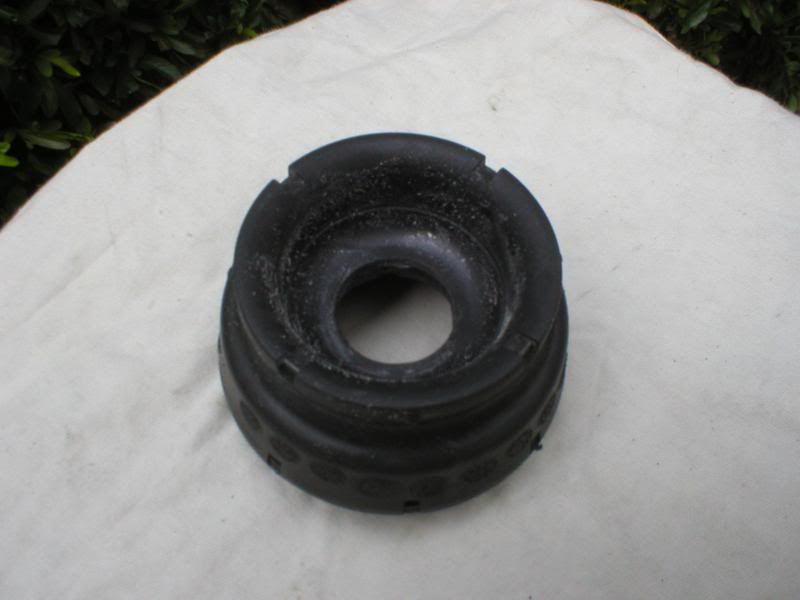
If you examine one of your new rubber topmounts, you will see that one side is curved to match the top face of the bearing.

P1010088.jpg


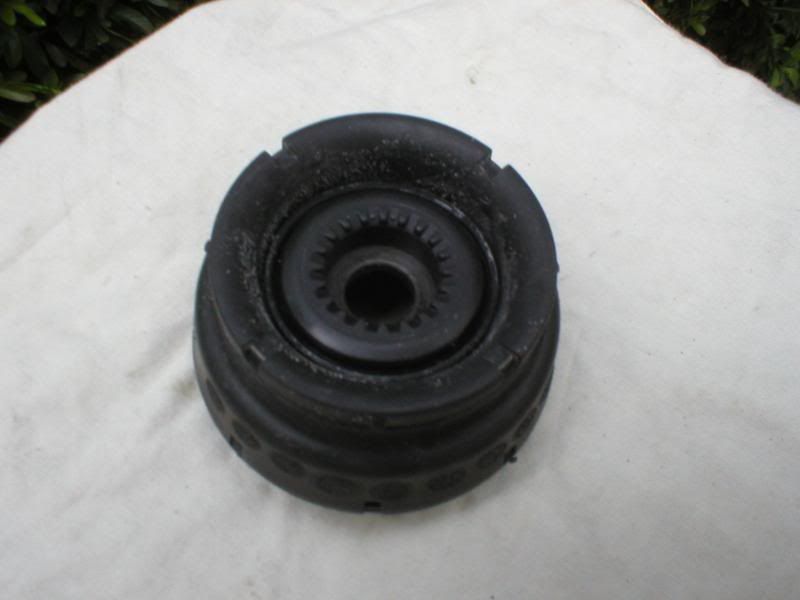
The following picture shows the bearing seated into the rubber topmount - This is how they'd look assembled from underneath.

P1010089.jpg


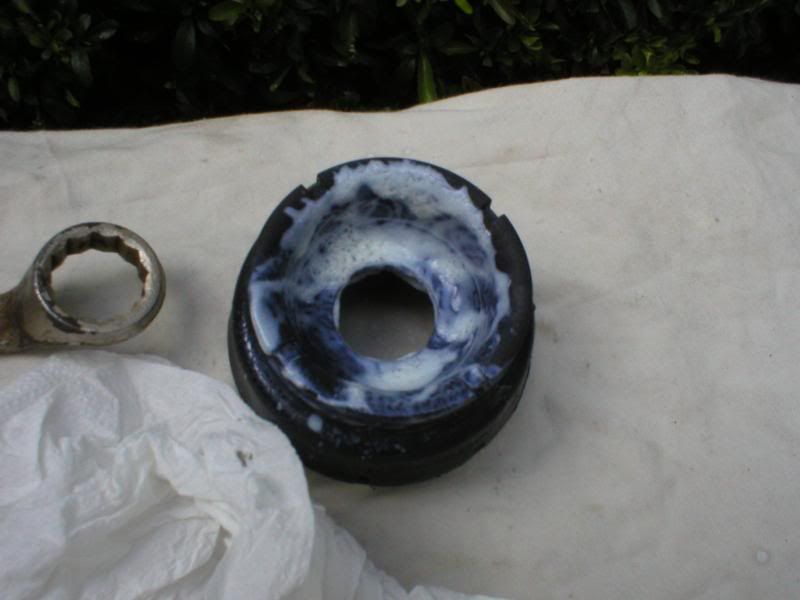
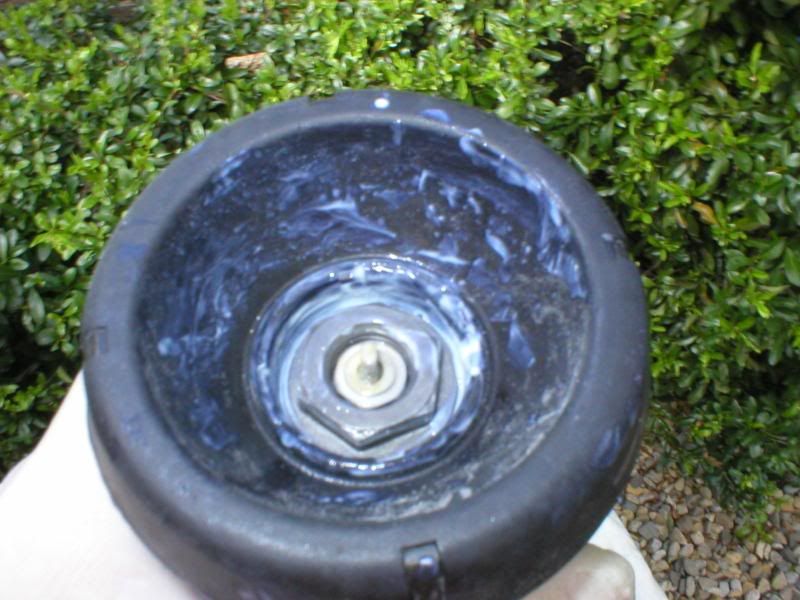
Plenty of white grease on the bearing and the rubber topmount.

P1010090.jpg

P1010091.jpg


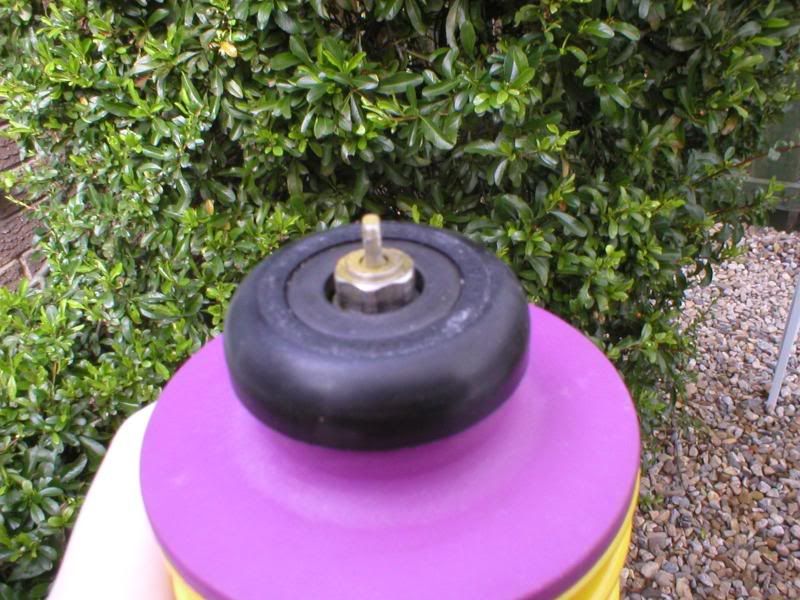
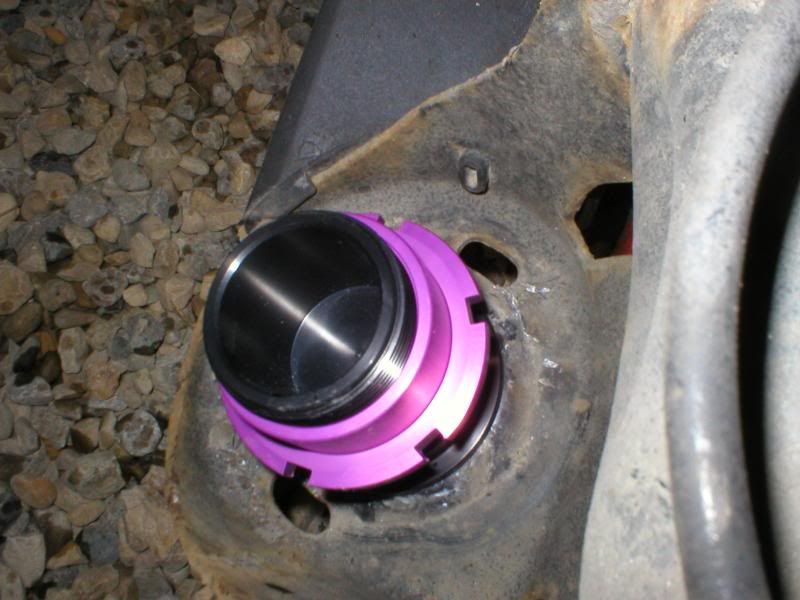
Ok, now you needed one of the threaded bushes you bought. You use this to bolt the rubber topmount to the coilover. One face of it sits on the top of the top bearing.

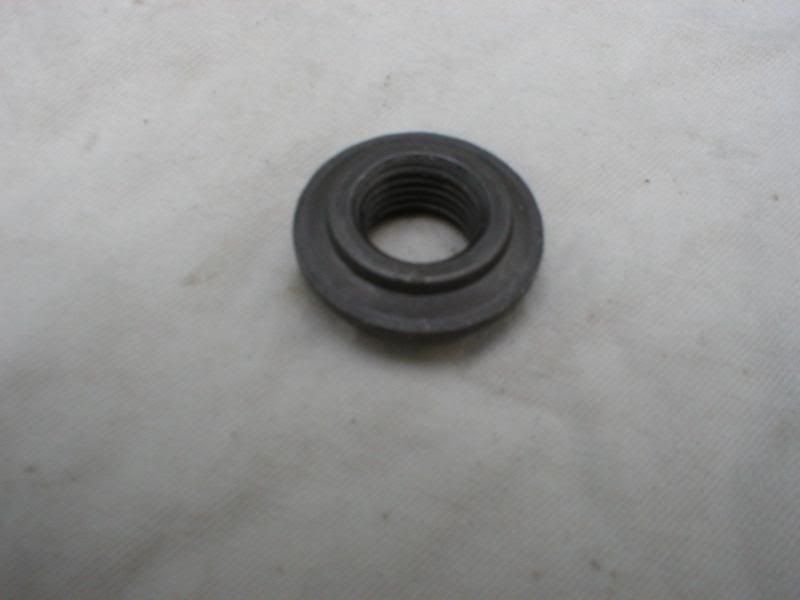
Bottom view of threaded bush....
P1010086.jpg

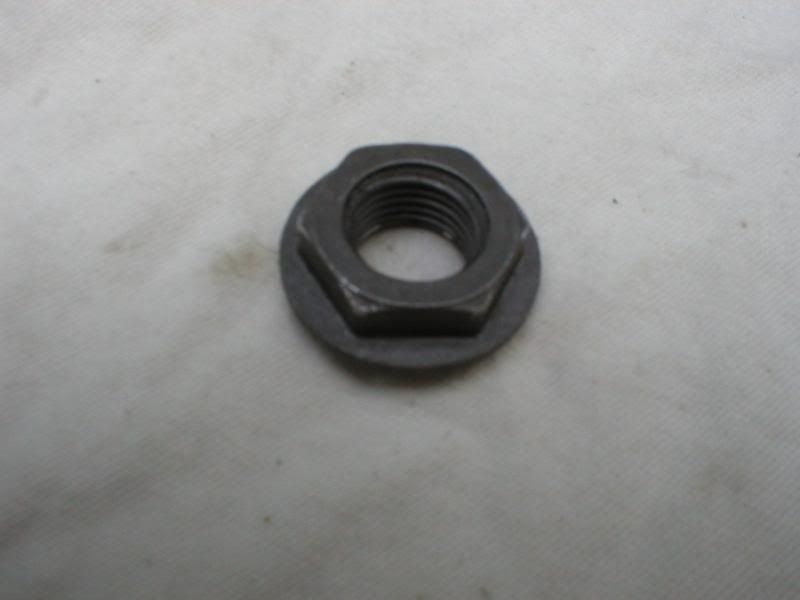
Top view of threaded bush....
P1010087.jpg


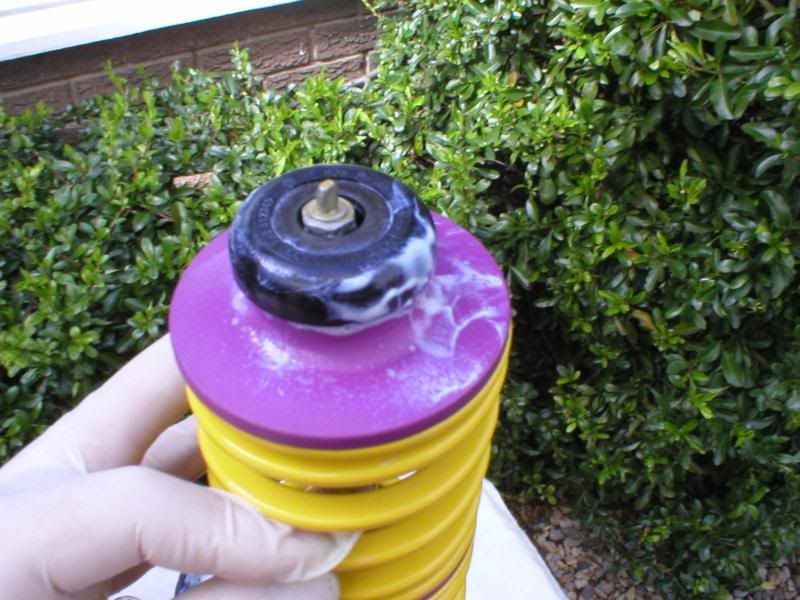
Threaded bush fitted.......

P1010092.jpg
 
Last edited:

DPJ

...........
Dec 13, 2004
7,996
2
NN Yorks / Salento
www.seatcupra.net
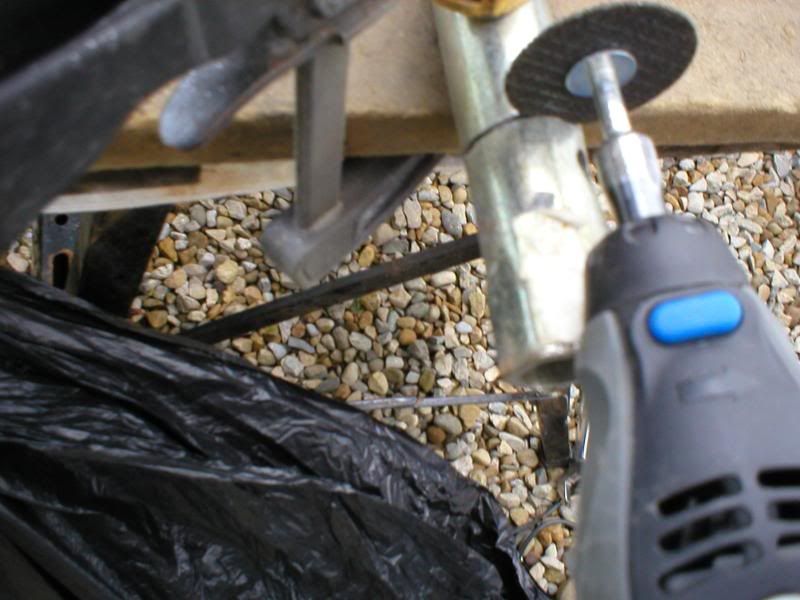
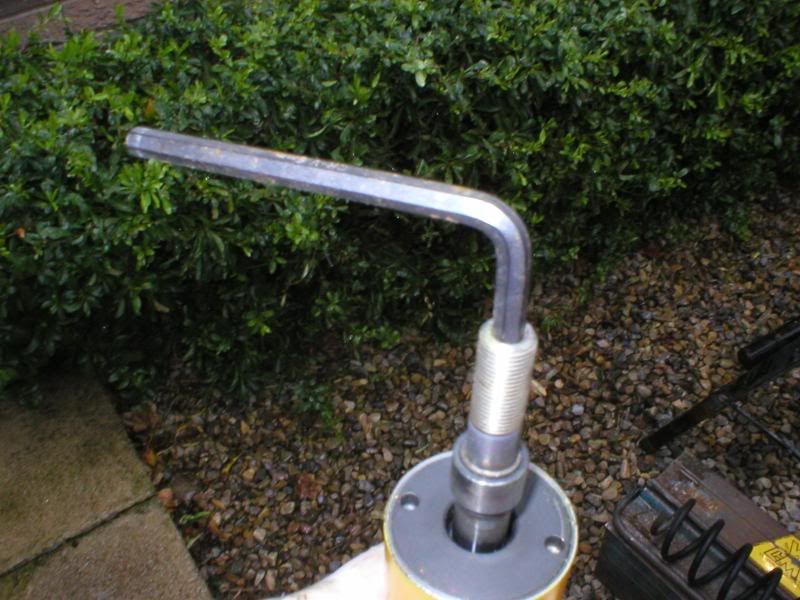
Here, I'm cutting up a 14mm spark plug spanner (actually 21mm ) It's use will become obvious.

P1010093.jpg


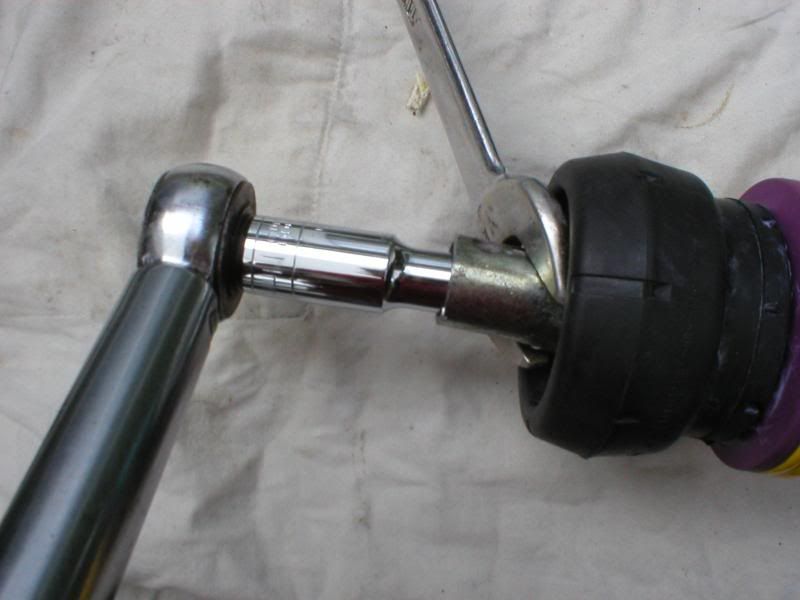
Torque the bush up. (KW instructions say "Except as noted, all torque values must comply with manufacturers recommended specifications." I would guess the bush should be the same as the upper mounting bolt - 60Nm......)
Once it's tight, the rubber topmount will feel loose on the coilover - it's meant to be like that.

P1010094.jpg


Now tighten the height adjuster ring to approx half way. That's one coilover ready to put on the car. Now do the other one.

P1010095.jpg


Time to check over the bottom clamp mounting for the coilover. Check it's smooth inside, if not, give it a little TLC with some fine emery paper. For KW coilovers, you'll need to withdraw the clamp bolt past halfway because the coilover has a fin that fits down the slot at the back which the bolt goes through. Now pop some grease inside the clamp to help the coilover in. You shouldn't need a wedge in the clamp anymore - it should be open enough for the coilover to go in.

P1010096.jpg


Now offer the coilover up through the wheel arch so that the rubber topmount is pushing against the underside of the turret.

P1010097.jpg


Pop the mounting plate in from the top and bolt on a new nut.

P1010098.jpg


Torque the bolt up (Should be 60Nm ), being very careful not to damage the top of the coilover.

P1010099.jpg


Now introduce the bottom of the coilover to the wheel bearing housing (fin into slot at the back). You might find it useful to support the weight of the wheel bearing housing on a trolley jack, but don't use this to force the housing onto the coilover. It should push up relatively easily. When the coilover is fully home, you should be able to put the clamp bolt through.

P1010100.jpg


You should now fit the bottom balljoint plate back into the end of the wishbone. This needs a bit of patience and a lot of jiggling. Again - it doesn't need forcing.

P1010101.jpg


Now refit the nut to the clamp bolt and torque up - 60Nm, then a further 90 degrees.

P1010102.jpg
 
Last edited:

DPJ

...........
Dec 13, 2004
7,996
2
NN Yorks / Salento
www.seatcupra.net
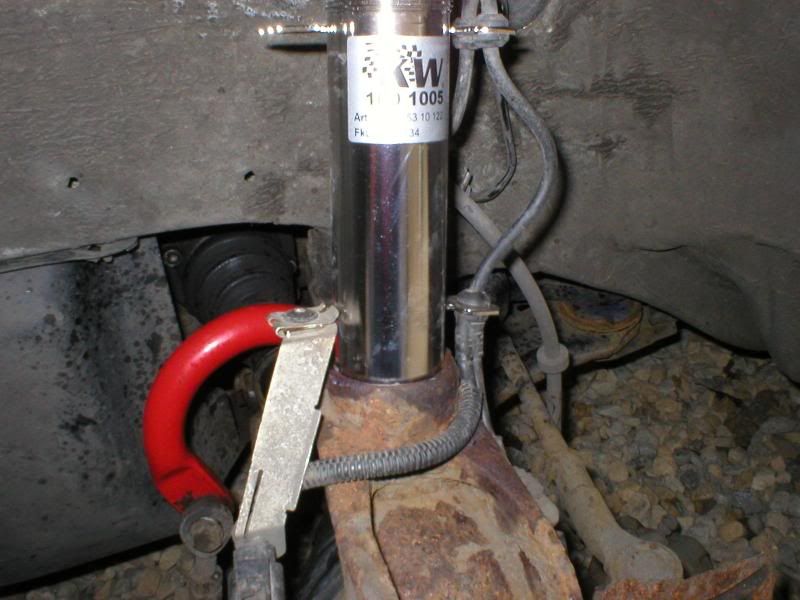
Fit the ABS and brake pad sensor wiring to the coilover mountings.

P1010103.jpg


Get the Bottom balljoint retaining plate and refit it. Plate on top, bolts from beneath. I always push mine so the frontmost bolt is as far back as it will go before tightening. I then move the steering wheel so the rack pulls the back of the plate right in. Now torque all three bolts up - 20Nm, then a further 90 degrees.

P1010104.jpg


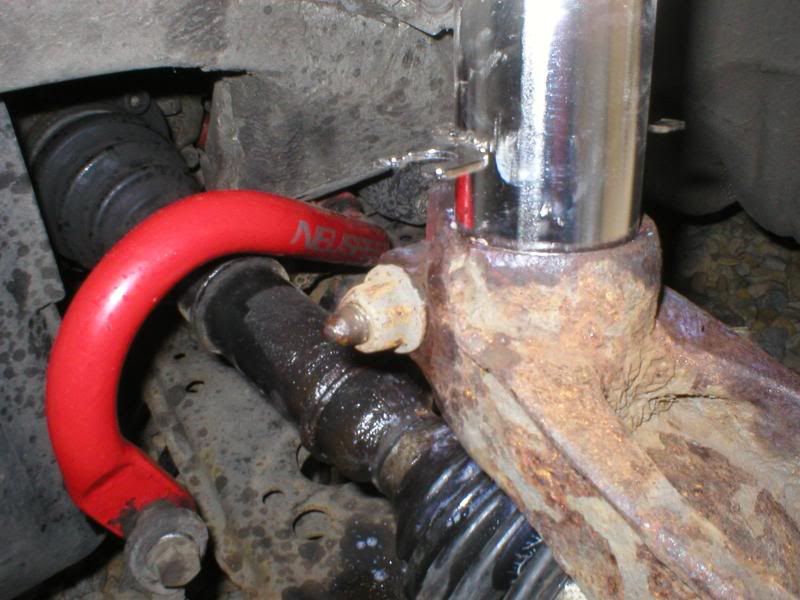
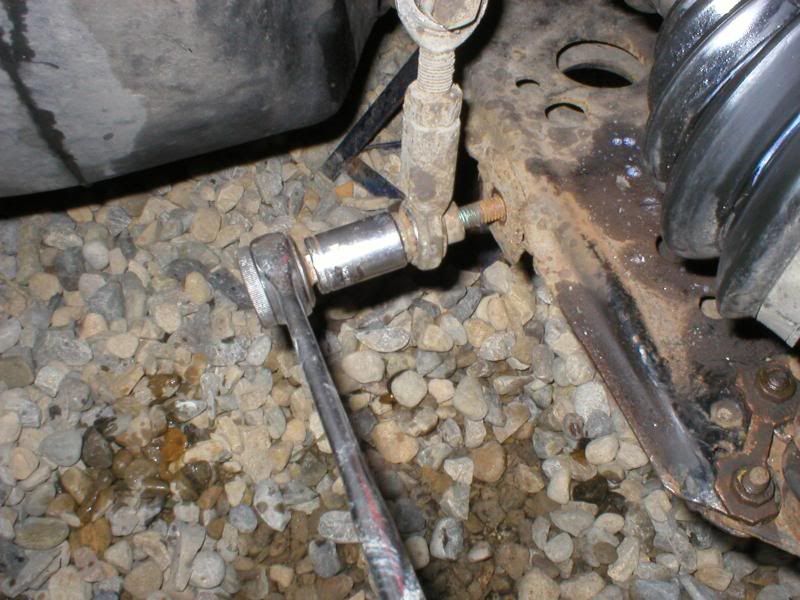
Refit your anti- roll bar droplink. 45Nm to the wishbone.
Note - if you have a standard arb, you may need aftermarket long droplinks to stop your arb fouling the driveshafts. (My adjustable Neuspeed links are shown).

P1010105.jpg


You should now tighten the locking screw on the height adjuster. (1-2NM max torque!)

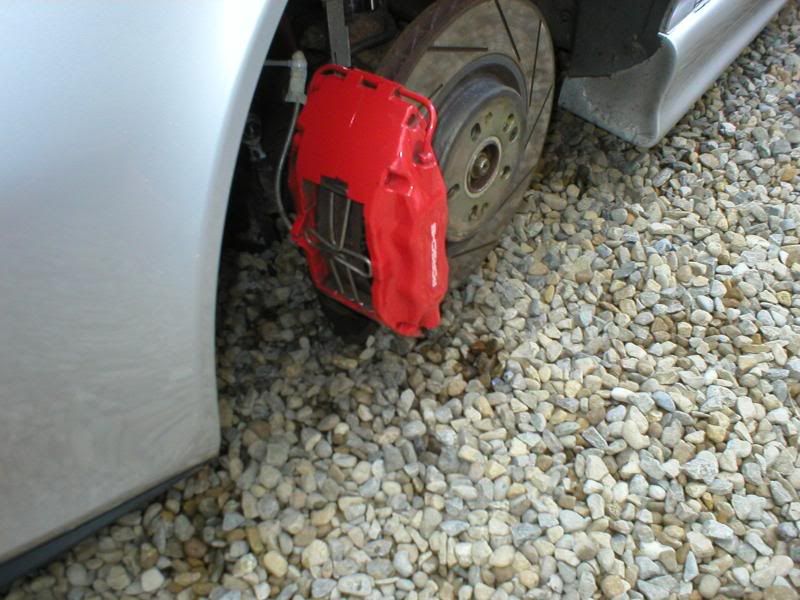
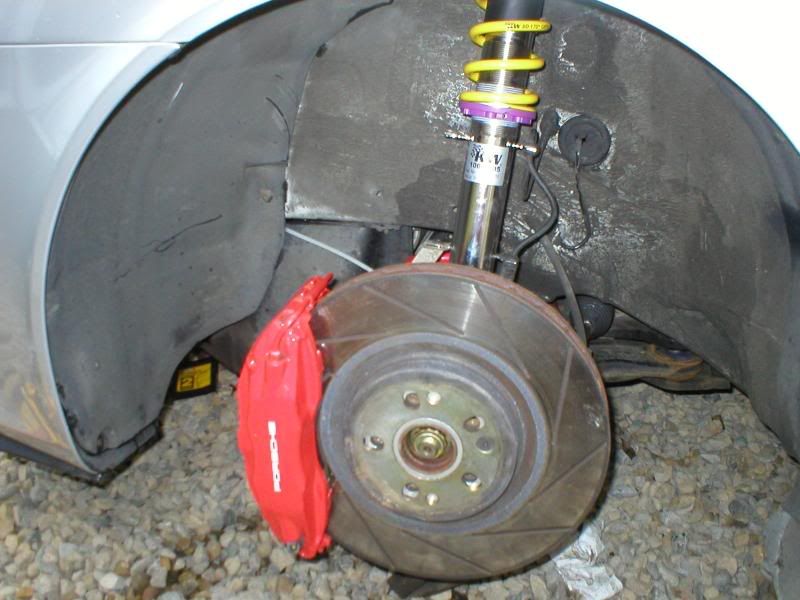
You now need to refit your brake discs and calipers.

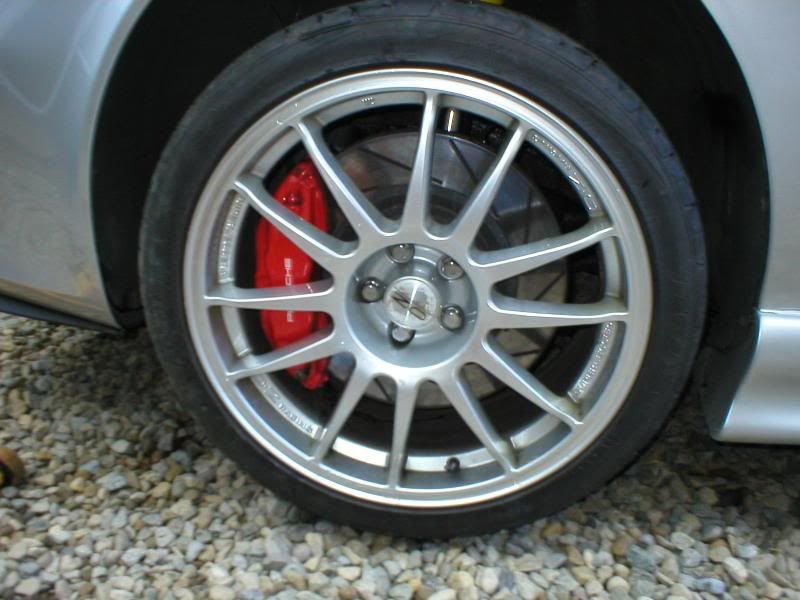
Ooooooo! Where did these come from?

P1010111.jpg

P1010110.jpg

P1010109.jpg

P1010108.jpg

P1010107.jpg

P1010106.jpg


340mm discs.
 
Last edited:
DPJ

...........
Dec 13, 2004
7,996
2
NN Yorks / Salento
www.seatcupra.net
Rears

You will find the rear is best done together, rather than one side at a time.

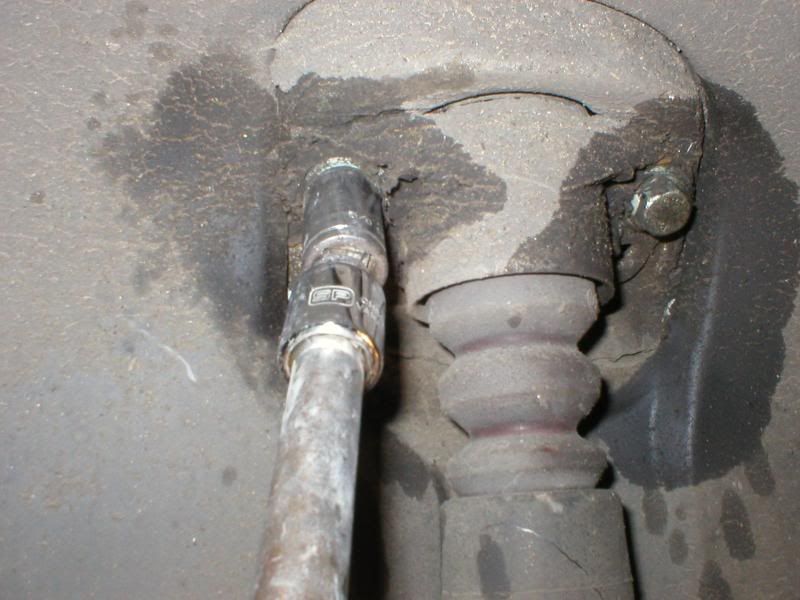
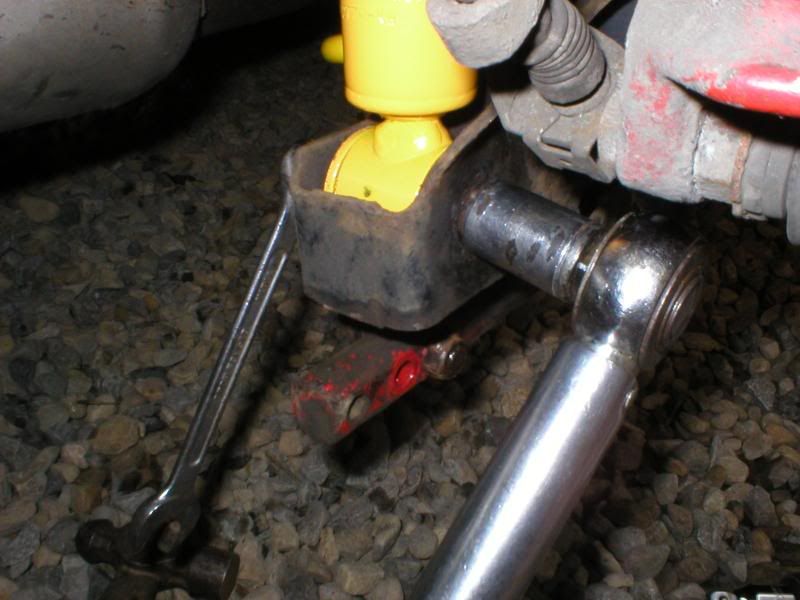
Start by removing the bottom mounting bolts from the shock absorbers (and uncoupling your rear ARB, if you have one)
P1010113.jpg


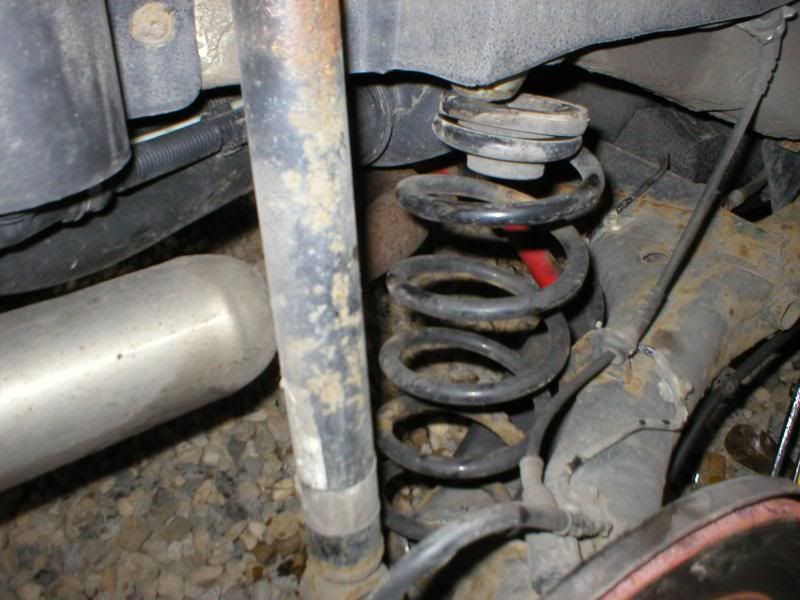
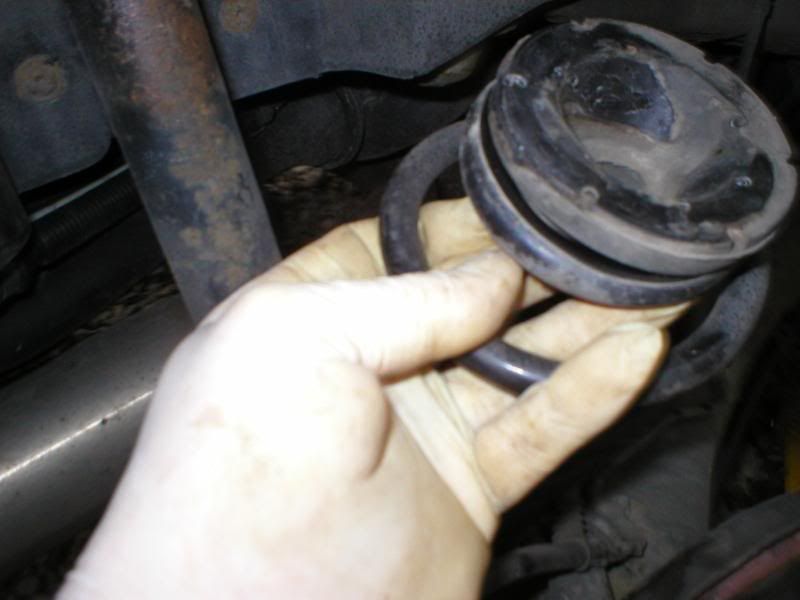
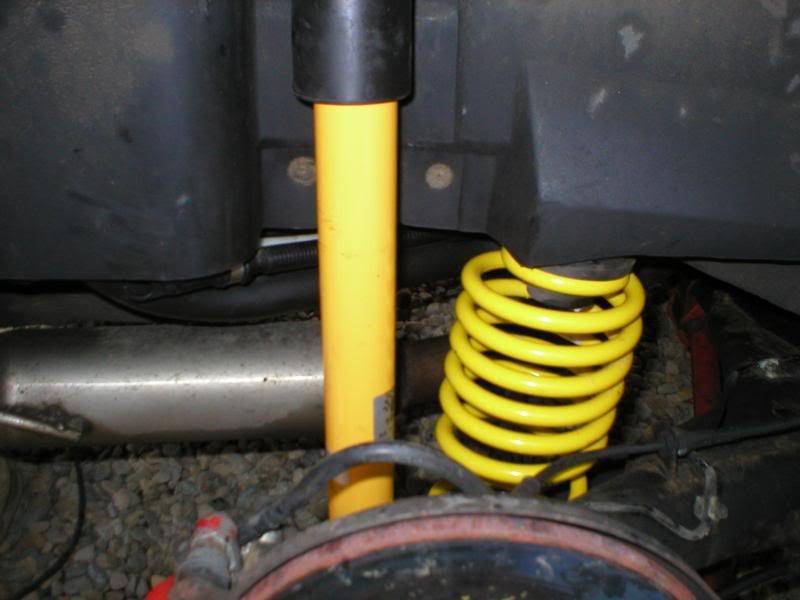
Once both bottom shock absorber mounting bolts are out, the rear arms will drop down sufficiently for you to remove the springs easily. Don't forget to remove the bottom spring seats too, if they don't come out with the springs.
P1010114.jpg

P1010115.jpg

P1010116.jpg

P1010117.jpg

P1010118.jpg

P1010120.jpg

P1010121.jpg

P1010122.jpg
 
Last edited:
DPJ

...........
Dec 13, 2004
7,996
2
NN Yorks / Salento
www.seatcupra.net
P1010133.jpg

P1010134.jpg

P1010135.jpg

P1010136.jpg


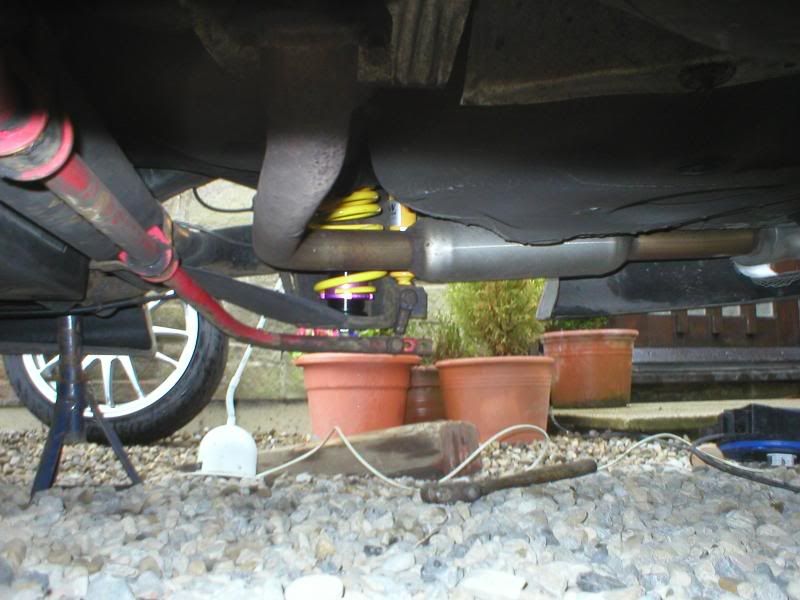
You nice red Neuspeed rear ARB will end up looking like this after three years......
P1010138.jpg


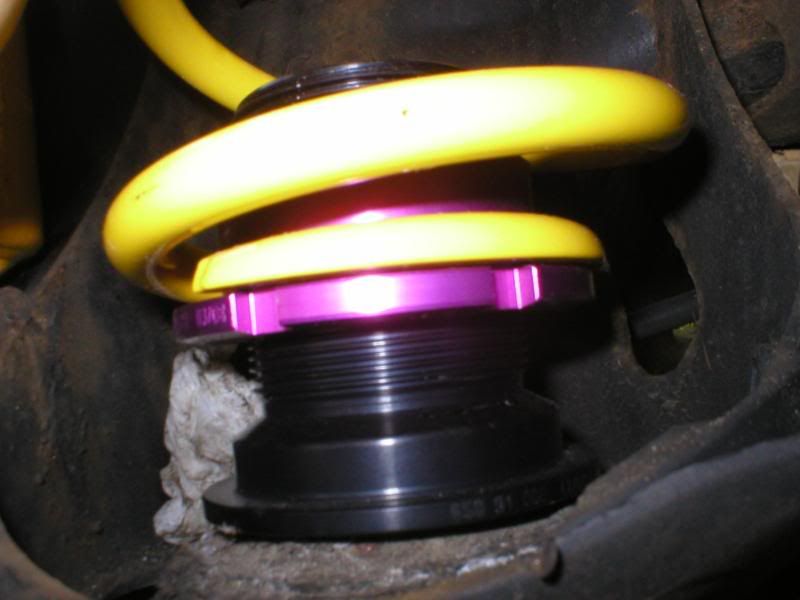
You can see that it's possible to access the height adjuster from underneath the car.
P1010139.jpg

P1010140.jpg

P1010141.jpg


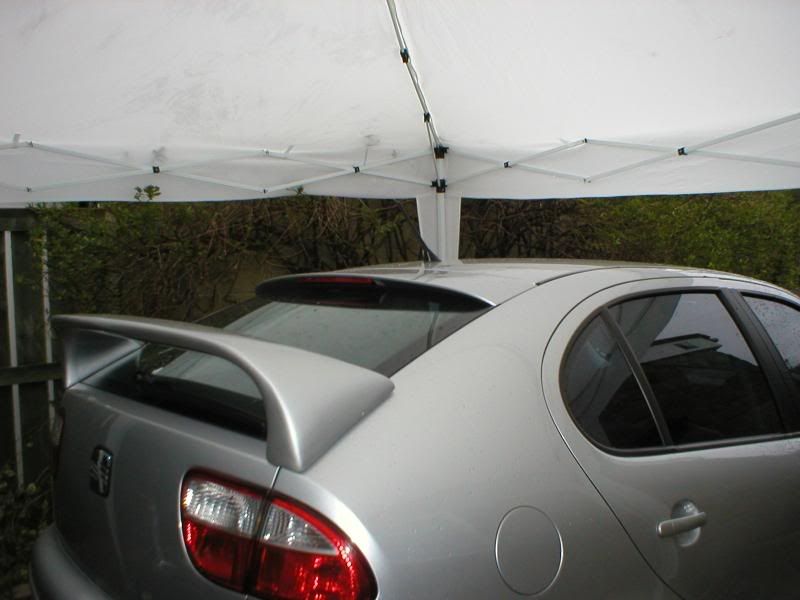
Very hand instant erecting gazebo...
P1010142.jpg


Now get your wheel alignment and camber checked.
 
Last edited:
DPJ

...........
Dec 13, 2004
7,996
2
NN Yorks / Salento
www.seatcupra.net
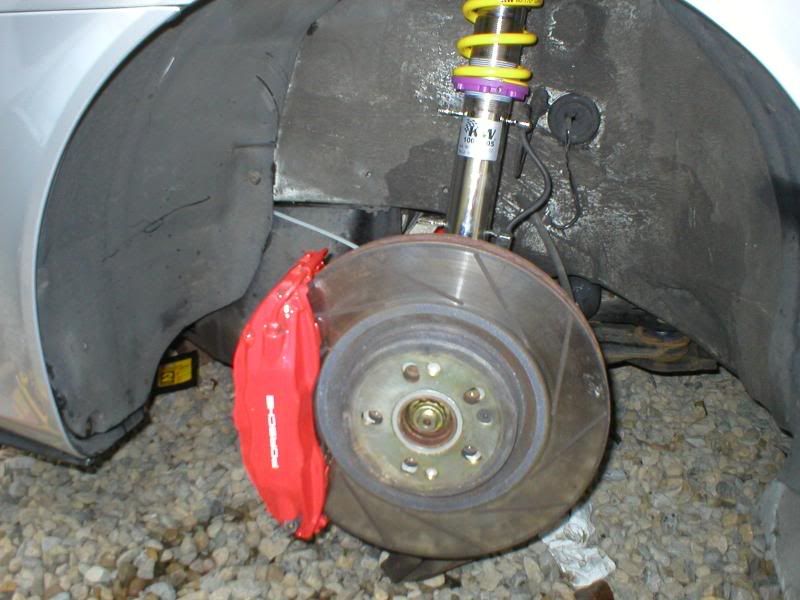
Nice picture guide Dave. Things look like they could do with a coat or two of rust inhibitor and some hammerite whilst you're under there though?

Flash makes it look worse than it is Pat. I did treat the wishbones and subframe last year. I quite fancy getting another subframe and wishbones - them getting them sandblasted & powdercoated.
 
Last edited:
DPJ

...........
Dec 13, 2004
7,996
2
NN Yorks / Salento
www.seatcupra.net
Fronts are set 1/3 of the way soft>hard, rears 1/2 way soft>hard.


Initial impressions after 40 mile driving. Fronts feel spot on, but from the back feels very 'bouncy' which is disconcerting at speed. You need to remove the rear shockers to adjust them. :(

One of my rear arb droplinks doesnt look like it has a lot of life left, I need to find some more sharpish for when I adjust the rears.

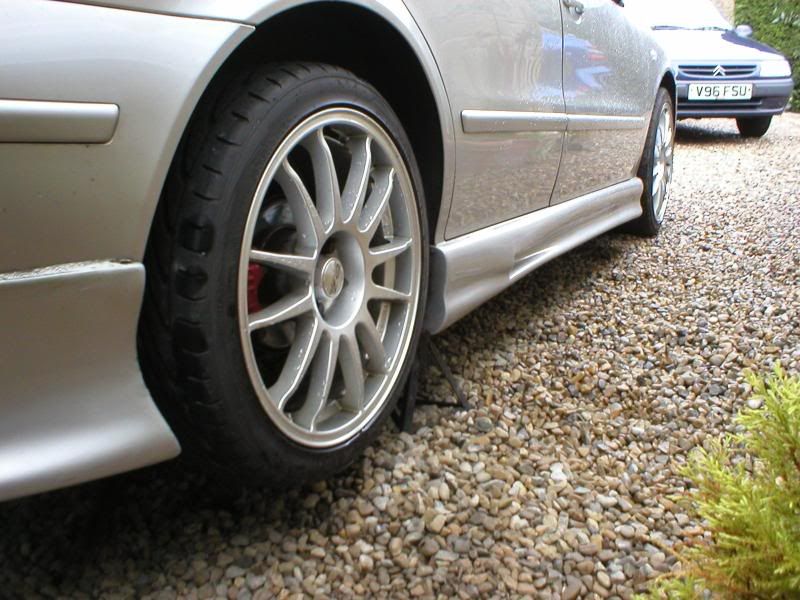
I had to use some extra blocks of wood to get the rear of the car on the ramps to raise the height. When I came back off, I lost one and it has hastened the demise of the rear skirt. :rolleyes:
 

UncleFester

Grumpier by the day!
Apr 30, 2006
4,764
1
Milton Keynes
www.facebook.com
Fronts are set 1/3 of the way soft>hard, rears 1/2 way soft>hard.


Initial impressions after 40 mile driving. Fronts feel spot on, but from the back feels very 'bouncy' which is disconcerting at speed. You need to remove the rear shockers to adjust them. :(

One of my rear arb droplinks doesnt look like it has a lot of life left, I need to find some more sharpish for when I adjust the rears.

I had to use some extra blocks of wood to get the rear of the car on the ramps to raise the height. When I came back off, I lost one and it has hastened the demise of the rear skirt which is good because it as the last of the original things that prevented me lowering the car. :)

Agreed entirely Dave - just out of interest have you tried putting a couple of sandbags in the boot to see what effect that has? I still think you want it a lot softer damped on the rear as you've less weight over the axle.
 

stewbie55

No longer a Newbie
Aug 12, 2006
427
0
I'll be interested how you get on after adjusting the rears Dave, though you may want to give it a few hundred miles to let everything settle down first, I reckon my springs softened (?) a bit over the first 1000 miles or so and it became less bouncy.

I have my rears on 1/2 setting and my fronts about 1/3 but towards the firm end, not the soft end. Haven't played with the rears though as it a bit of a PITA.
 

DPJ

...........
Dec 13, 2004
7,996
2
NN Yorks / Salento
www.seatcupra.net
I'll be interested how you get on after adjusting the rears Dave, though you may want to give it a few hundred miles to let everything settle down first, I reckon my springs softened (?) a bit over the first 1000 miles or so and it became less bouncy.

I have my rears on 1/2 setting and my fronts about 1/3 but towards the firm end, not the soft end. Haven't played with the rears though as it a bit of a PITA.

Thanks for the input. :)
You don't find the rear disconcerting high speed in a straight line now?
 

stewbie55

No longer a Newbie
Aug 12, 2006
427
0
Thanks for the input. :)
You don't find the rear disconcerting high speed in a straight line now?

No I dont find it disconcerting, though it can be a bit unforgiving on some of the bumpy dual carriageways around here, but it always feels well in control.
I reckon it deffo settles after a few 100 miles so it may well be worth experimenting after that.
Just thinking aloud do the rear shocks have to be removed completely to adjust them? IIRC its a question of turning the top half relative to the bottom that adjusts them (?). In that case I'm wondering if its possible to just unbolt the bottom mount (with the rear jacked up) and turn them in situ? I may be talking rubbish of course :rolleyes:
 

DPJ

...........
Dec 13, 2004
7,996
2
NN Yorks / Salento
www.seatcupra.net
No I dont find it disconcerting, though it can be a bit unforgiving on some of the bumpy dual carriageways around here, but it always feels well in control.
I reckon it deffo settles after a few 100 miles so it may well be worth experimenting after that.
Just thinking aloud do the rear shocks have to be removed completely to adjust them? IIRC its a question of turning the top half relative to the bottom that adjusts them (?). In that case I'm wondering if its possible to just unbolt the bottom mount (with the rear jacked up) and turn them in situ? I may be talking rubbish of course :rolleyes:

I'll give 'em 500 miles before I start fiddling. Unfortunately the piston on the shocker needs to be full compressed before it will engage the adjusting cams.

I don't think the beam would drop far enough to allow the top mount to be undone and accessed - certainly not with an arb attached.
 

jamiebennett81

Guest
Dave did you adjust the height of the coil overs when you put them on, or did you leave them as the manufacturer had sent them out in?

when I had my V1's fitted, the rear sat lower than the front straight away

I left it to settle for about 100 miles or so and then slammed the front - sits perfectly now

interesting you mention about the rear being bouncy. I have front and rear ARB's on mine as well, but the back does feel twitchy, and can now almost lift off into oversteer or the back feels like it wants to snap out after heavy breaking?

does yours feel like this at all?
 

Feel

Veedubya 'velle
Jun 12, 2003
4,918
2
Midlands
I think everyone that finds this thread useful should chip in and buy Dave a shiney new spanner...
 
Nimbus hosting - Based solely in the UK.