• Guest would you be interested in CUPRA or SEAT valve caps? let us know in the poll

  • Welcome to our new sponsor Lecatona, a brand dedicated to enhancing performance for VAG group sports cars, including SEAT, Audi, Volkswagen and Škoda. Specializing in High Pressure Fuel Pump (HPFP) upgrades.

Damn Good Clean

Mat

Guest
Right then, this is my first "proper" detail write-up! It's also the first time I've clayed a car! Guess I'll post pictures showing the befores and afters together rather than posting in order of taking them.

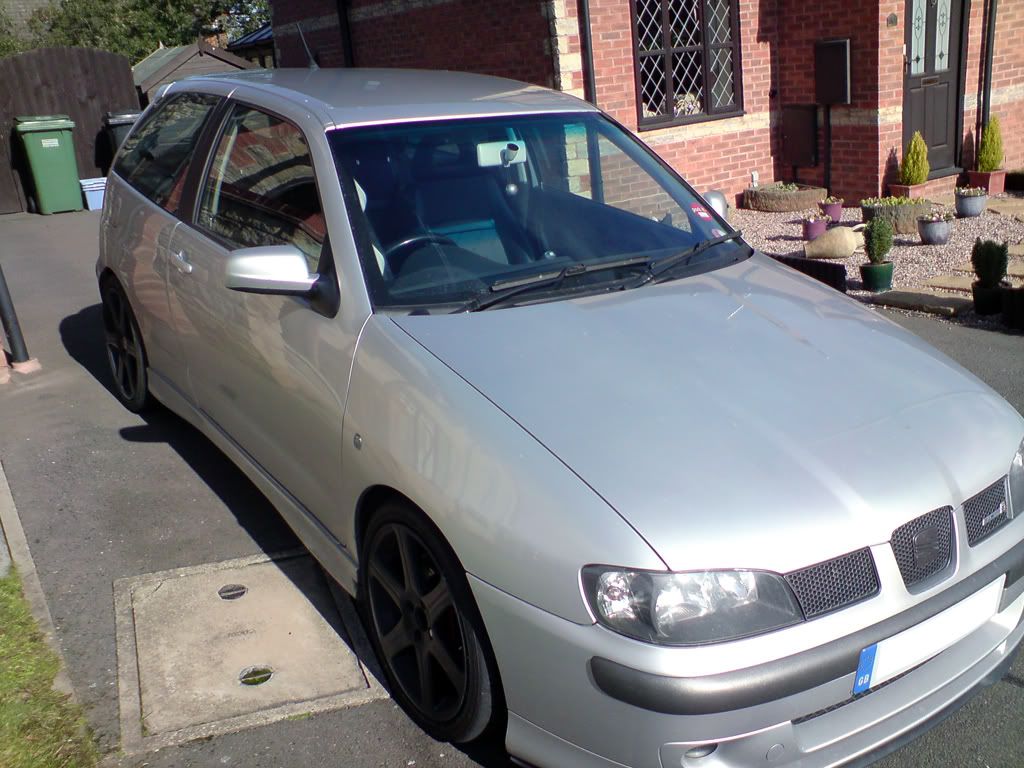
So anyway, let's get cracking! For some reason, I didn't take any "before" shots of the car in full. However, it wasn't that dirty TBH! Also not got a Foam Lance yet :(

So here we go.

-----

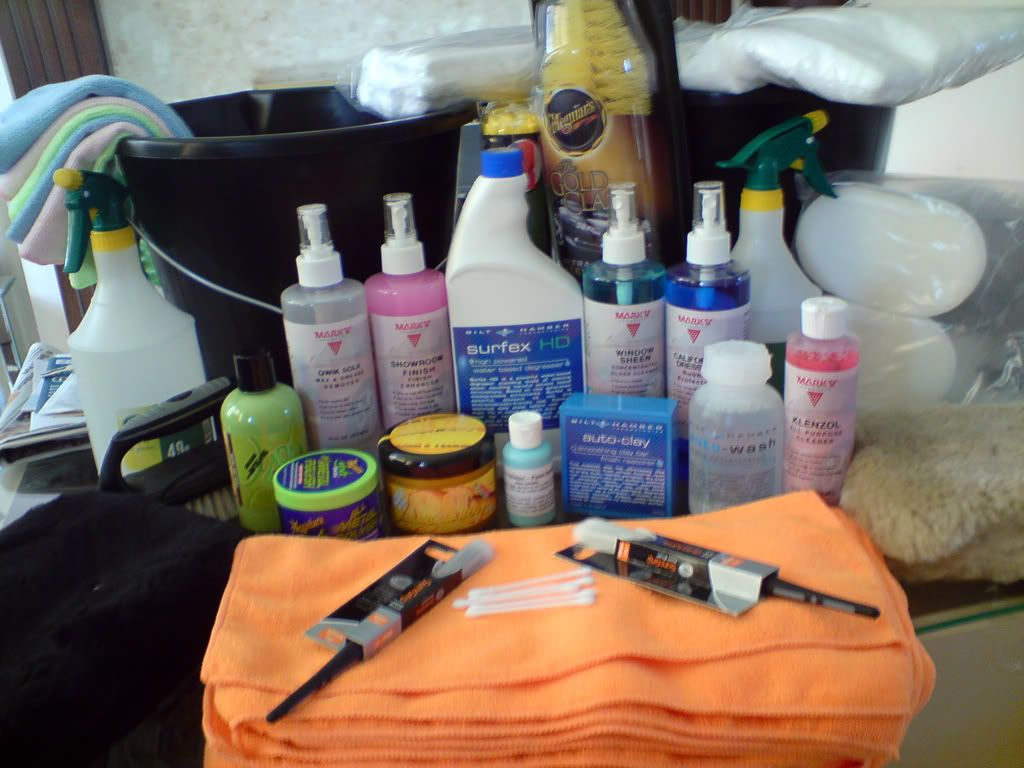
The Kit

DSC00370.jpg


2 x Lambswool Wash Mitts.
1 x Bilt-Hamber Auto-wash 300ml
1 x Mark V Showroom Finish Quick Detailer.
1 x Bilt-Hamber Auto-clay.
1 x Dodo Juice Lime Prime paint cleanser.
1 x Dodo Juice wax of your choice.
1 x Surfex HD 1 Ltr
1 x Mark V Windows Sheen 500ml
1 x Mark V California Dressing 500ml
1 x Mark V Qwik Solv Tar and Glue remover 500ml
1 x 250ml bottle of klenzol
1 x Small bottle of Glisten
1 x BIG Microfibre Drying Towel.
6 x Microfibre detailing/work towels.
3 x Microfibre ultra plush buffing towel.
2 x Foam Applicators.

1 x Megs Nxt Generation Metal Polysh
1 x Megs Gold Class Wheel brush

6 x "Cheap" Microfibres (from aunties shop)
1 x 1/2" Paintbrush
1 x 3/4" Paintbrush
Several Cotton Buds
2 x Big Buckets
2 x Large Wilkos Spray Bottles (let's try these out)
2 x Large "Aldi" Microfibre Towels (let's try these out also)
1 x Interior brush

1 x Dr Pepper 500ml (drinking use ;))

-----

Agenda

I had already decided that my aim today was to clay, polish (not machine) and wax the car, and maybe a sealant/glaze if I get the time.

I also wanted to get the exhaust looking better, along with door & boot hinges, and again, time dependant, an engine detail.

The wheels will be coming off when I get the lance, so that I can get in the arches etc, and maybe even "fully" protect the wheels.

-----

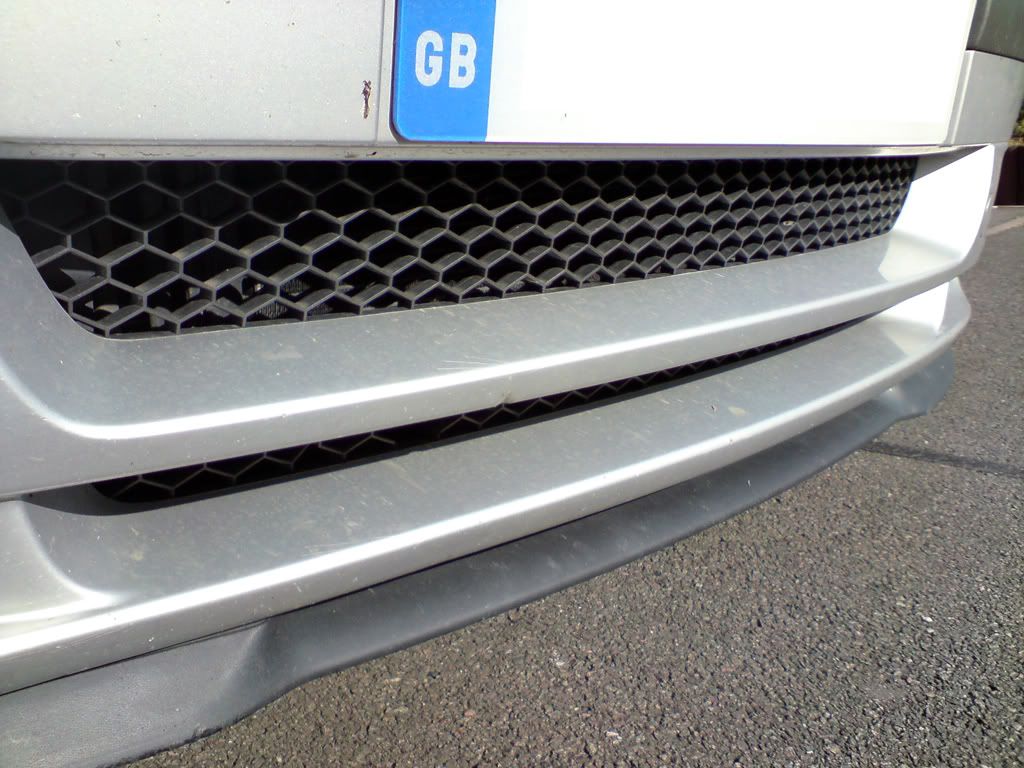
Wash

Before
DSC00385.jpg


DSC00386.jpg


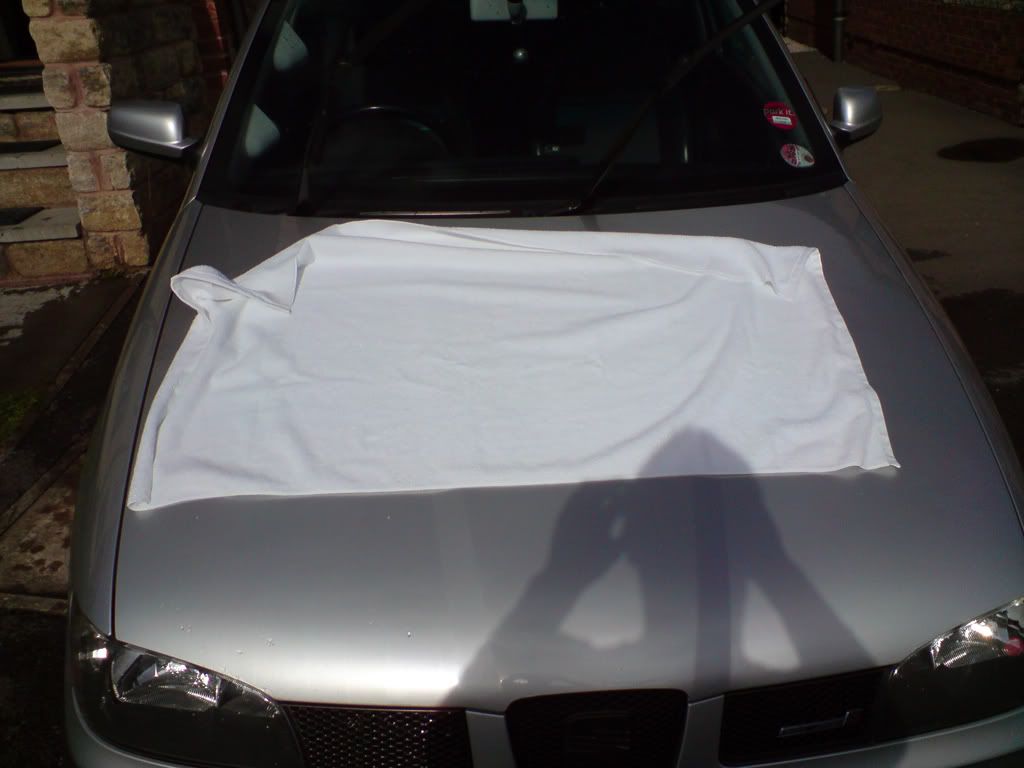
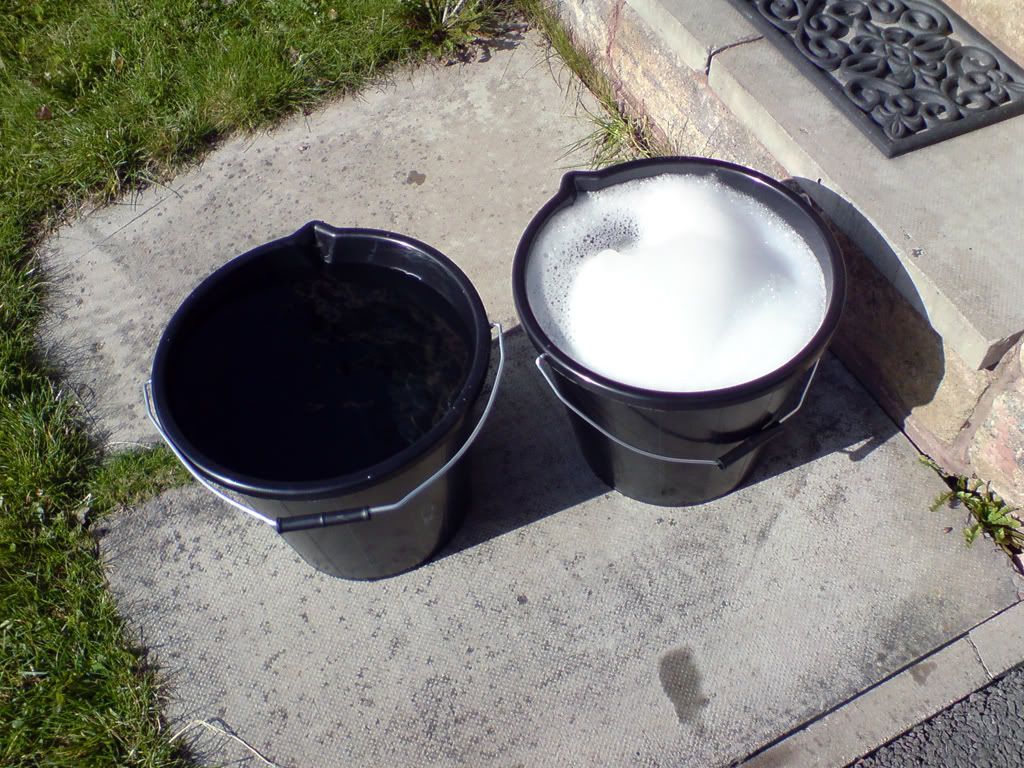
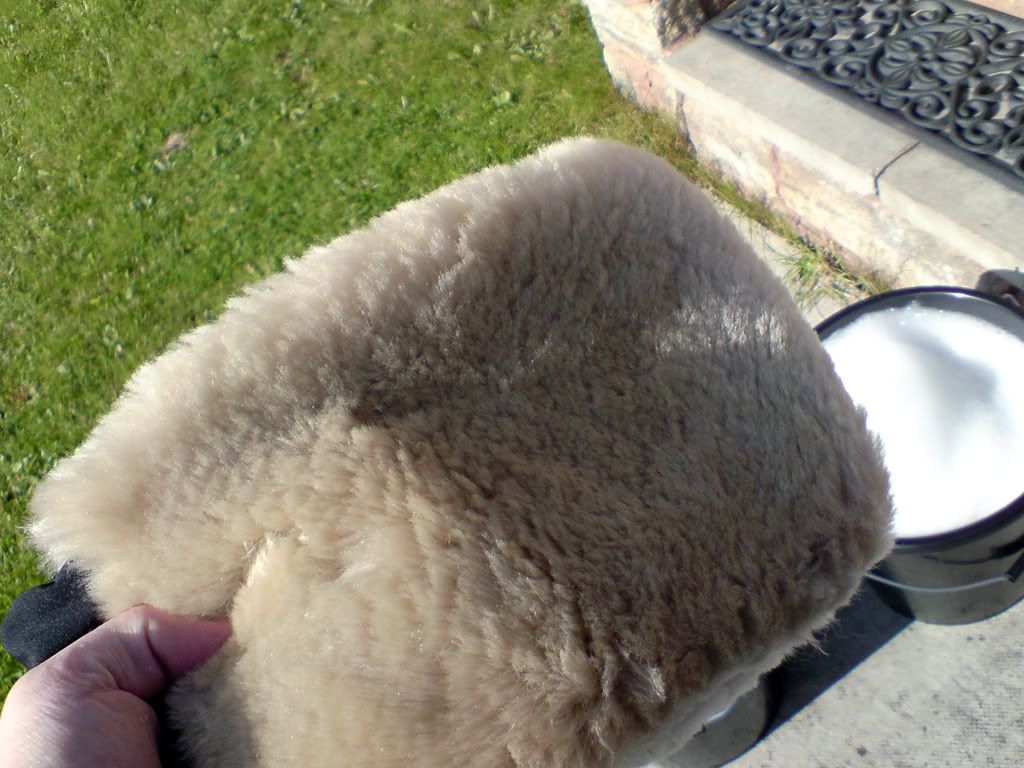
The car was washed using the 2 bucket method. As per instuctions, I put about 5-6ml of Bilt-Hamber Auto-wash in a 14L bucket. It gave some nice suds, but not too many. Also opted for just the one mitt as the car wasn't too dirty on the lower halves. The car was then dried using a BIG Microfibre Drying Towel.
DSC00393.jpg


DSC00394.jpg


DSC00396.jpg


After

DSC00397.jpg


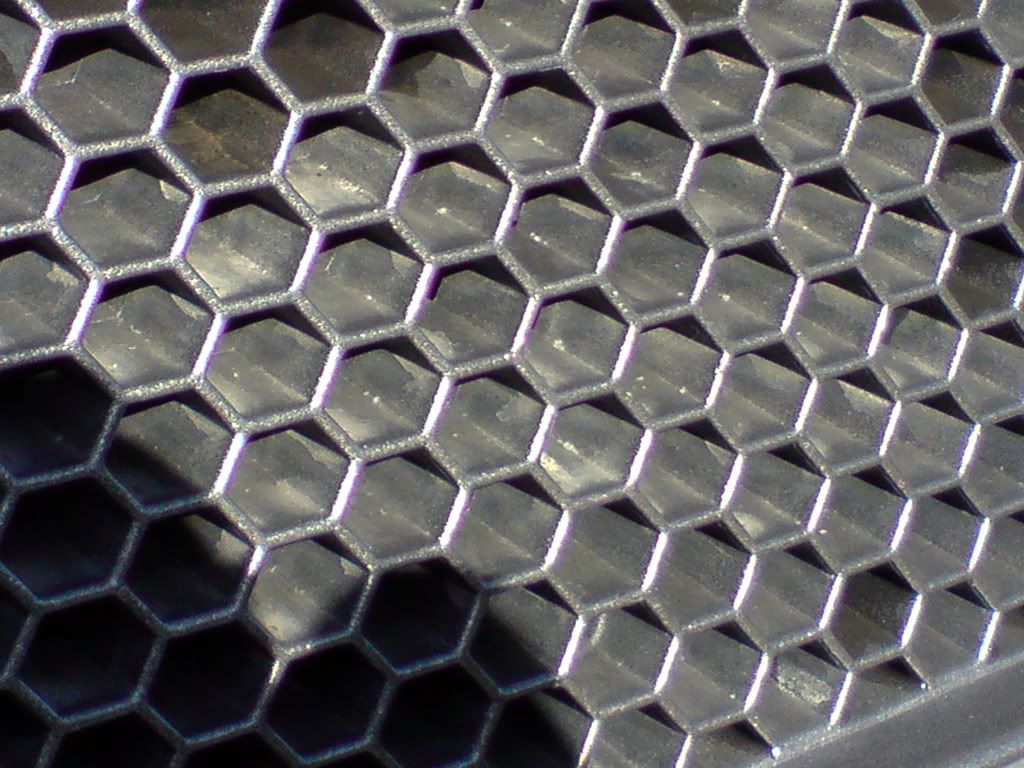
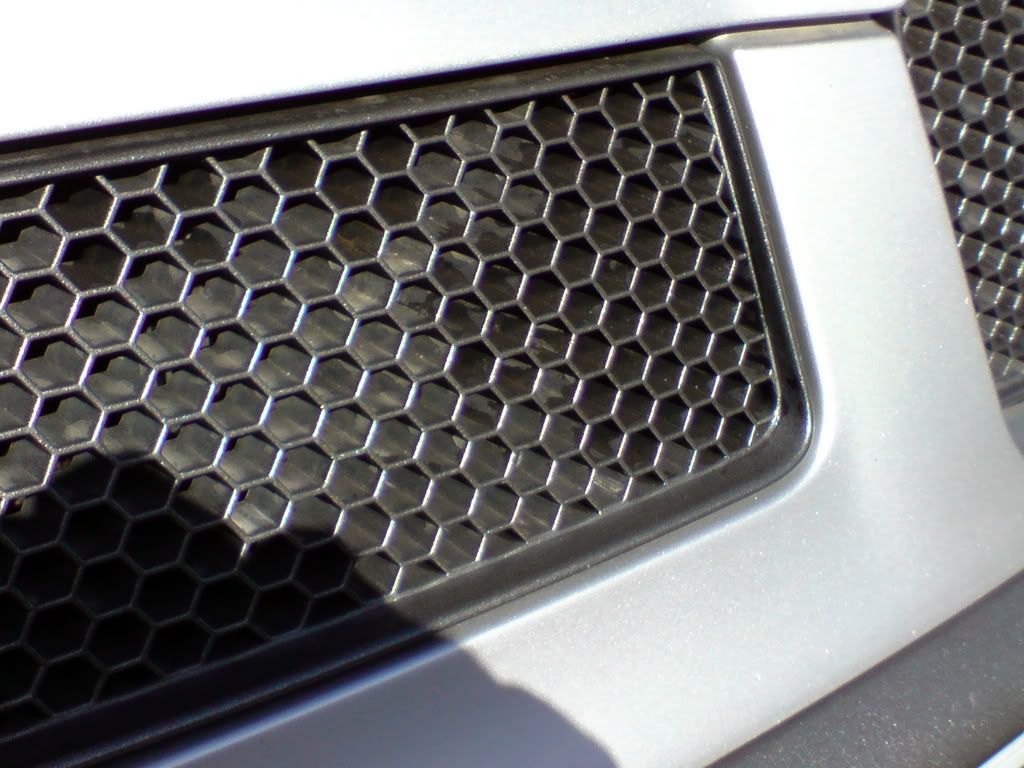
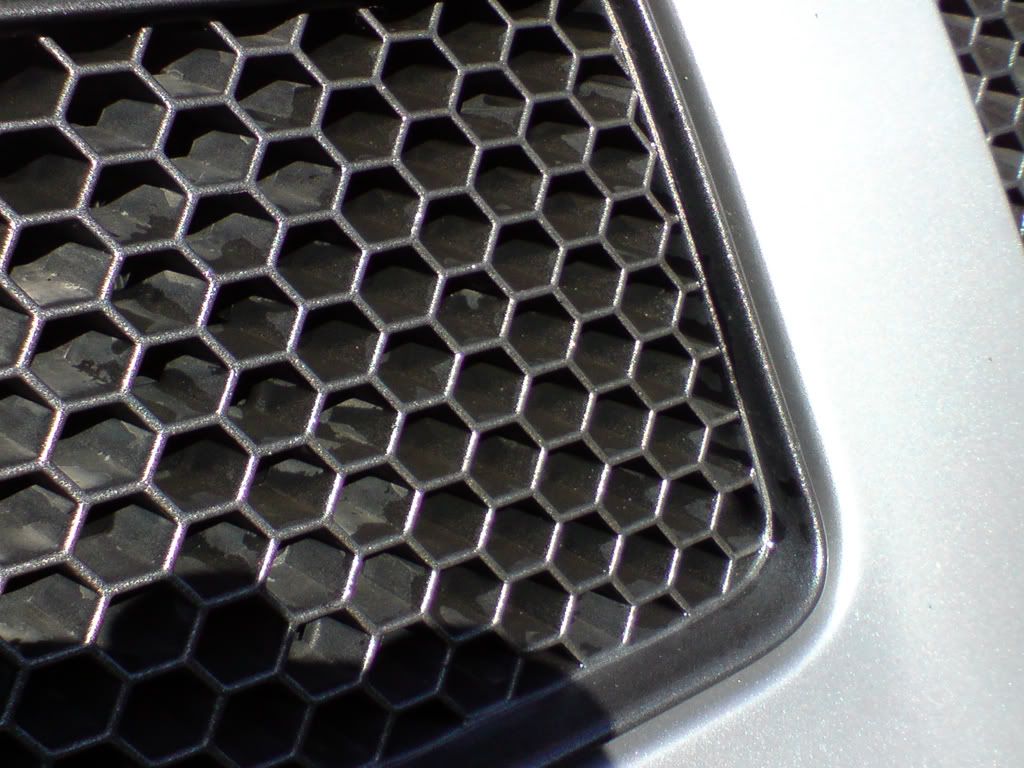
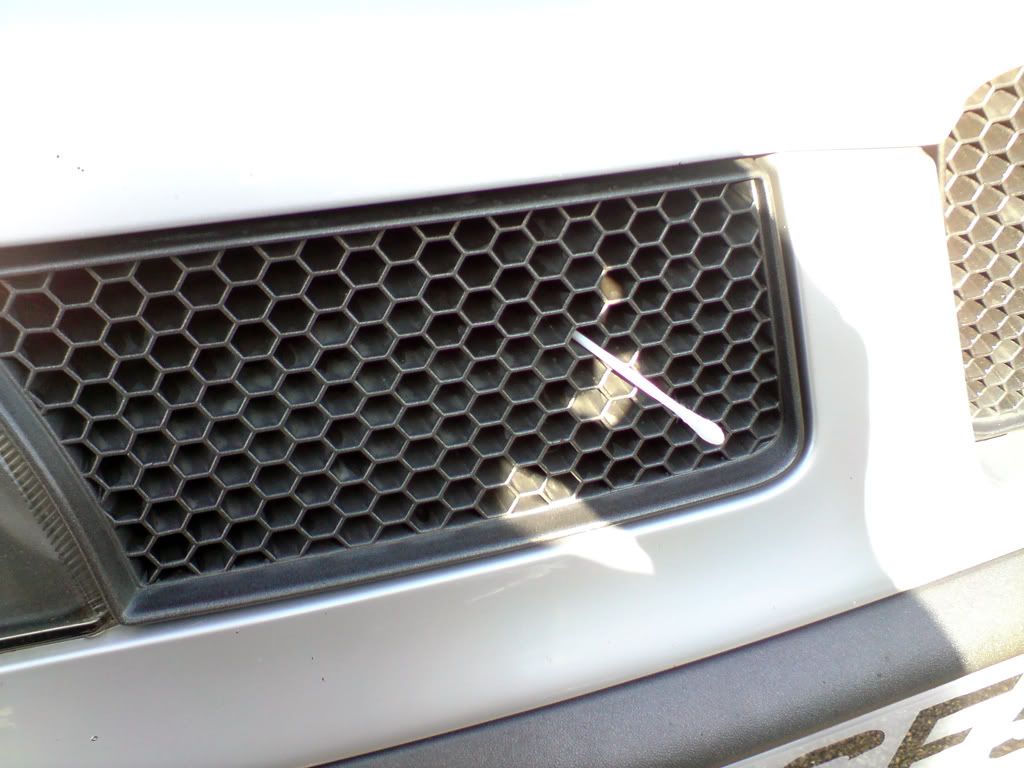
I then went on to pay attention to the honeycomb grilles as they hold water and also never seem to get clean.
DSC00402.jpg
 

Mat

Guest
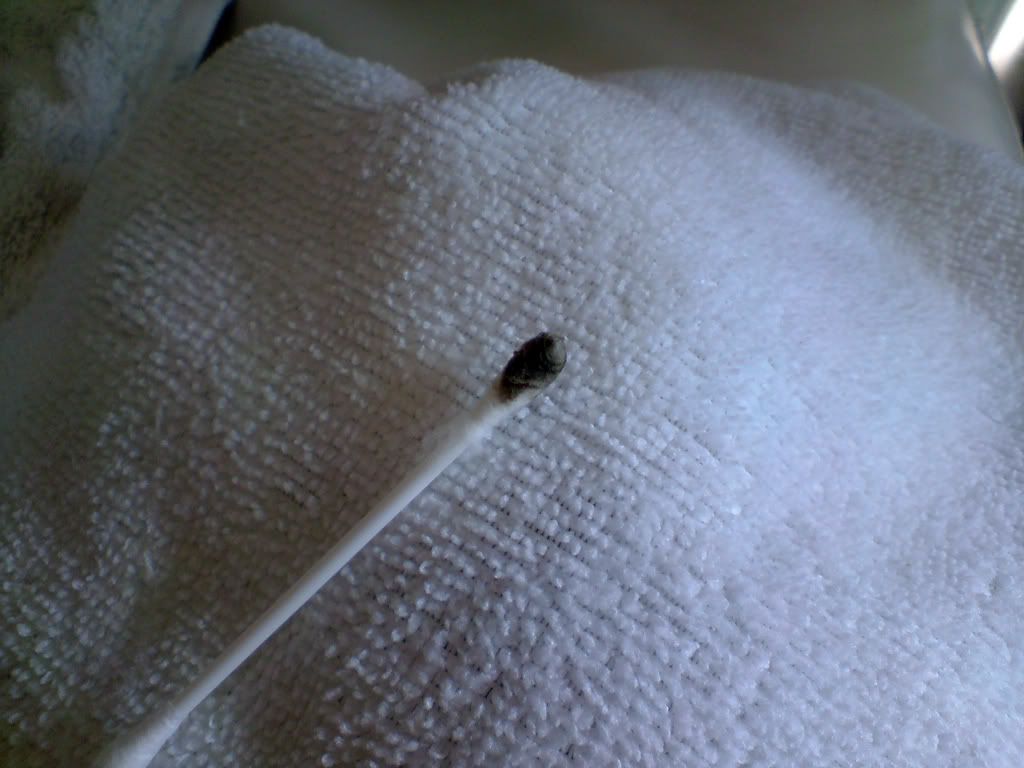
After using a cotton bud on about 5 or 6 of the holes, the bud looked like this:
DSC00403.jpg


It was also a bit of APITA this way, so I swapped for a 1/2" paintbrush. It still took a while, but this way I managed to clean 2 or 3 at a time :D
Before

DSC00404.jpg


During

DSC00405.jpg


DSC00406.jpg


-----
 

Mat

Guest
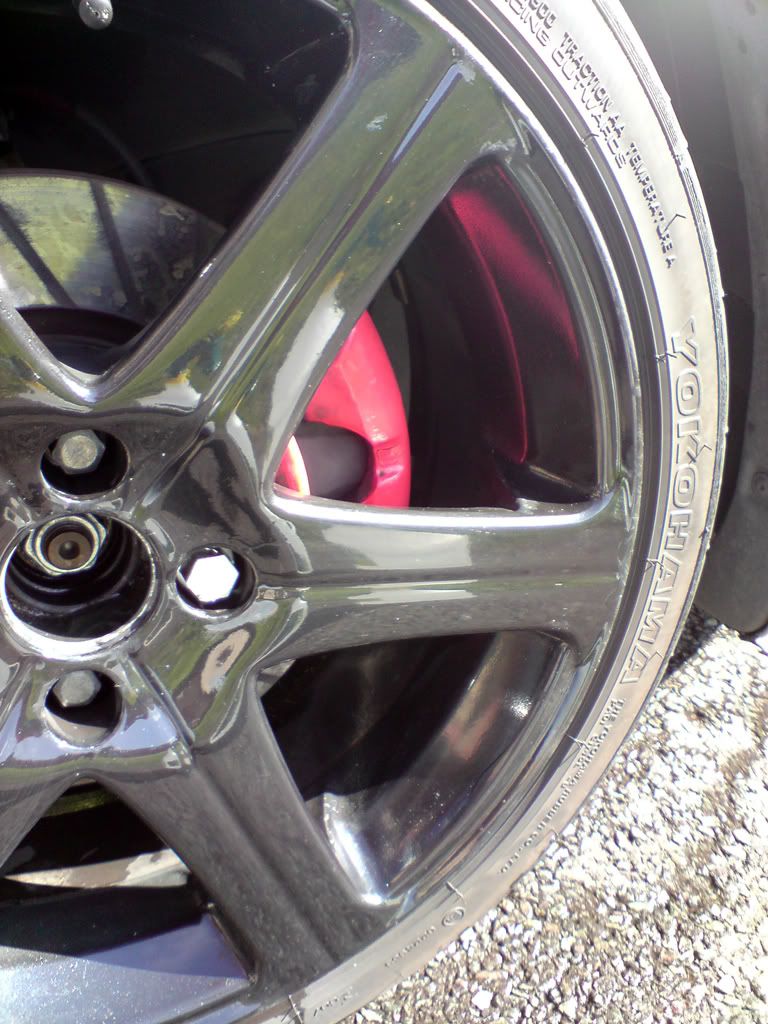
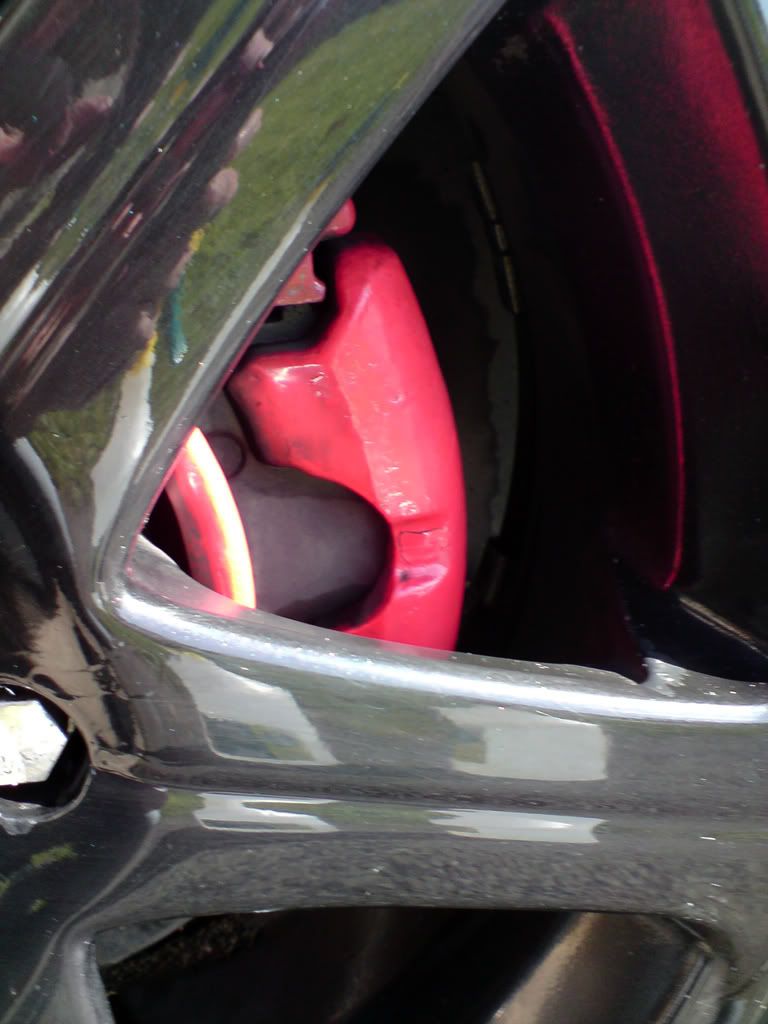
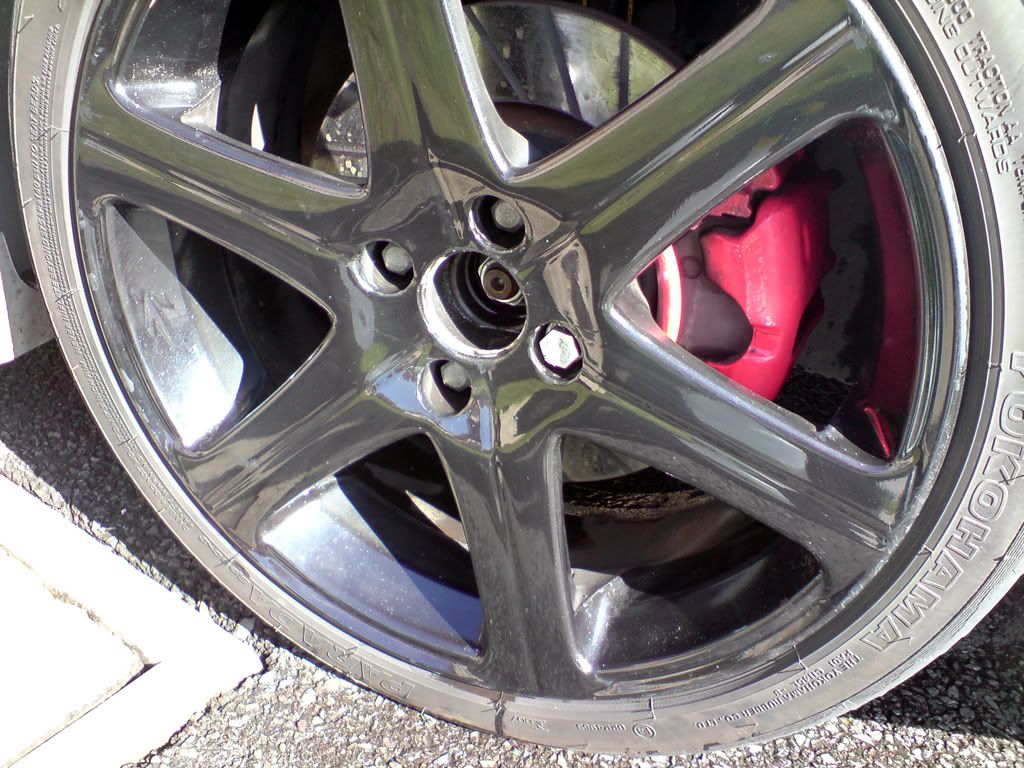
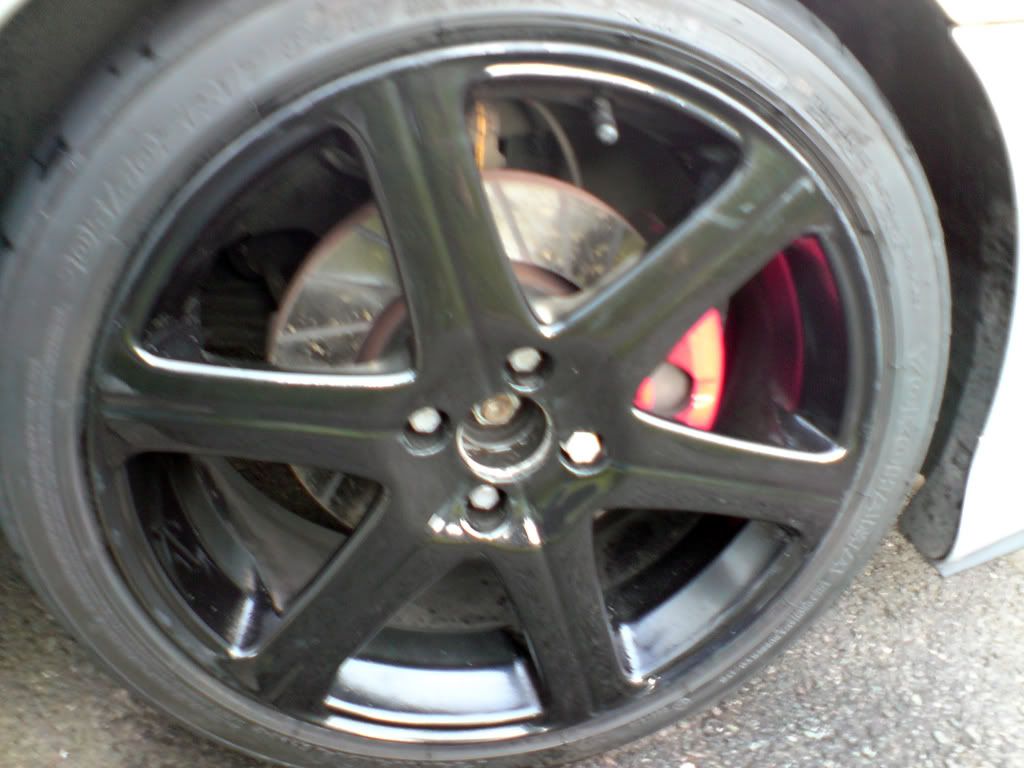
Wheels

Next task was the wheels. Dunno why, but I "forgot" to clean these before cleaning the car lol.

Before

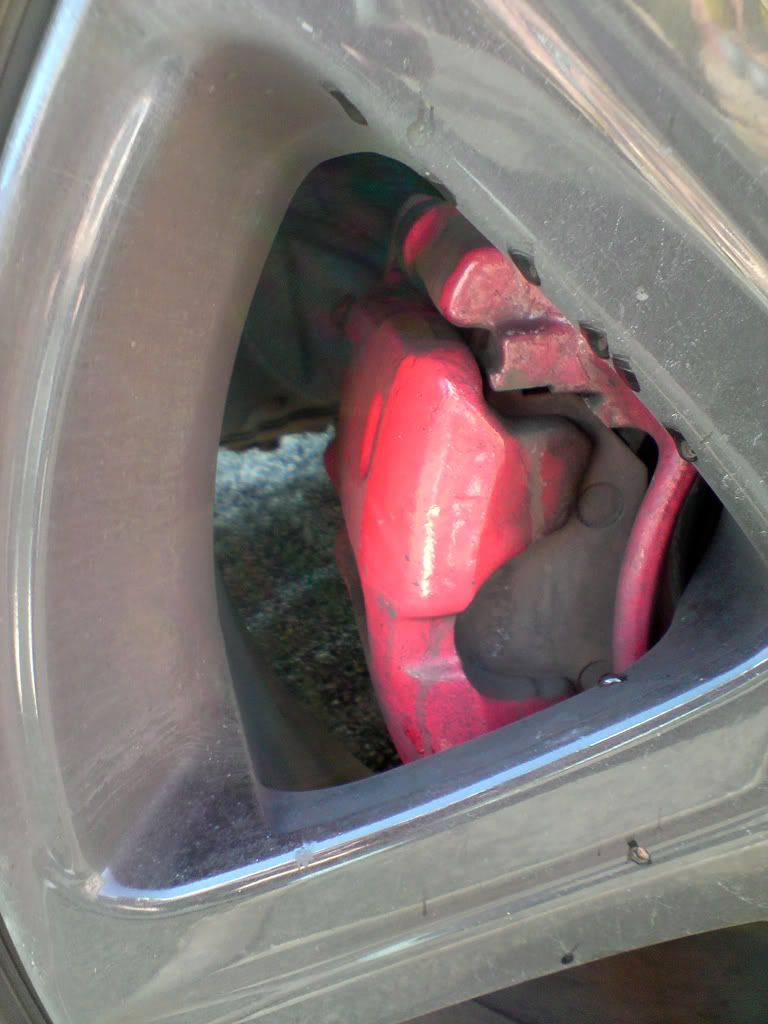
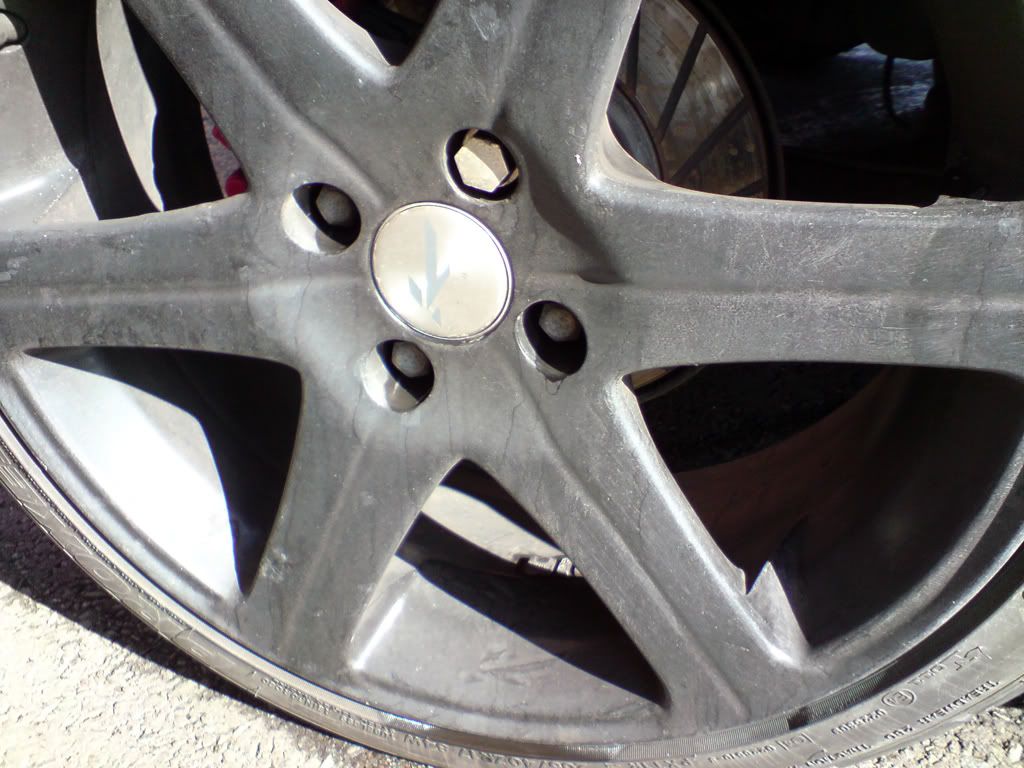
DSC00411.jpg


DSC00412.jpg


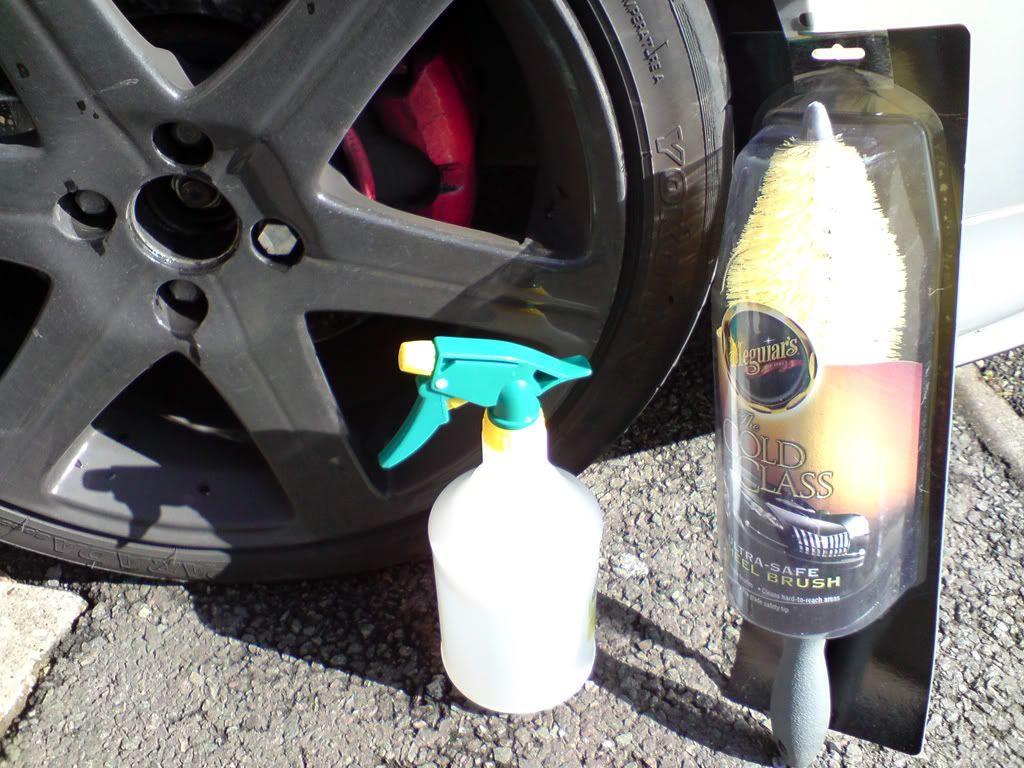
The wheels were washed using Surfex HD diuted with water. The guide suggest anywhere between 1:100 or neat. I diluted to approx 5:100 (5% surfex). The wheels and calipers were given a good spray using the Wilkos bottles (which appears ok), and left a couple of minutes. They were then scrubbed with the Megs Gold Class Wheel Brush and a "cheap" microfibre, and then rinsed and dried with another "cheap" microfibre.

DSC00407.jpg


After

DSC00408.jpg


DSC00409.jpg


DSC00410.jpg


DSC00413.jpg


These were later given a coat of Dodo Juice Banana Armour

DSC00425.jpg


DSC00426.jpg


-----
 

Mat

Guest
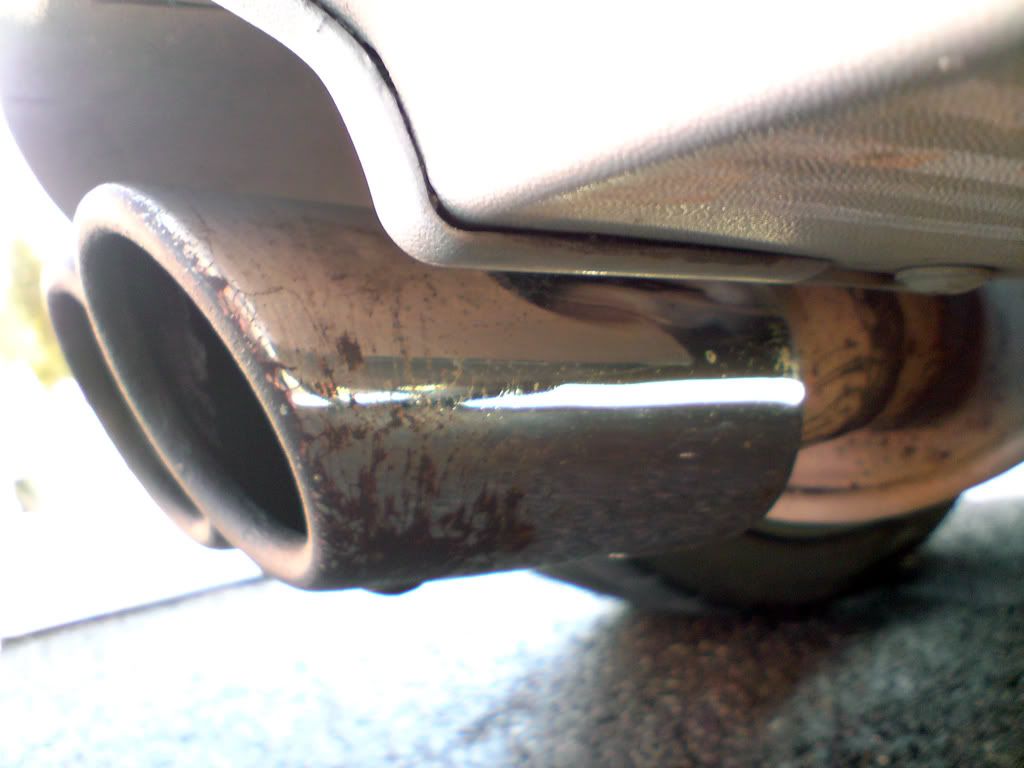
Exhaust

Before

DSC00376.jpg


DSC00377.jpg


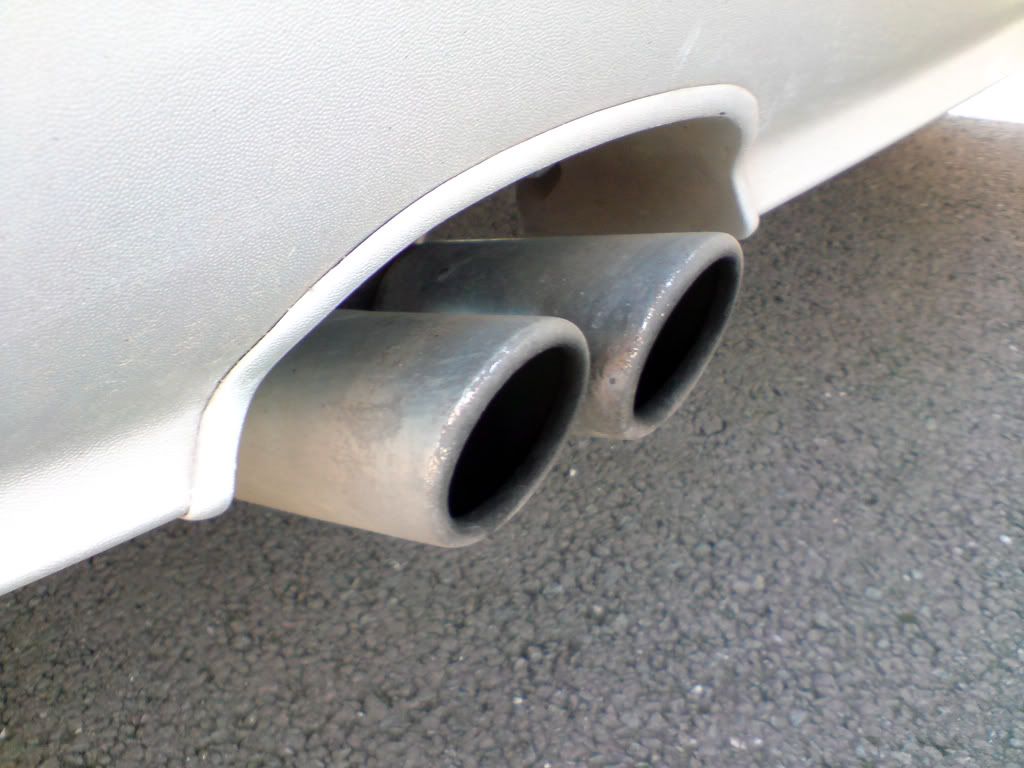
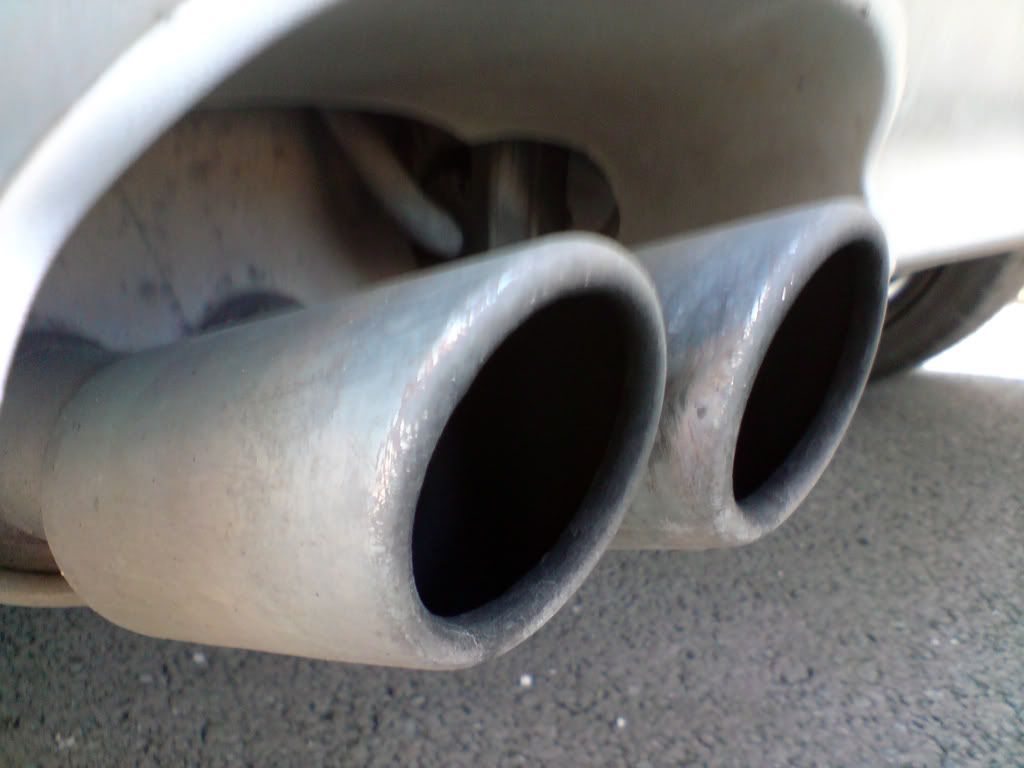
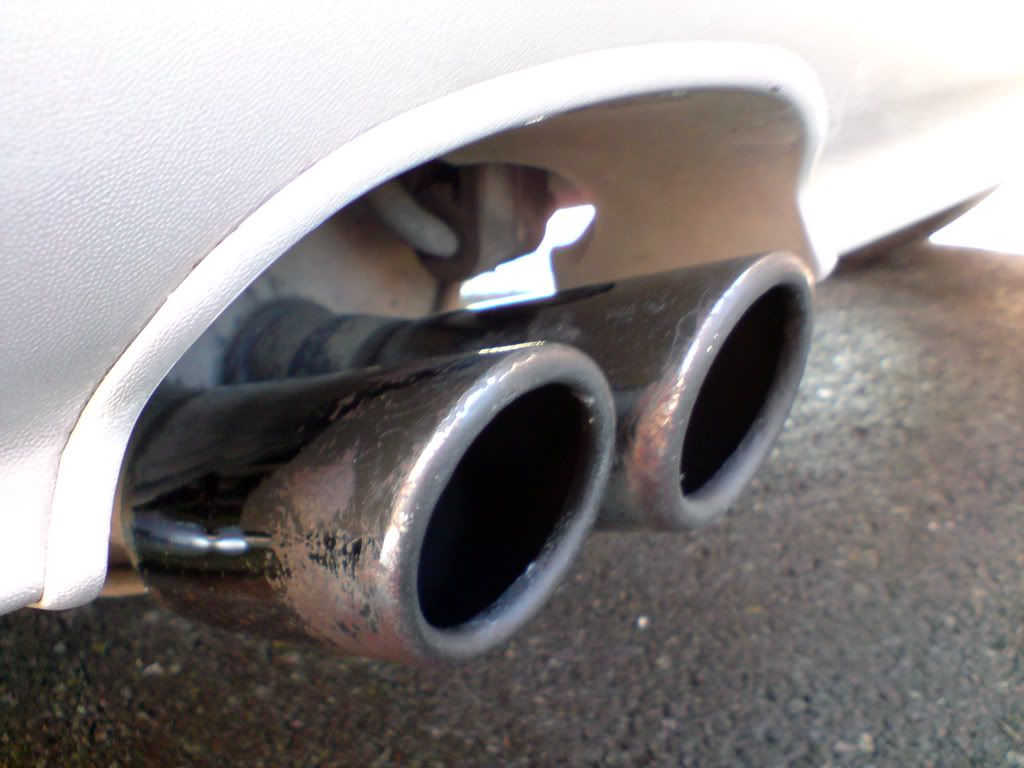
I tried Megs Nxt Generation Metal Polysh on the exhaust due to not being able to find my AutoSol. This was applied again, with a microfibre work towel, and left a minute before removing with another.

After

DSC00414.jpg


DSC00415.jpg


Not the greatest of results, but I wanted to get a lot done today. Next time I think I shall get some wire wool at at, along with maybe Surfex HD neat.

-----

Claying

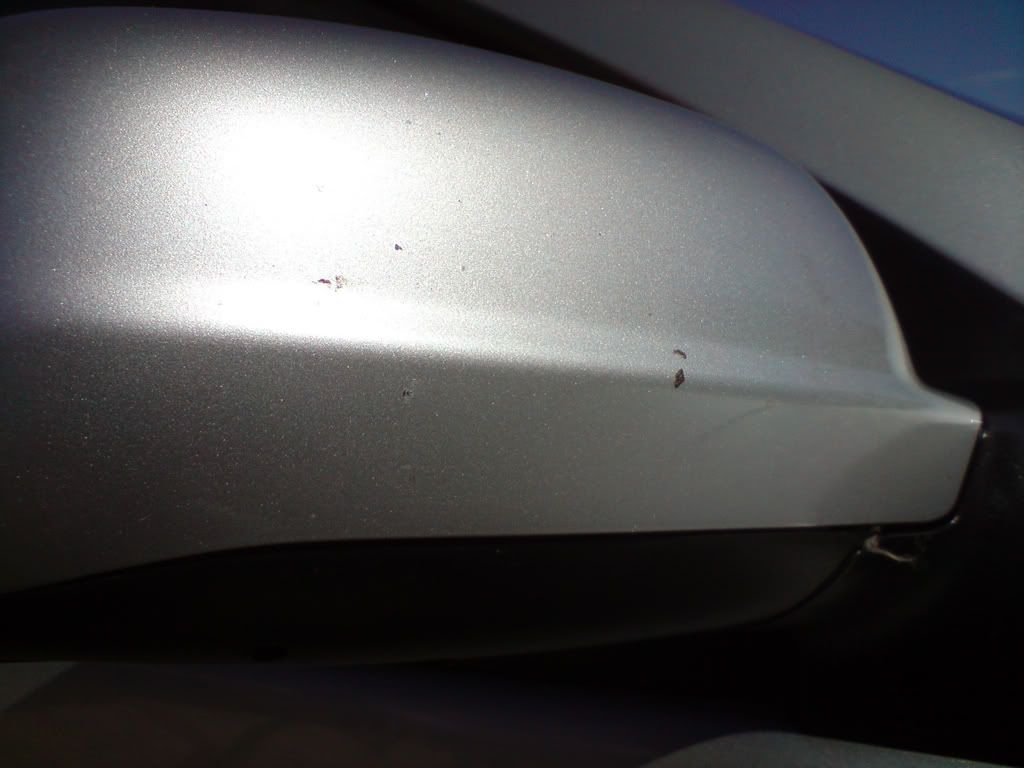
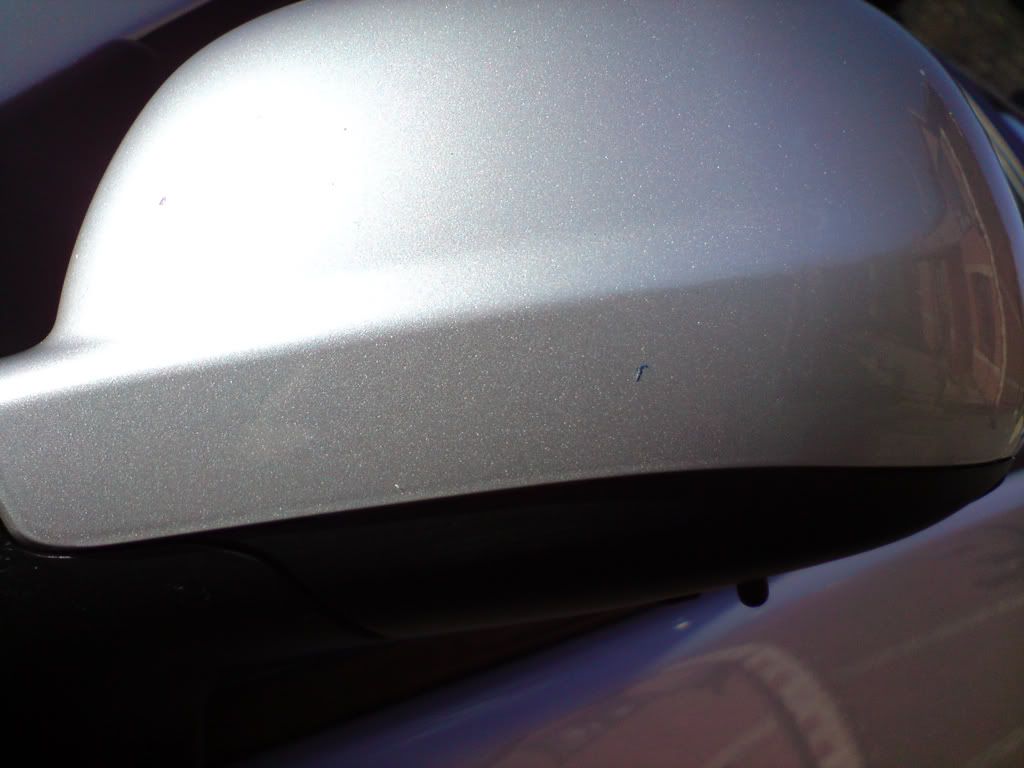
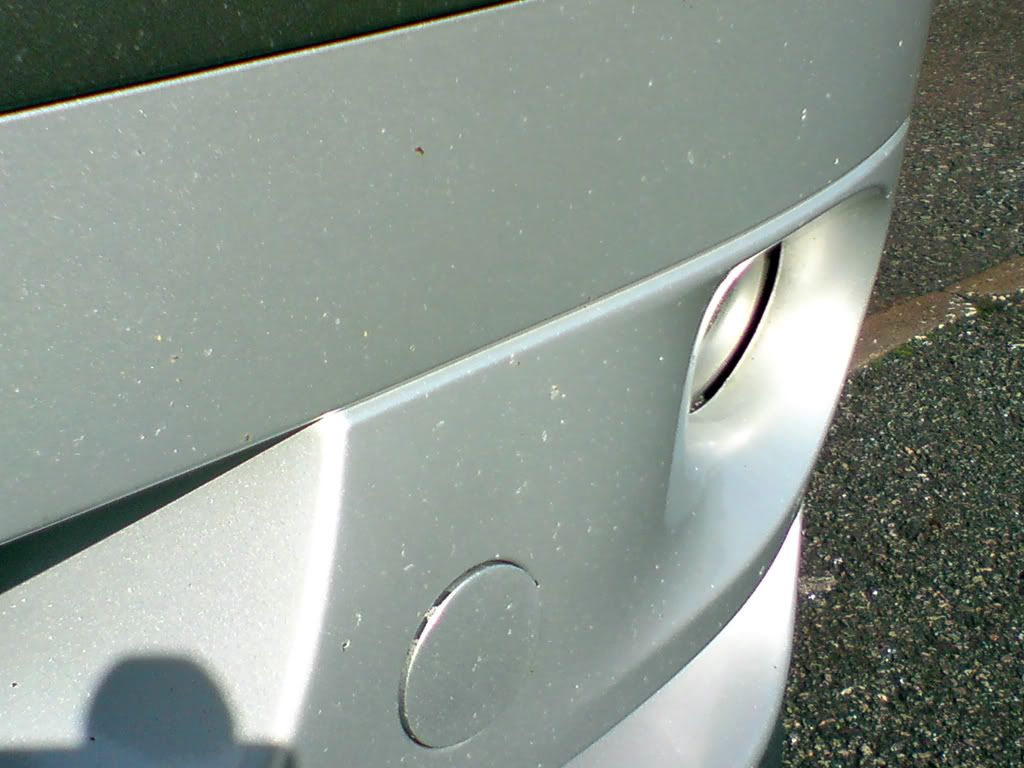
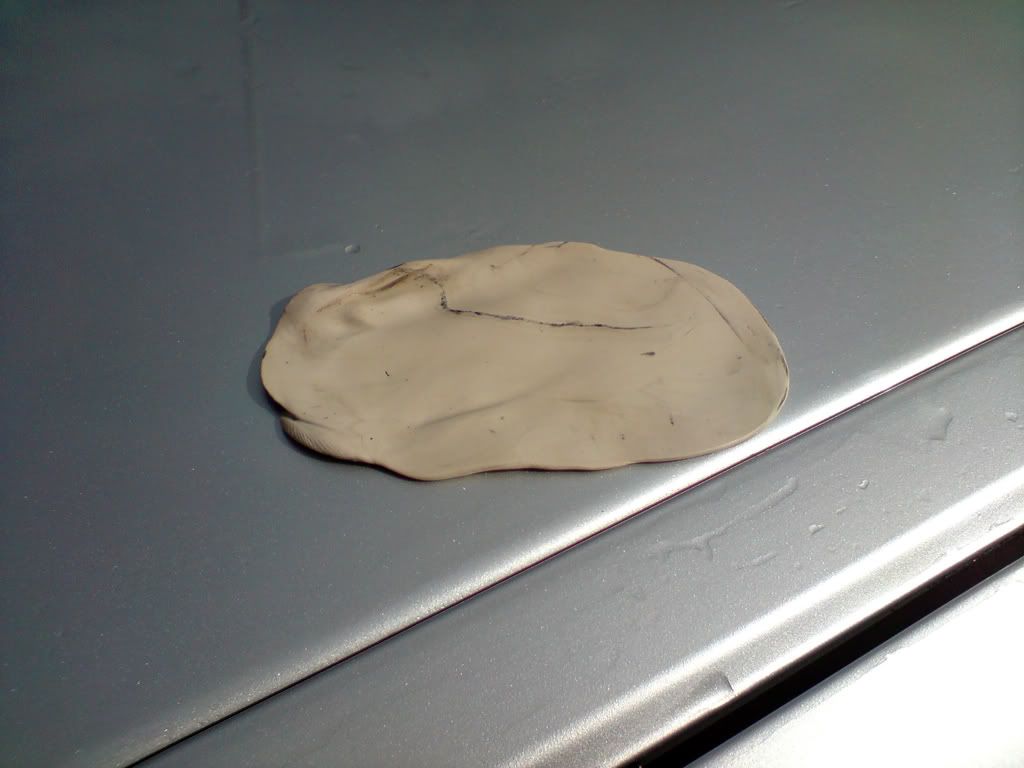
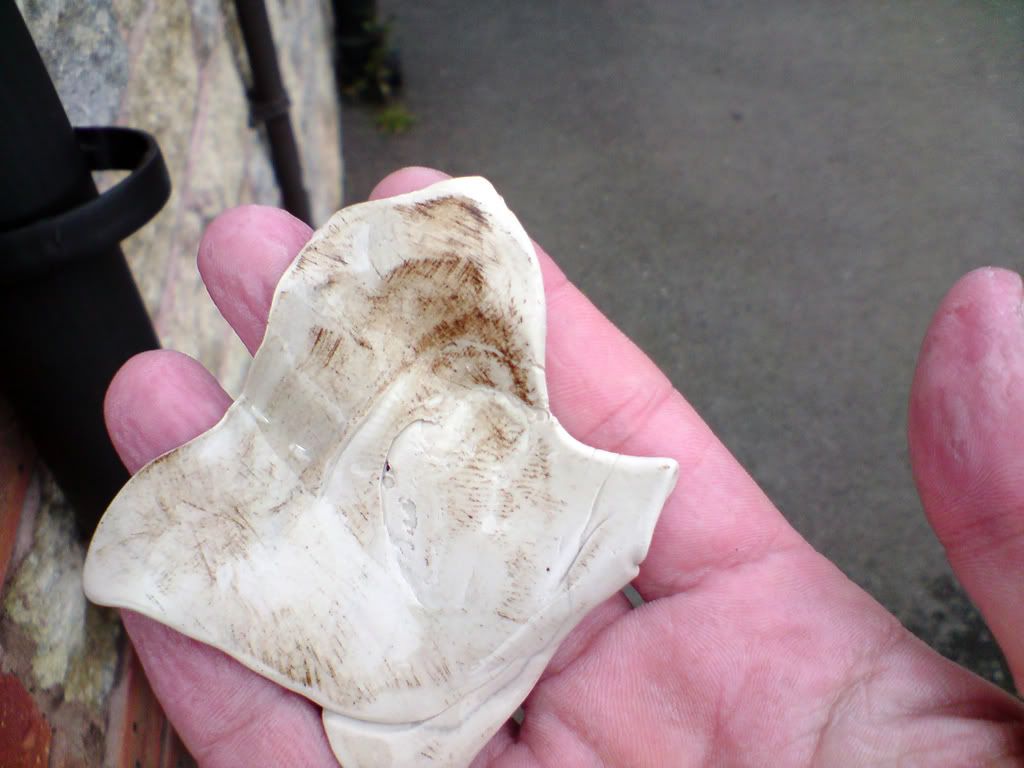
The main areas I wanted to clay were the mirror housings and the front bumper.

Before

DSC00398.jpg


DSC00399.jpg


DSC00400.jpg


Overall, the car wasn't that bad. This is as bad as it got, after the roof:

DSC00416.jpg


And this is the worst it got, after the bump strip on bumper:

DSC00417.jpg


After

DSC00401.jpg


Not sure why, but I didn't take pitures of the above after claying. But let's just say, the stuff was removed.
 

Mat

Guest
Polish

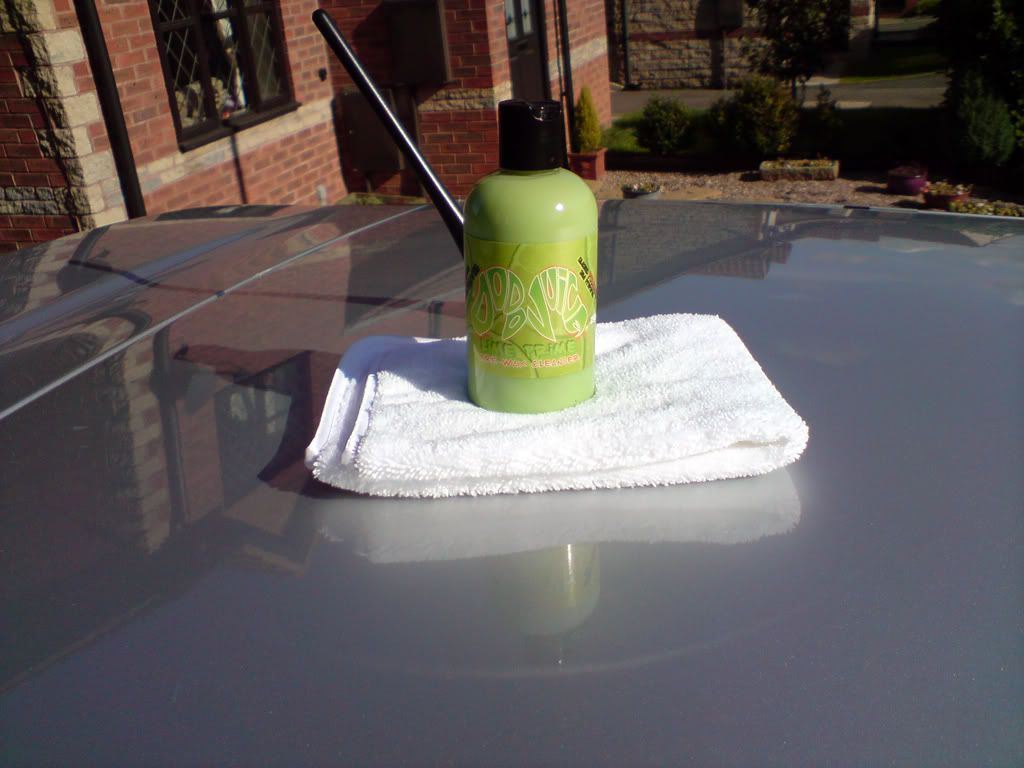
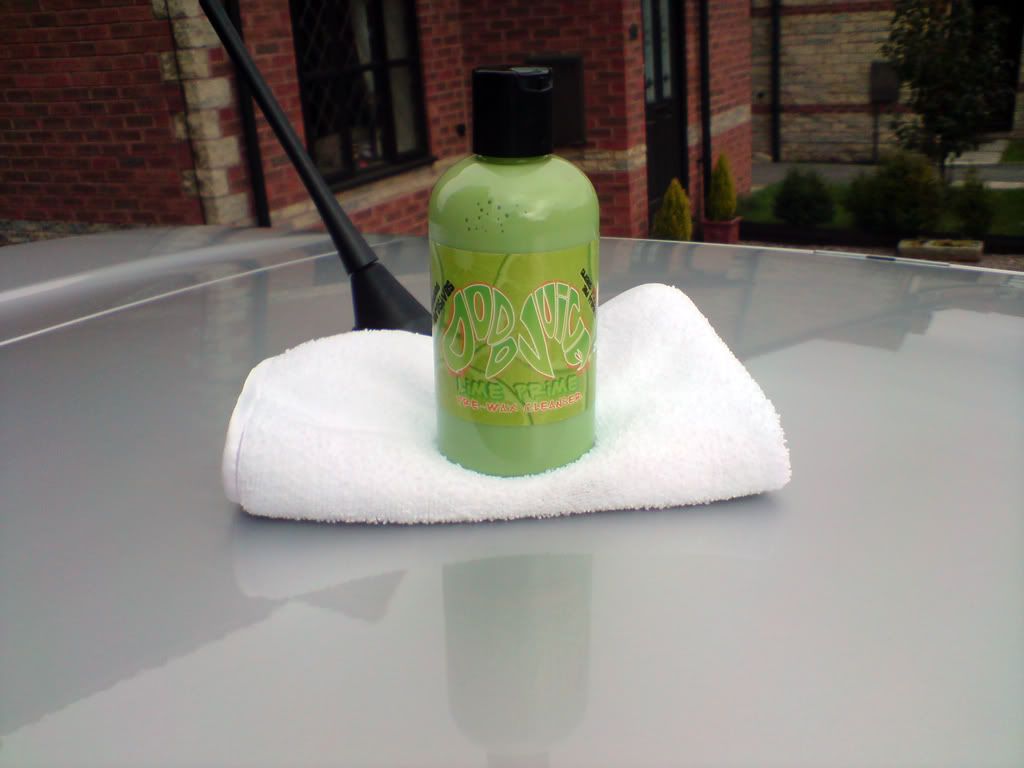
Next up was a bit of polish. The polish of joice was Dodo Juice Lime Prime paint cleanser. This was applied using a foam applicator, and then buffed of using a plush buffing towel.

DSC00418.jpg


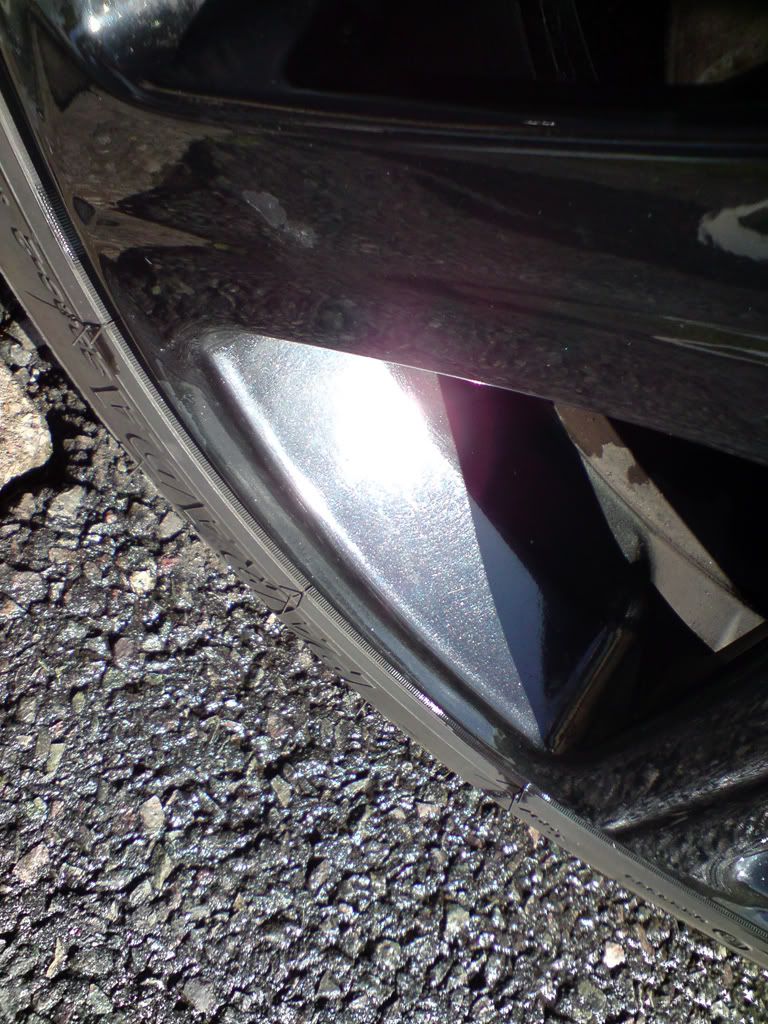
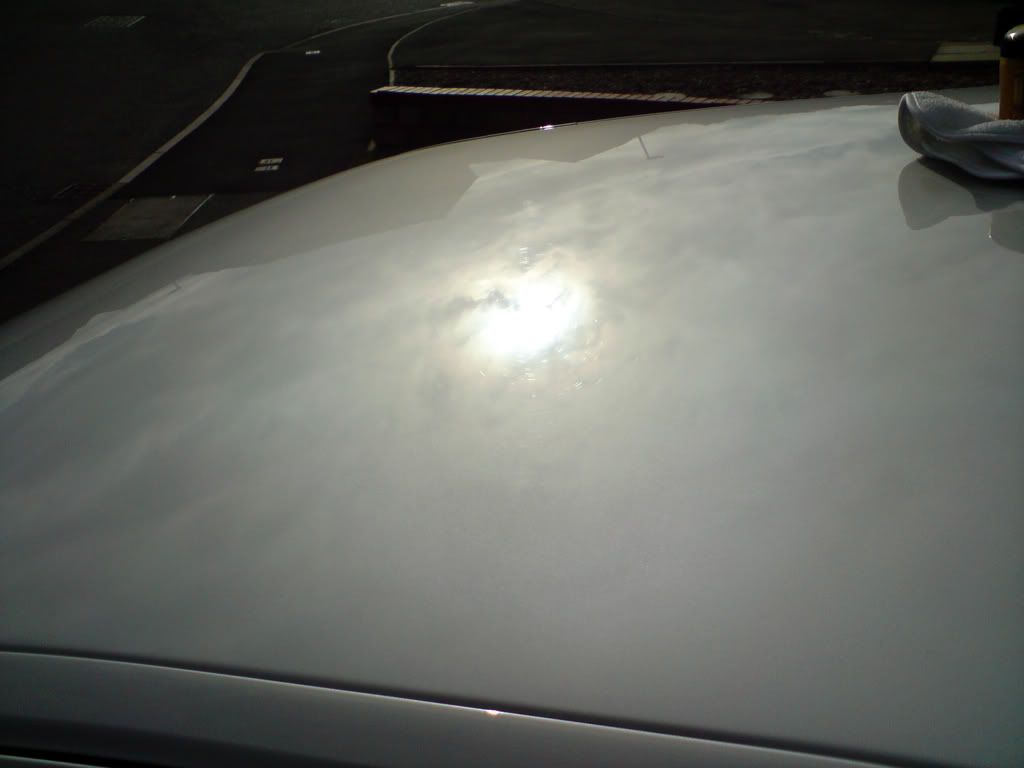
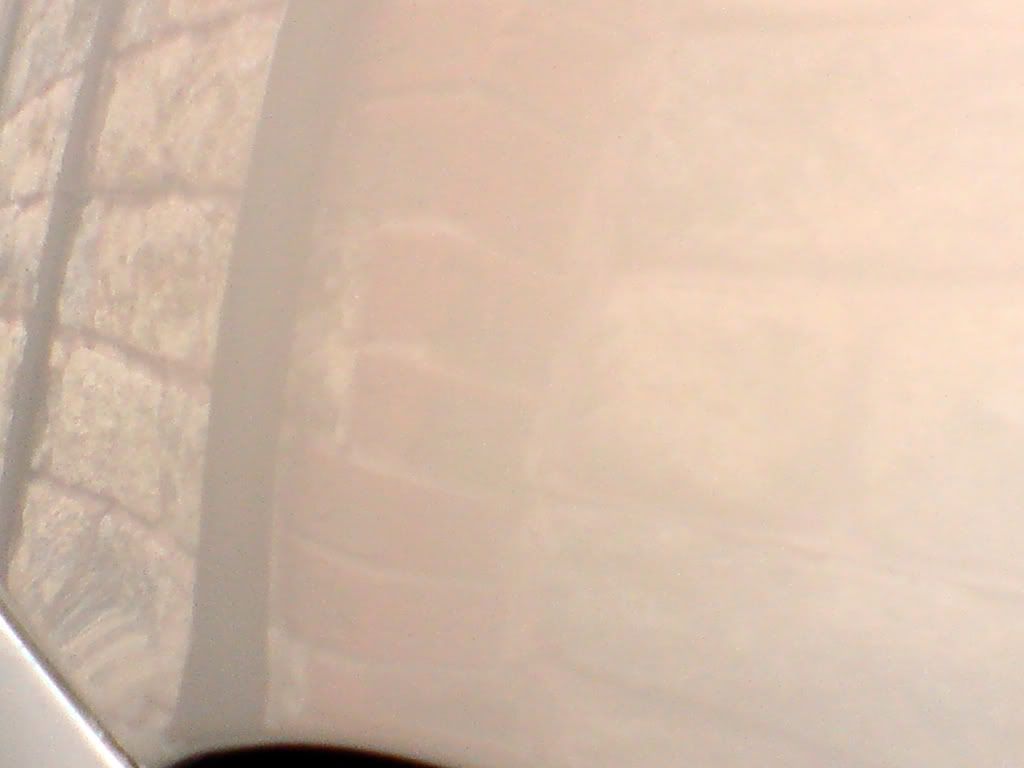
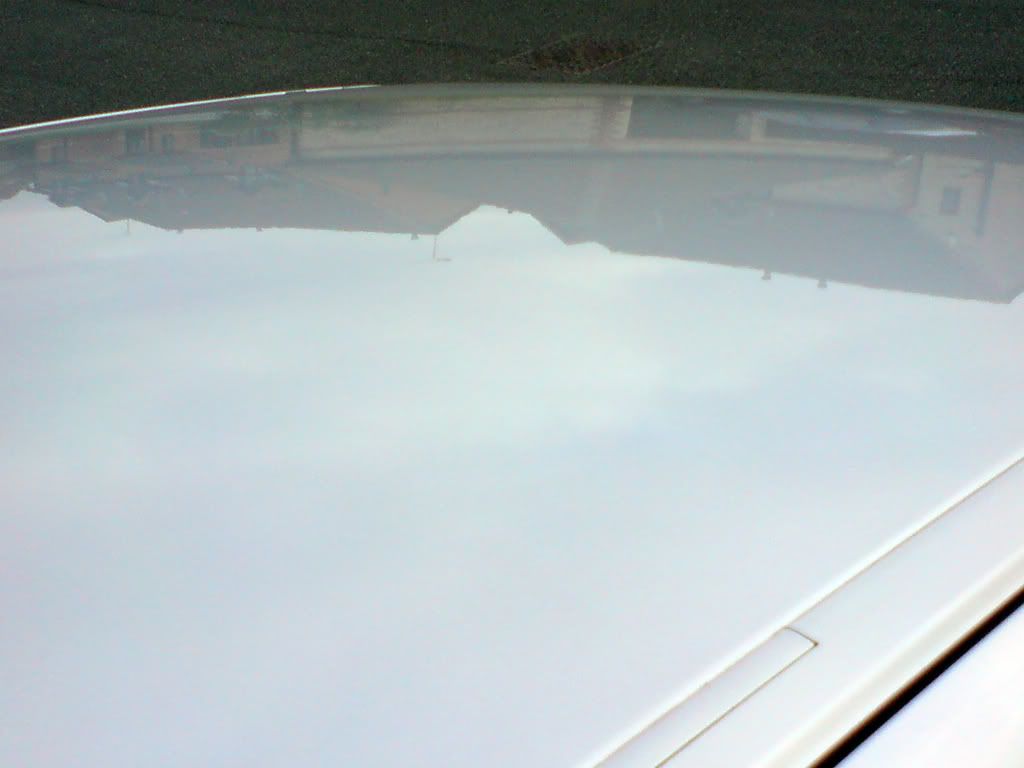
Here's a few reflection shots afterwards

DSC00419.jpg


DSC00420.jpg


----

Wax

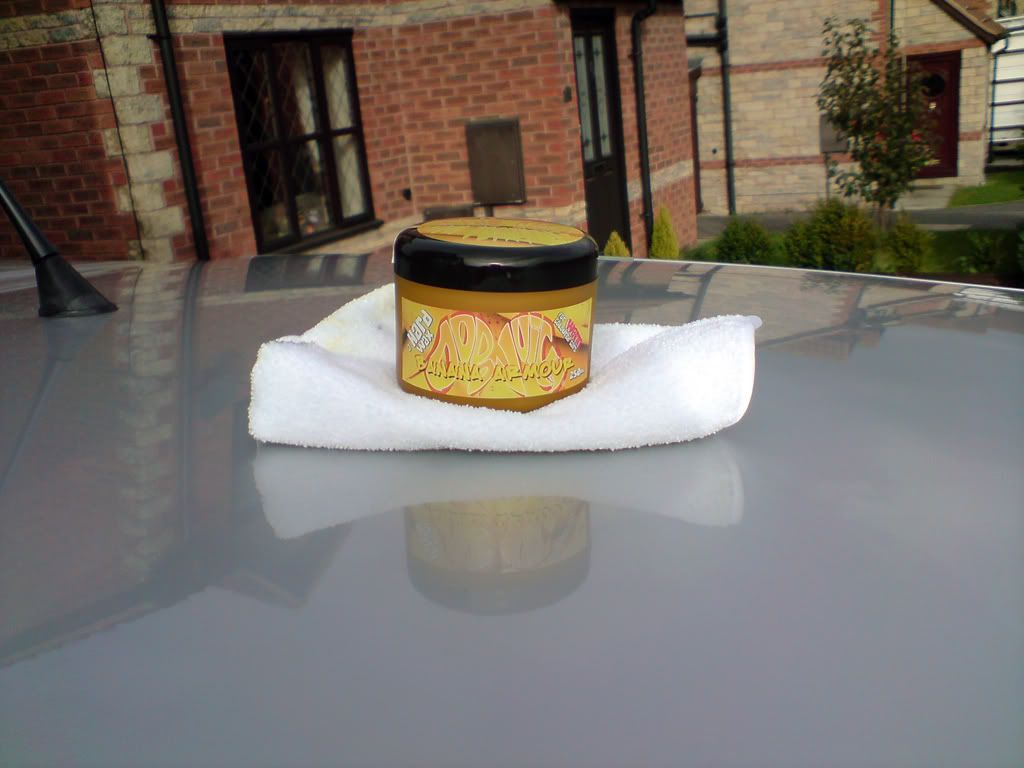
The polish was then followed by a nice layer of wax. A was looking forward to this! My first "proper" pot of wax. Dodo Juice Banana Armour. Again, this was applied using a foam applicator, leftto cure for about 15mins (more than suggested, but it had cooled down a fair bit) and then buffed of using a plush buffing towel.

DSC00421.jpg


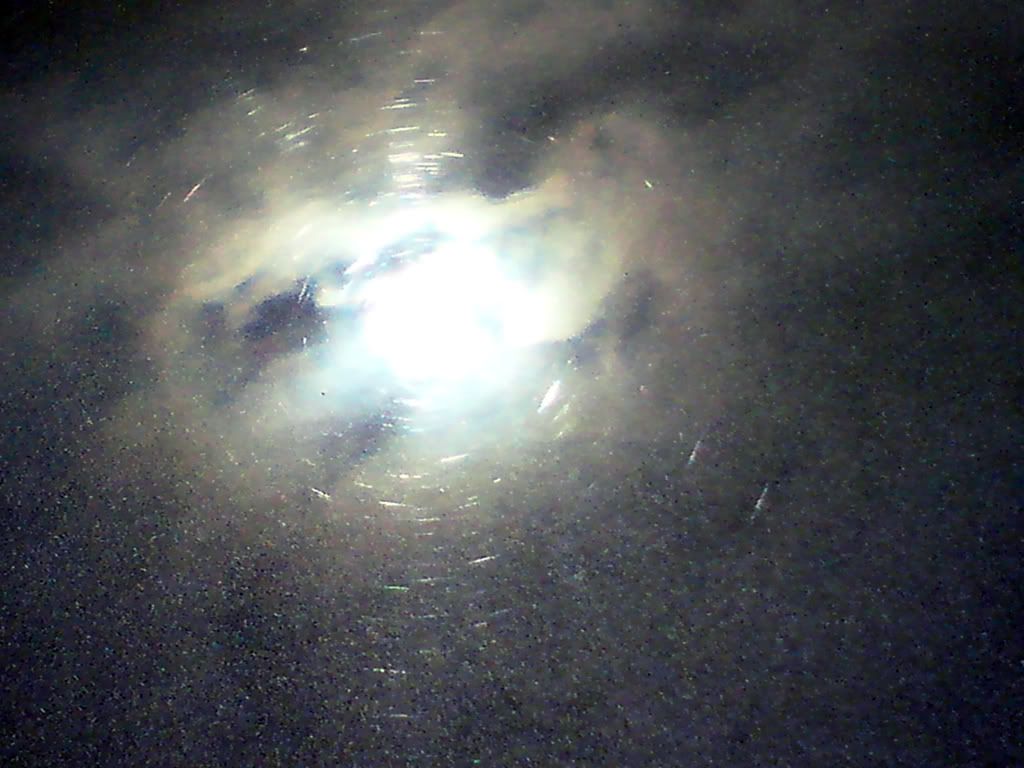
And some reflections:

DSC00422.jpg


DSC00423.jpg


DSC00424.jpg


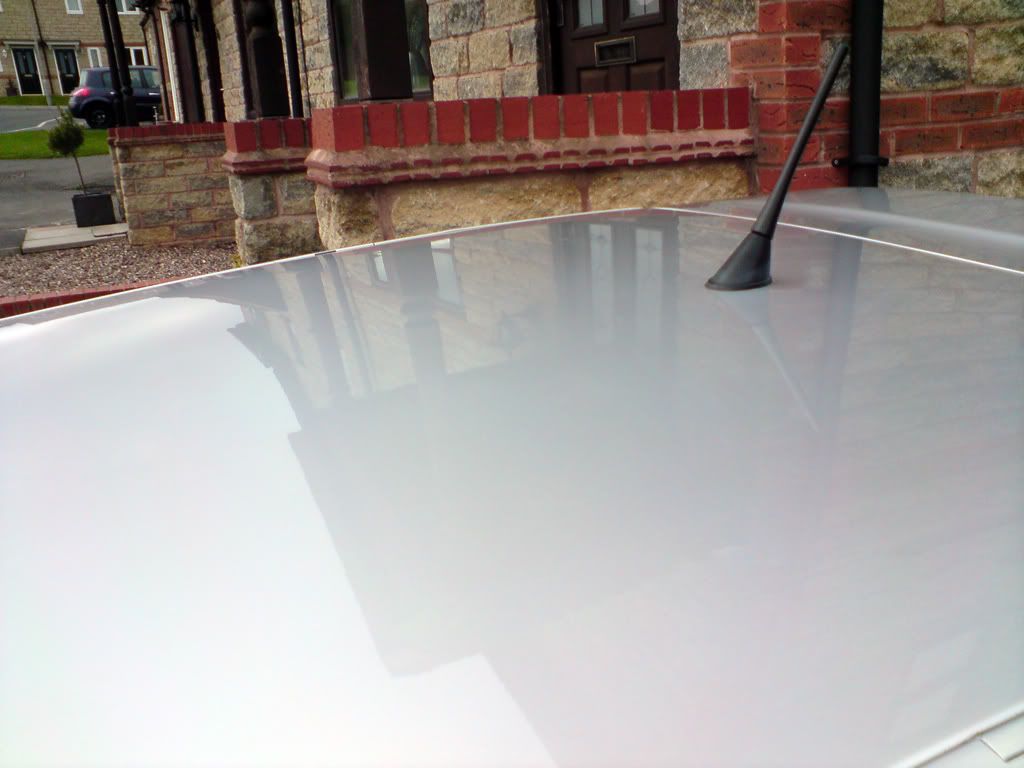
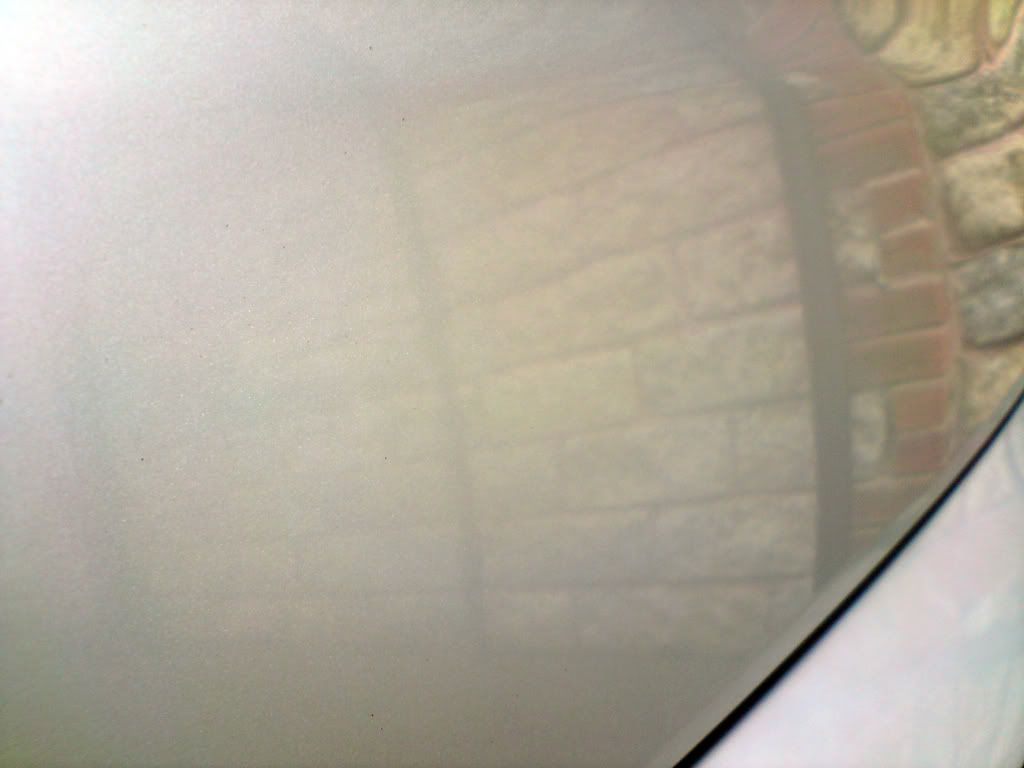
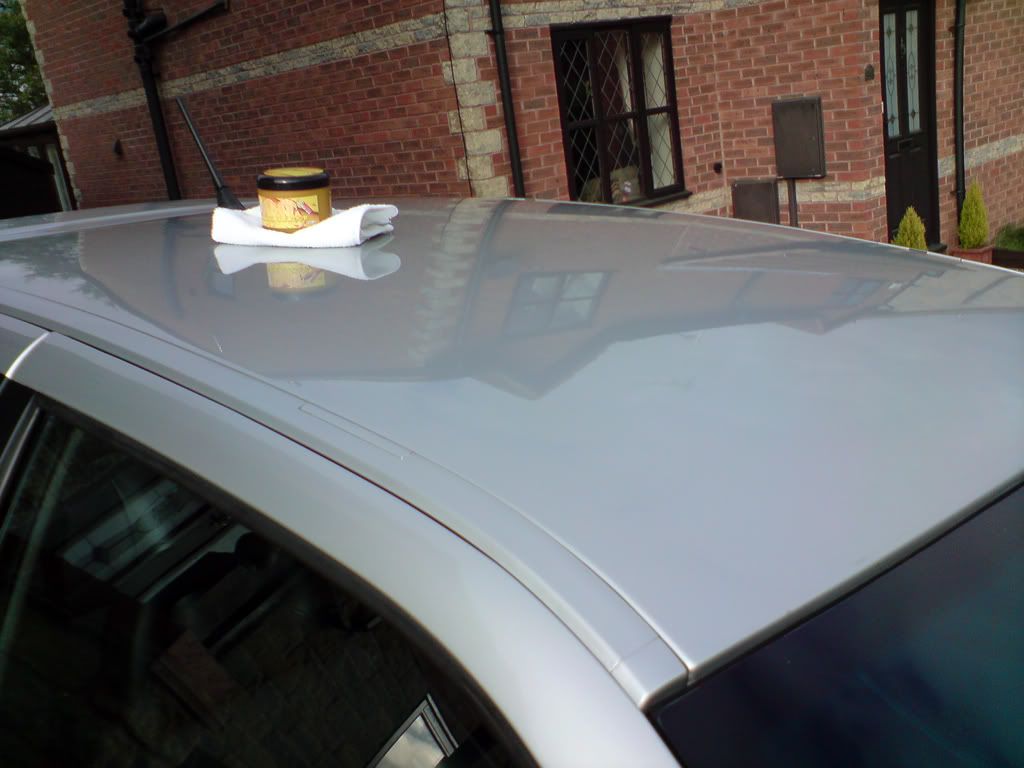
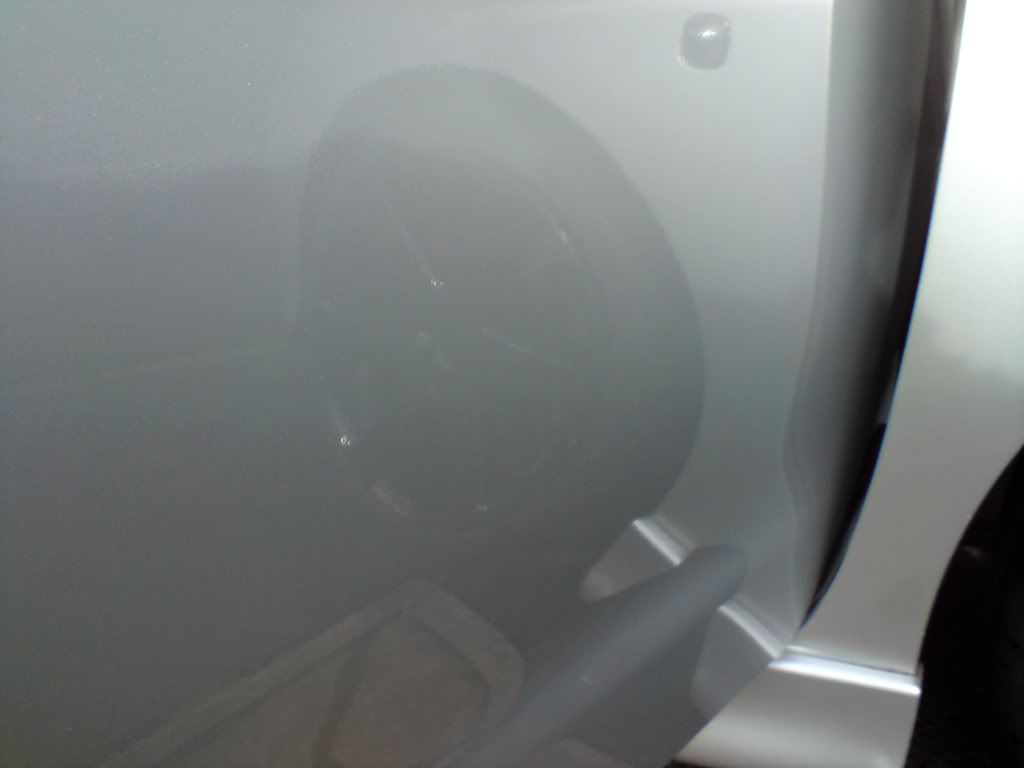
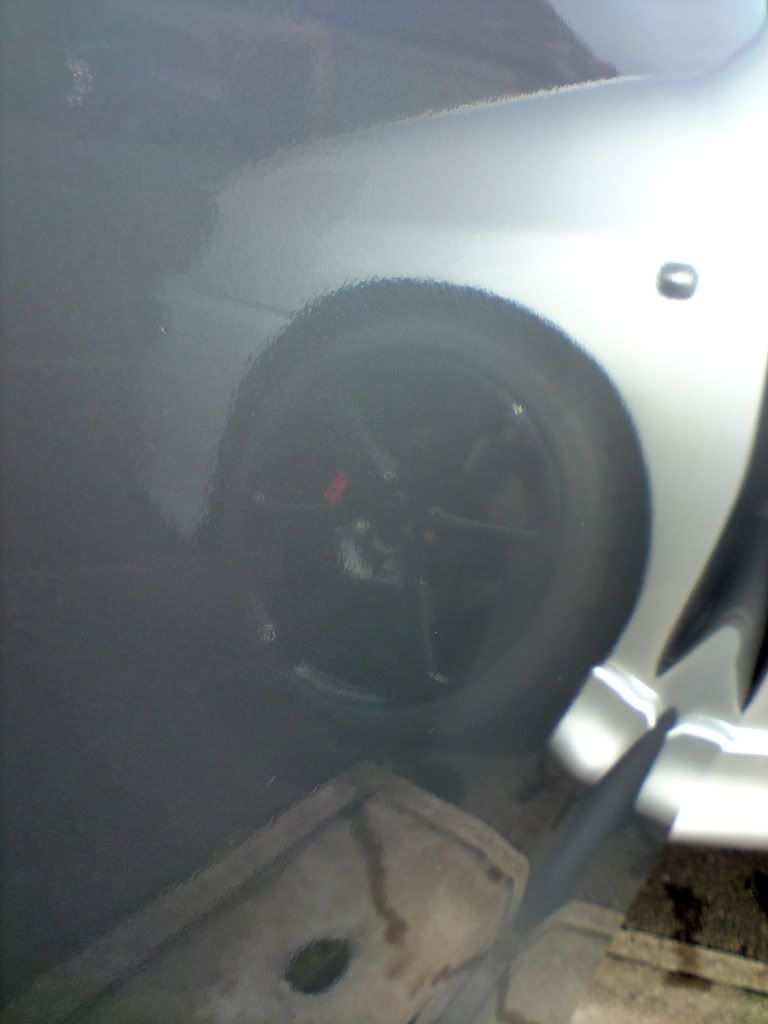
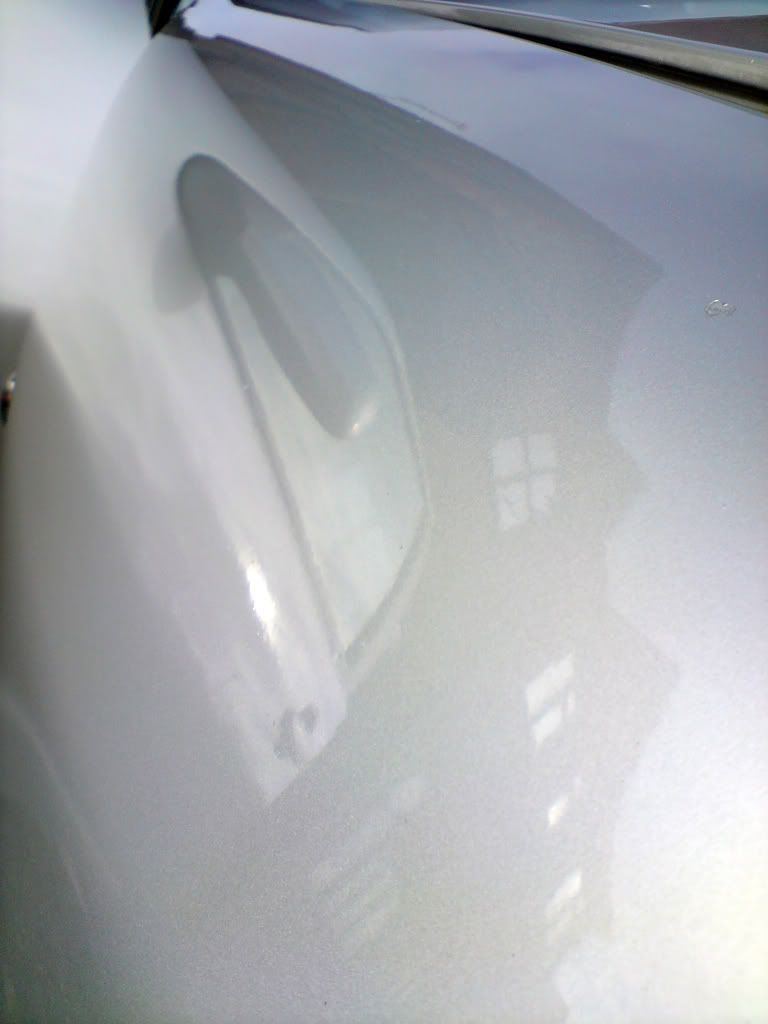
Up until applying the wax, I had never seen swirl marks on the car, and never seen reflections as deep before. I was really amazed with the wax. I will deffinately get a few more coats on ready for the winter.
 

Mat

Guest
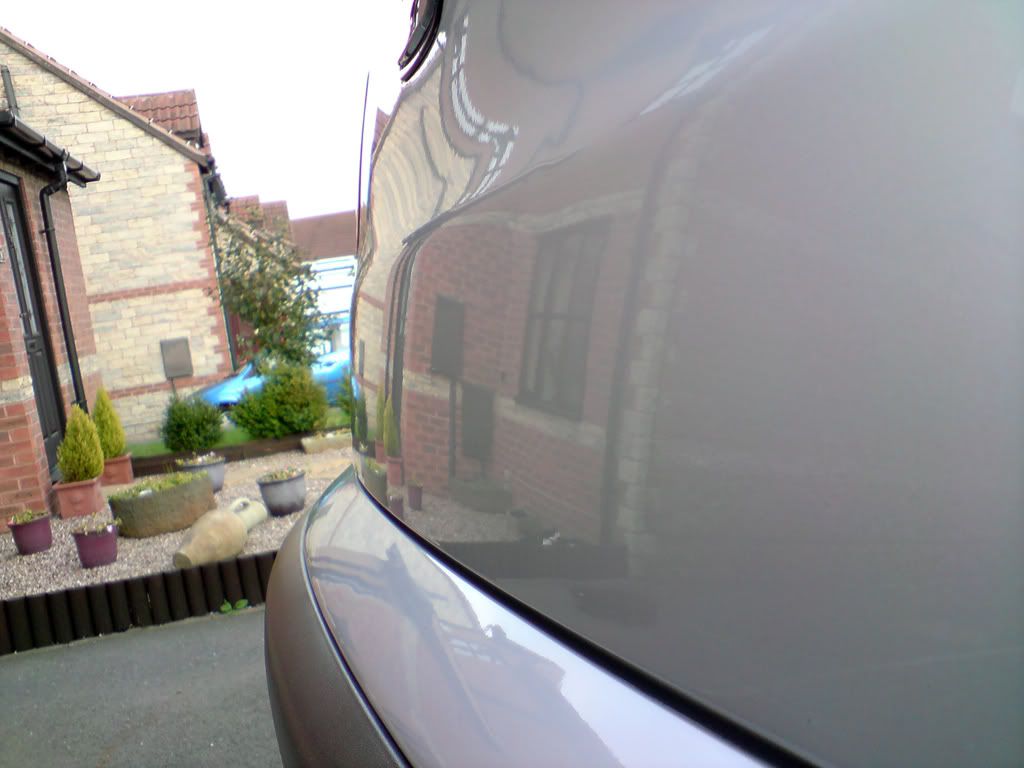
More reflections:

DSC00427.jpg


DSC00428.jpg


DSC00429.jpg


DSC00430.jpg


DSC00431.jpg


By now, I'd had a long day. I didn't seal the car after the wax. I'll do that after some more layers.

-----
 

Mat

Guest
Engine

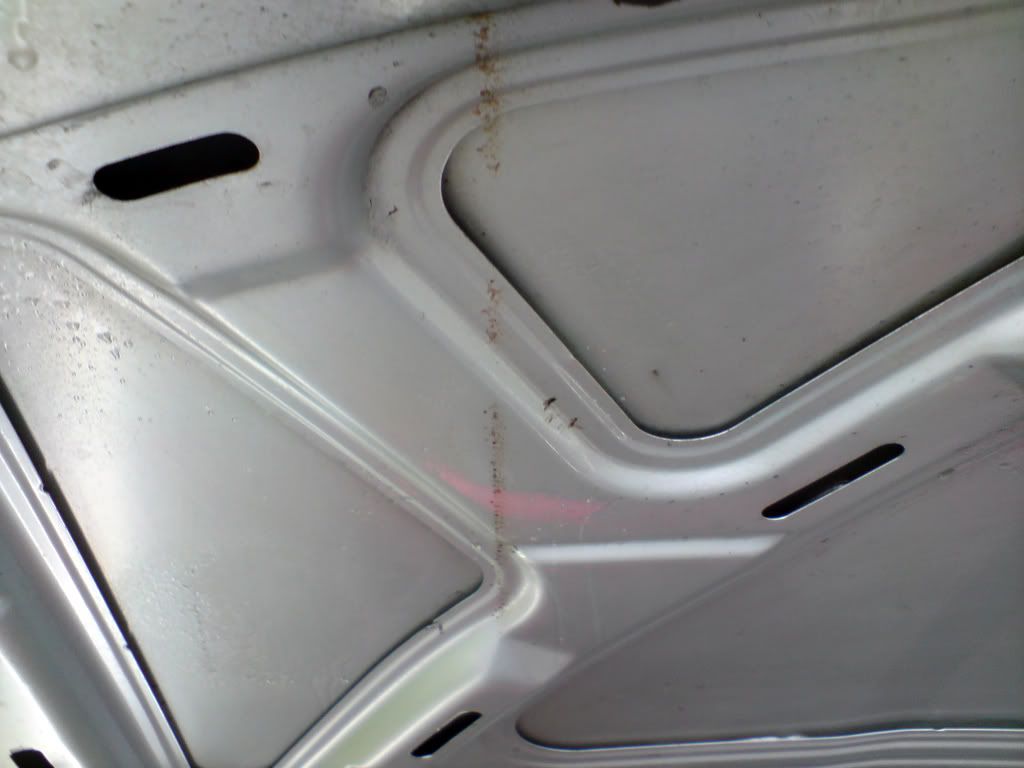
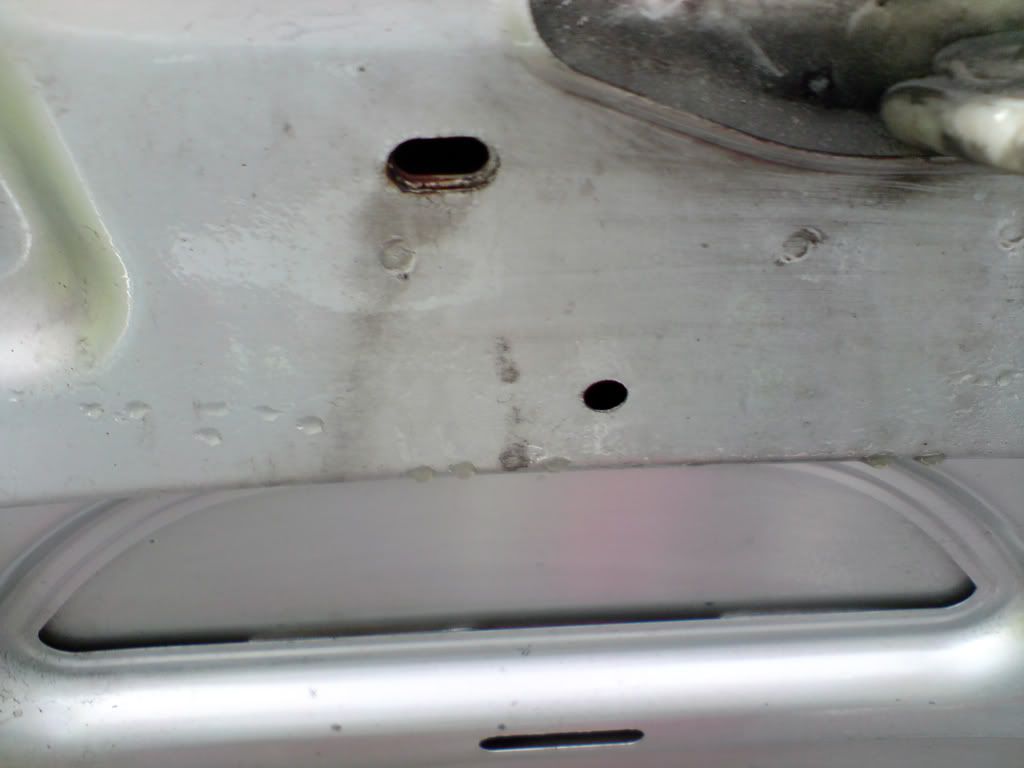
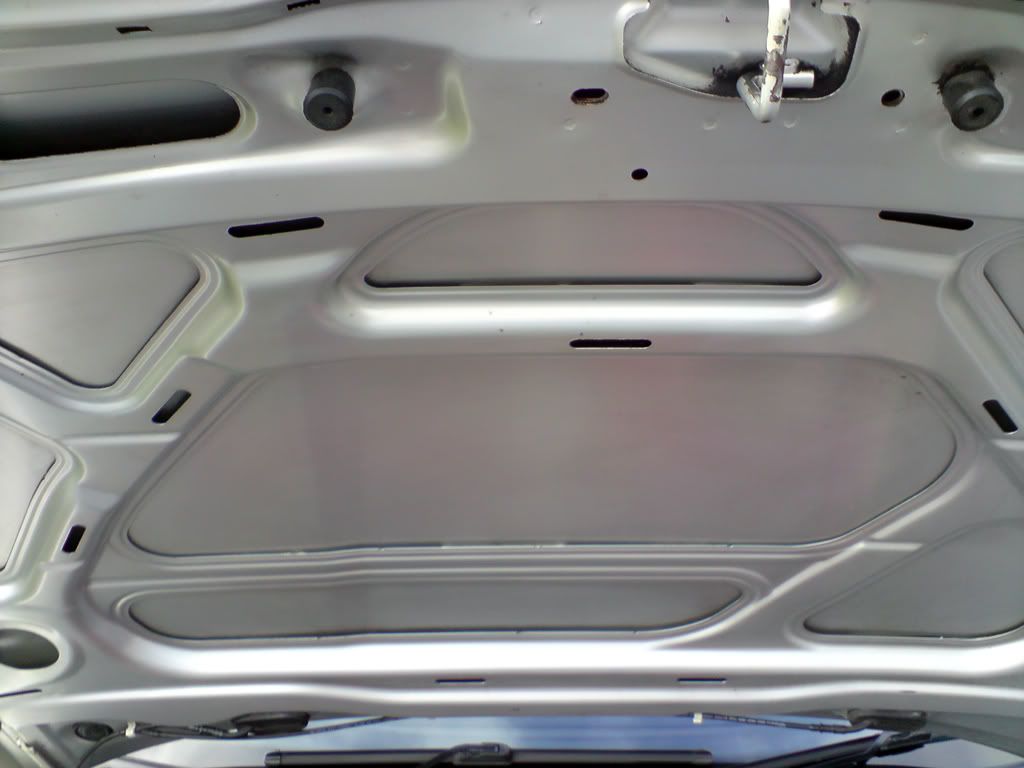
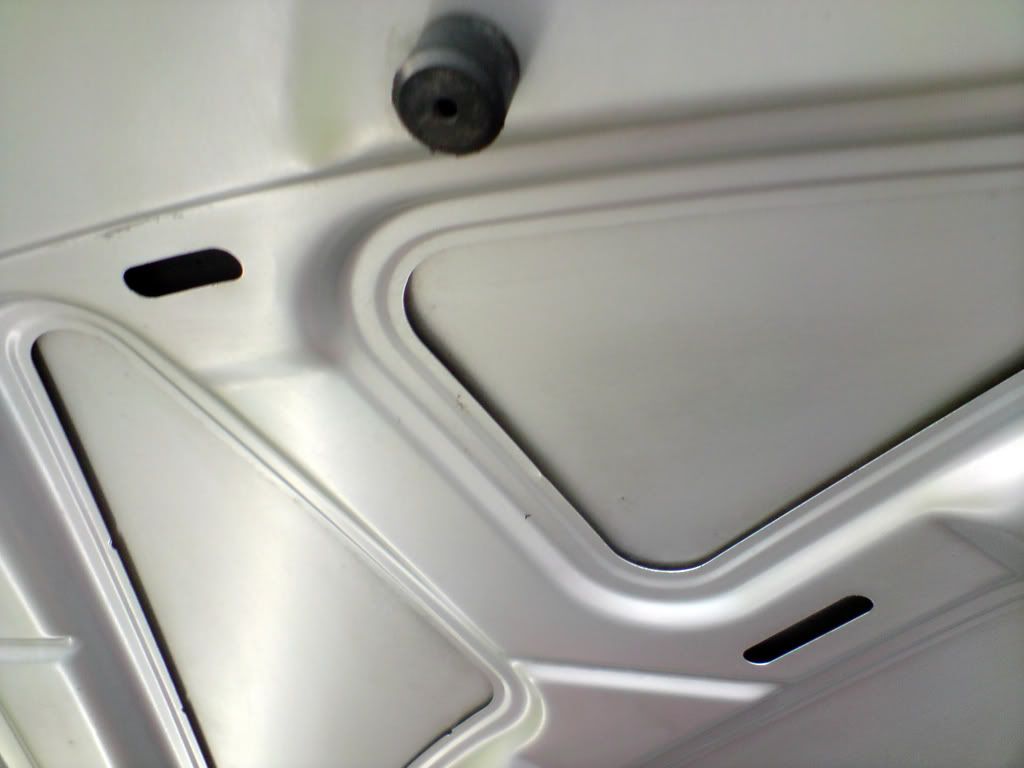
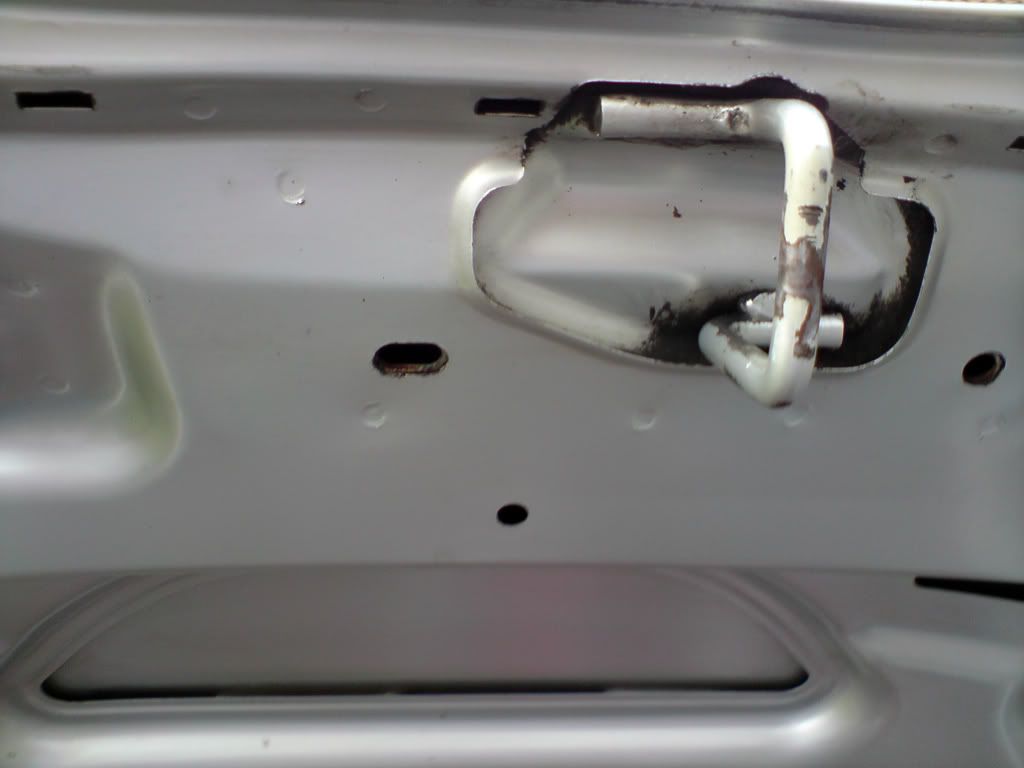
Not technically the engine, as I was shattered by now, and wasn't up to much detailing on it. I think the engine needs a full day alone! So I just settled for under the bonnet.

Before

DSC00433.jpg


DSC00434.jpg


DSC00435.jpg


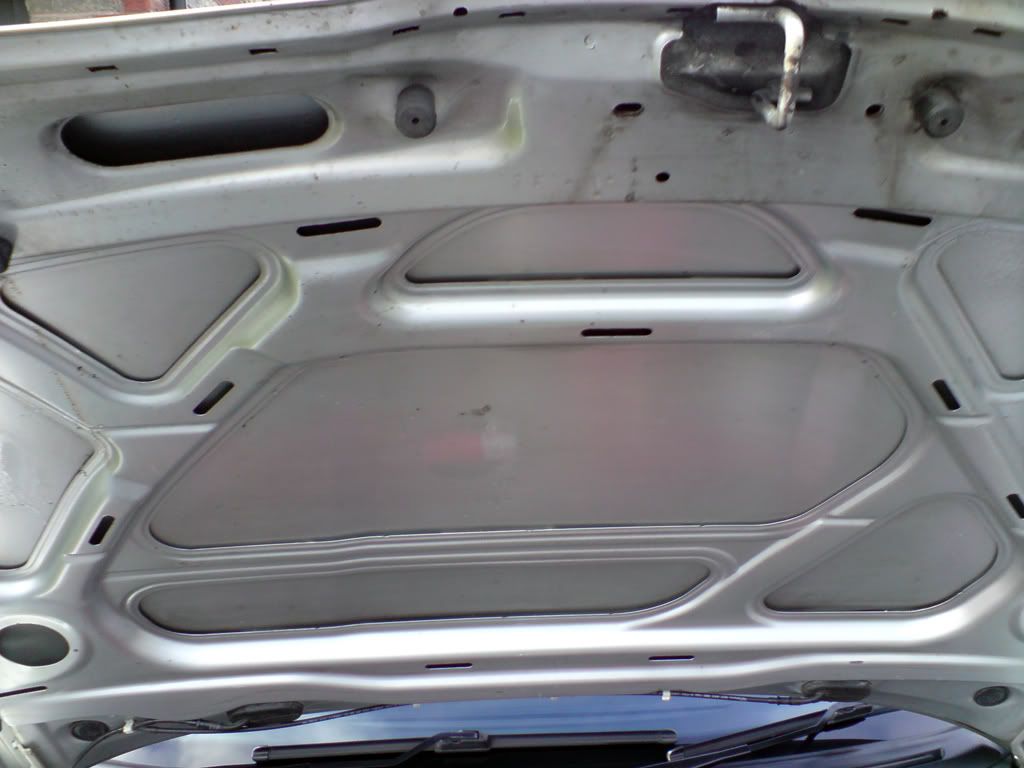
This was cleaned with a microfibre and the same dilution of Surfex HD that I had used on the wheels.

After

DSC00436.jpg


DSC00438.jpg


DSC00437.jpg


----
 

Mat

Guest
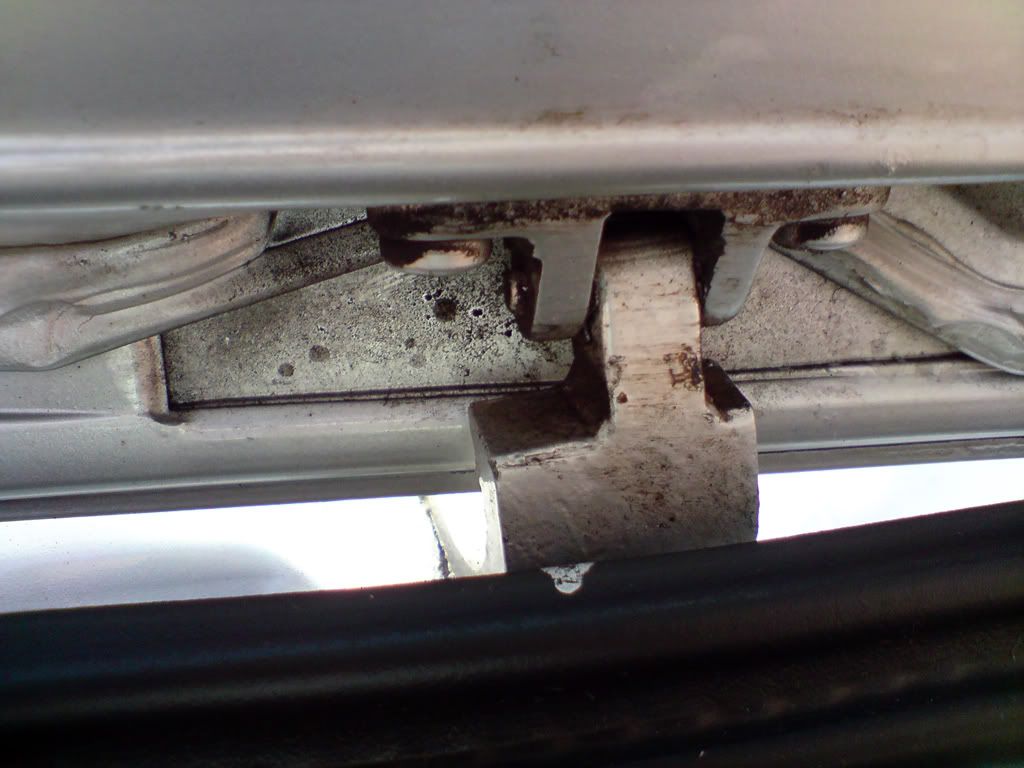
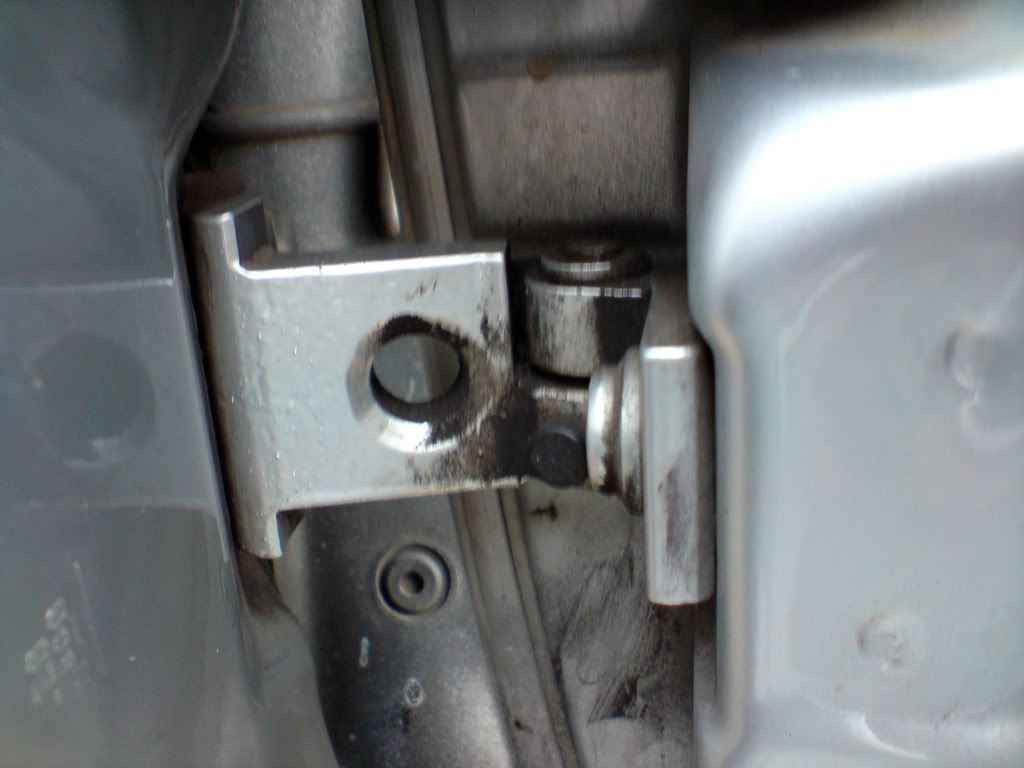
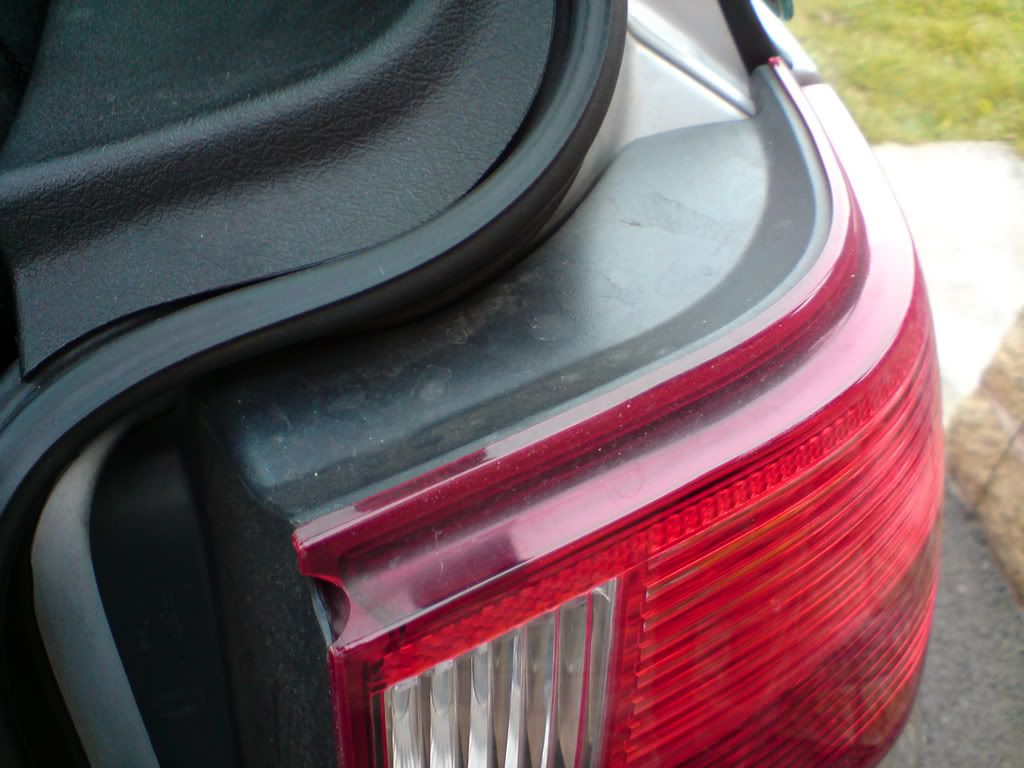
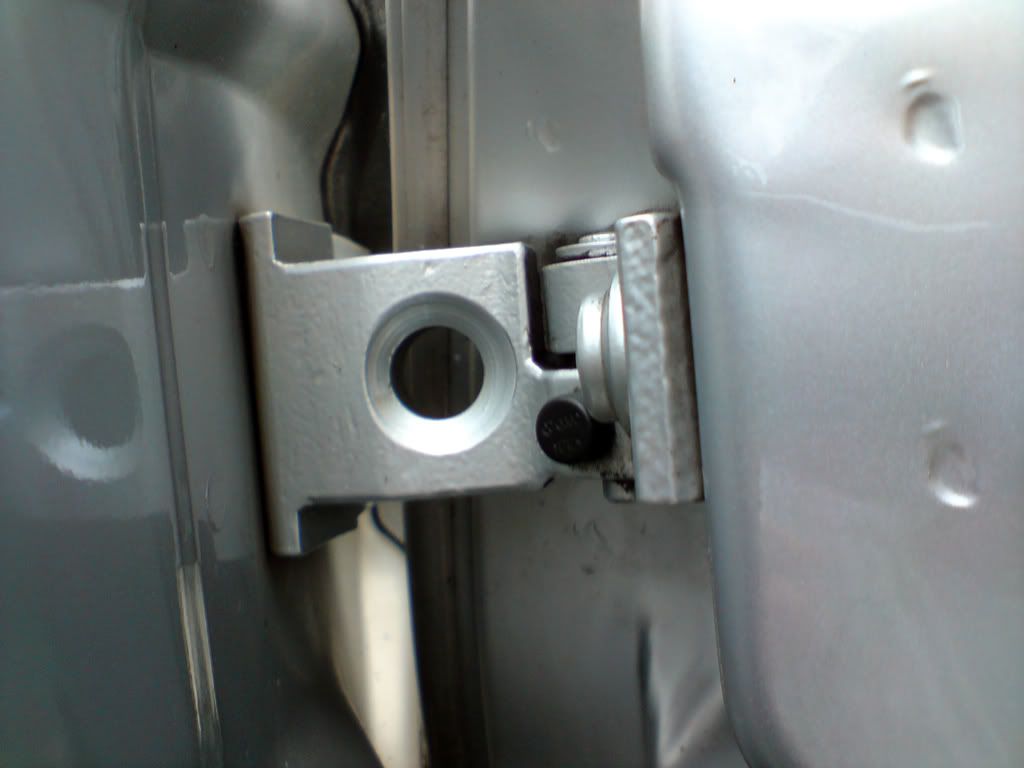
Boot/Door Shuts

Here's the boot hinge
DSC00378.jpg


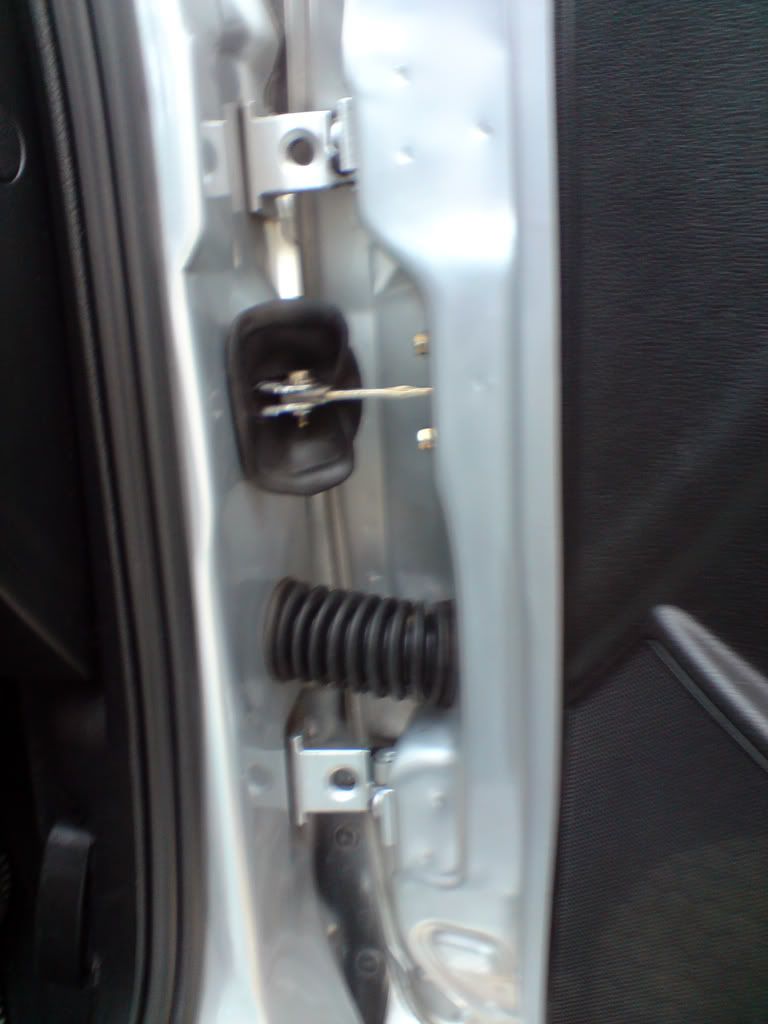
And the door hinge
DSC00439.jpg


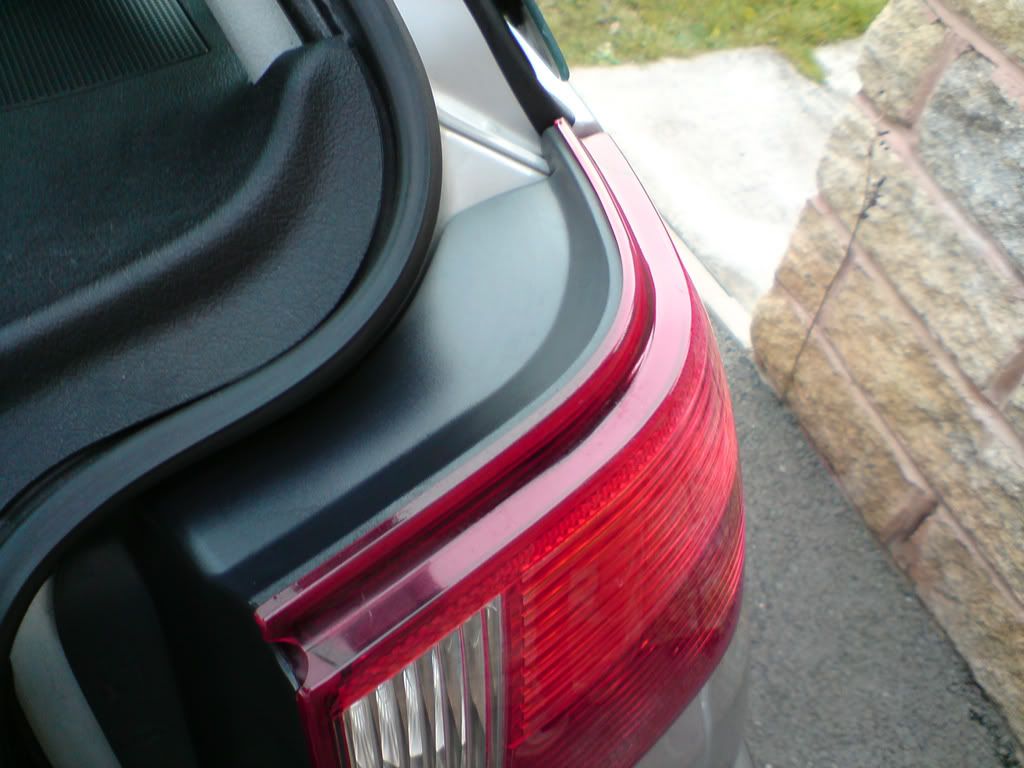
Top of rear light
DSC00443.jpg


These were all cleaned using a microfibre and the remaining bit of soapy water I had left over from cleaning the car. (I knew it'd come in handy)

The afters:

DSC00440.jpg


DSC00442.jpg


DSC00444.jpg


-----
 

Mat

Guest
Interior

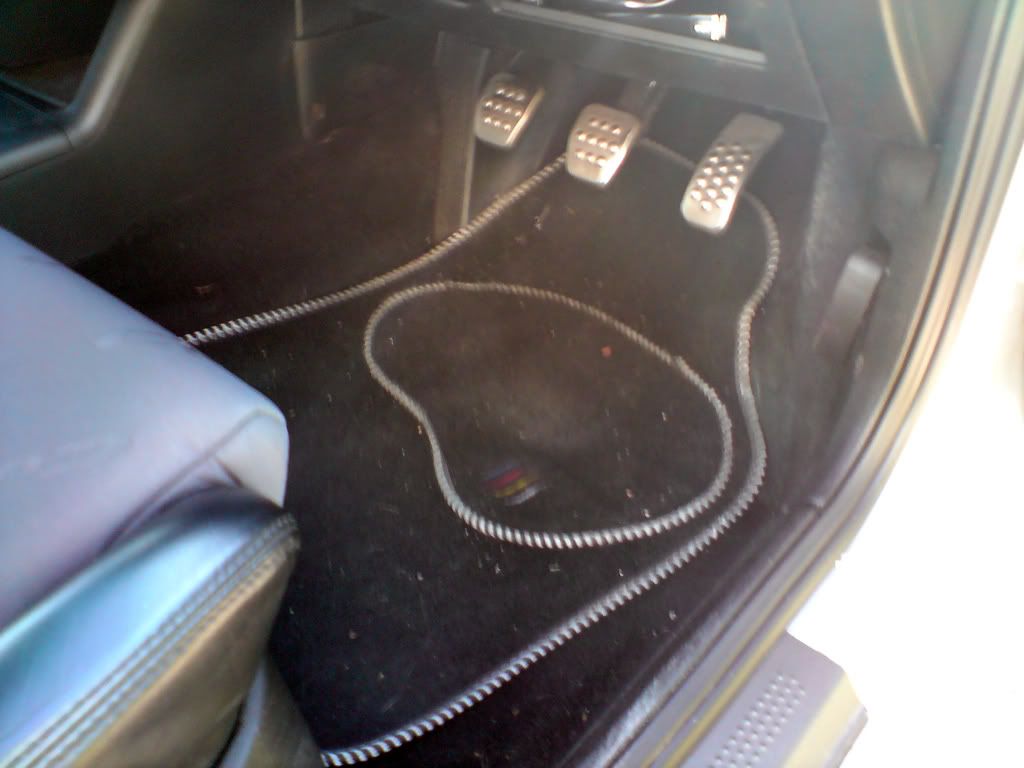
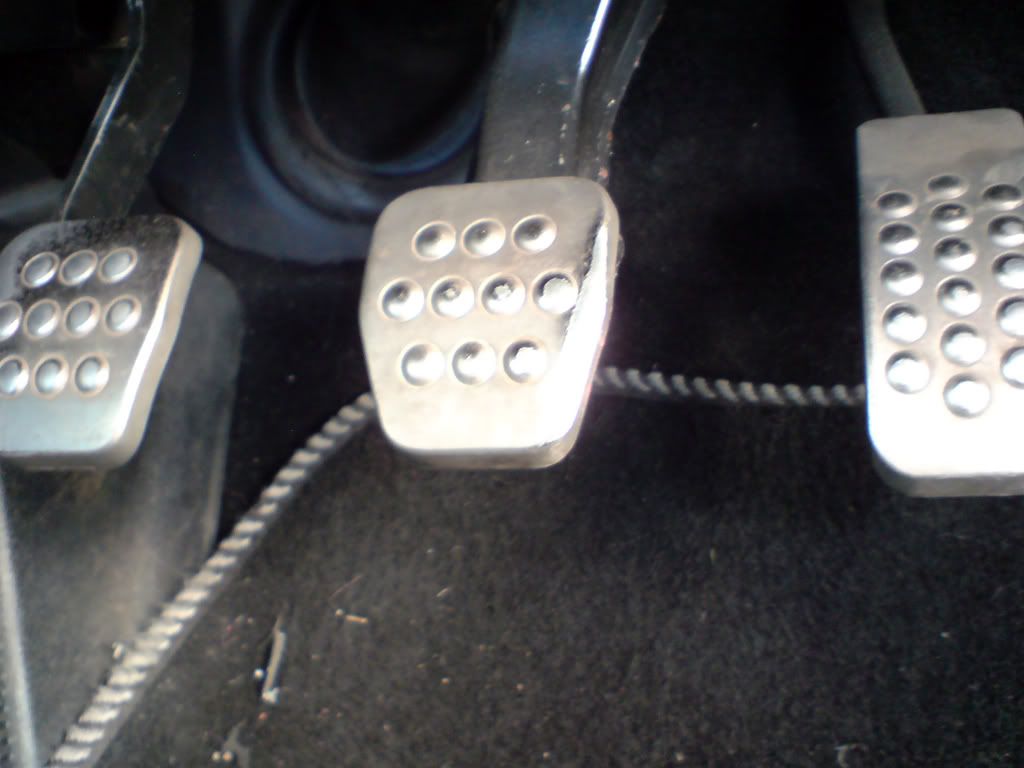
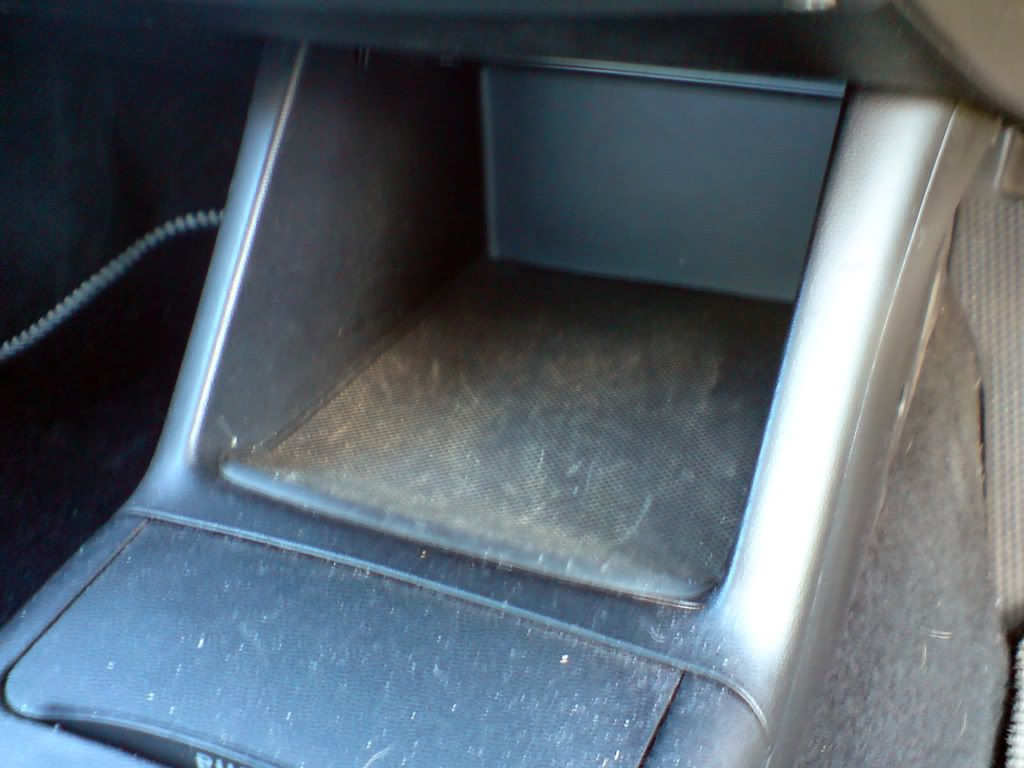
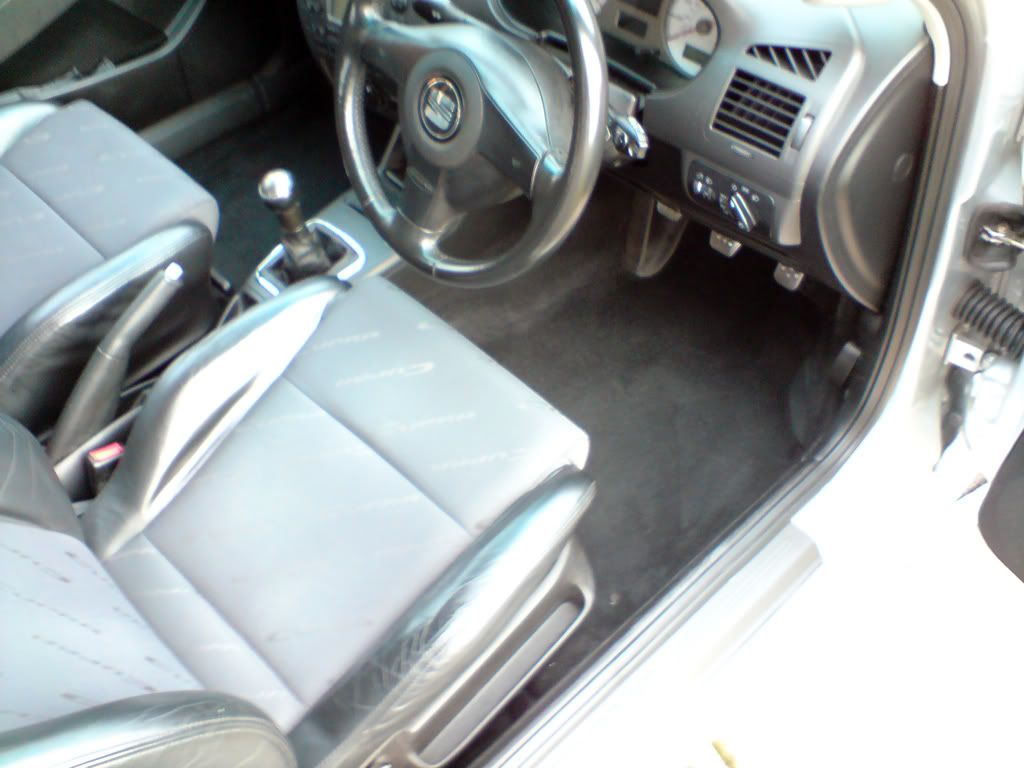
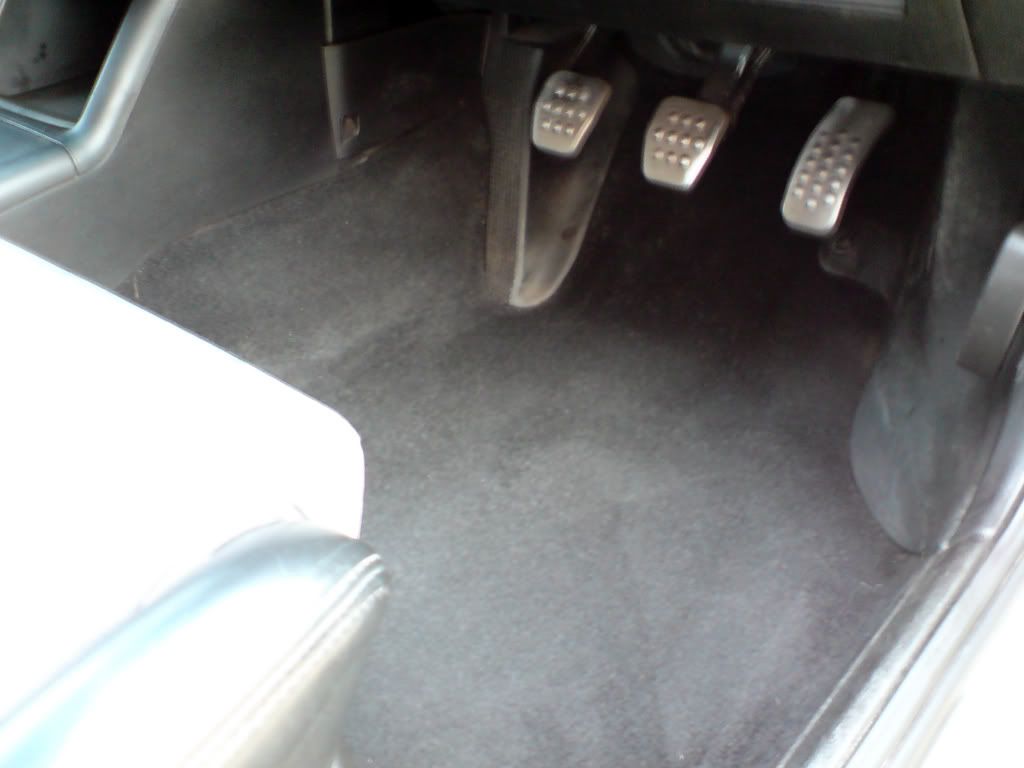
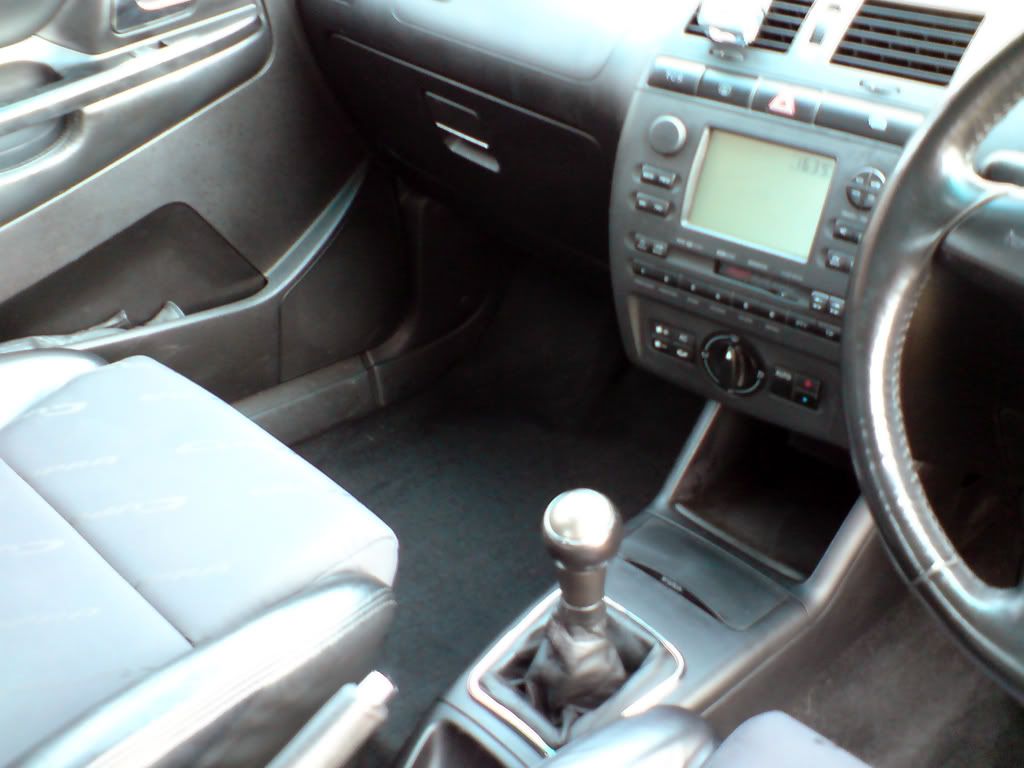
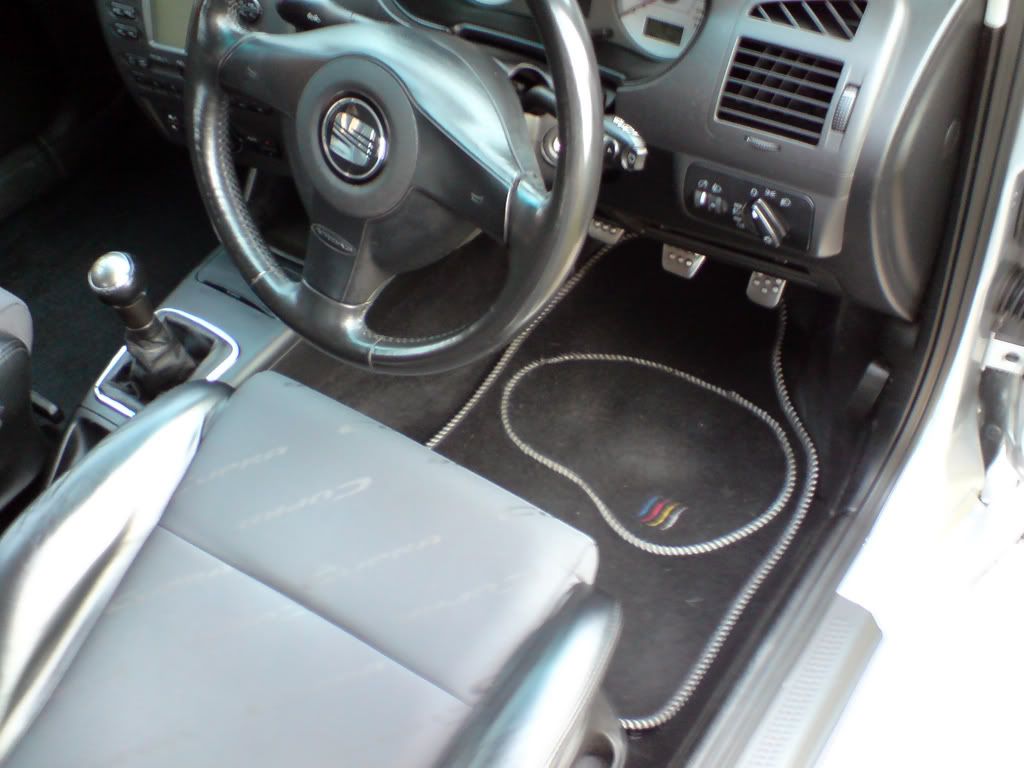
Finally, it was time for the interior, along with the windows inside and out. I used various things for this. Mark V Windows Sheen, Klenzol and a spraz of Haze air freshener.

Before

DSC00388.jpg


DSC00391.jpg


DSC00392.jpg


After

DSC00445.jpg


DSC00448.jpg


DSC00449.jpg


DSC00450.jpg


Oh, and then finally the tyres were dressed using Mark V California Dressing.

-----
 

Mat

Guest
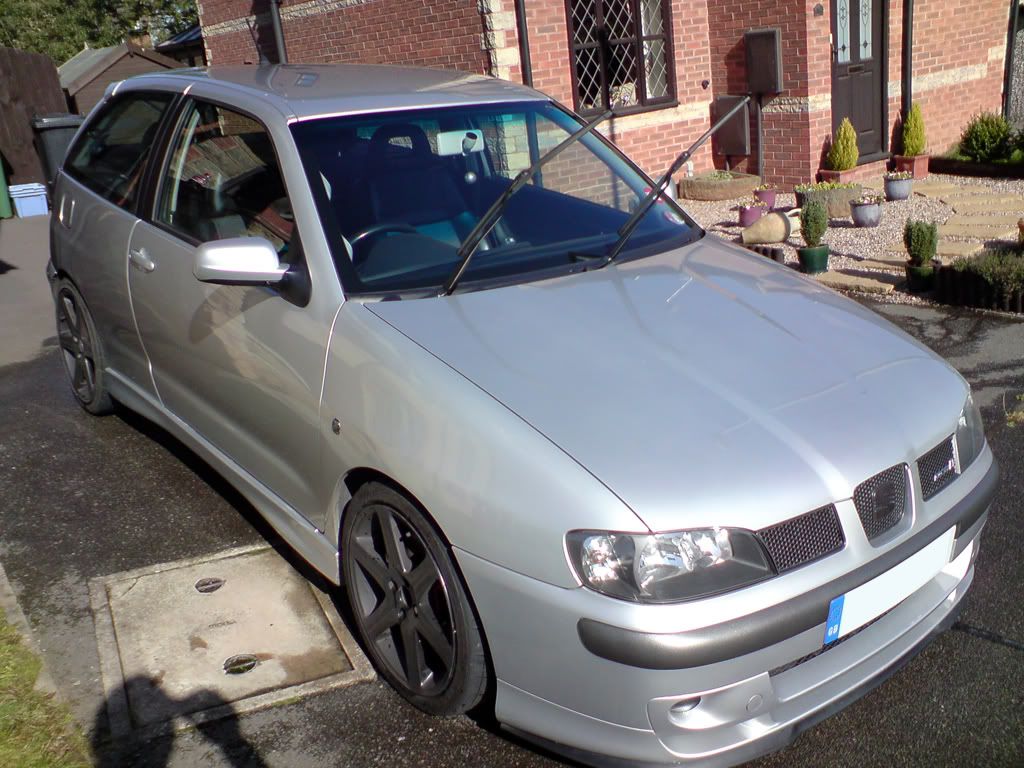
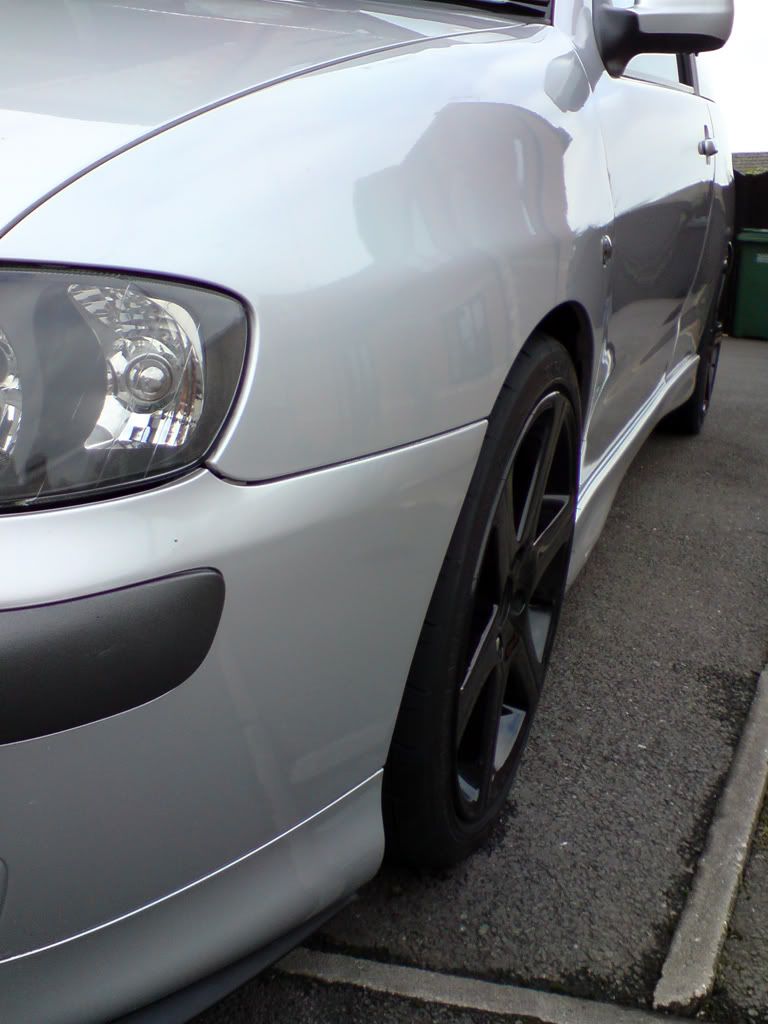
Finished!

DSC00454.jpg


DSC00455.jpg


DSC00453.jpg


DSC00456.jpg


DSC00451.jpg


DSC00452.jpg


Jobs a good en!

I would also like to thank Ben @ Rubbish Boys as I suffered a mental block half way through and had to ring him for advice/confirmation :lol:

Thanks for reading!
 

Riko

MURDER WAGON
Jun 10, 2007
1,481
0
Milton Keynes
Looks a job well done! I still gotta buy all my materials and give her a good going over for the winter. Putting my winter wheels on aswell this week and maybe the bonnet bra.
 

Mat

Guest
I need a bra for this. There are a few stone chips that I'd like to hide ;)
 

Adam R

Diesel ISN'T a Dirty word
Mar 5, 2007
2,851
1
lee in the solent
mat. a few suggestions

1) when you clay the car this will leave marring marks, so work the lime prime in to the paint (it has slight abrasive property) so it will take some marks out for you.

2) after the paint cleanser, this is where you should seal the paint with a good selant. (the paint cleanser, removes a lot of crap off the paint and leaves a nice surface to start building up layers of polish on.)

3) with the wax try and apply 2 layers, you will find with that wax, because its quite soft wont last too long, maybe a few months.

apart from that, you have done a very good job, especially for your first attempt!
 

Mat

Guest
AFAIK, the sealant goes on TOP of the wax? Well, at least the stuff I have can, apparently :shrug:
 

Adam R

Diesel ISN'T a Dirty word
Mar 5, 2007
2,851
1
lee in the solent
fair enough... i have been told once the paint has been cleansed, then you put a selant which 'binds' to the paint to give a nice base coat for the wax.

as the wax starts to fail after a period of months, you wash the car down properly then rewax as the selant should still be there..

i use selant around 3 times a year, and it is comming up to that point now really, just before winter bites in and we have salty roads :(
 

Mat

Guest
see where you're coming from. think it depends what wax/seal you use. as said, I believe the sealant i have (Glisten) would go on top of RB BA Wax. I was thinking of sealing as literally the LSP! Kinda like you'd seal a bit of writing on paper by laminating it ;) It's the last thing.

That's my thoughts anyway
 
Adrian Flux insurance services - discount for forum members.