what did you and your mk3 leon do today

Drew306

Active Member
May 11, 2021
31
8
Aero side skirts & spoiler fitted, take the tape off tomorrow then good to go!
C870FD4F-BDF8-40DC-8E27-69405FAEBAB7.jpeg
 

Dubbsley

Active Member
Jun 19, 2021
14
5
Gave it a bath, apparently it was valeted before I took delivery
230ac32e65e4d42086b9331e744916e2.jpg


ad5e8a6835fa6216a739924484d47462.jpg


10ddc5d27f135280c04075556e05dbc3.jpg


cdbb28943a14bd5175069e6743a3dc27.jpg


30007dce698a687ab04ae814bdd96496.jpg


f890056e5143ca27b0184298d0683eb3.jpg


Now to start on the shopping list of mods.


Sent from my iPhone using Tapatalk
 
  • Like
Reactions: TripleBob

SRGTD

Active Member
May 26, 2014
2,561
1,405
Gave it a bath, apparently it was valeted before I took delivery
230ac32e65e4d42086b9331e744916e2.jpg


ad5e8a6835fa6216a739924484d47462.jpg


10ddc5d27f135280c04075556e05dbc3.jpg


cdbb28943a14bd5175069e6743a3dc27.jpg


30007dce698a687ab04ae814bdd96496.jpg


f890056e5143ca27b0184298d0683eb3.jpg


Now to start on the shopping list of mods.


Sent from my iPhone using Tapatalk

Usually, a dealership valet = throw a bucket of water over it, then rub a grubby sponge over the paintwork and finish off with an old wash leather for good measure. Put some cheap goo on the tyres to make them look new; Job done! 😦😅.

Judging by the amount of ‘bleeding’ from the fall out product you’ve used, they certainly didn’t decontaminate the paintwork - I’d have been very surprised if many, if any, dealers ever do a decontamination stage as part of a pre-sale valet on the cars they sell. 🤔

I never let the dealer was my car.
 
  • Like
Reactions: Dubbsley

Dubbsley

Active Member
Jun 19, 2021
14
5
Usually, a dealership valet = throw a bucket of water over it, then rub a grubby sponge over the paintwork and finish off with an old wash leather for good measure. Put some cheap goo on the tyres to make them look new; Job done! .

Judging by the amount of ‘bleeding’ from the fall out product you’ve used, they certainly didn’t decontaminate the paintwork - I’d have been very surprised if many, if any, dealers ever do a decontamination stage as part of a pre-sale valet on the cars they sell.

I never let the dealer was my car.

The strange bit is, it was a hot sunny day when I went to view & run my hands over the panels & they all felt lovely smooth & soft (I know that sounds odd) so I was really surprised by the of bleeding came out of it. It does need a complete paint correction at some point as it’s a little bit swirlie.


Sent from my iPhone using Tapatalk
 

Dubbsley

Active Member
Jun 19, 2021
14
5
Stick-on fit great and mounted solid.

Have you got a link to them?
Been looking at them for mine but unsure about stick on covers, that said those look really good & look to fit spot on.


Sent from my iPhone using Tapatalk
 

CalJames

Modification Addict
Jun 25, 2019
342
157
North Wales
Well last night my extremely impatient side came out.
I recently purchased a tube of Gyeon Q2 Wax and was going to give my car a quick machine polish and apply the wax. Unfortunately we've been blessed with this unforgiving sun and working outside is a perfect recipe for sun stroke.

Enough rambling, I took out my nano polisher and went to town on my old mirror cap with with 1" Zvizzer Orange pad paired with Scholl S20. I removed a good load of swirls and got the paint to a really nice finish.
I applied a layer of Q2 Wax in a crosshatch pattern and left it for the recommended 30 minutes and gave it a good buff using the microfiber provided.
The results are very good, looks to have a deeper gloss compared to BH Double Speed, buffing was super easy and it left almost zero residue.
My inner nerd screamed to check the beading and whilst it was a very good bead, it was overshadowed by the ability to sheet water.

At £30 a tube it's not the best value for money, however, it is.
This is closest I've seen to a ceramic coating, sure it doesn't have the best durability. But it makes up for it with an amazing shine and impressive water behavior.

I realise this has gone from a quick brief on what I did into a mini review, so my apologies for the great wall of text. But if you're a wax junkie like myself, buy it.

Once I get home I'll post pictures of the test panel and fingers crossed next Monday I'll able to share a full car.
 

PaulusB

Active Member
Jun 9, 2019
132
19
Have you got a link to them?
Been looking at them for mine but unsure about stick on covers, that said those look really good & look to fit spot on.


Sent from my iPhone using Tapatalk
Make sure that the surface is clean and wax free i used some brake cleaner.

Here u can see the rear fitment.
 

Attachments

  • IMG-20210624-WA0009.jpg
    IMG-20210624-WA0009.jpg
    233.2 KB · Views: 167
Last edited:
  • Like
Reactions: Dubbsley

Chillout

Active Member
Jan 23, 2020
212
276
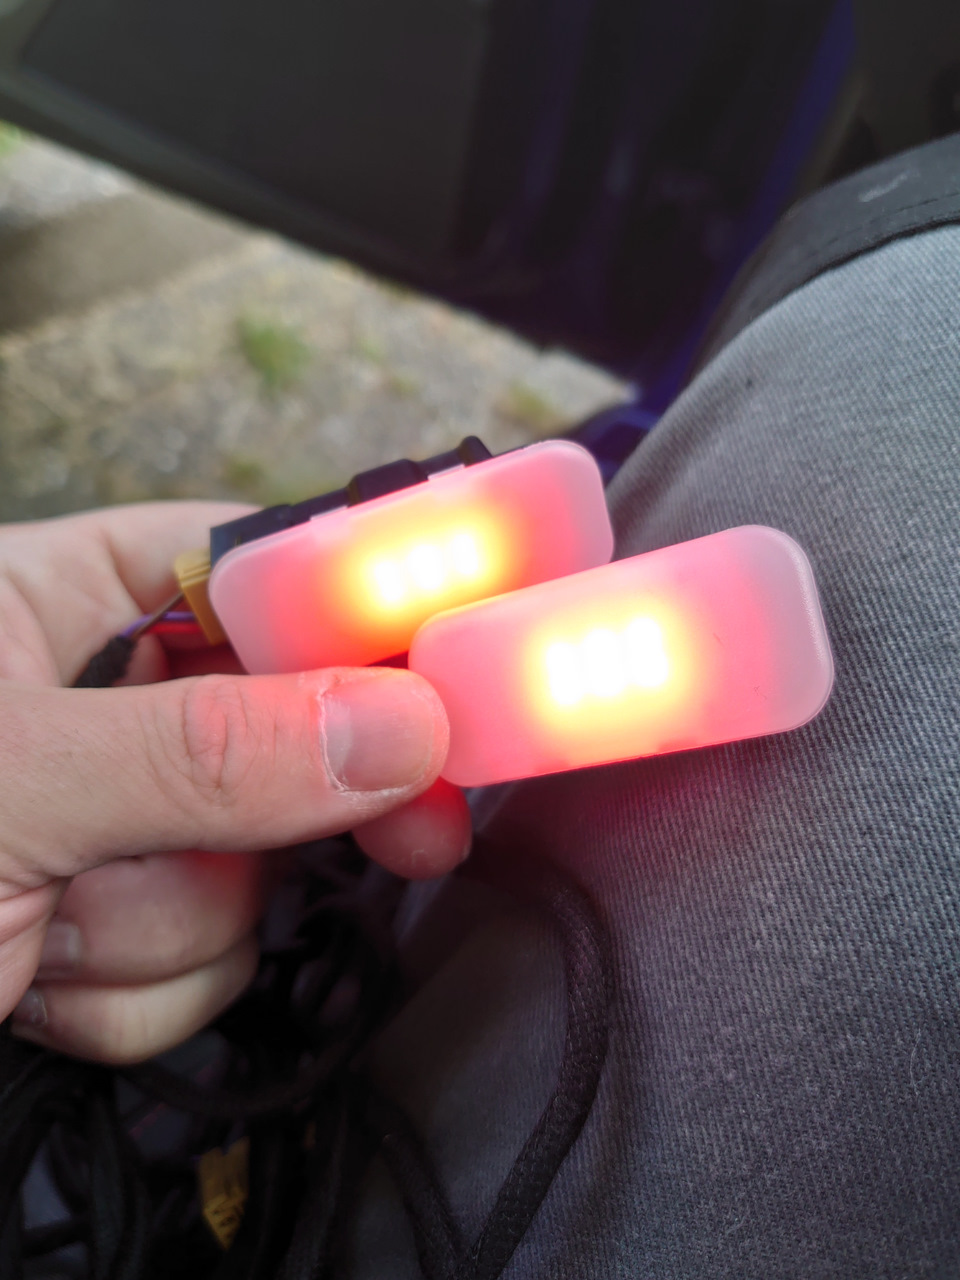
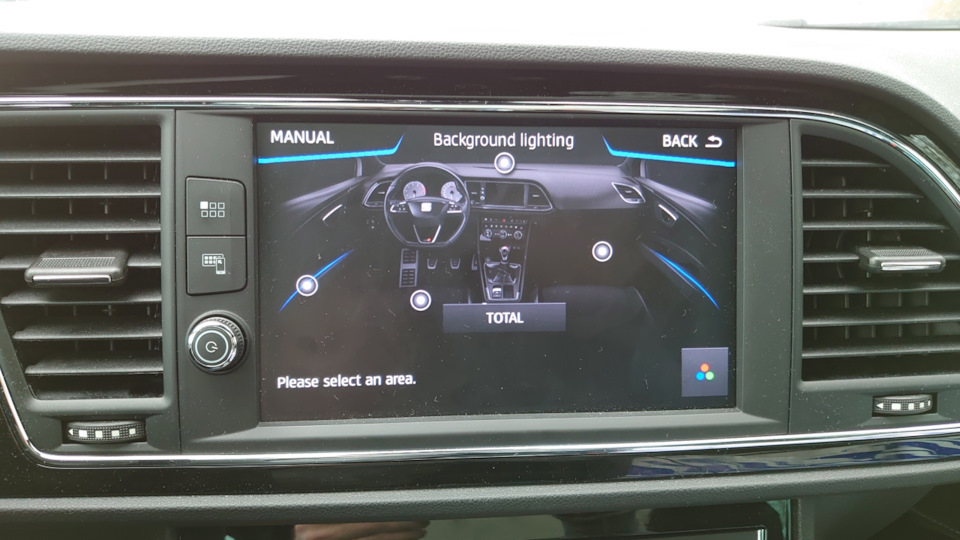
Retrofitted some RGB footwell lights. They can be controlled nicely from the infotainment settings

aDPVQbbgL7olARqW85BLCoK8X4k-960.jpg


image.jpeg


Don't mind the misplaced graphics. That was an experiment :LOL: Read about the experiment here: https://www.drive2.com/l/581699376527704181/
I need to modify the gca files to add some more zones for future fun, see here:
bueqOu-EM4mdrs3SxMS45RS9O_Q-960.jpg


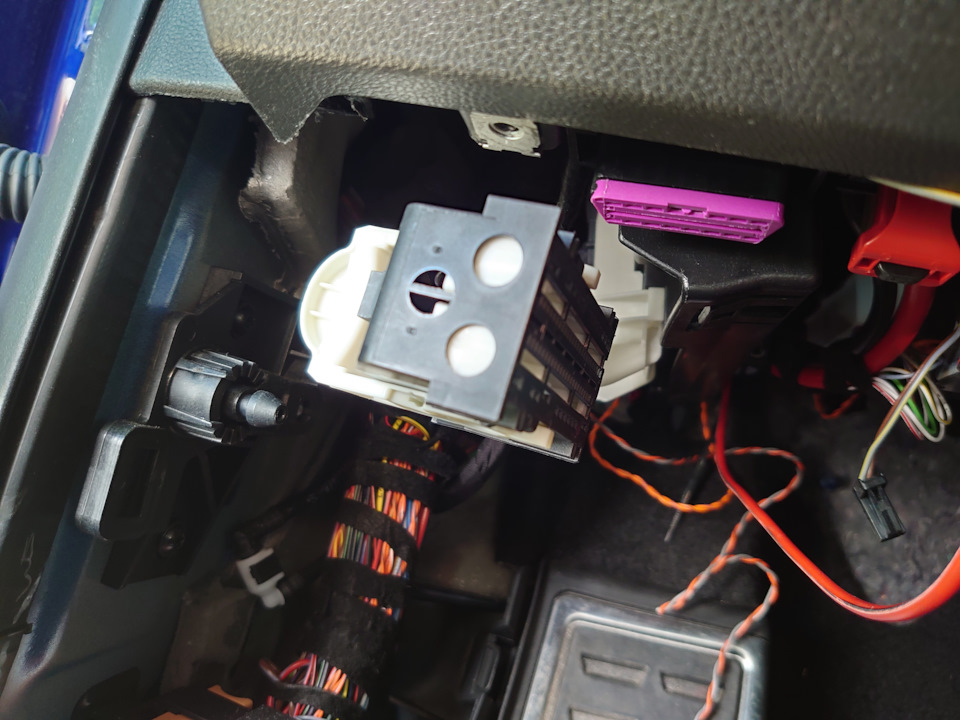
NB: I still need to install the LEDs in the place where they belong, but connecting the wires was the biggest challenge.
See some additional details about the wirework here:
 

Titchy

Active Member
Jun 10, 2017
519
208
Buckinghamshire
Retrofitted some RGB footwell lights. They can be controlled nicely from the infotainment settings

aDPVQbbgL7olARqW85BLCoK8X4k-960.jpg


View attachment 26211


Don't mind the misplaced graphics. That was an experiment :LOL: Read about the experiment here: https://www.drive2.com/l/581699376527704181/
I need to modify the gca files to add some more zones for future fun, see here:
bueqOu-EM4mdrs3SxMS45RS9O_Q-960.jpg


NB: I still need to install the LEDs in the place where they belong, but connecting the wires was the biggest challenge.
See some additional details about the wirework here:
Damn beat me to it! same as you i've had the parts sitting about for over a year now!

What did you use for the Power supply the original footwell power or did you tap of the exisiting LIN power rail?
 
  • Like
Reactions: manji and Chillout

Chillout

Active Member
Jan 23, 2020
212
276
:)
I used the + and GND from the original (non-RGB) footwell lights, and took the LIN from pin C29 on the BCM.
After this, I needed to recode module 9, so the Leuchte channel of the Footwells had dimming value 127 instead of 100, otherwise they would flicker when dimming.
 
  • Like
Reactions: manji

Woody_72

Active Member
May 10, 2020
502
252
Northwest England
I've just replaced the driver's side front wheel bearing on mine in the pissing rain and mud. A couple of observations for anyone thinking of having a go. You'll need a pipe to go over your wrench, even the three nuts under the control arm balljoint needed the pipe to undo. Also, you're never going to get the fastenings as tight as the specs say. I just tightened to the recommended torque and used the pipe to add 30-40⁰ extra. Surprisingly, getting the bearing itself out the hub was pretty easy, a couple of light tonks from a lump hammer and it popped right out. Lastly, a normal 16mm socket does not work on the control arm nuts because there's too much thread sticking through. I used a spanner but I've just ordered a deep 16 mm socket. I've got new nuts on the way and I'll fit them properly when they arrive.

IMG_20210728_112316.jpg
 
Last edited:

Chillout

Active Member
Jan 23, 2020
212
276
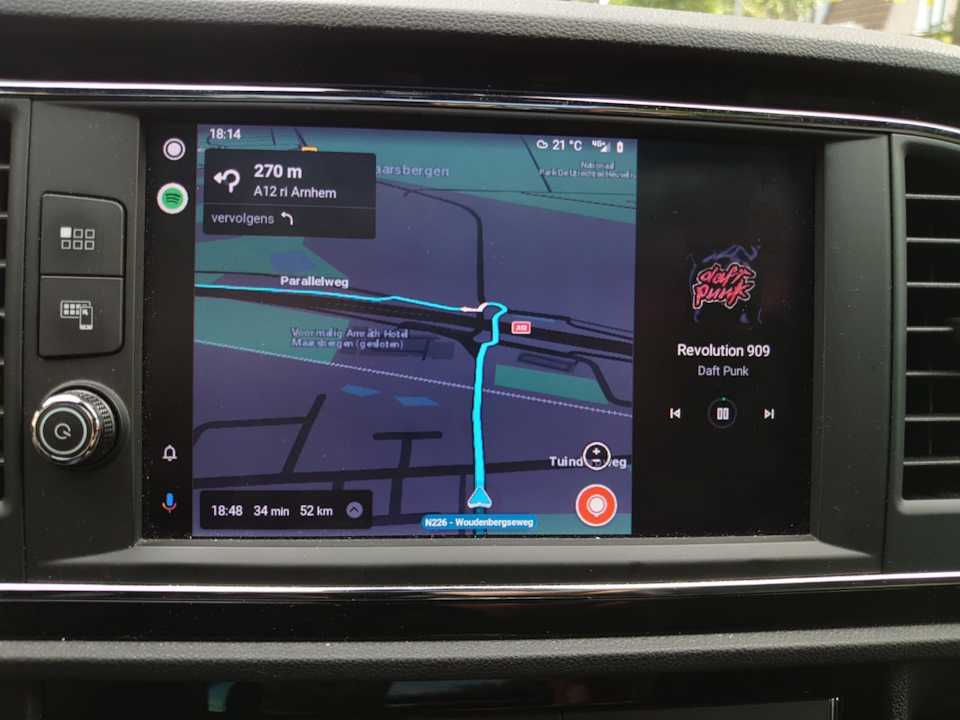
Took another deep dive into the MIB2, this time to enable Android Auto splitscreen, without needing to root the phone or do any other modifications on the phone side:

JGu4YctpVIX4Iry2oGxTXiScDmI-960.jpg


If you like to read about research process behind this, check my blog about it here:
 
SEATCUPRA.NET Forum merchandise