• Guest would you be interested in CUPRA or SEAT valve caps? let us know in the poll

  • Welcome to our new sponsor Lecatona, a brand dedicated to enhancing performance for VAG group sports cars, including SEAT, Audi, Volkswagen and Škoda. Specializing in High Pressure Fuel Pump (HPFP) upgrades.

Audi S3 GT3582R stroker Build (previously GT3071r)

Gulfstream

Active Member
Jul 31, 2010
507
6
Don't have it engaged while turning. It will put tremendous loads on the drivetrain.

Edit. I mean locked 50/50
 
Last edited:

tufftybloke

Badger 5 Edition
Feb 28, 2009
657
0
Gloucestershire, UK
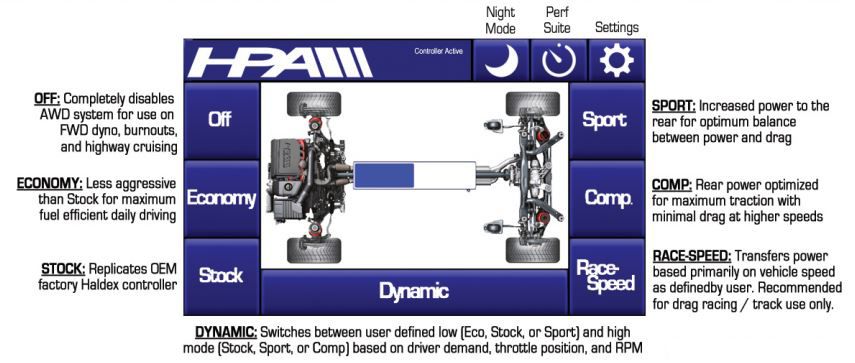
A little more info about the controller... thought it would be useful to keep it all in context... these images were taken from the HPA's functions pdf...

The blurb on what the modes are...
hpa001.jpg


I quite like the idea of the dynamic mode... running on economy then having it switch to sport or comp maybe... need to play with that..

I might just try it in sport mode for a while though as this looks to be a suitable mode for my needs

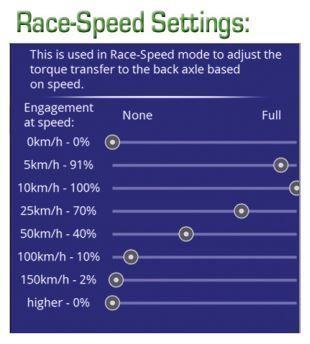
Race speed setting looks interesting...
hpa002.jpg


From the blurb they suggest you can use this for example for drag racing on prepared surfaces etc... you can set it so you get a little front wheelspin to help get engine speed up and bring in power delivery to the rear as speed increases to help prevent the car bogging down... should also make it a little more clutch and drive train friendly too :)

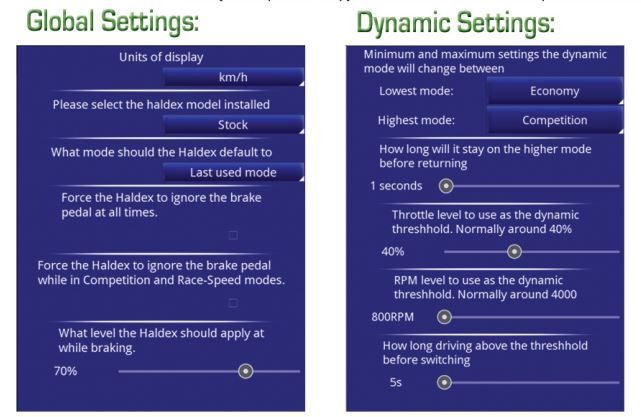
General settings...
hpa003.jpg


You can use the HPA unit with any of the haldex controllers available by the looks... just select the one you have... I believe that the 'Stock' mode is determined by the controller you have on the haldex... so OE is actual stock but if you have a blue one then Stock mode will be standard operation of the blue controller

Not sure what the haldex under braking should feel like or if its actually working but will try and get confirmation of that

I will also try and get some vids of the touch screen in action

<tuffty/>
 

Gulfstream

Active Member
Jul 31, 2010
507
6
Excellent. You'll be able to engage the Haldex even before boost occur and keep it to aid engine braking while still release it in the corners to avoid drivetrain straints. That controller is much more comprehensive than my CRC...
 

tufftybloke

Badger 5 Edition
Feb 28, 2009
657
0
Gloucestershire, UK
Small update... since fitting oil pressure and oil temp sensors to work with FIS control I have had a little concern over the oil pressure on idle... occasionally I have had the three beeps of death but checking oil level, temp and pressure there is nothing to suggest a problem other than maybe a faulty oil pressure sensor so... I have bought a new one but not actually fitted it yet lol...

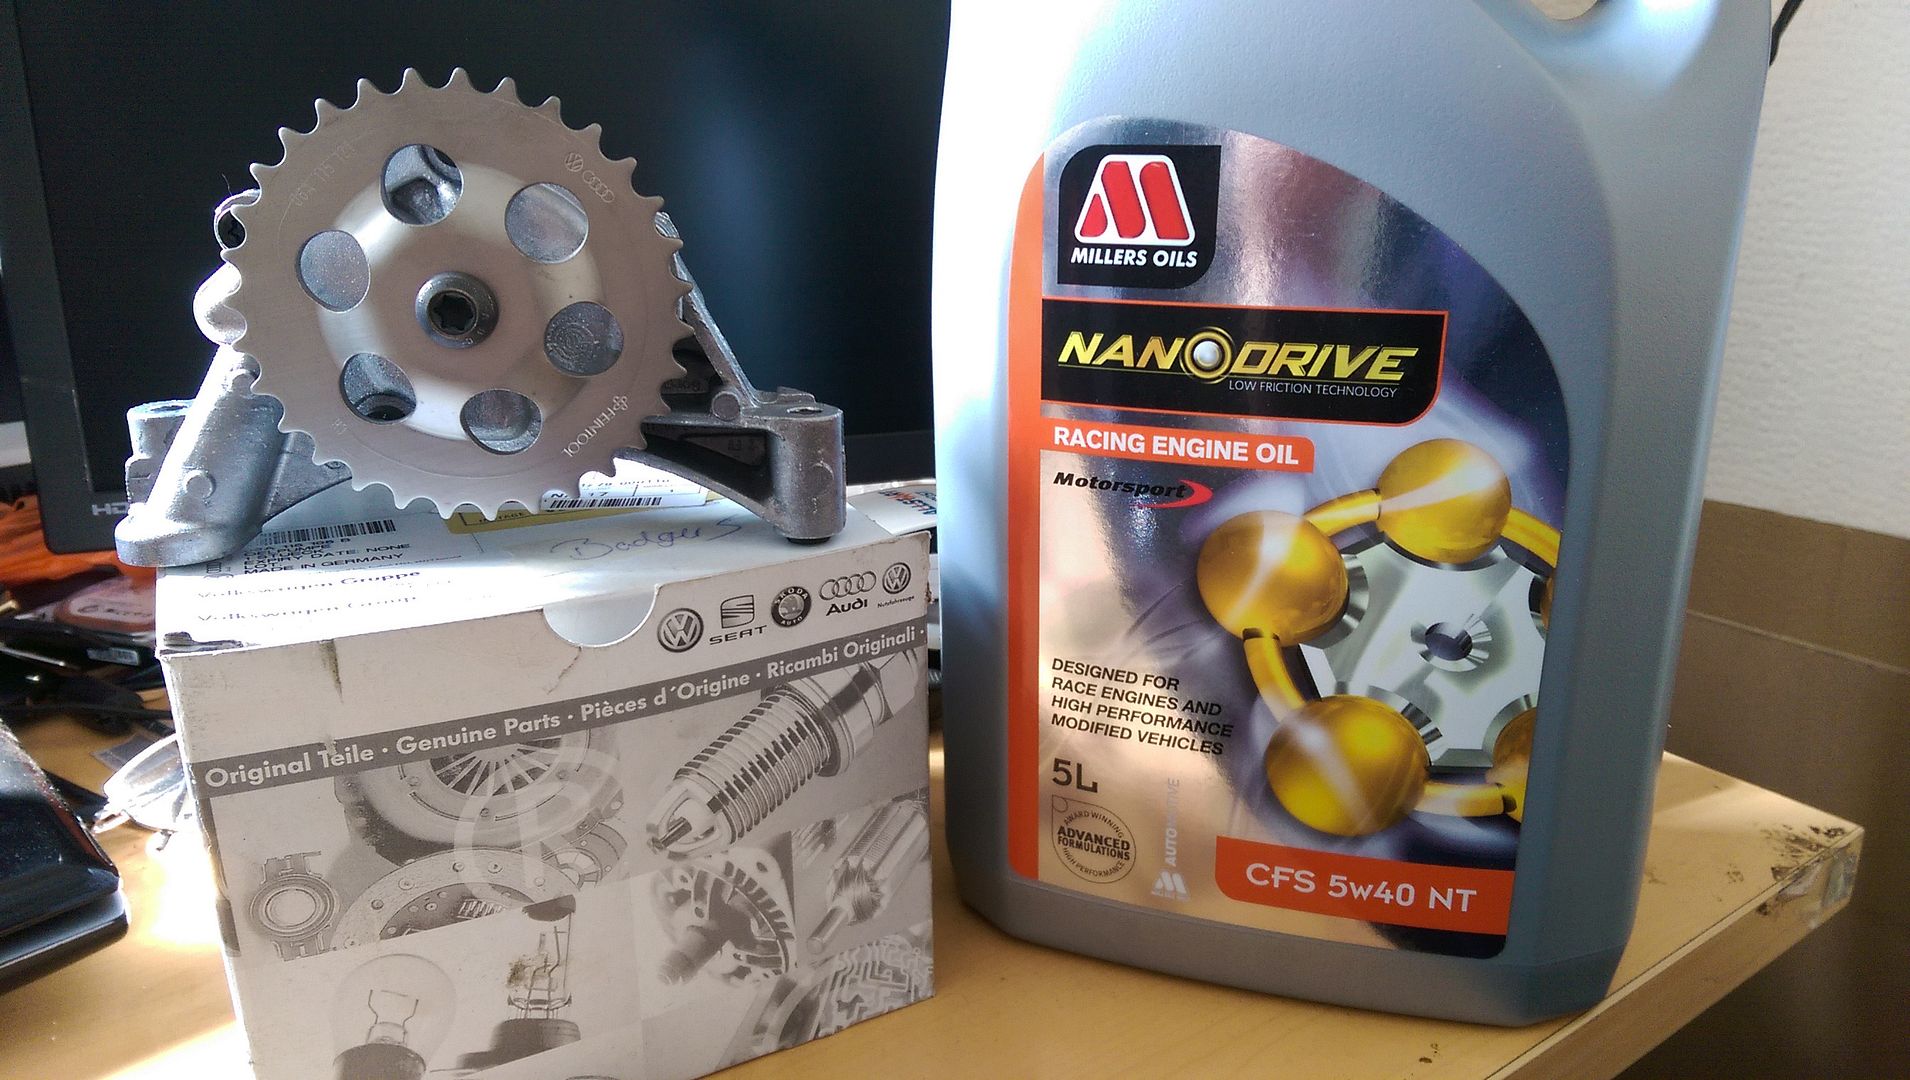
In order to satisfy myself I bought a new OE oil pump from TPS (£150 sodding quid!!) to replace the Topran one I have been using... main concern was whether it had suffered from the over rev incident so in for a penny etc lol... I also bought some Millers Nanodrive oil to try... that was £55 delivered for 5ltrs!!... over £200 for an oil change!! lol

IMAG0938.jpg


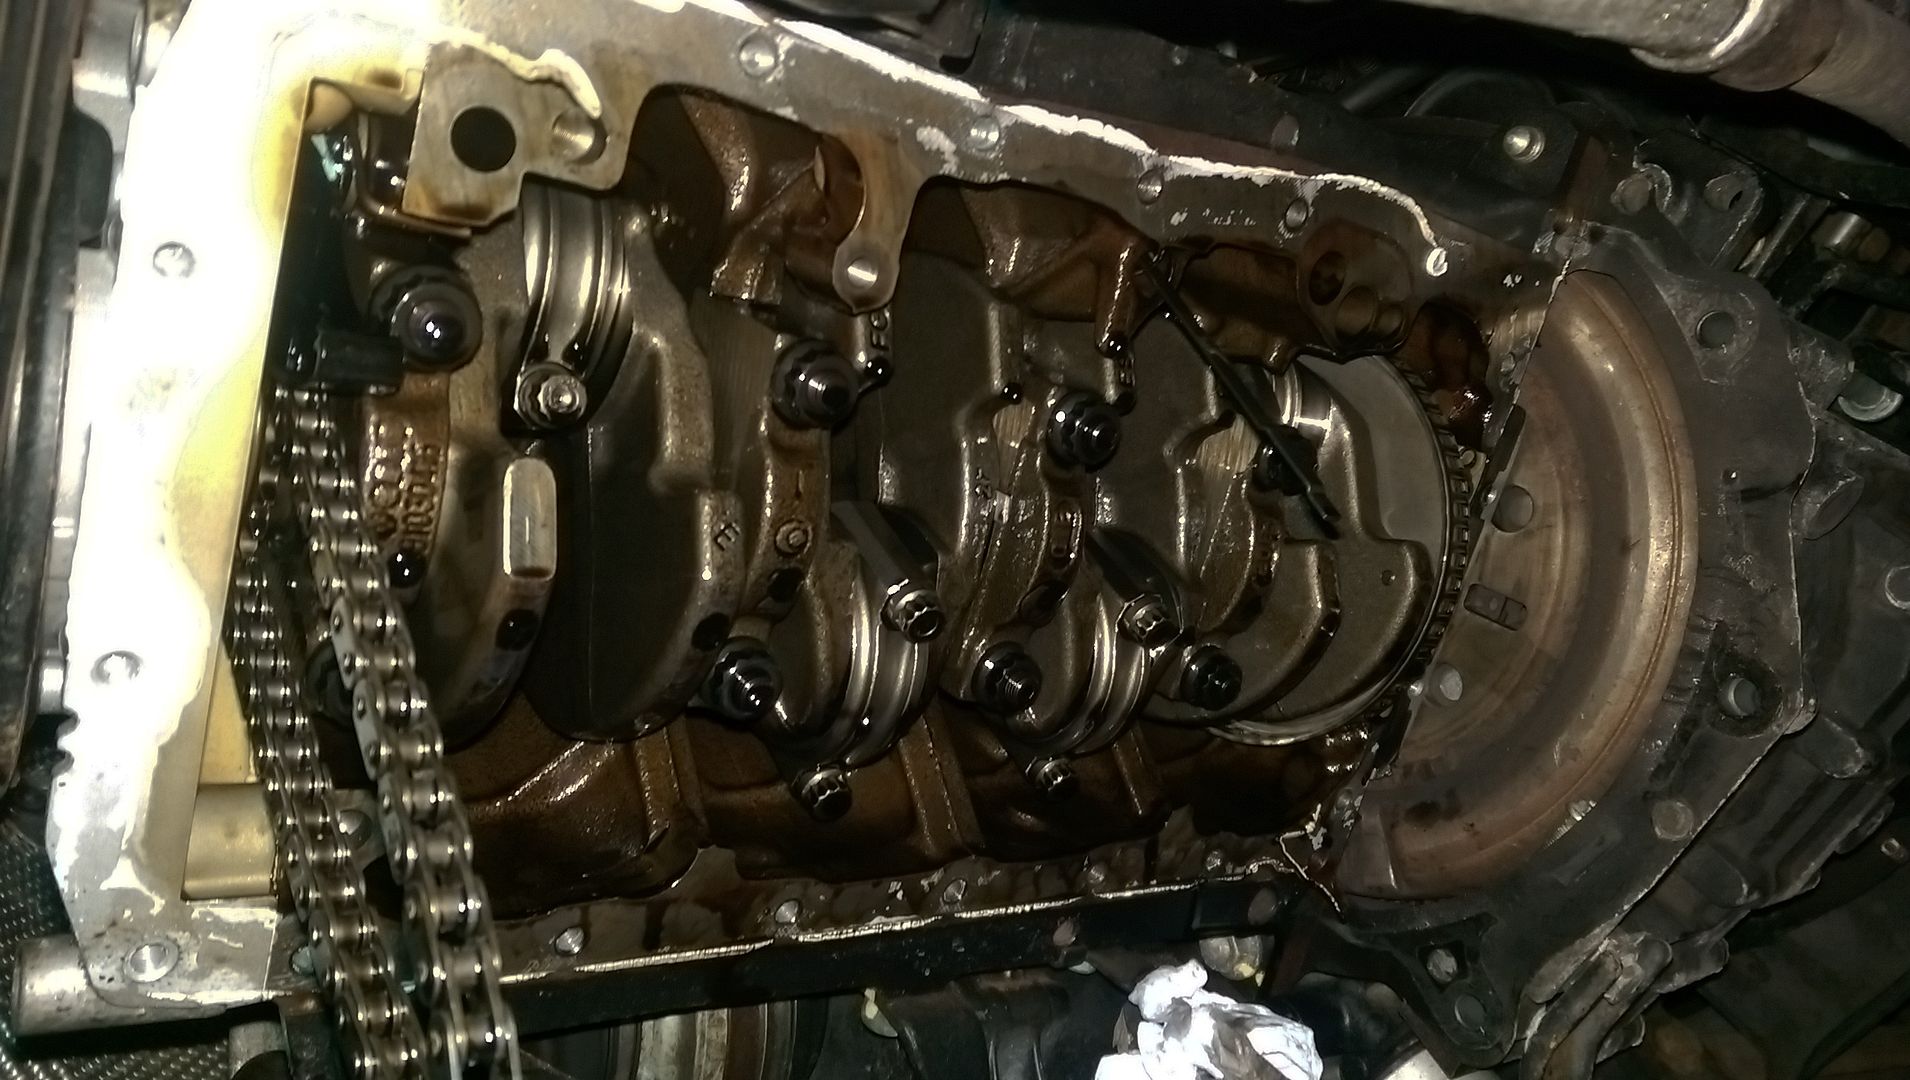
Whipped off the sump and the old oil pump....
IMAG0945.jpg


Took the opportunity to inspect the bottom end and check the torque of the mains and big ends... all was good and no bits floating around the sump... phew! :D

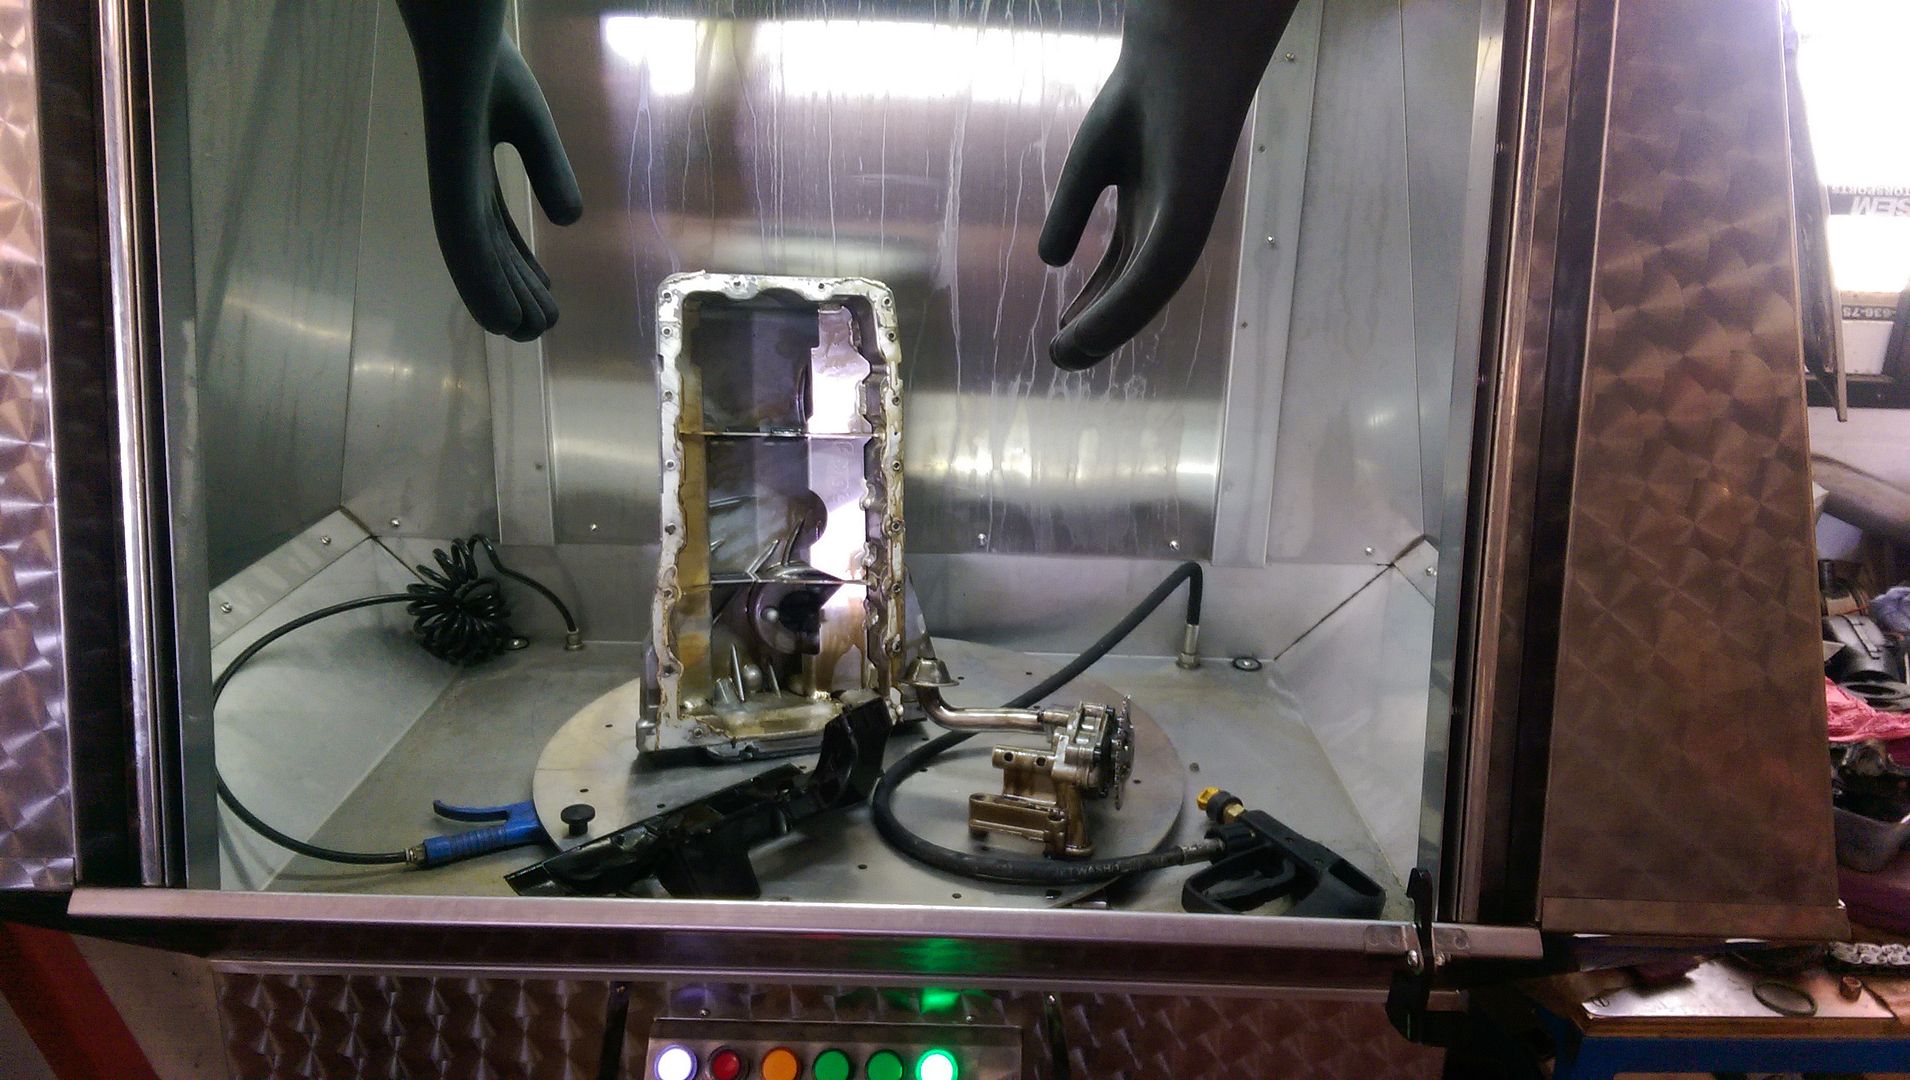
Hot washed the sump, windage tray and 'old' pump
IMAG0948.jpg


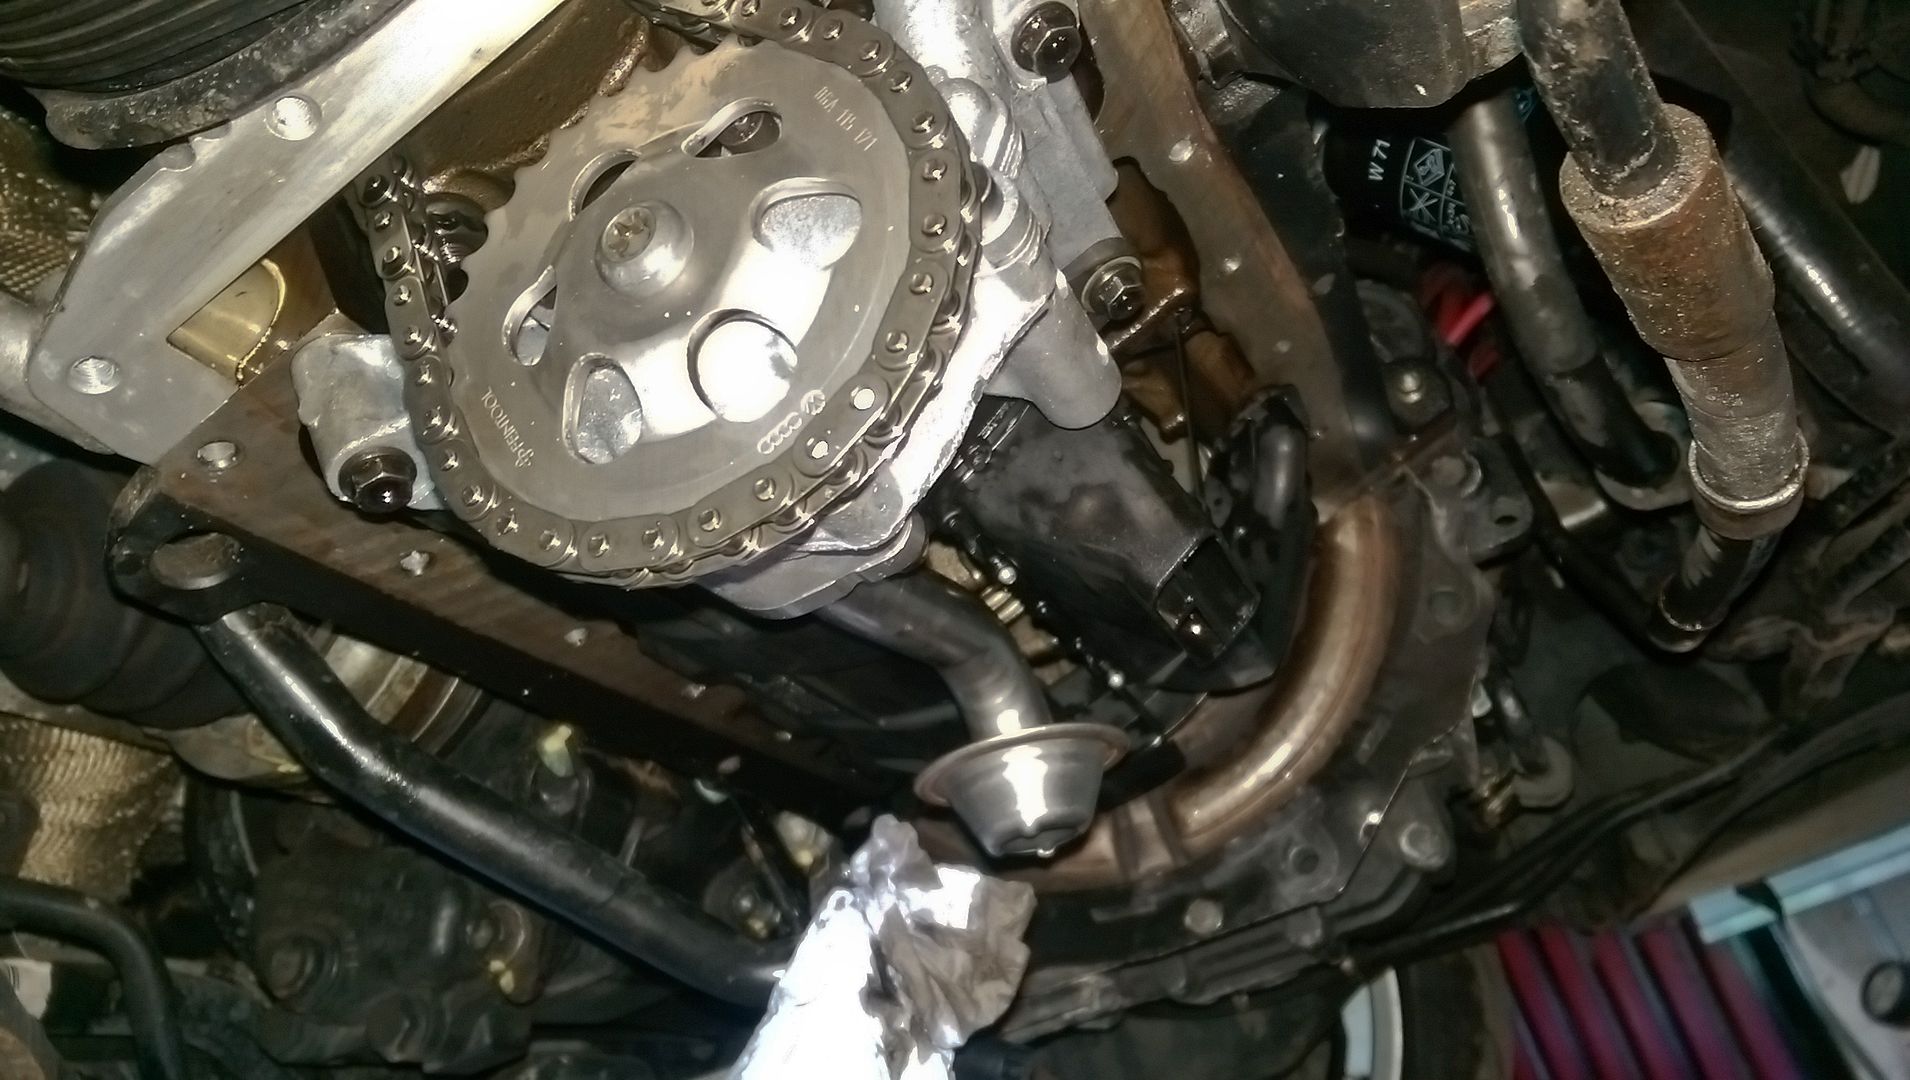
New pump fitted...
IMAG0949.jpg


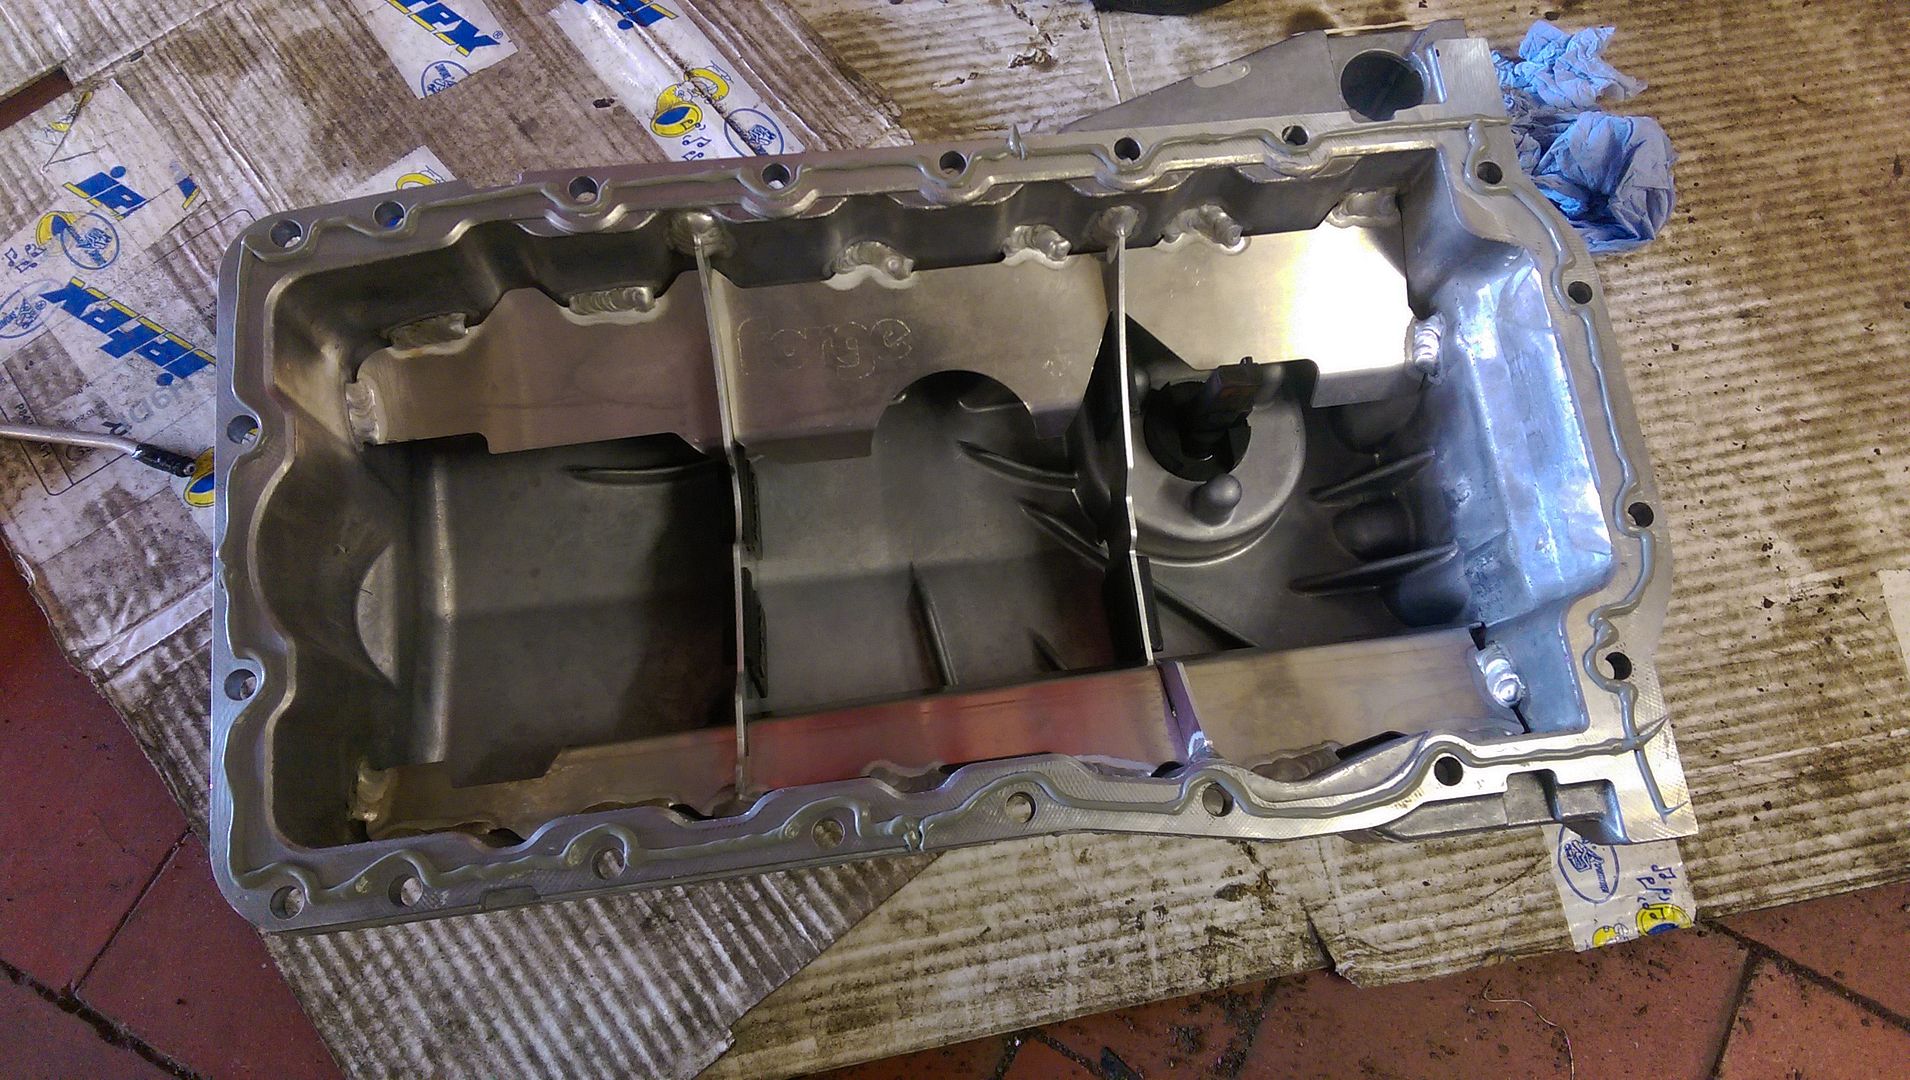
Sump sealant on ready to refit...
IMAG0951.jpg


Filled up with the Millers... pulled the injectors to turn the engine over without firing to get oil into the pump and round to the vital bits...

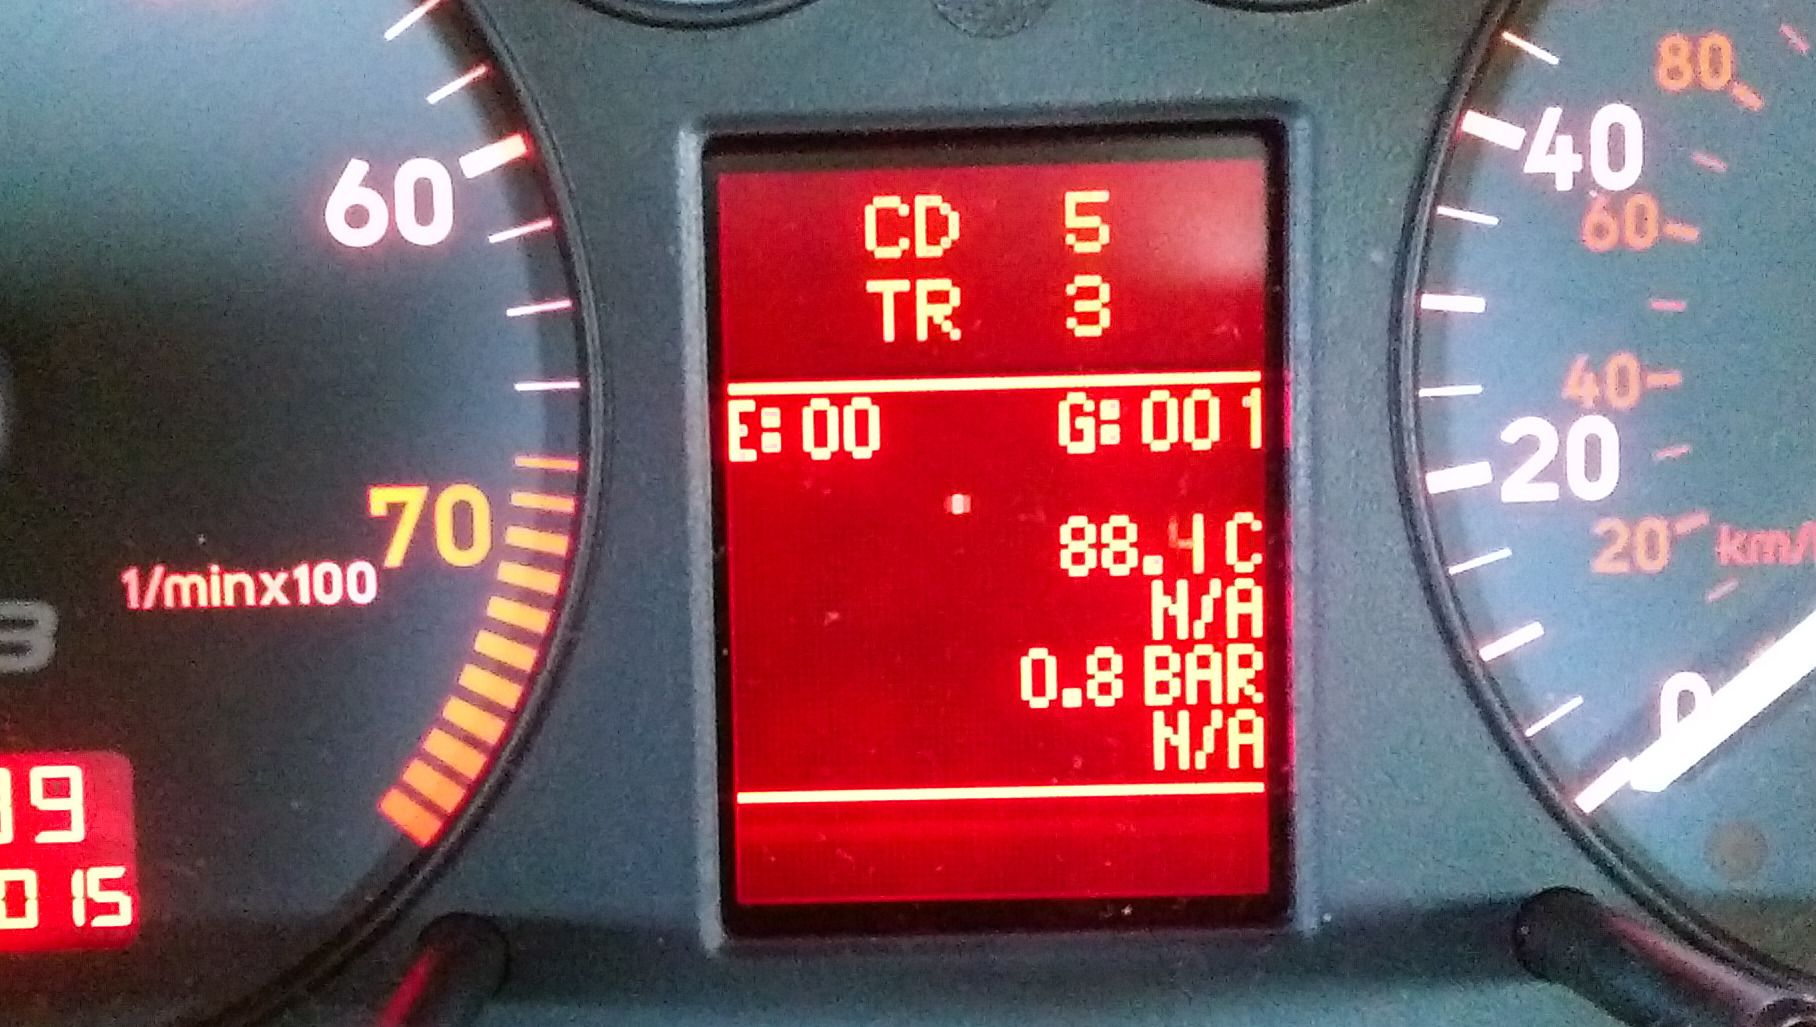
Fired up, ran for a bit and topped off the oil level... engine seems quieter tbh but thats probably just the fresh oil... oil pressure wise its certainly looking ok... on idle before I have seen it fluctuate between 0.6 and 0.7bar at 90 degrees... now its a solid 0.8bar... this of course could still be down to fresh oil but that was after a little spirited driving so the oil should be 'fluid' enough by now...
IMAG0954.jpg


In other news... the HPA controller had a moment and I ended up with a 500+ hp FWD lardy bus that wasn't much fun to drive (I feel for you Bill lol)... its moments like this you really do appreciate quattro (even if it is haldex lol)

There was a red LED on the controller so I unplugged the loom reconnecting the OE wiring to see if it was the haldex controller or the HPA unit and thankfully the haldex controller was working fine... that means the HPA was not liking something so have been in conversation with them and they suggested I have someone watch the LED status while I drive and report back... not the most practical solution so as I had recently treats myself to an SJCam (WiFi one) I decided to video it instead...

Reconnected the HPA and would it fault??? would it f00k!!... here is a little snippet of the video...

https://youtu.be/SVm7SIVy2Jw

Would was very apparent is the difference the HPA controller makes in terms of how the car feels... you really do get a sensation of being pushed along right from the get go... HPA have said there is an update to the firmware on its way so hopefully it will address the issue I have been having..

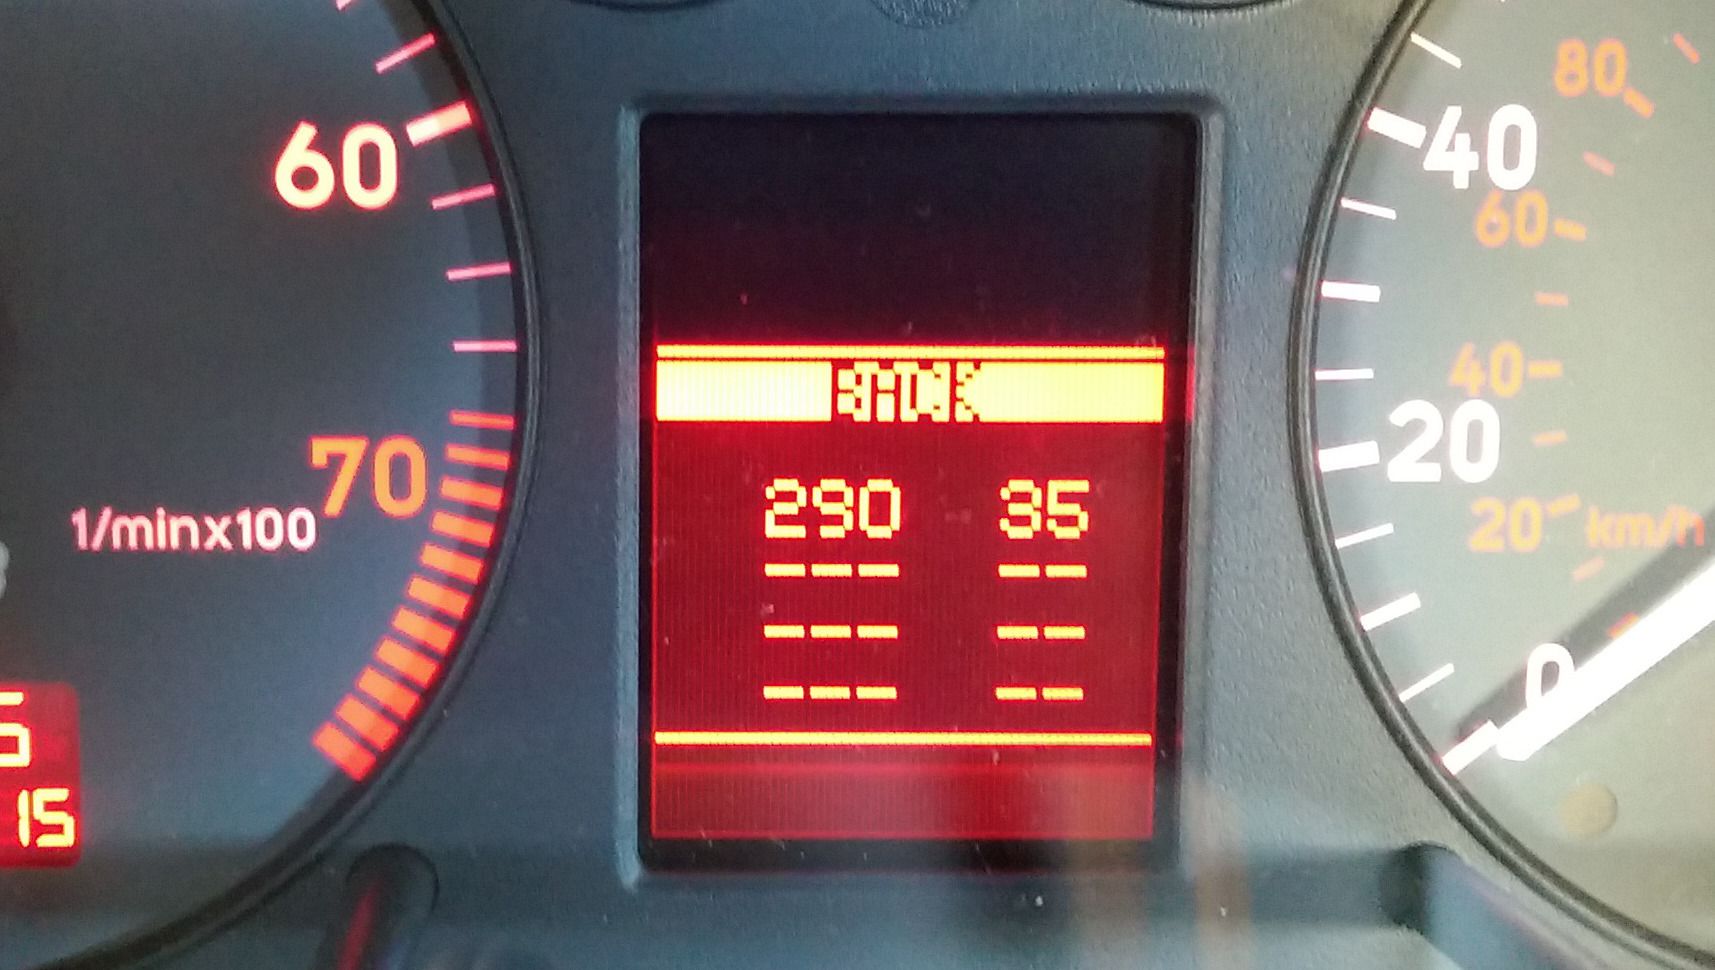
Of course as is tradition just when you think you are on top of things the car decides to keep you on your toes.... the ABS light came on the other day so switched to the ABS controller in FIS Control and read out the codes...
IMAG0956.jpg


http://wiki.ross-tech.com/wiki/index.php/00290
00290 - ABS Wheel Speed Sensor Rear Left (G46)

Brilliant!!... will have to check the wiring etc when I get a chance... in fairness I had planned to replace the sensors when I do the rear wheel bearings but looks like those plans have been brought forward!!

Joys of car ownership :D

<tuffty/>
 

Pimped up vario

Cordy Cruizer
Nov 20, 2009
1,291
0
Belfast N Ireland
I think he uses Halfords 5 or it badgefords 5. Halfords :rofl:. Your drum and bass is almost as fast as the car lol. Well not quite, that thing fairly shifts. I'll have to get one of those go pro cameras. Did you open up the oil pump and check the backlash tolerance and axial end float? If it's within specifications you could sell it on. I have a TIM mechanical oil pressure gauge in the cordoba which I don't think are terribly accurate. It's more for indication and does dip fairly low on the idle when its had a bit of a ragging on a warm day. When it's a cold day the pressure reads 20-30 psi easily compared to 5-10 psi on a warm day. That's reading from the sender port on the side of the cylinder head.
 
Last edited:

Gulfstream

Active Member
Jul 31, 2010
507
6
Did you try other ressitored plugs? I had to change away from non resistored plugs to plugs WITH resistor to stop my CRC controller reboot.
 

tufftybloke

Badger 5 Edition
Feb 28, 2009
657
0
Gloucestershire, UK
...Did you open up the oil pump and check the backlash tolerance and axial end float? If it's within specifications you could sell it on....

I haven't yet... tbh the pump feels fine and its still entirely plausible the thing is actually fine and its the oil thats actually making the improvement... it blo*dy well should be to be fair at 11 quid a litre lol

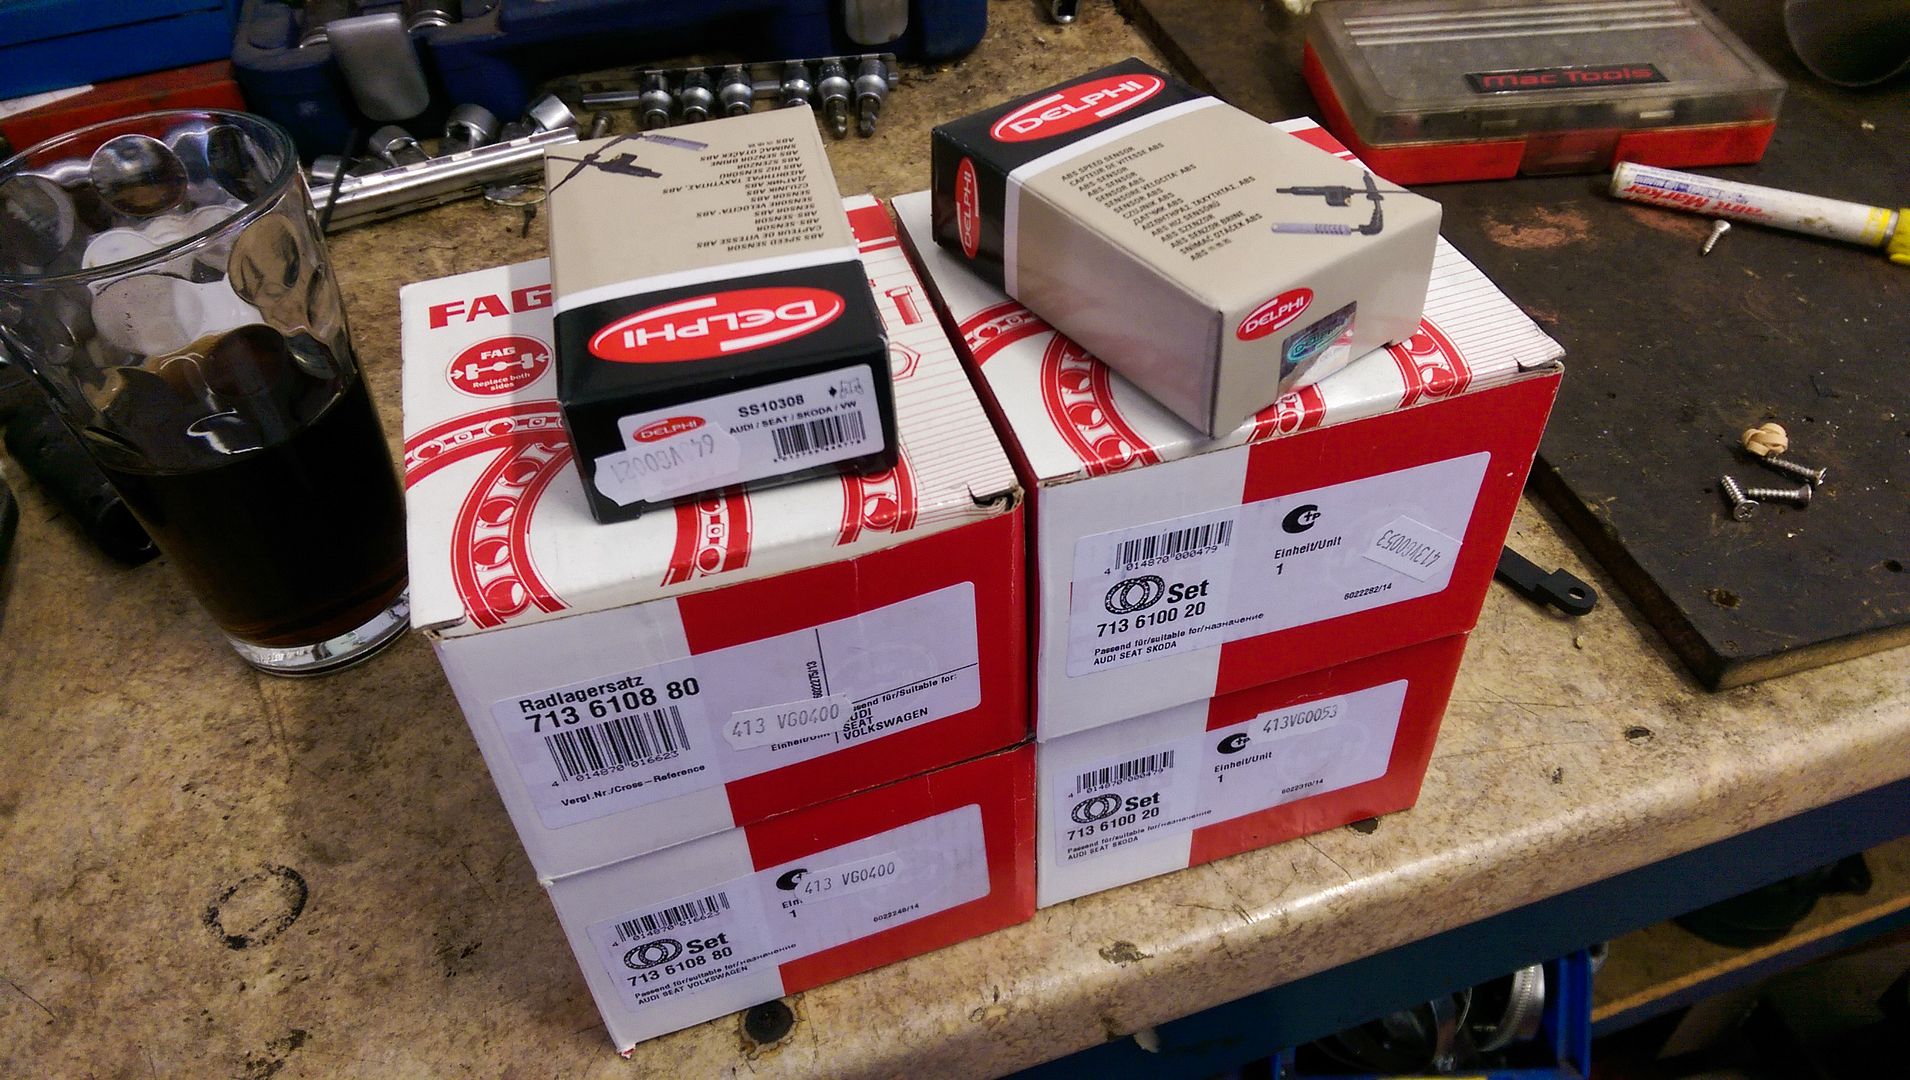
In other news I have bought new ABS sensors and new wheel bearings... test fitted an ABS sensor on the faulty one and the code cleared and stayed away so thats this weekends mission

<tuffty/>
 

tufftybloke

Badger 5 Edition
Feb 28, 2009
657
0
Gloucestershire, UK
Have some time off work so had a crack at the ABS sensor..

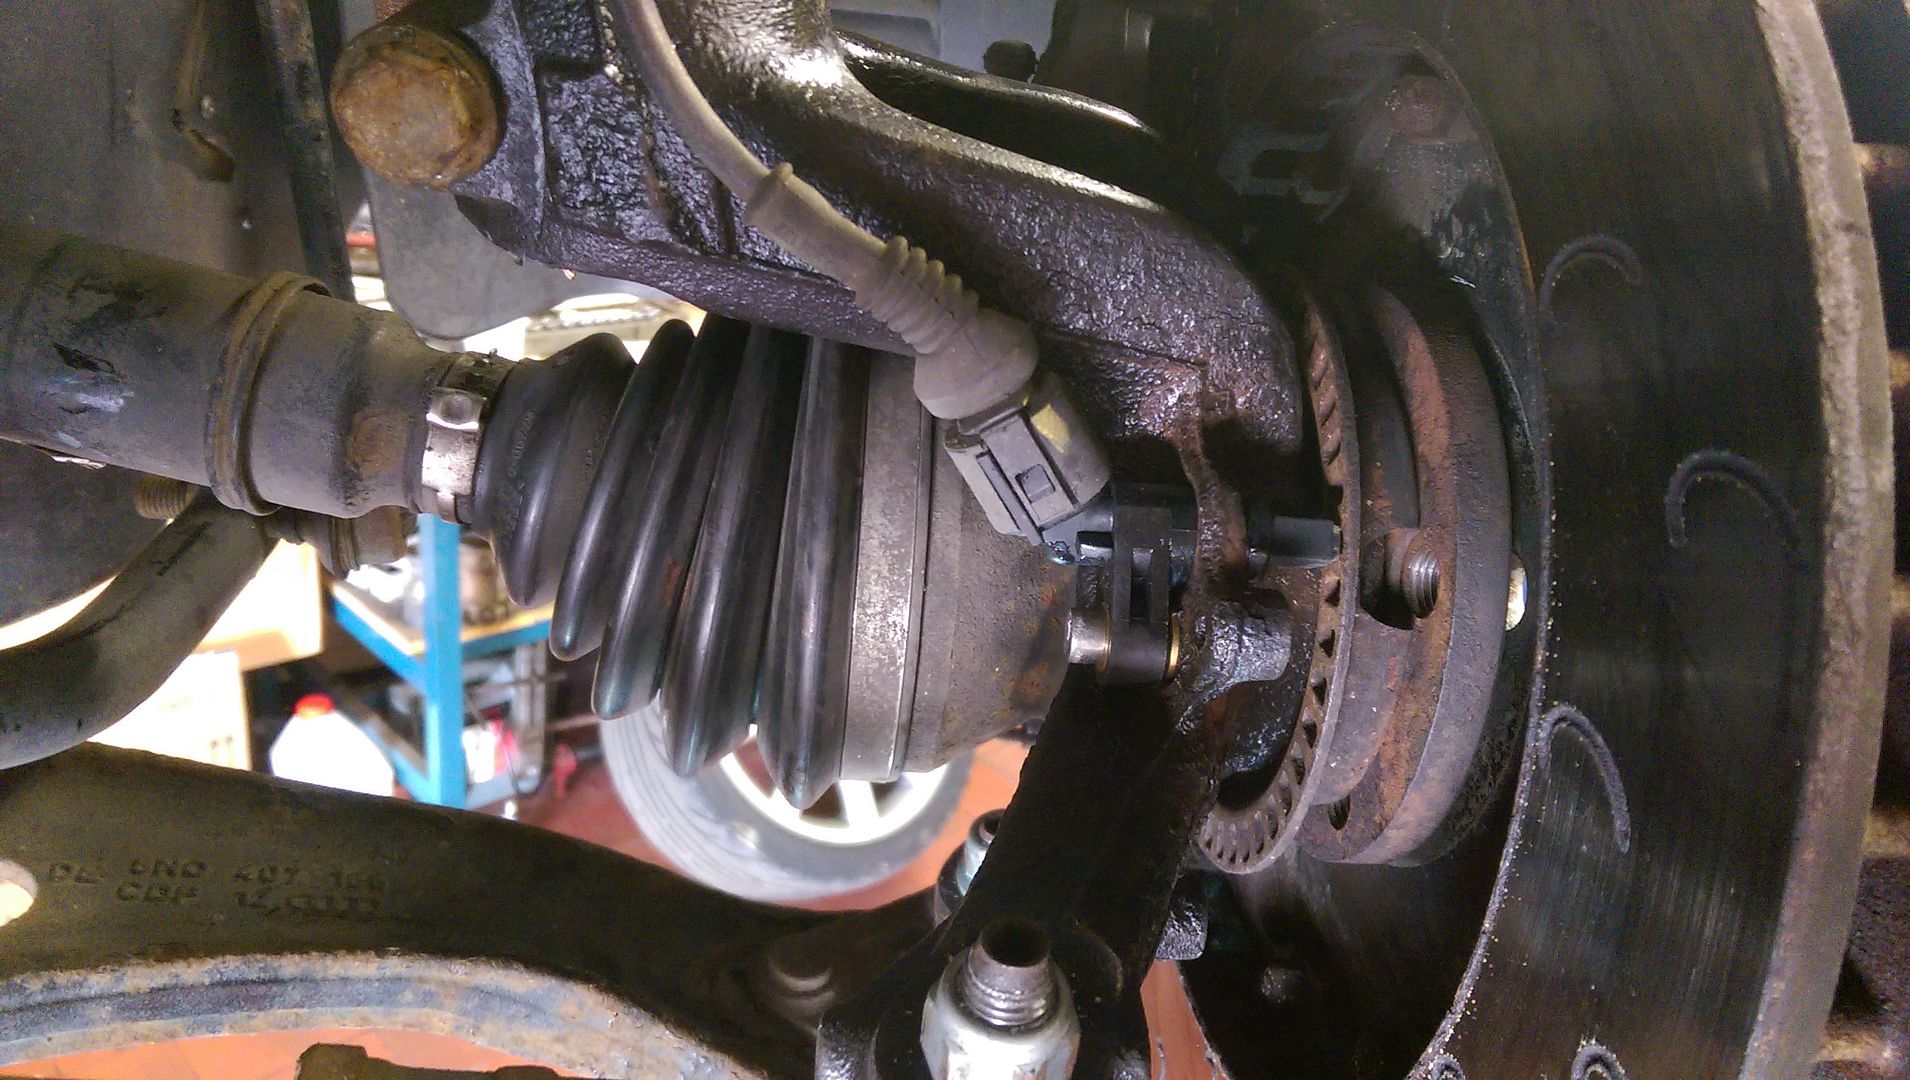
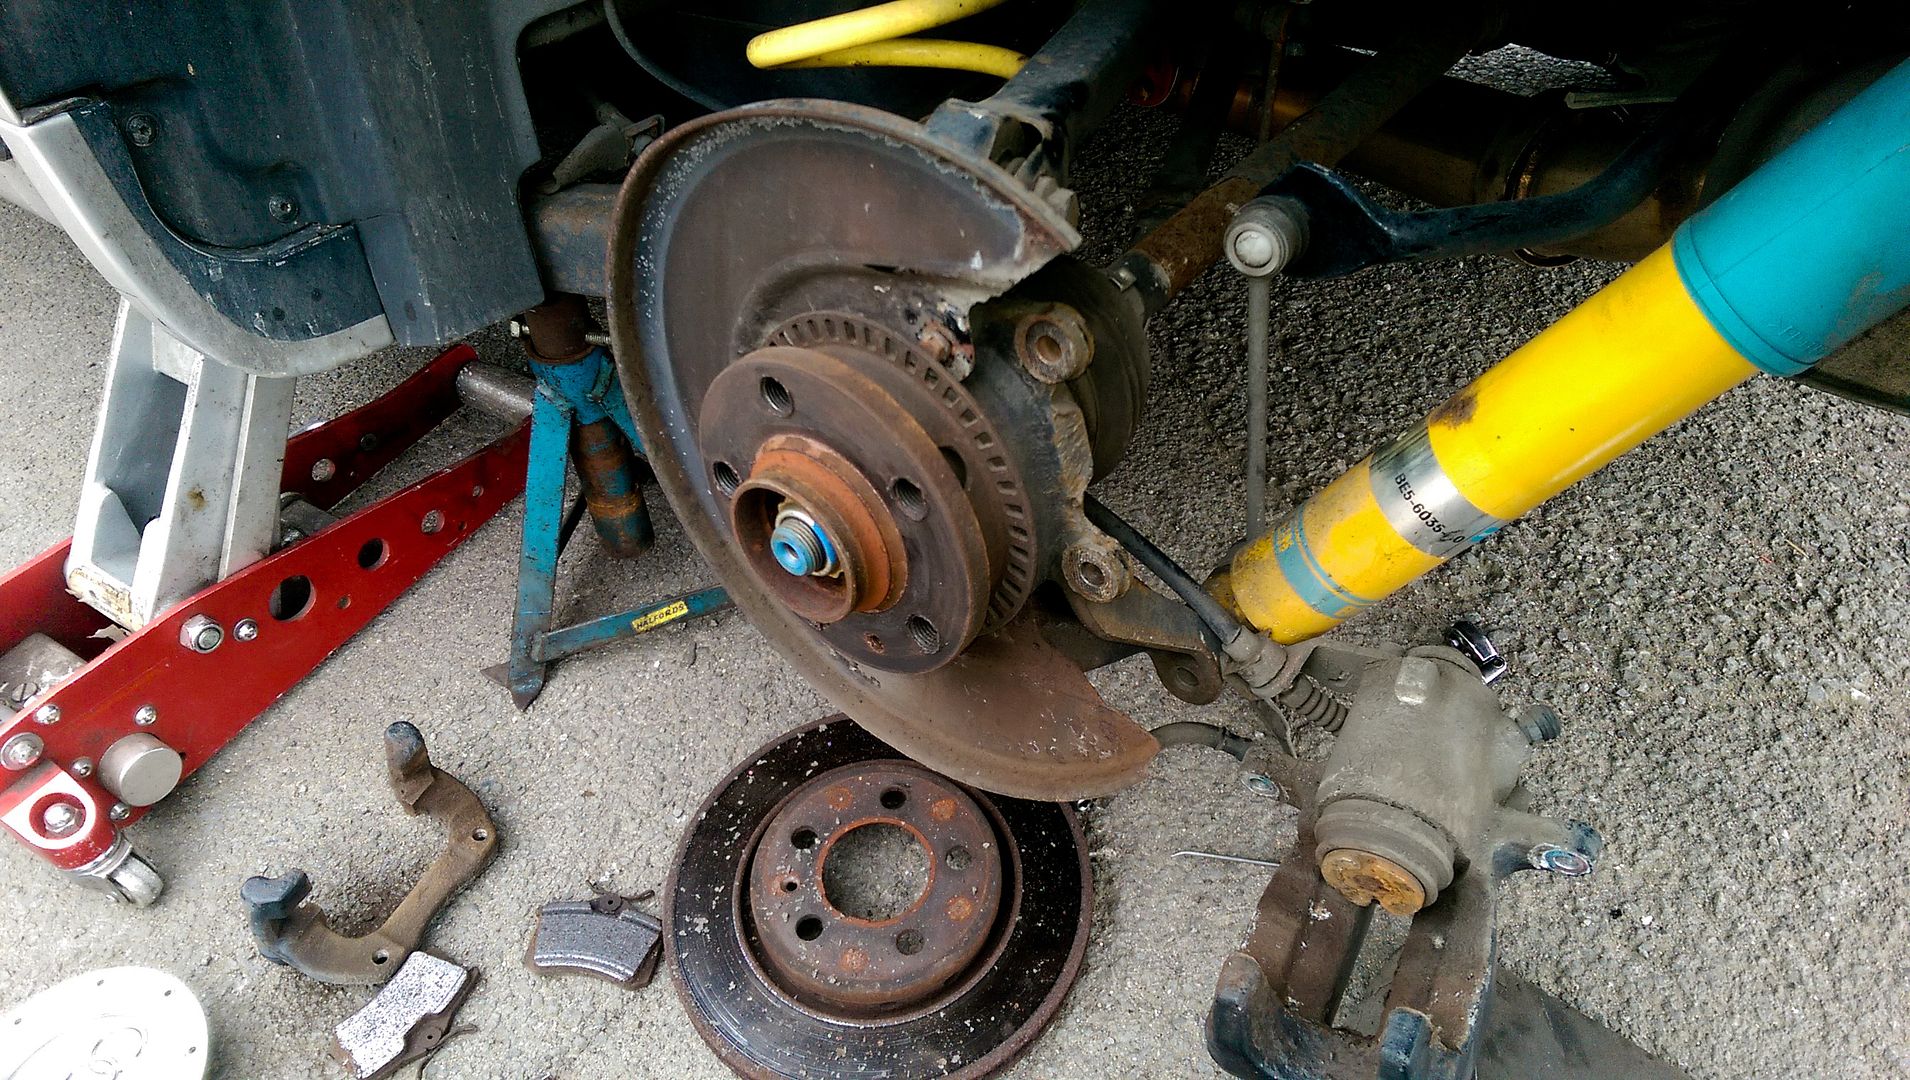
Removed the disc to gain a bit of access to the front of the sensor which is mostly masked by the reluctor ring...
IMAG1004.jpg


Removed the securing bolt and the funky cable guide jobber...
IMAG1007.jpg


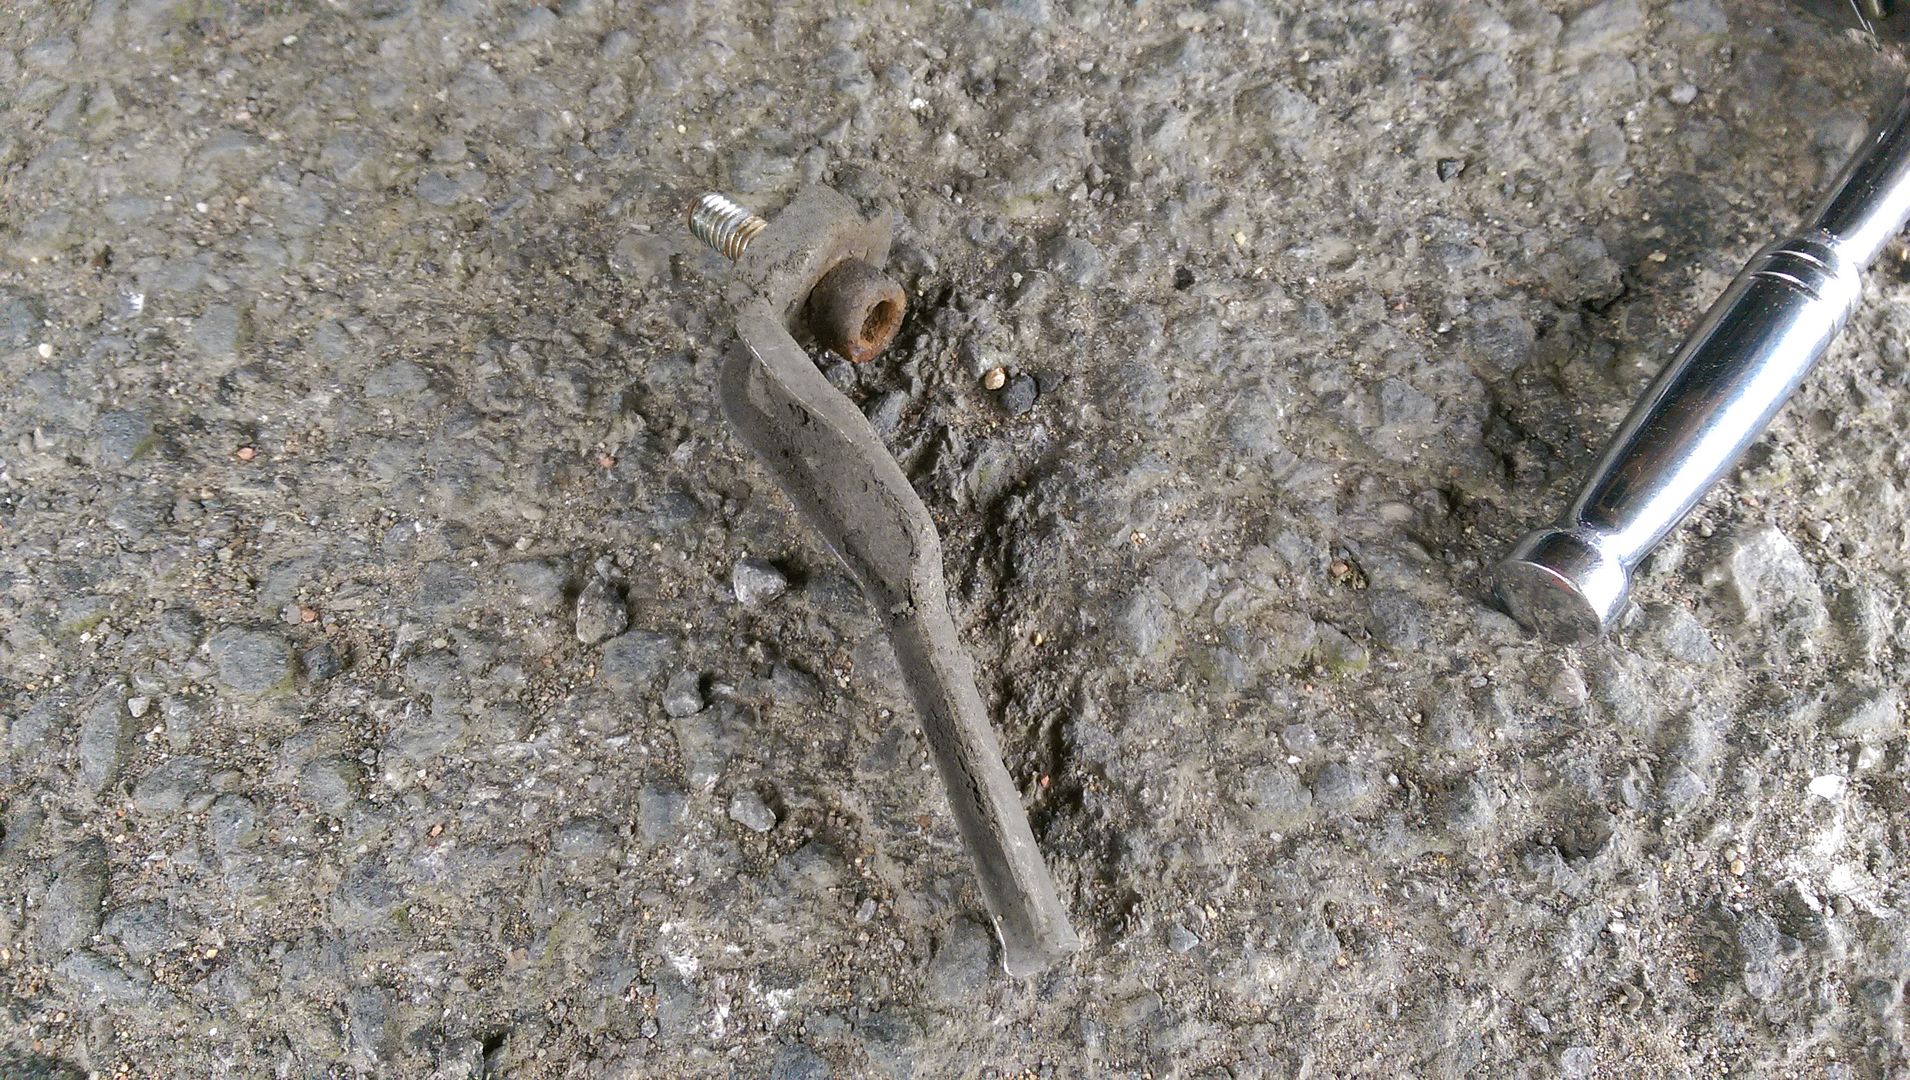
I first knocked the securing tab round a bit and it moved so got a blunt instrument on the front visible edge of the sensor and amazingly drove it out more or less in one piece...

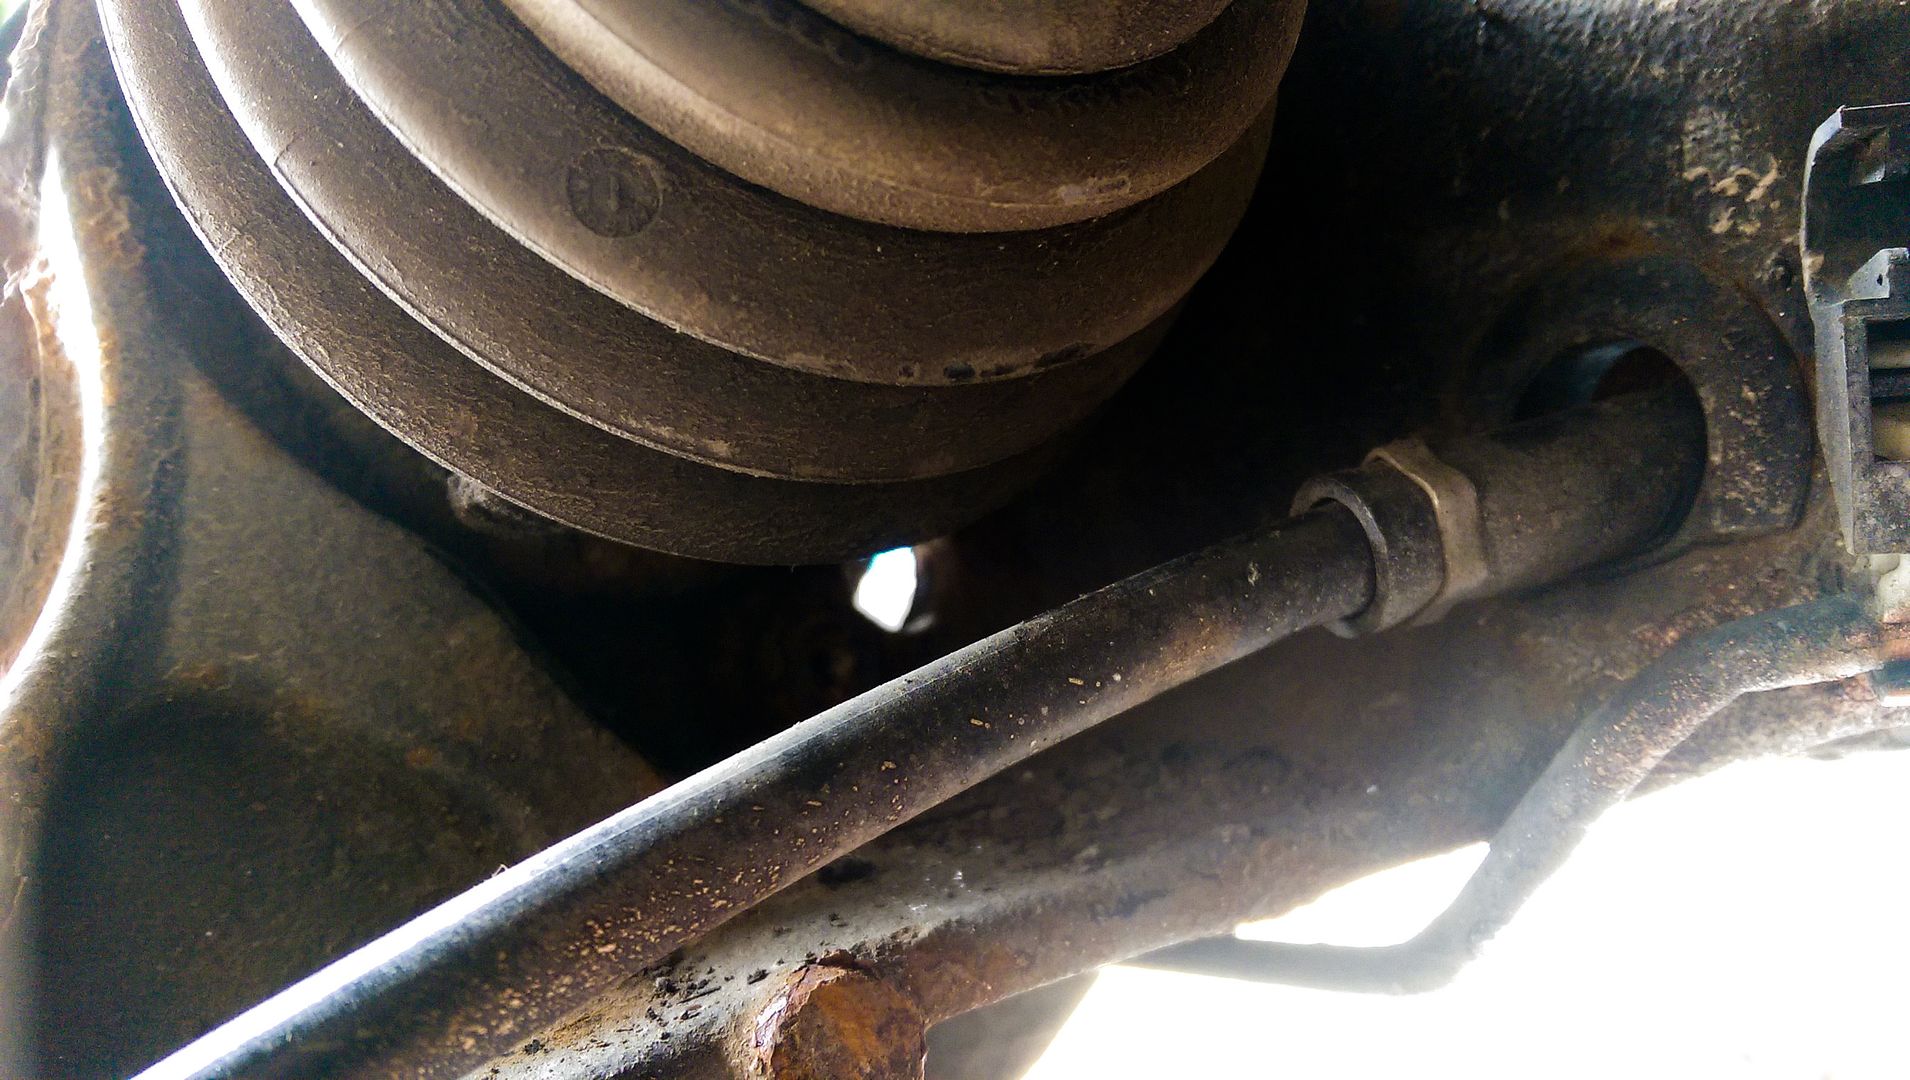
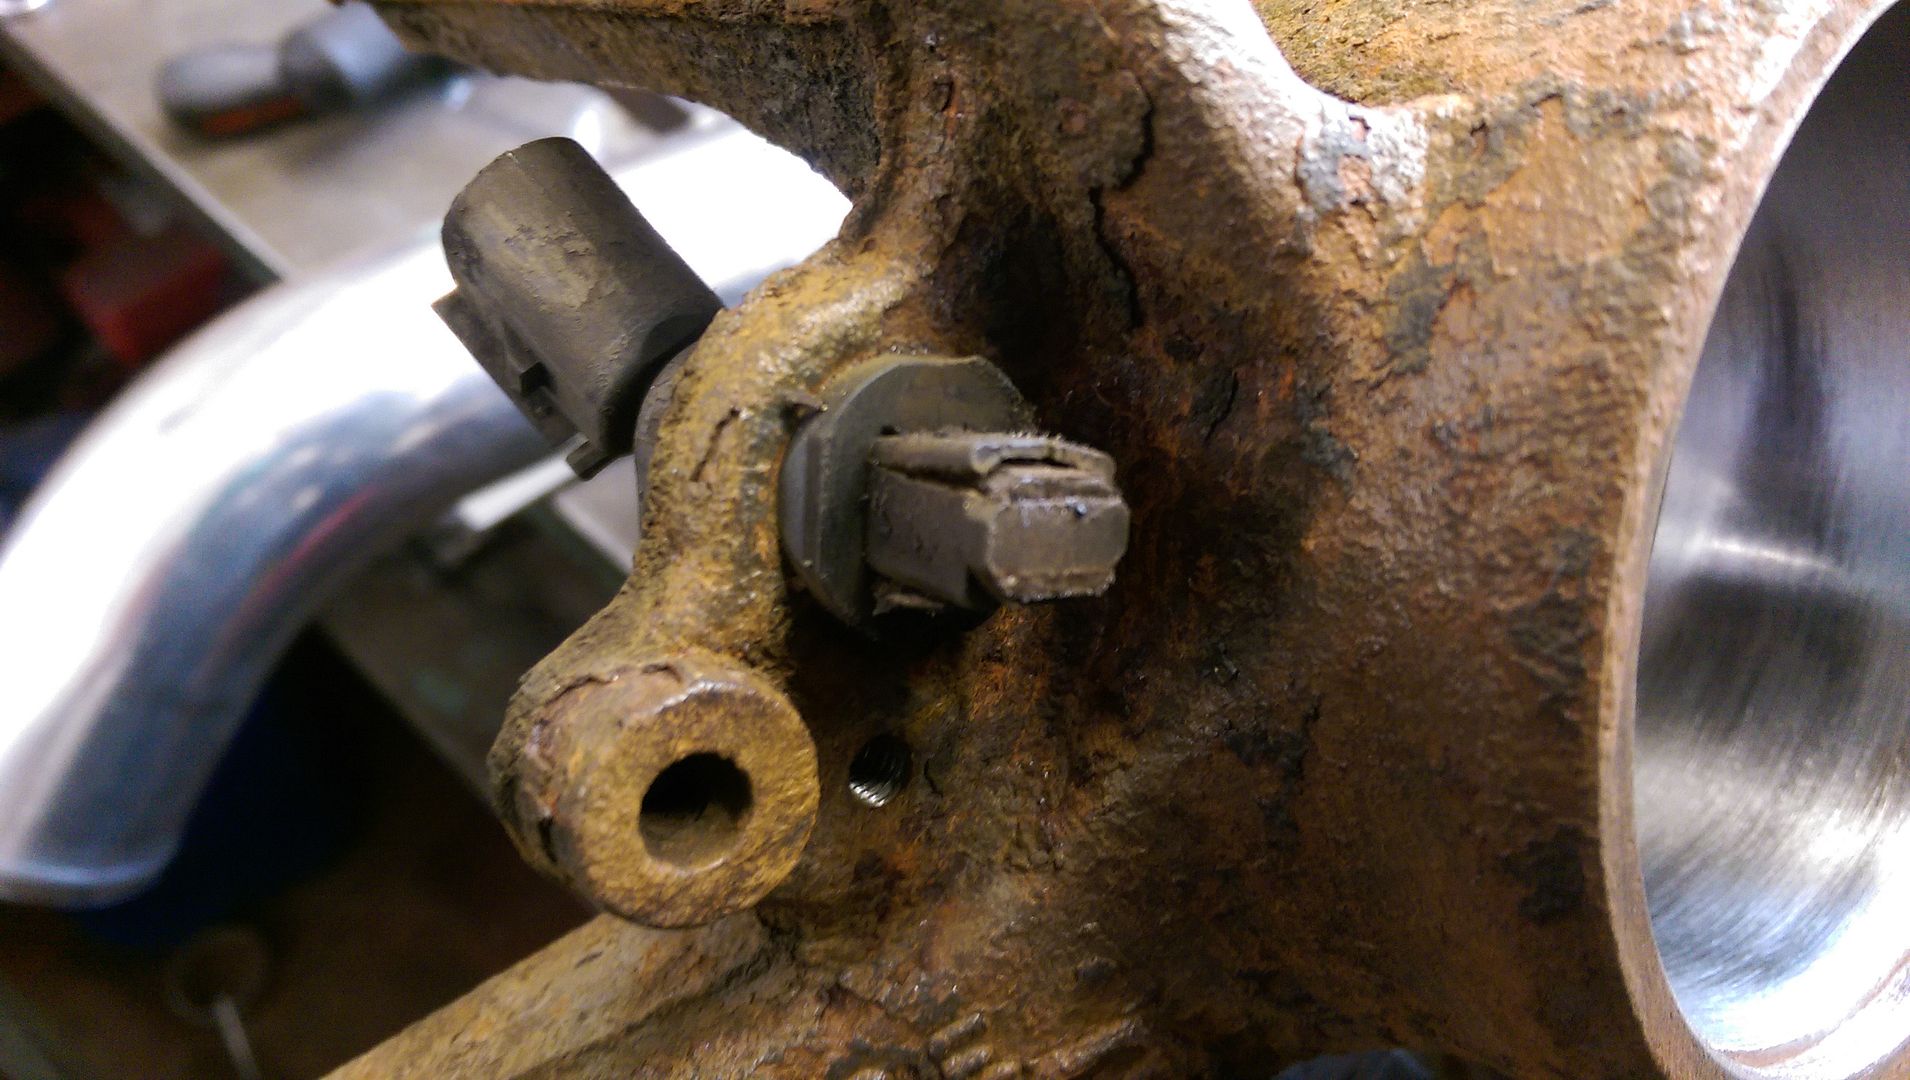
The sensor is in a fairly awkward place... I also ran a file and some emery cloth inside the sensor hole to clean off the rust..
IMAG1009.jpg


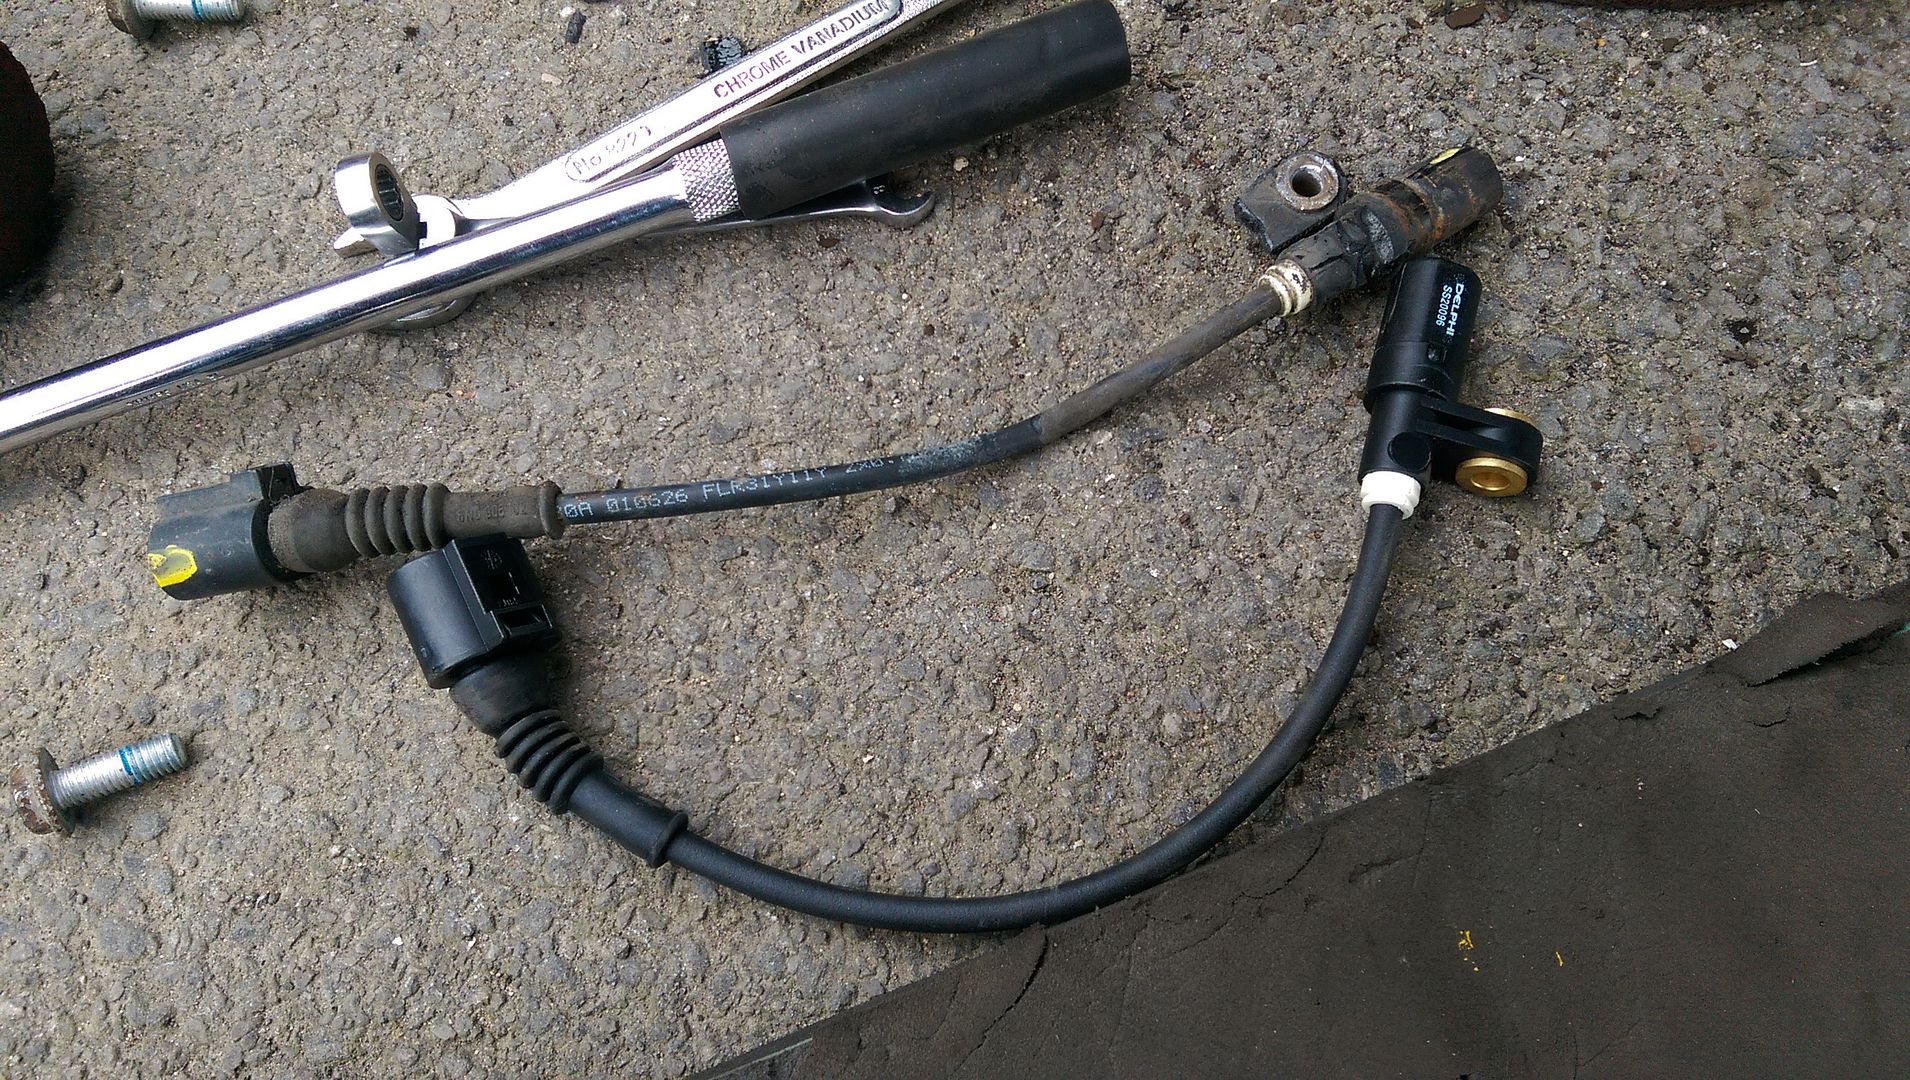
New sensor was from GSF and is made by Delphi...
IMAG1010.jpg


Cleared the code and went for a drive... ABS is now working so reconnected the HPA controller and all seems to be working as before so hopefully thats sorted the issues that I have been having out...

<tuffty/>
 

tufftybloke

Badger 5 Edition
Feb 28, 2009
657
0
Gloucestershire, UK
Got around to a couple of jobs I have been meaning to do for a while...

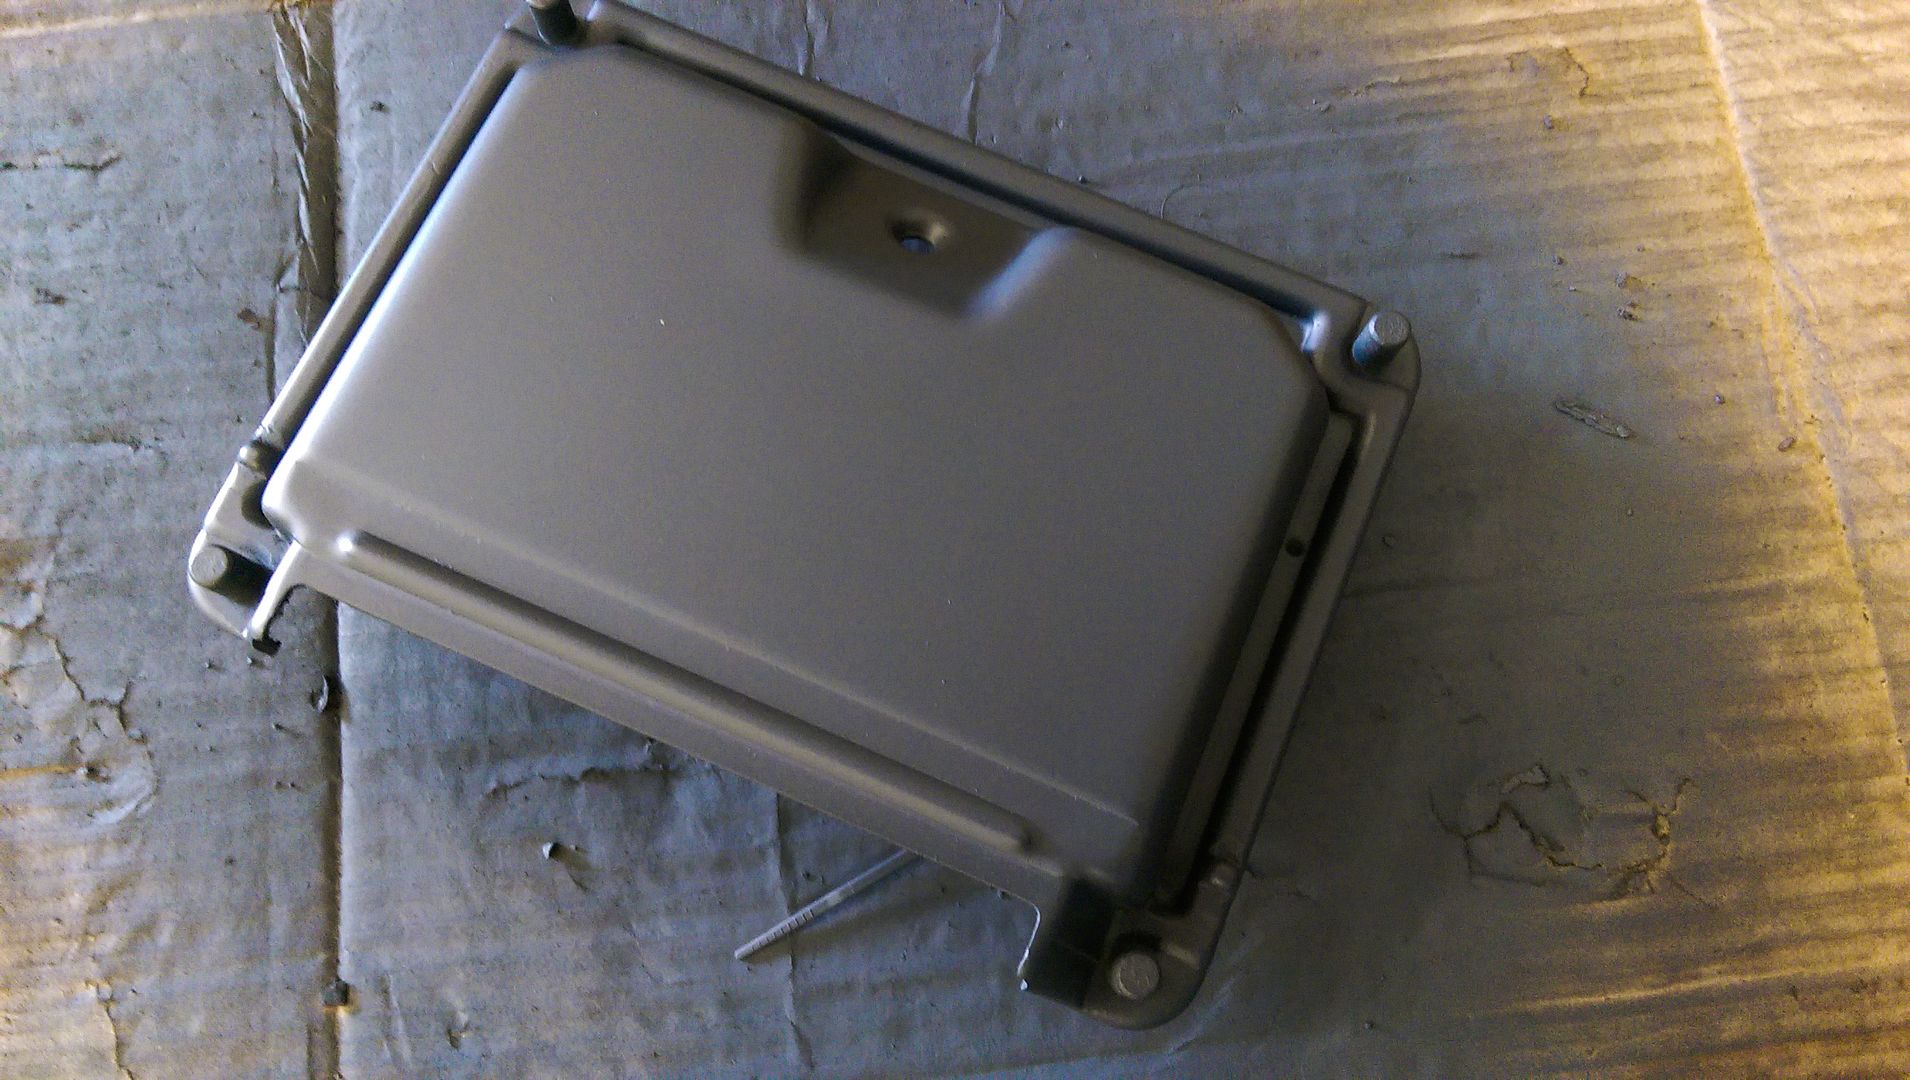
Sorted out my spare ECU with a little paint job...
IMAG1067.jpg


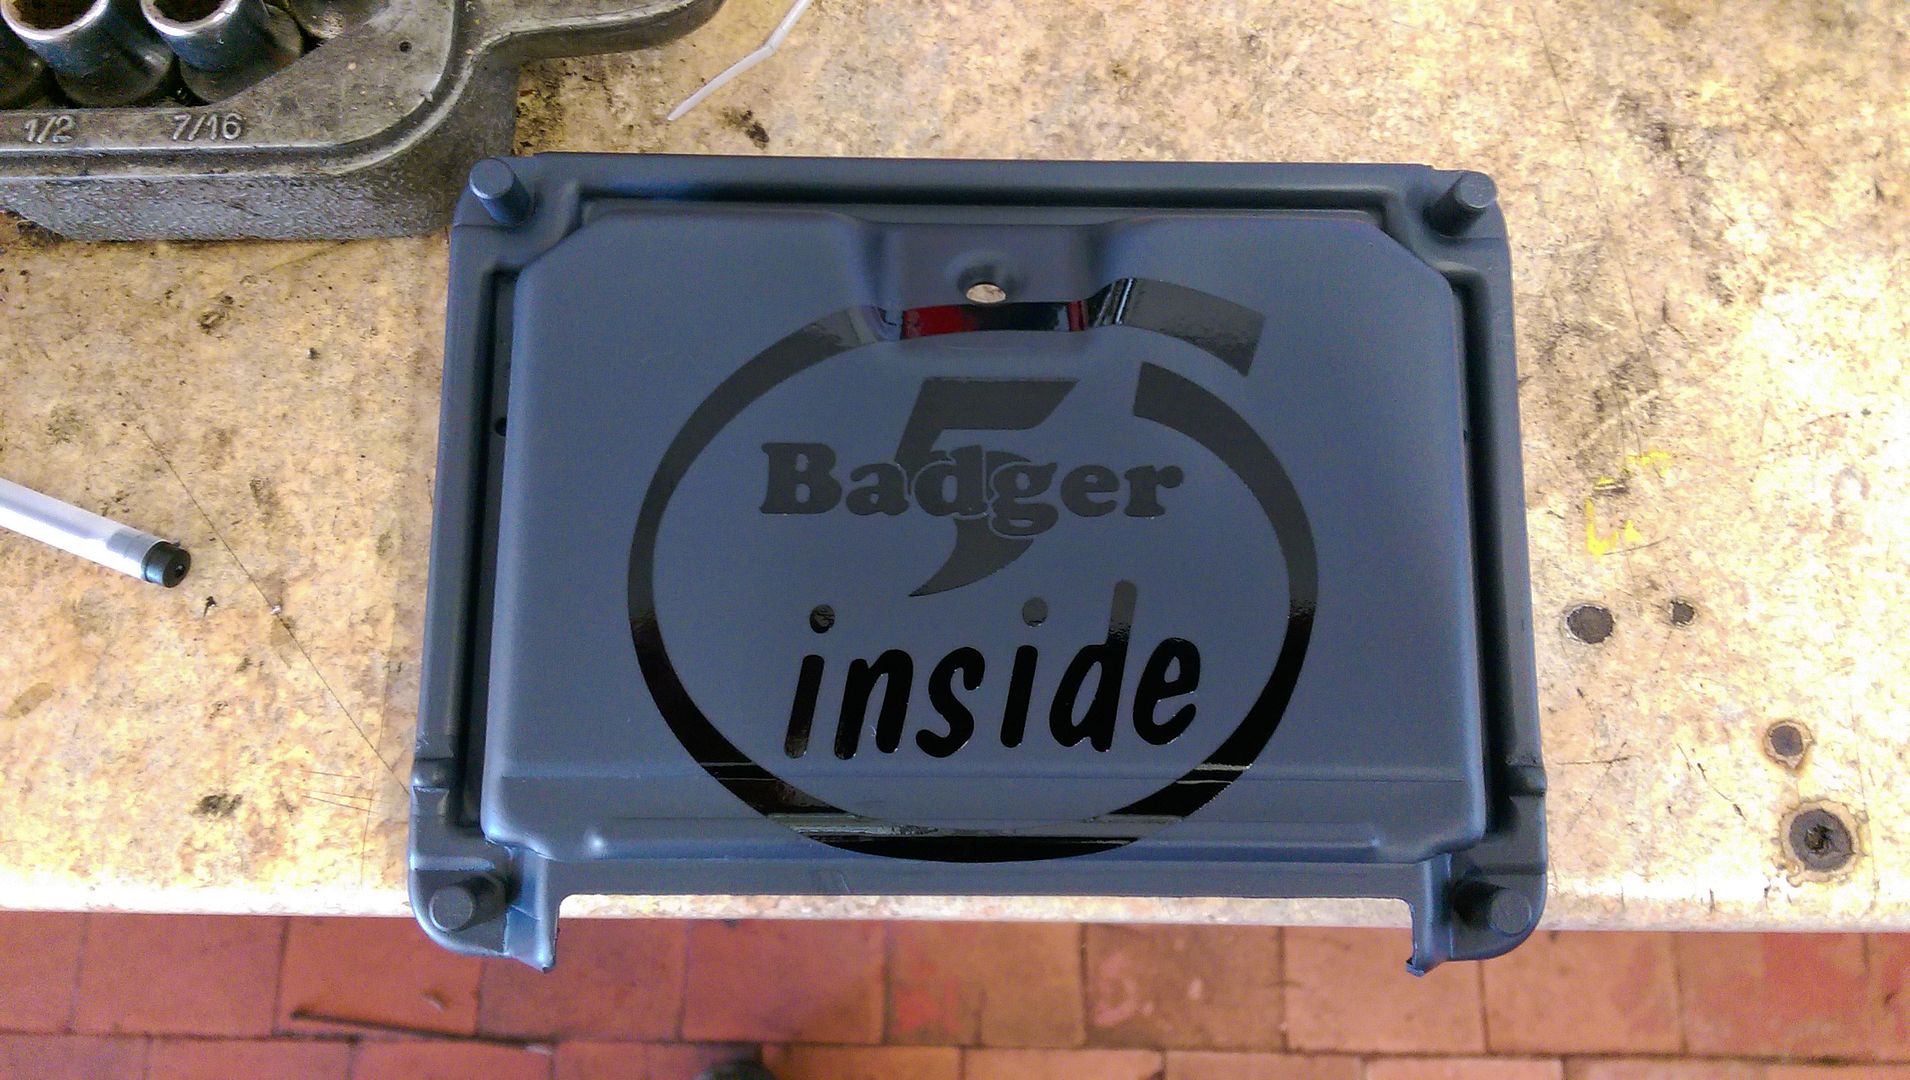
Always quite liked the colour of the UPOL etch primer I use so I thought I would just use this as a base colour for a change... stuck a Badger 5 Inside sticker on...
IMAG1069.jpg


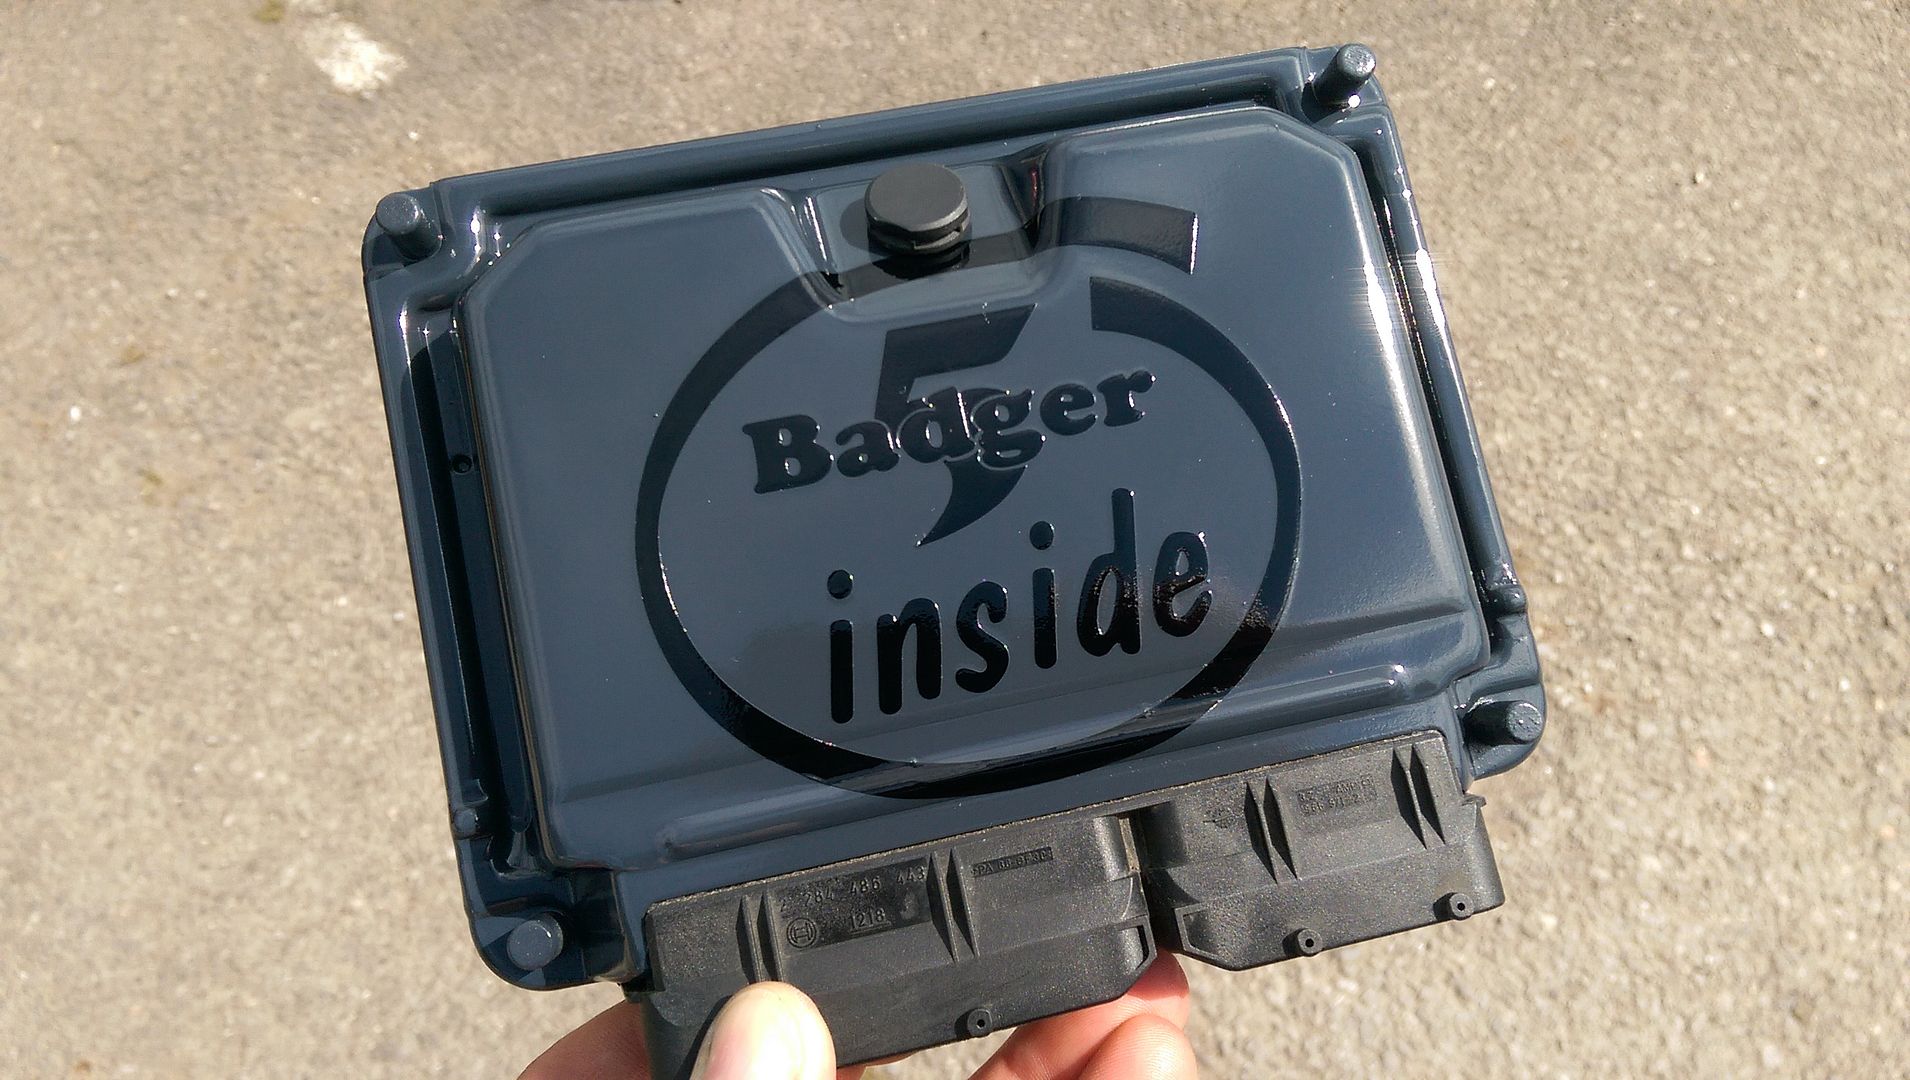
...and lacquered over the top...
IMAG1073.jpg


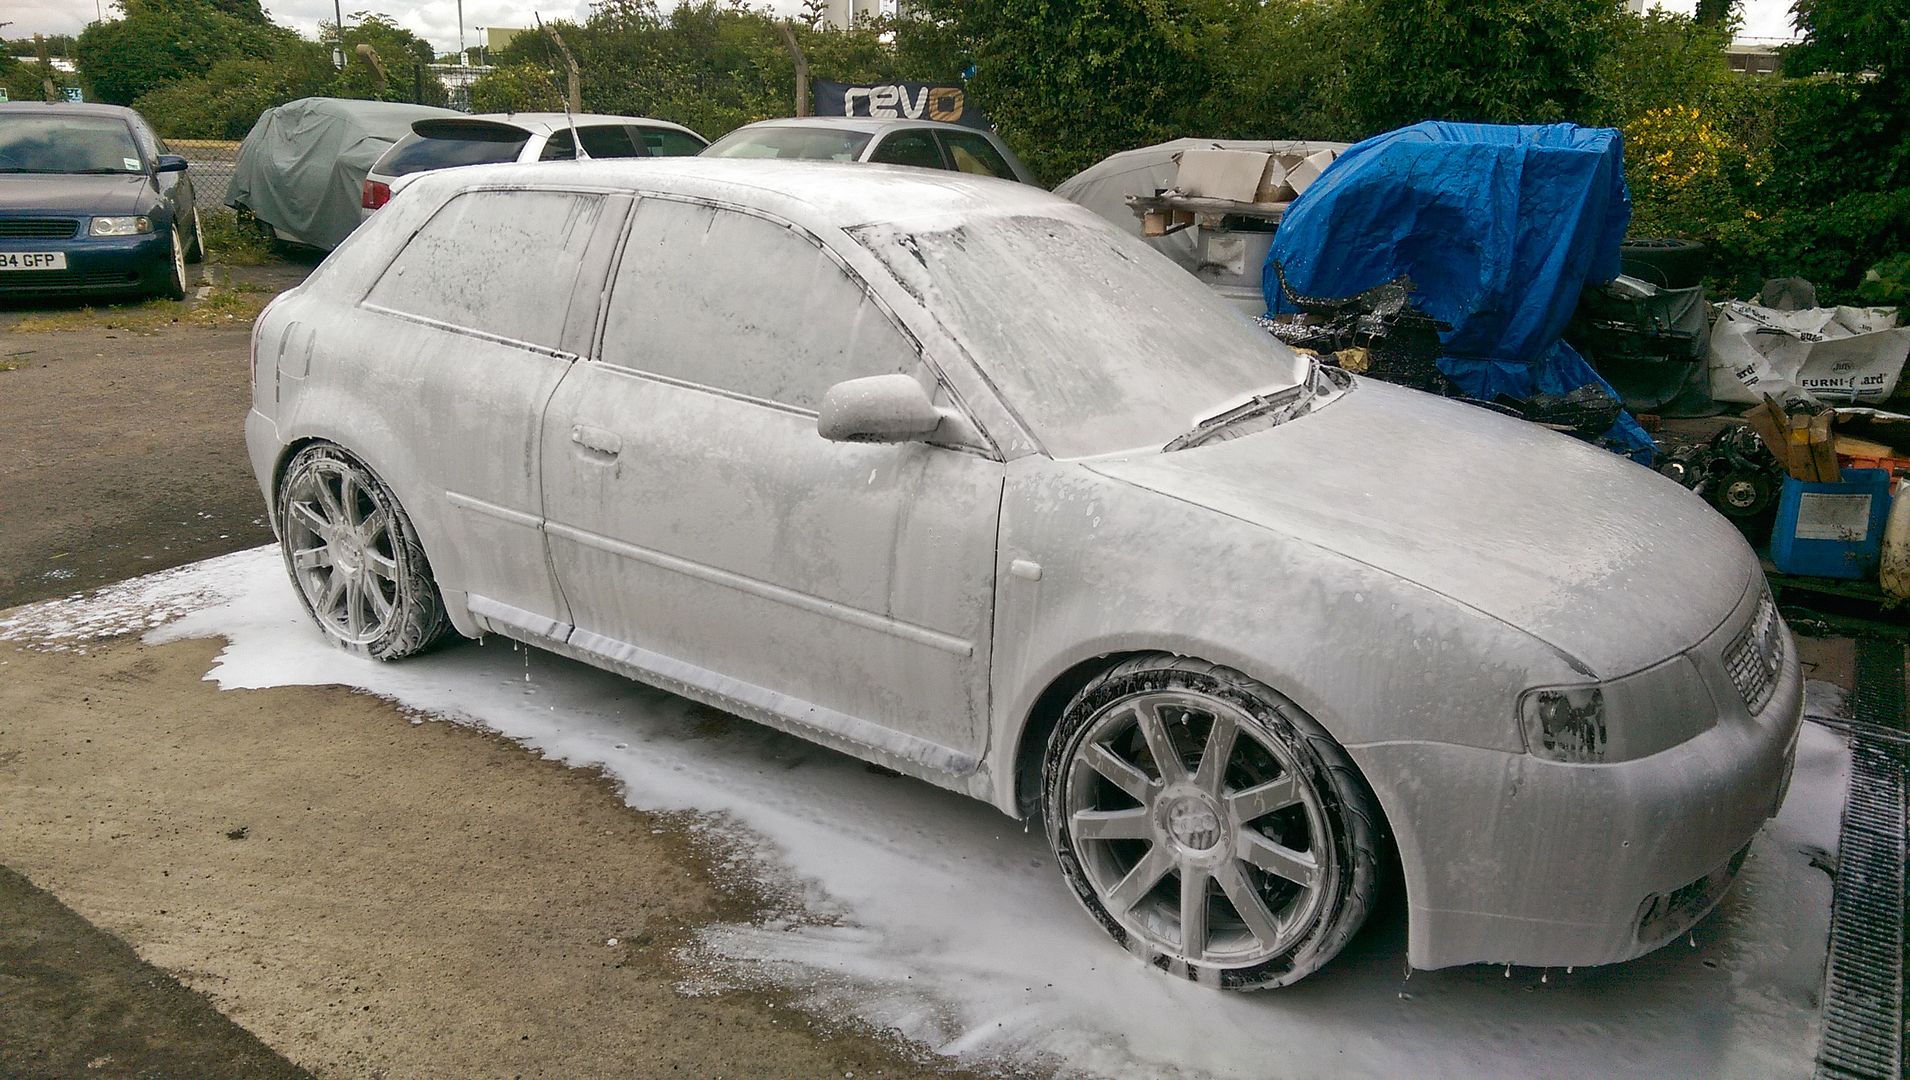
As some of you who have been to Bills will know there is a bit of seagull 'issue'... I hate to meet the bugger that did this to my car!!! ;)
IMAG1127.jpg


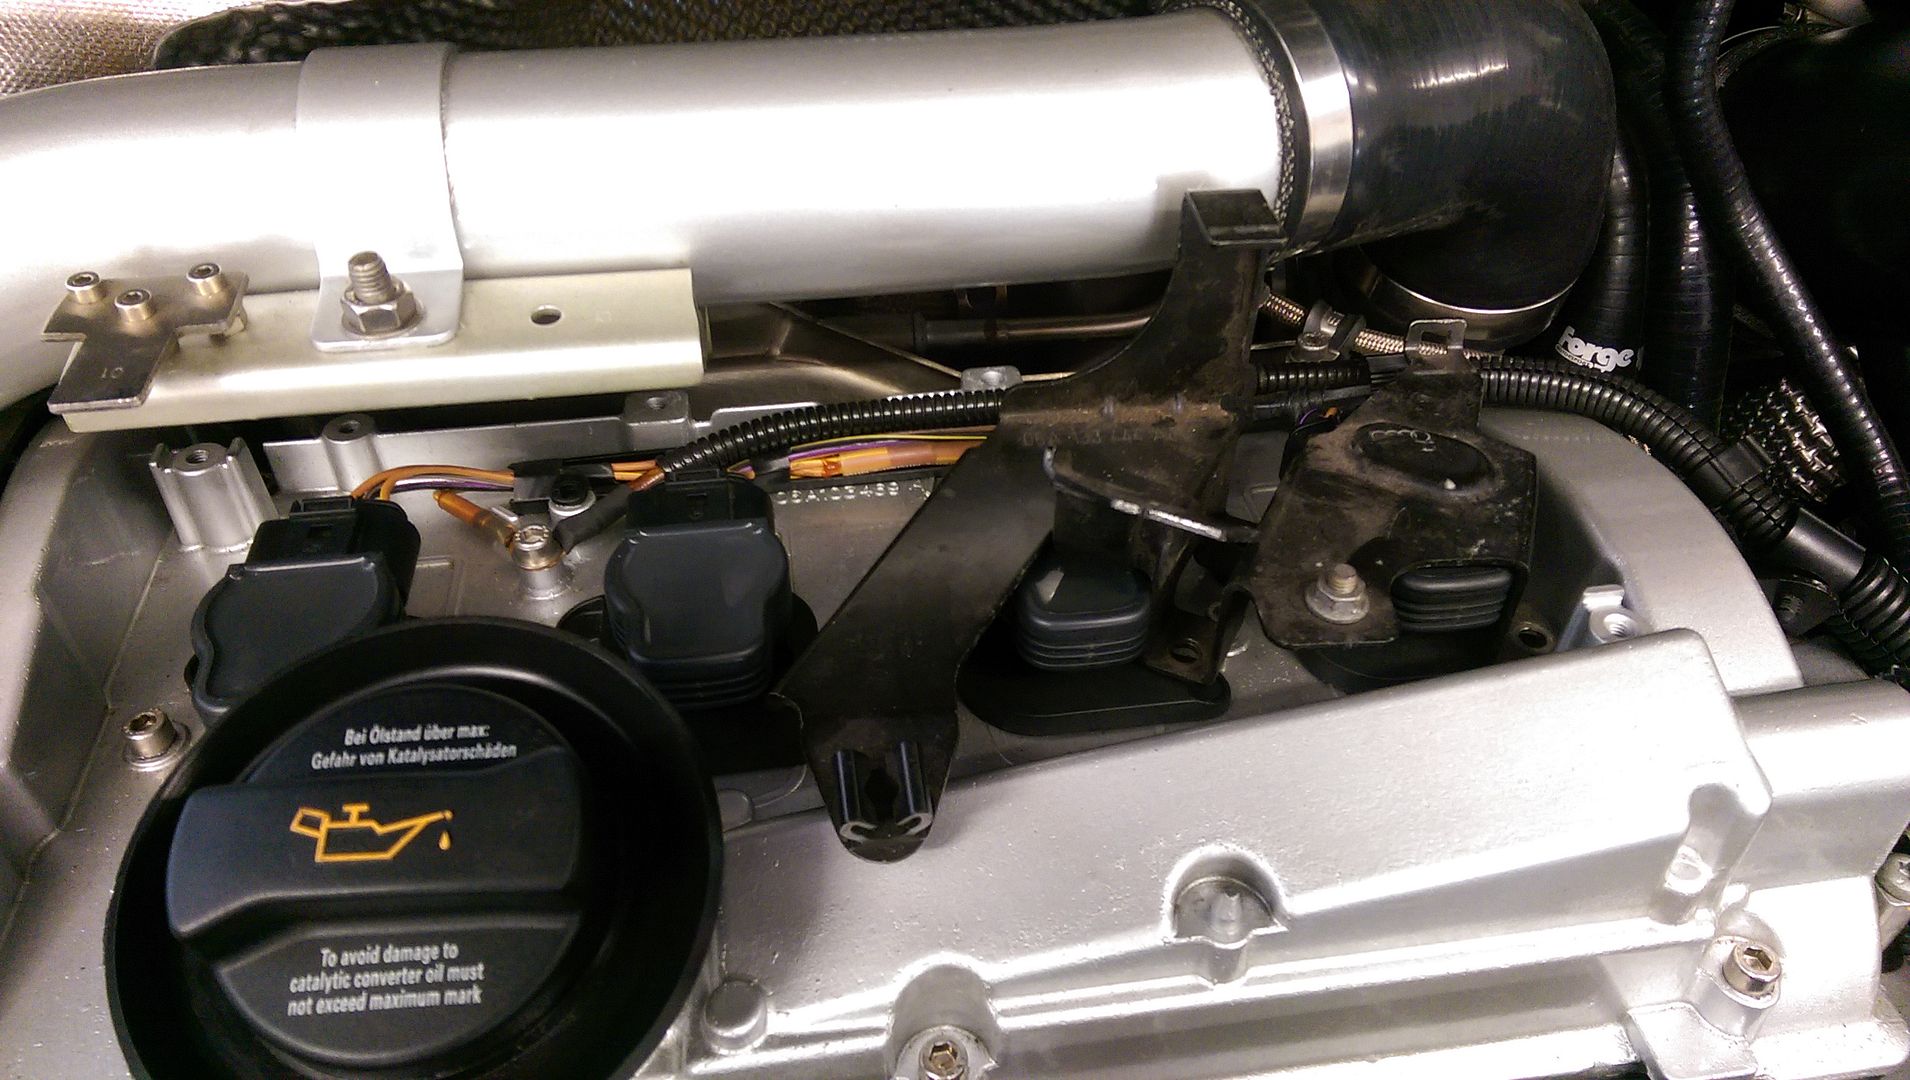
Next little job was to make some brackets for the engine cover and battery cover.. the OE bracket is the monsterous thing that covers coil packs 3 and 4... not much use anyway as I have TFSI coils but positionally it was a good start point..
IMAG1128.jpg


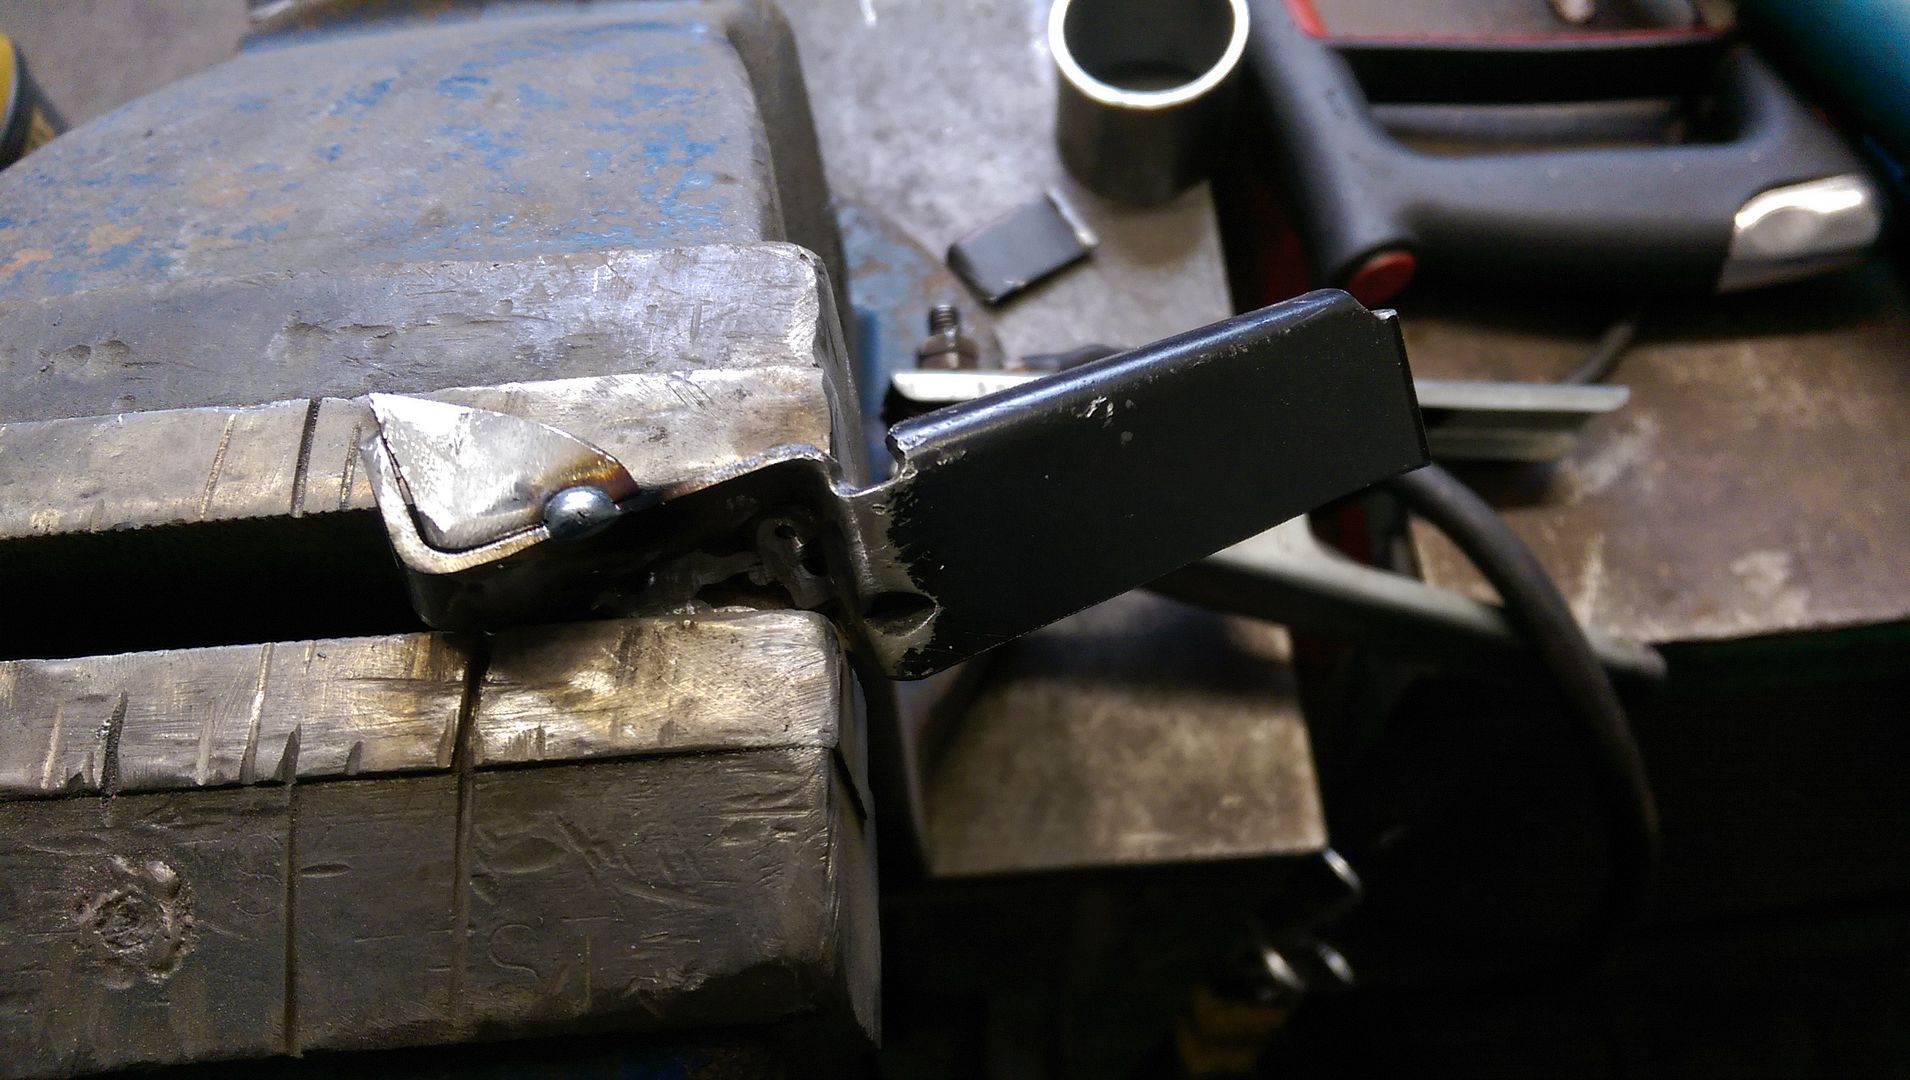
So I choppped it up a bit and strengthened it where it needed it...
IMAG1130.jpg


Looking good so far...
IMAG1131.jpg


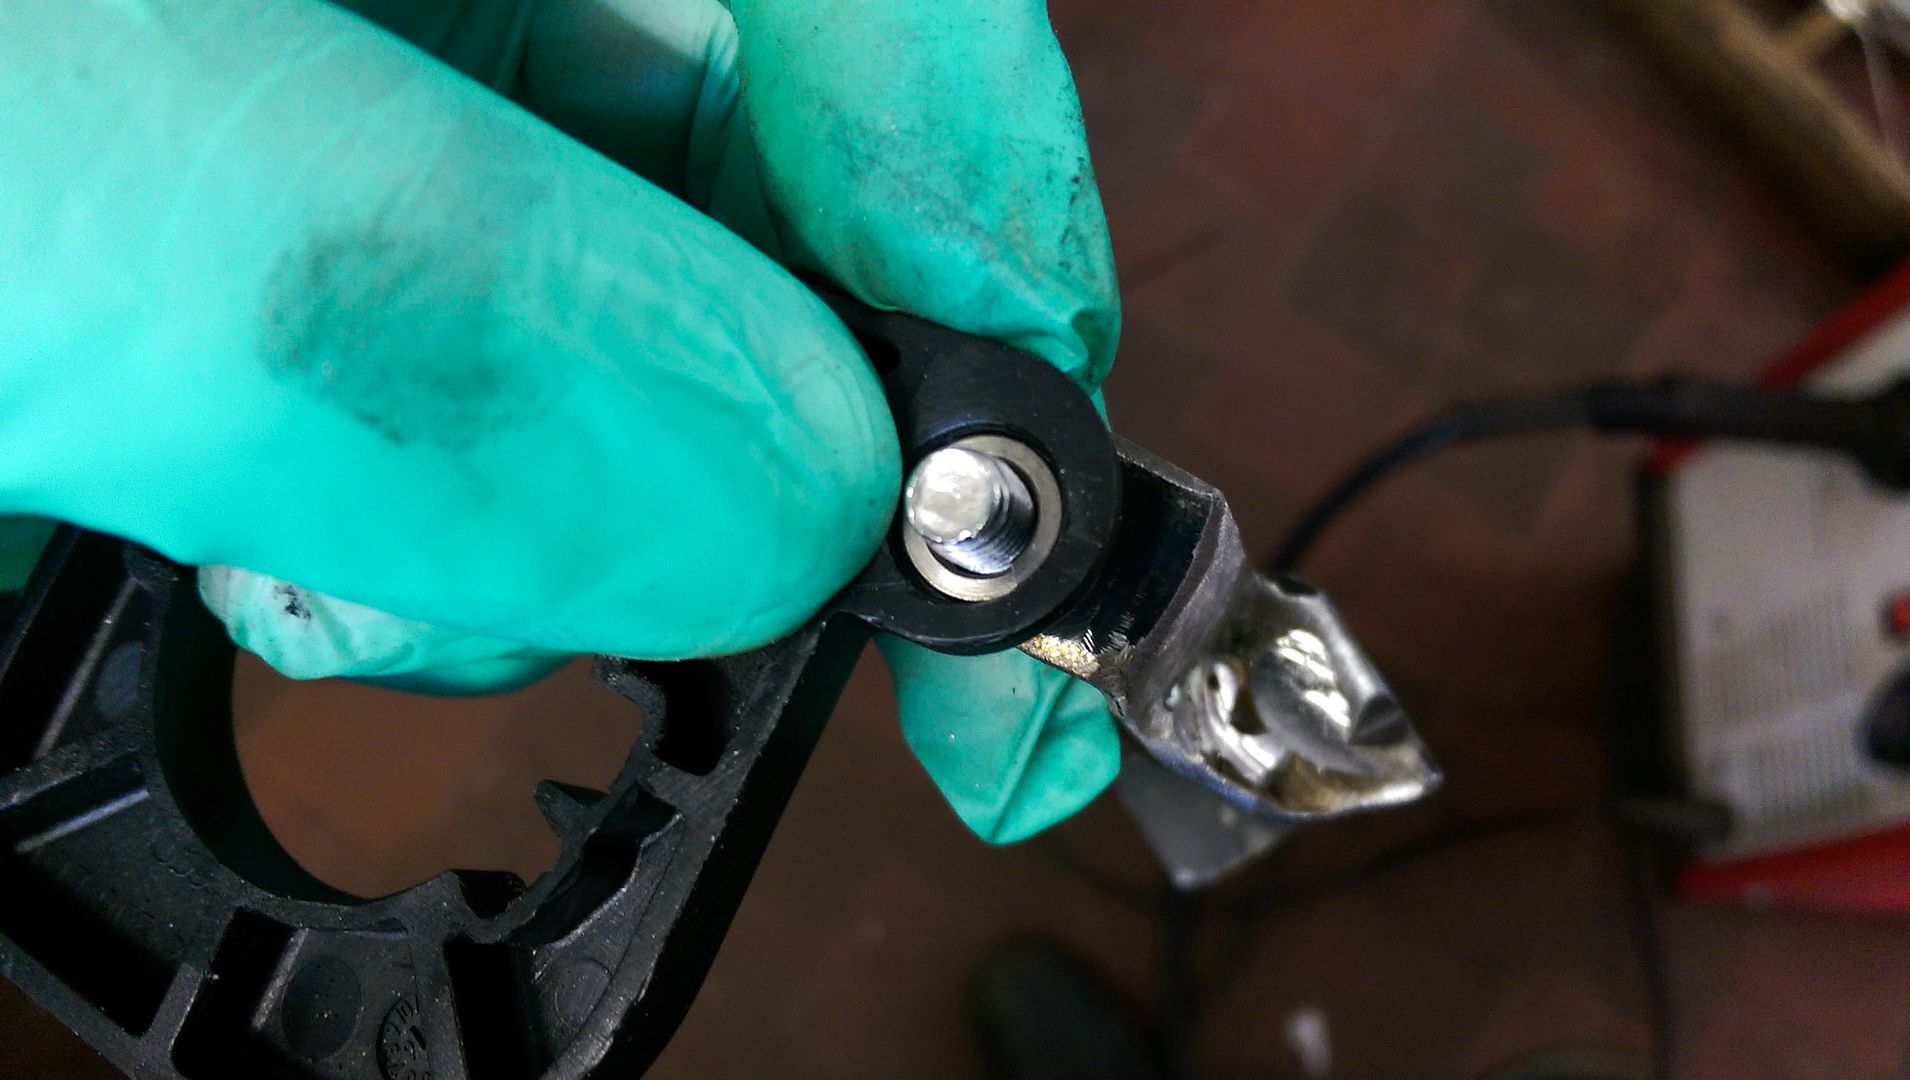
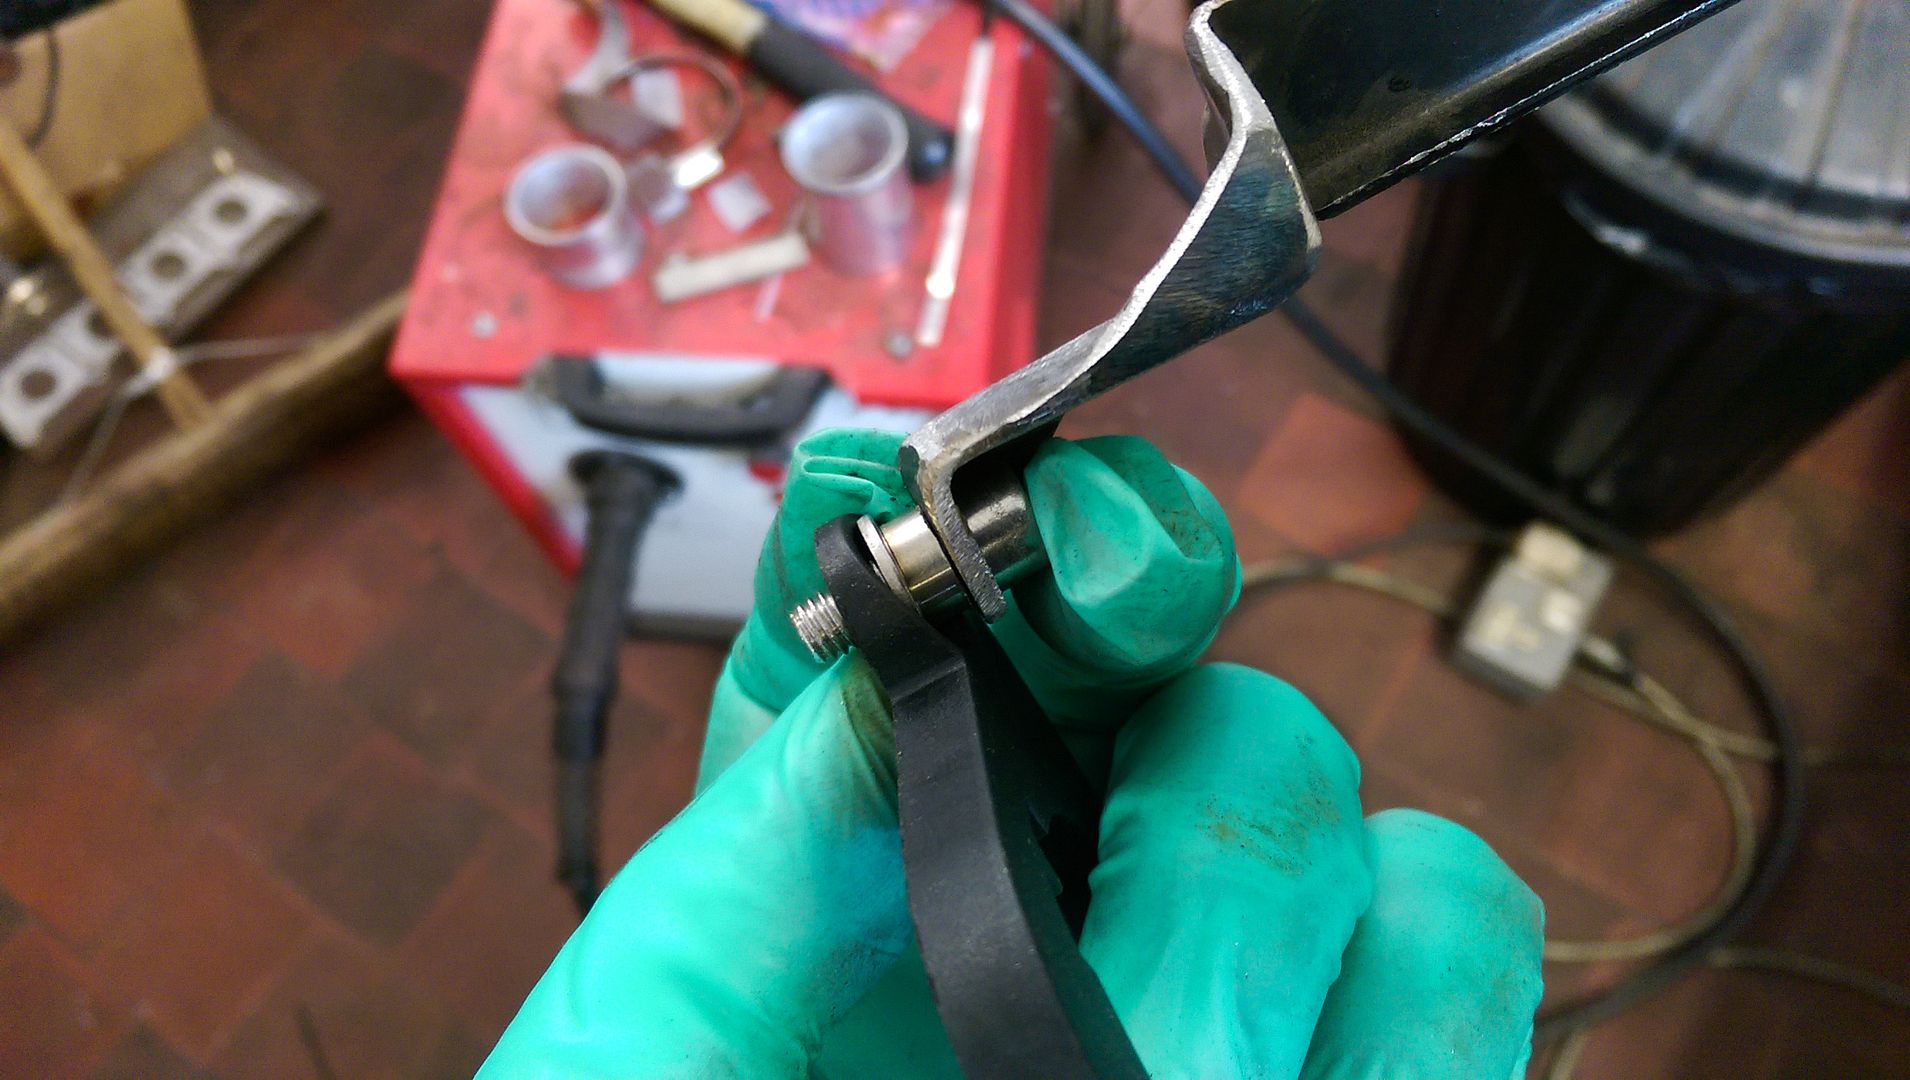
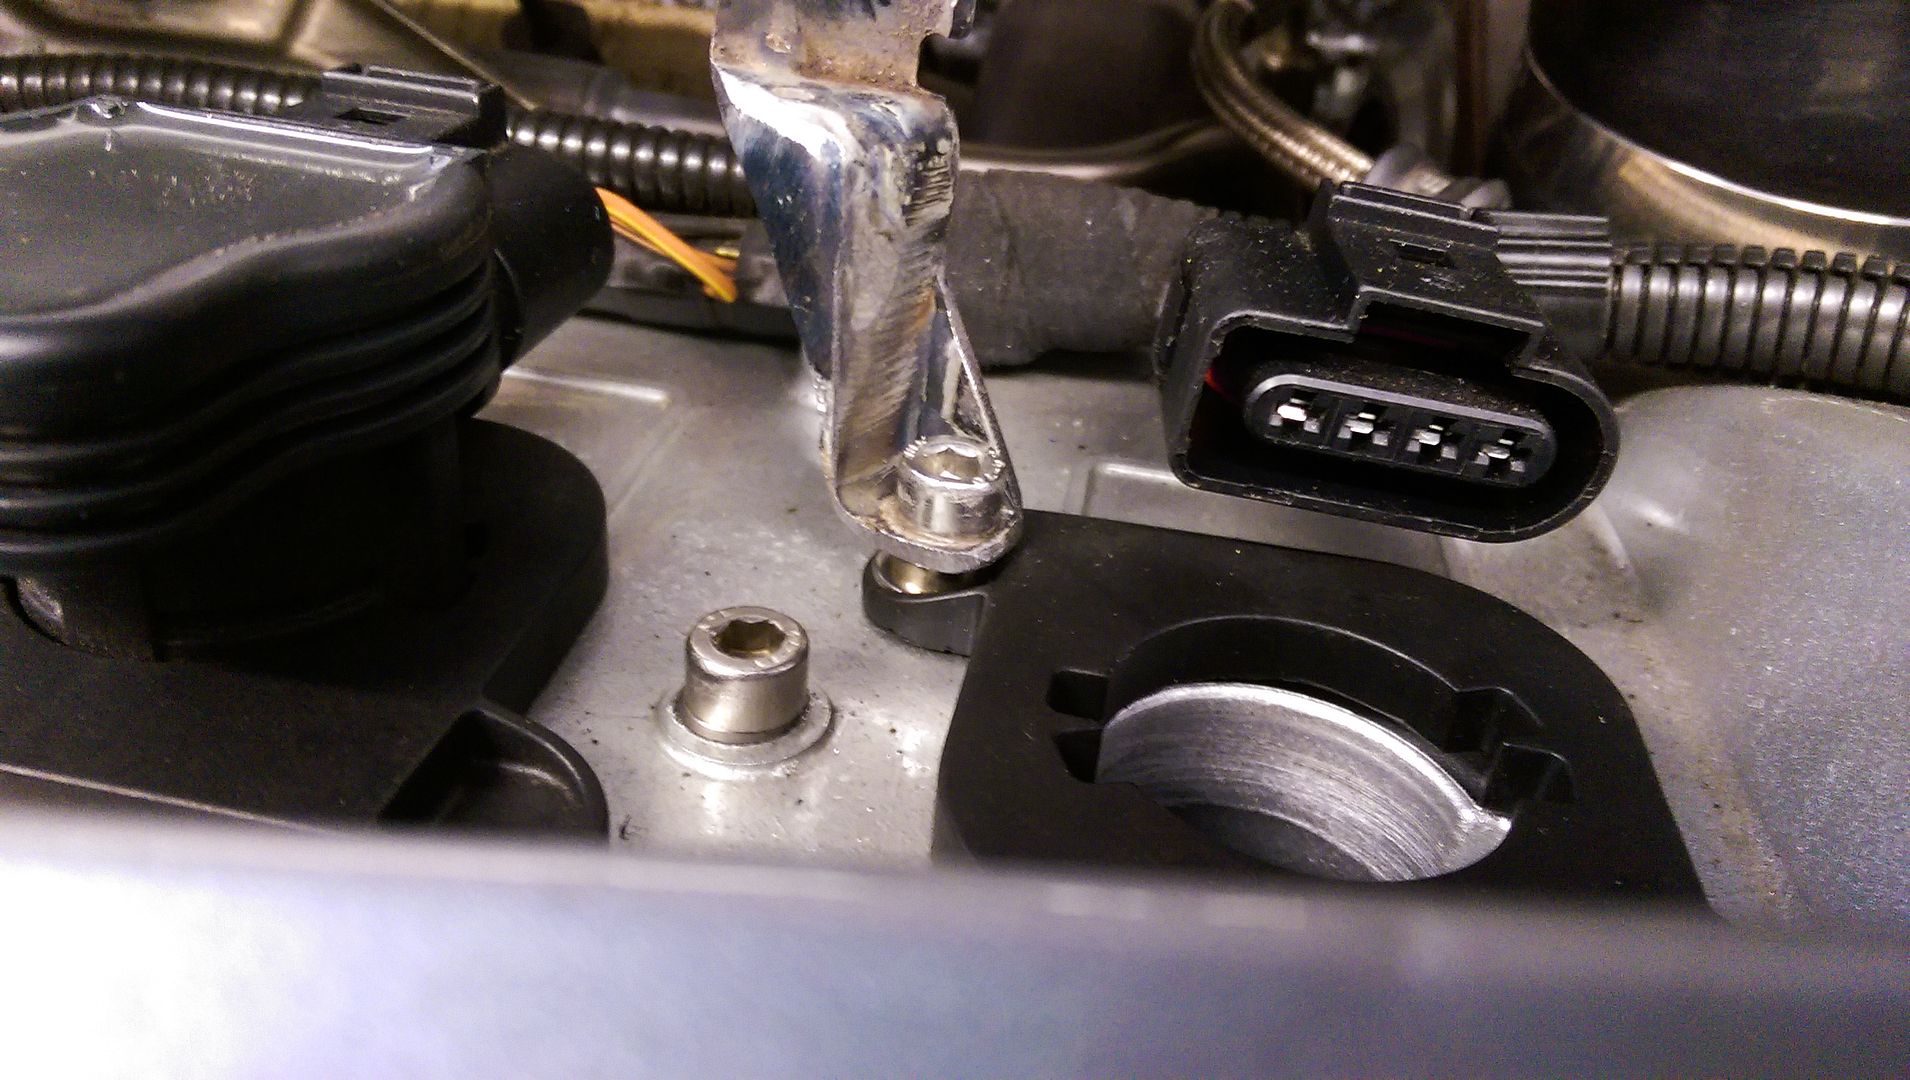
Obviously there was an issue with the coil pack adapters I am using... so I cut the push in 'barb' from the position the bracket needed to be, drilled out the 'tab' on the adaptor to house a washer that would allow the bracket to bolt down tightly without crushing the plastic and potentially allowing it to come loose as the plastic softens from heat
IMAG1133.jpg


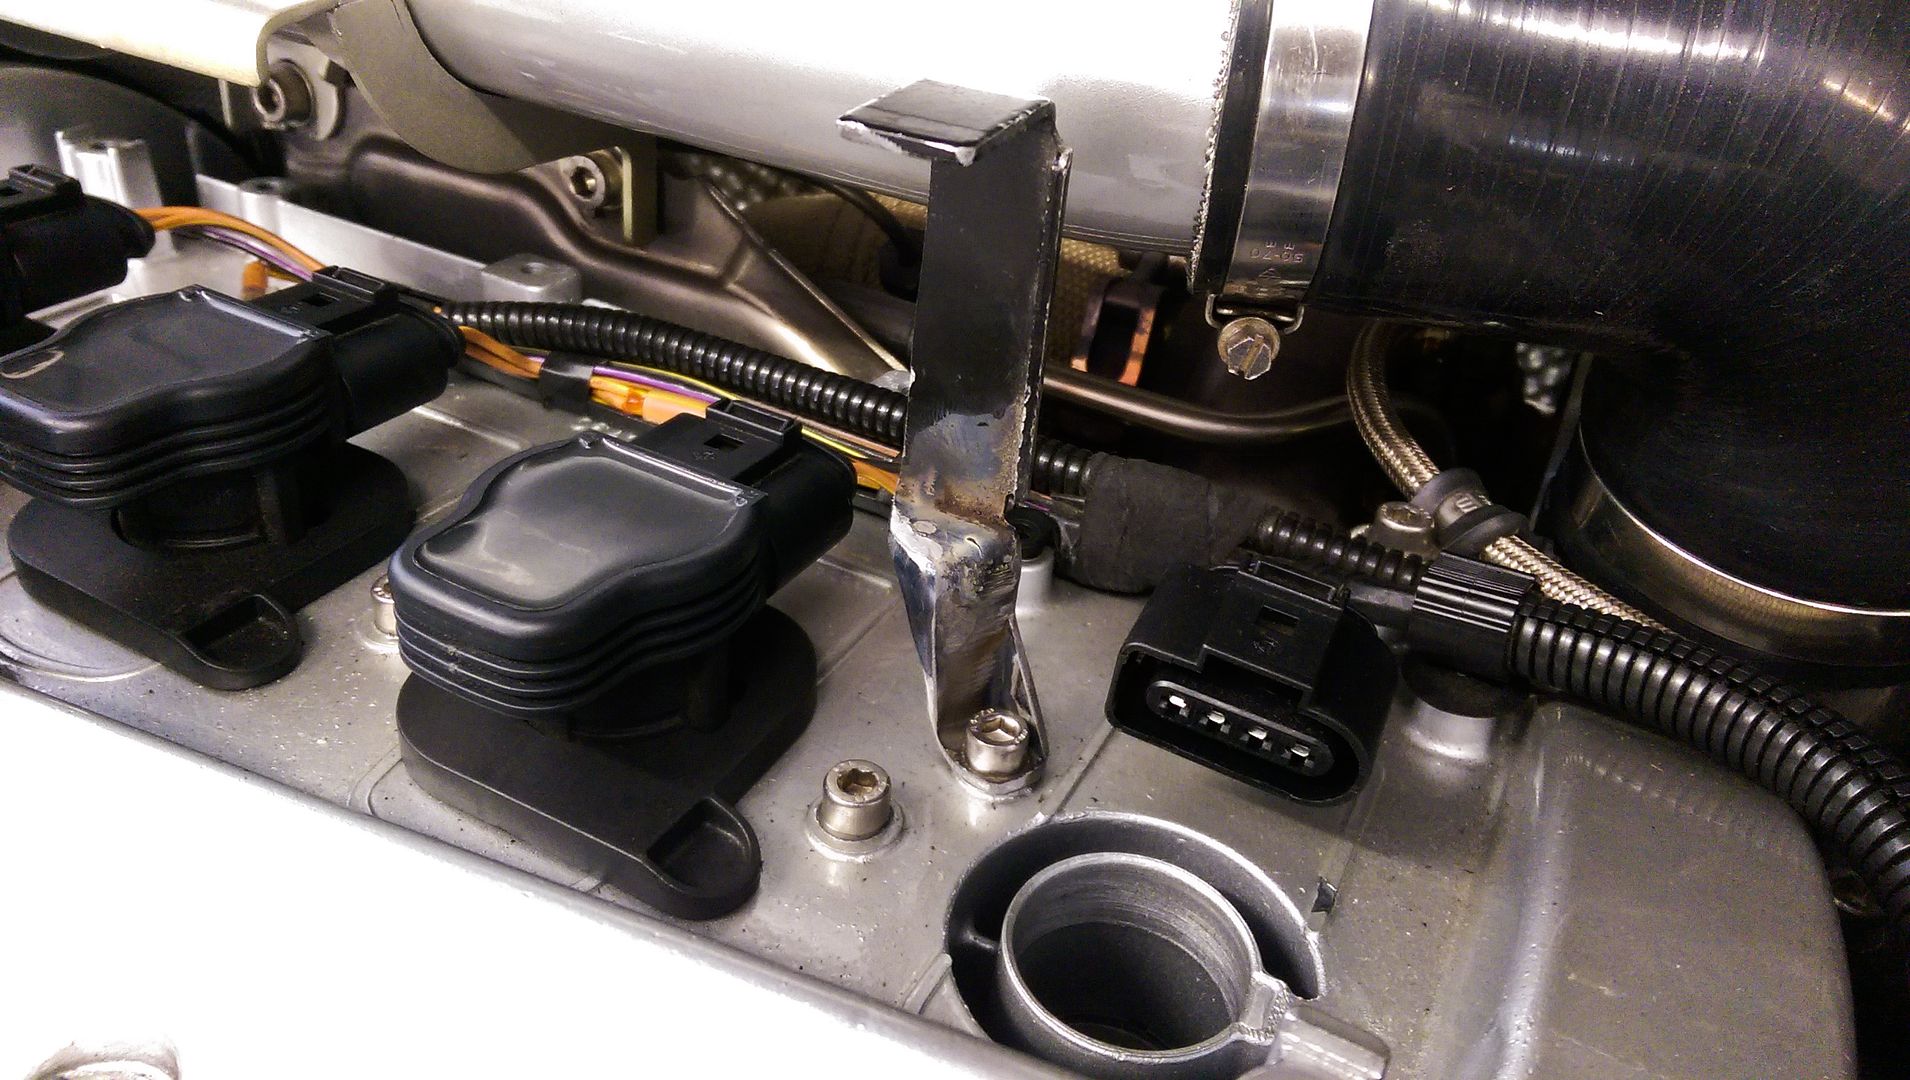
Cut a stand off spacer to the height needed to get the bracket in the right place for the cover...
IMAG1134.jpg


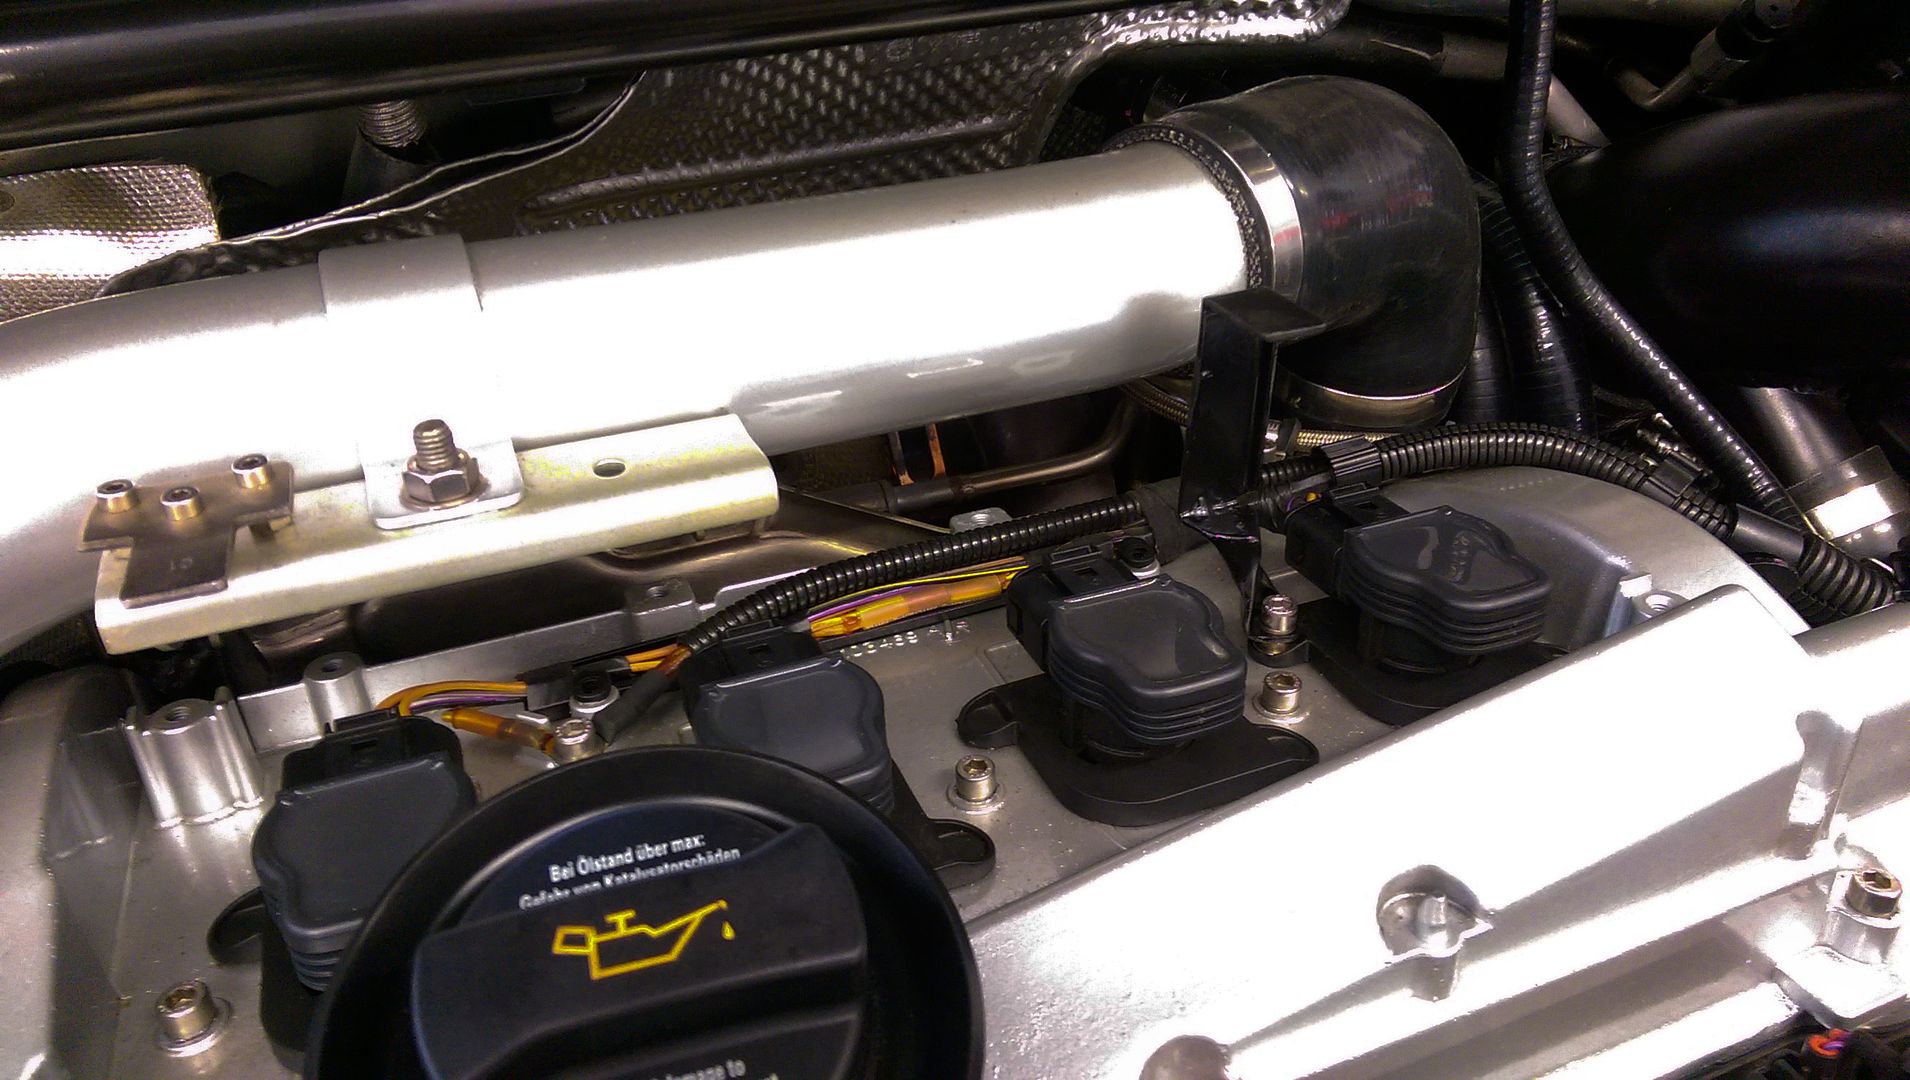
...and job done...
IMAG1135.jpg


I painted it... of course :)
IMAG1138.jpg


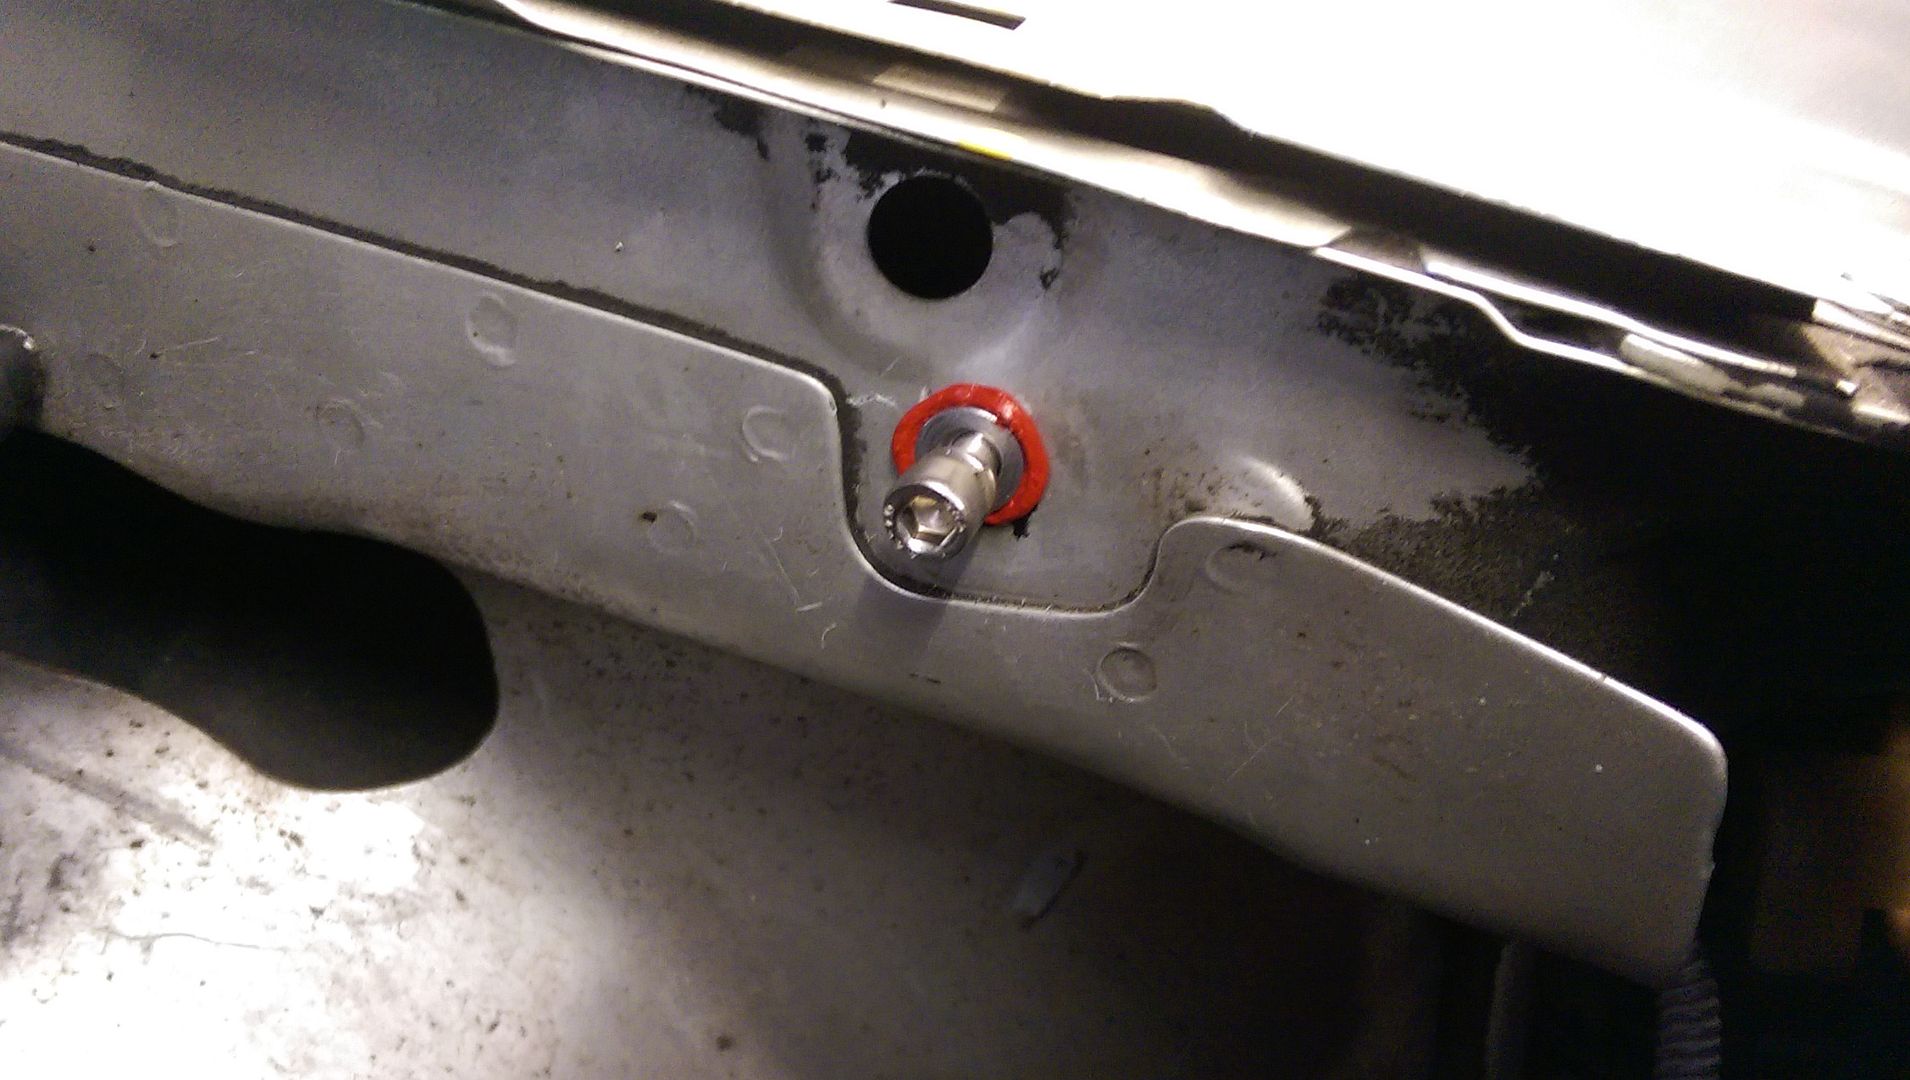
Then moved onto the battery cover bracket... marked up an angled piece of aluminium strip and fitted a rivnut to allow the bracket to be fixed into place but also removable if need be...
IMAG1137.jpg


Painted it and fitted it...
IMAG1139.jpg


All covers back on and nice and secure...
IMAG1140.jpg


Couple of jobs off the list :D

<tuffty/>
 
Last edited:

tufftybloke

Badger 5 Edition
Feb 28, 2009
657
0
Gloucestershire, UK
Todays task...
IMAG1147.jpg


...well... some of it at least... not doing the rear wheel bearings yet as they need a special tool to do on the car else it means removing them and I don't really want to do that right now...

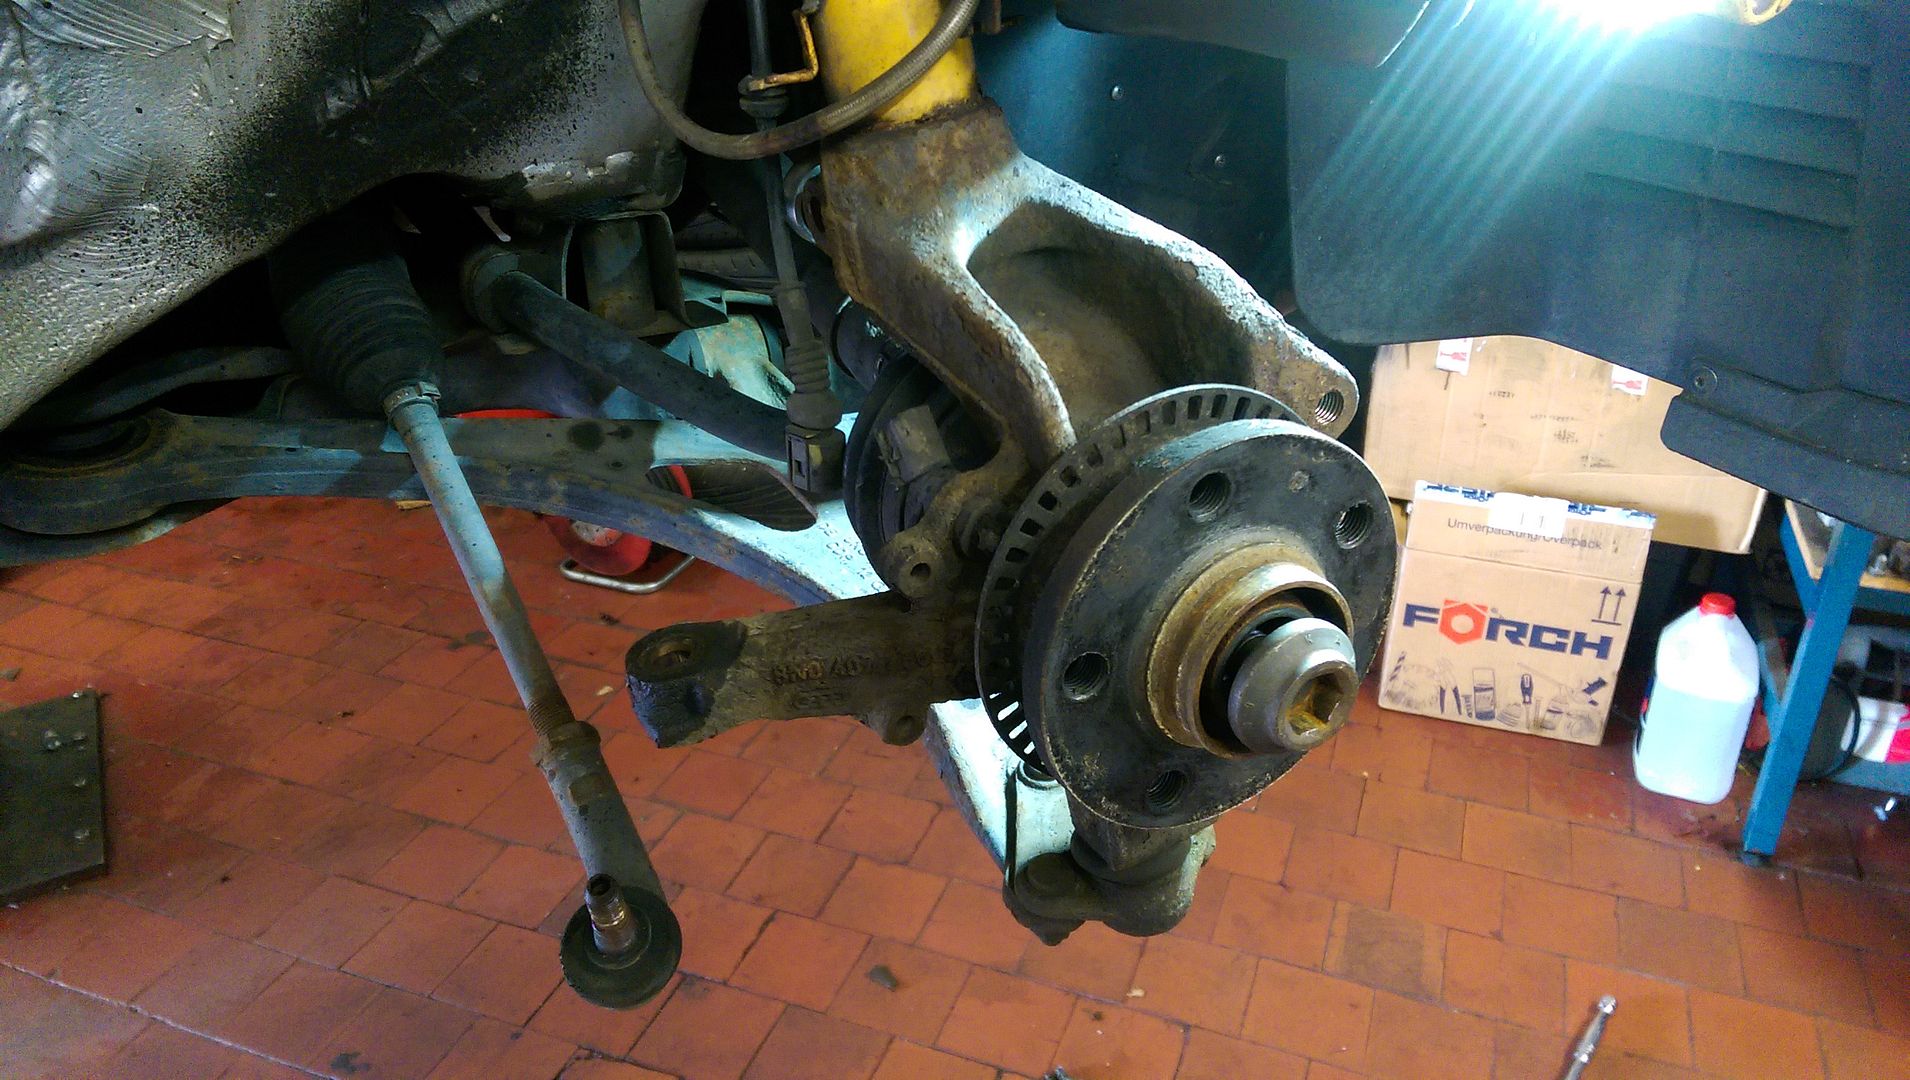
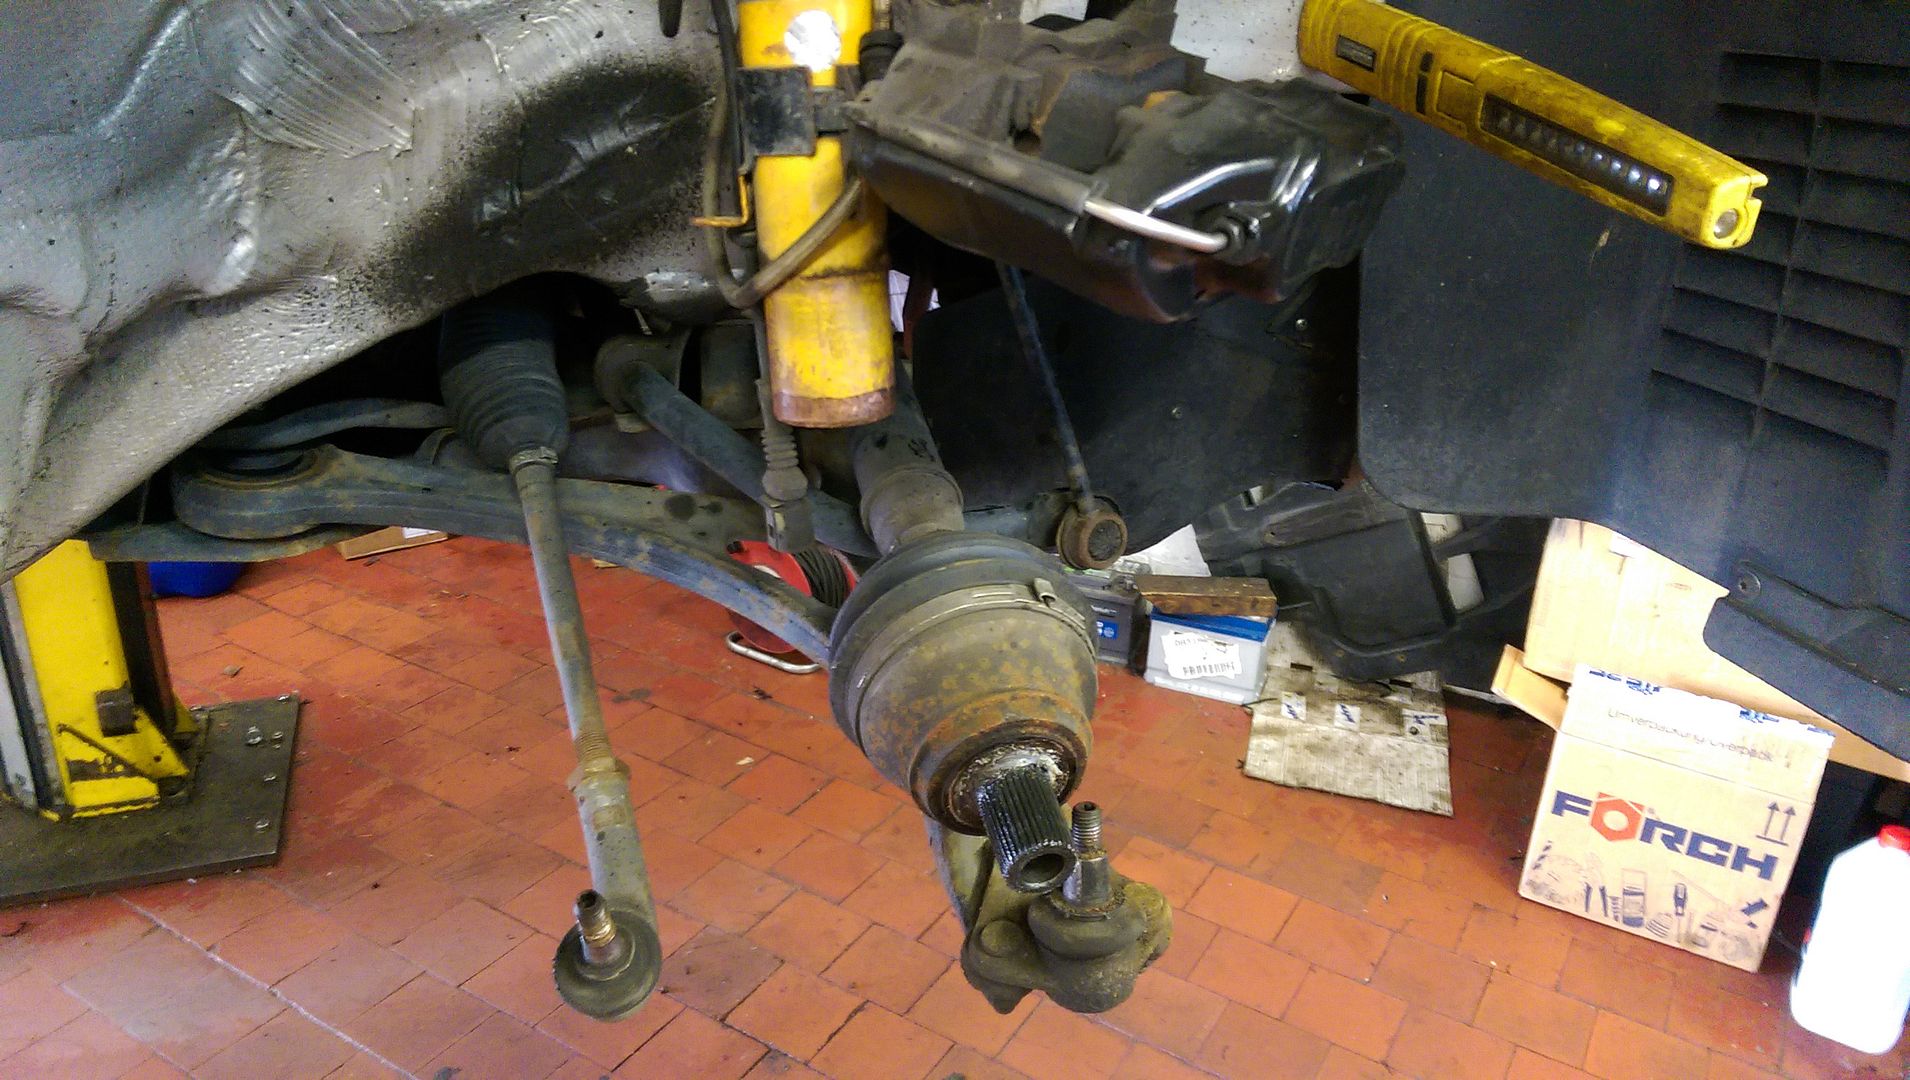
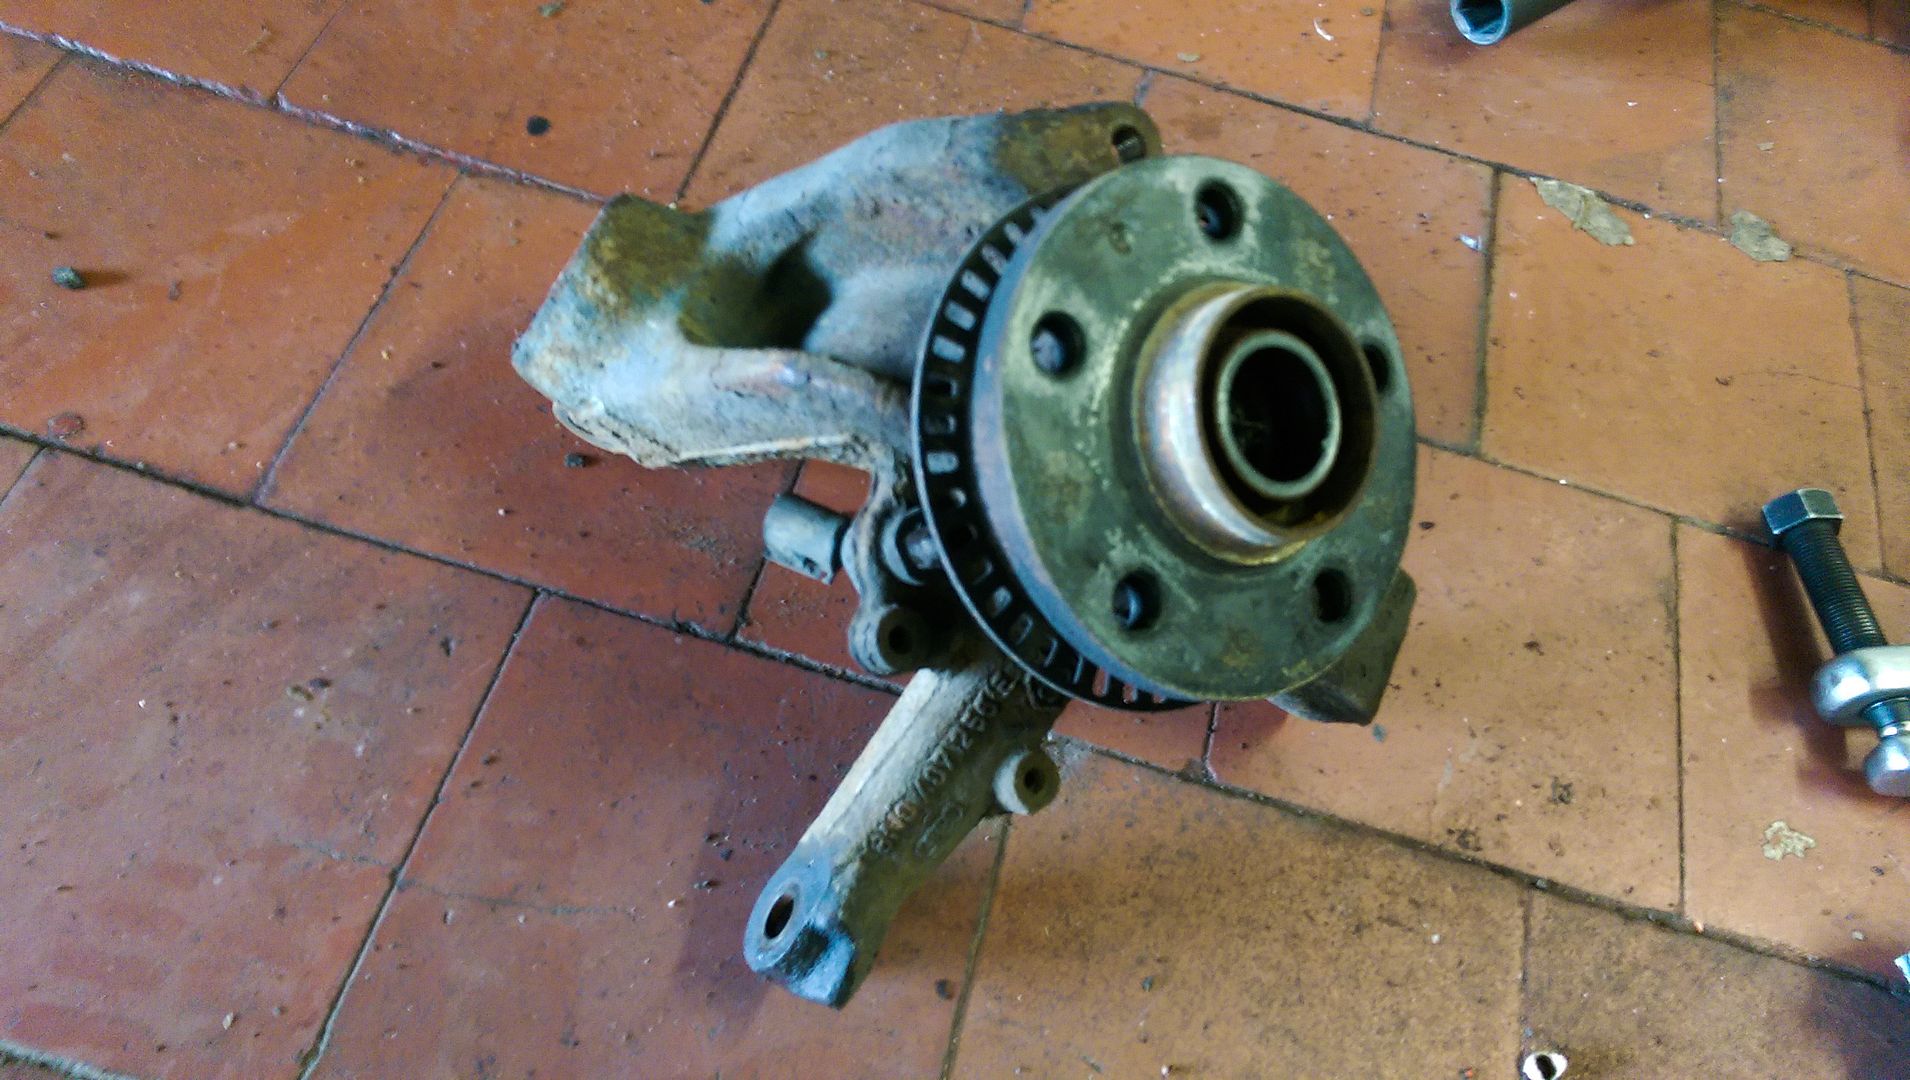
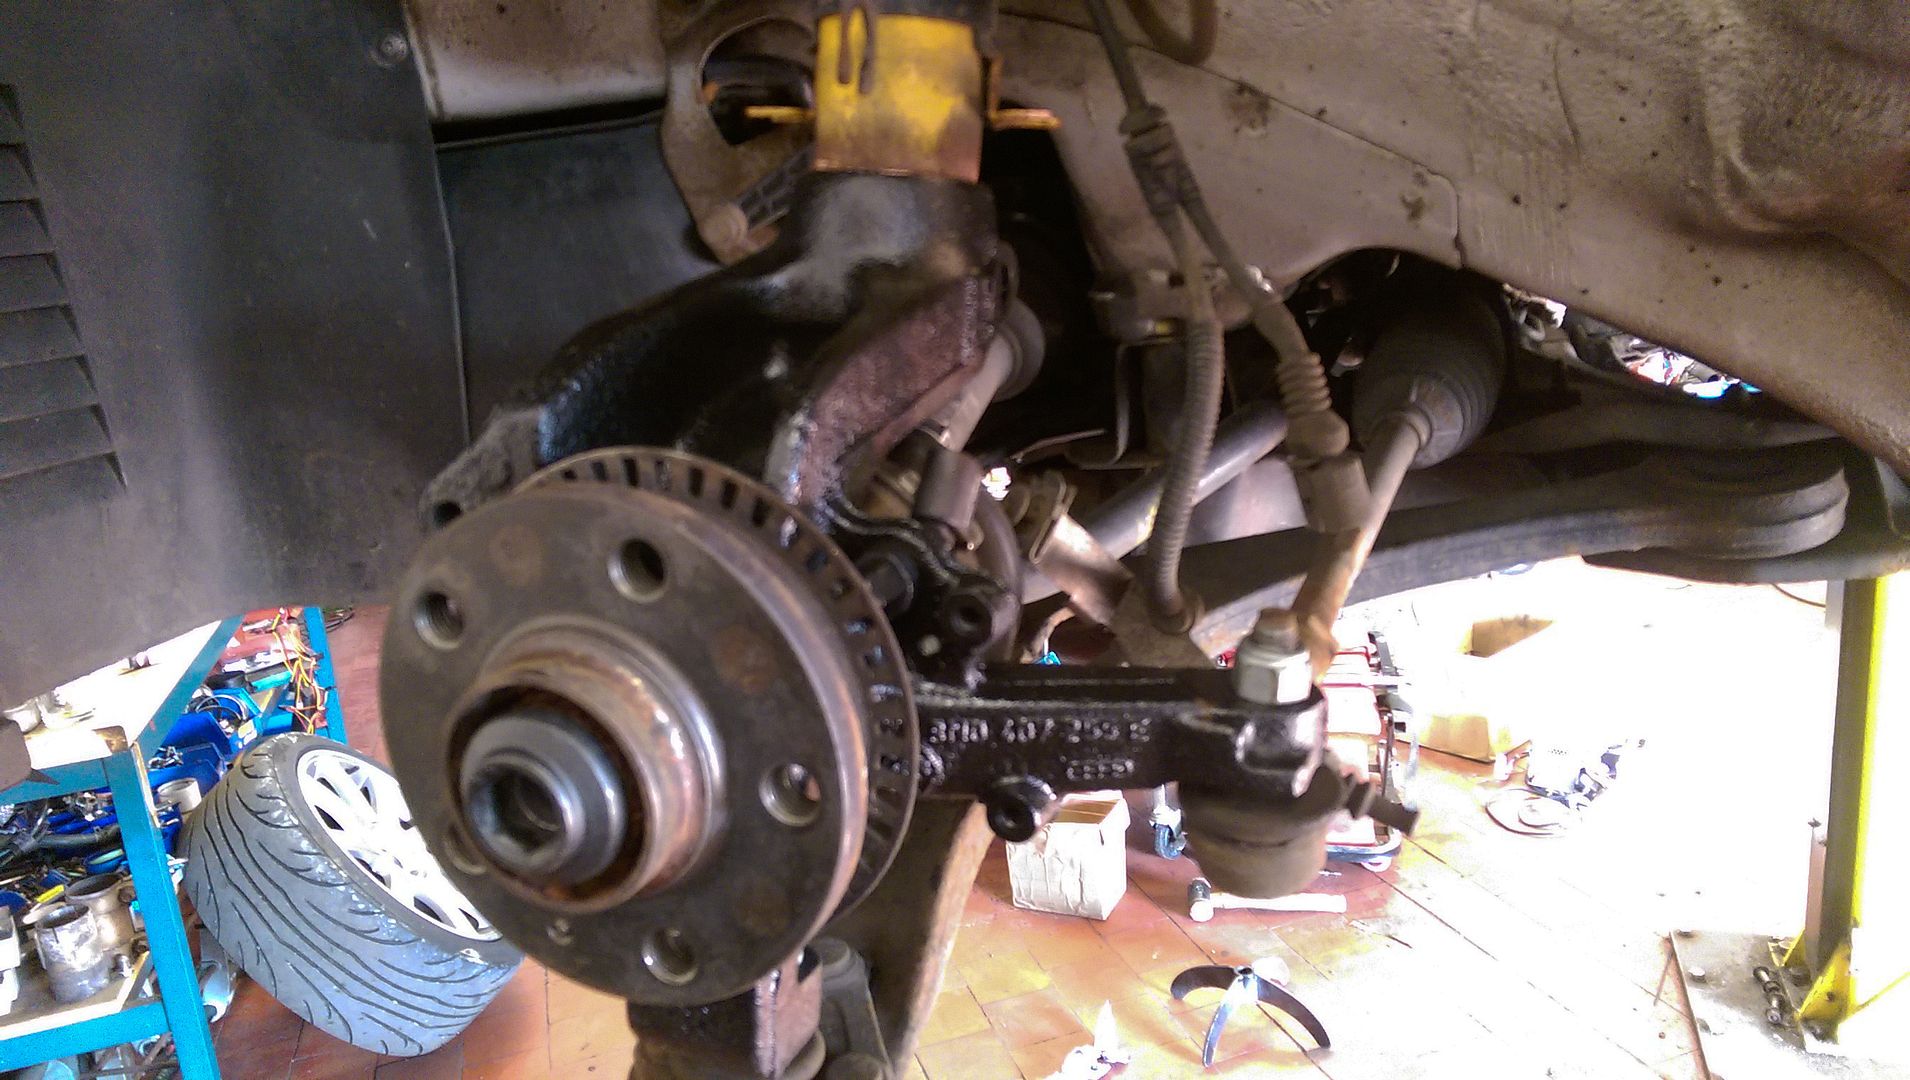
So... needed to remove the uprights to press in the new bearings...
IMAG1148.jpg


IMAG1149.jpg


IMAG1151.jpg


Was just as well I did these now... they weren't massively noisy but they were a little loose...
https://youtu.be/Up0h4kn6tY0

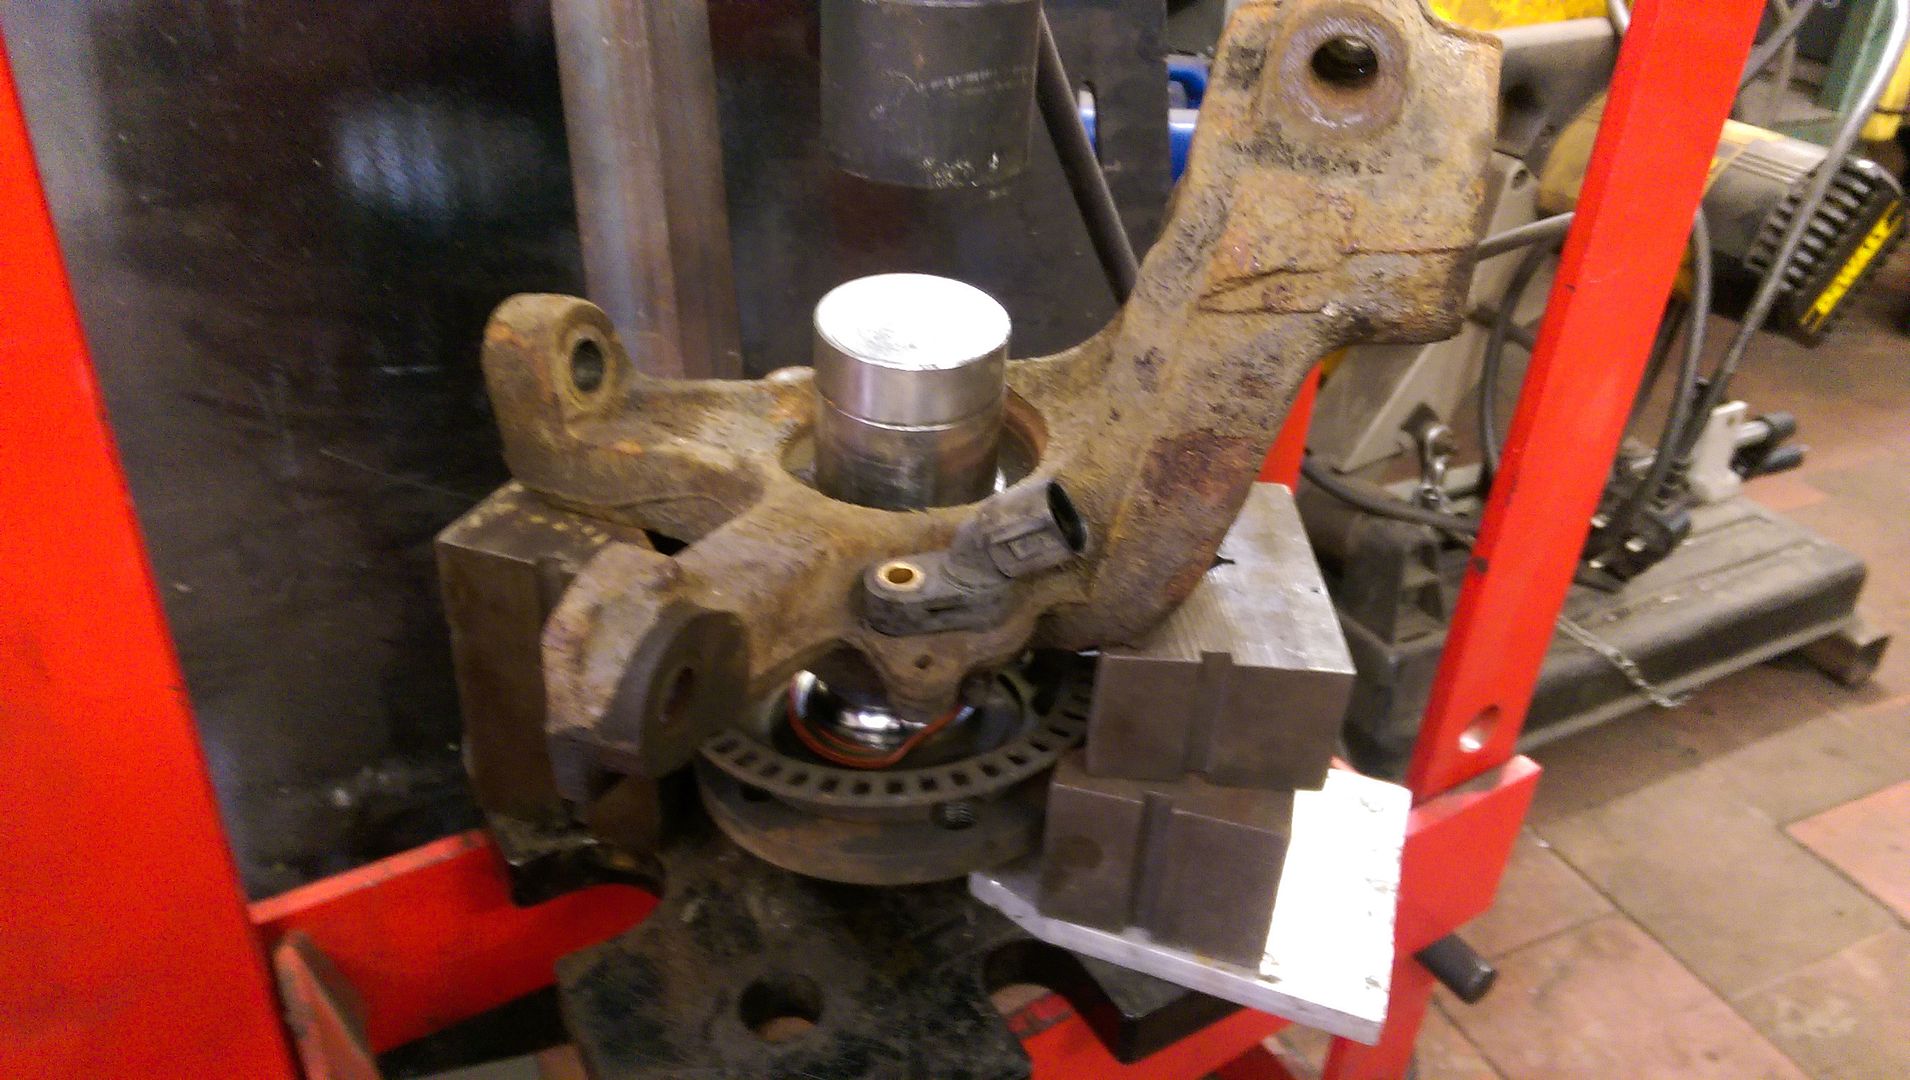
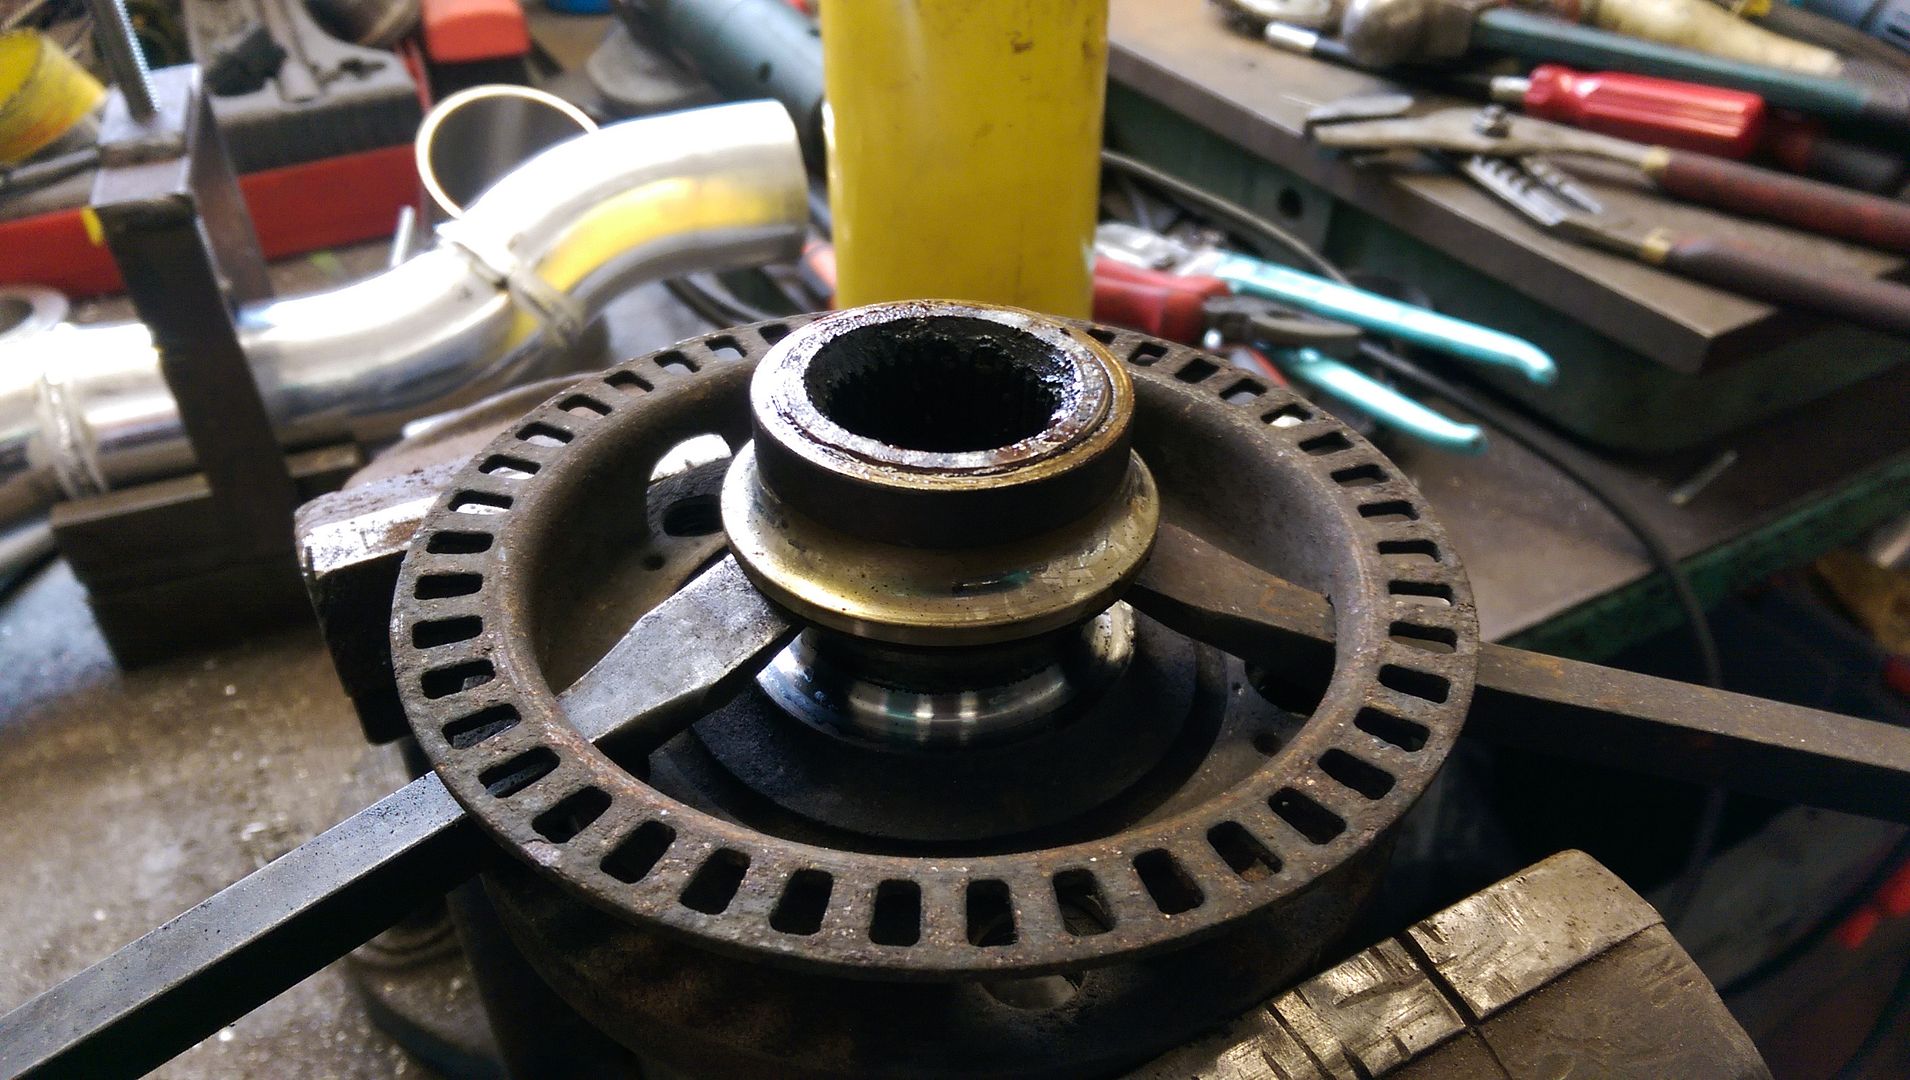
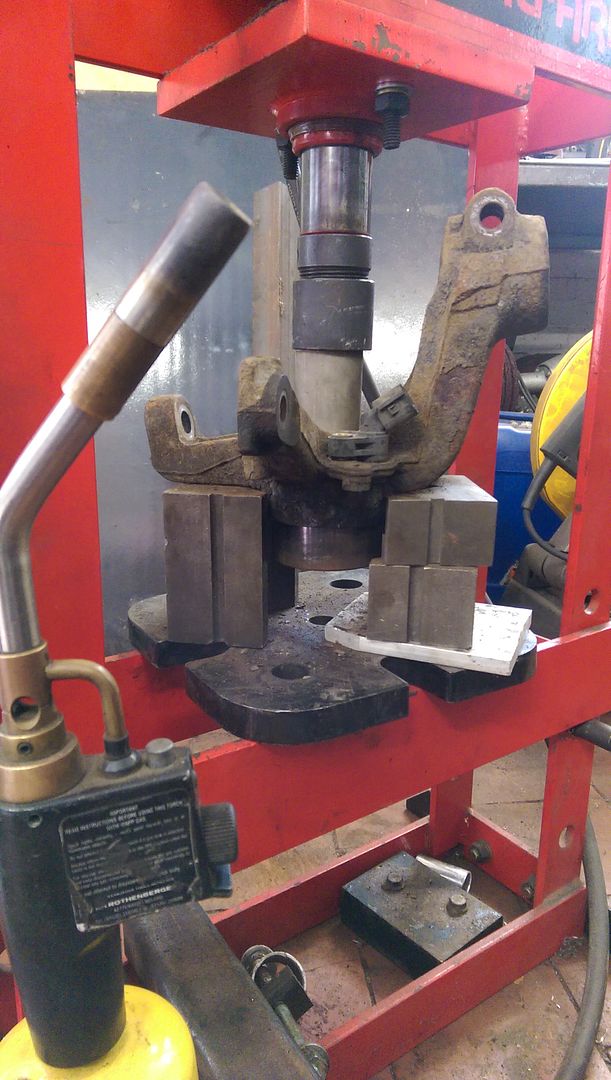
First press out the flange
IMAG1152.jpg


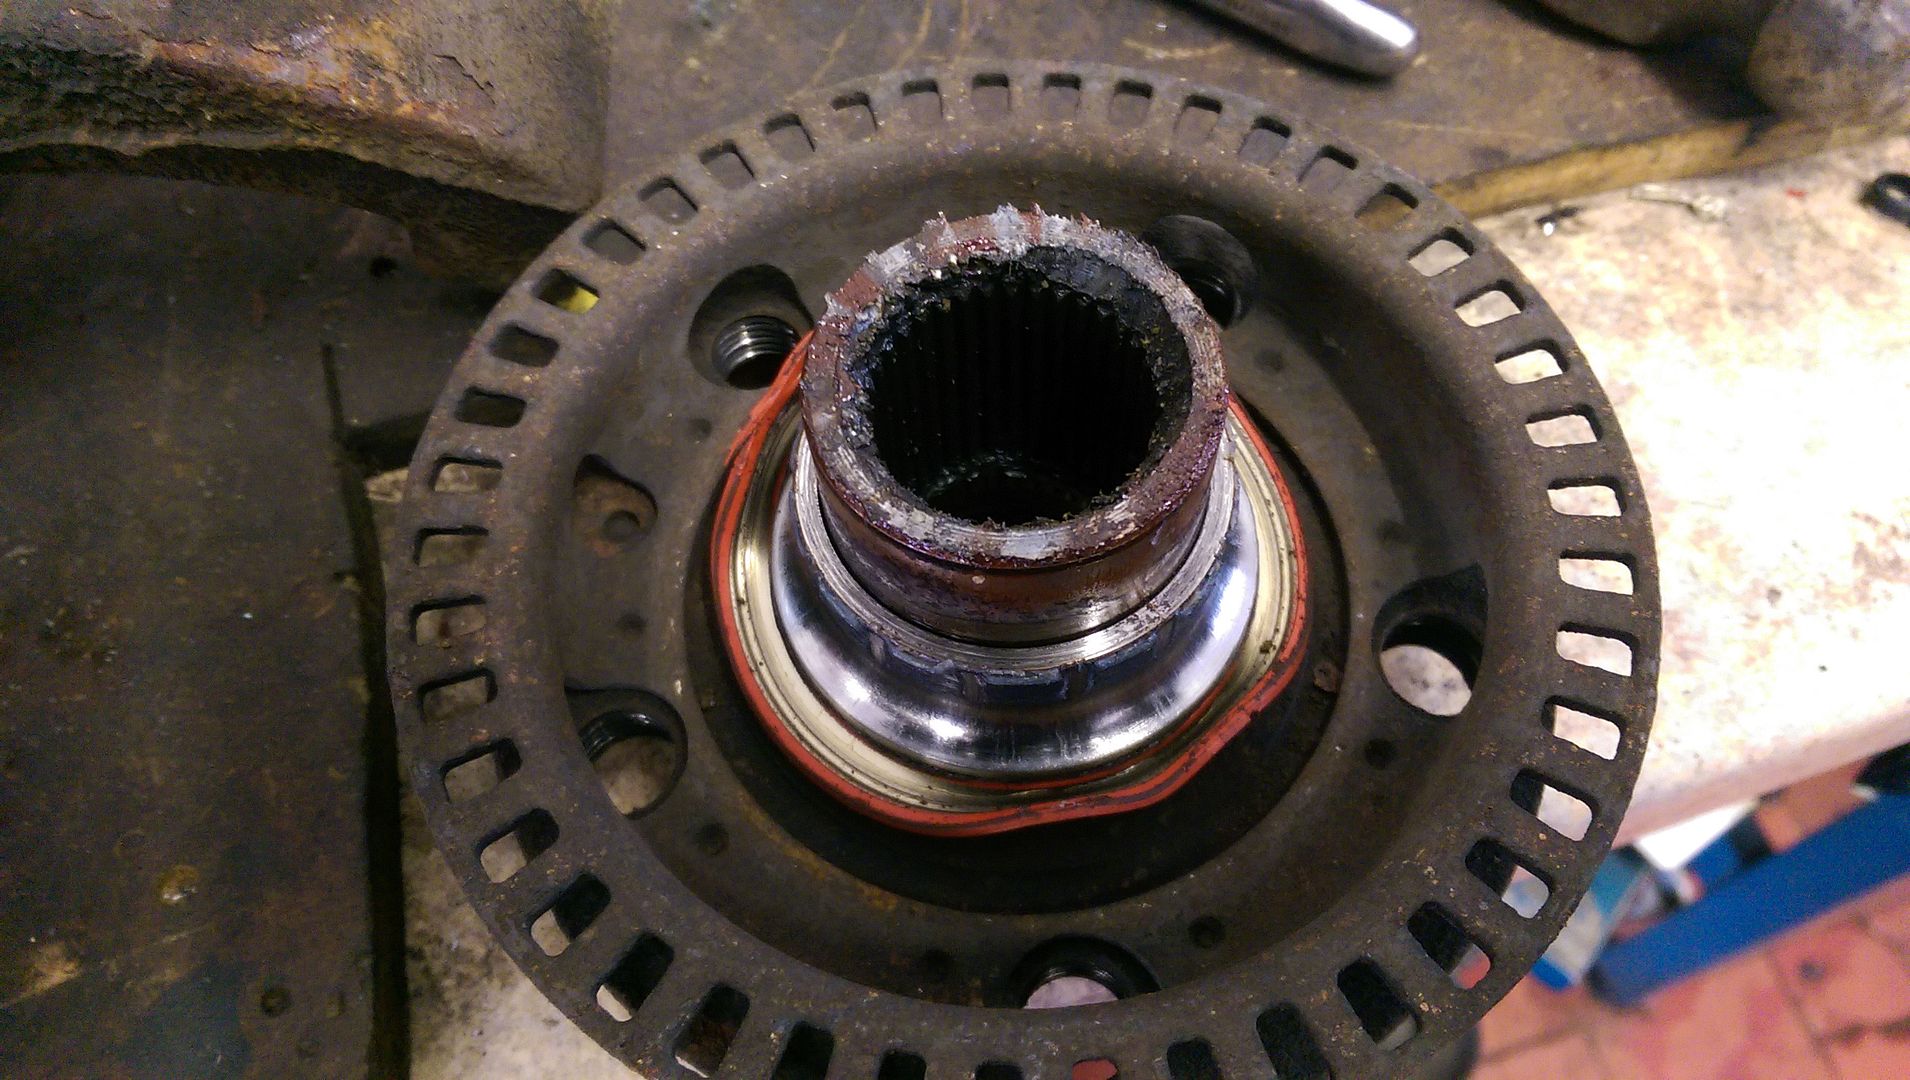
This leaves part of the bearing on the flange...
IMAG1154.jpg


Which a bit of heat and pullers or leverage will remove...
IMAG1158.jpg


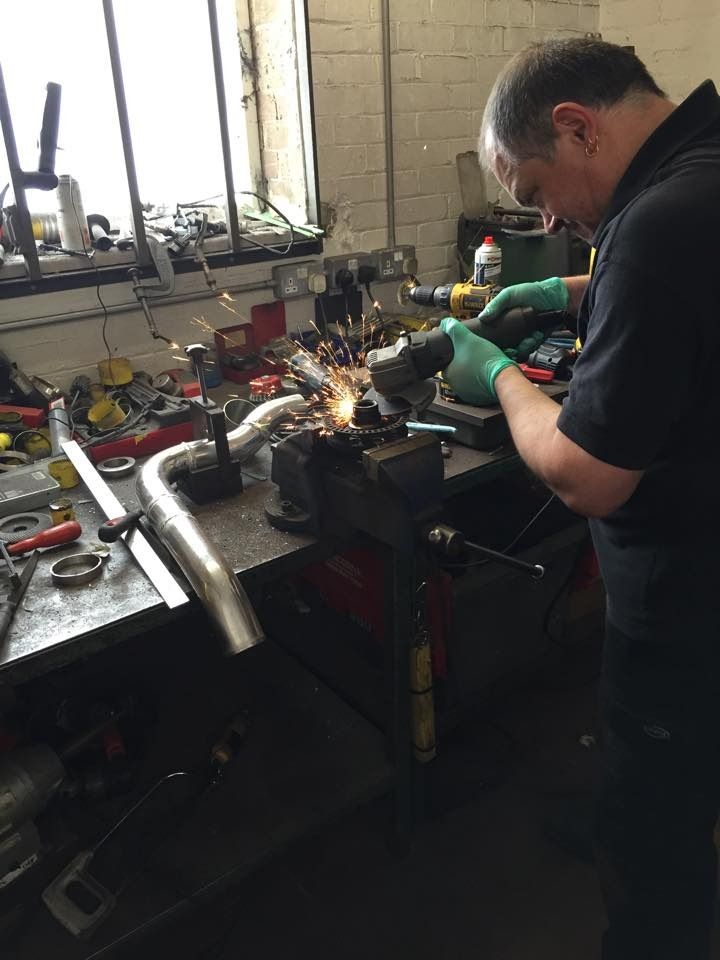
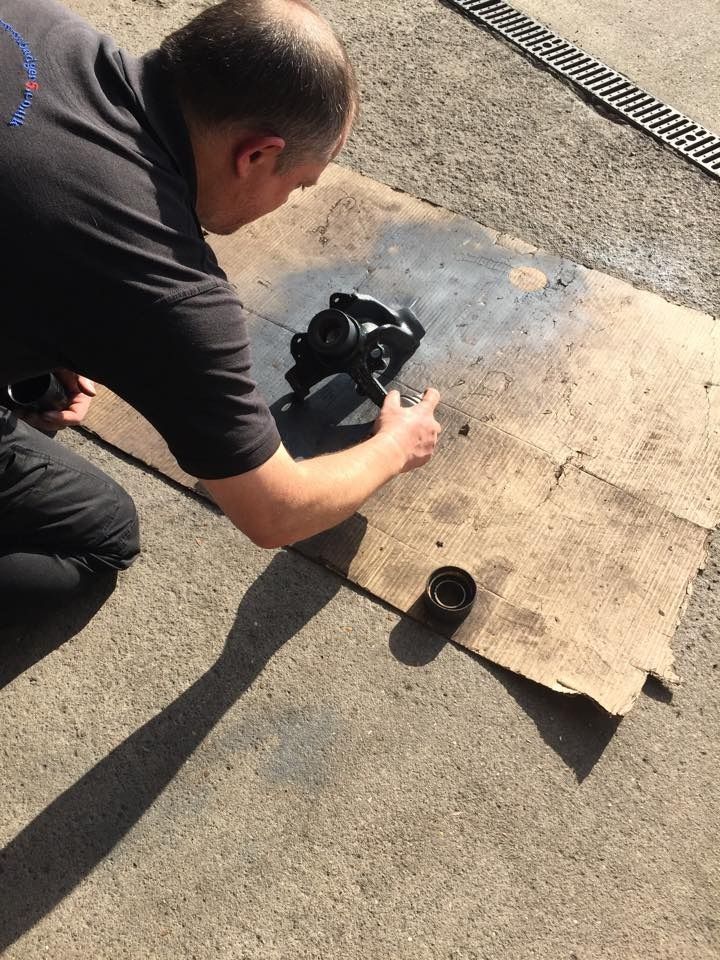
Passenger side put up a fight though so out came the power tools
11748556_839974019417115_1113231961_n.jpg


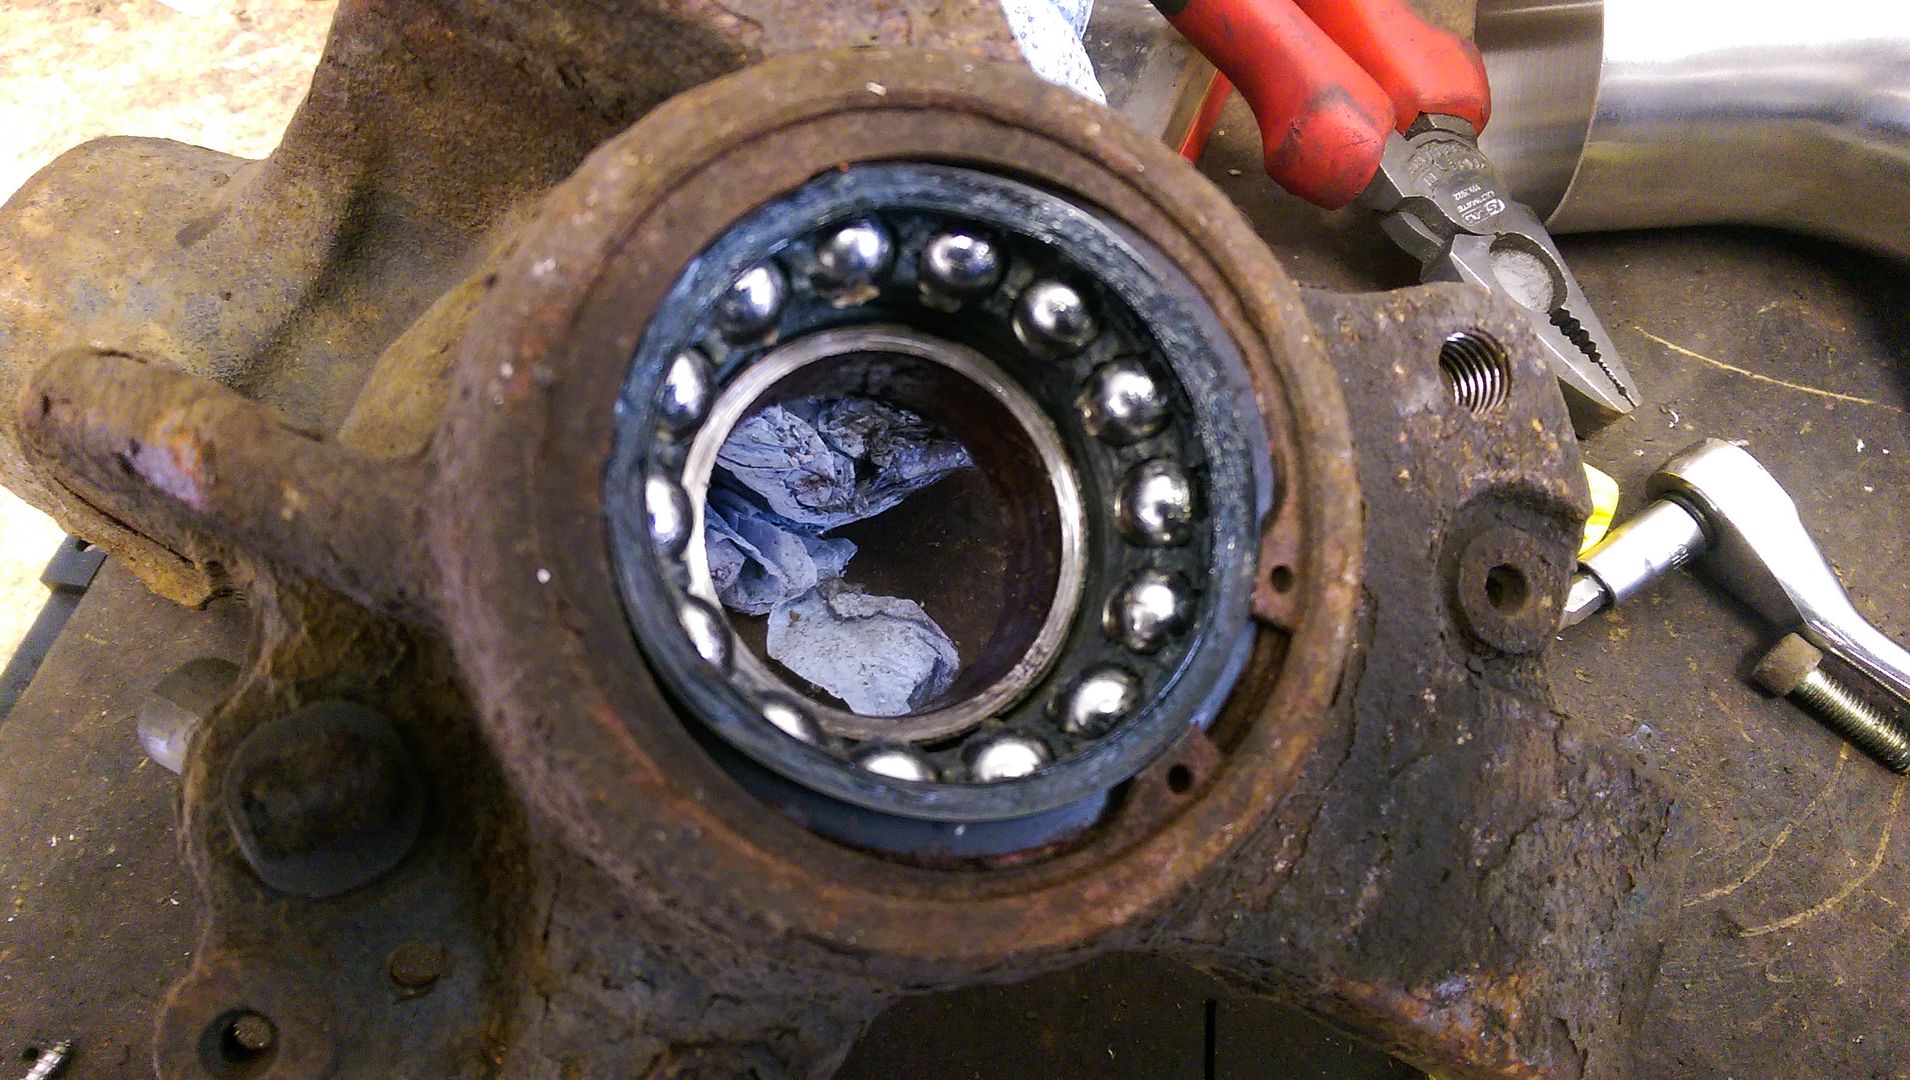
Need to remove a circlip before pressing the rest of the bearing out...
IMAG1153.jpg


IMAG1155.jpg


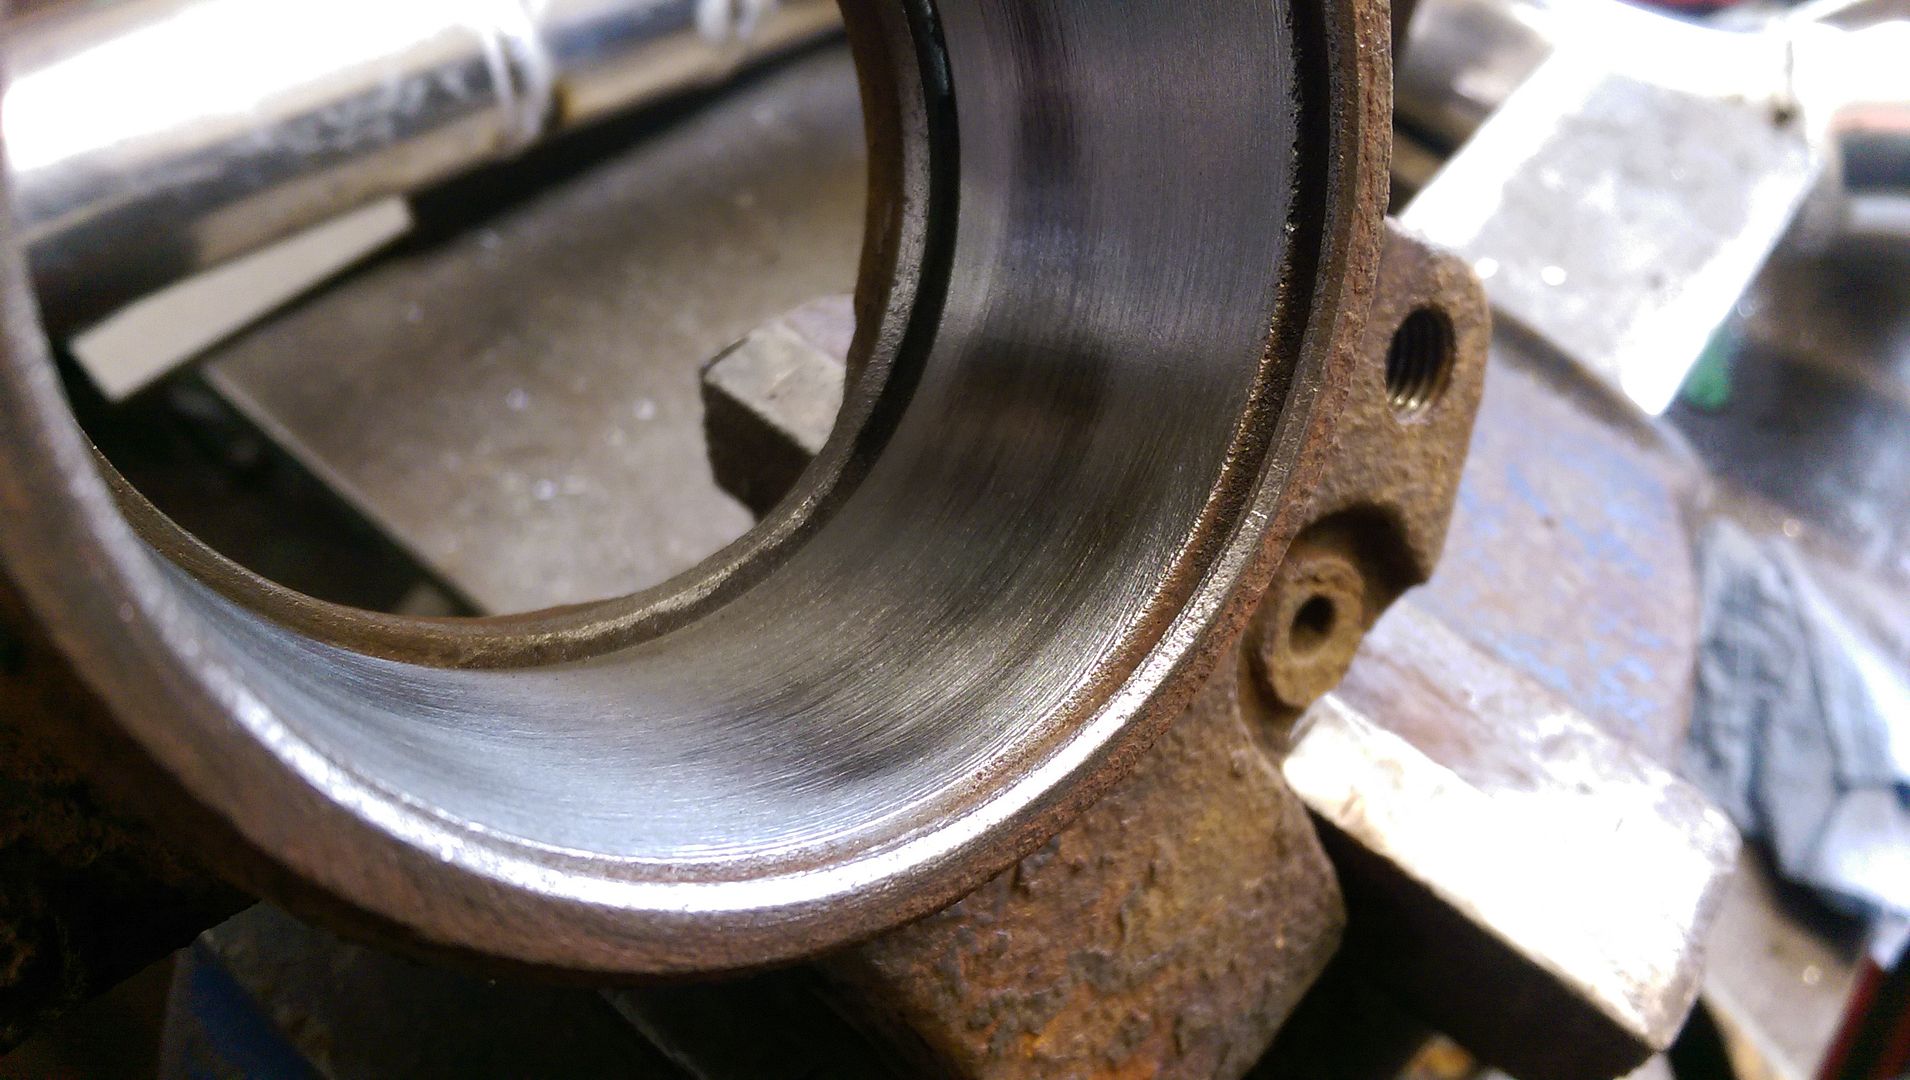
Cleaned up the inside of the upright ready for the new bearing..
IMAG1156.jpg


ABS sensor was in a bit of a state which I anticipated and had bought two new sensors..
IMAG1157.jpg


Painted them of course after pressing in the new bearings...
tuffty001.jpg


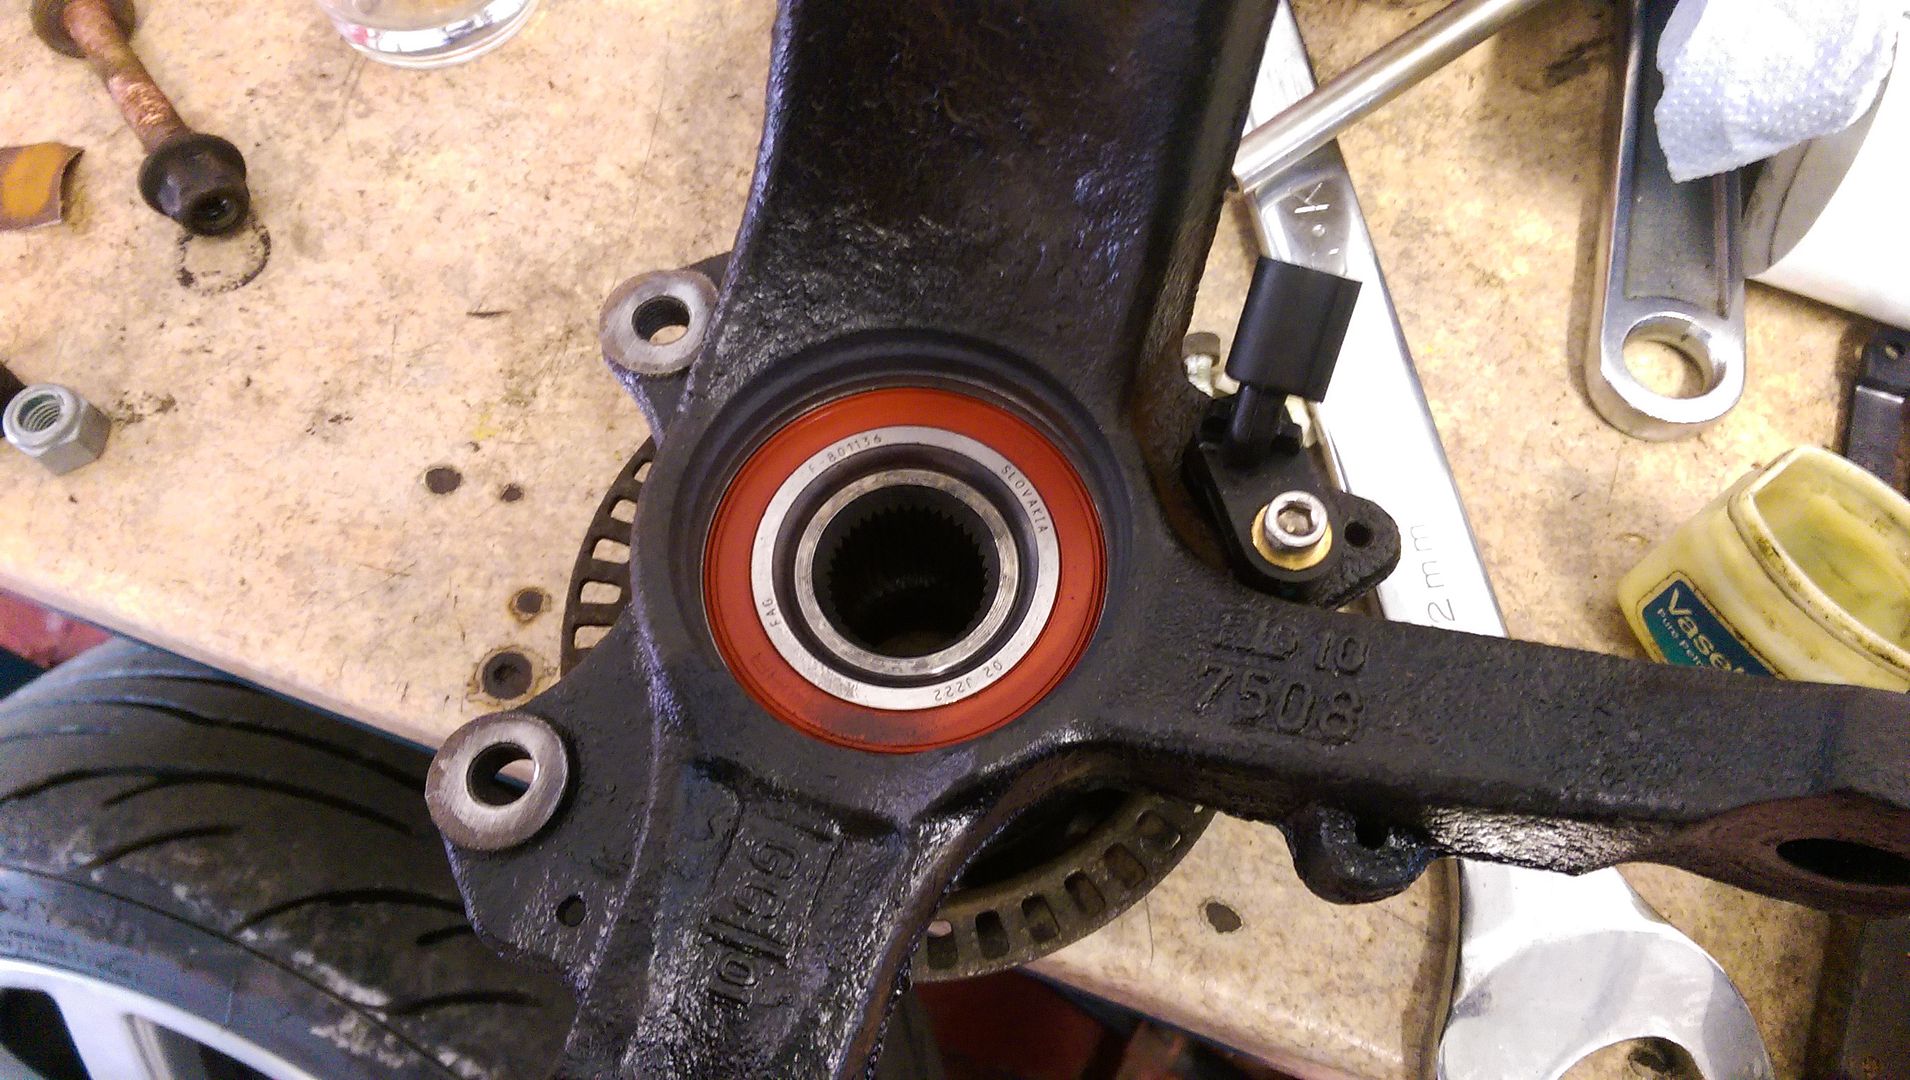
Then pressed in the flange... remember to support the centre of the bearing from behind else you will damage the bearing and fitted the new ABS sensors
IMAG1162.jpg


Wanged them back on...
IMAG1163.jpg


IMAG1164.jpg


Job done... car seems quieter and smoother now... another job off the list :D

<tuffty/>
 
Last edited:

tufftybloke

Badger 5 Edition
Feb 28, 2009
657
0
Gloucestershire, UK
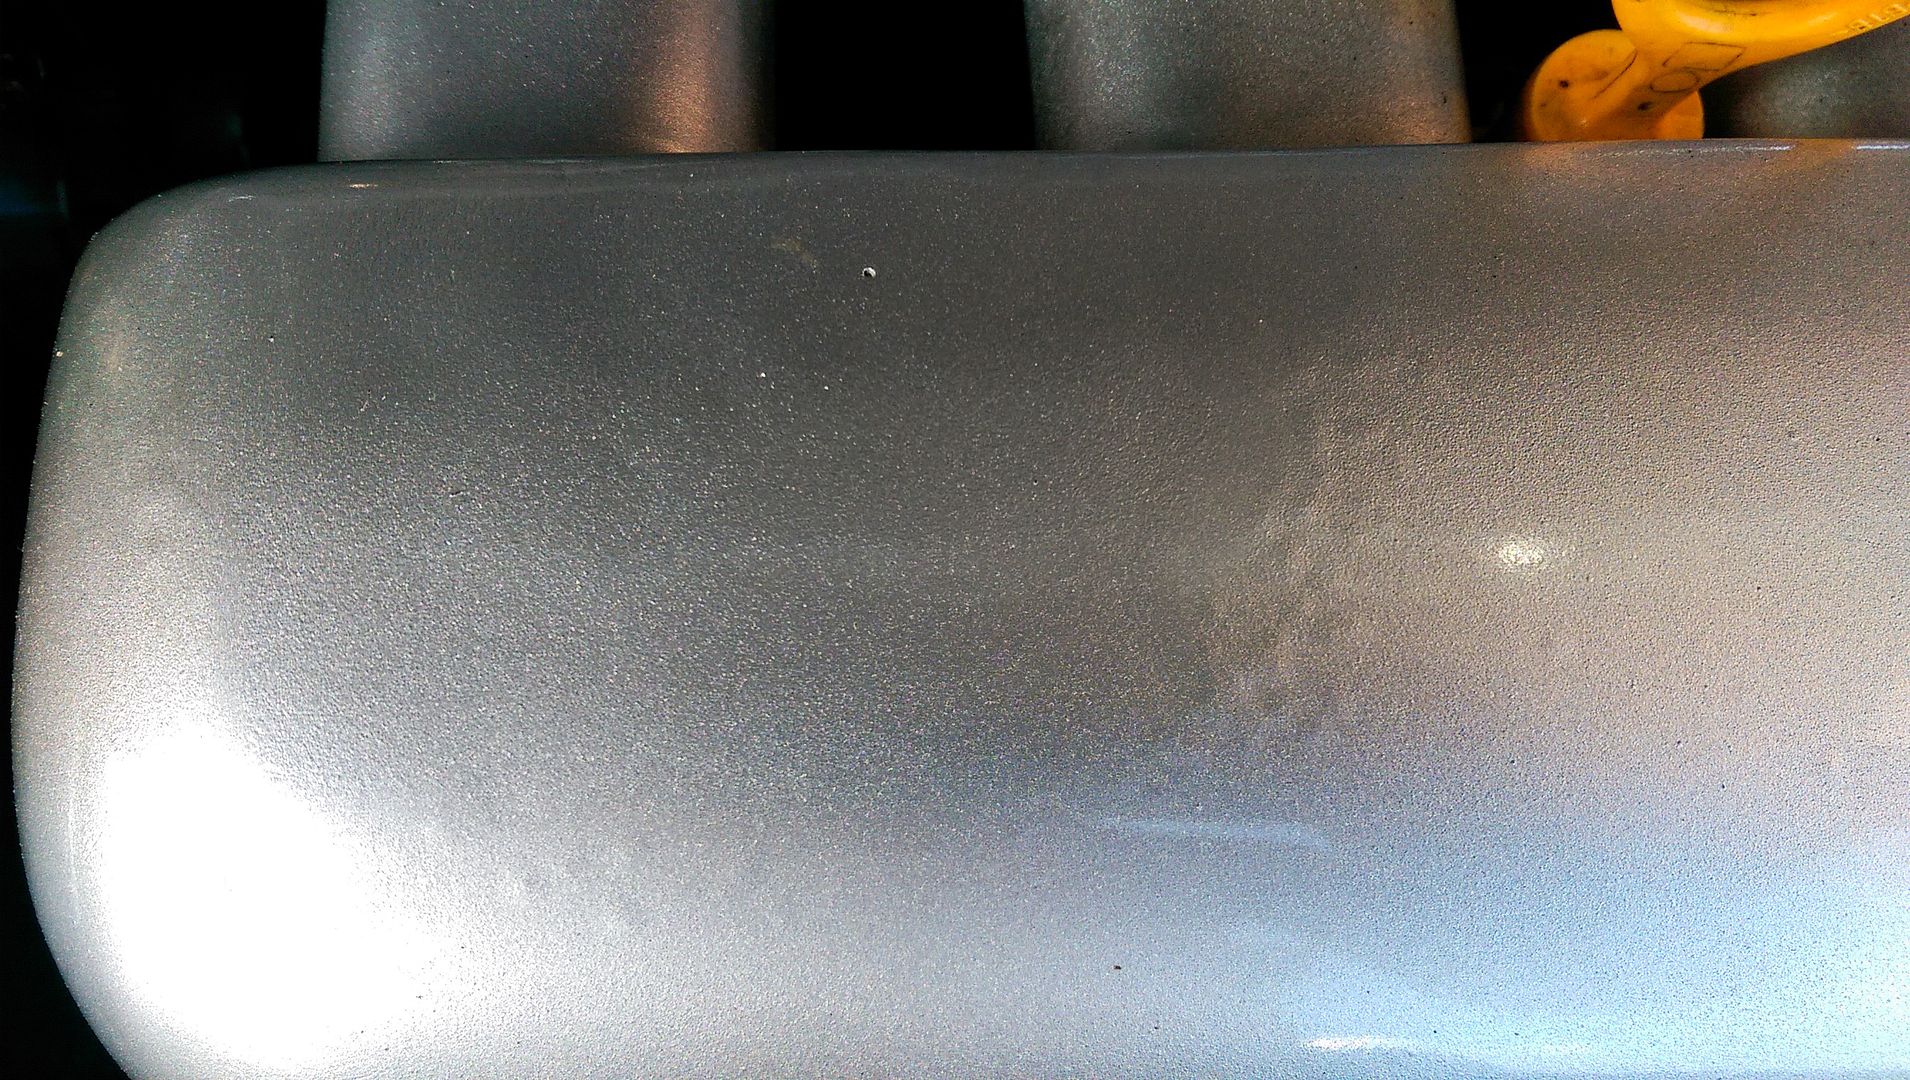
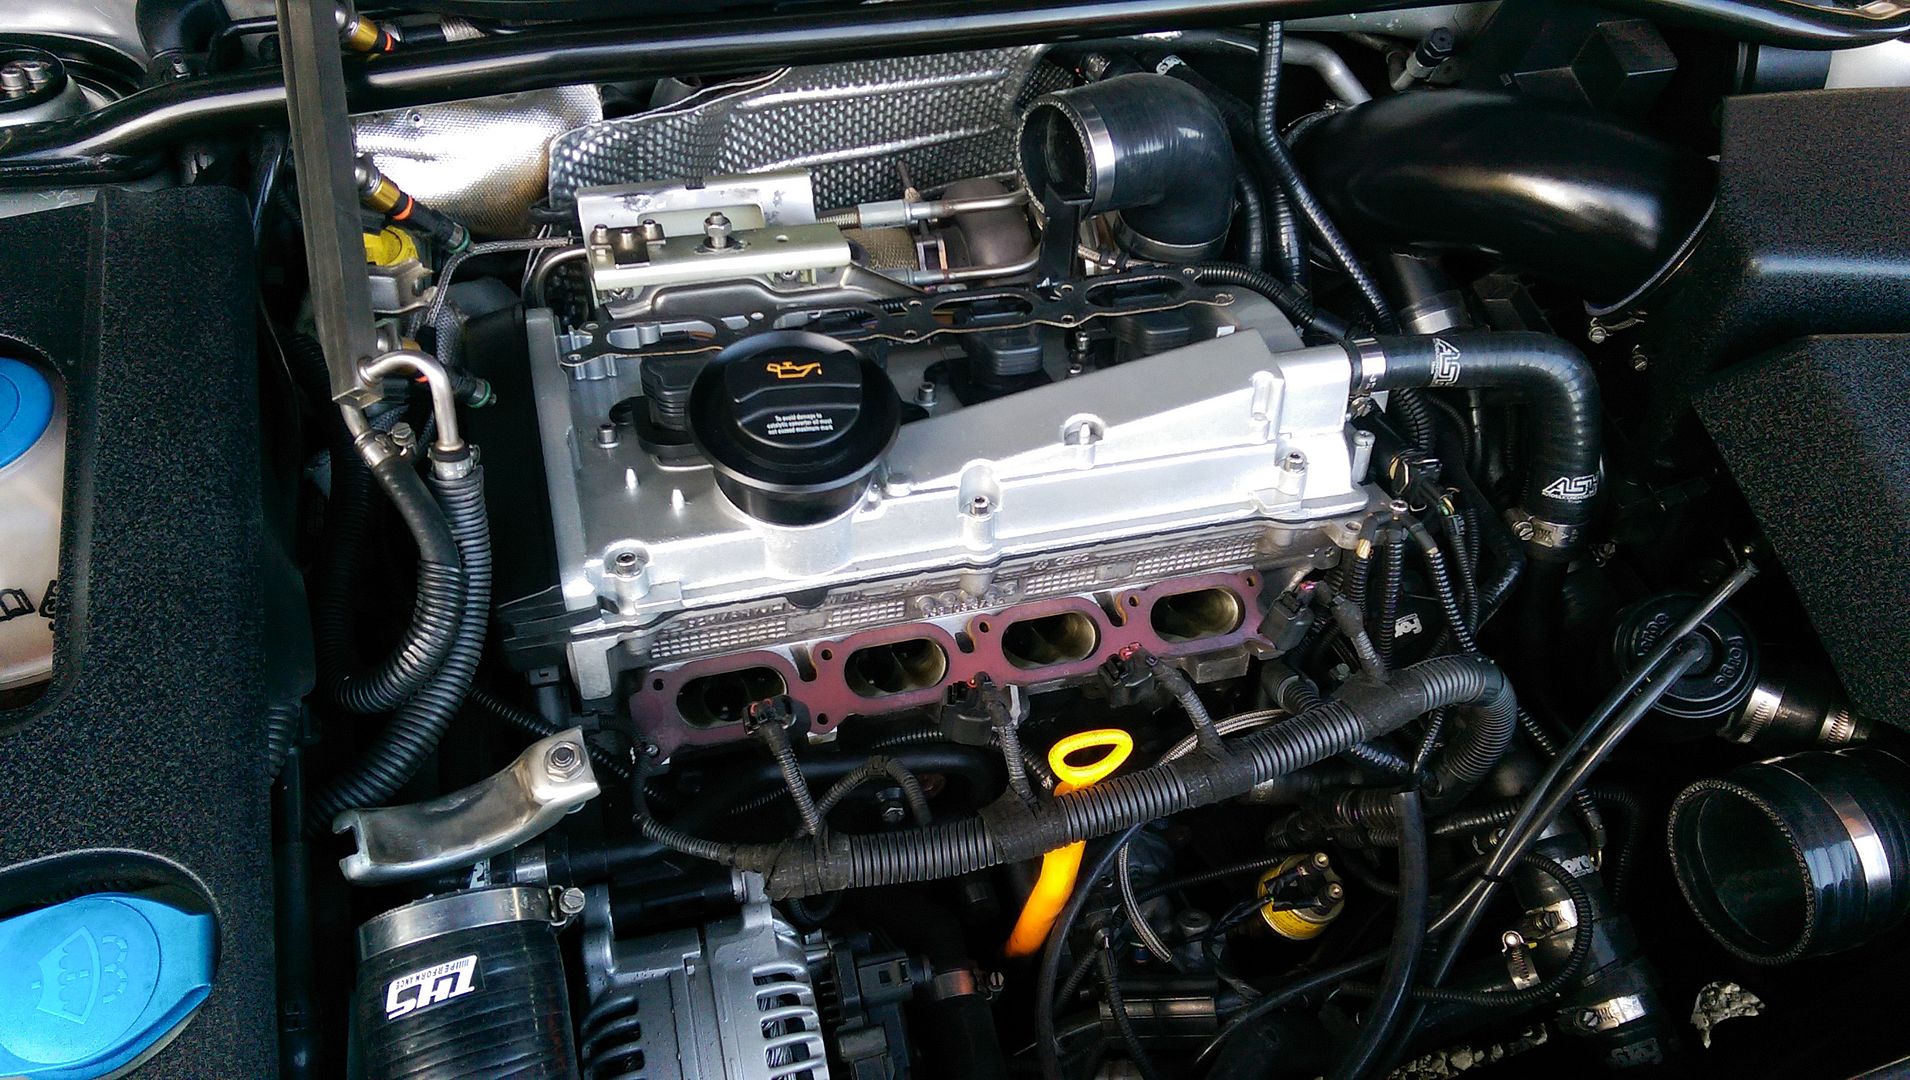
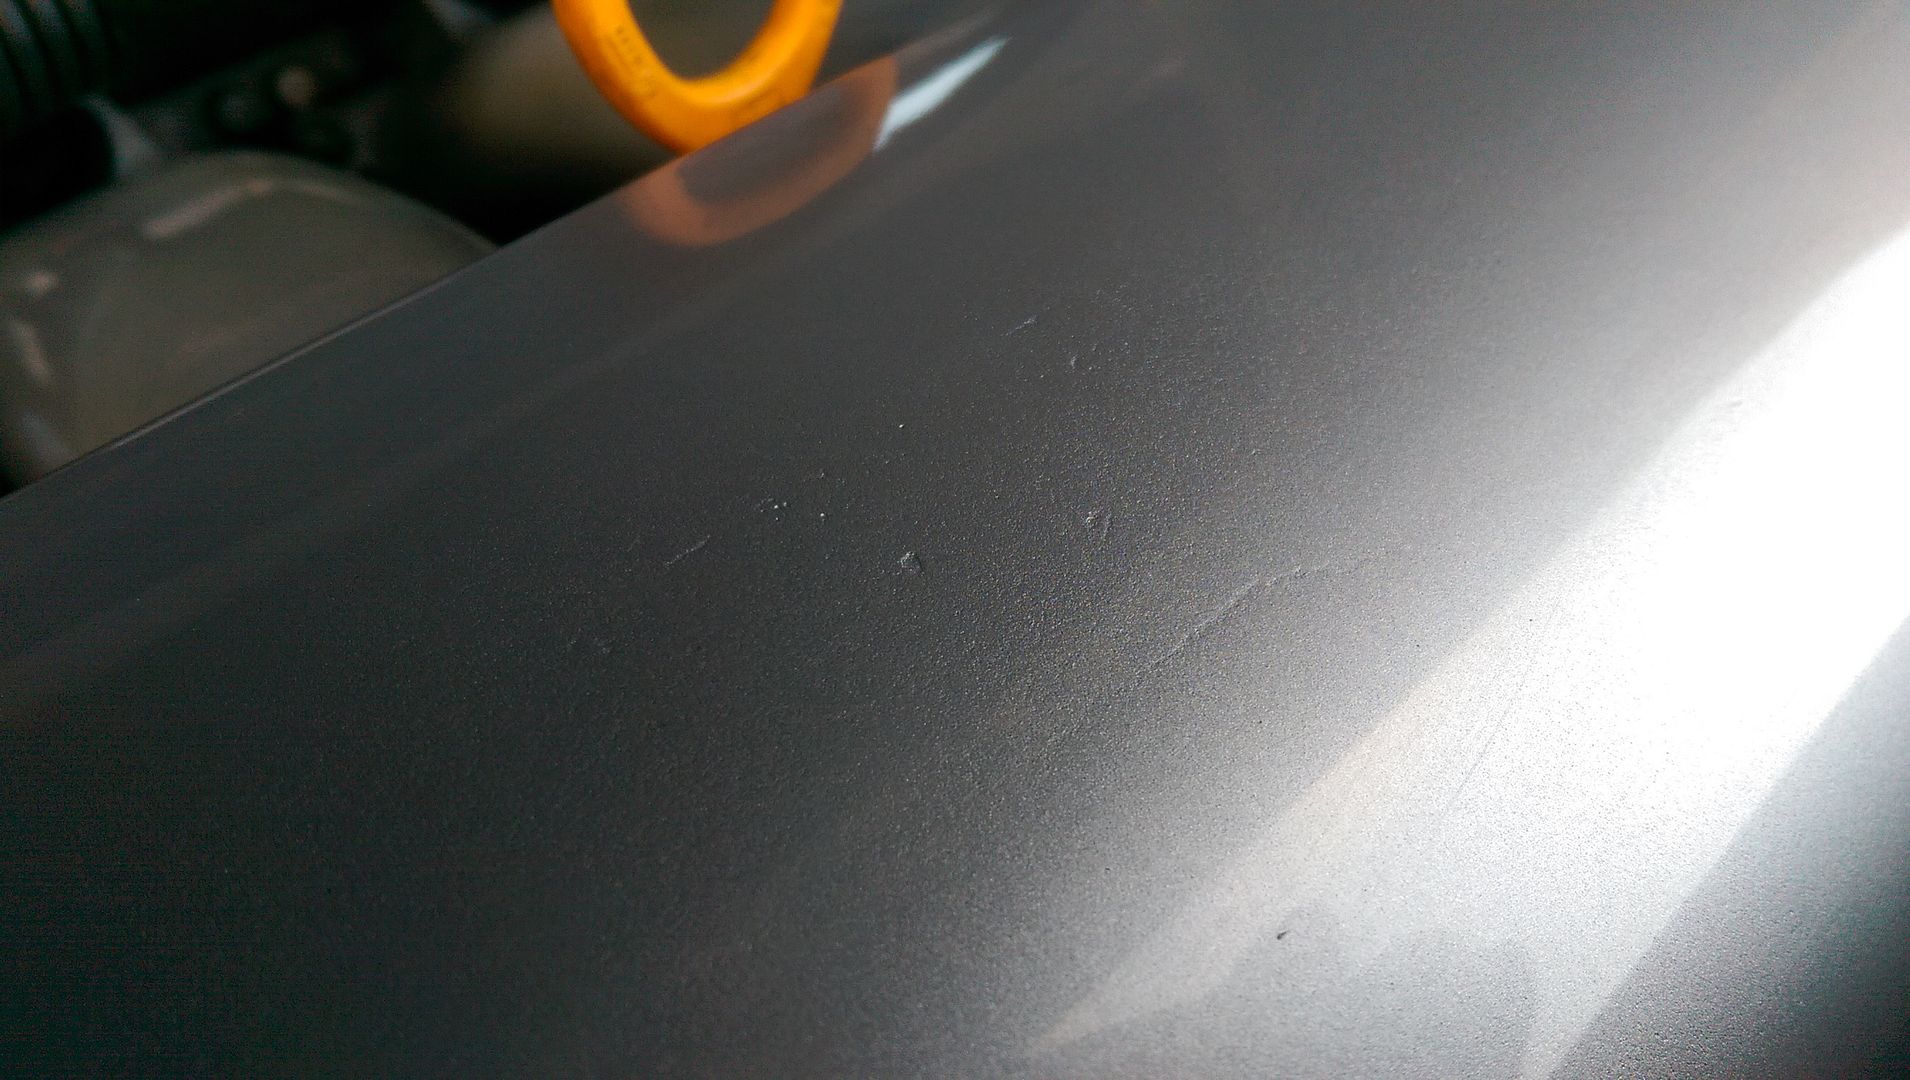
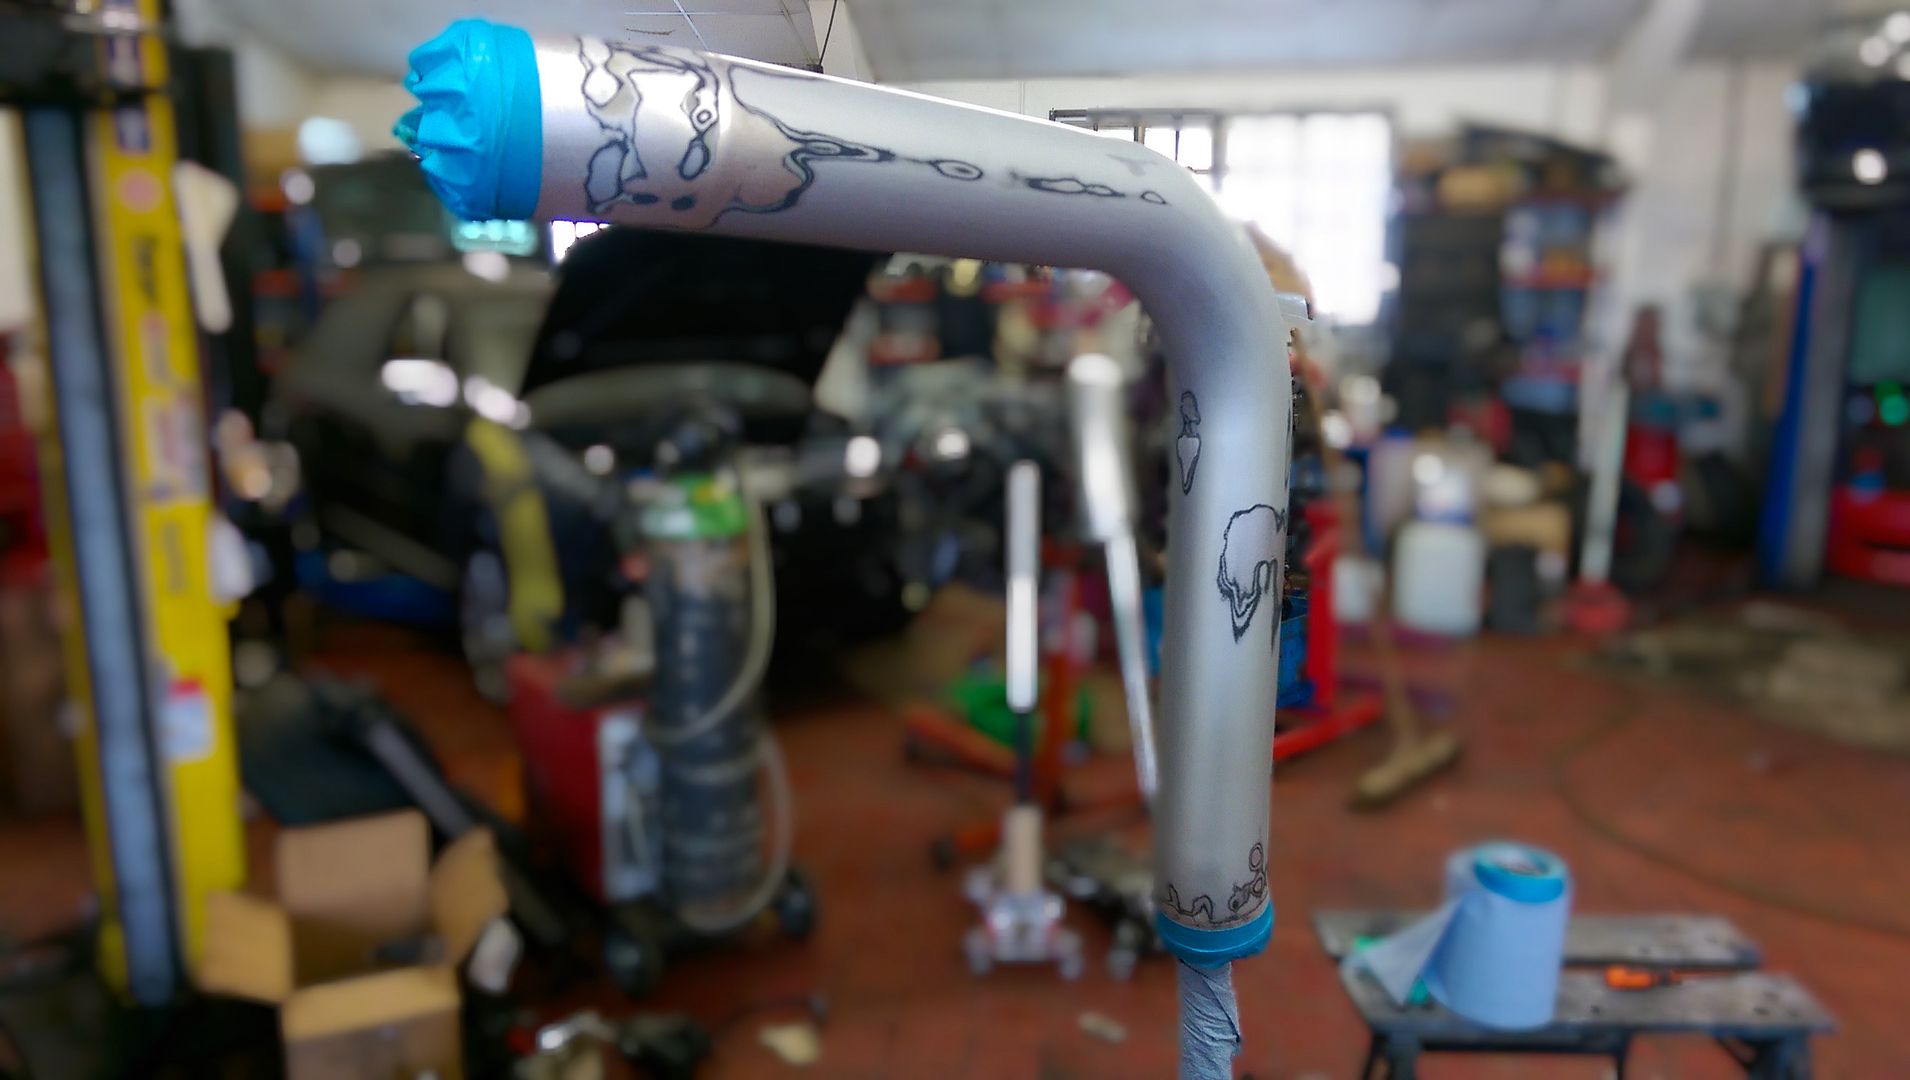
The state of my inlet manifold has been bugging me fr a while.....

IMAG1175.jpg


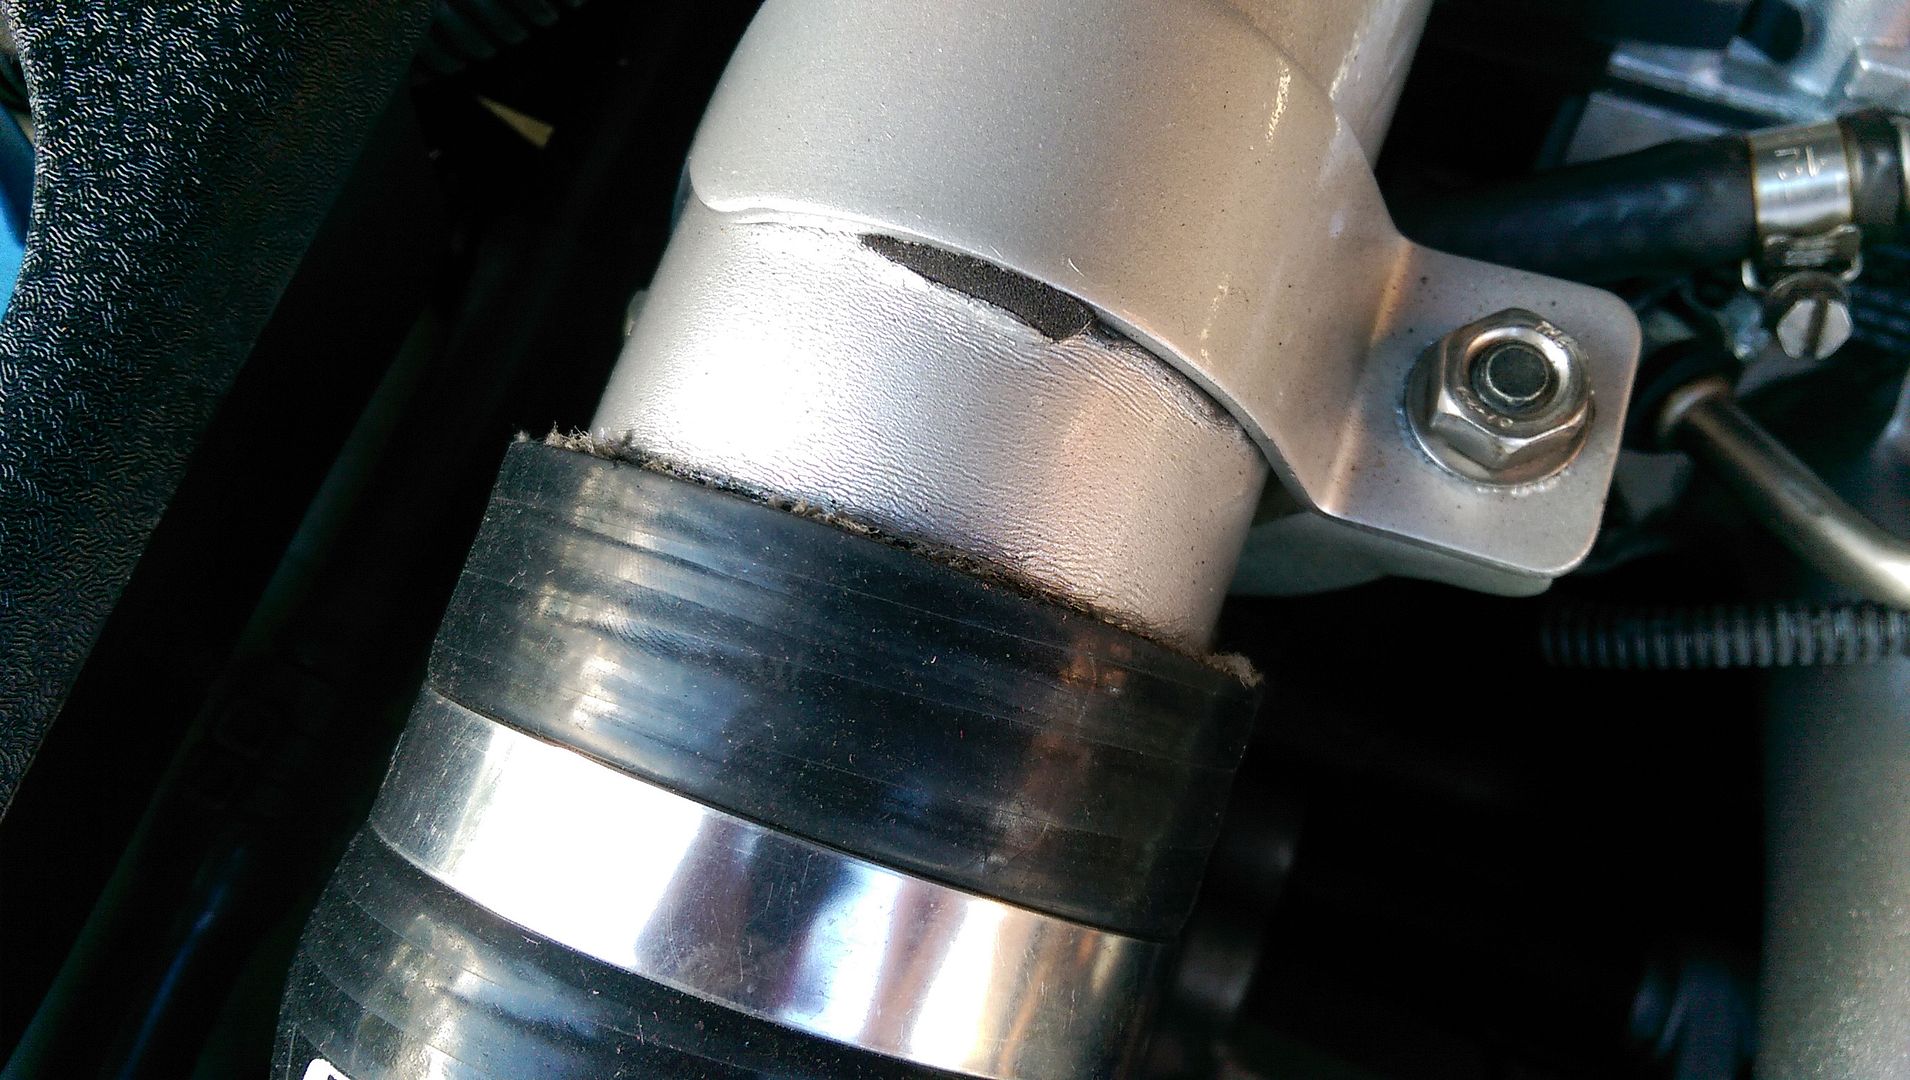
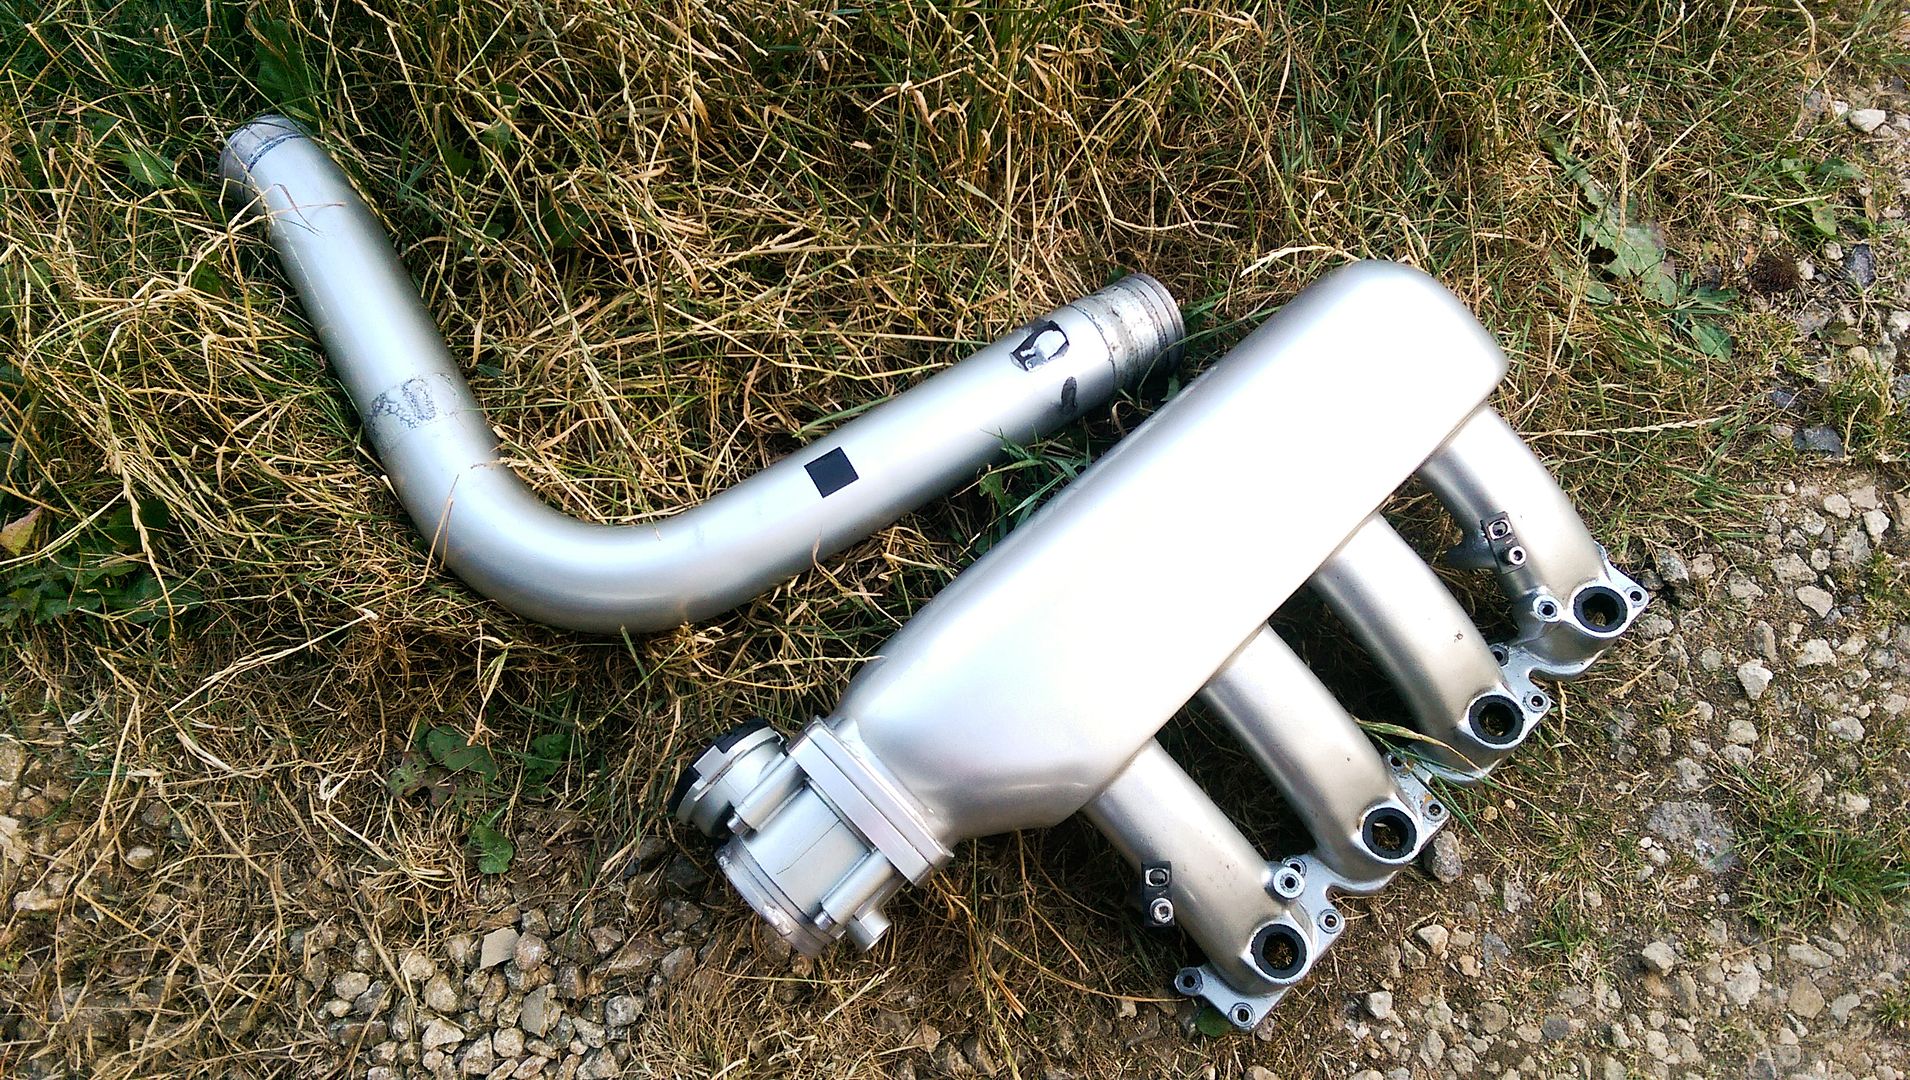
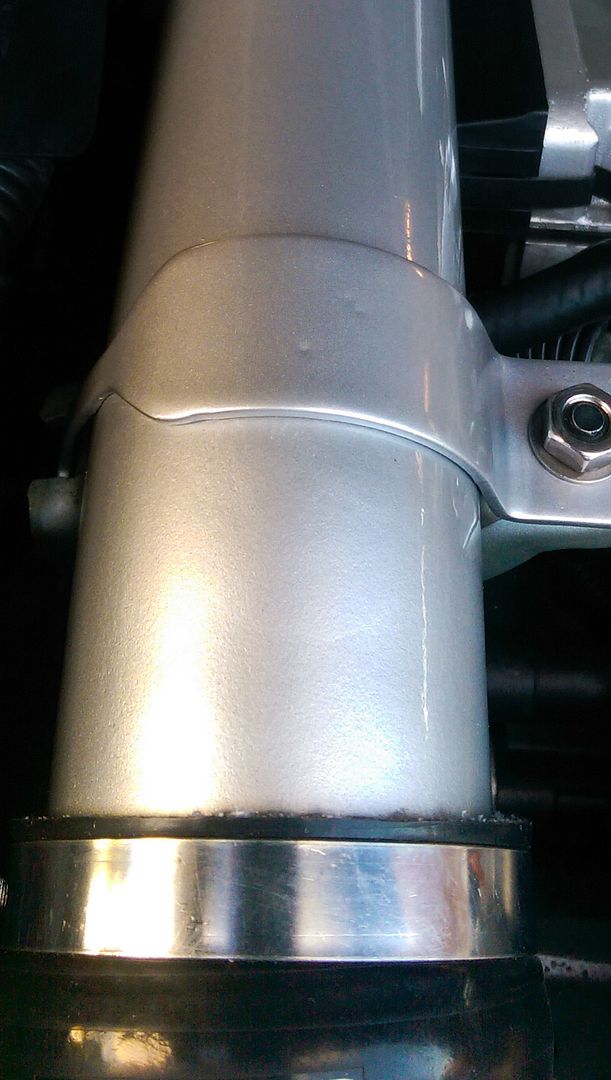
The charge pipe wasn't much better... this is what happens if you rush fitting before the paint has had a few days to harden...
IMAG1176.jpg


...so off they came...
IMAG1178.jpg


IMAG1179.jpg


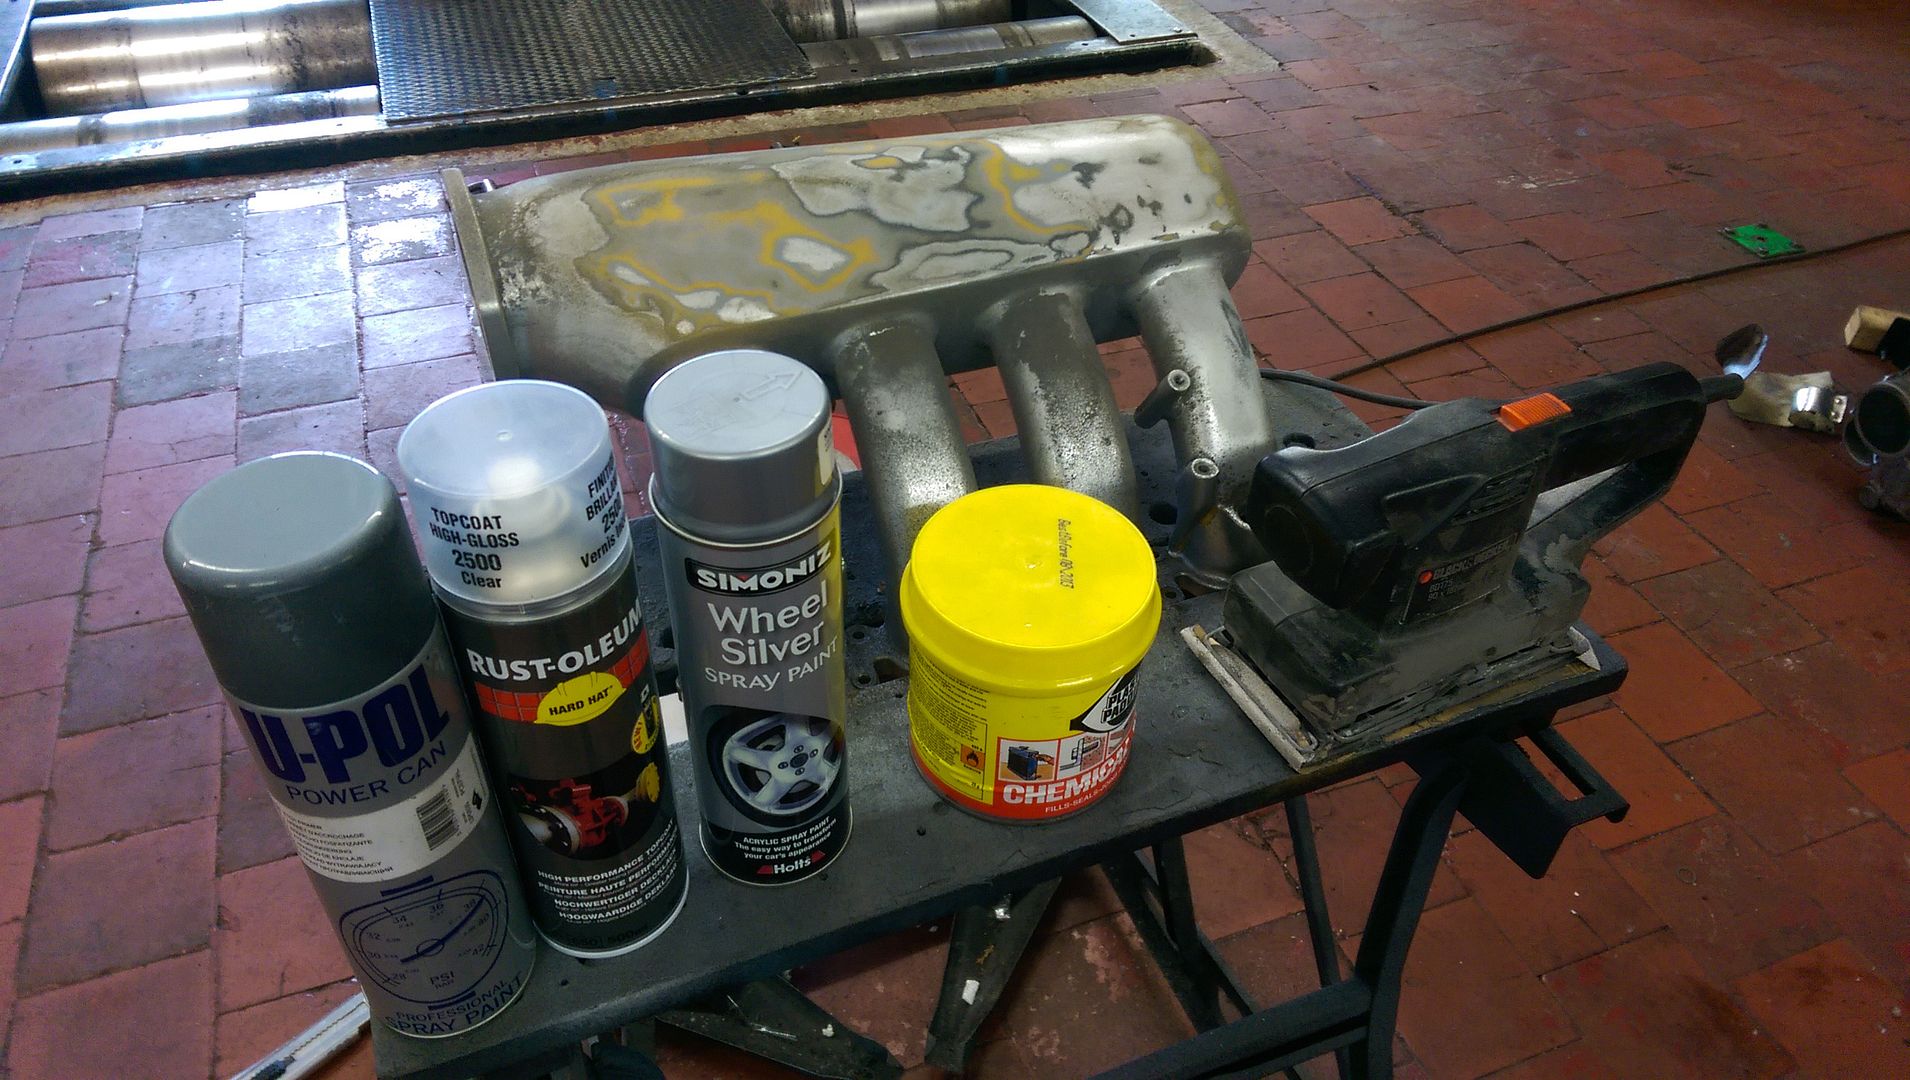
...out with the paint :D
IMAG1183.jpg


...and off with the paint...
IMAG1187_1.jpg


Bit of etch primer...
IMAG1189.jpg


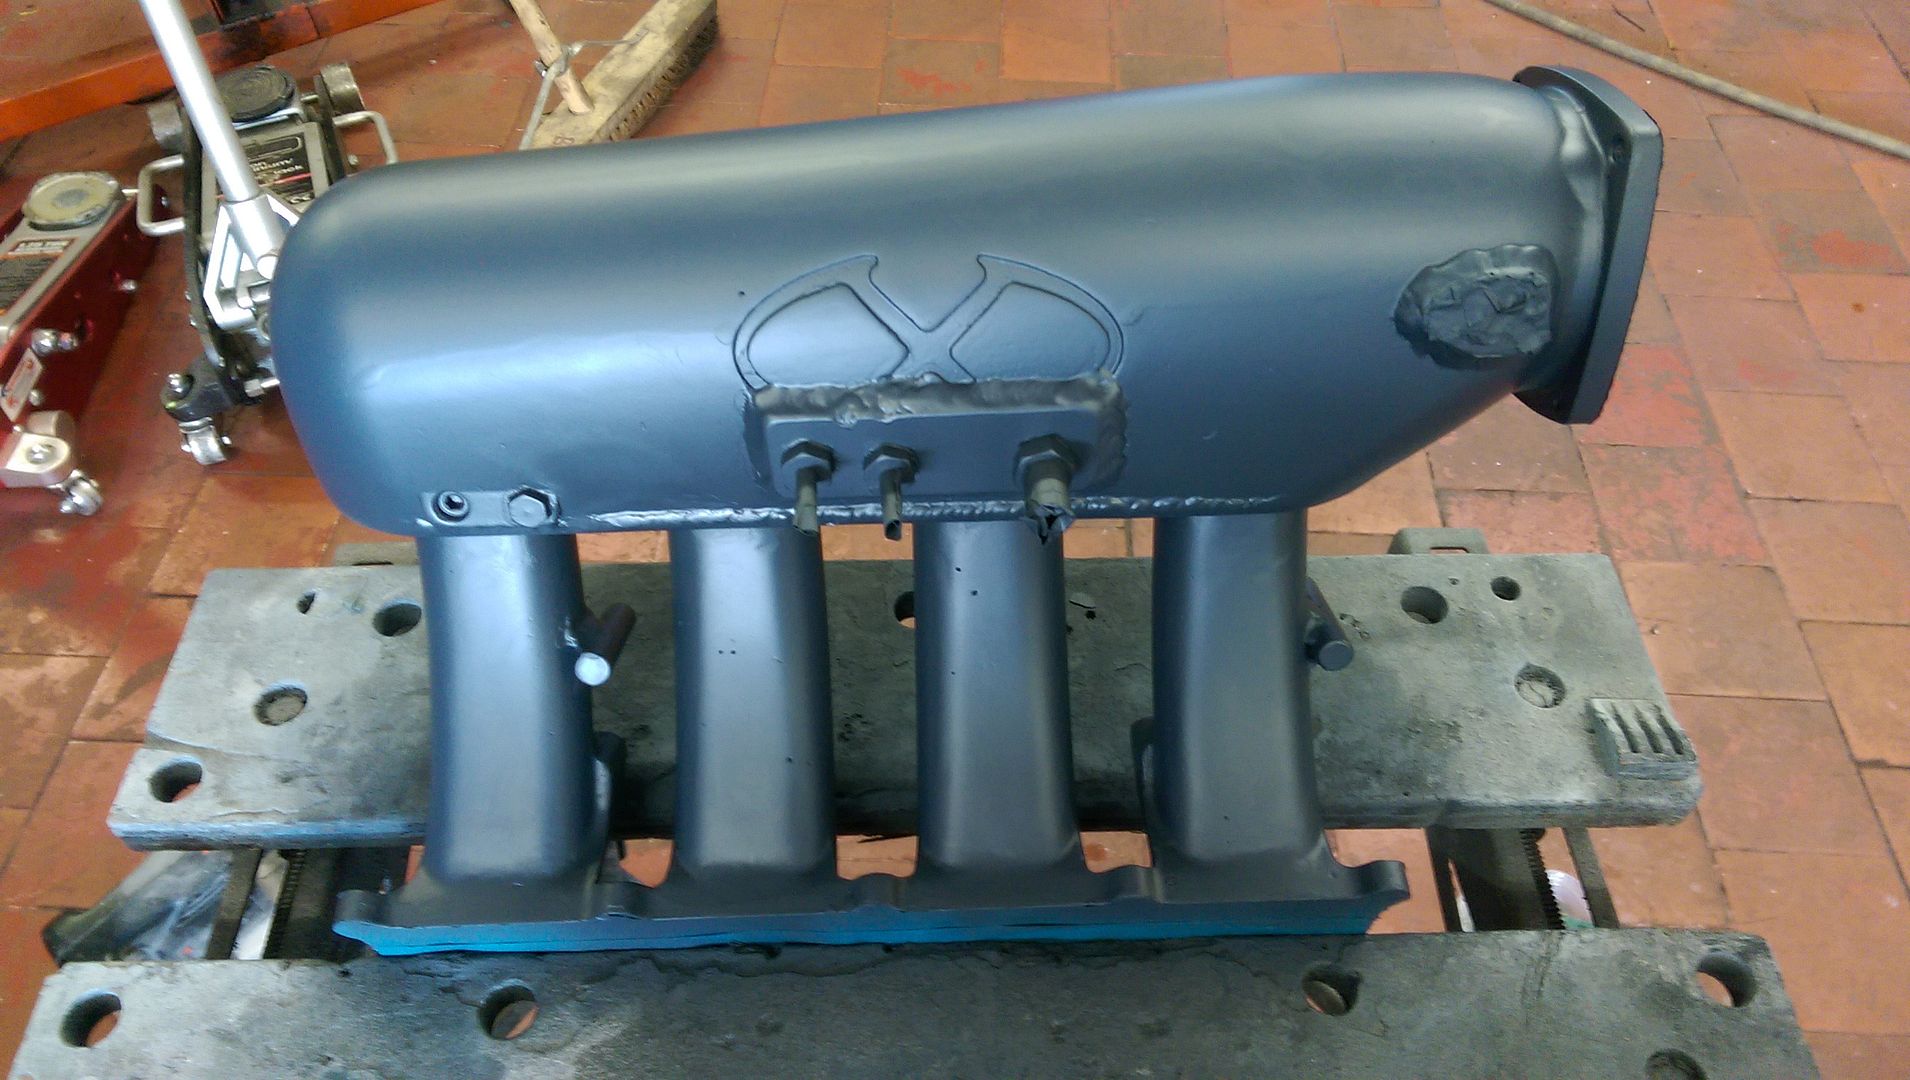
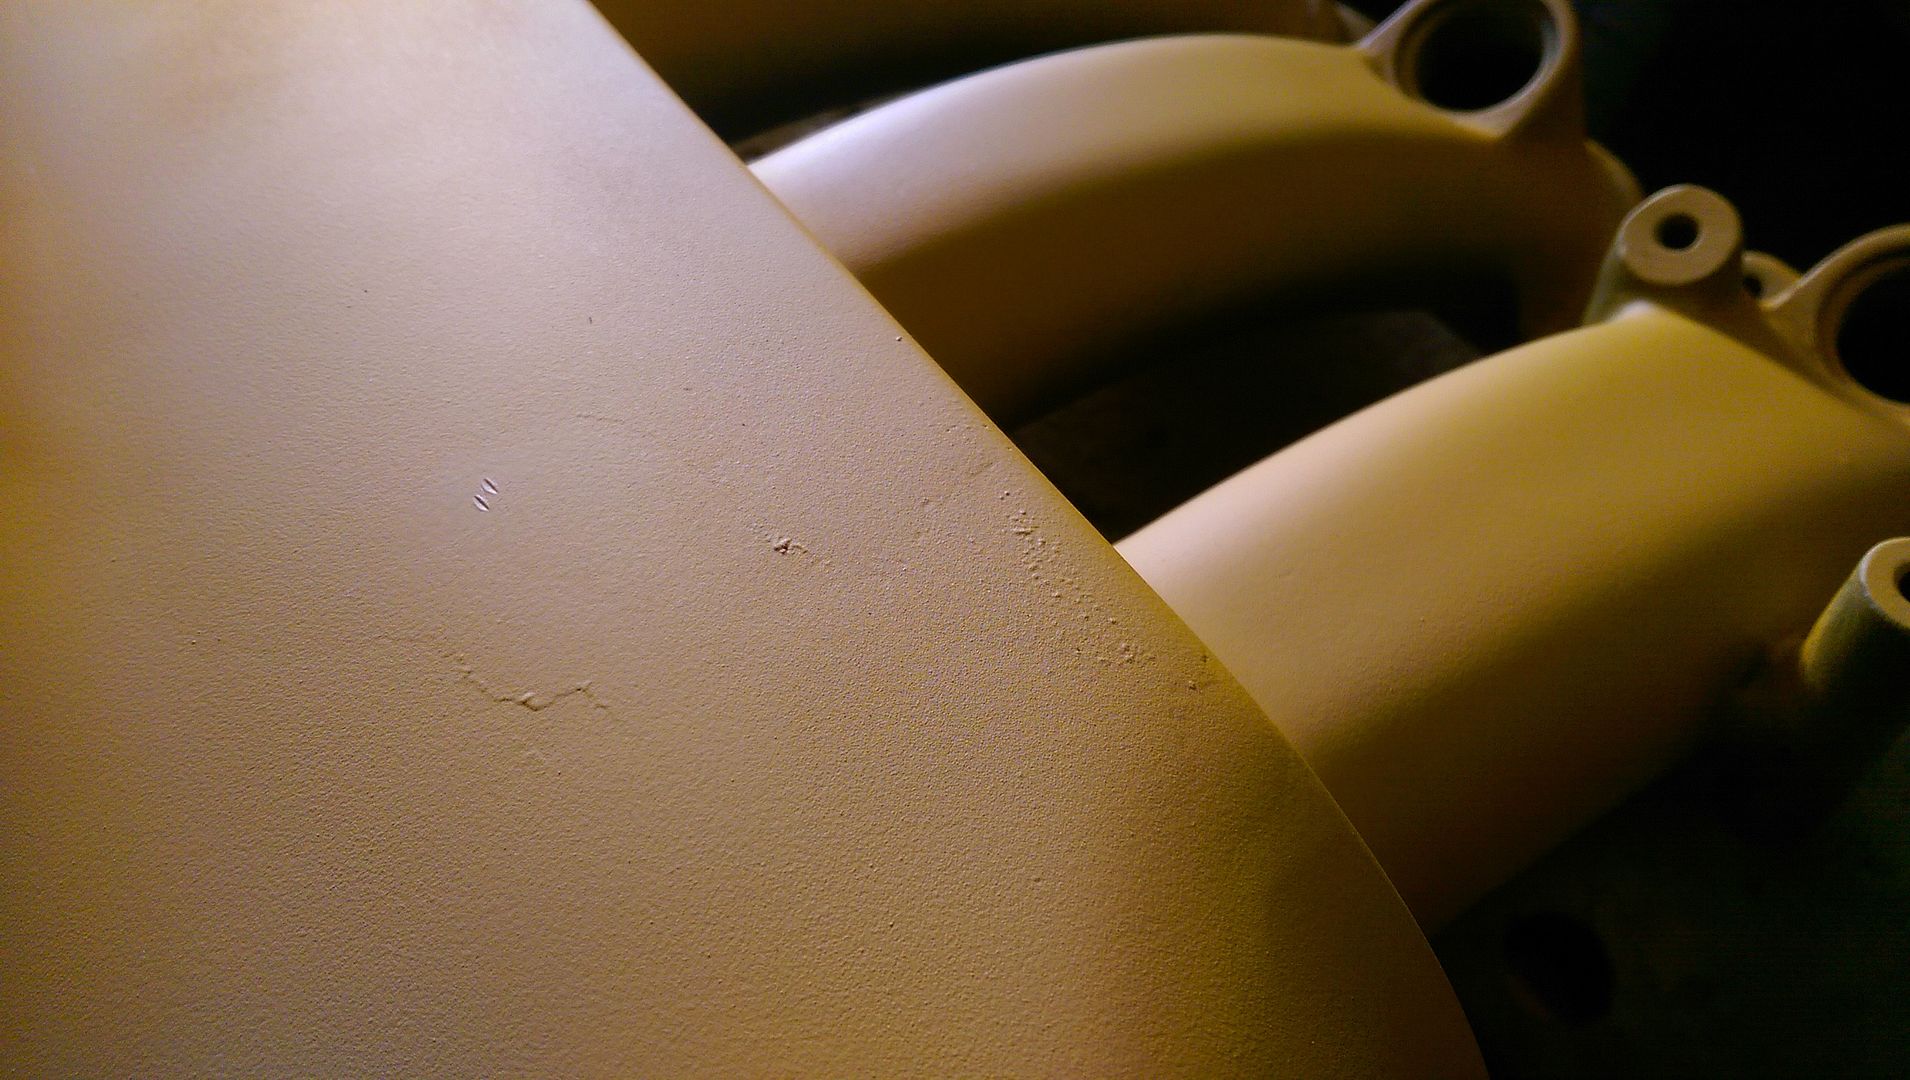
Started painting the charge pipe but I really should have used a bit of filler primer as the transitions where I rubbed down show through...
IMAG1190.jpg


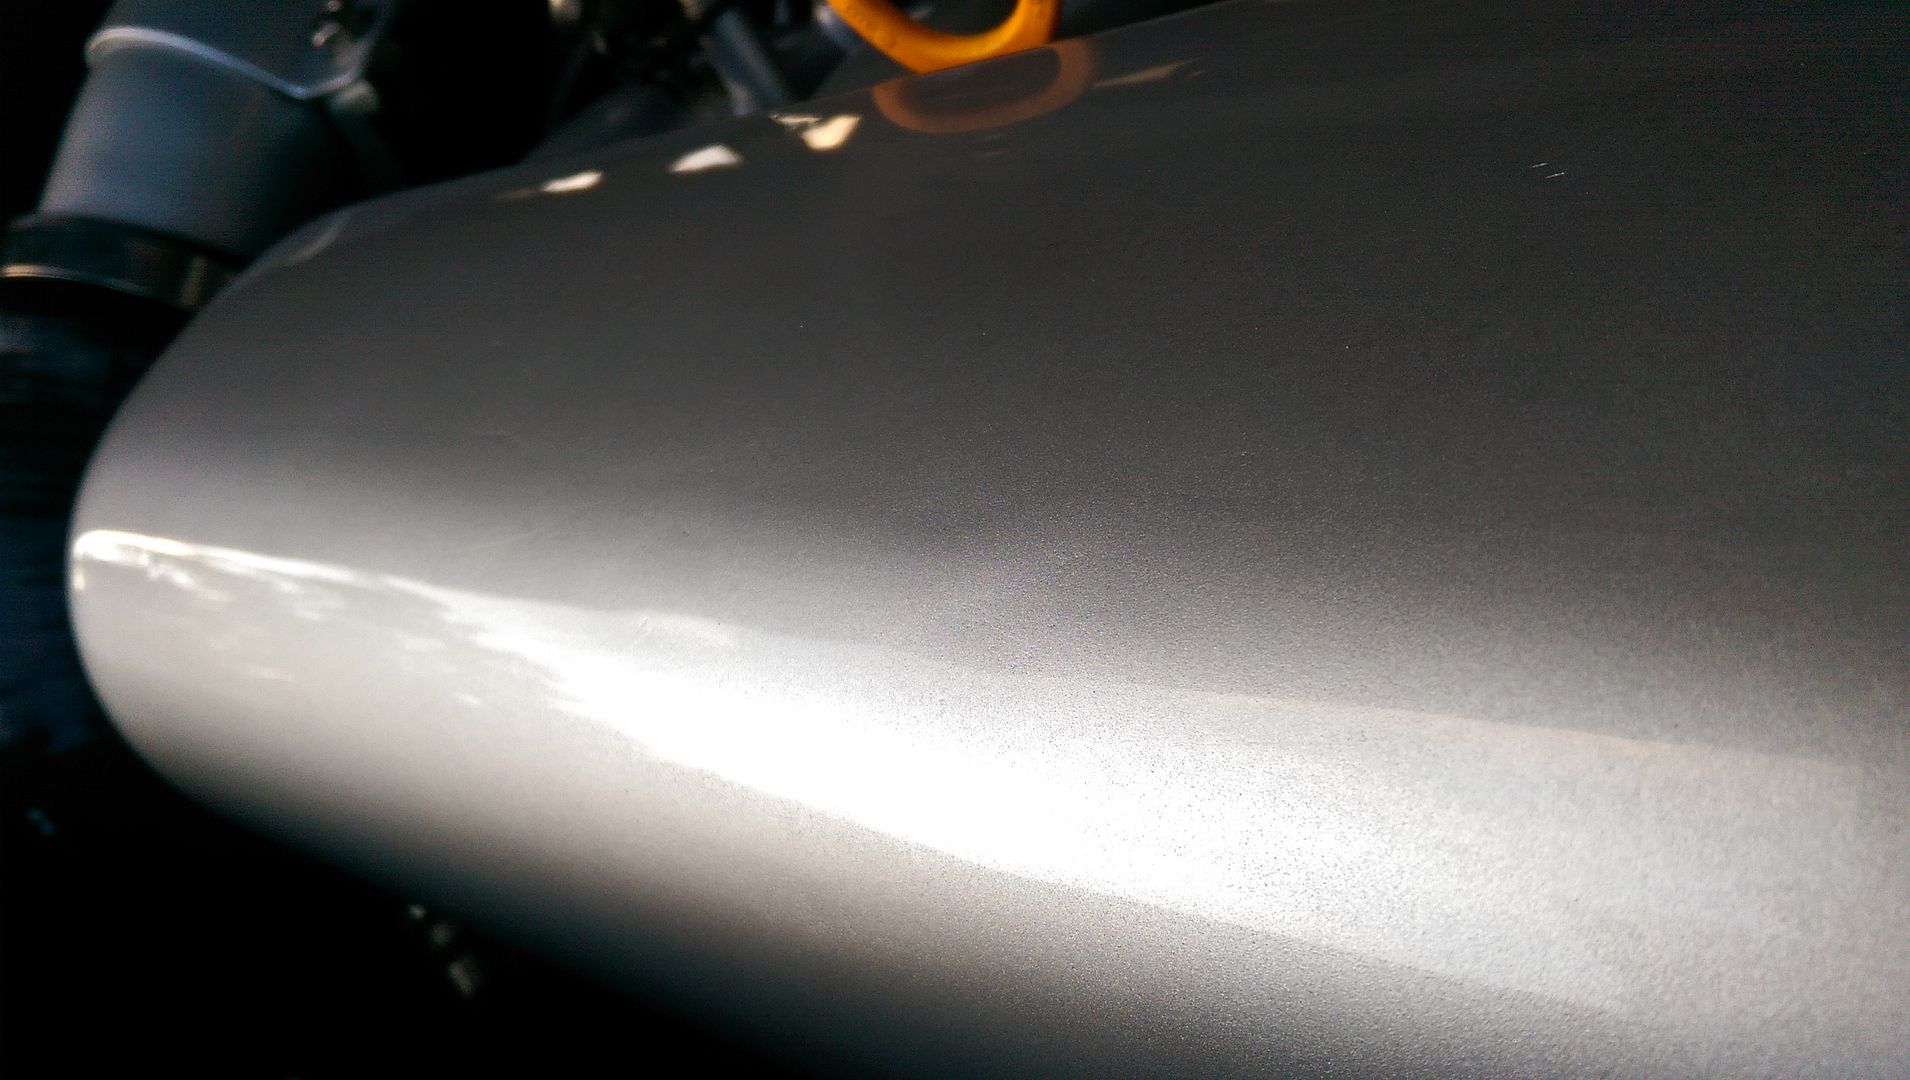
Annoying so knowing this would happen to the inlet as well I used filler primer on it but... still not massively happy...
IMAG1192.jpg


Realistically they need sand blasting back to bare metal and redone properly... if i am going to have to do that then tbh I think I will get them powder coated as I am not feeling the love with painting this lot for the upteenth time

Need to let the filler primer go off before wet sanding it a bit to see if I can get rid of the blemishes... ah well :)

<tuffty/>
 
Last edited:

tufftybloke

Badger 5 Edition
Feb 28, 2009
657
0
Gloucestershire, UK
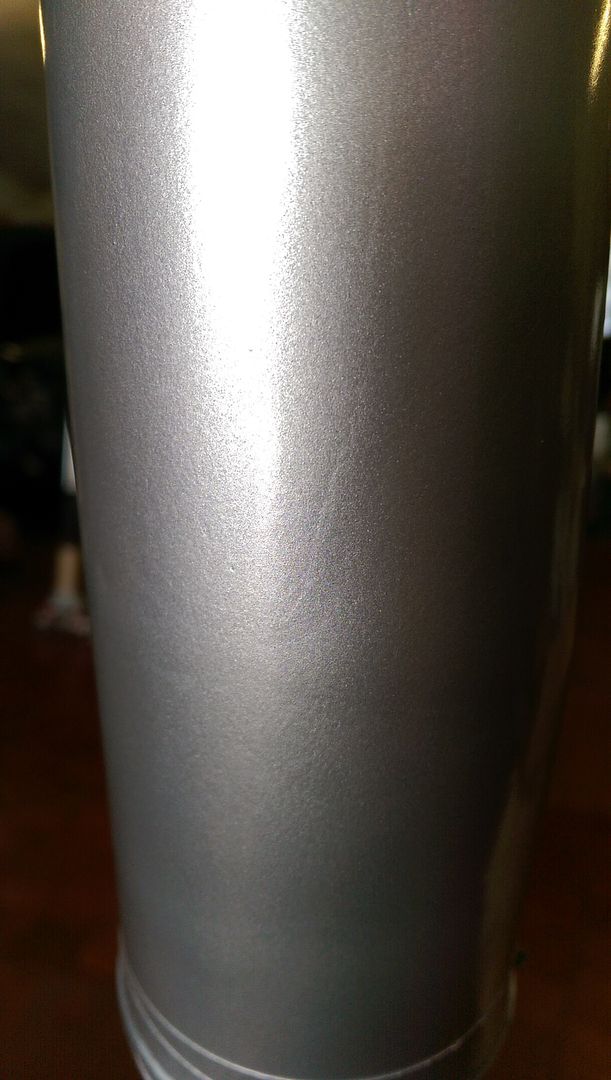
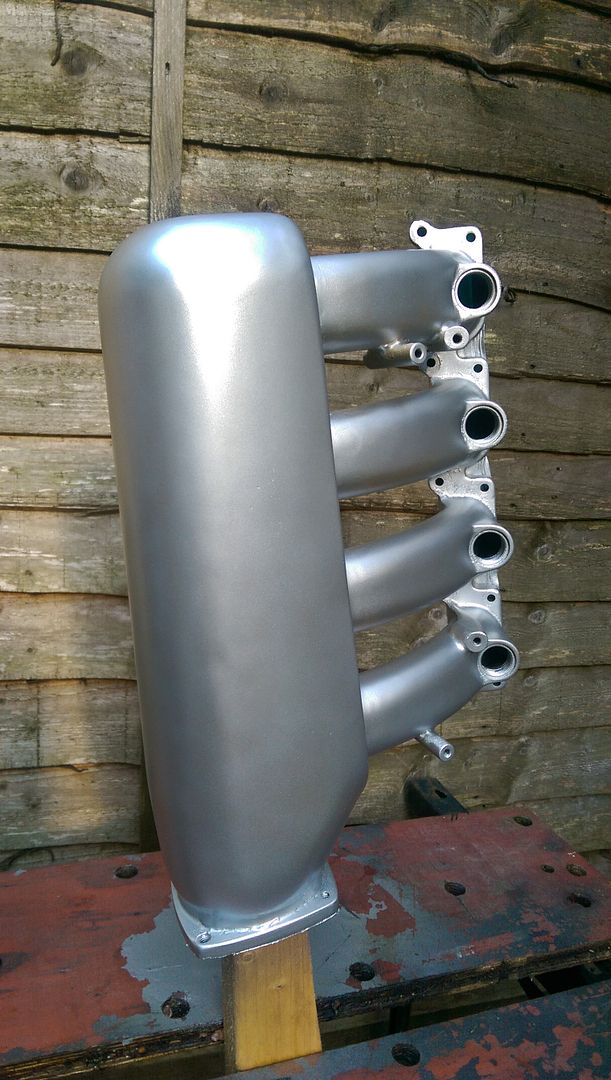
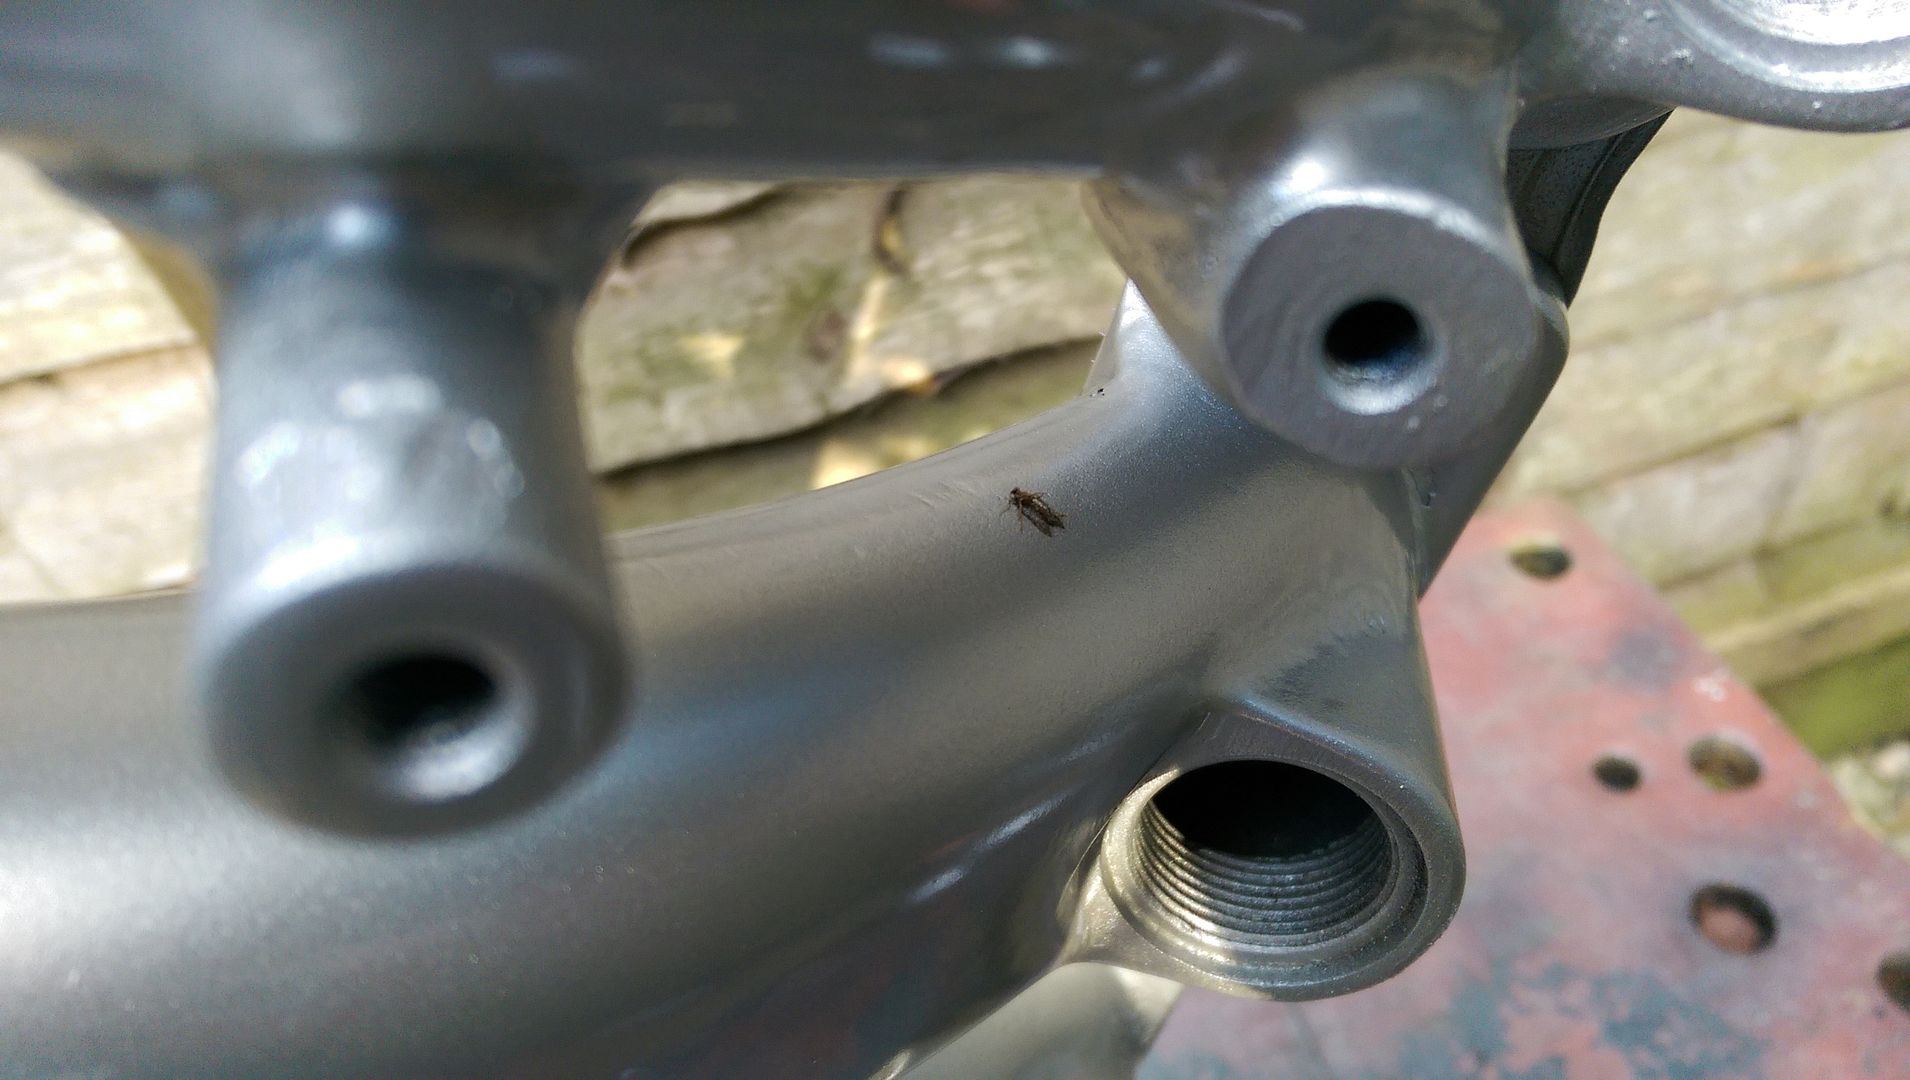
Finished painting the inlet and charge pipe... tbh I am not massively happy... they have both had a few layers of paint since I made them and realistically they both need taking back to metal and starting again...

They will do for now though... next time I will just get them powder coated along with the cam cover..

IMAG1195.jpg


The joys of painting in the garden :)
IMAG1201.jpg


Wetsanded and machine polished the lacquer inbetween coats... lacquer came out nice but the finish of the silver and surface of the inlet has let me down sadly...
IMAG1205.jpg


IMAG1206.jpg


IMAG1208.jpg


Still... looks better than it did so it will have to do for now... just glad to have the car back together and drivable :)
IMAG1204.jpg


IMAG1211.jpg


IMAG1209.jpg


<tuffty/>
 

tufftybloke

Badger 5 Edition
Feb 28, 2009
657
0
Gloucestershire, UK
Little update...

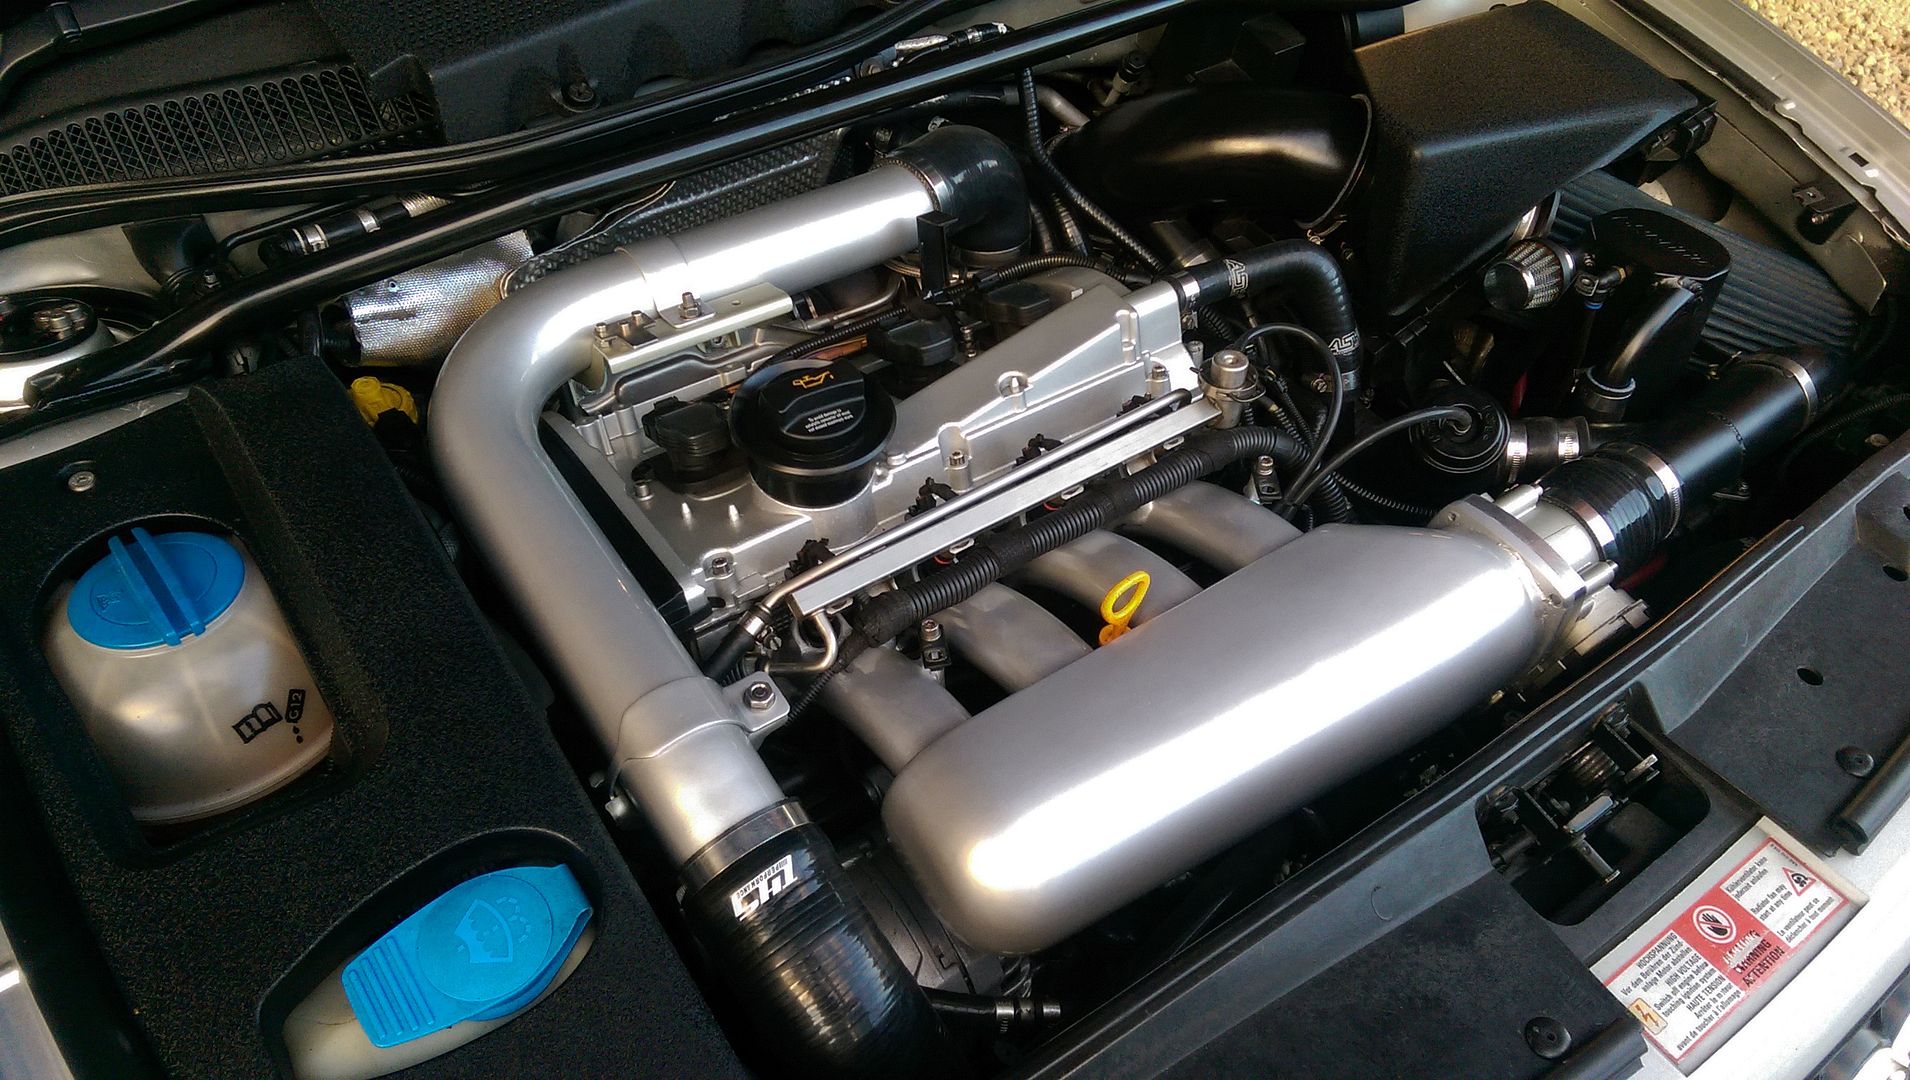
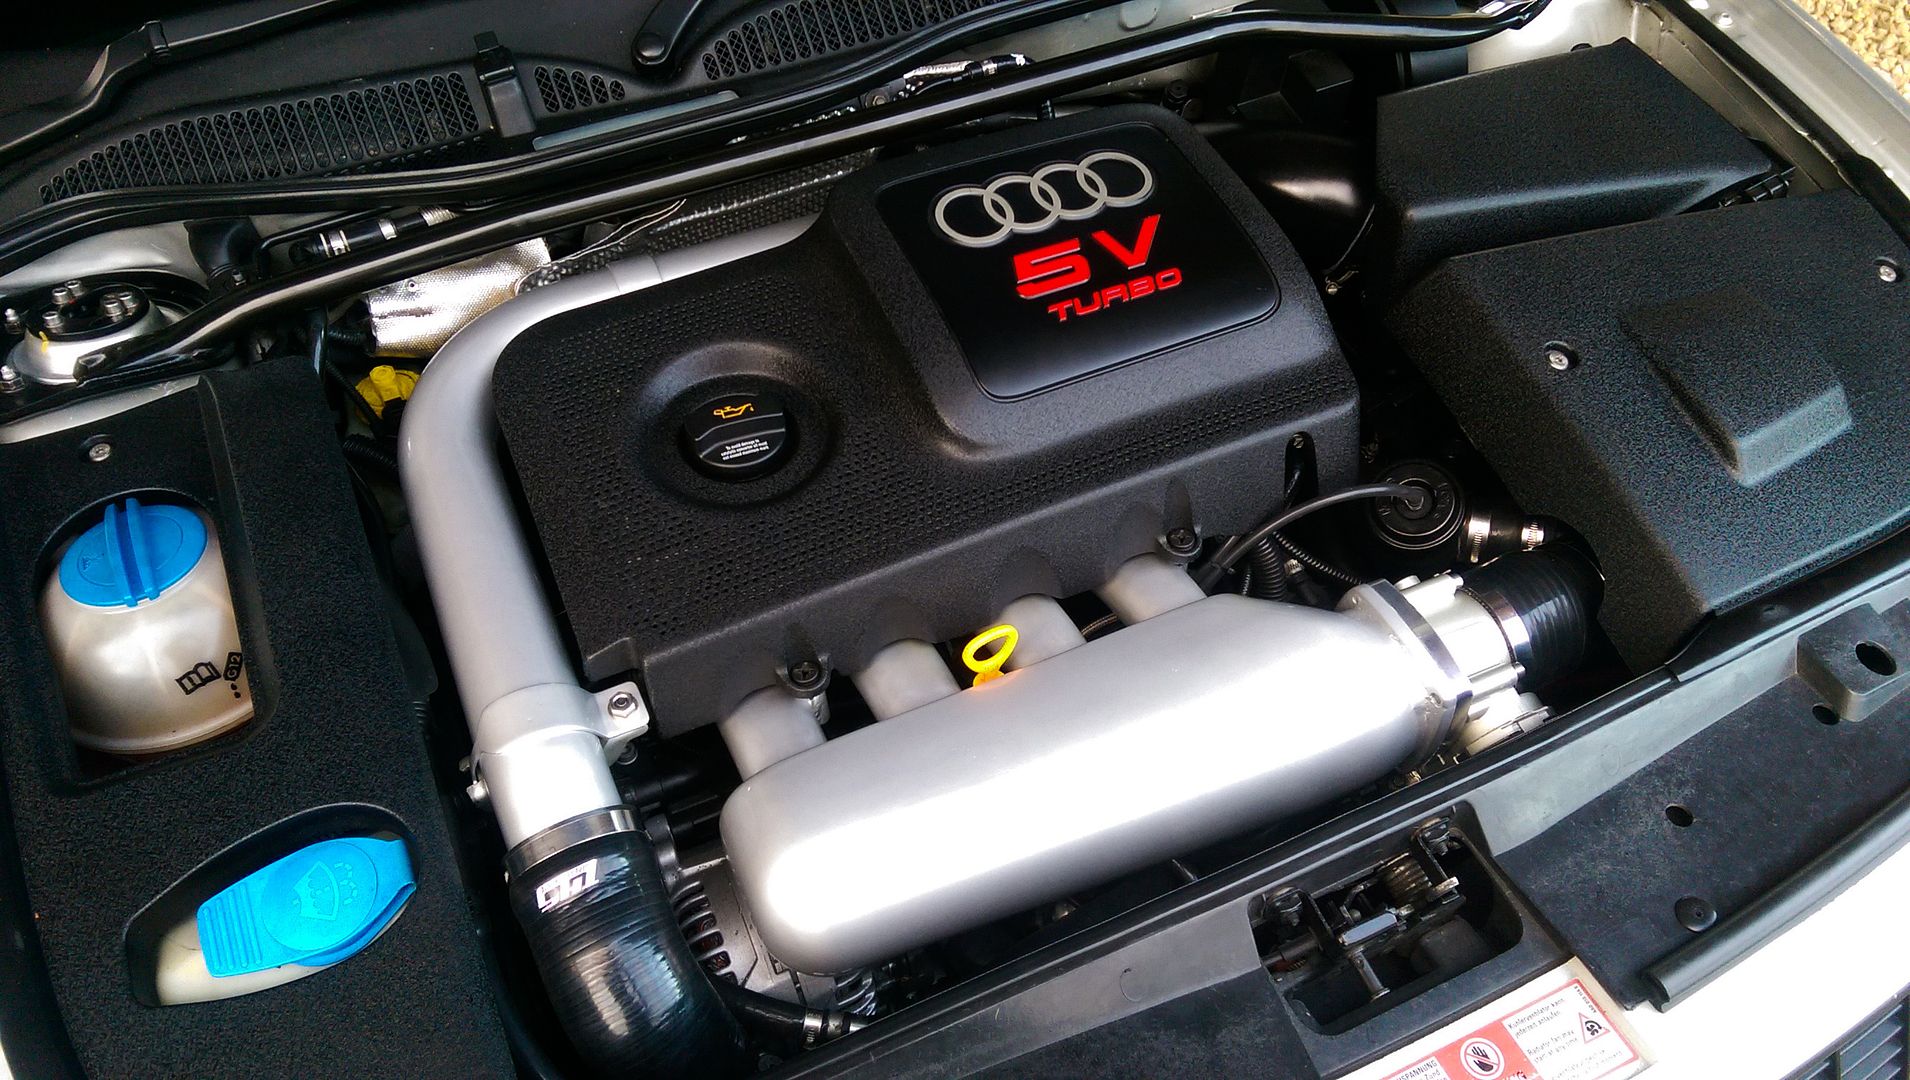
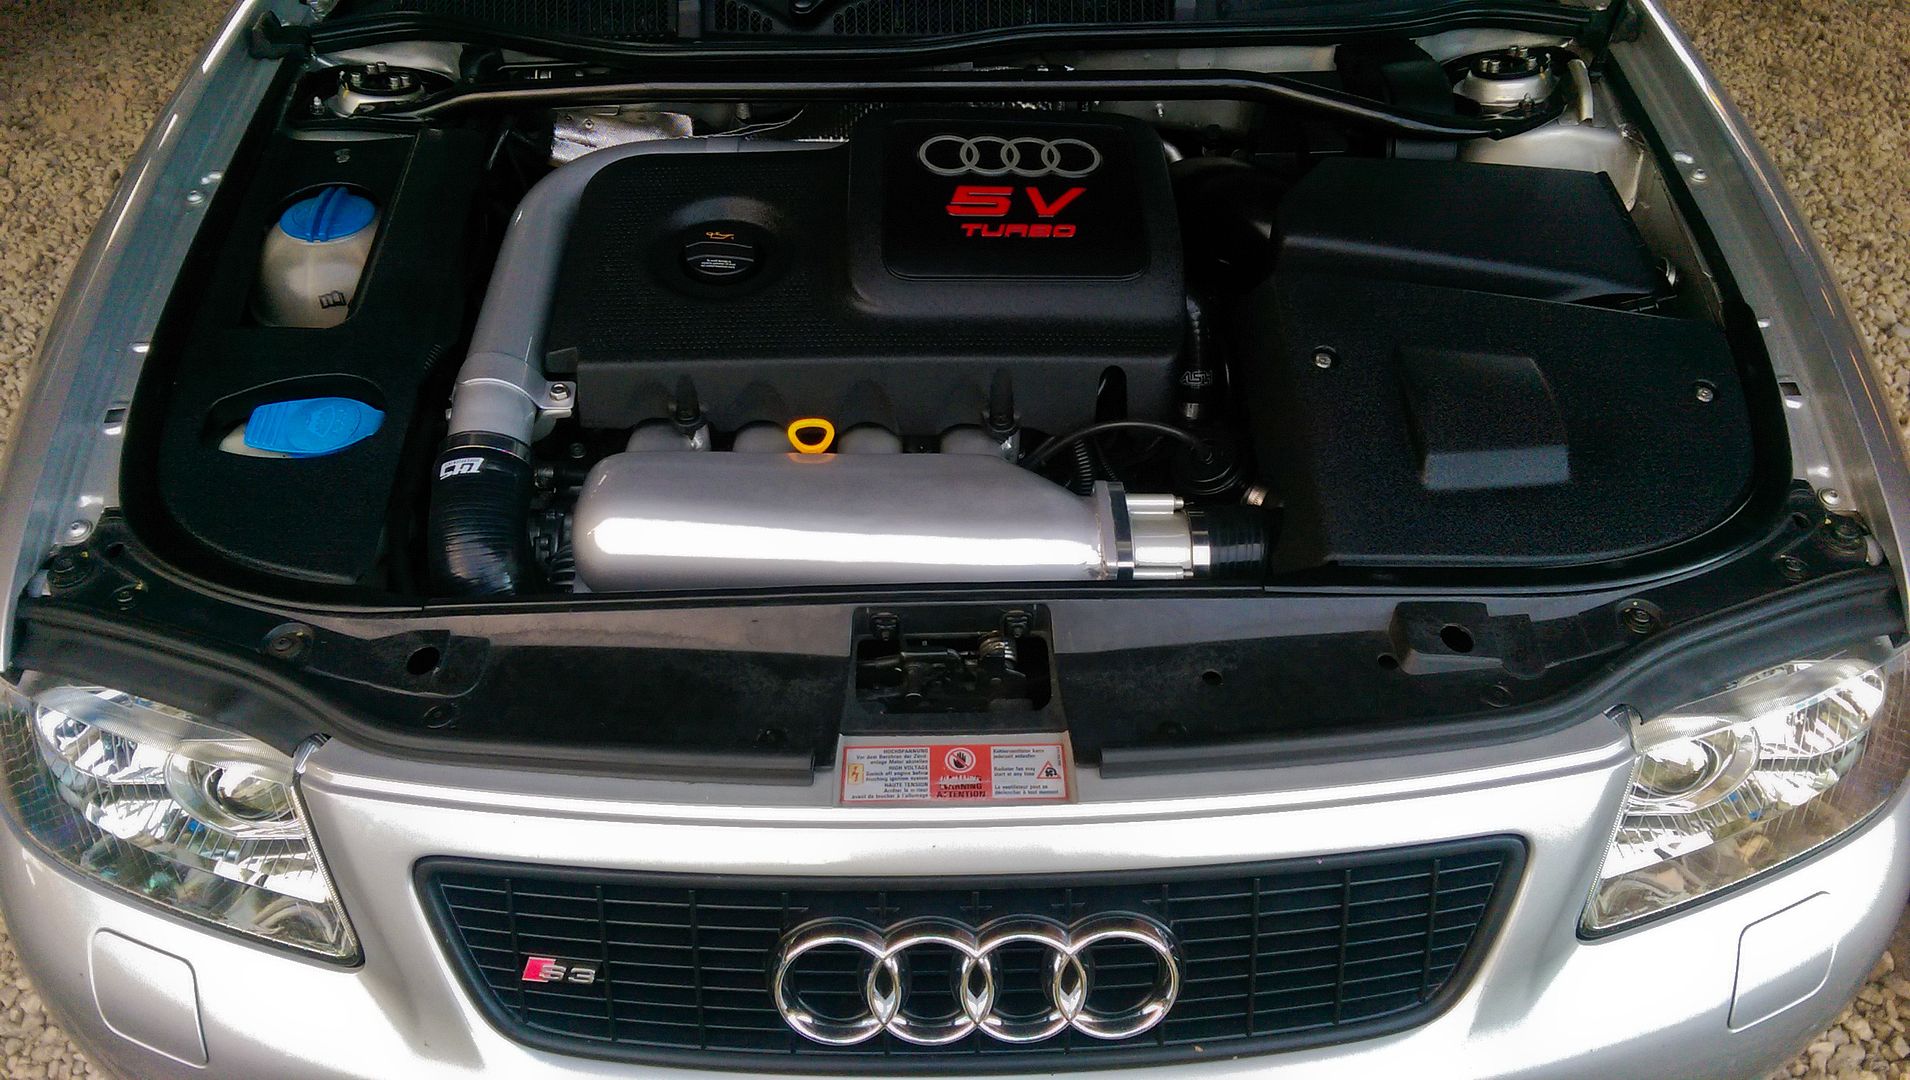
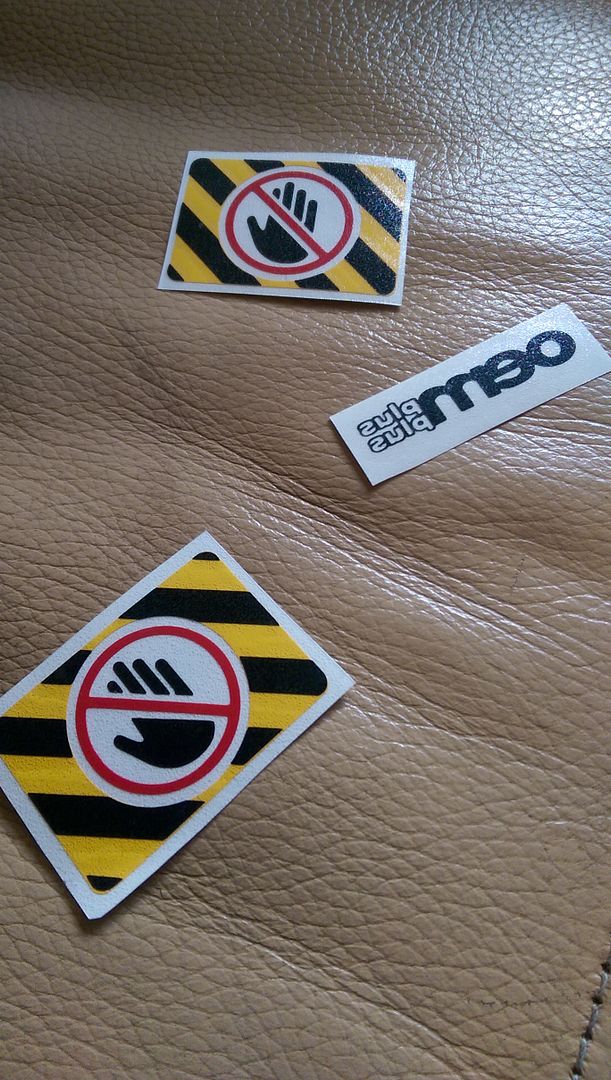
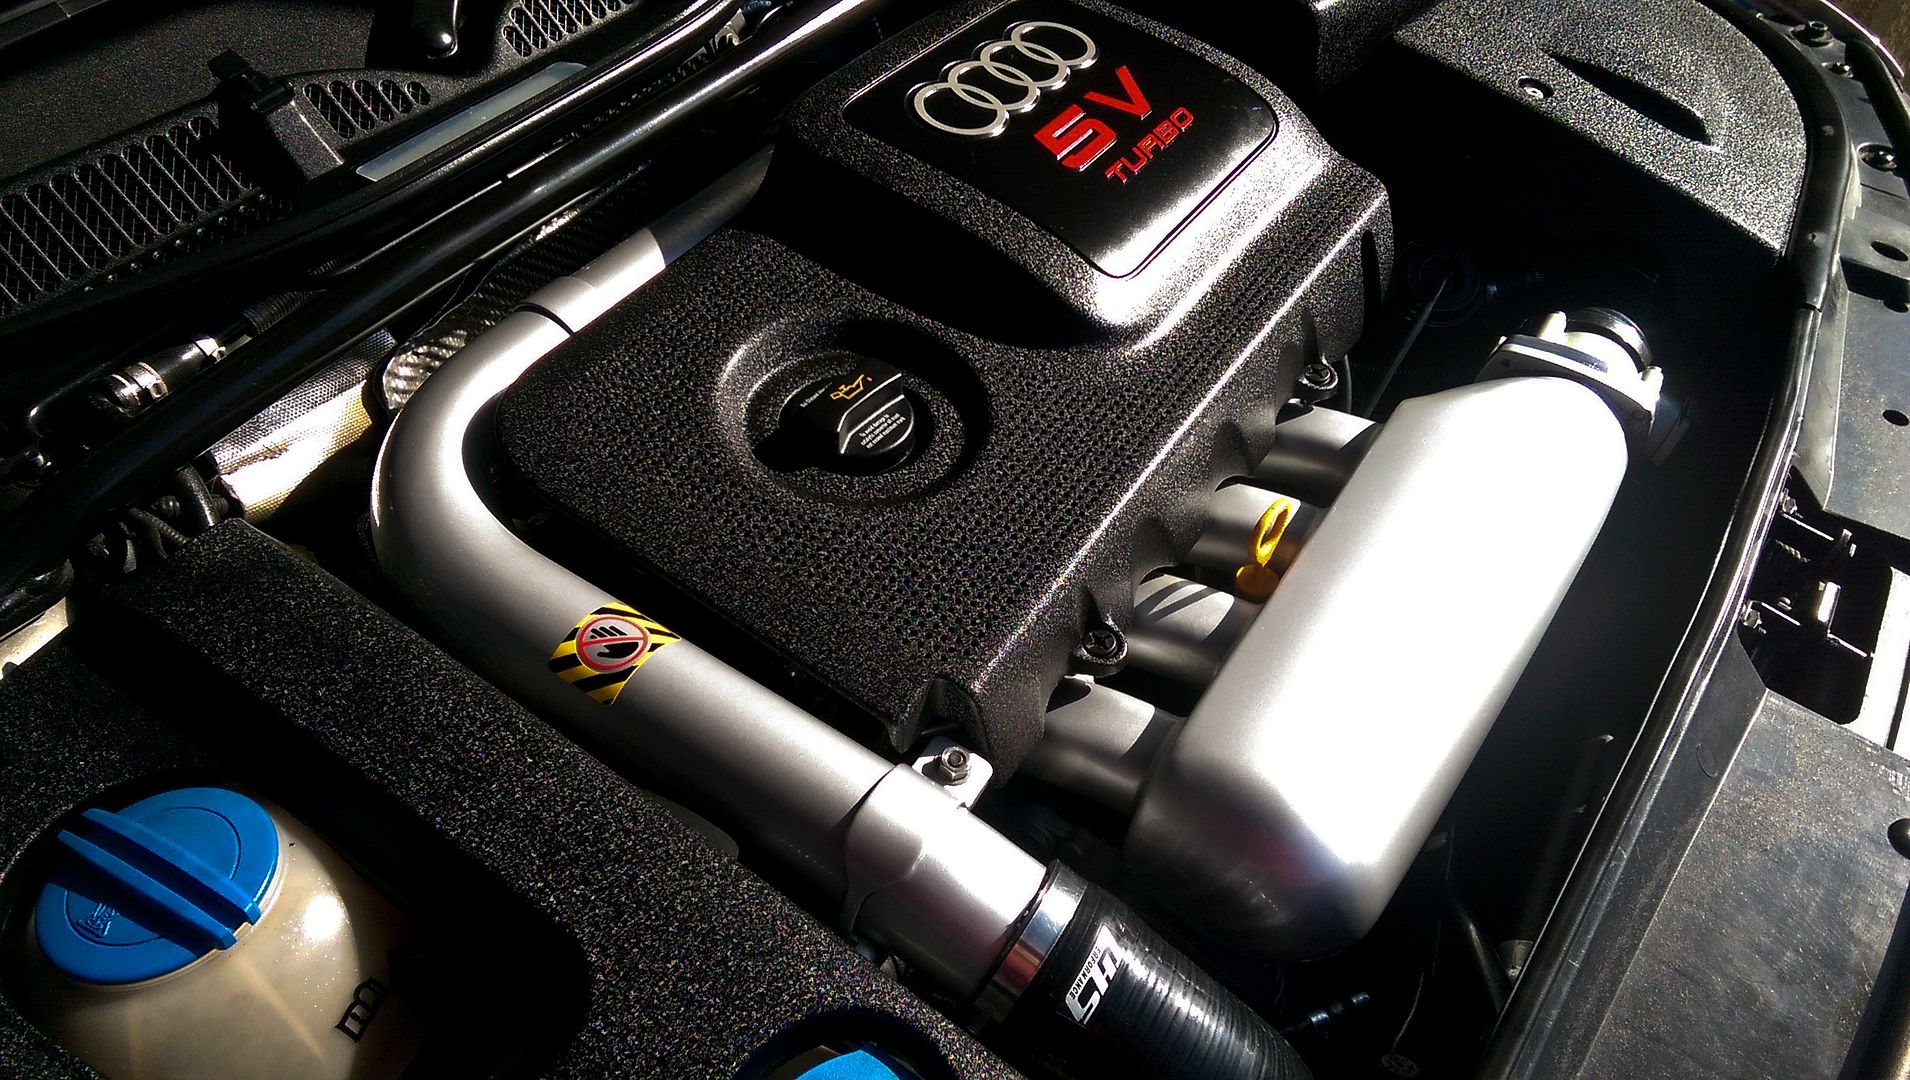
Final piece of my OEM ++ obsession with the engine bay has been sorted... charge pipe stickers to match the OEM charge pipe :)

20151014-IMAG1412.jpg


20151014-IMAG1413.jpg


Just to add a little context, here is a pic of my engine bay when I first bought the car compared to now..
S3-before-after.jpg


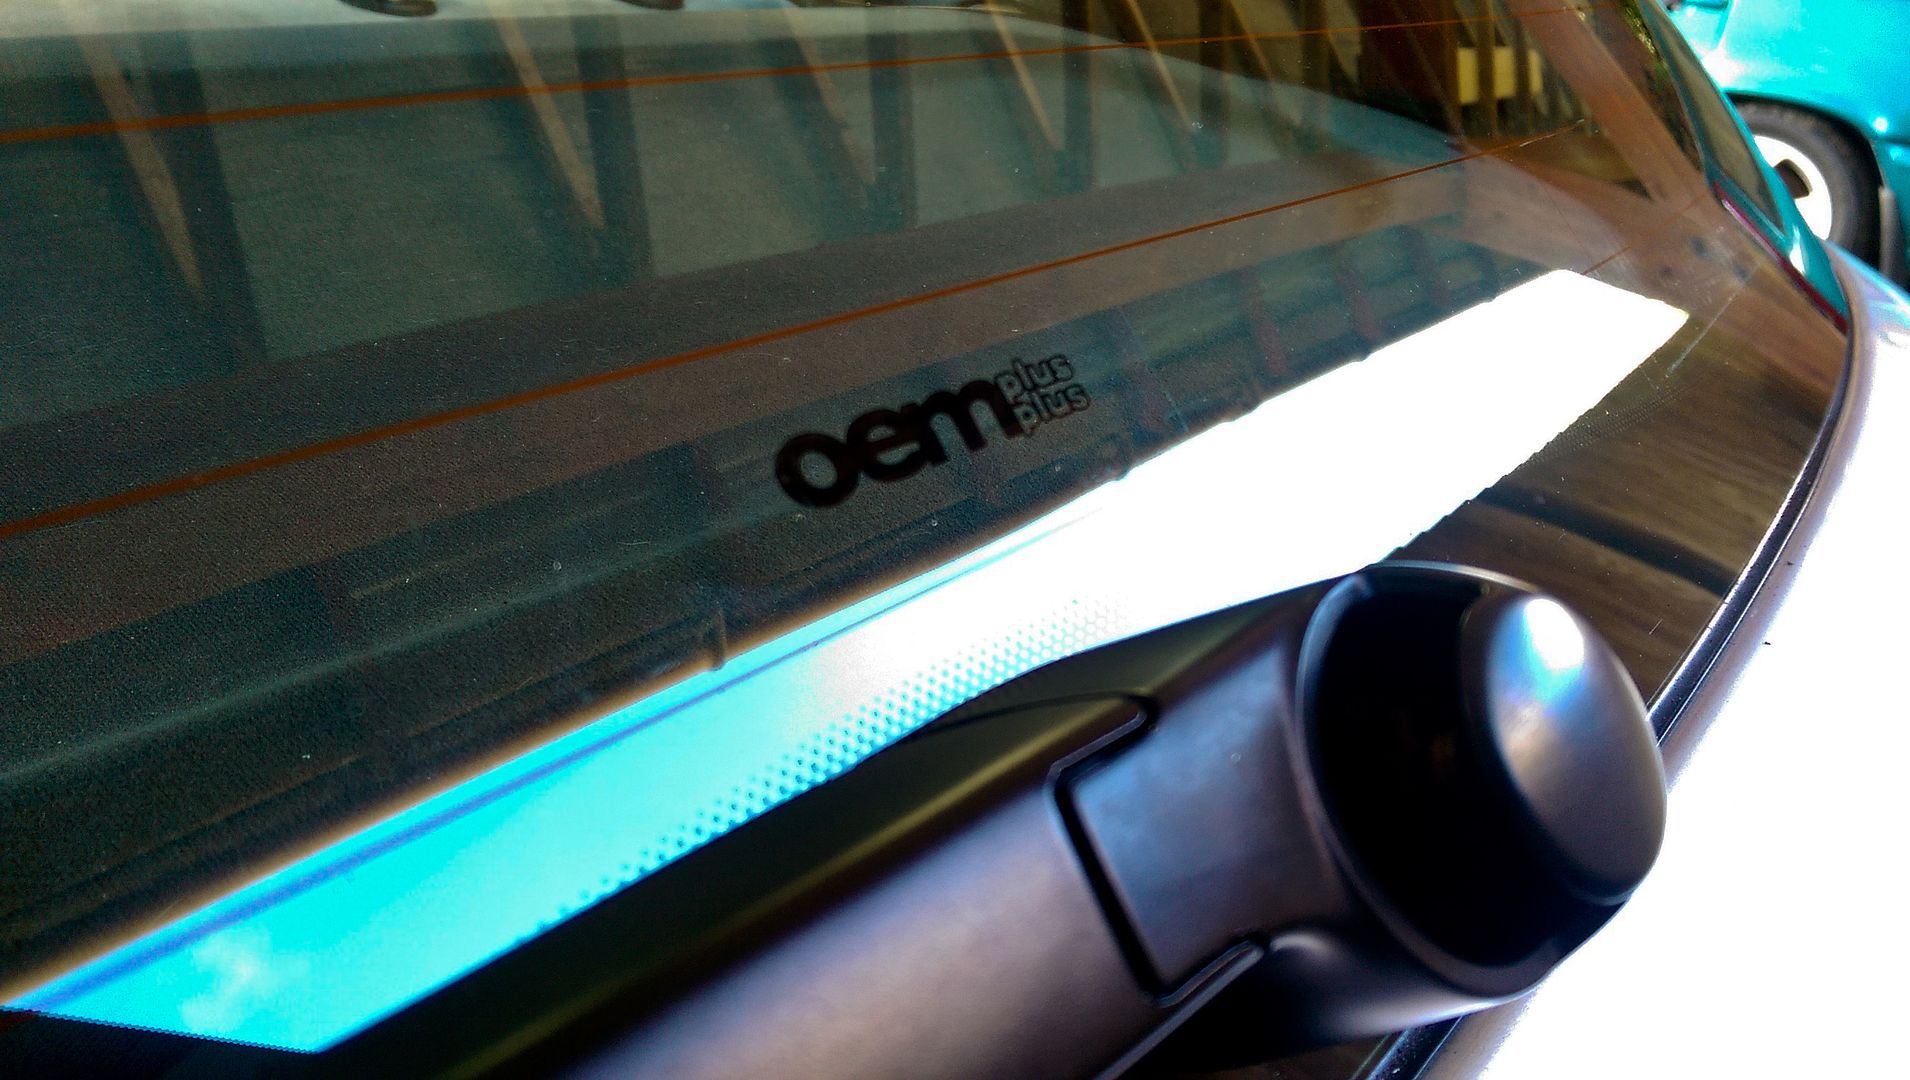
...and to finish off, a subtle little sticker for the rear window :)
20151014-IMAG1414.jpg


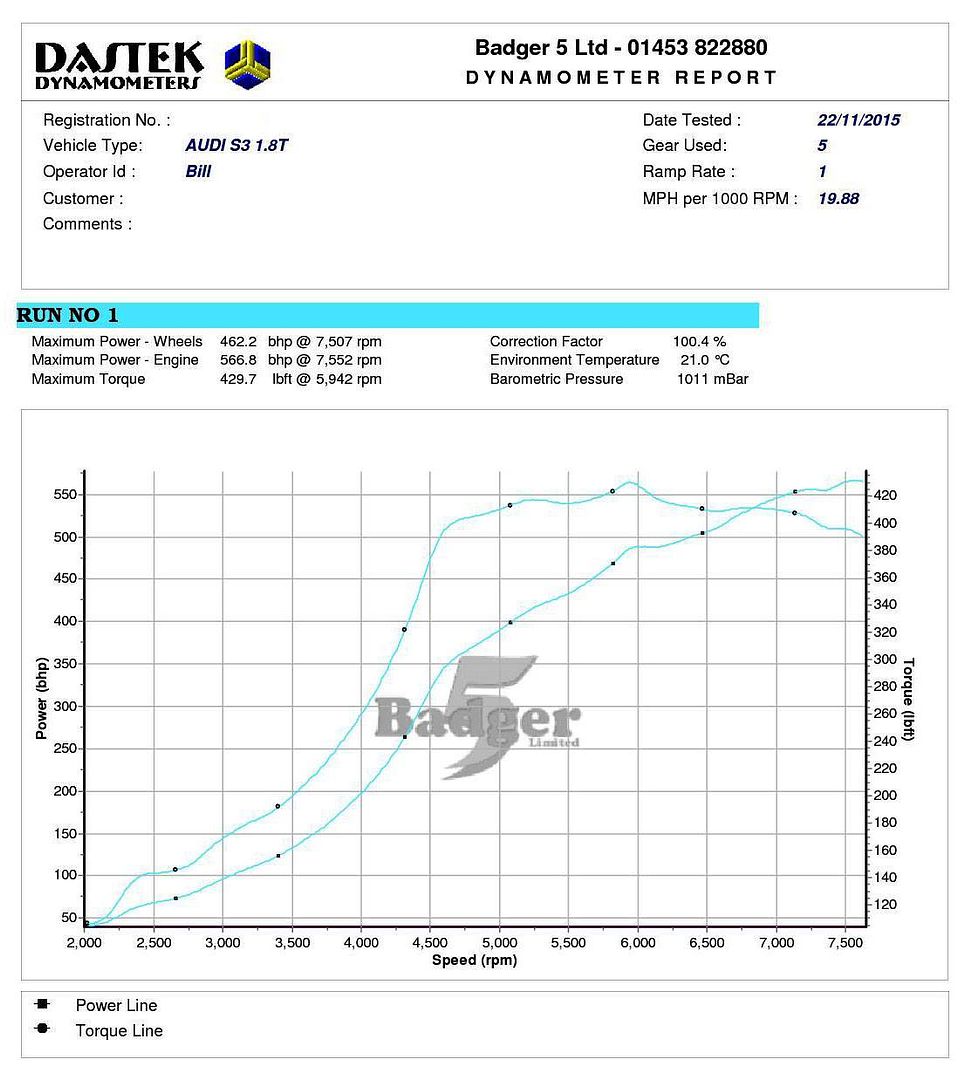
Nothing more really to report other than I ran my car at the recent Club GTI dyno day held at Badger 5...

I have only ever been to three dyno days in the 7 years of owning the car... first one was shortly after buying the car, second one at the TTOC North vs South day (and that didn't end particularly well) and a couple of weekends ago at the CGTI day...

Pleased with the results though and there were a few shocked looking faces when Bill started to warm the car up for the run lol...

tuffty-20151122-dyno.jpg


<tuffty/>
 
Adrian Flux insurance services - discount for forum members.