• Guest would you be interested in CUPRA or SEAT valve caps? let us know in the poll

  • Welcome to our new sponsor Lecatona, a brand dedicated to enhancing performance for VAG group sports cars, including SEAT, Audi, Volkswagen and Škoda. Specializing in High Pressure Fuel Pump (HPFP) upgrades.

Audi S3 GT3582R stroker Build (previously GT3071r)

Pimped up vario

Cordy Cruizer
Nov 20, 2009
1,291
0
Belfast N Ireland
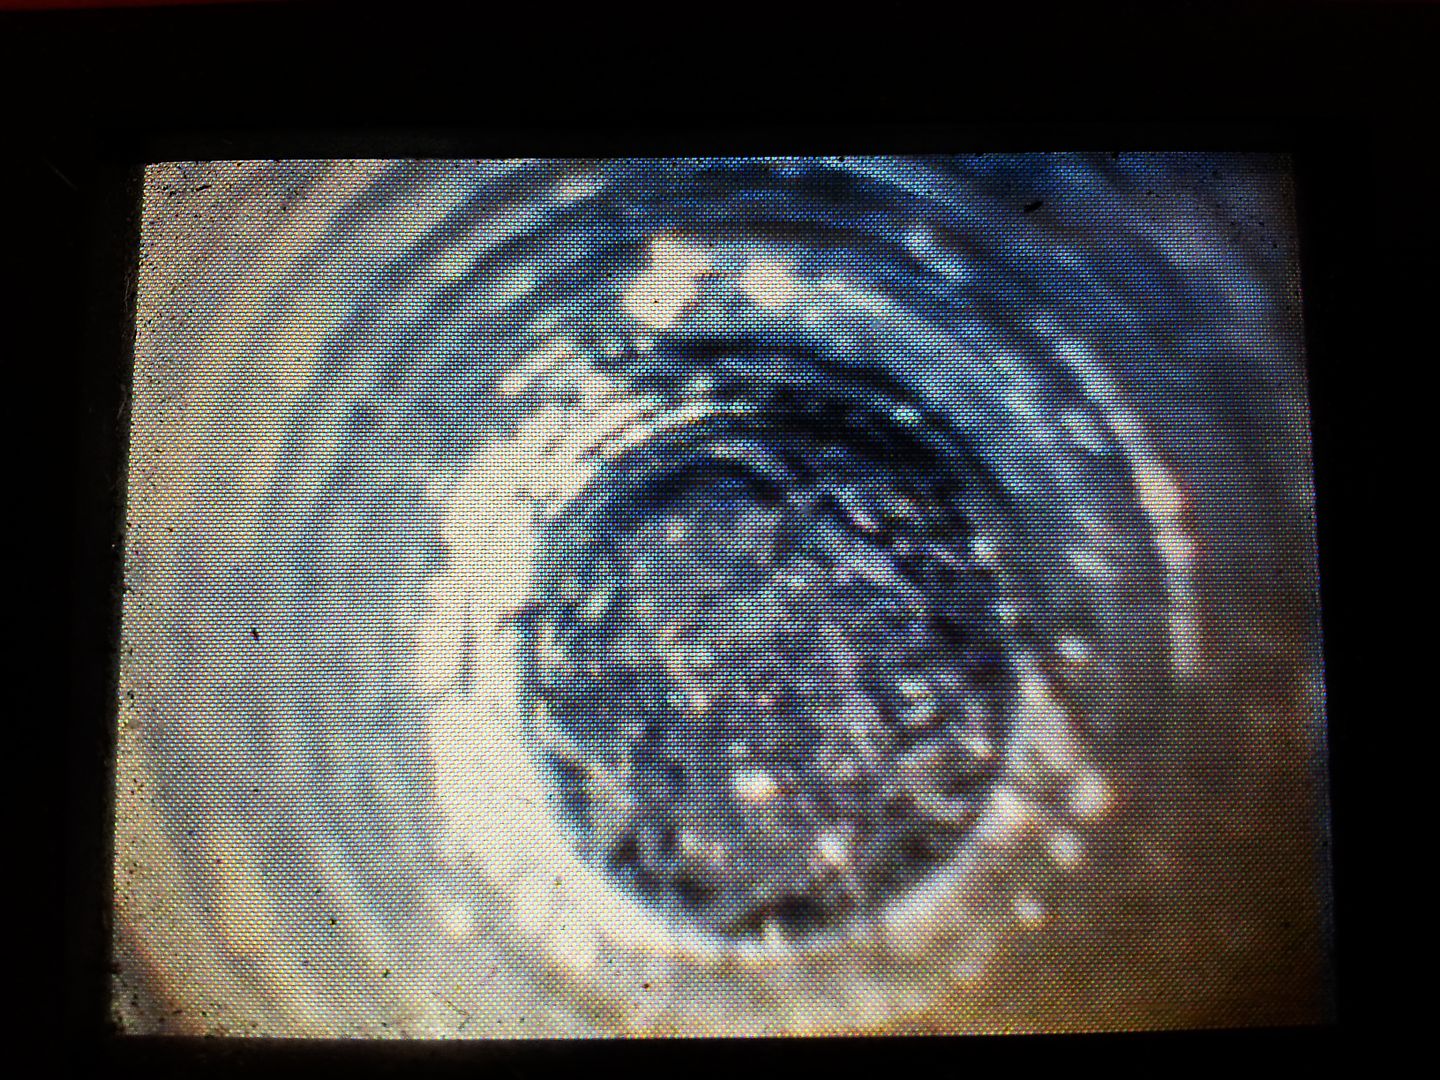
Curse you and your endoscope thingy. Only joking it was my own fault. I seen yours and got one as I thought that it would be a good idea to check out my AWT 1.8t engine that had been out on the timing and has also got a failed timing chain tensioner. Anyway I inspected the piston crowns and couldn't see valve to piston crown interaction damage but couldn't see enough of the piston crown edge or the cylinder wall. I put a mirror attachment on and it fell off when I bumped the end of it against the piston :blink:. I managed to fish the plastic collar out with another attachment but gave up on the mirror for tonight, I'll try it again on Monday when my brain has come up with a plan while I sleep. I think my engine has either been running to hot (whitish silvery deposits all over the crown) or it's aluminium deposits from the cam chain eating into the cam cover. Compression test was good at 150psi after two rotations and 165 psi after six with 5psi max cylinder pressure difference. I hope that cheered you up me dropping I mirror into the cylinder. I thought laughing was better than crying, I don't really want to take the head off.

Are you going to flatten back the high spots on the piston crown to prevent potential hot spots that could cause running problems or cause a blow out. Would it need rebalanced after that? There is a company that does Nitron CA coating that creates a thermal barrier to protect whatever you get coated. It may offset the need to flatten back the high spots. Or you could do both. All the best with the mini refurb.
 
Last edited:

tufftybloke

Badger 5 Edition
Feb 28, 2009
657
0
Gloucestershire, UK
Curse you and your endoscope thingy. Only joking it was my own fault. I seen yours and got one as I thought that it would be a good idea to check out my AWT 1.8t engine that had been out on the timing and has also got a failed timing chain tensioner. Anyway I inspected the piston crowns and couldn't see valve to piston crown interaction damage but couldn't see enough of the piston crown edge or the cylinder wall. I put a mirror attachment on and it fell off when I bumped the end of it against the piston :blink:. I managed to fish the plastic collar out with another attachment but gave up on the mirror for tonight, I'll try it again on Monday when my brain has come up with a plan while I sleep. I think my engine has either been running to hot (whitish silvery deposits all over the crown) or it's aluminium deposits from the cam chain eating into the cam cover. Compression test was good at 150psi after two rotations and 165 psi after six with 5psi max cylinder pressure difference. I hope that cheered you up me dropping I mirror into the cylinder. I thought laughing was better than crying, I don't really want to take the head off.

Whoops :)

Are you going to flatten back the high spots on the piston crown to prevent potential hot spots that could cause running problems or cause a blow out. Would it need rebalanced after that? There is a company that does Nitron CA coating that creates a thermal barrier to protect whatever you get coated. It may offset the need to flatten back the high spots. Or you could do both. All the best with the mini refurb.

Not stripping the pistons out so no coatings... not a massive fan tbh as they don't really seem to do much... ceramic coating on the crowns is supposed to prevent detonation and the coating on the skirts is like the OE coating but it just rubs off fairly quickly so again not worth the extra cost for me..

I will be flatting down the bumps and rounding the sharp edges to prevent detonation

No rebalance required...

<tuffty/>
 

Pimped up vario

Cordy Cruizer
Nov 20, 2009
1,291
0
Belfast N Ireland
Yeehaah. I got my mirror out of the cylinder without having to take the head off. I attached the mirror securely this time and inspected the cylinder bores. They have a bit of scoring covering a few mm at the top of the cylinder bore and transitions into the cylinder head by a few mm. I say a few mm because it's hard to tell the perspective through the inspection camera. Looking forward to more news of your semi strip down. :)
 

tufftybloke

Badger 5 Edition
Feb 28, 2009
657
0
Gloucestershire, UK
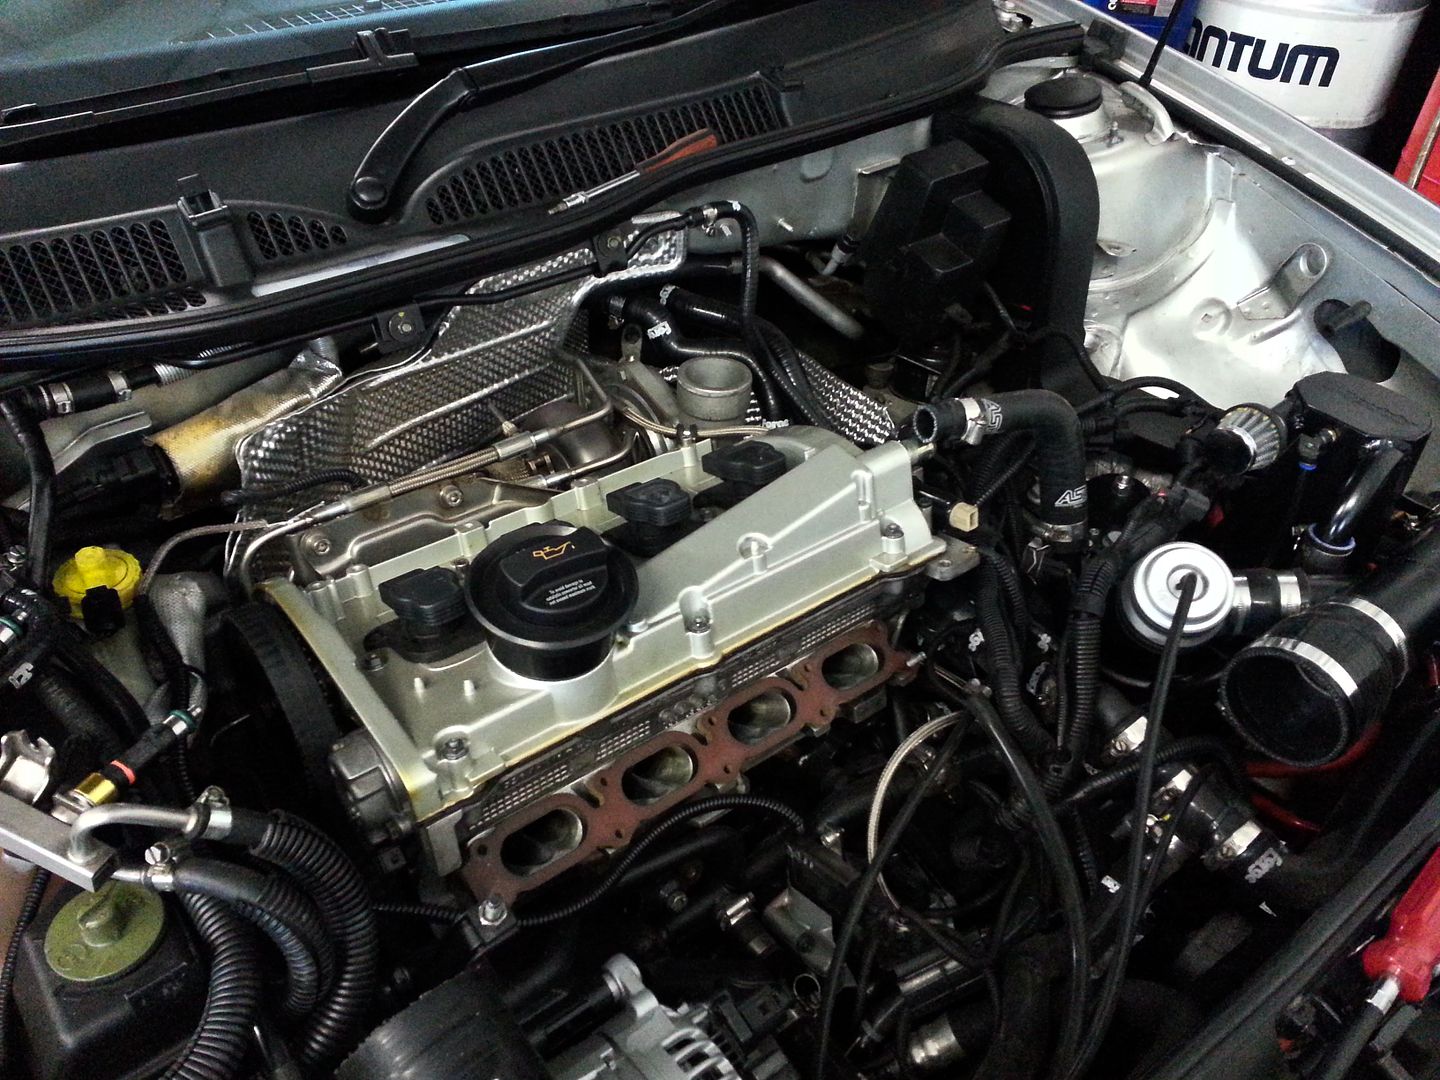
Managed to sneak the car in while Bill wasn't looking LOL... (not actually true btw...)

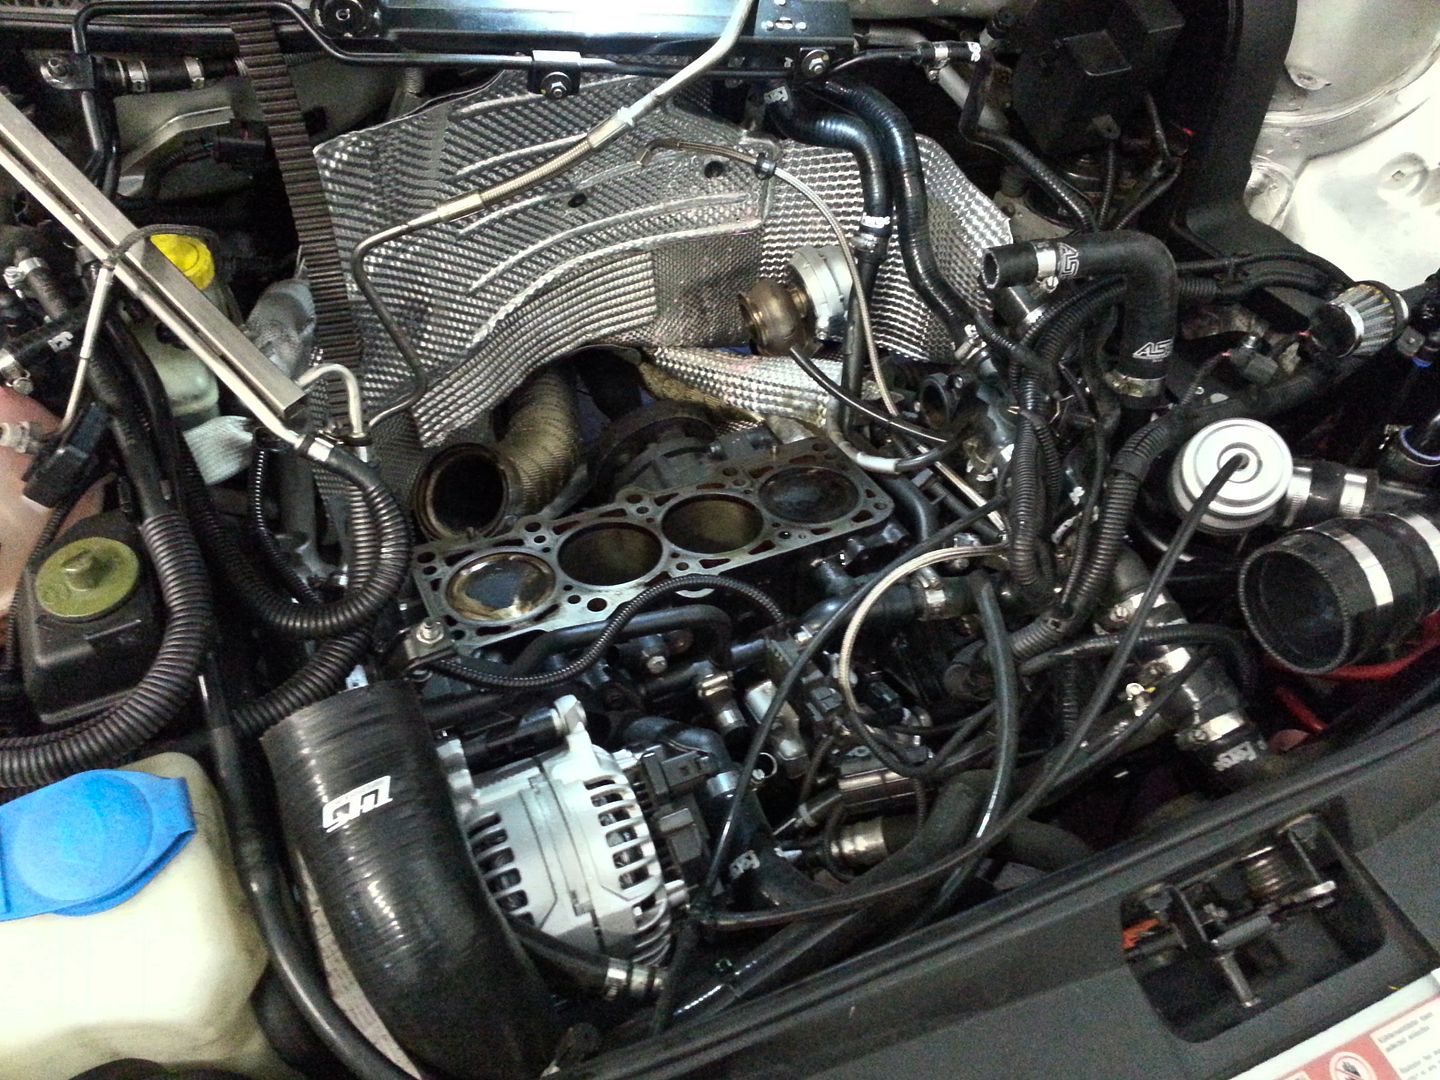
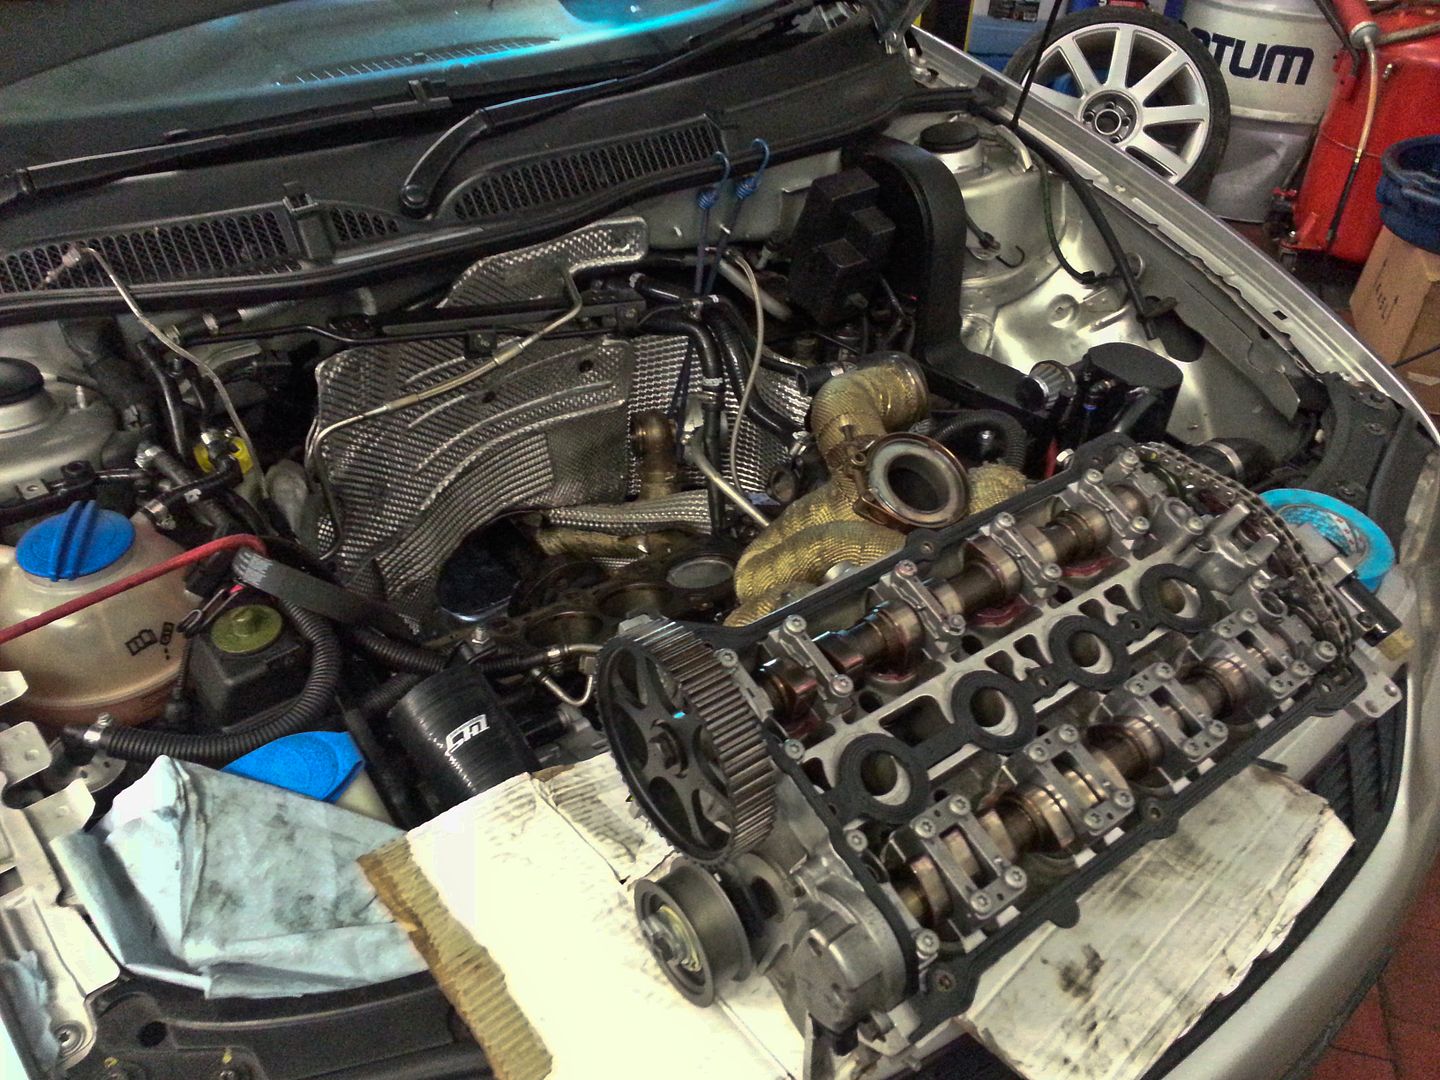
Still waiting on the collets but cracked on with head removal...
20140706_110449.jpg


20140706_144556.jpg


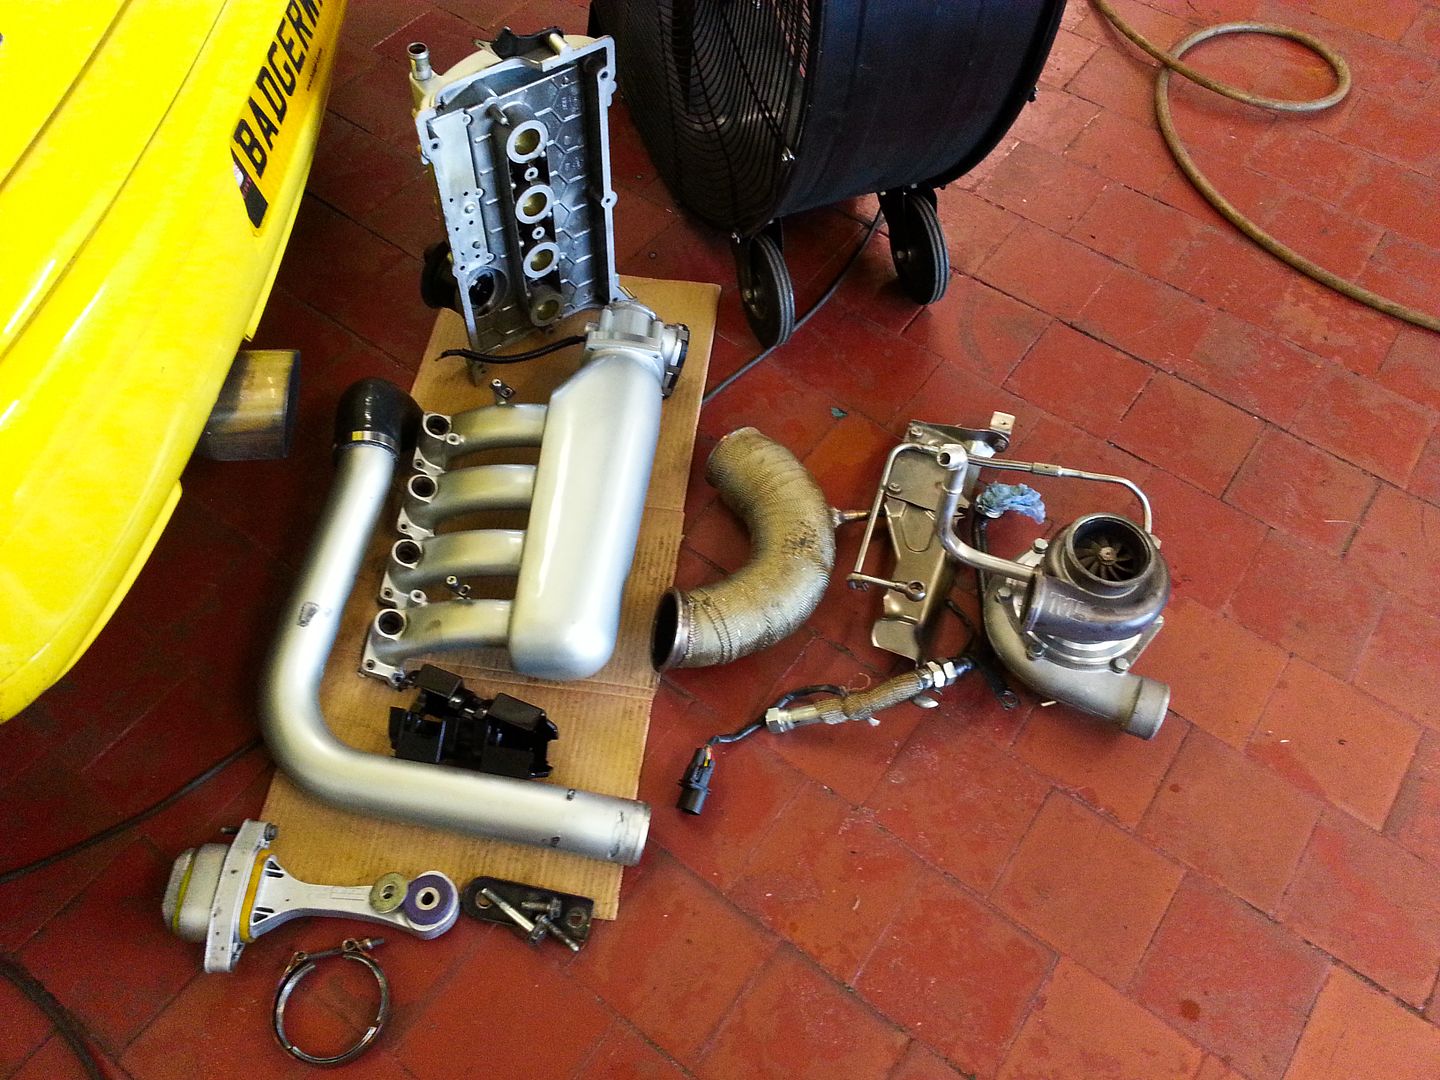
Some spare bits.... :)
20140706_144614.jpg


Little bit of coolant down the heatshielding from the leak I had from the heater pipes so need to clean that up to see if it is legacy of that or a new leak... also noticed the wastegate clamps had relaxed a bit which is to be expected...
20140706_144605.jpg


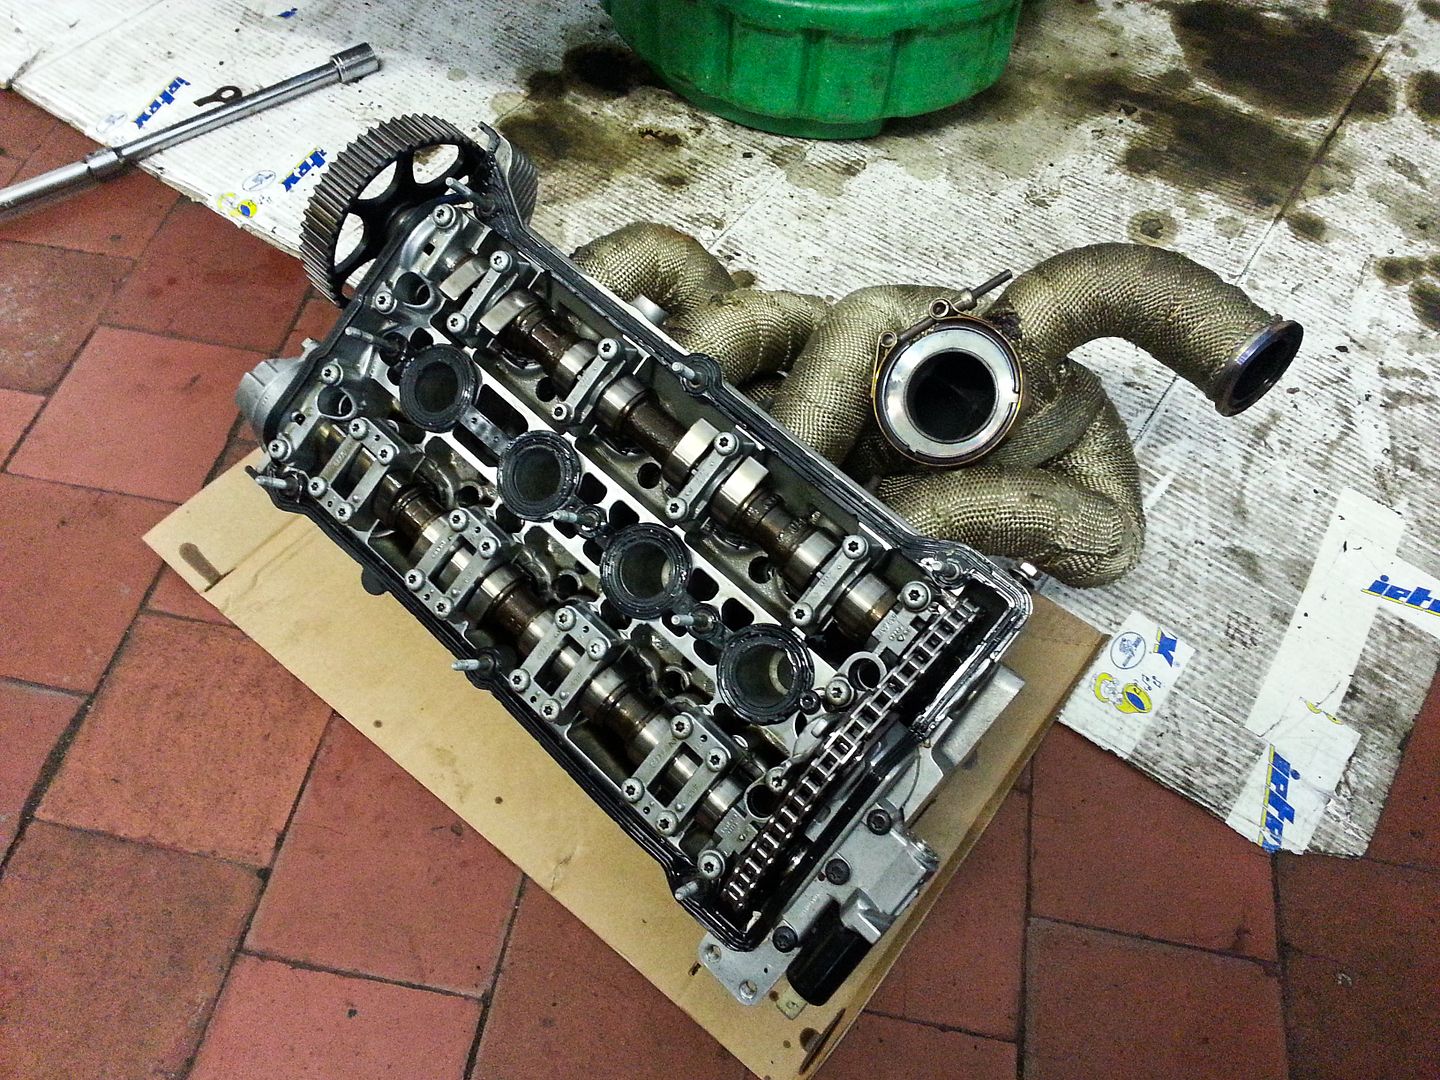
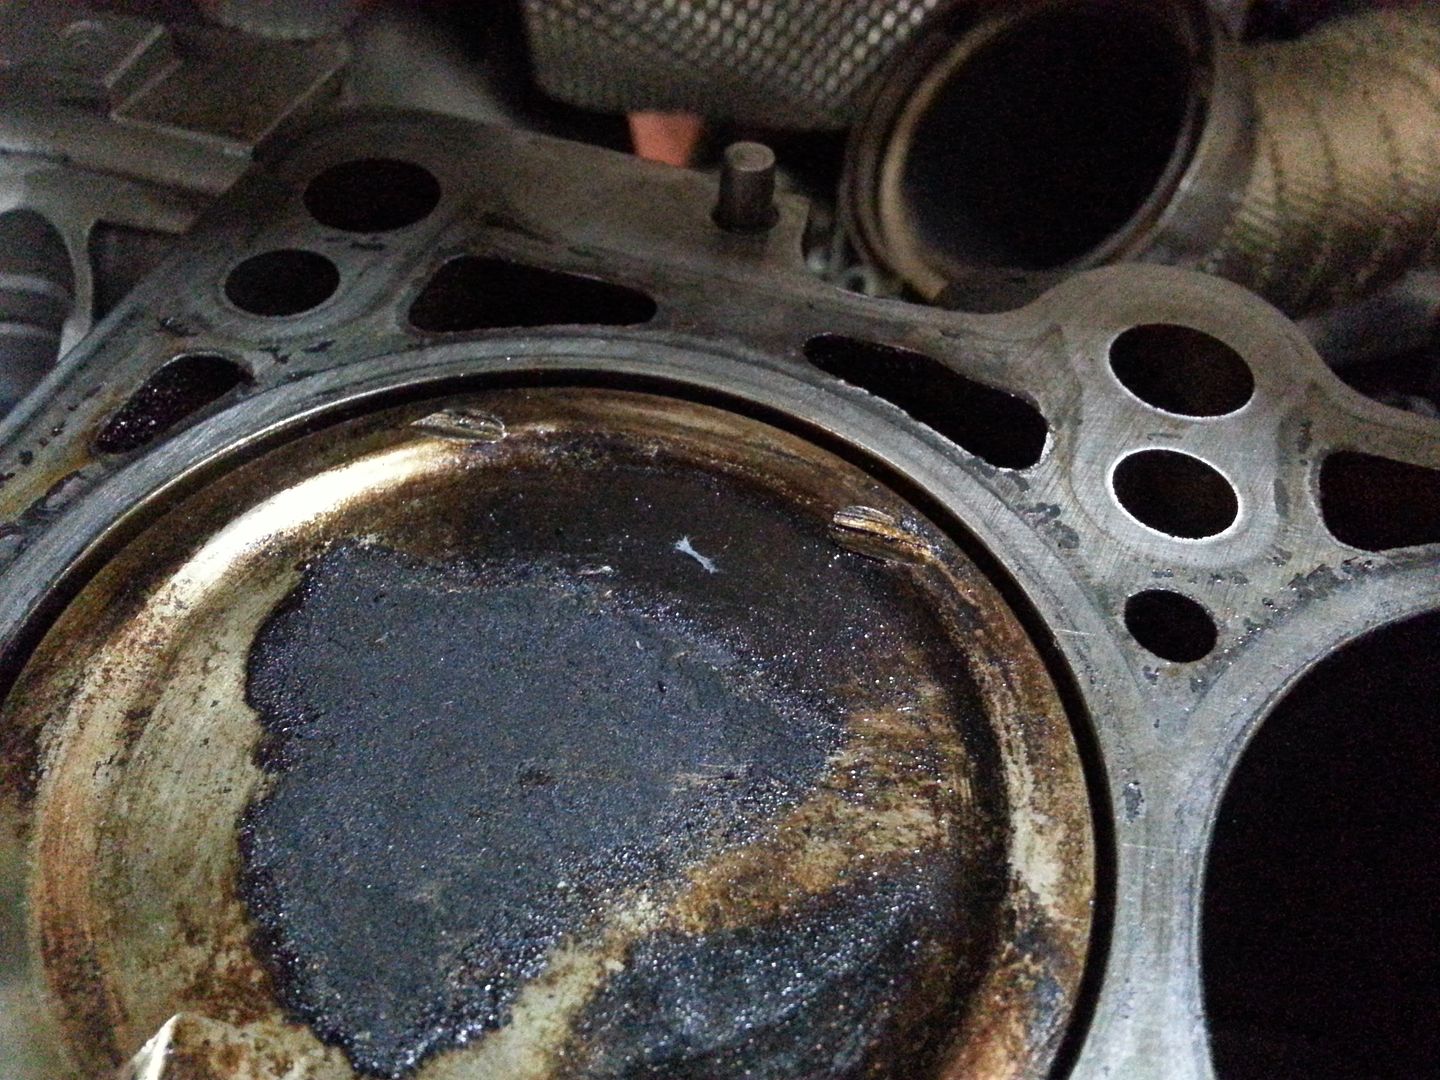
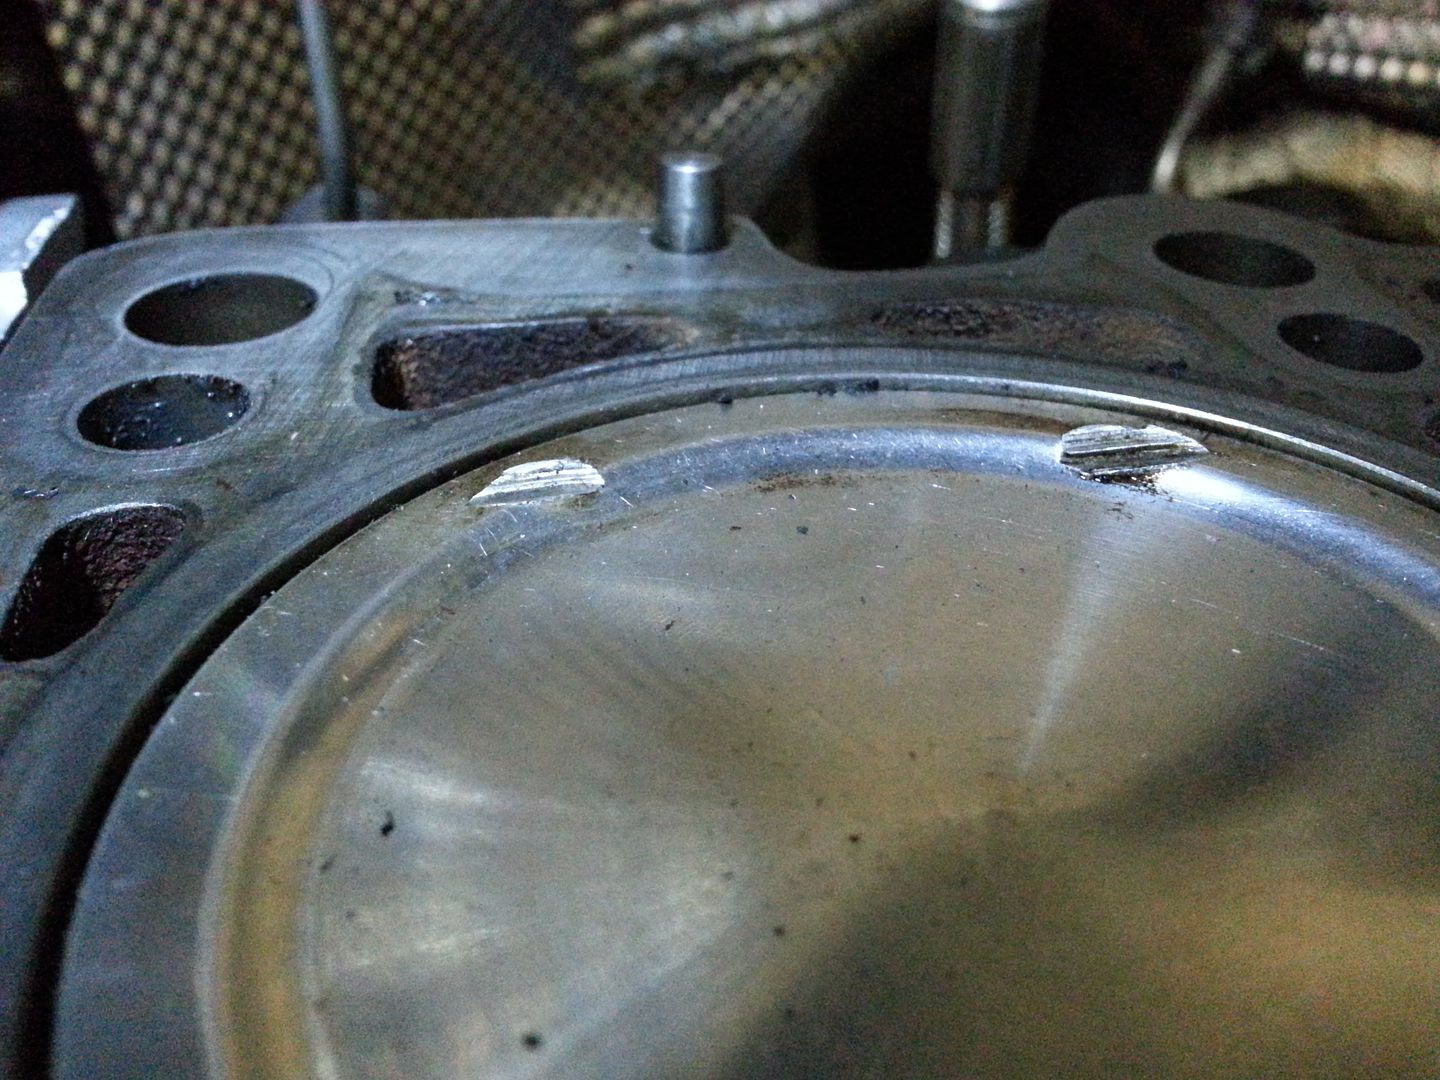
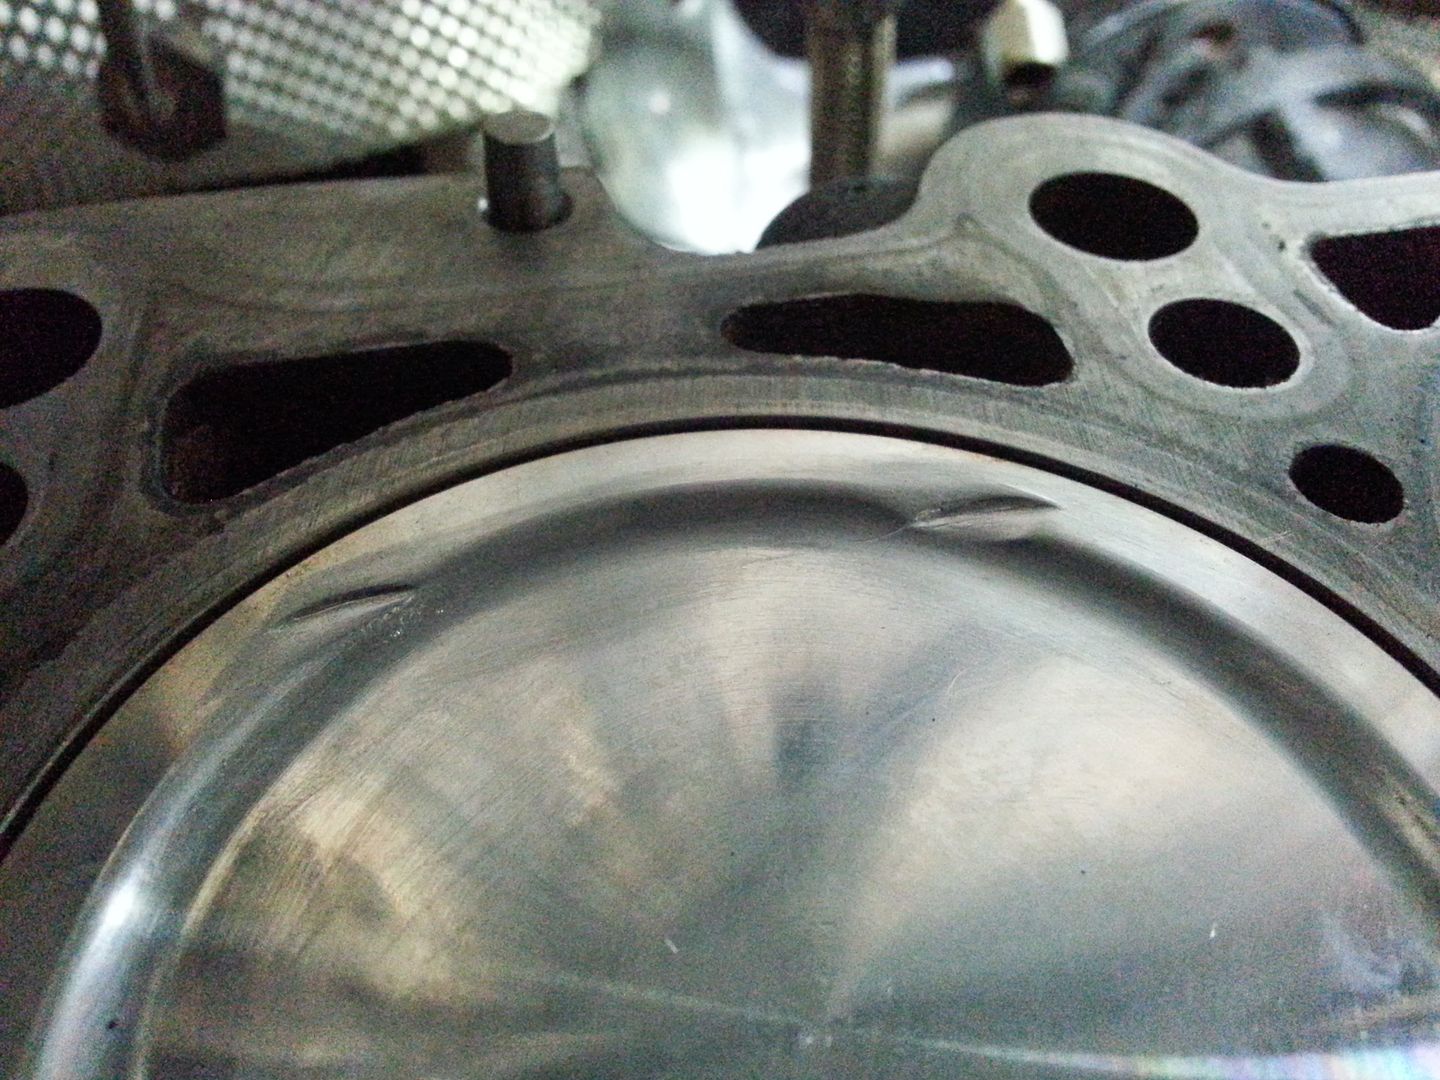
So... inspecting the engine confirmed what I saw on the bore scope...
20140706_144626.jpg


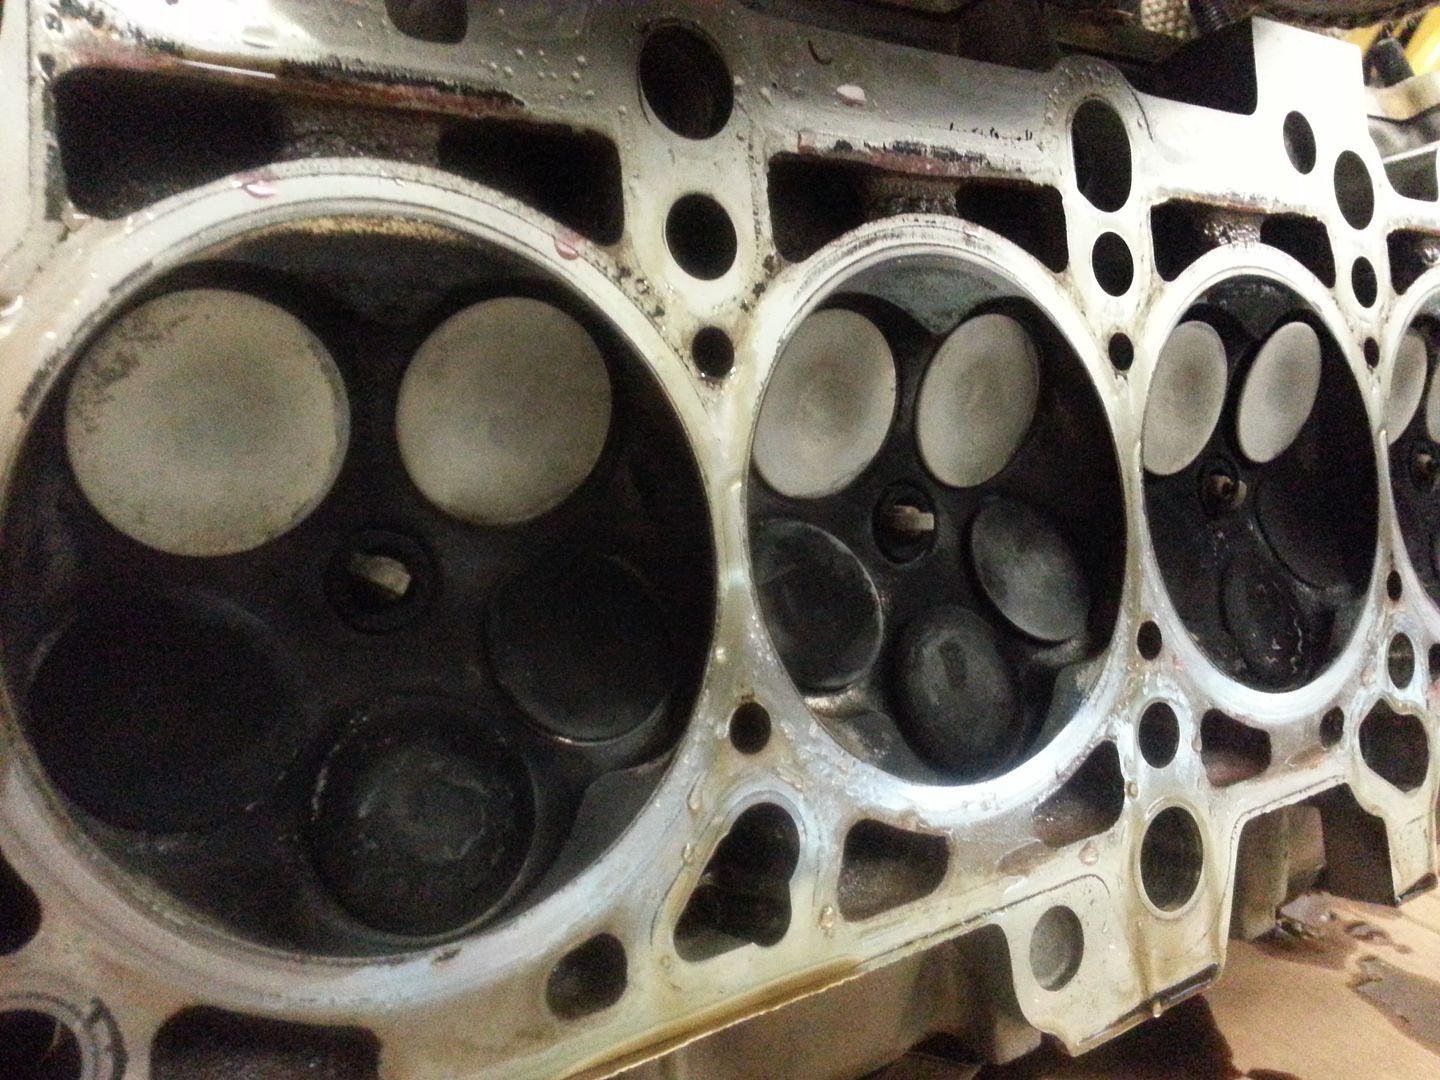
...the head looked perfect in fairness...
20140706_153651.jpg


20140706_155906.jpg


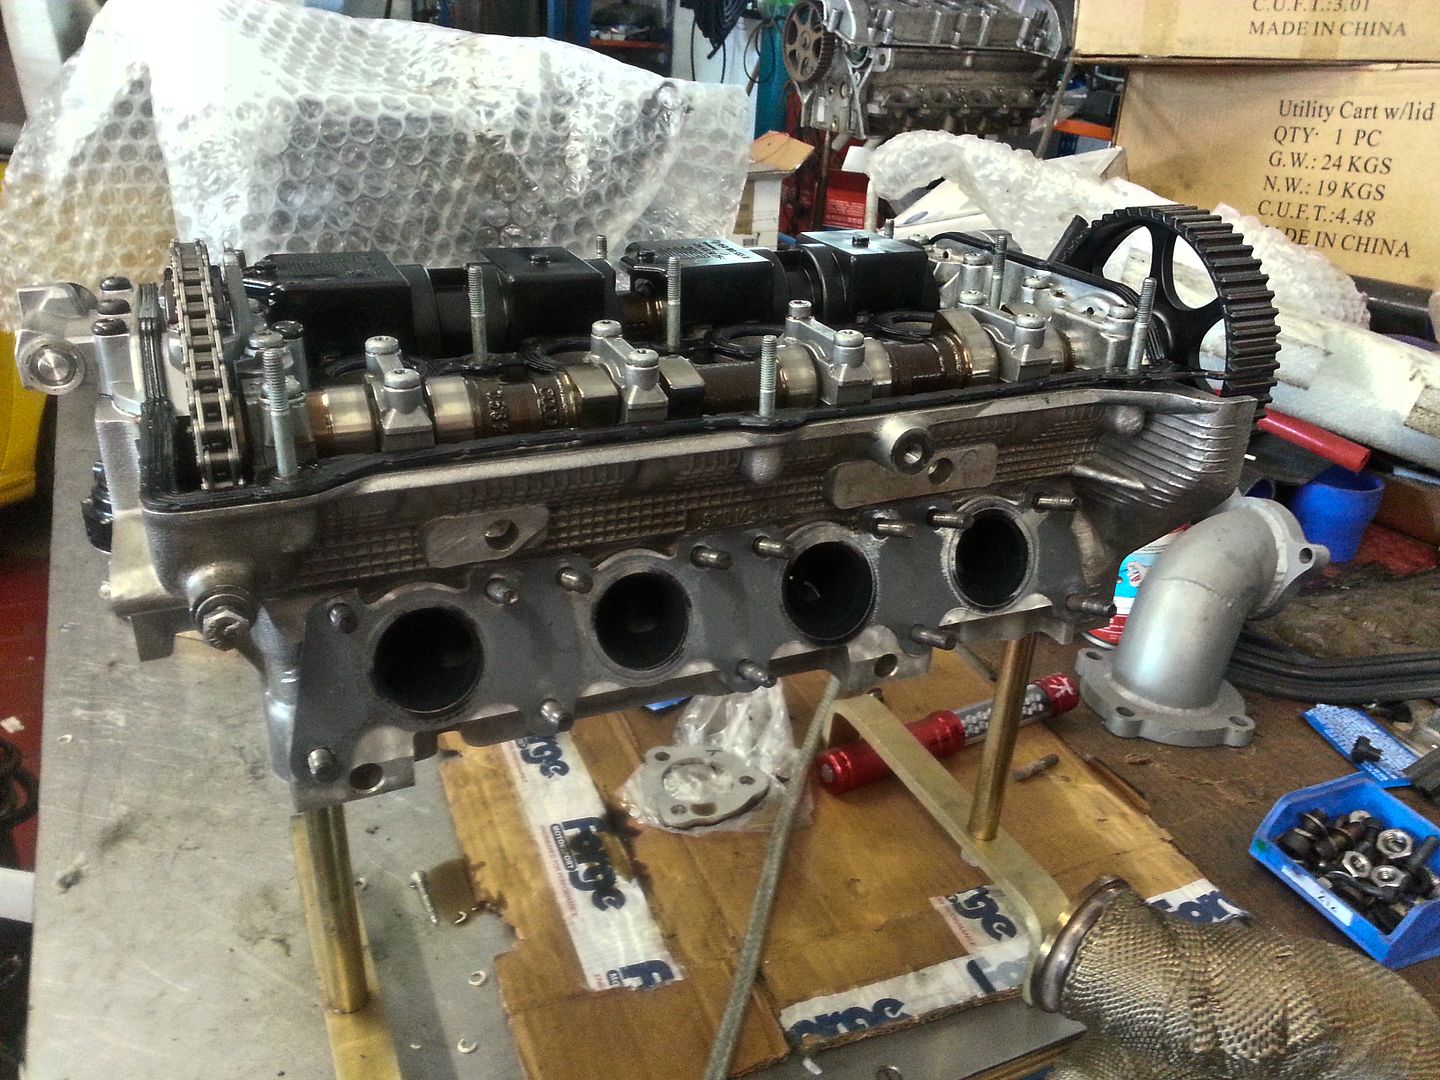
So bunged it on the stands ready to strip...
20140706_155854.jpg


As the valves aren't obviously bent and no other damage appears present I believe the piston contact was from the inertia of valve float rather than being driven into the crowns by the cam which is why the engine still seems to be working as expected but I'll know a little more once I have stripped the head and inspected a little closer...

<tuffty/>
 
Last edited:
Pimped up vario

Cordy Cruizer
Nov 20, 2009
1,291
0
Belfast N Ireland
You could do an upside down leak test before you strip it with the petrol in the cylinder head or the more advanced pressure testing. You'll be lapping the valves in again anyway and making it air tight but it'd be part of the inspection process to know if the impact had affected air tightness at the valve edge. Nice work.
 

tufftybloke

Badger 5 Edition
Feb 28, 2009
657
0
Gloucestershire, UK
Sooooooooooo.... took the head apart...

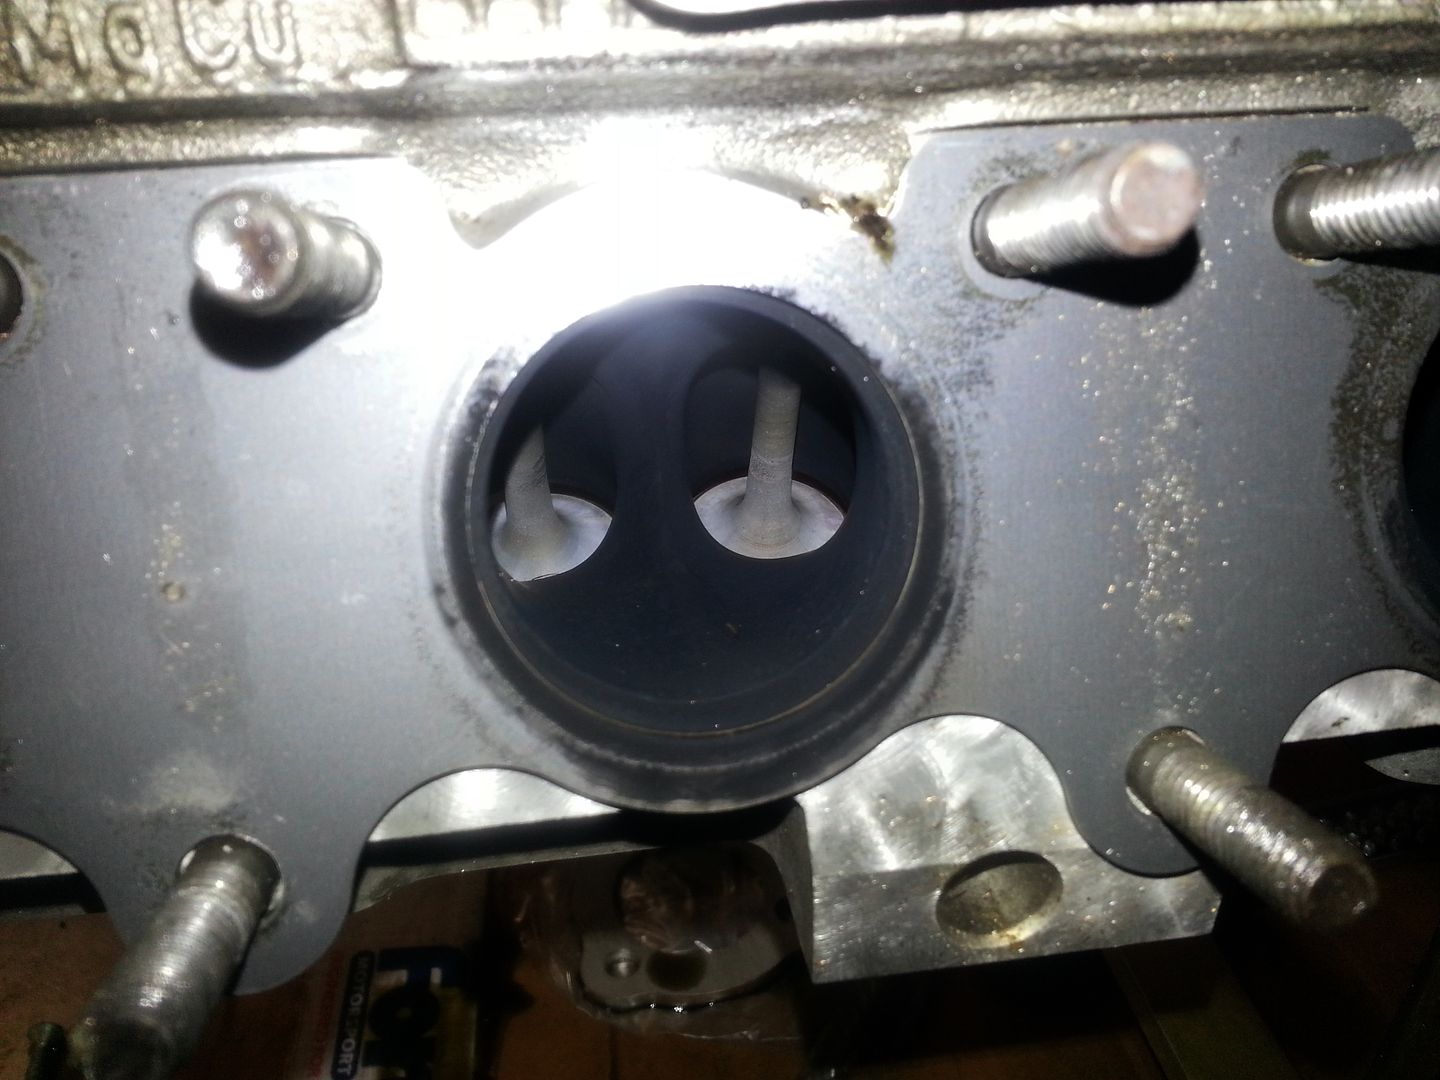
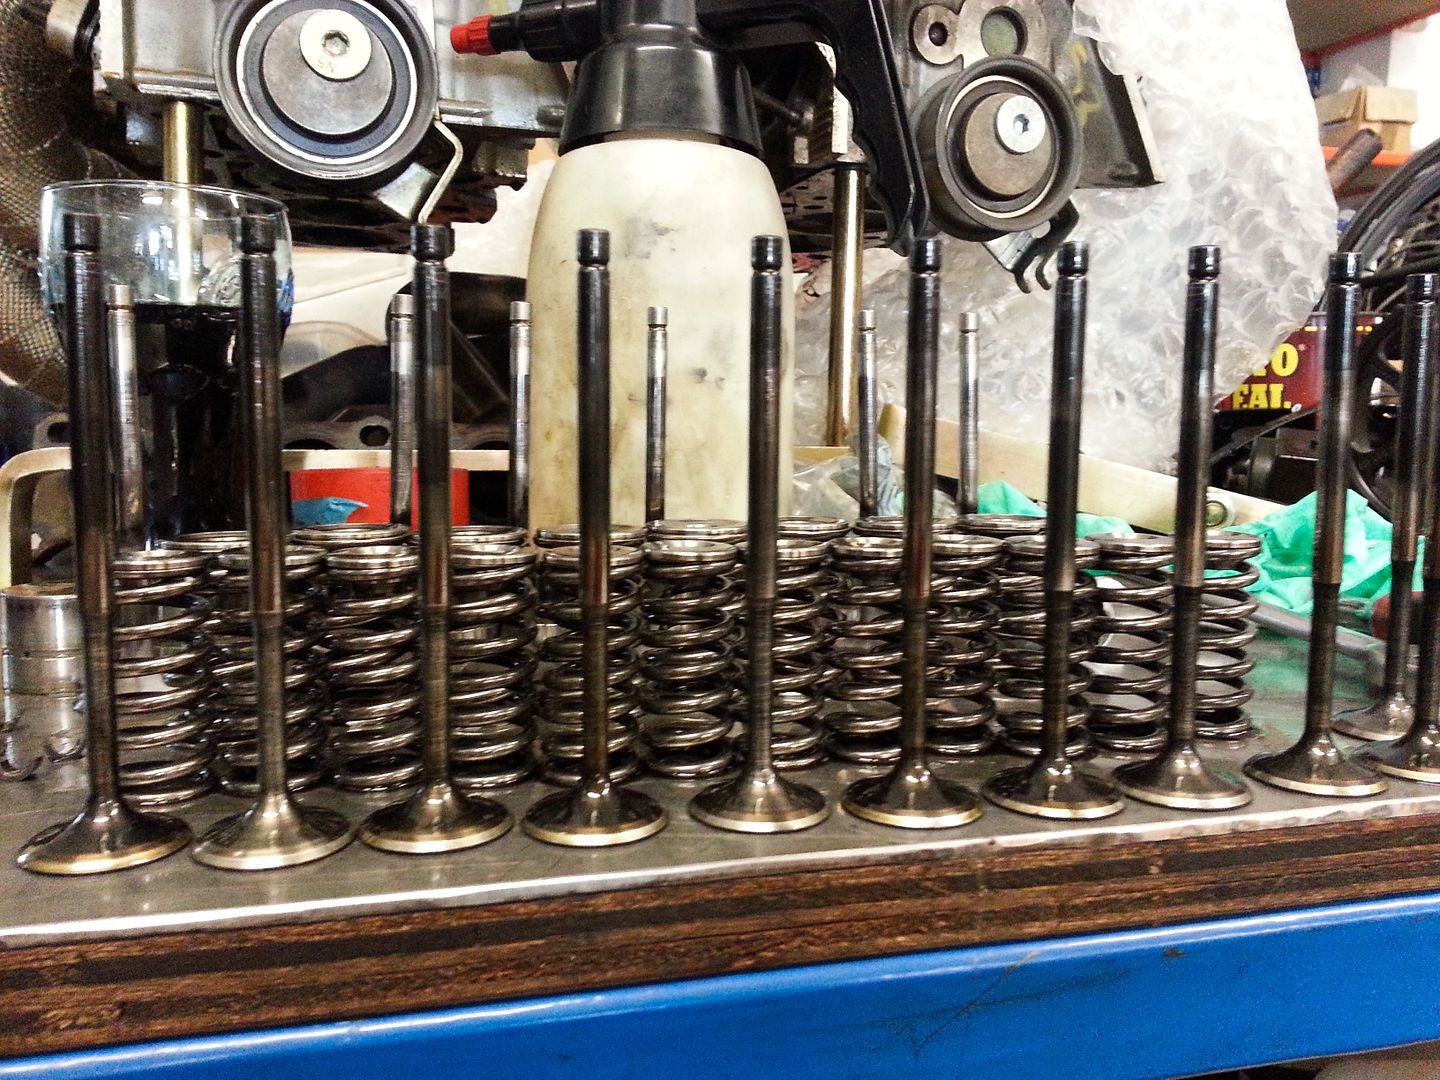
Springs look ok, collets look ok, inlets look ok (no impact marks on the pistons inlet side)..
20140711_140838.jpg


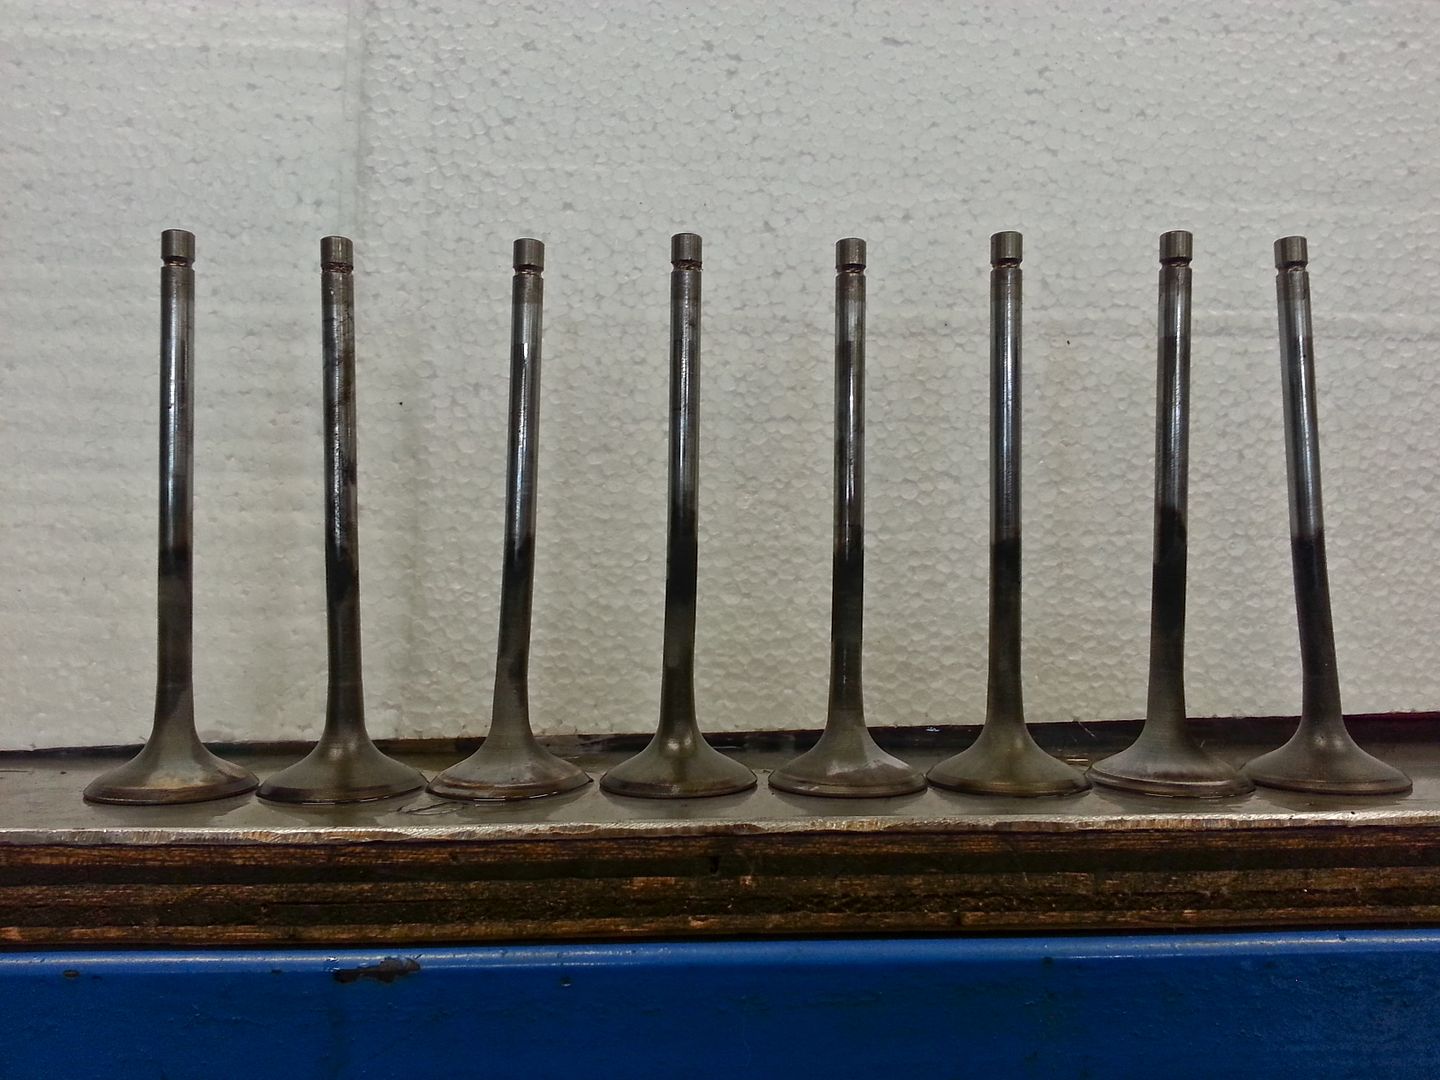
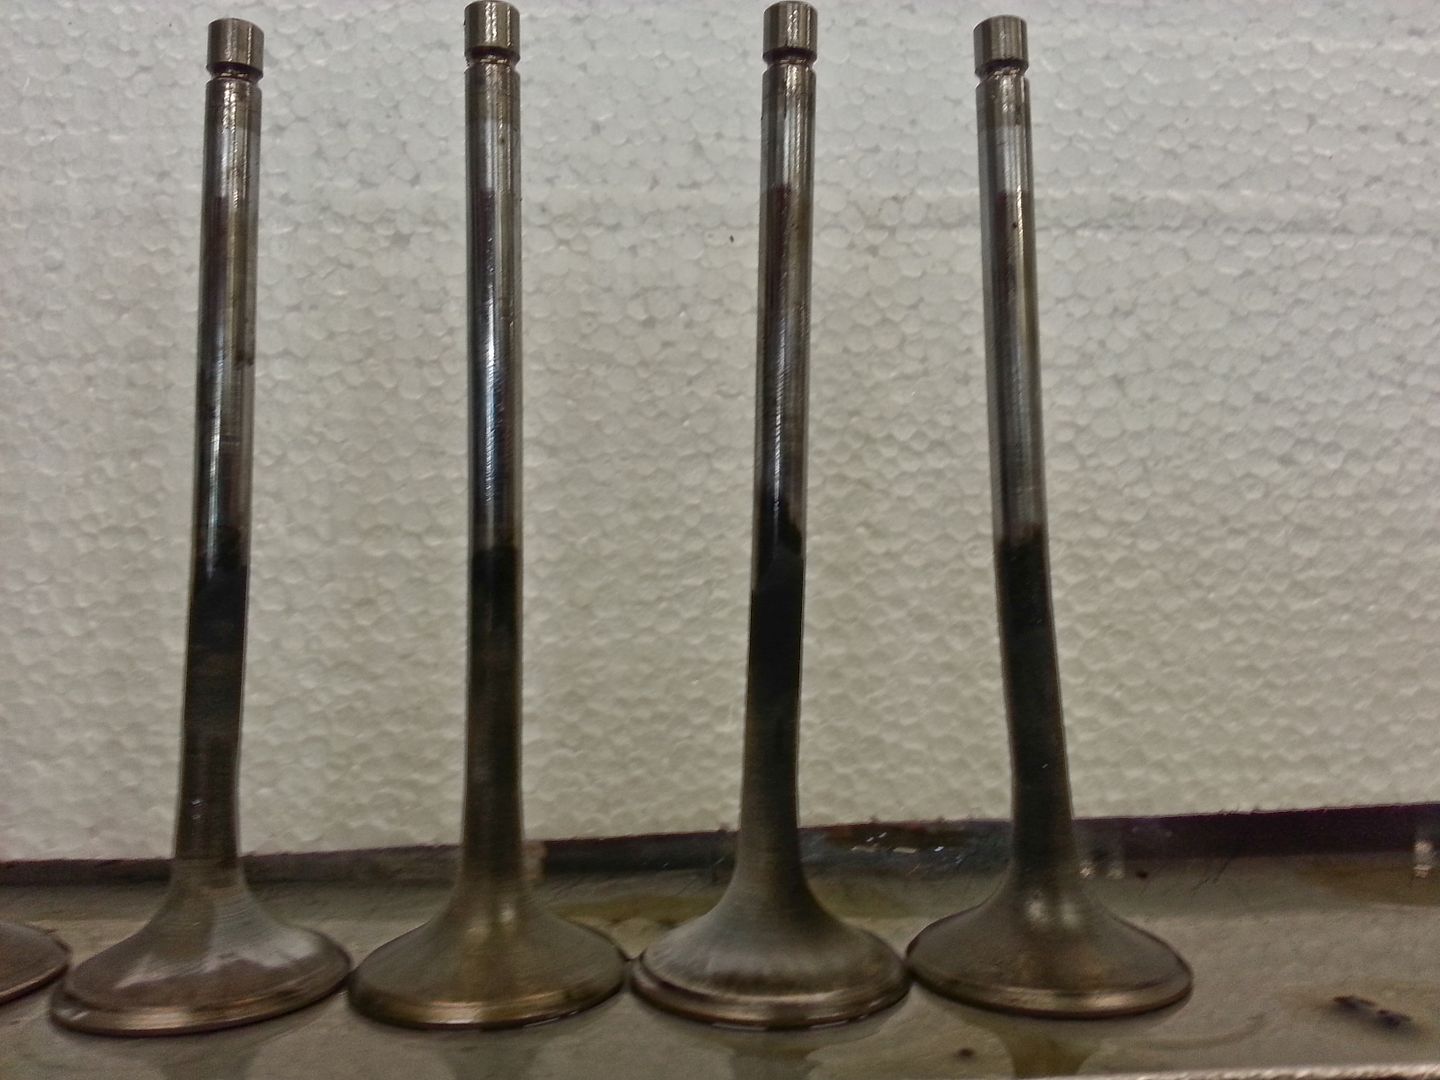
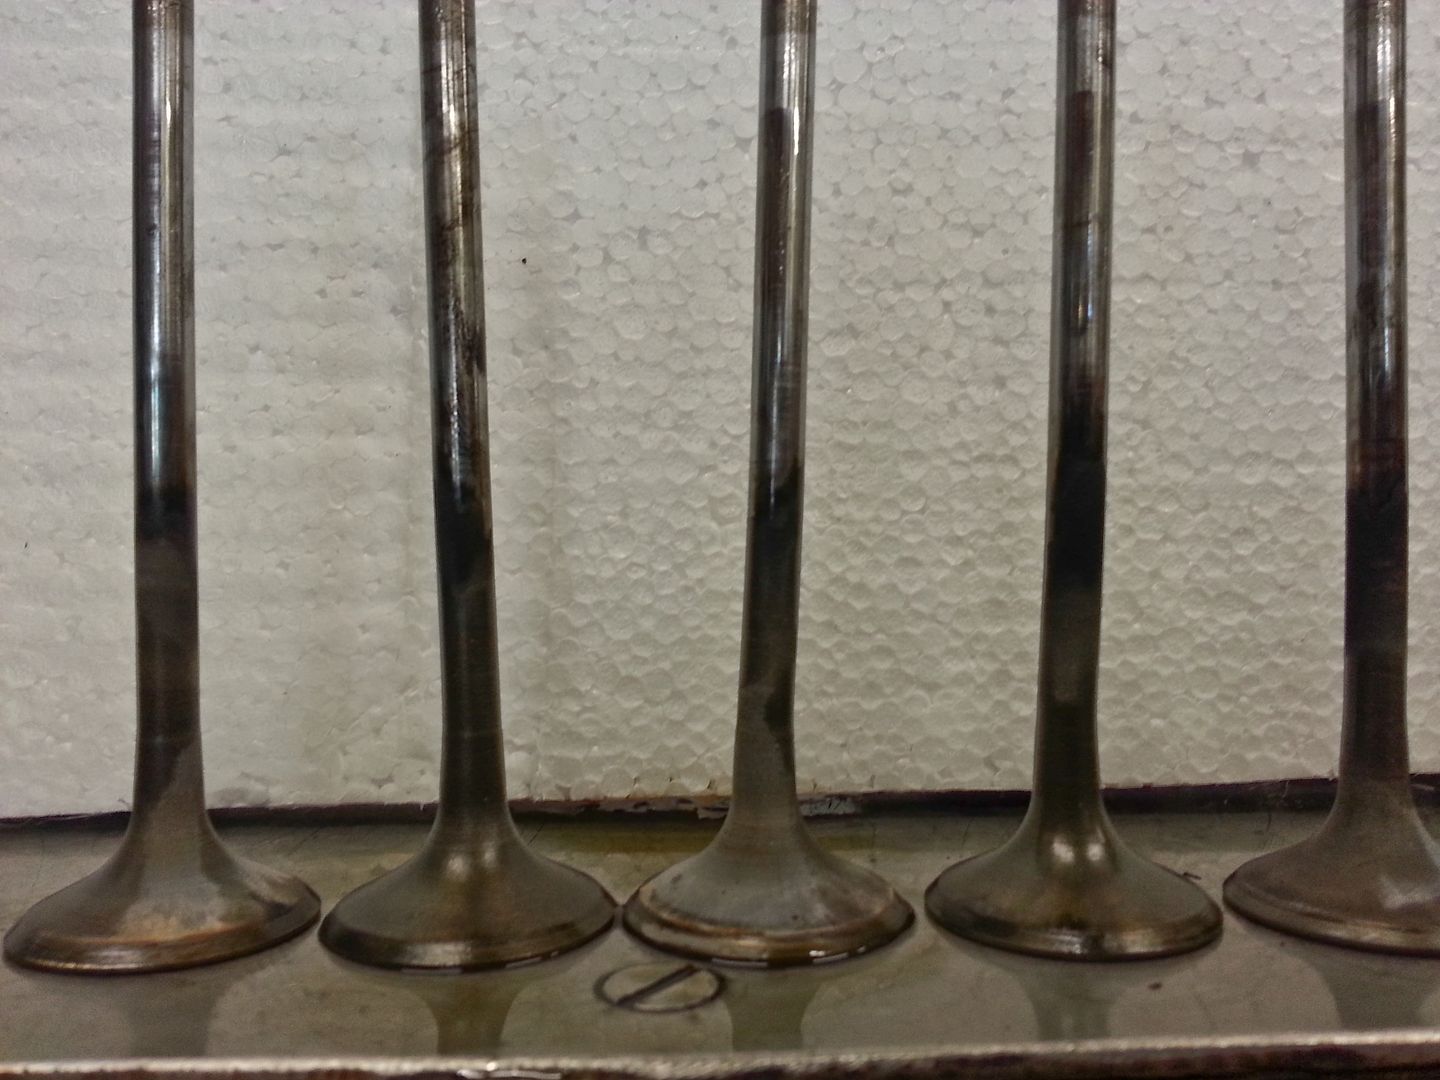
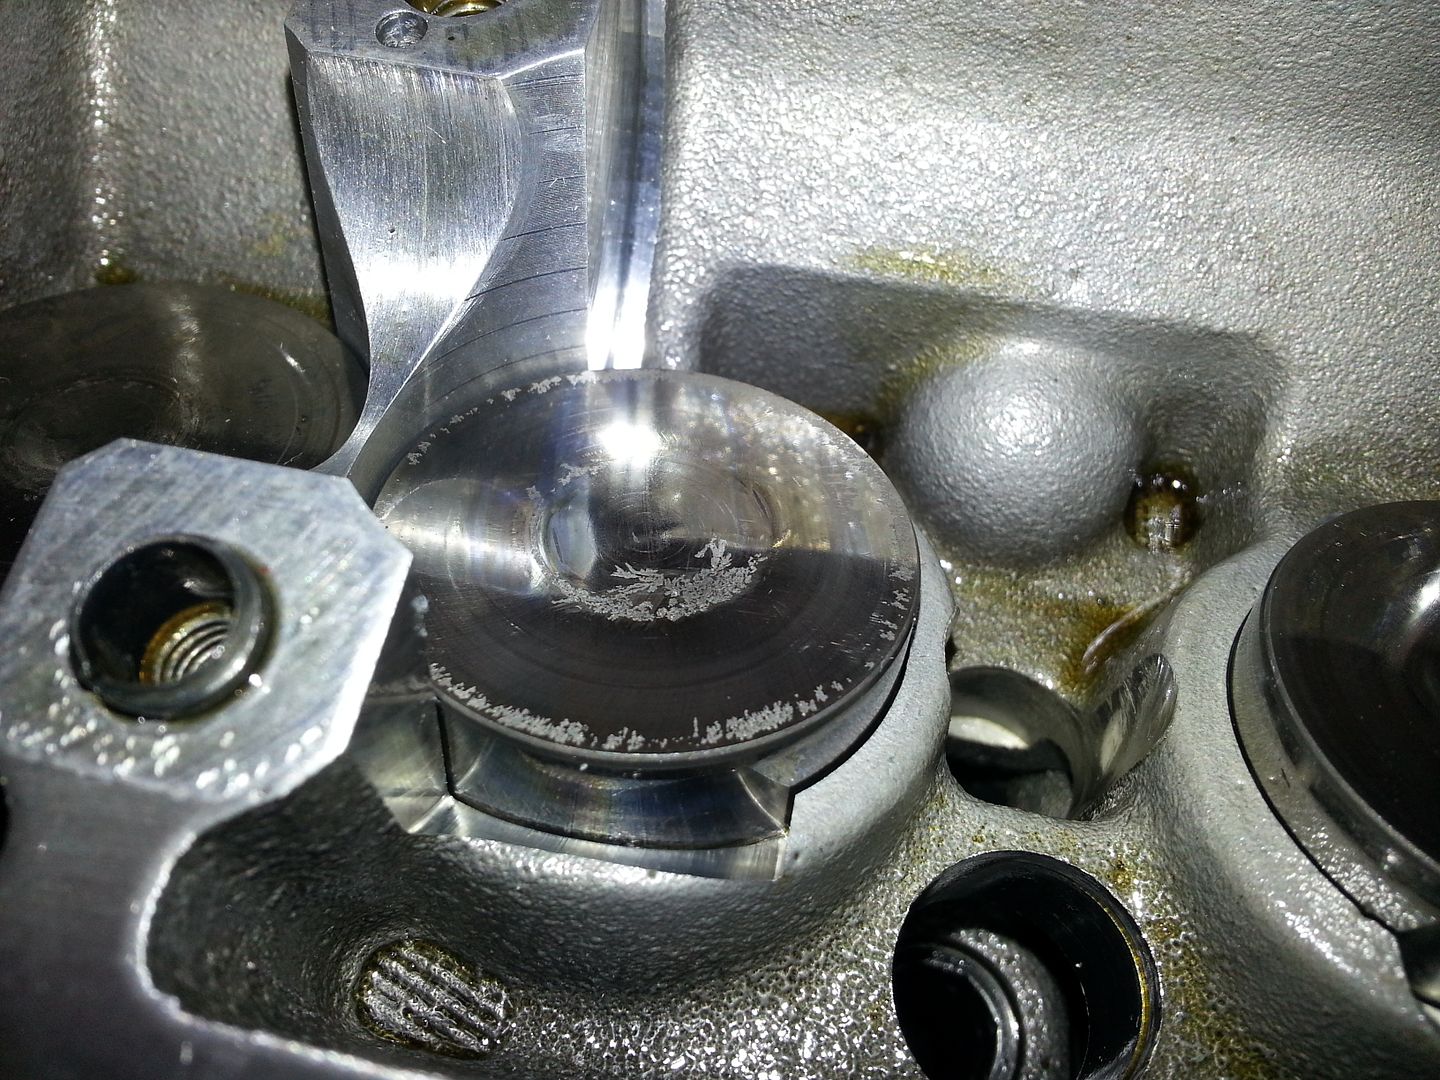
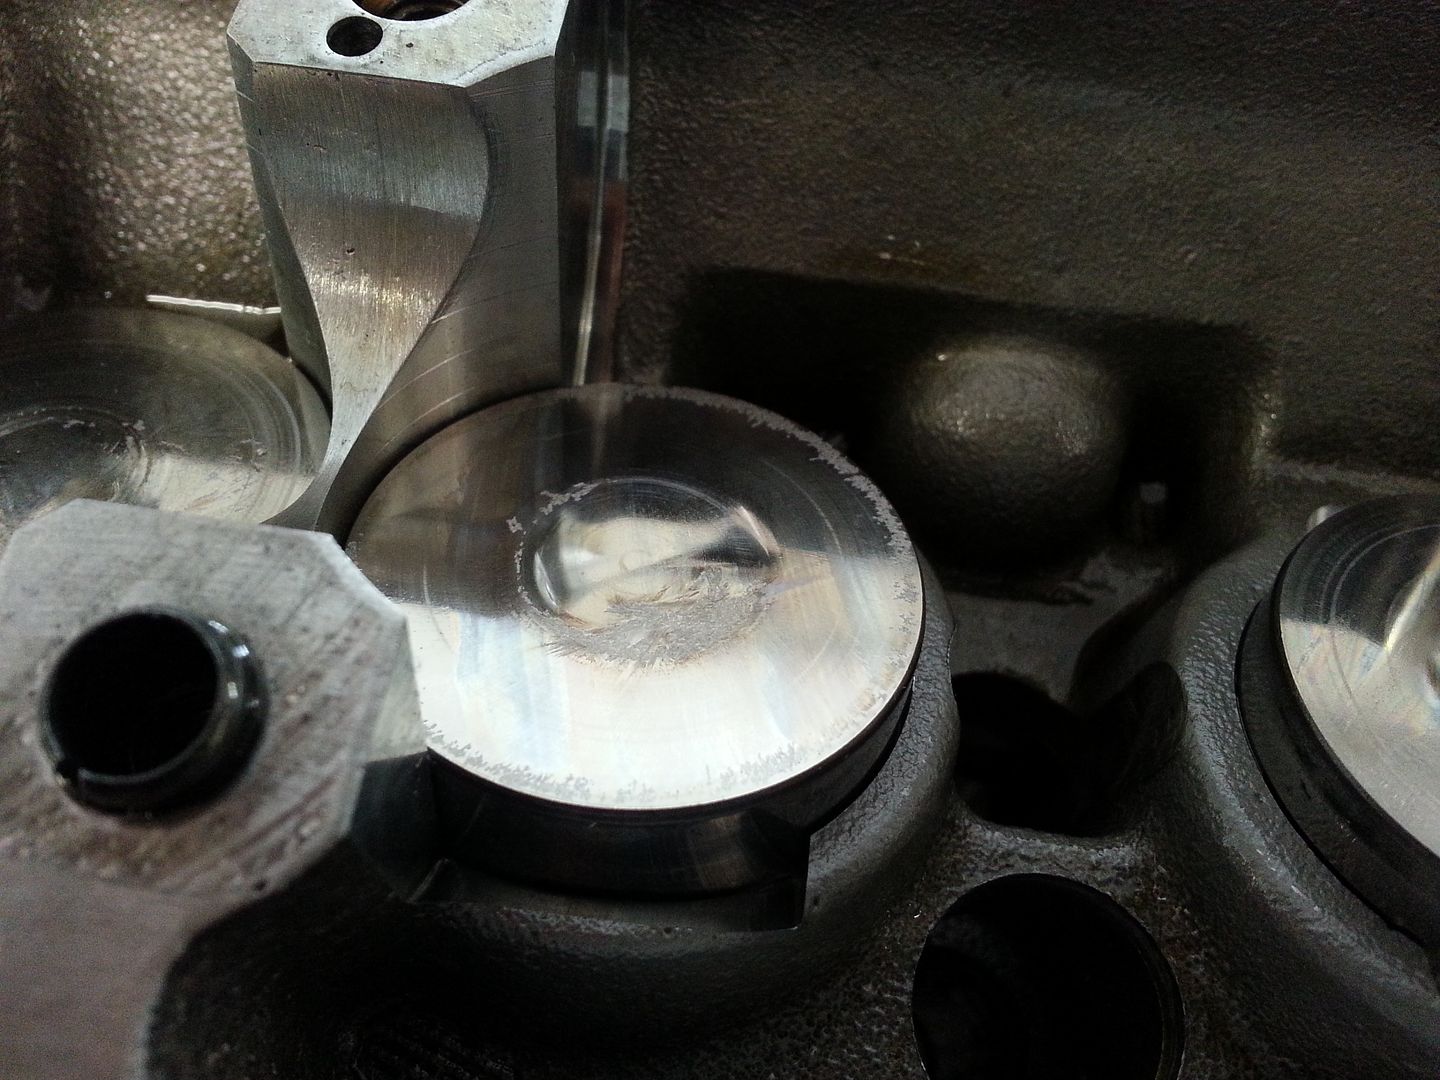
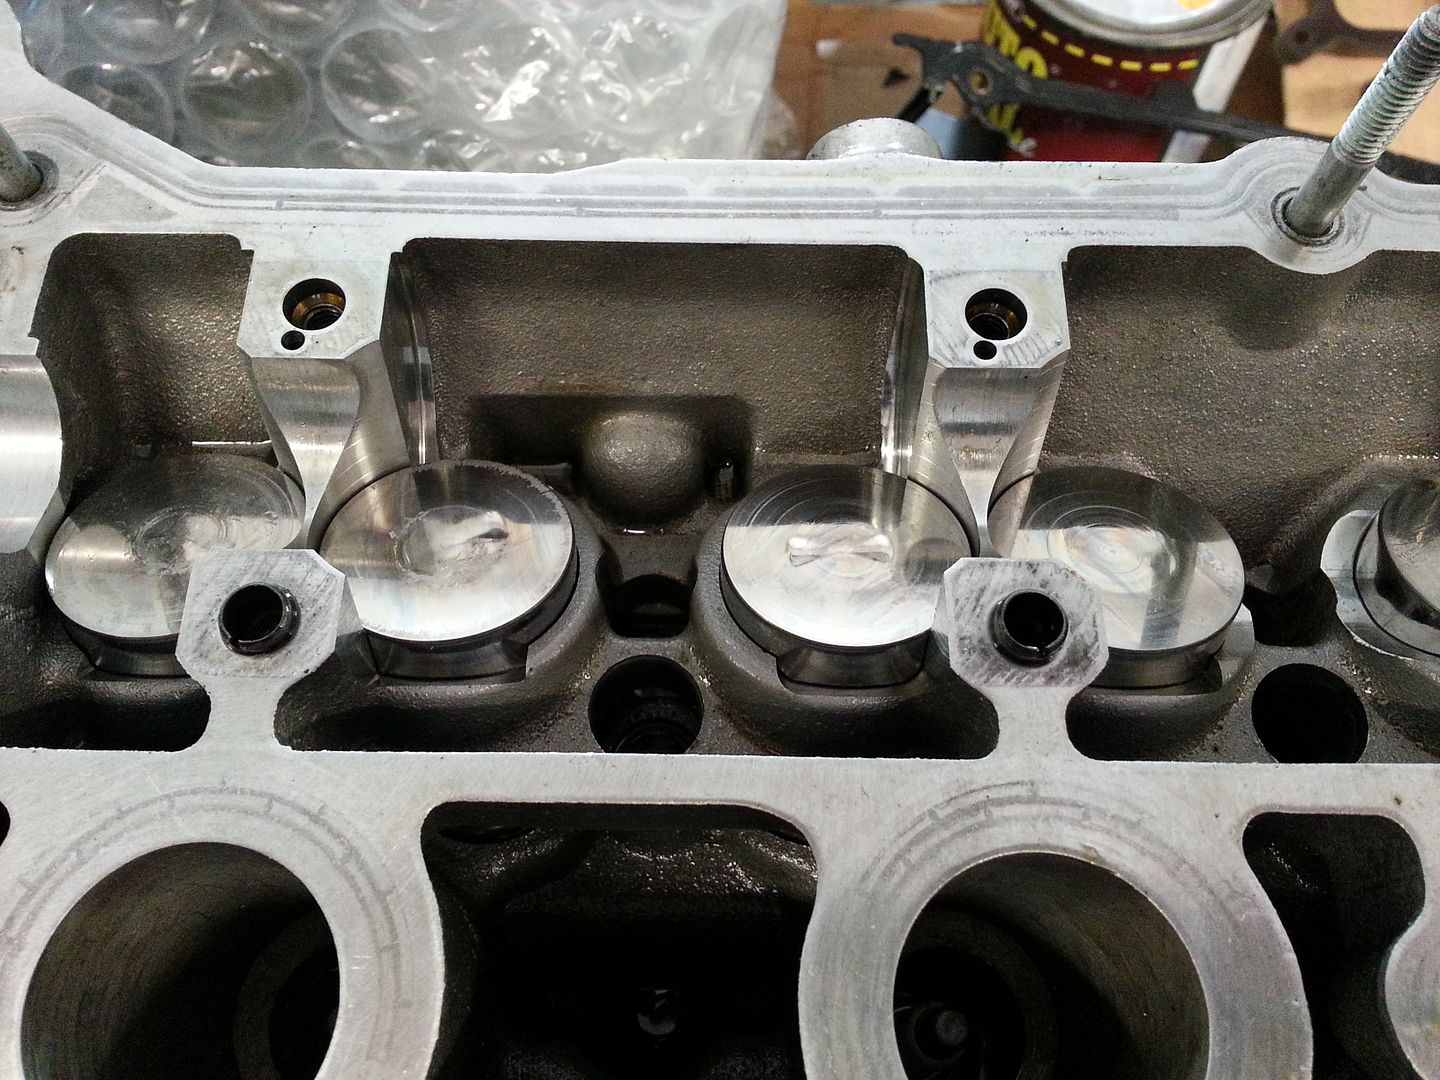
..the exhausts however...
20140711_141201.jpg


20140711_141210.jpg


20140711_141216.jpg


...and just to be sure (like I wasn't already)
[video=youtube_share;6CqqOM1teJU]http://youtu.be/6CqqOM1teJU[/video]

Going to check the exhaust guides and see what the are like shortly...

One thing that did annoy me though was the state of the exhaust followers... considering these were brand new and have done maybe 1000 or so miles I did not expect the following...

20140711_113544.jpg


20140711_113604.jpg


20140711_113613.jpg


Its possible the over rev caused some of this but the odd wear in the first pic I don't know... so... I have dug my old ones out as these were new when I did the first supertech and I only changed them 'because' so will use those... disappointing :/

<tuffty/>
 

tufftybloke

Badger 5 Edition
Feb 28, 2009
657
0
Gloucestershire, UK
Ouch, not good that. Doesnt look like any exhaust valves are left straight are there?

No mate.. all exhausts hit the pistons (all pistons have marks)....

I kinda expected it tbh... could have been a lot worse realistically... I suspect if the belt hadn't jumped then all would have been good...

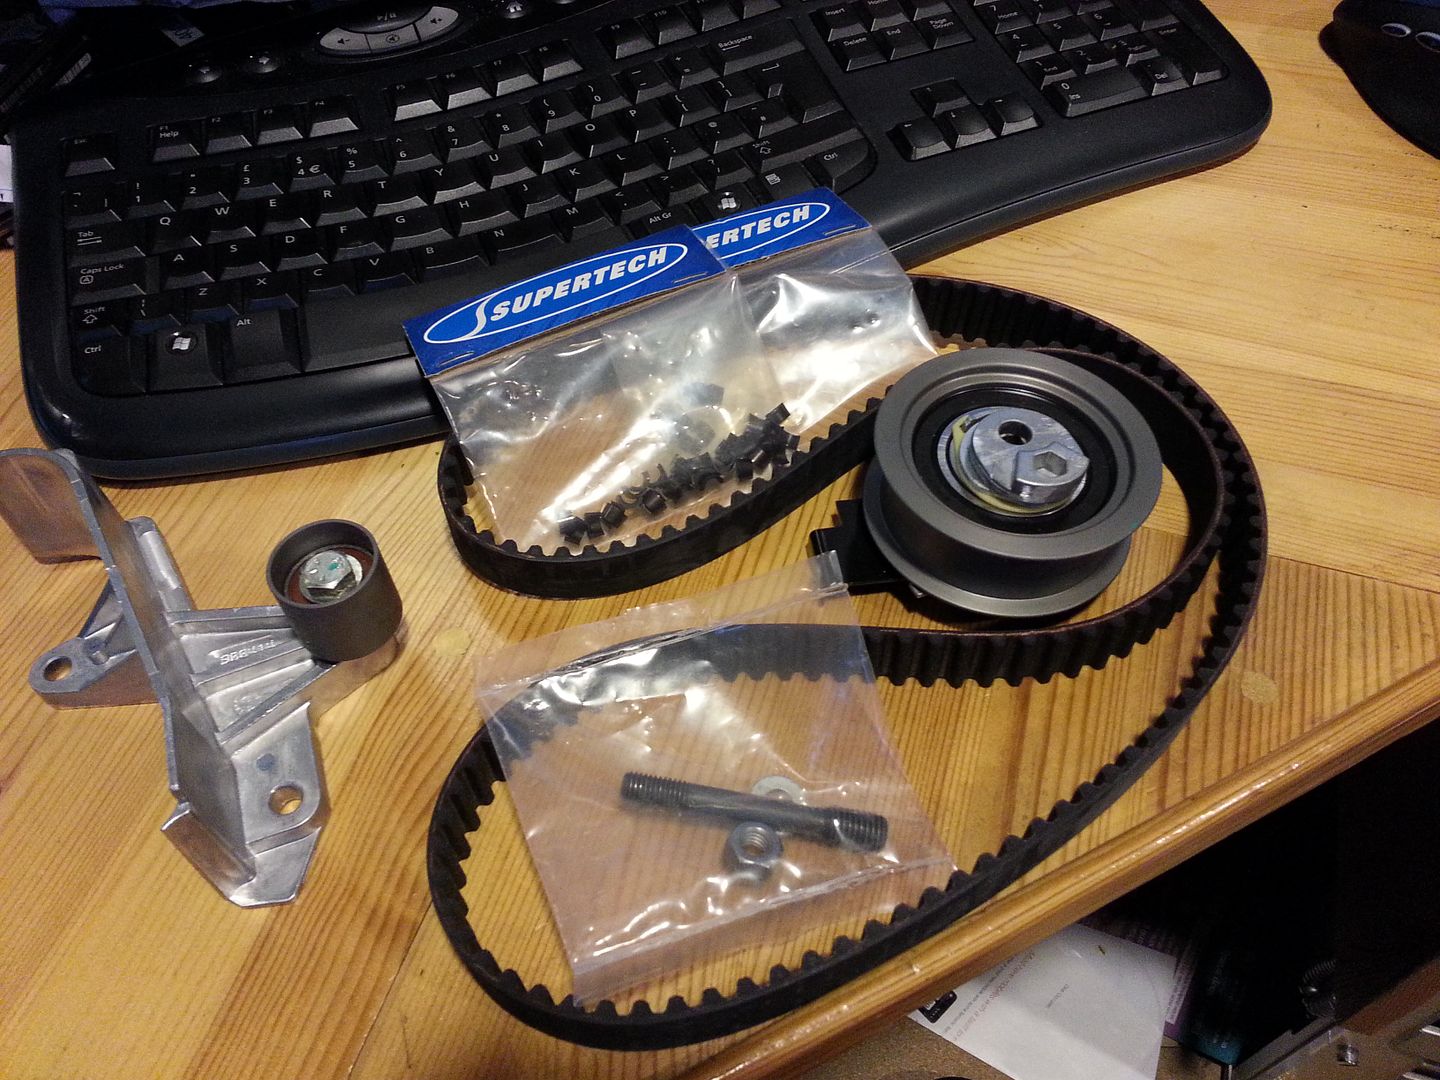
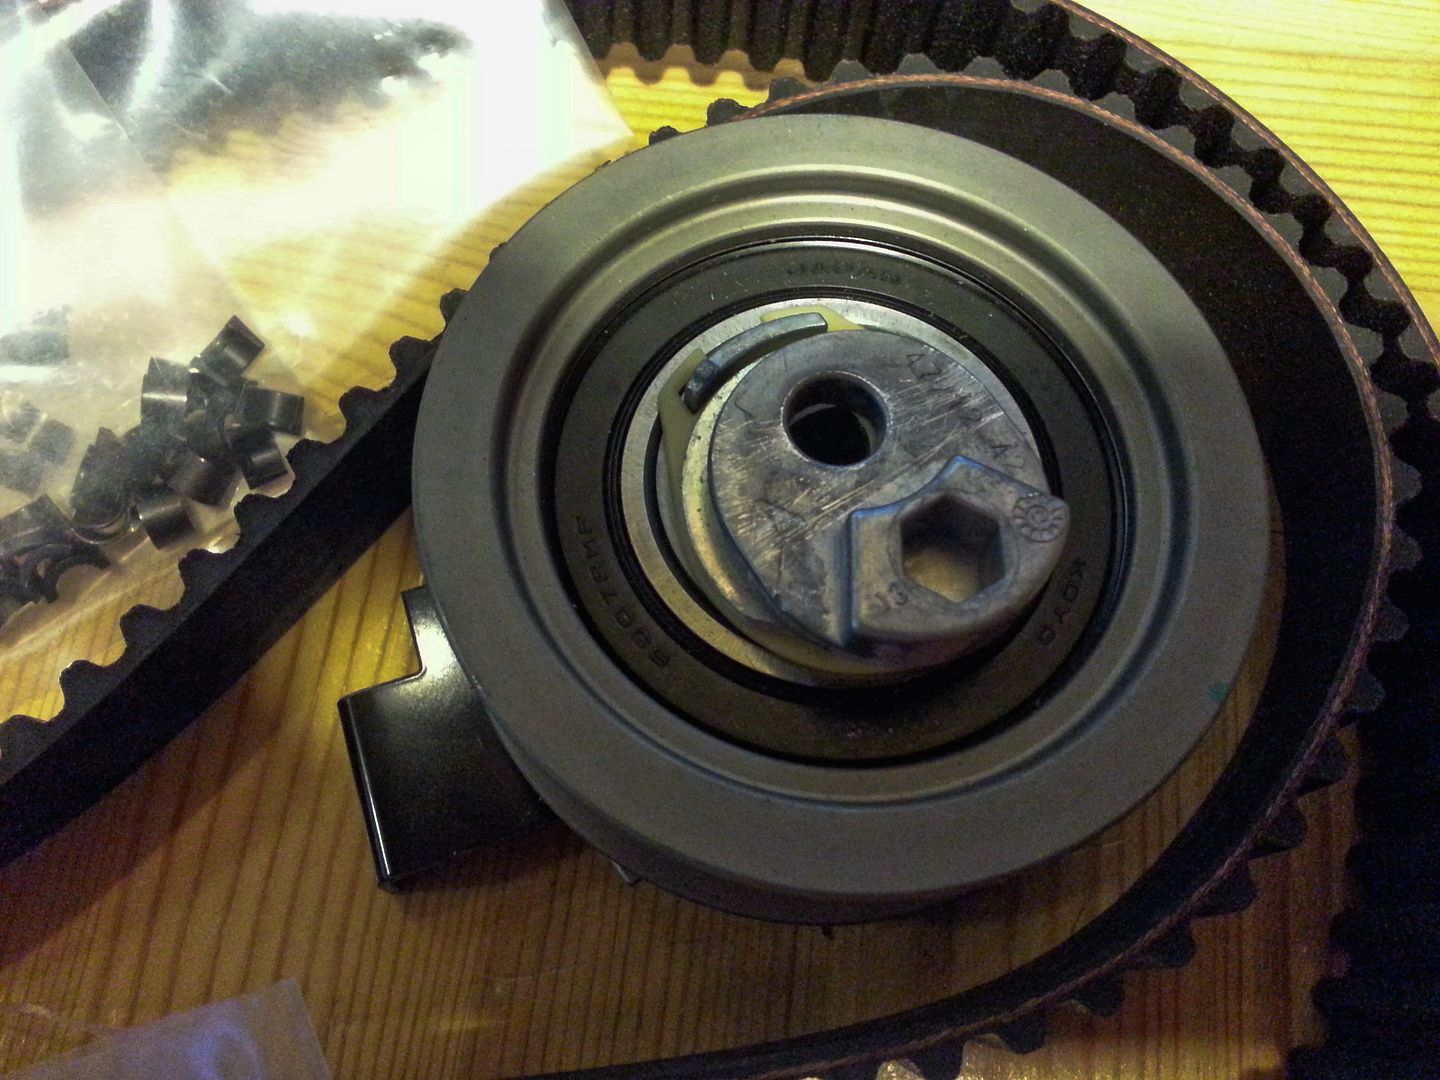
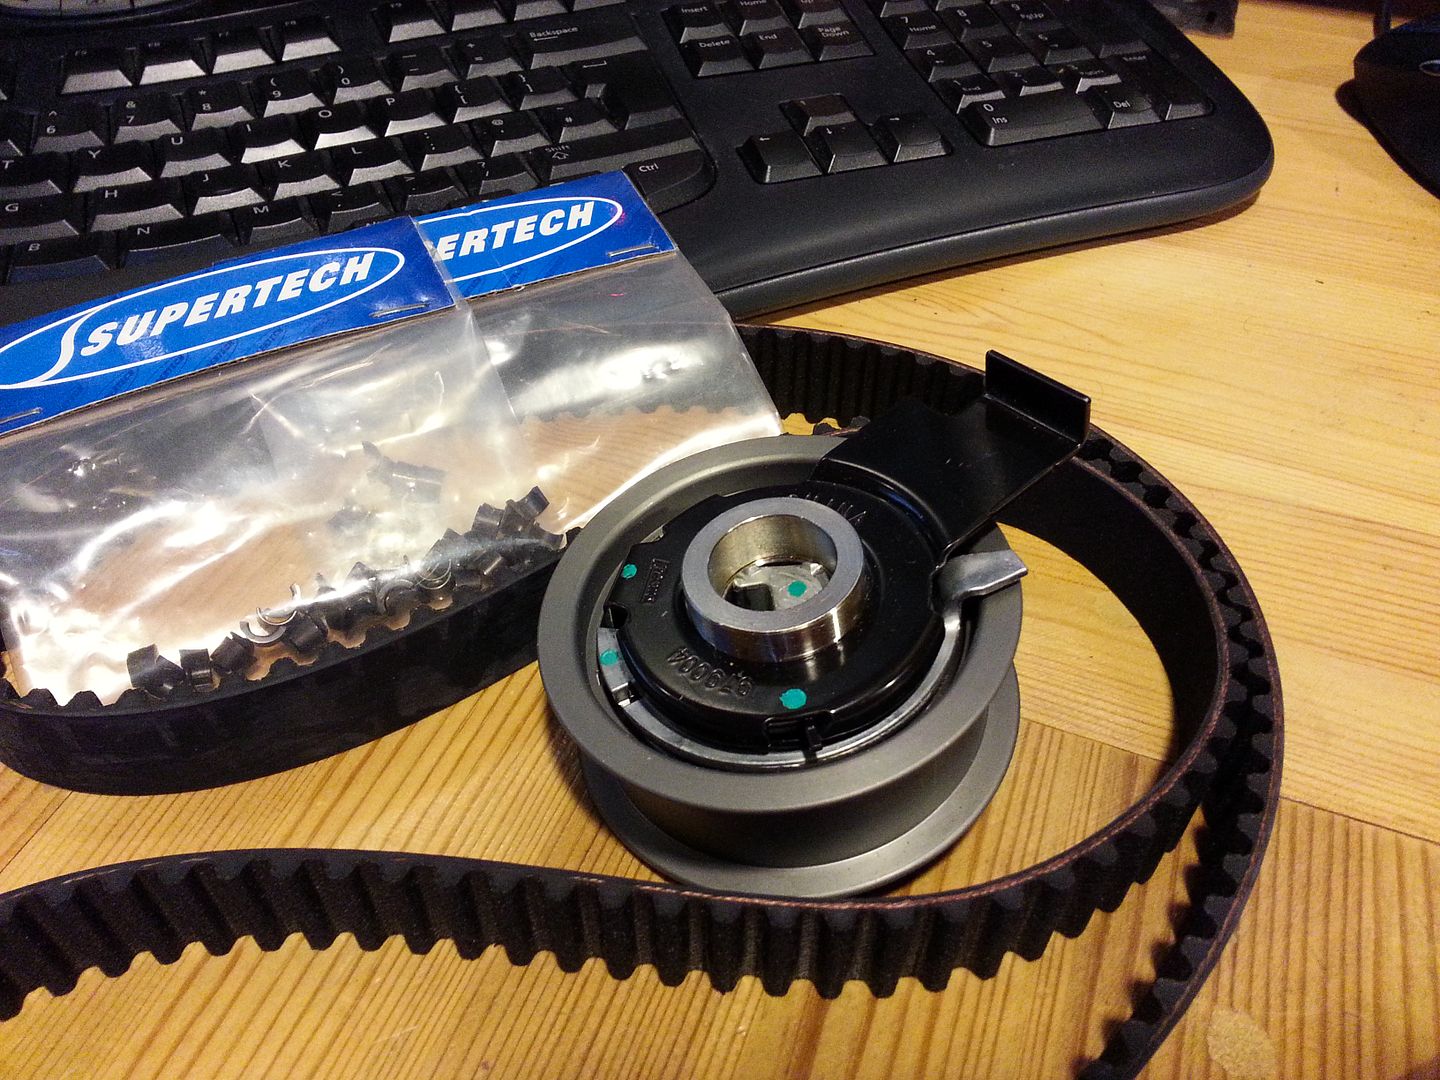
I have a plan to address the belt issue (hopefully) I have ordered a different type of tensioner based around the same thing used on the TFSI's and PD dervs... its damperless but has a built in pretensioner...

Its a compromise between the damper setup and its constant tension and the 'less prone to failure than a damper setup' manual tensioner

<tuffty/>
 

Pimped up vario

Cordy Cruizer
Nov 20, 2009
1,291
0
Belfast N Ireland
The marks in the first picture could have been caused by a high point/burr on a certain part of the cam lobe striking the hydraulic lifter. It's hard to say without having your hands on it but the marks look like small indentations caused by a small burr, possibly on two different locations. One on the peak and one on the base of the lobe. Apologies if those are the incorrect names for those locations of the cam lobe.
 

tufftybloke

Badger 5 Edition
Feb 28, 2009
657
0
Gloucestershire, UK
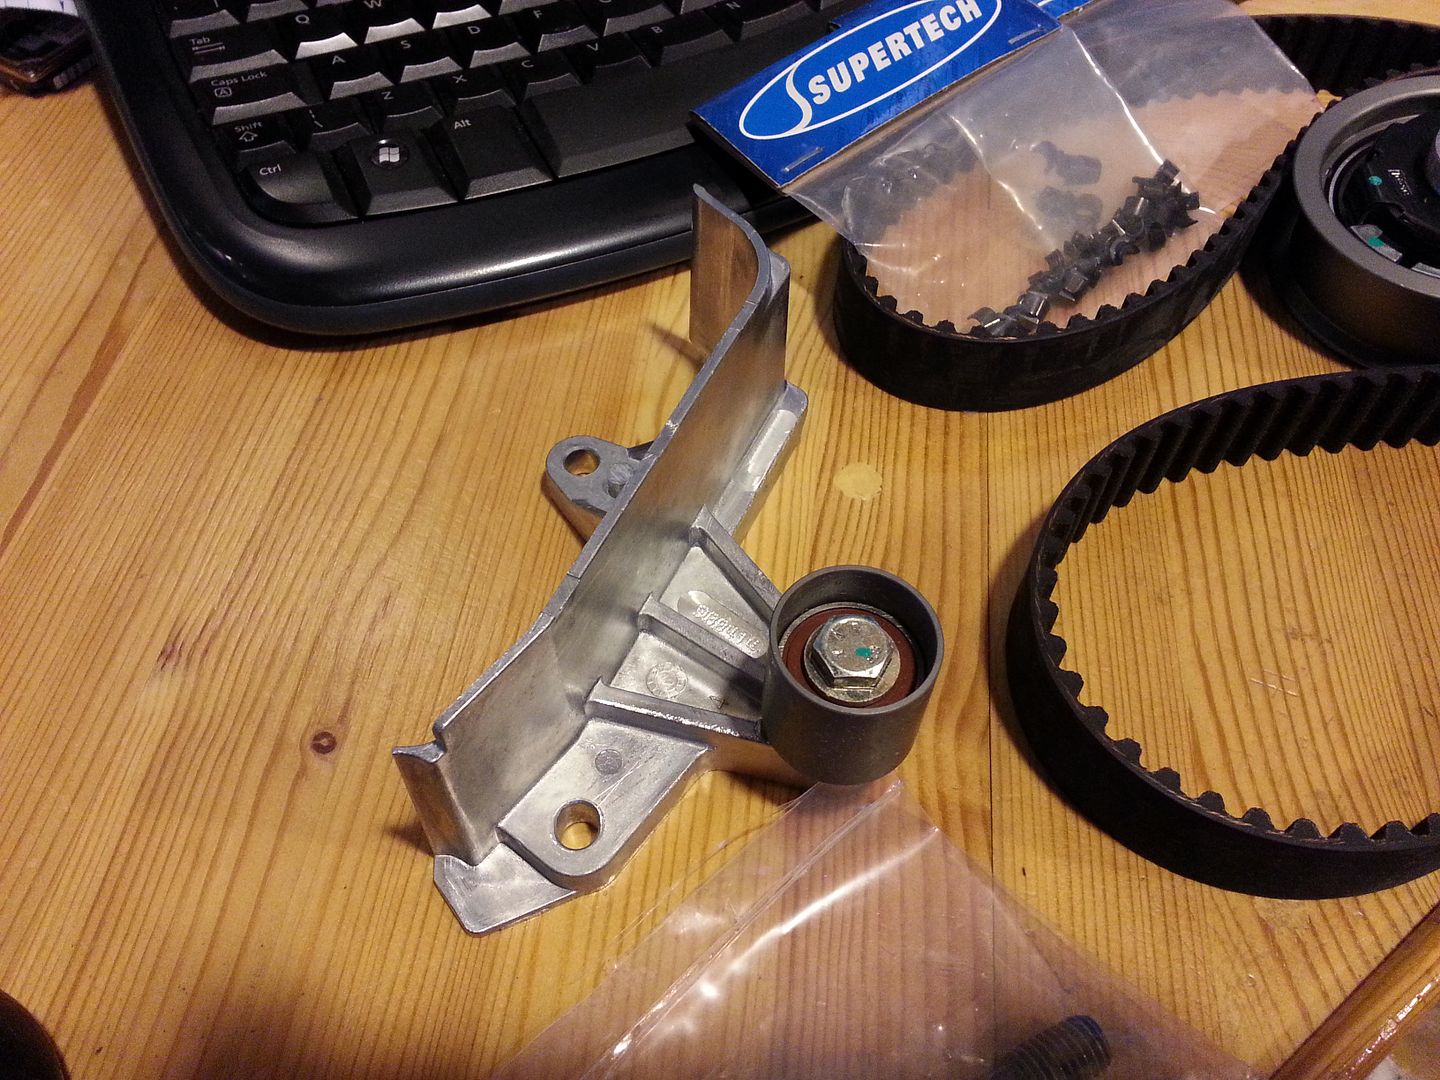
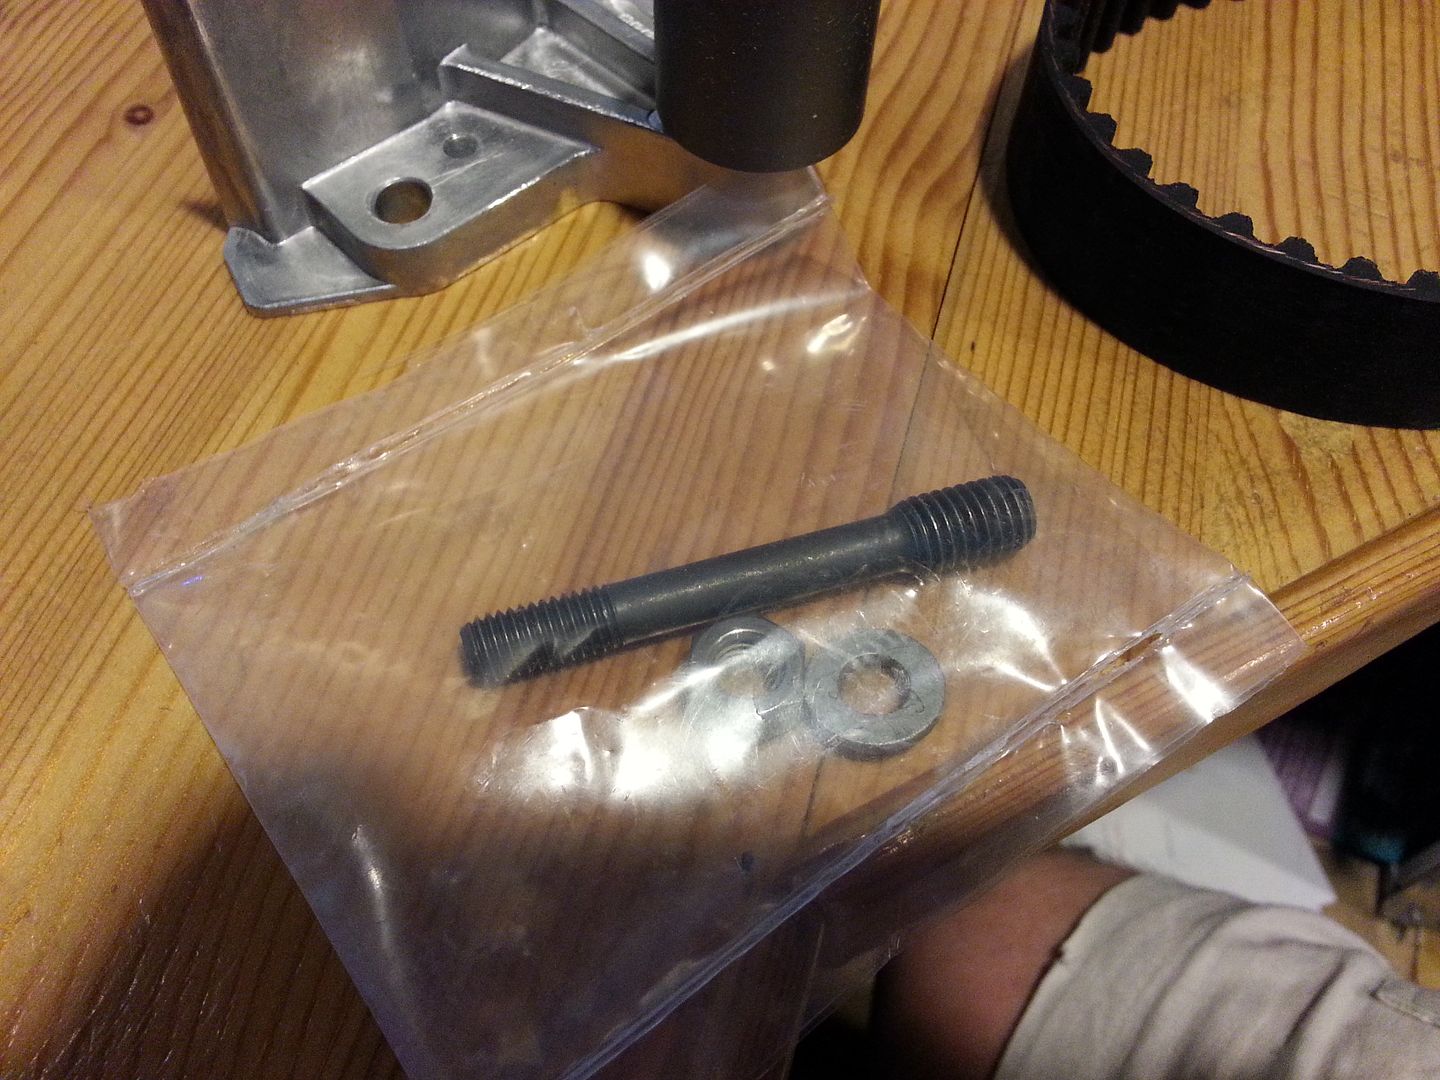
Parts arrival time!!... :)

20140716_202616.jpg


The tensioner looks interesting....
20140716_202623.jpg


20140716_202811.jpg


20140716_202904.jpg


20140716_202911.jpg


Head has been sorted and I have a long weekend booked off work to see if I can nail the old girl back together :)

<tuffty/>
 

grahams81

Active Member
Oct 14, 2010
1,165
6
County Durham
Is that tensioner set-up from AL@Pagparts ???? i have one winging its way to me for my build :)

The wear patterns on the lifters is very strange.... what make are they ?? they normally have a stamp underneath them.
I take they were nice and free in the head... rotating nicely ?
 

tufftybloke

Badger 5 Edition
Feb 28, 2009
657
0
Gloucestershire, UK
Is that tensioner set-up from AL@Pagparts ???? i have one winging its way to me for my build :)

The wear patterns on the lifters is very strange.... what make are they ?? they normally have a stamp underneath them.
I take they were nice and free in the head... rotating nicely ?

Yeah... its one of Arnolds :)

They are INA ones mate... all free and easy etc... inlets were perfect...

<tuffty/>
 

tufftybloke

Badger 5 Edition
Feb 28, 2009
657
0
Gloucestershire, UK
Another long weekend... gonna be the last I think as its looking like a busy couple of months coming up at work :/

Picked up the head from our head guy... new guides and all valves lapped in... while I could have done this myself I wasn't sure what state the exhaust seats were in after the wobbly exhaust valves had had a go at them...

New valves, springs and replacement exhaust followers fitted...
20140718_132119.jpg


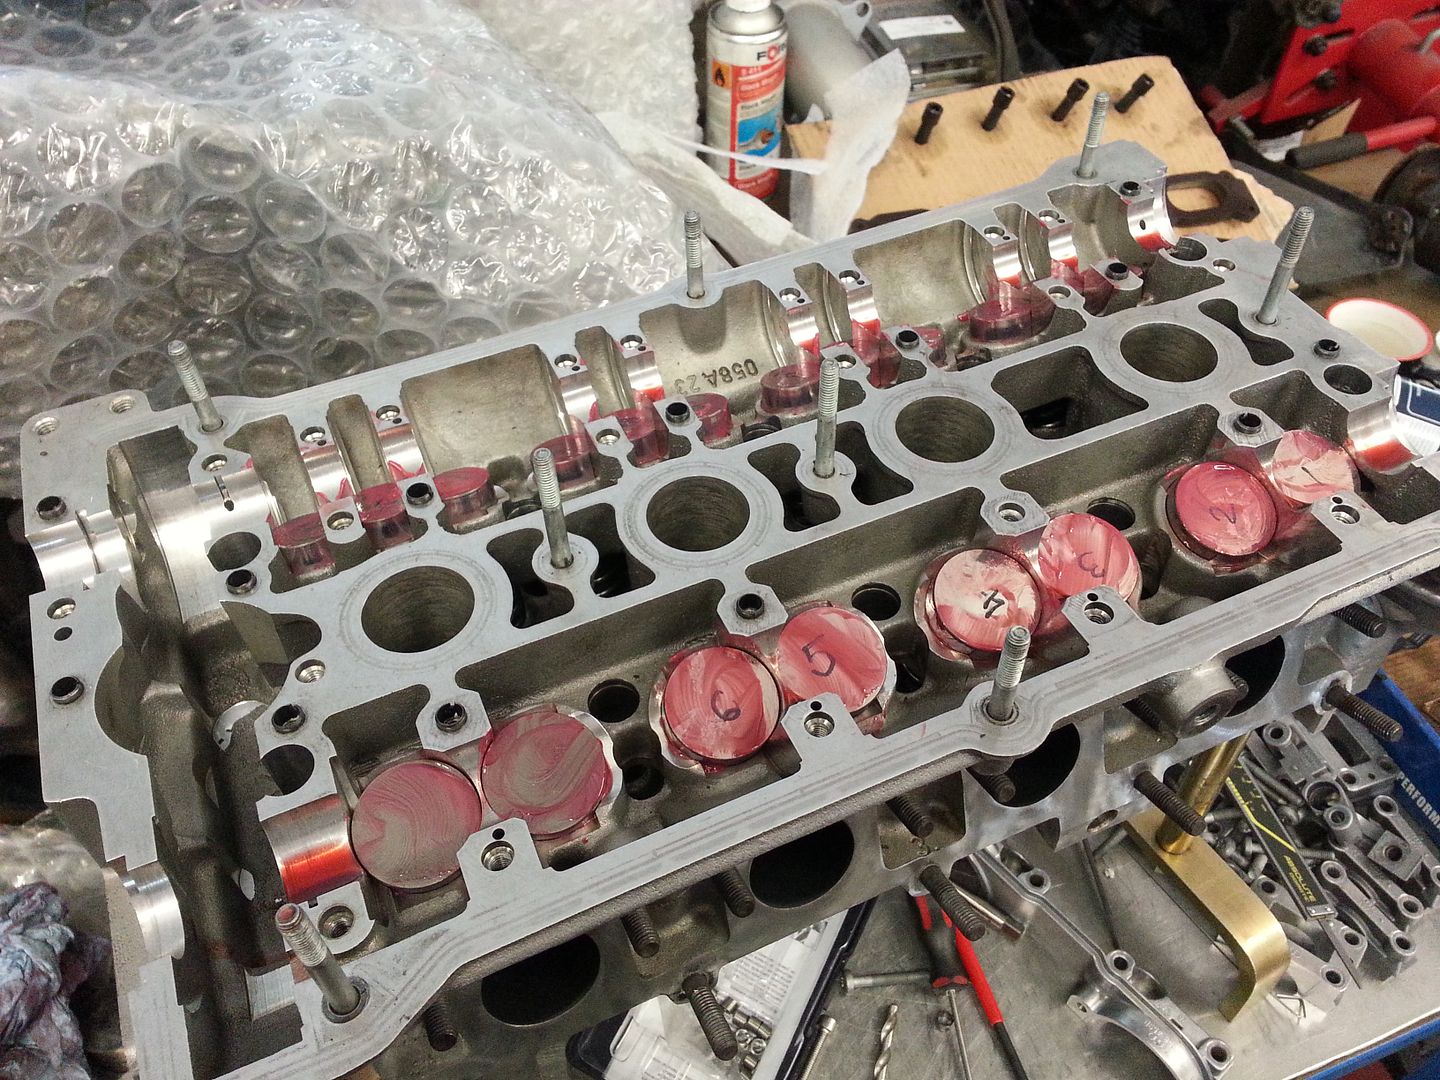
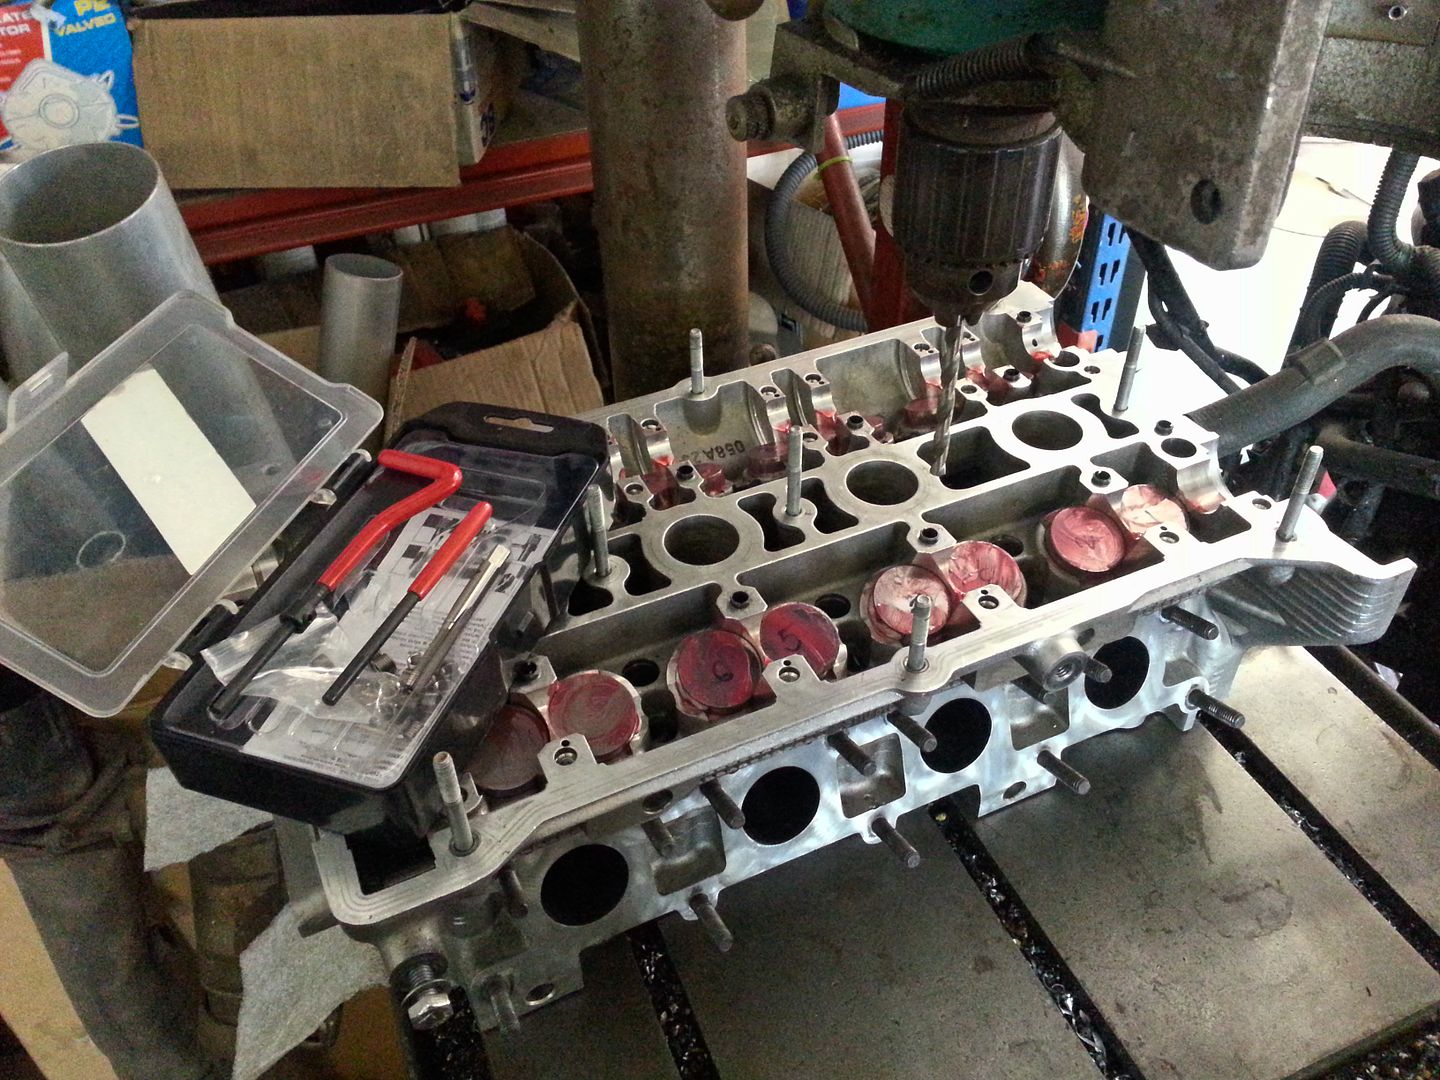
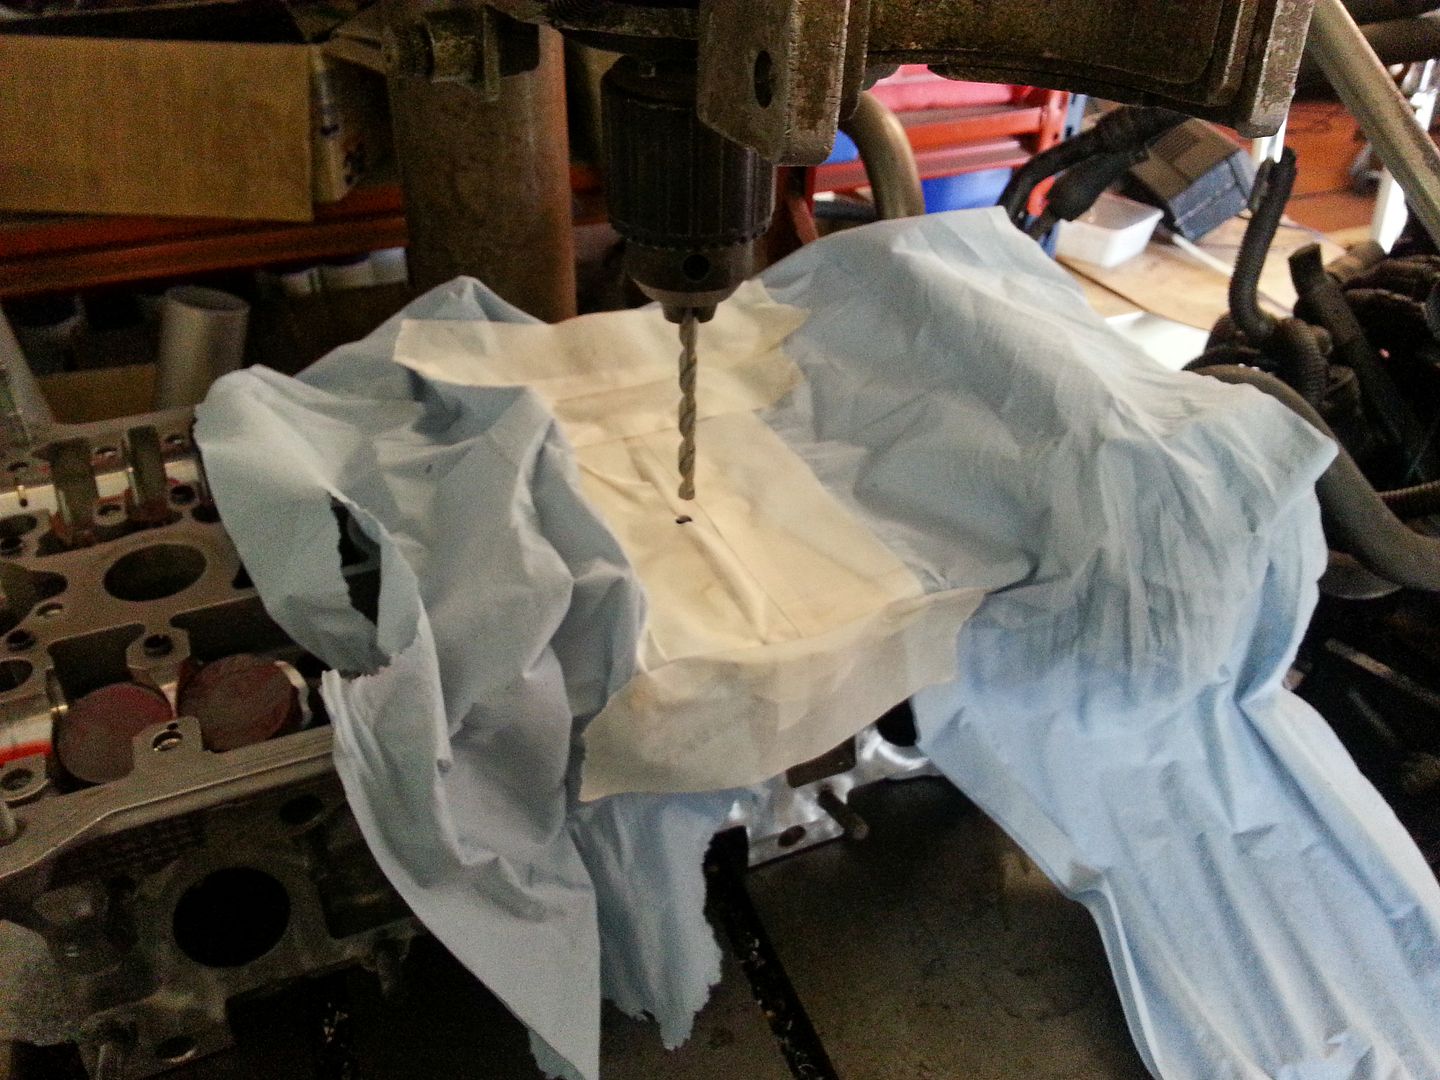
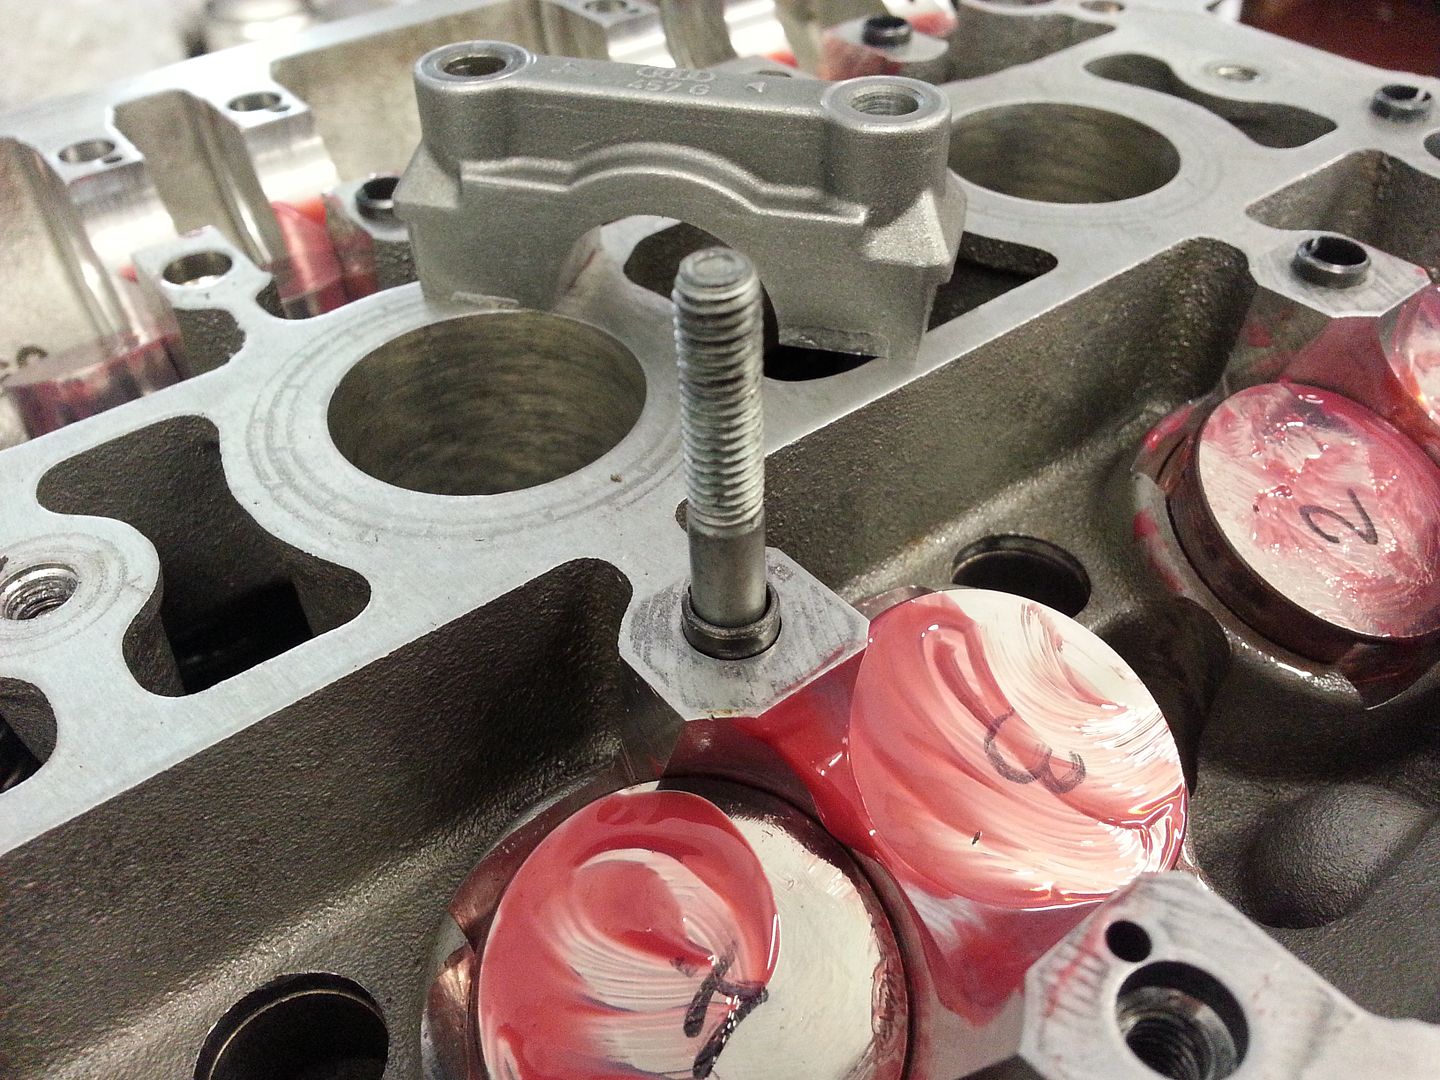
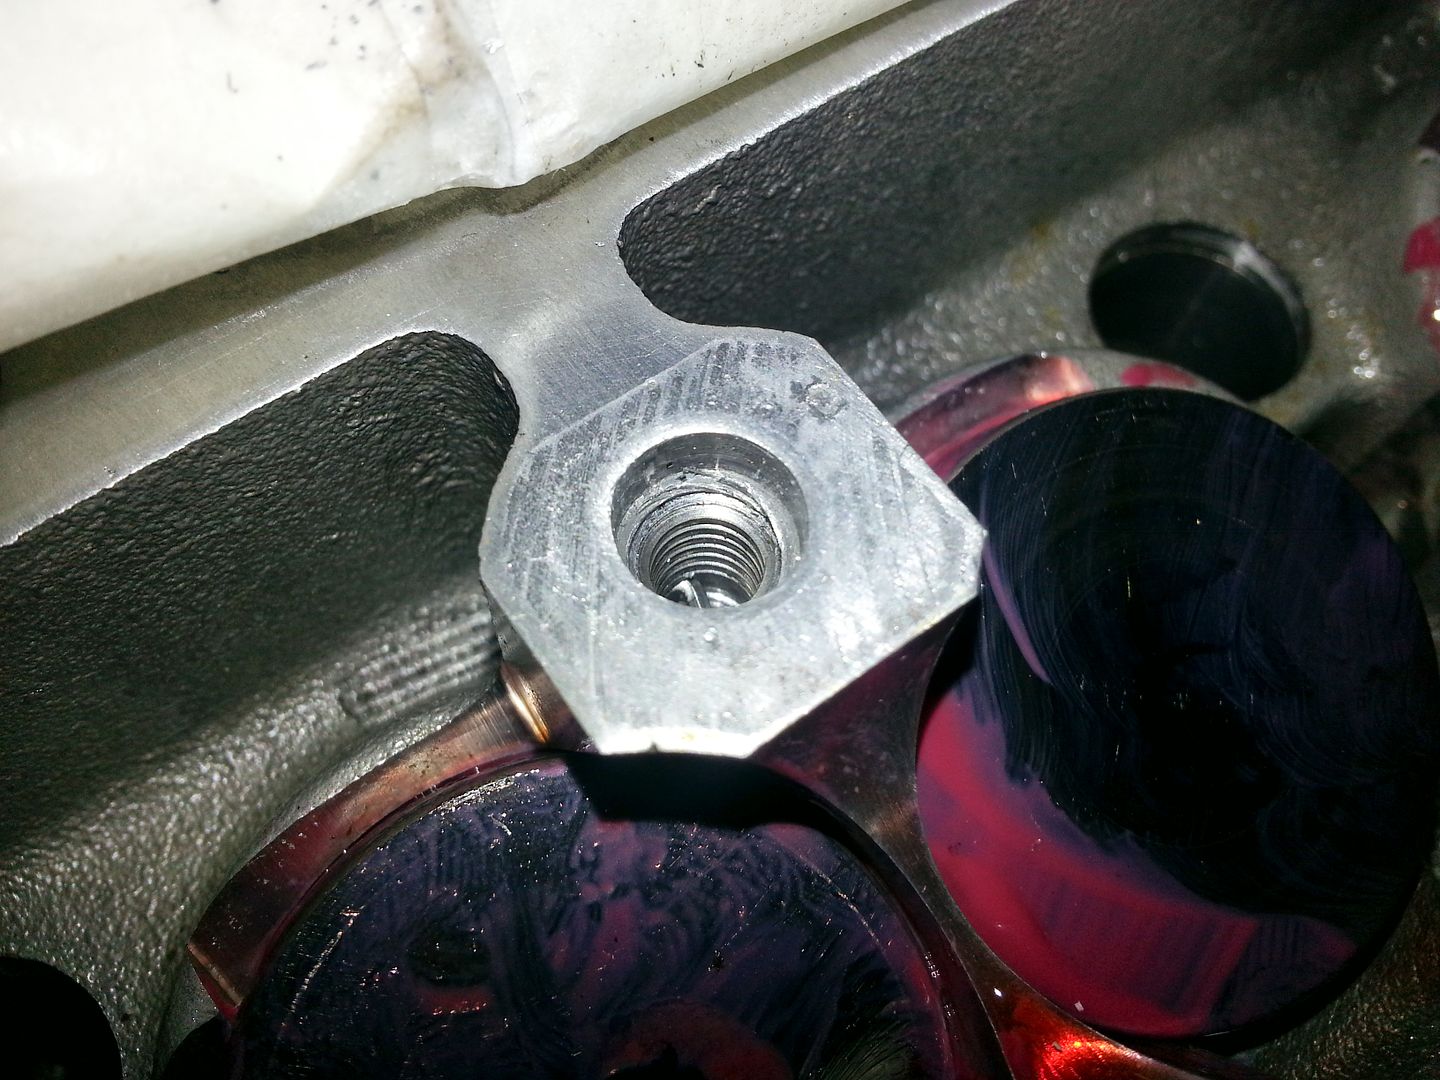
Then decided to look into the crappy cam cap bolt thread as some of you may remember that teh thread was pretty much gone and I used a longer bolt the last time... this really didn't sit well with me so decided to bite the bullet and helicoil it... this could of course scrap the head too!! eeep!
20140718_132209.jpg


20140718_133549.jpg


20140718_133927.jpg


20140718_135726.jpg


To save the thread this time around I re-used one of the cam cover studs rather than a bolt... I have removed the studs as the position of the turbo means its next to impossible to remove the cam cover without first undoing the turbo..
20140718_142336.jpg


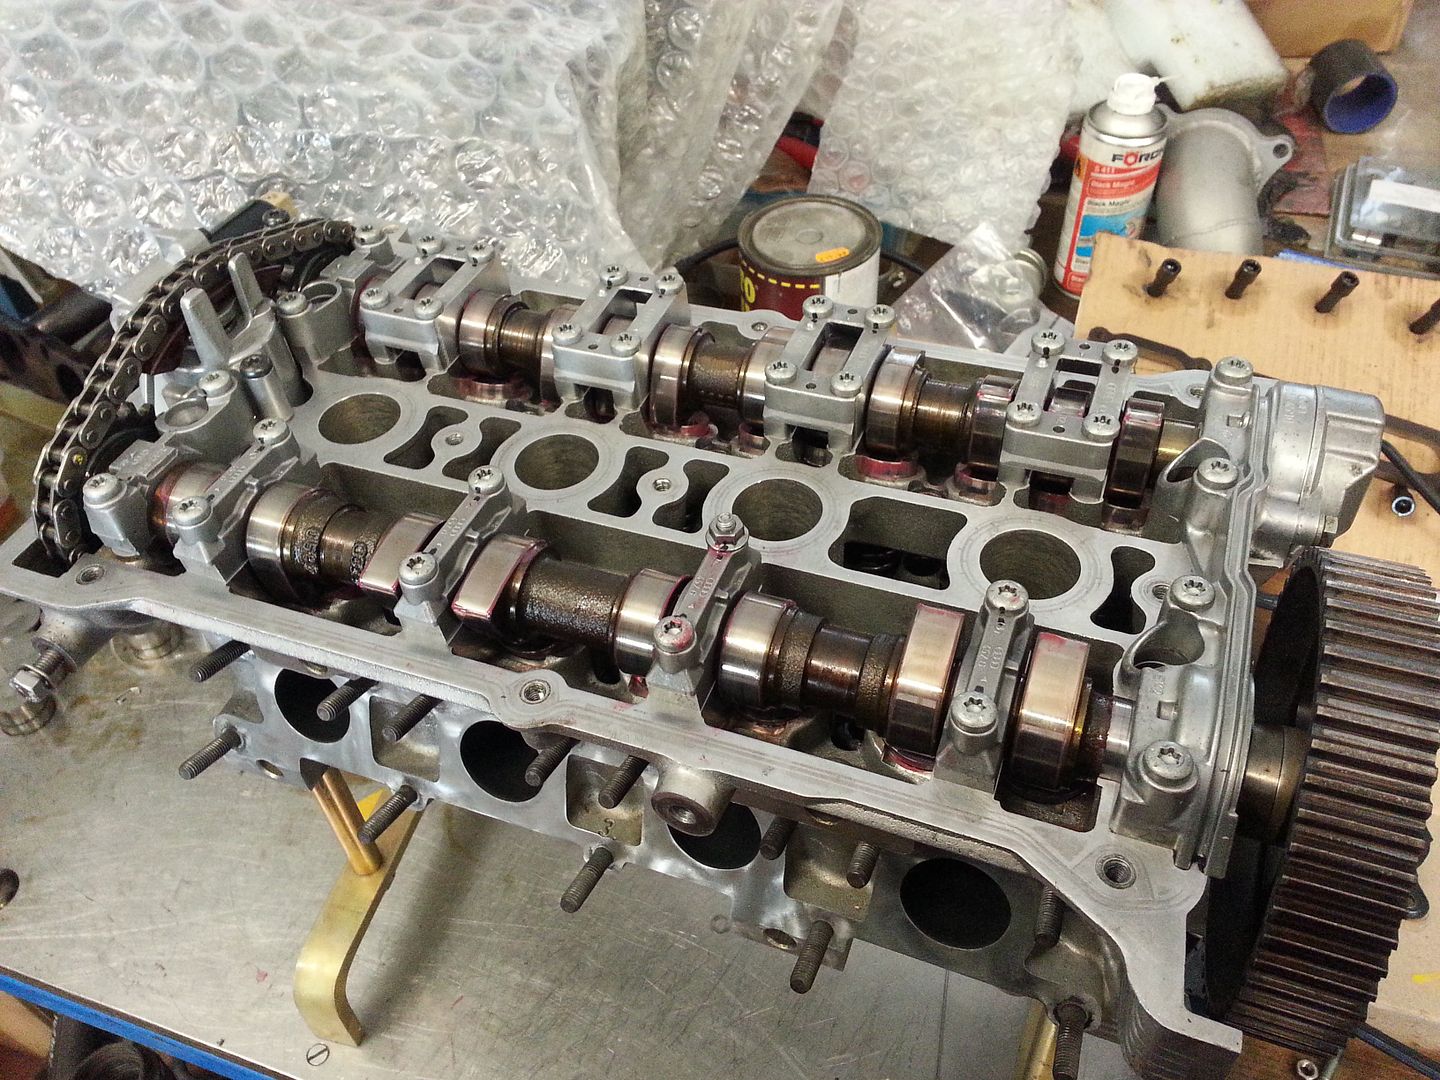
Put the cams and VVT tensioner back in then bugger me another fecking bolt snapped!... this time on the VVT and when done at 10nm!
20140718_153803.jpg


FFS!!... thankfully it span out real easily so found another bolt and finally got the head all back together... phew... I had used new bolts for the cam caps but not replaced the VVT ones... lesson learnt there I think..
20140718_161545.jpg


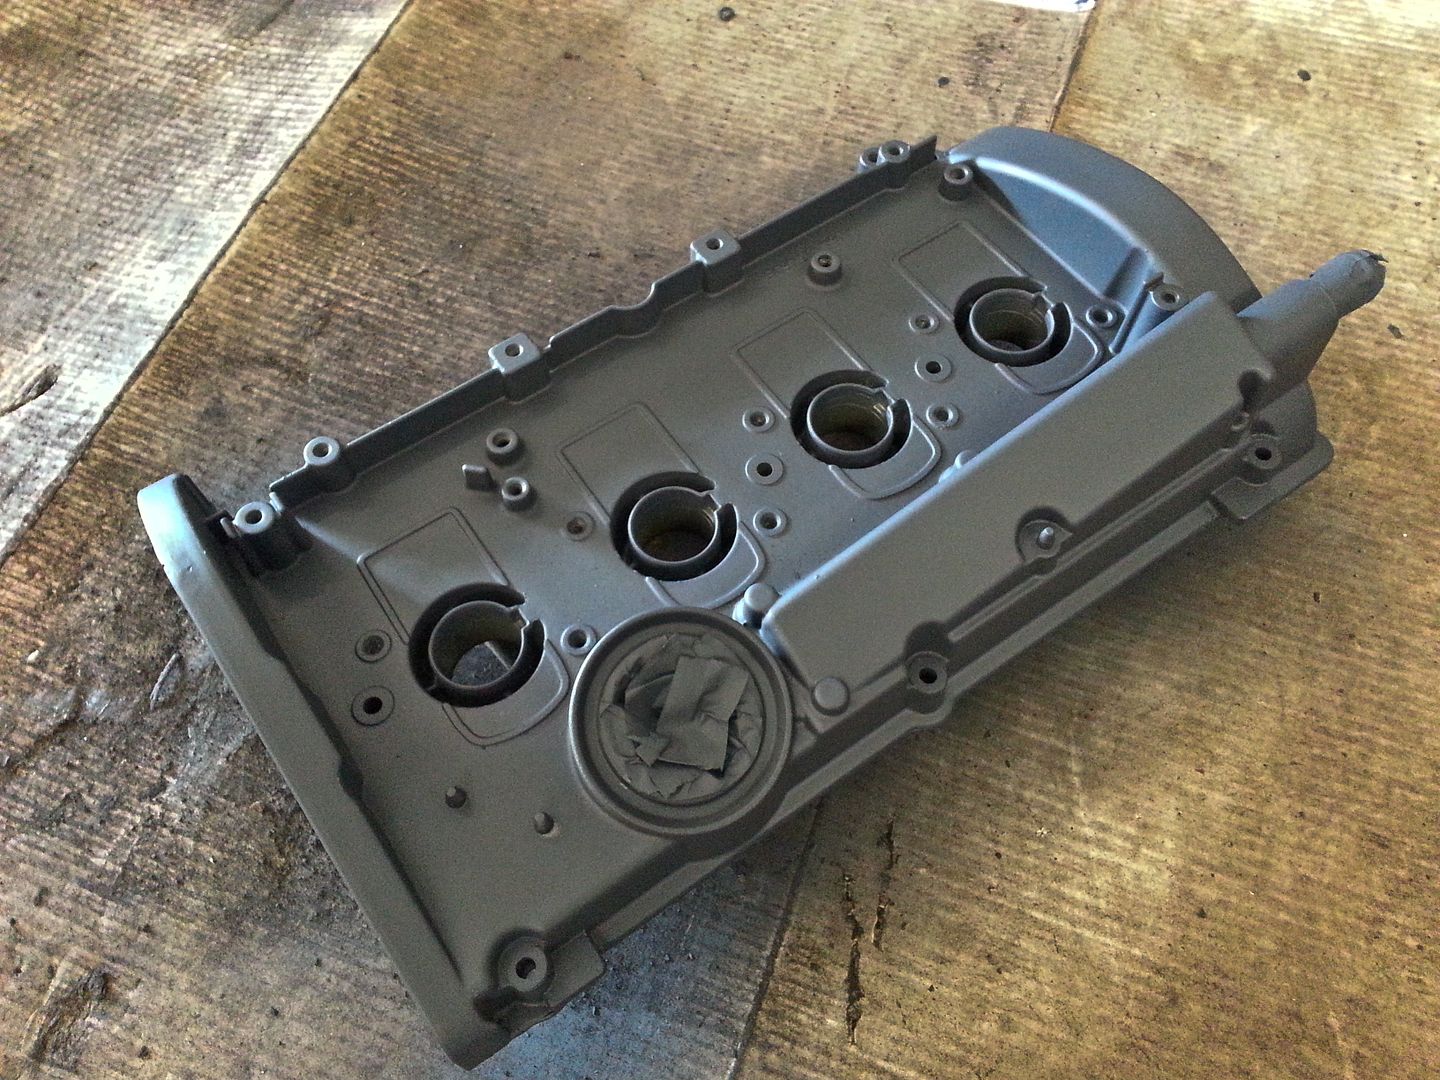
Happy with that being done I painted something :D
20140718_171610.jpg


The lacquer on the cam cover had gone yellow from the heat in a few places so I decided to have another go with some different stuff that 'says' its non yellowing... we shall see I guess...

Should be sorting the bolt thats backed out behind the flywheel on Sunday all being well with the aim to have the car up an d running Monday (ish).. yay!

<tuffty/>
 

grahams81

Active Member
Oct 14, 2010
1,165
6
County Durham
Good work mate.

What cambelt tensioner set-up were you running when you overrevved it ?

There's an interesting thread on vwvortex about a Gates belt that failed..... Then in moves onto different tensioner set-ups etc.

Good luck getting it back on the road. Hope its hassle free for you.

I bet you feel better painting the rocker cover, its clear to us all you have a paint fetish !
 

tufftybloke

Badger 5 Edition
Feb 28, 2009
657
0
Gloucestershire, UK
Good work mate.

What cambelt tensioner set-up were you running when you overrevved it ?

There's an interesting thread on vwvortex about a Gates belt that failed..... Then in moves onto different tensioner set-ups etc.

Good luck getting it back on the road. Hope its hassle free for you.

I bet you feel better painting the rocker cover, its clear to us all you have a paint fetish !

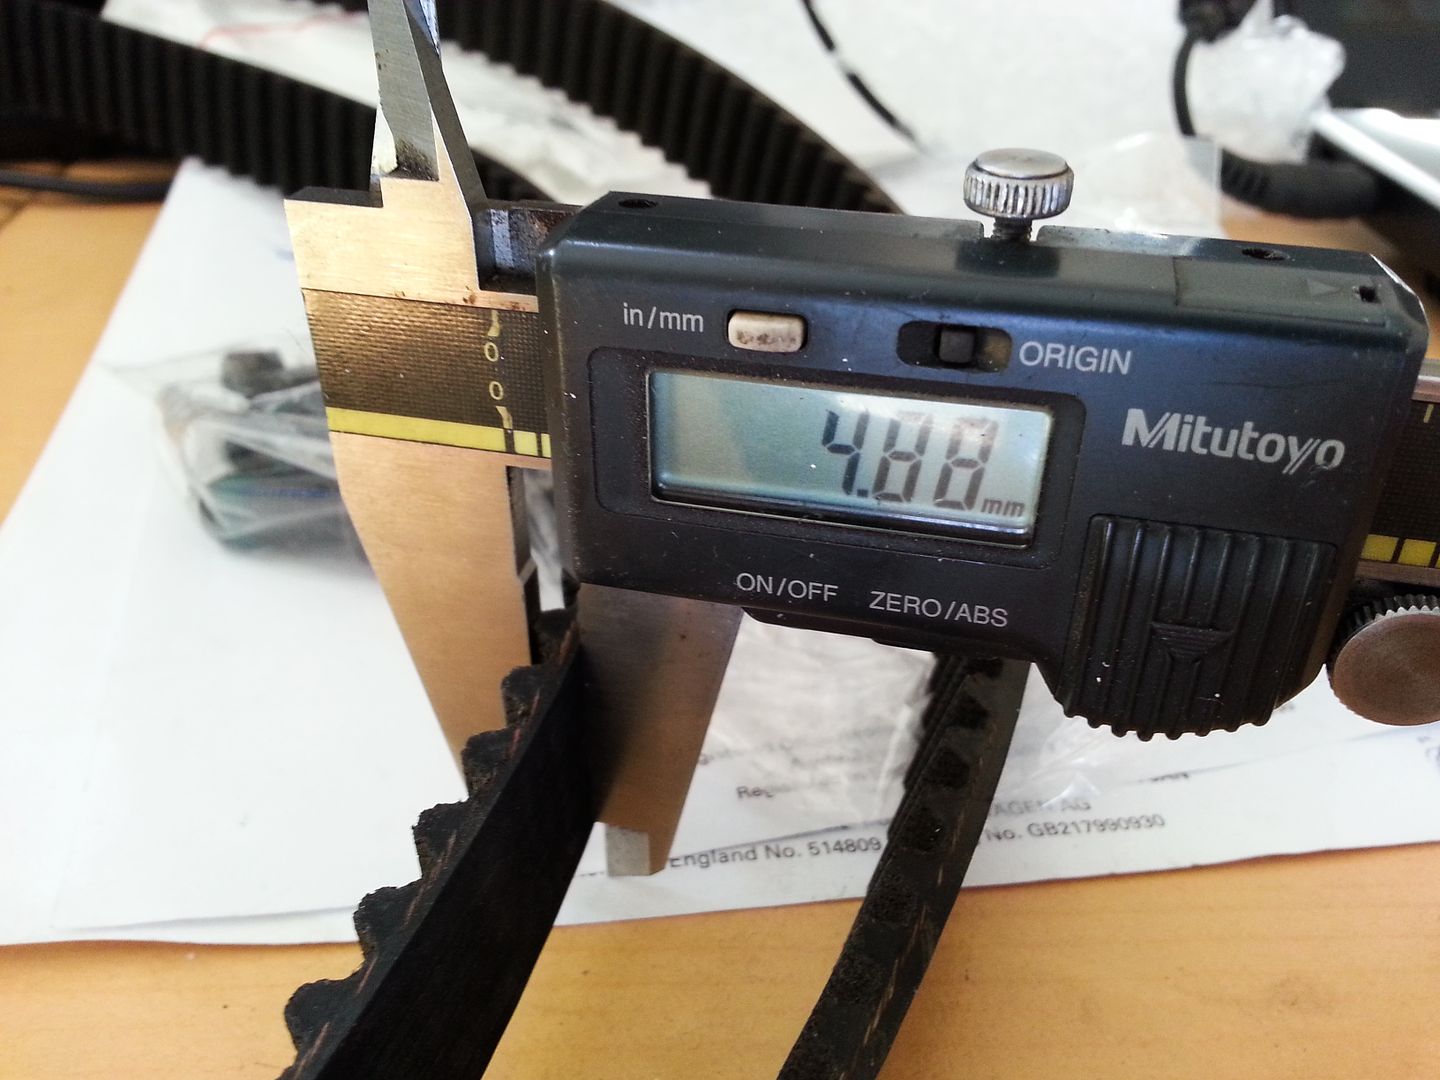
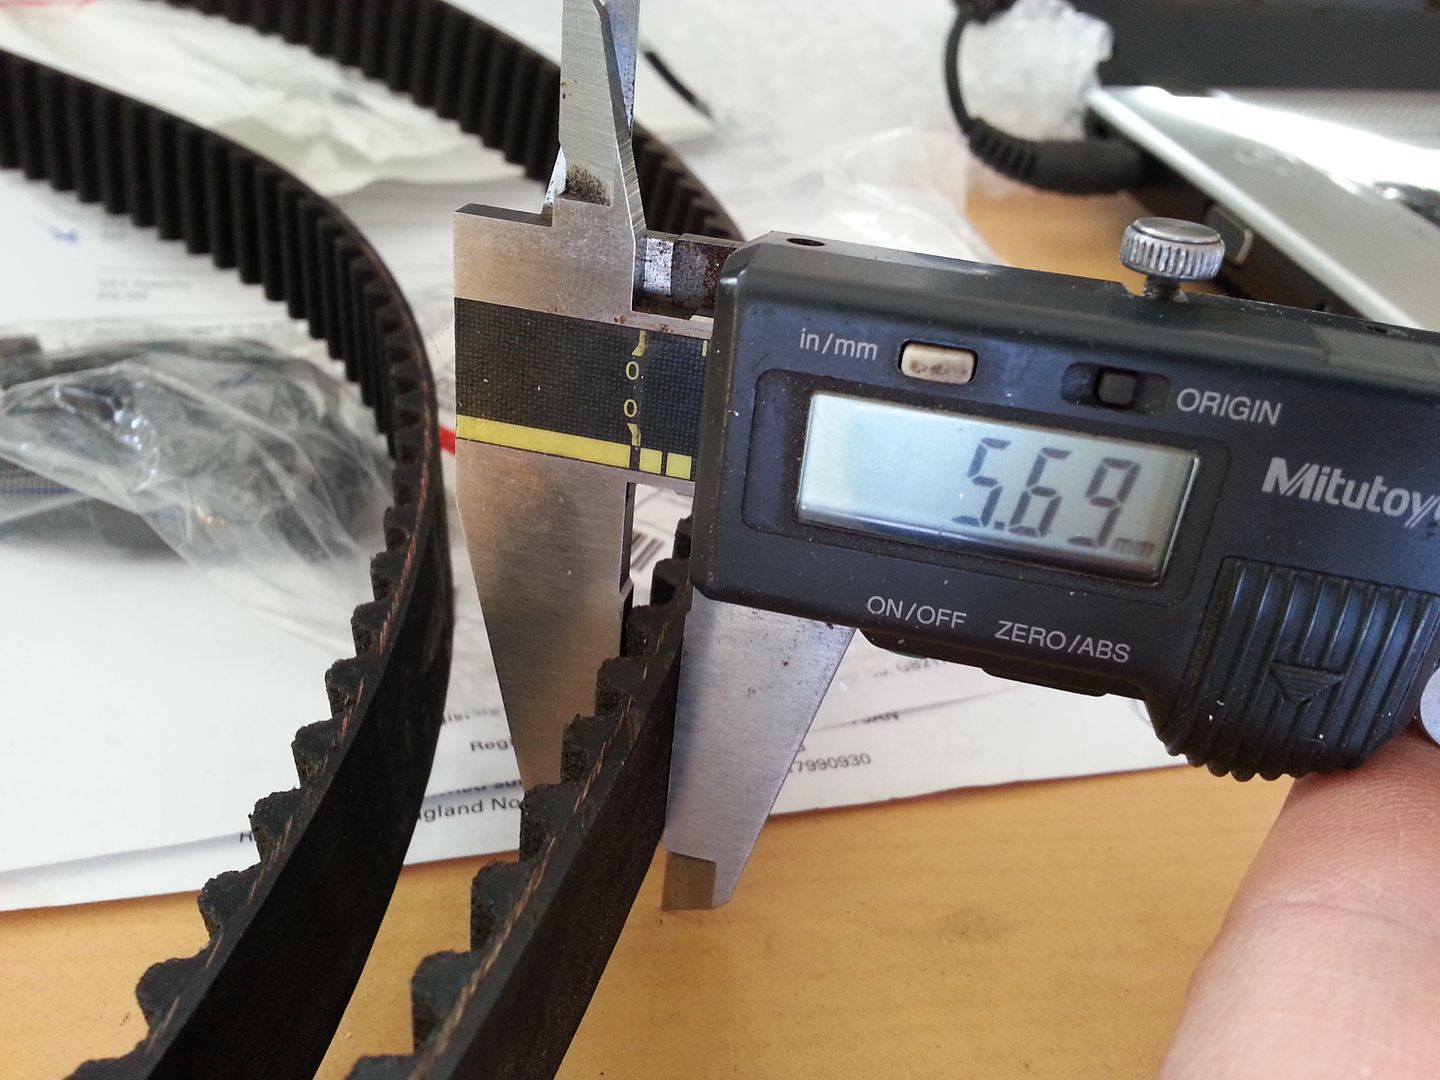
Was using a manual tensioner much like the integrated one (I am using an integrated spacer for the tensioner roller)... I have seen that thread which prompted a chat with Arnold about his... only thing I don't like about it tbh is the supplied belt..

Supplied belt is an INA (not issam) one... it felt flimsier than the OE belts I normally use so got the verniers out...

INA one...
20140717_164741.jpg


OE one...
20140717_164757.jpg


Needless to say I am fitting an OE one back on the car...

solvent sniffer I recon

Wipe clean though innit :D

<tuffty/>
 

tufftybloke

Badger 5 Edition
Feb 28, 2009
657
0
Gloucestershire, UK
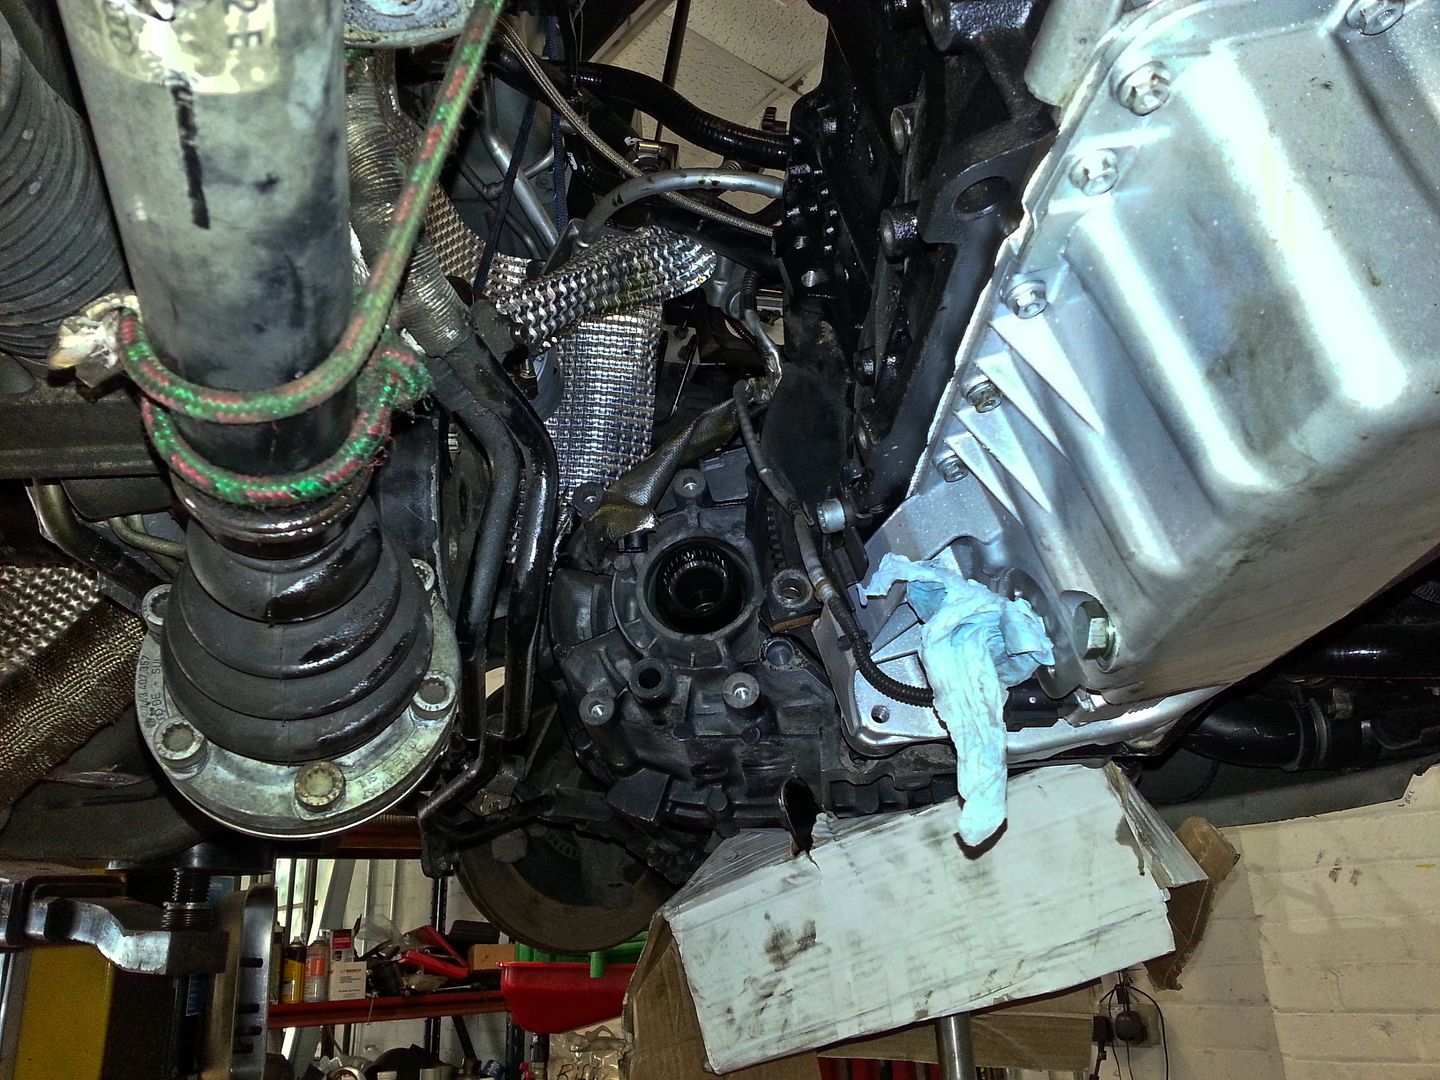
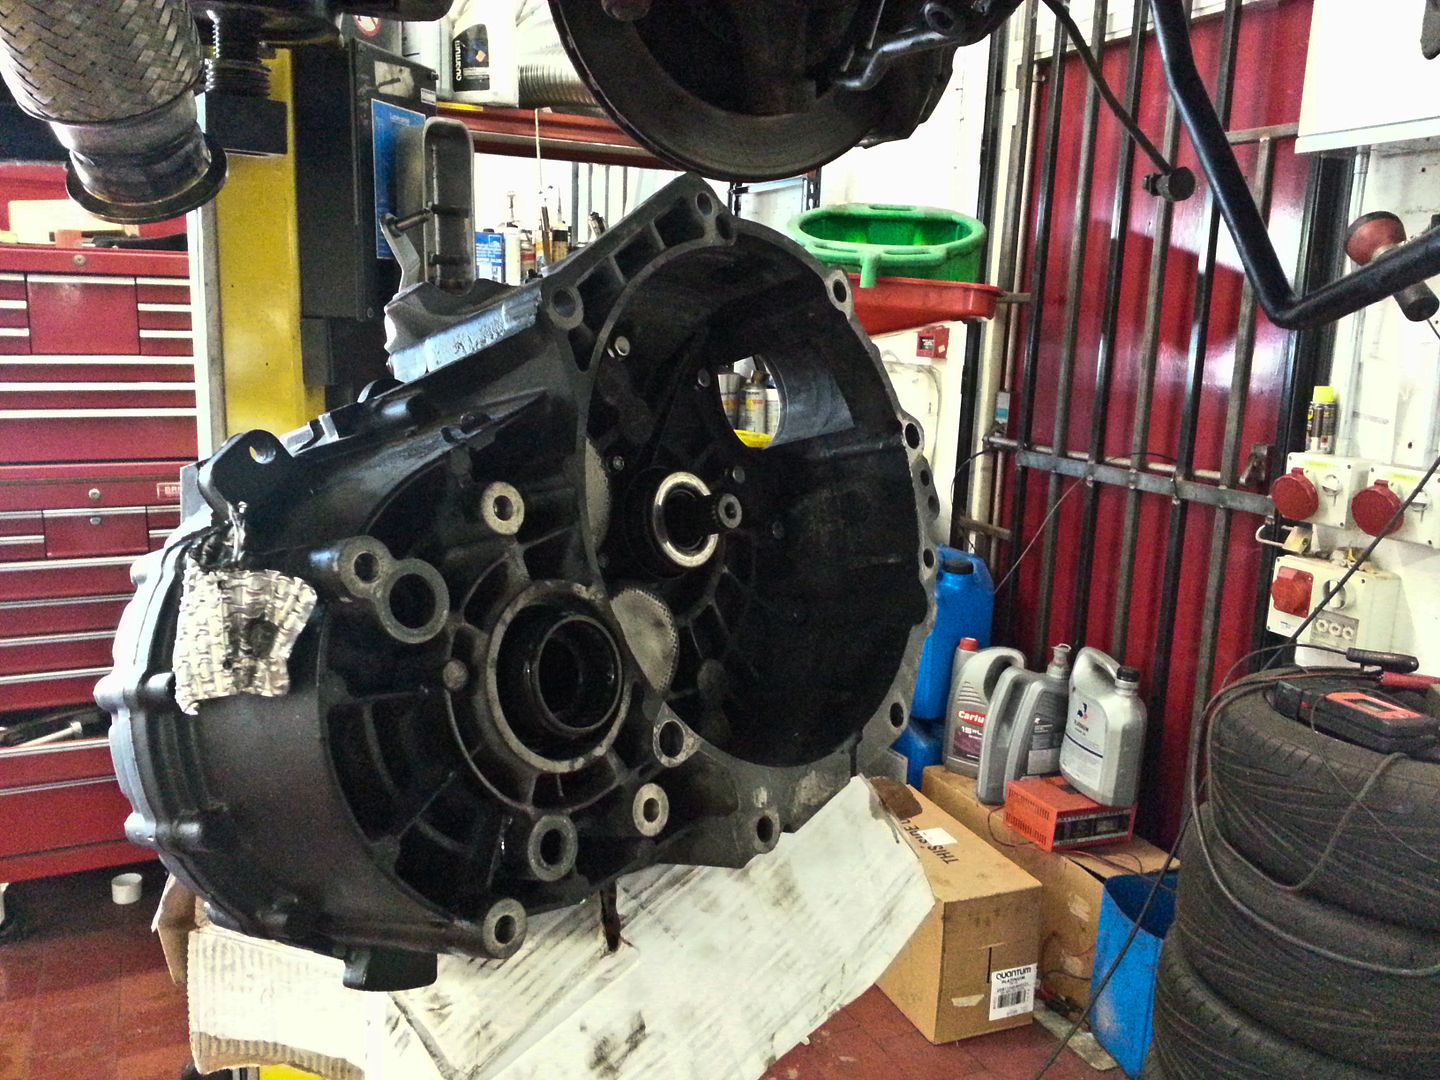
Early start this morning (well... was 9ish...)... unenviable task of dropping the gearbox to sort the rubbing noise out...

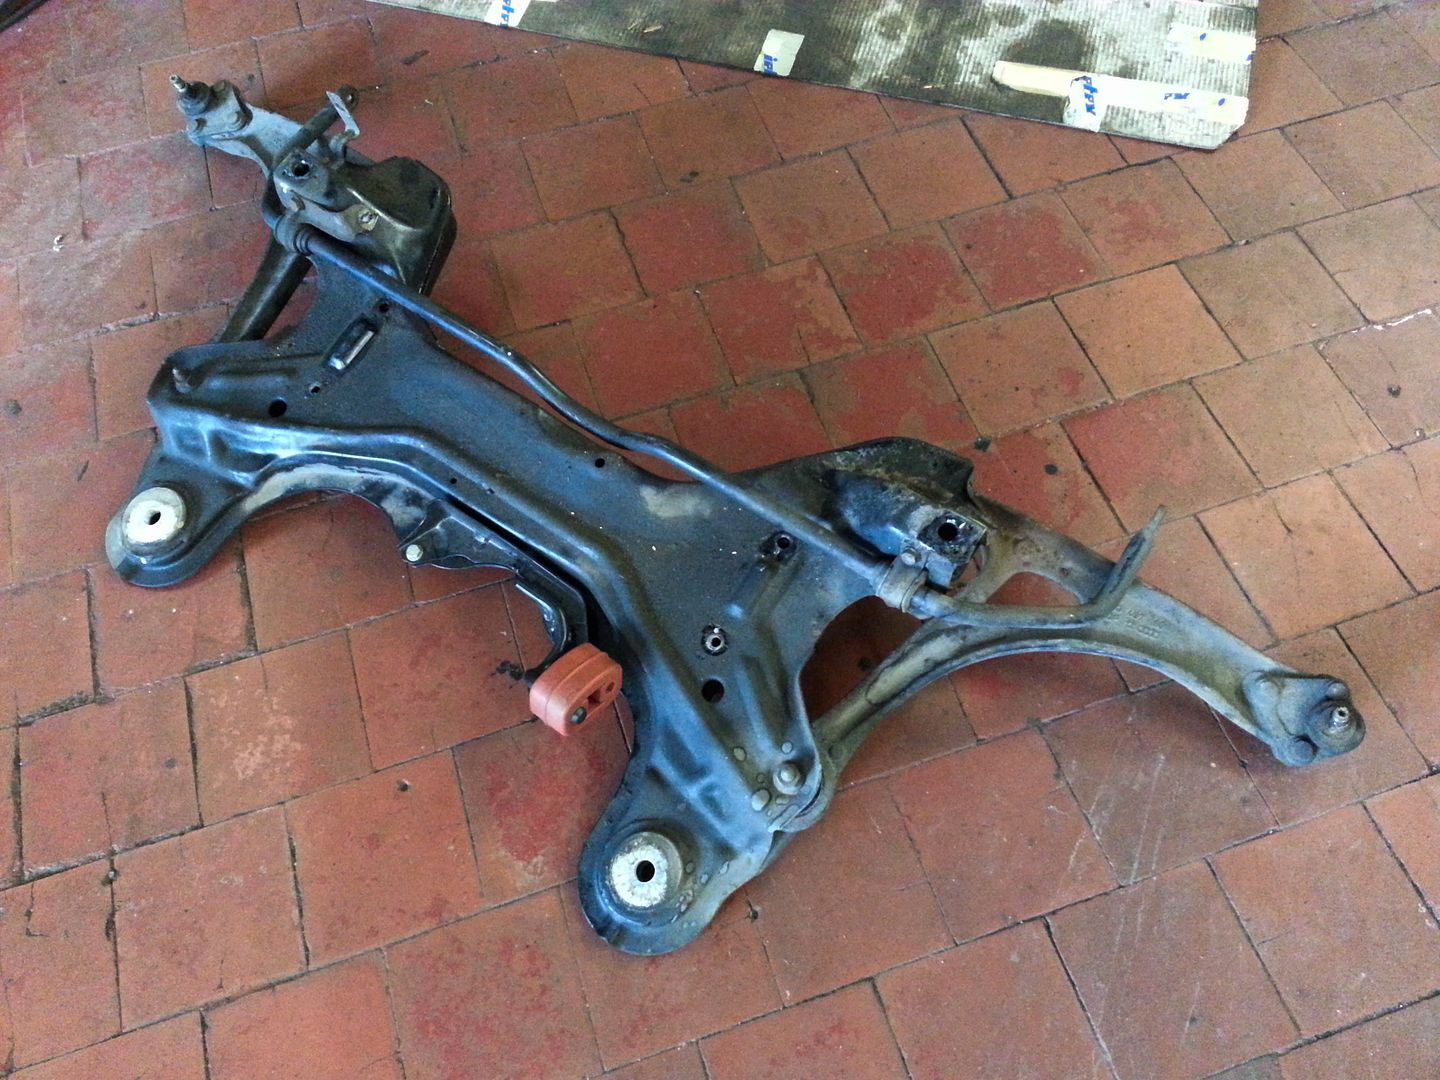
Subframe off as I don't want to be fighting the box...
20140720_130533.jpg


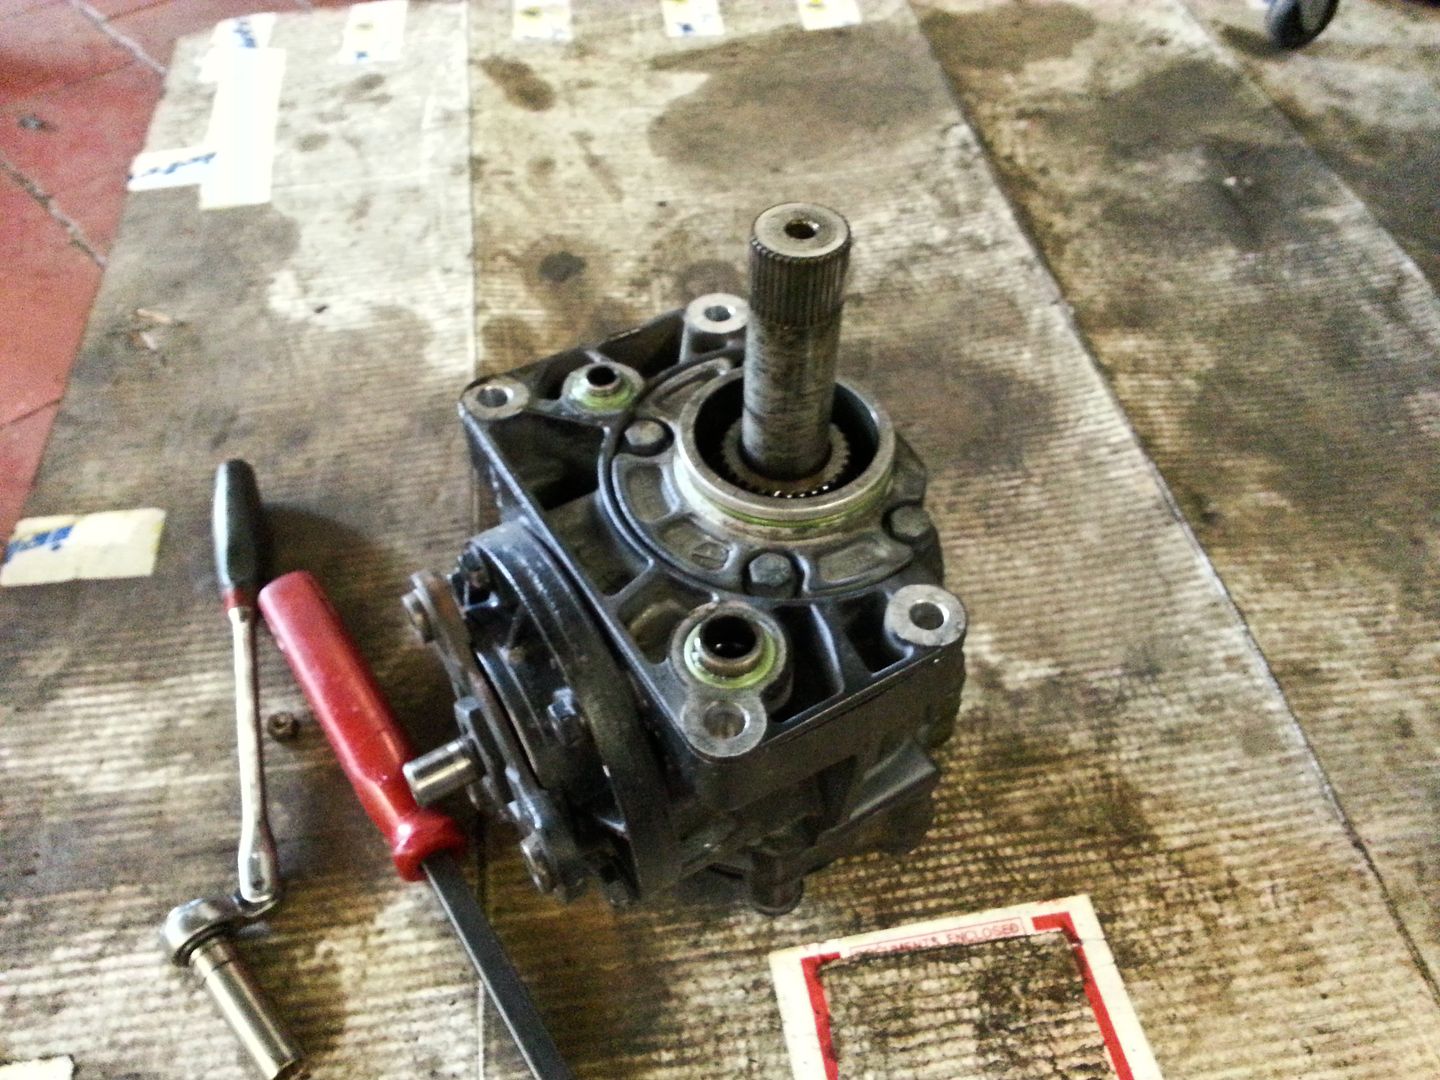
Transfer box off as it is a pain in the arse to wrestle the box off with it on...
20140720_133024.jpg


20140720_133037.jpg


...and after a small amount of faffing... viola!...
20140720_135208.jpg


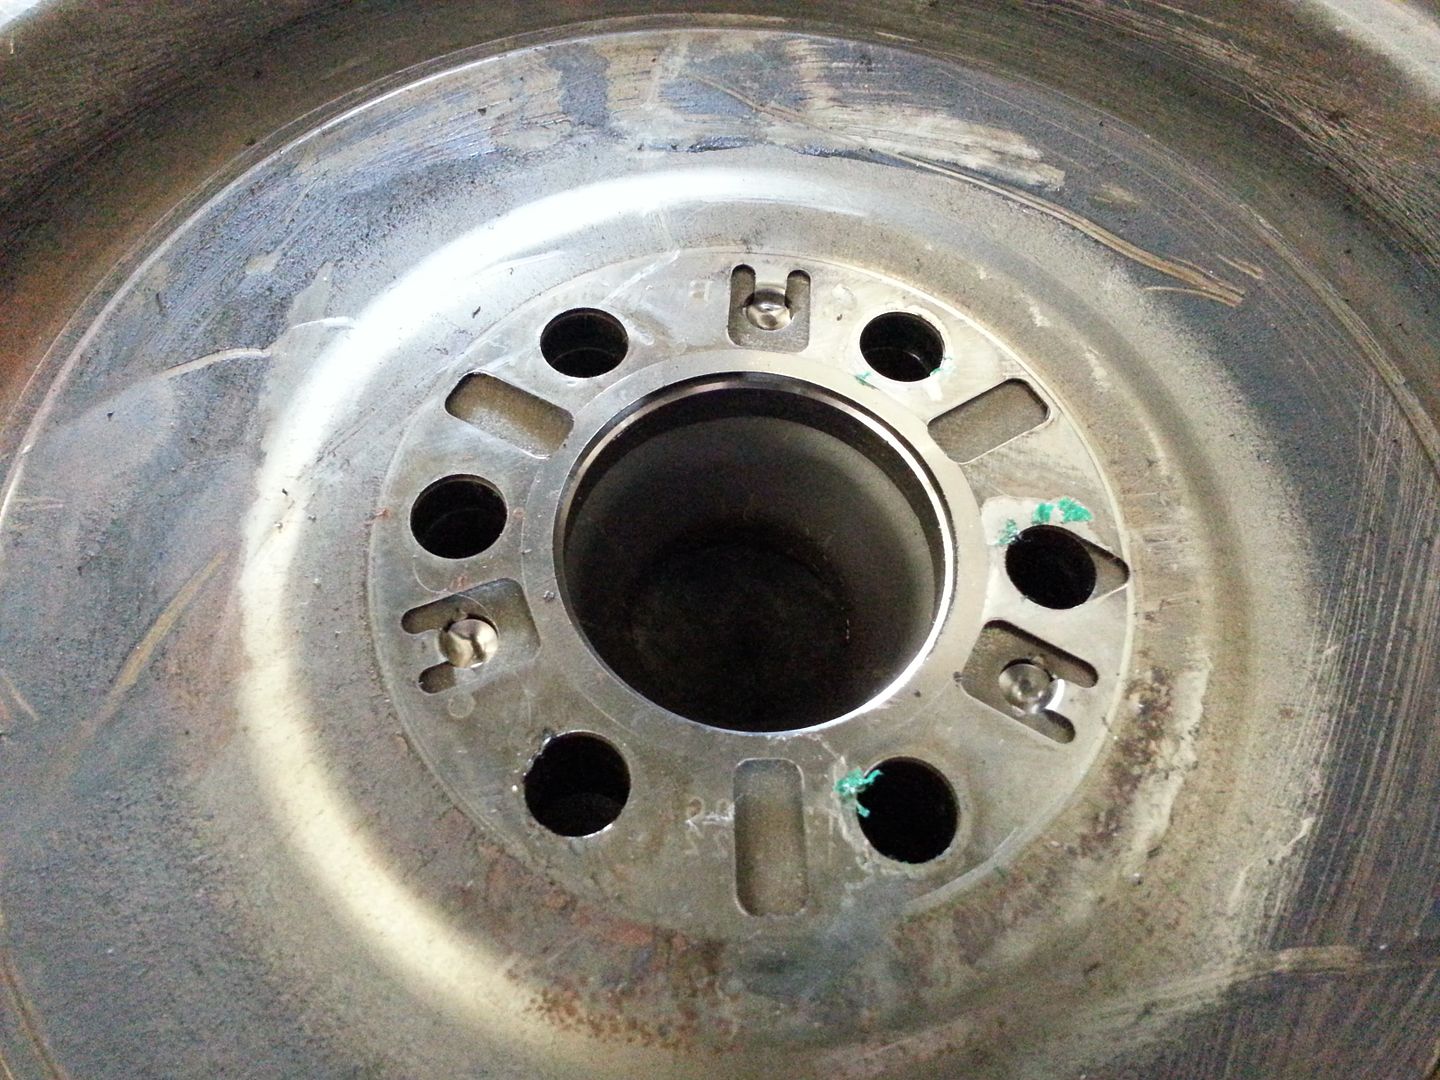
Clutch and flywheel off reveals no loose bolts which at least puts my mind at rest over my engine building abilities lol... but you can see a witness mark on the lip of the sump...
20140720_140257.jpg


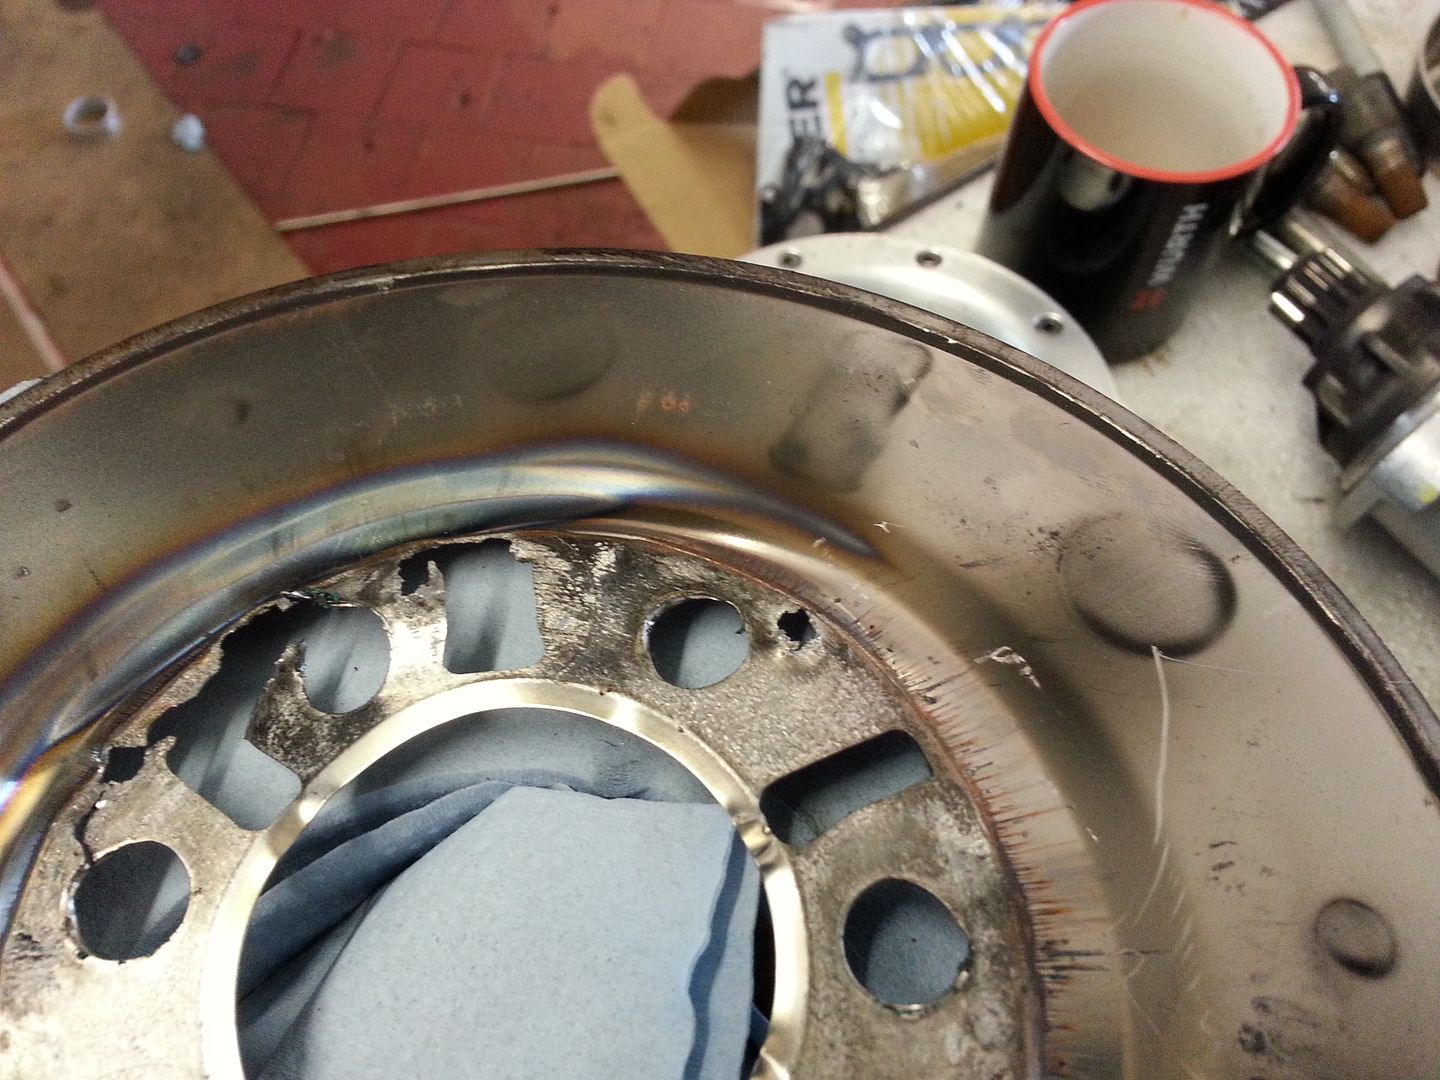
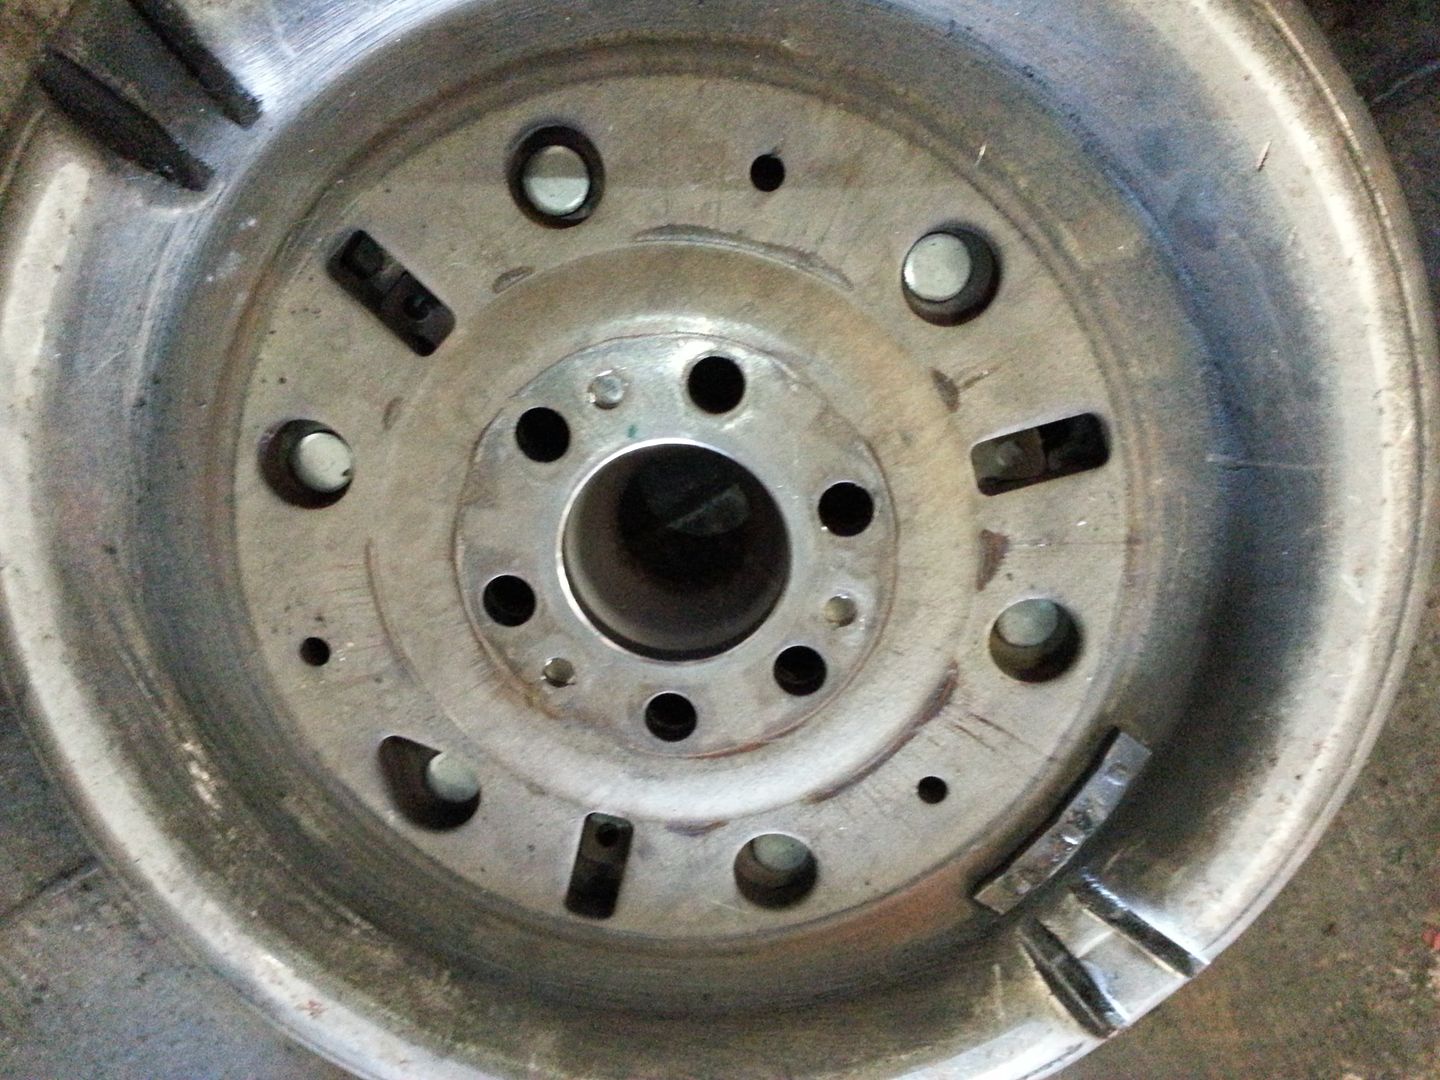
...the back of the DMF was in a sorry state...
20140720_140329.jpg


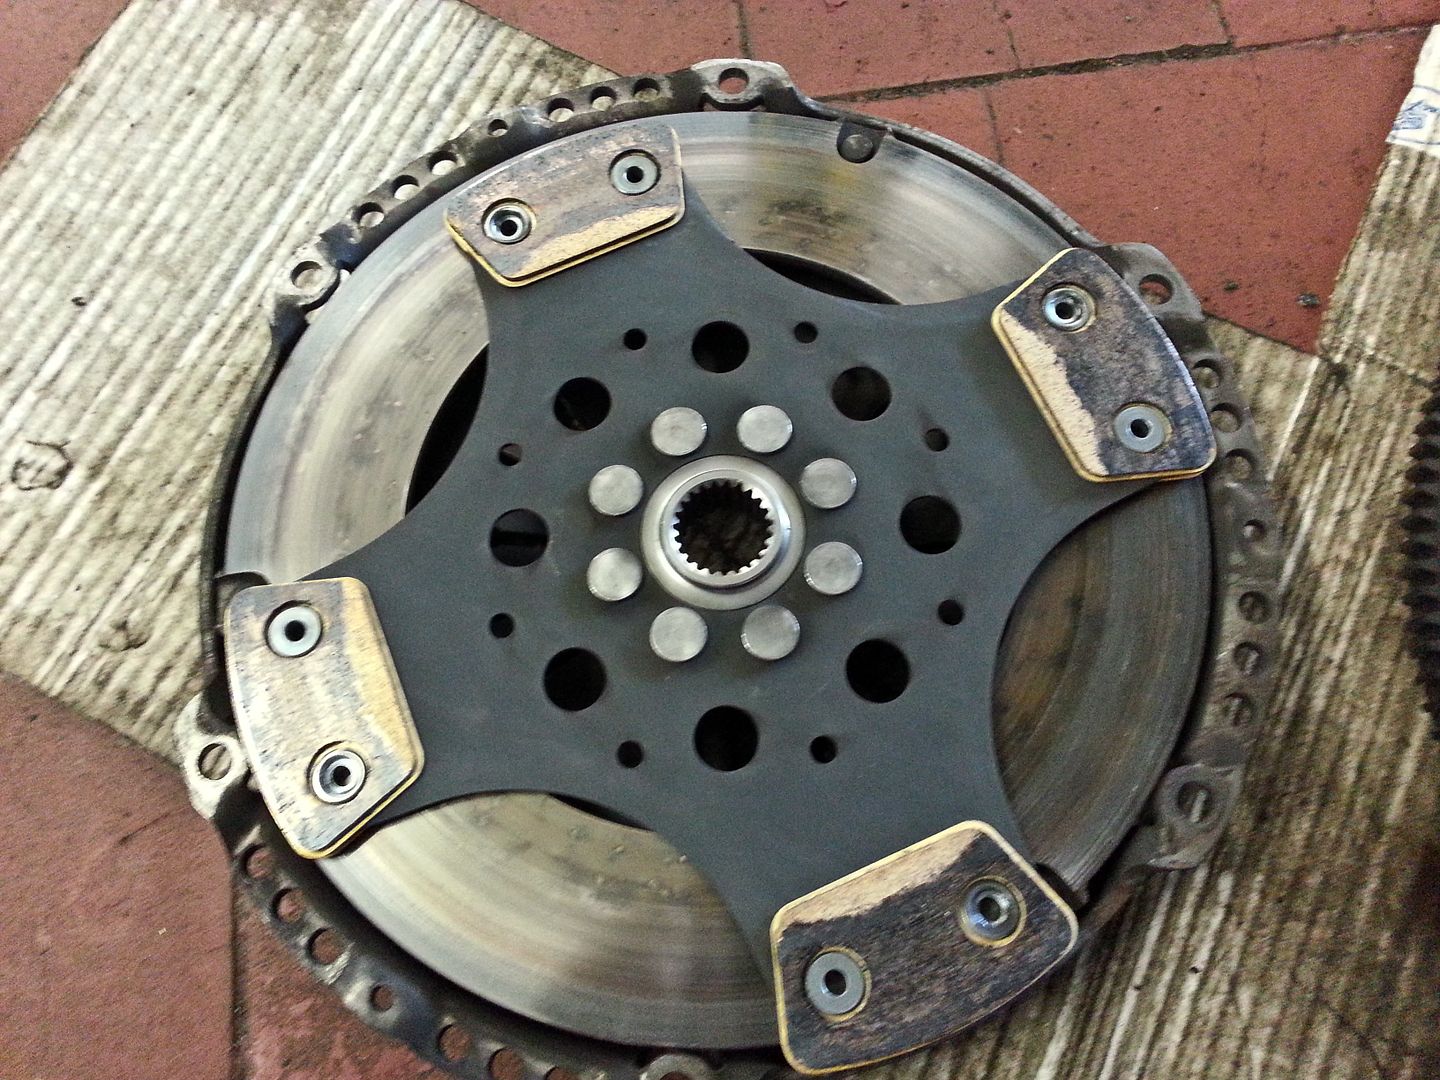
...compared to my spare...
20140720_140333.jpg


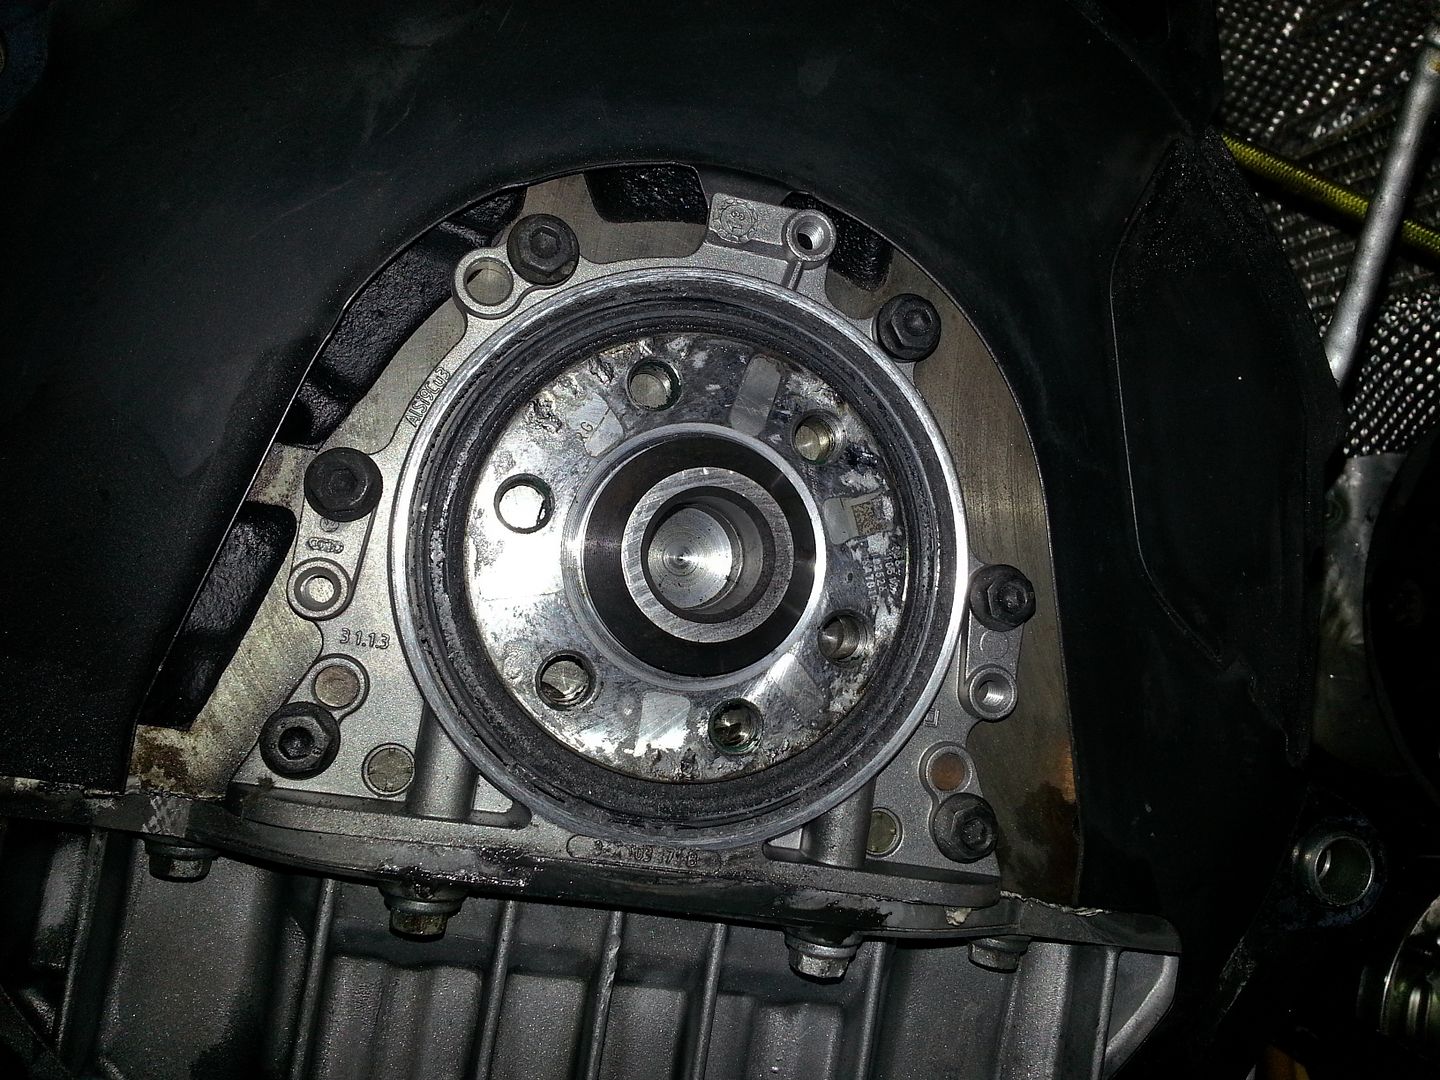
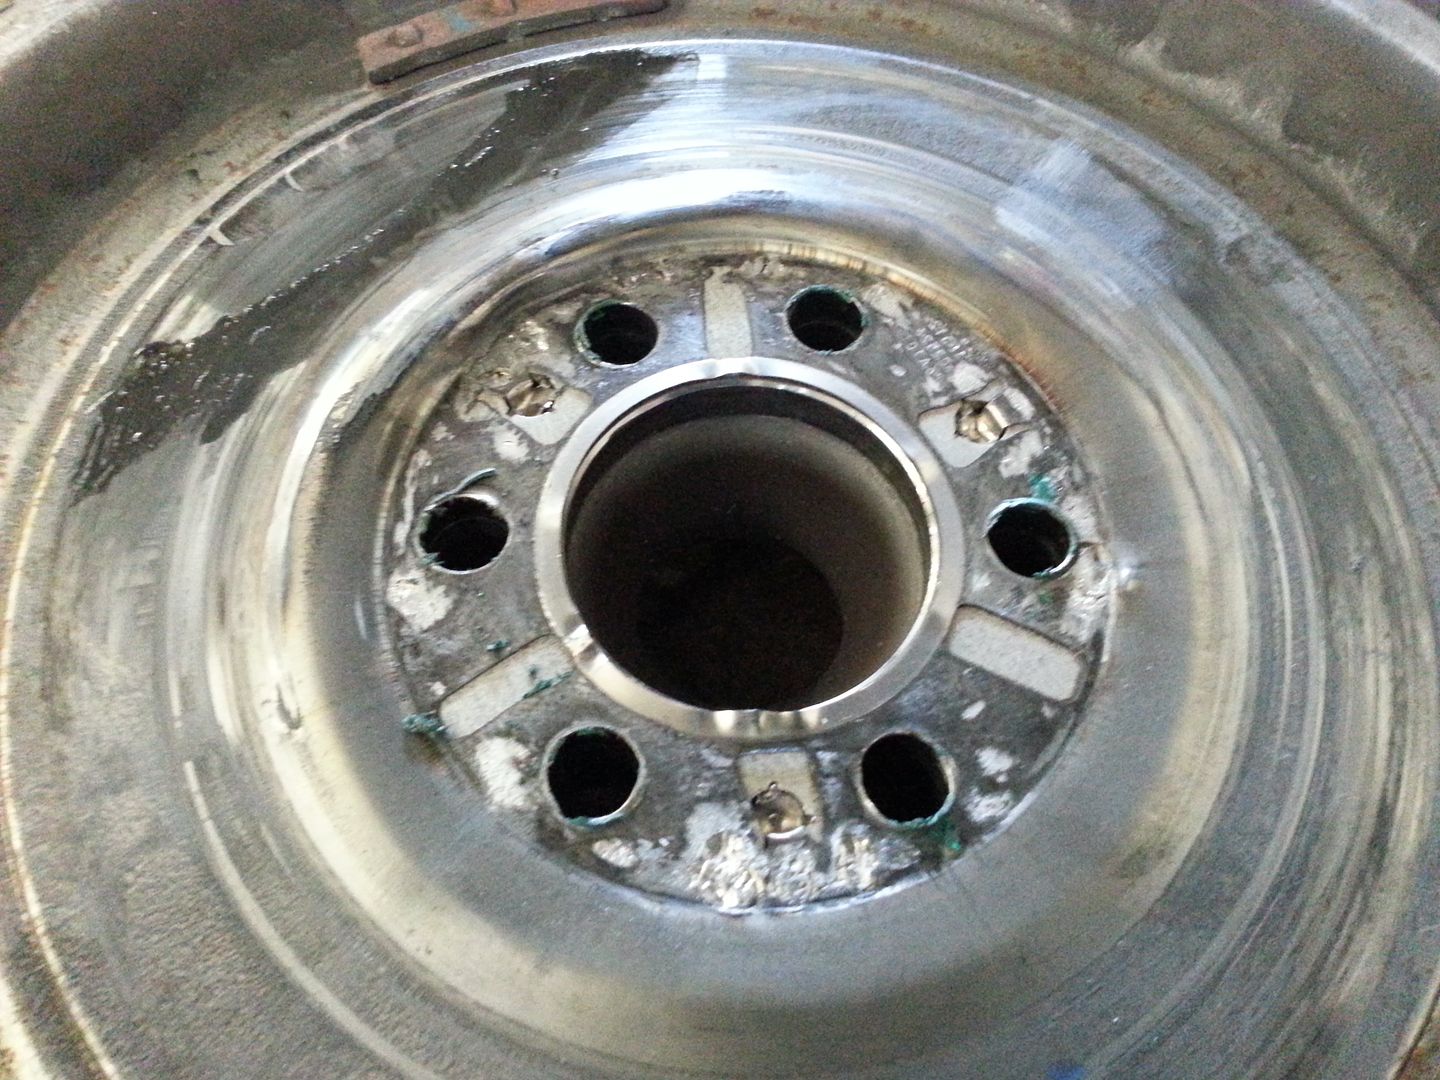
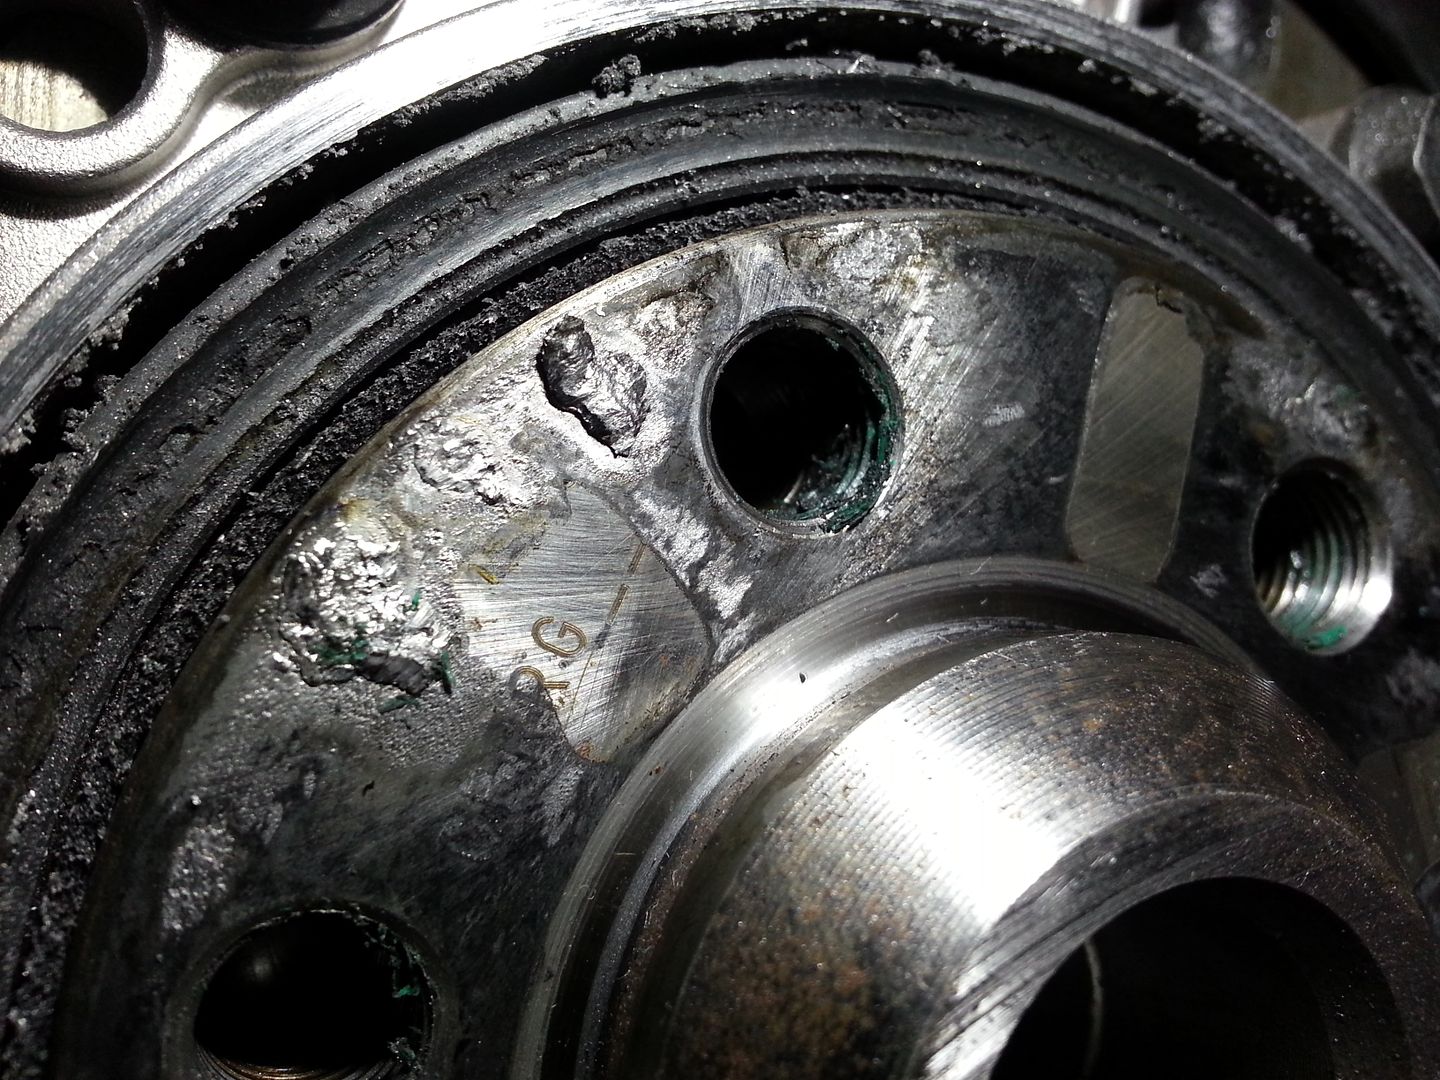
On closer inspection of the crank I noticed there were odd bits of metal left on there... this was not normal...
20140720_140604.jpg


What I believe to have happened here is that the thin metal piece on the back of the DMF became distorted from seeing over 10,000 rpm during the 'incident' and this is what was the source of the rubbing... the subsequent rubbing caused the thin metal to over heat and some of it fused to the end of the crank... you can see here on the back of the metal piece where its gone blue from the friction..
20140720_142509.jpg


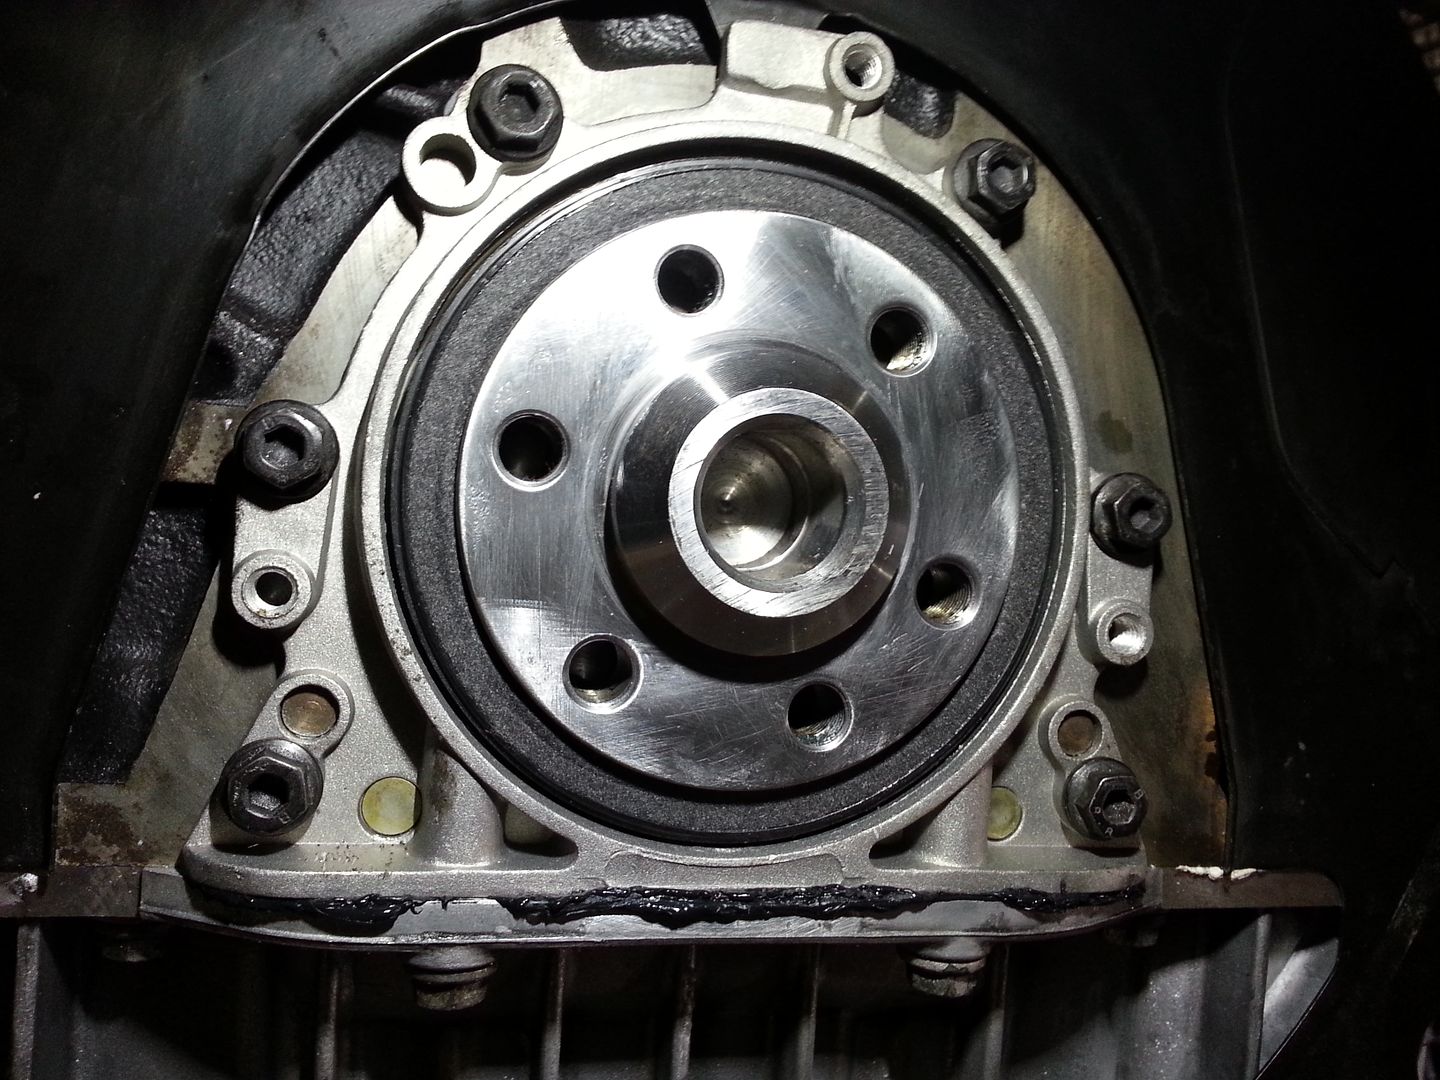
So.. cleaned up the end of the crank and fitted a new seal as the 'old' one looked 'used'...
20140720_151543.jpg


Removed the metal piece from the spare DMF...
20140720_142517.jpg


...and fitted it all back in... I would imagine the metal acts as a sort of shim to increase friction between the DMF and the crank but SMF's typically fit with no 'shim' so meh... will give it a go...

Clutch plate and cover looked fine...
20140720_140338.jpg


Wrestled the box back on then bolted it all back together...

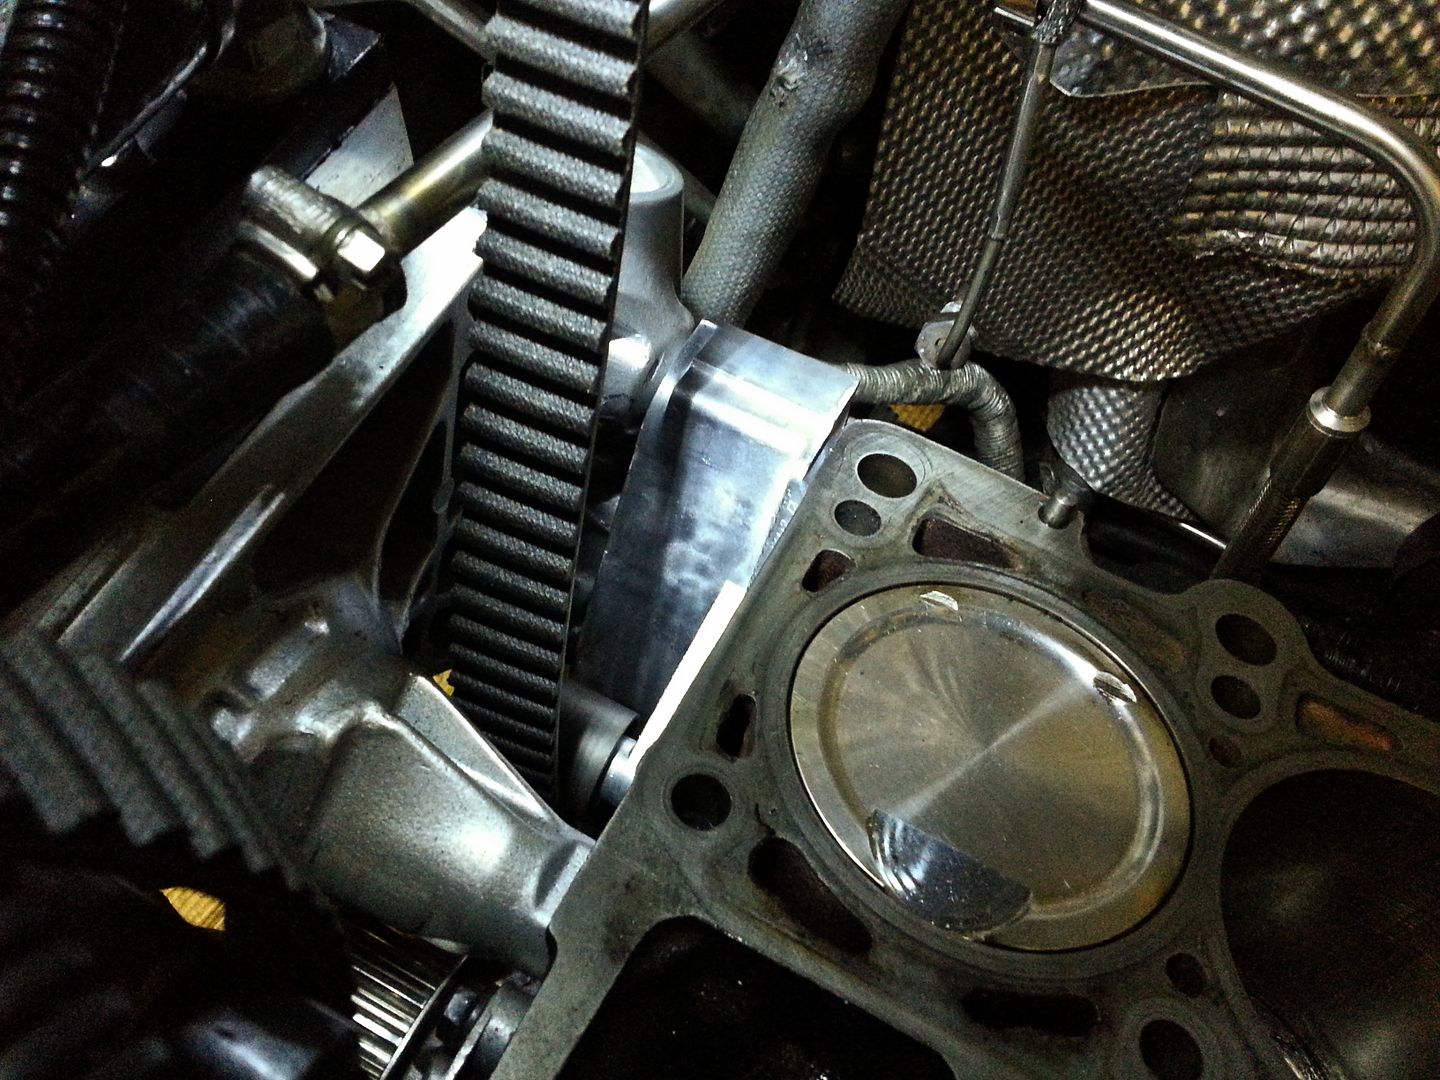
Next job was to get a new cam belt in ready... usually a thankless task due to the mount you have to remove to get to the belt but the head was off making it easier...
20140720_211607.jpg


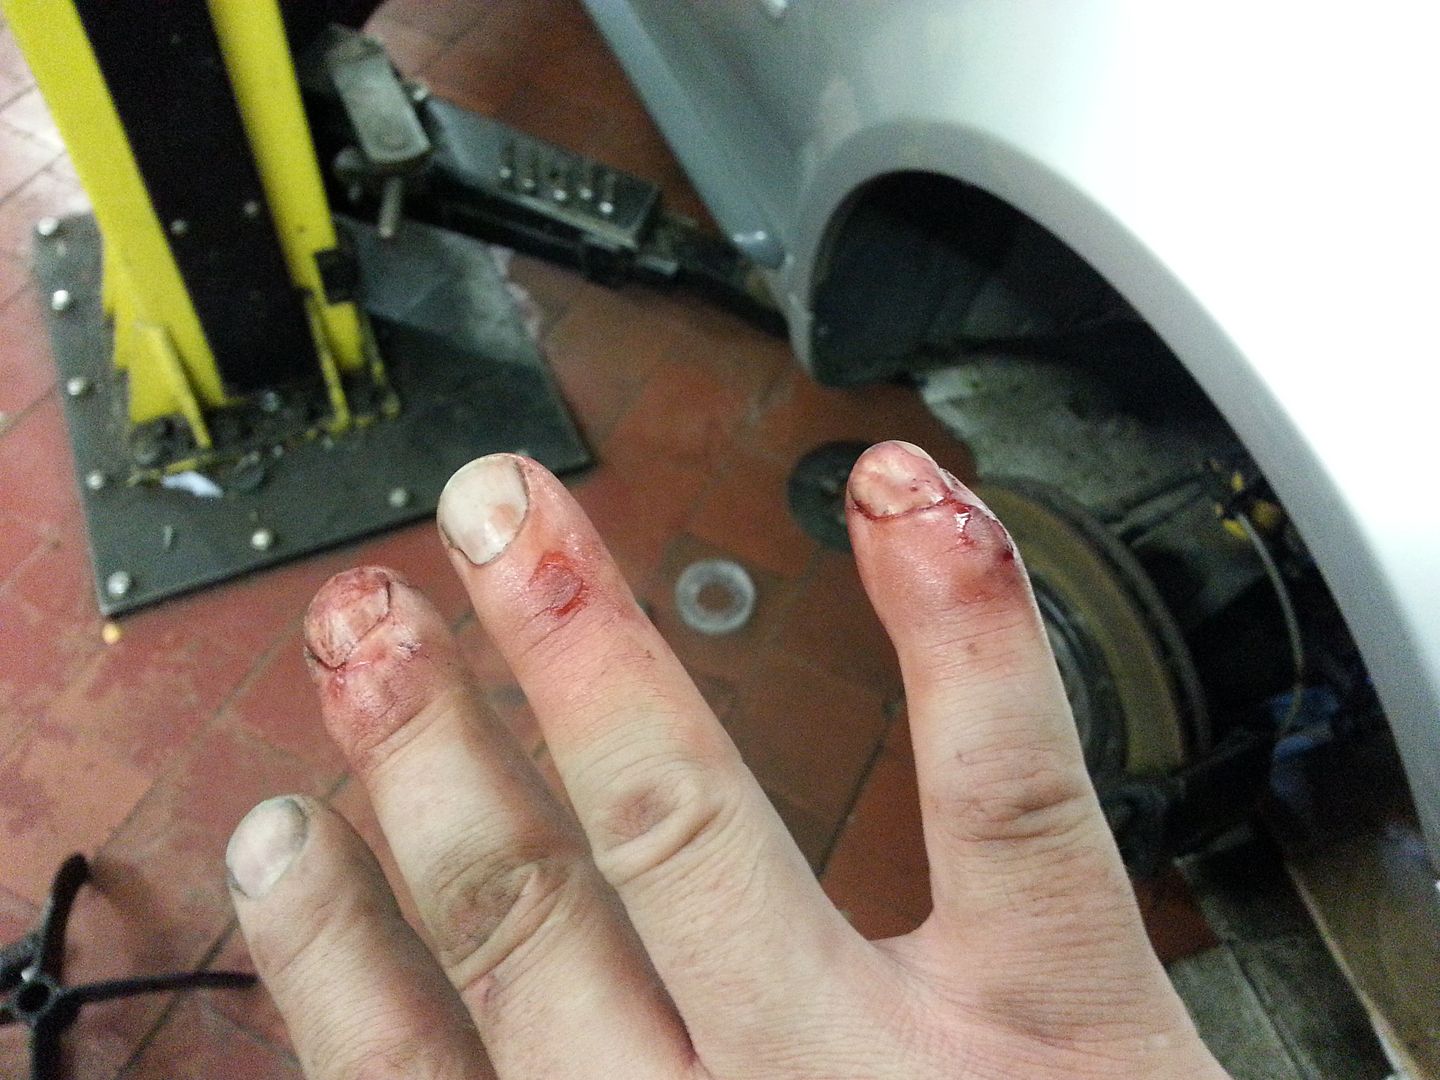
All went well... a surprisingly painless task... well... I say painless... I had been at Bills for best part of twelve hours and it was starting to tell... especially when I slipped doing up a bolt on the belt idler
20140720_204535.jpg


Doh!!!... looks worse than it actually is... always nice to get a little love bite from the old girl lol...

Has enough and went home... tomorrow I need to clean up the contact marks on the pistons...
20140720_211624.jpg


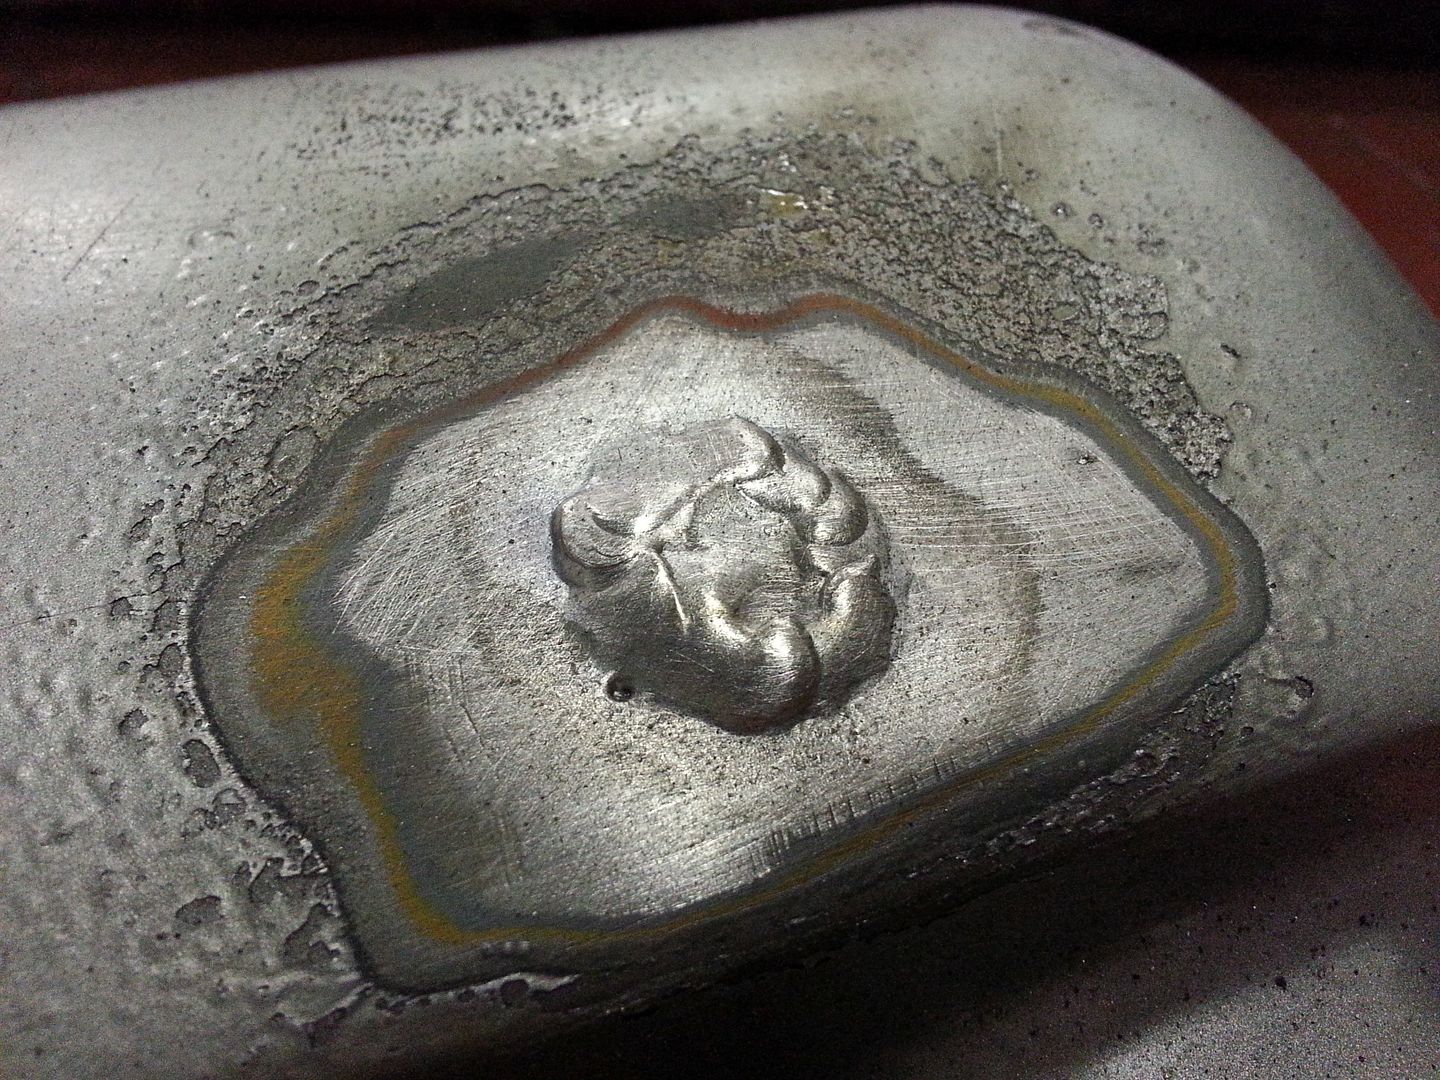
...fit the head and start fitting everything back in.... and sort out the inlet that Bill kindly welded for me today...
20140720_212530.jpg


Very achy and tired but the old girl should be running again in the next few days :D

<tuffty/>
 

tufftybloke

Badger 5 Edition
Feb 28, 2009
657
0
Gloucestershire, UK
Very fast work again. Saying that... You must be used to it now, you will be doing it with your eyes closed soon haha

I'd rather not be doing it at all to my own car this soon after the rebuild LOL... ah well :D

Bit more done today... seems to take longer putting her back together than stripping her lol...

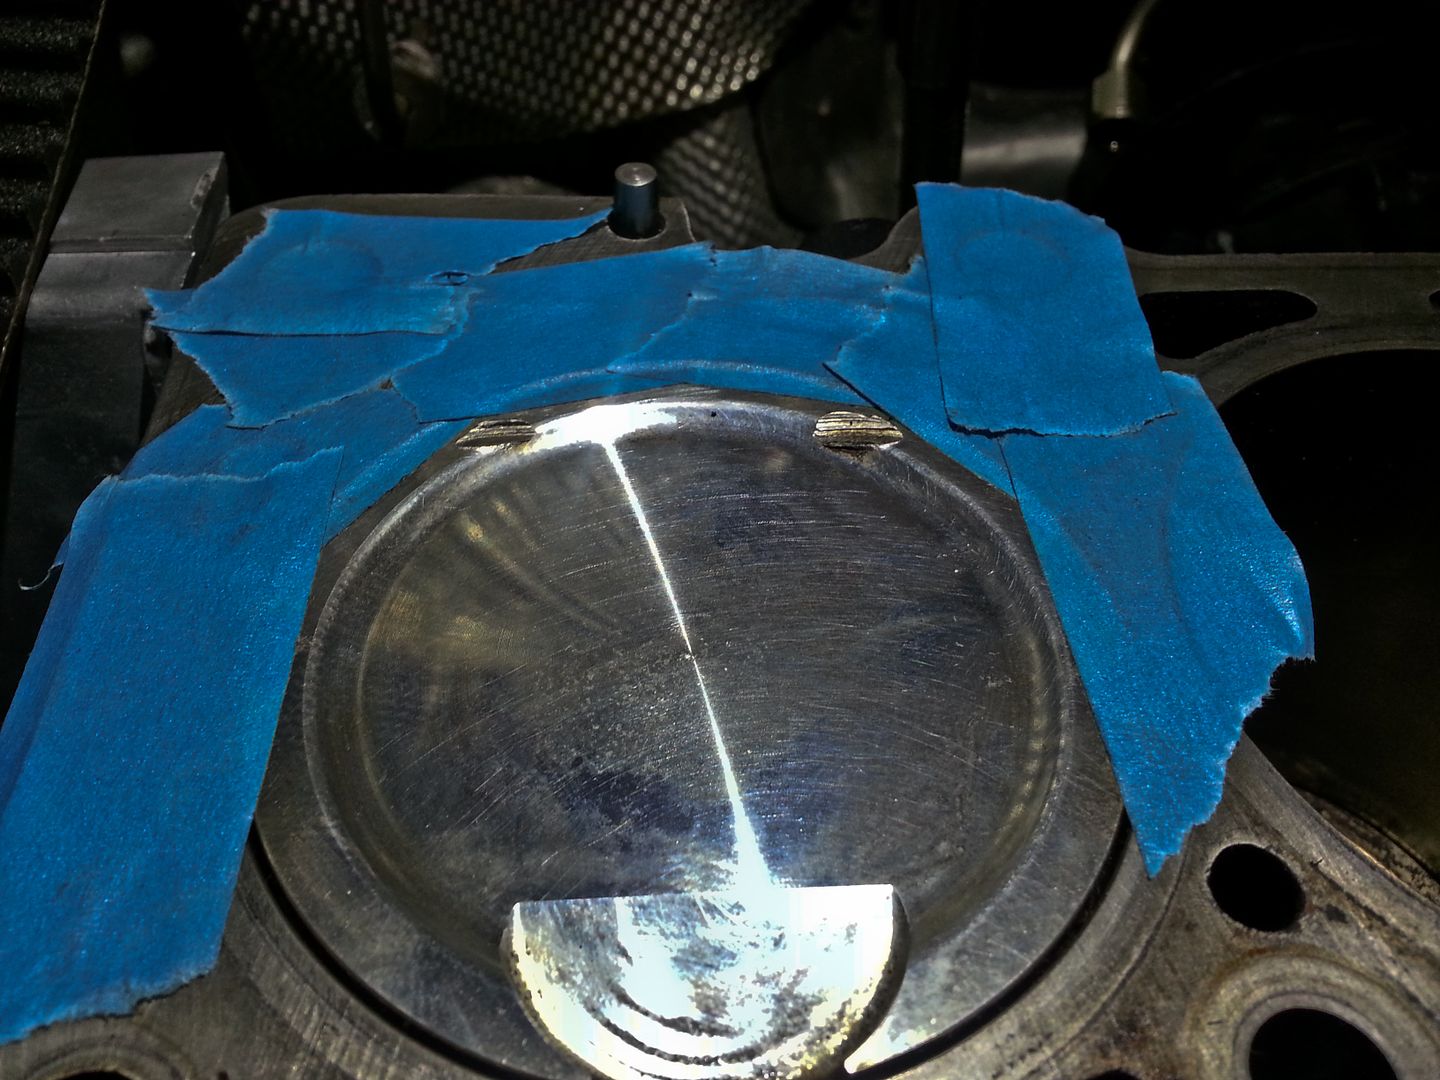
First job was to mask up the pistons for smoothing out
20140721_101822.jpg


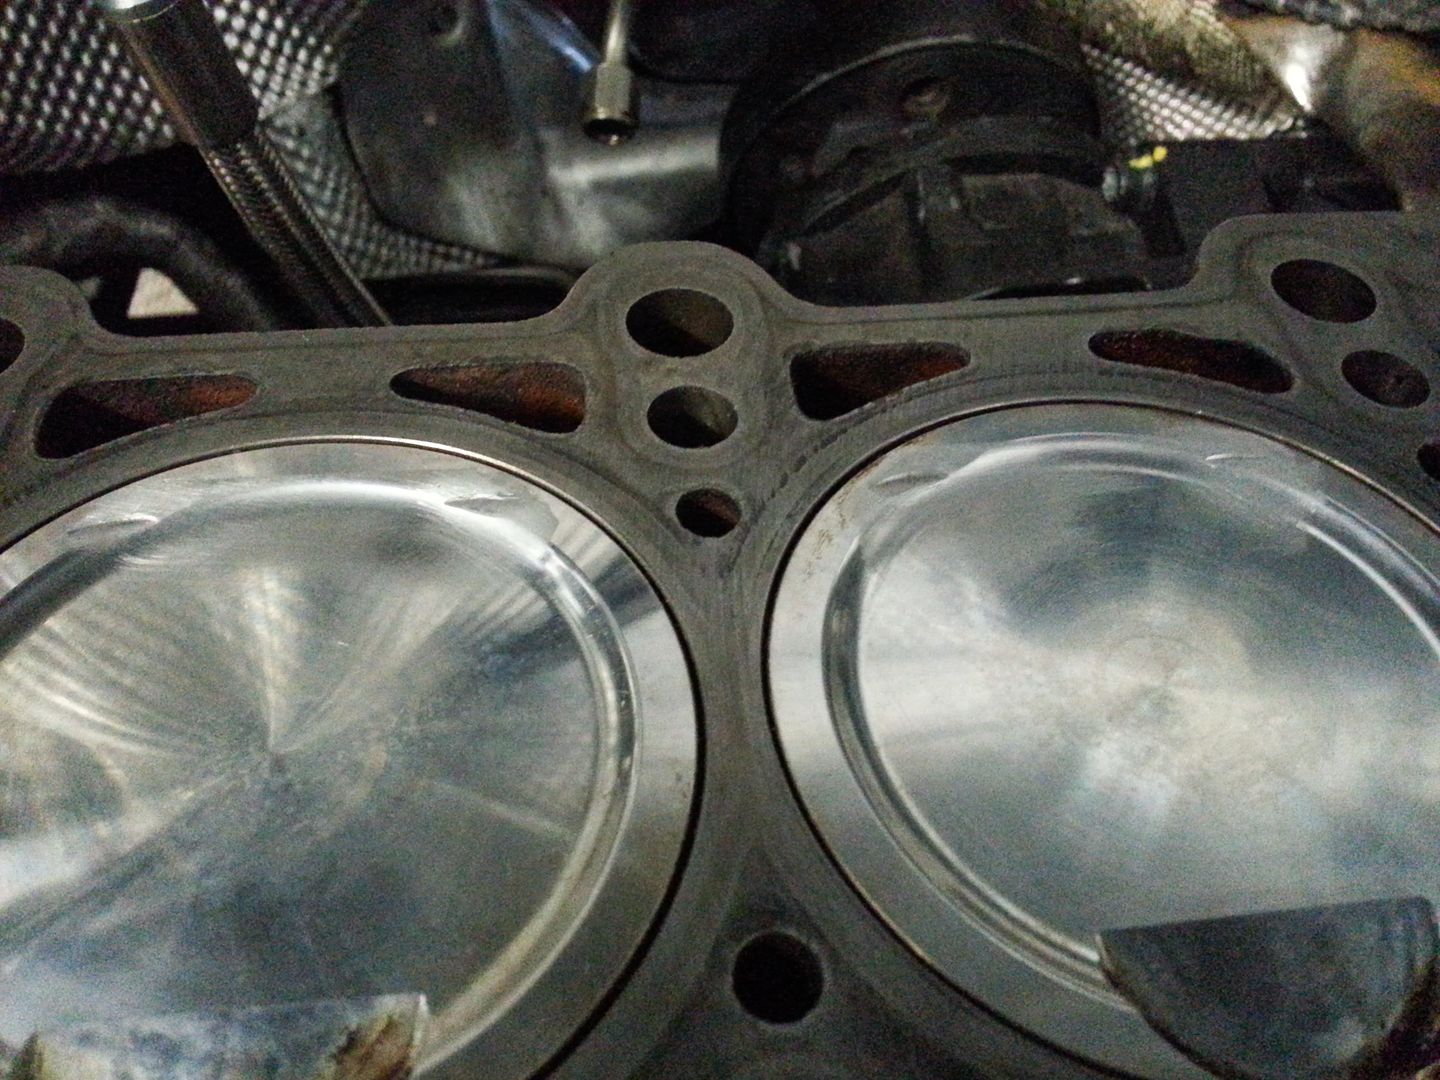
With a little light dremeling and scotch bright the pistons look much better...
20140721_104323.jpg


20140721_112603.jpg


That done I cleaned the blocks deck an blew out the head bolt holes to stop hydraulicing and moved the head over ready to plonk on...
20140721_124451.jpg


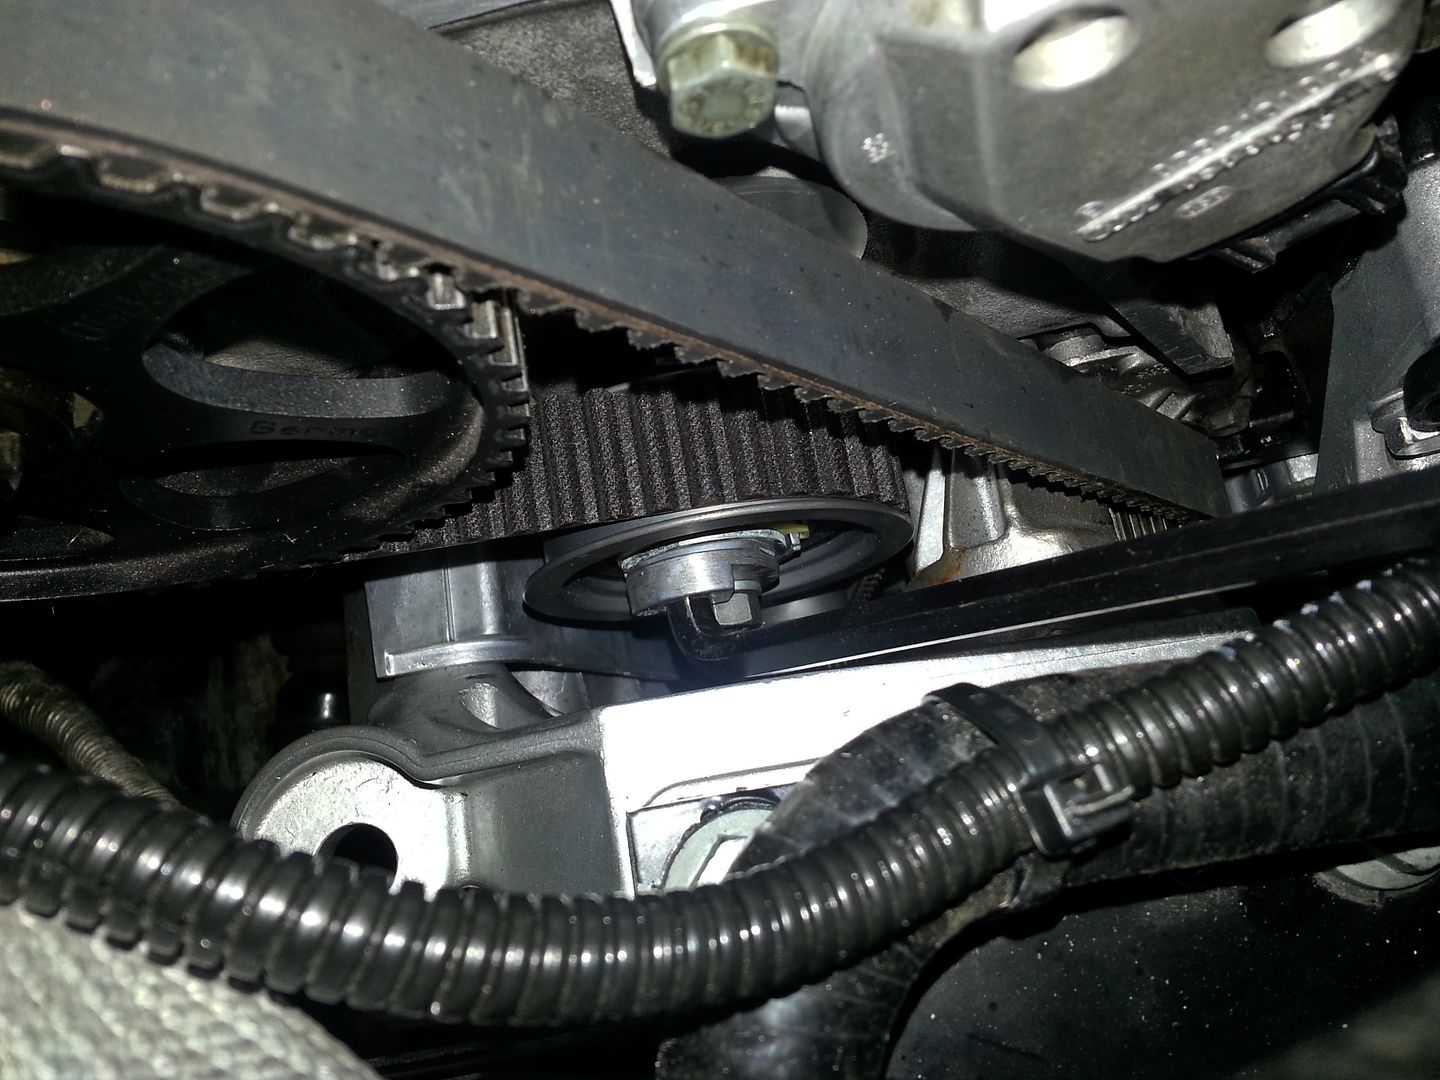
New tensioner was interesting... definitely did this the hard way by leaving the bloody mount on... if you get one of these I'd advise leaving the mount off to set it up... (the mount needs to be removed to get the belt in anyway)
20140721_135702.jpg


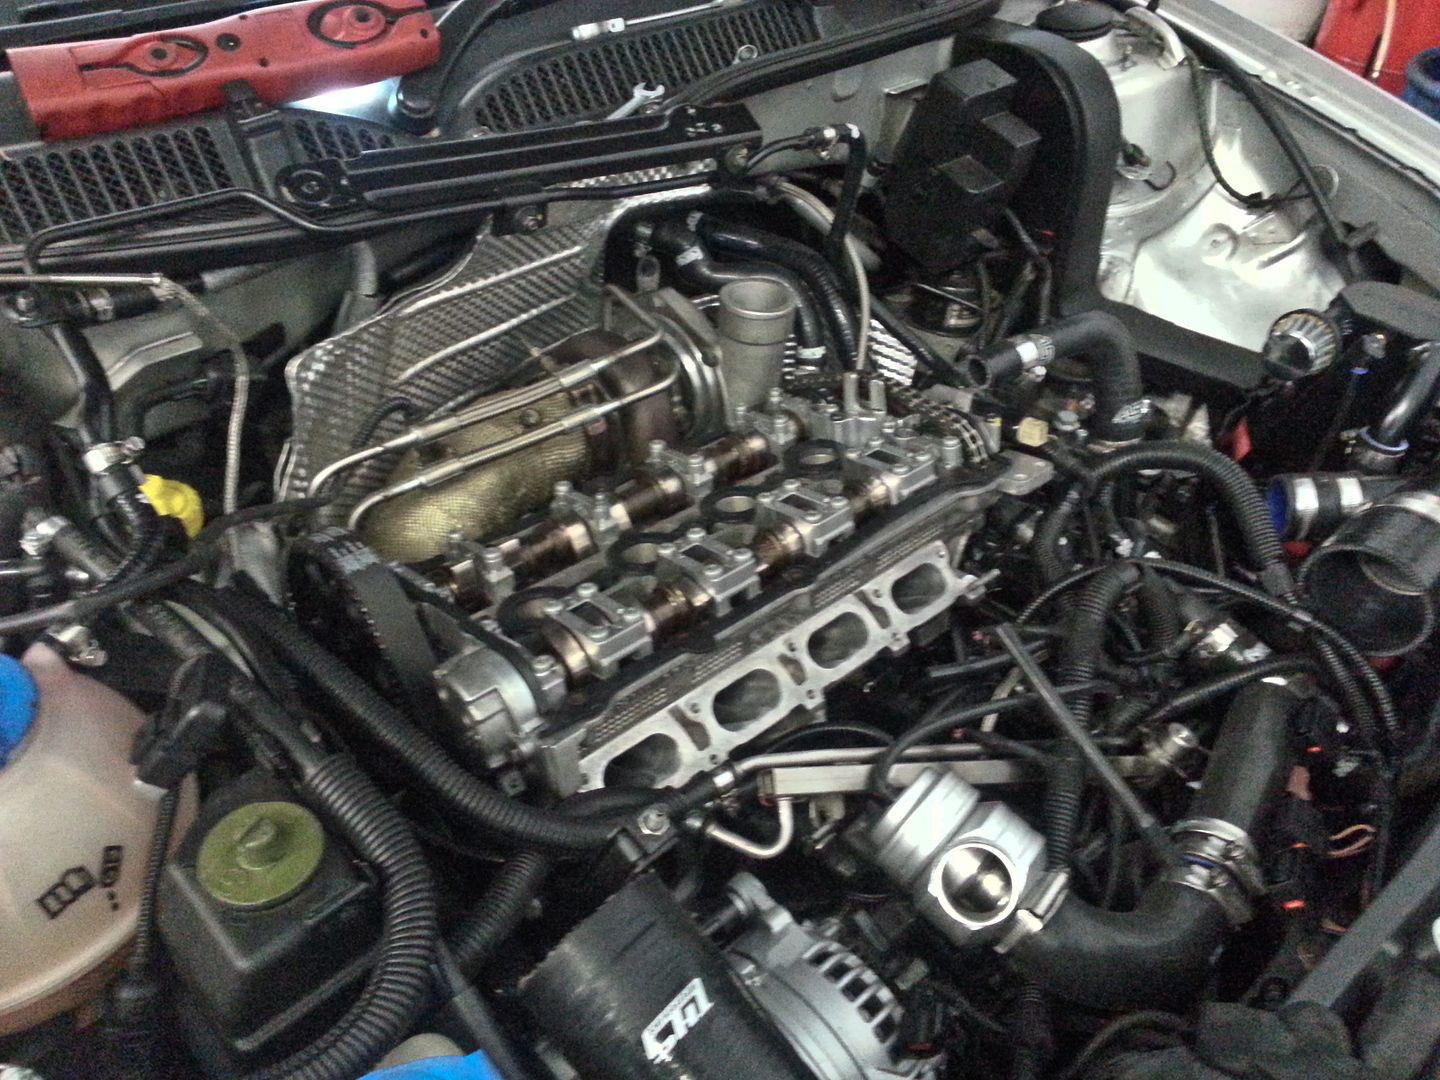
Then basically started fitting everything back in...
20140721_160931.jpg


All was going pretty well... had got everything sorted out underneath and bolted the cam cover down... I have removed the studs as the turbo's position makes it impossible to remove the cover without loosening the turbo first... started bolting it down and got the last one, the rear fixing nearest the cam belt and the thread pulled!!... FFS!... soooo that would explain the oil weep I had from that corner if its coming loose due to poor threads...

So tomorrow after work I will drop in to Bills and see if I can helicoil it :(

Plan to try and do a couple of hours after work through the week to get the car drivable and out of Bills hair... can get her home and get her sorted for AITP then... :)

<tuffty/>