• Guest would you be interested in CUPRA or SEAT valve caps? let us know in the poll

  • Welcome to our new sponsor Lecatona, a brand dedicated to enhancing performance for VAG group sports cars, including SEAT, Audi, Volkswagen and Škoda. Specializing in High Pressure Fuel Pump (HPFP) upgrades.

My LCR Since '05 with Static+ Front Air Lift - Project Gone to a New Home.

Oct 21, 2006
1,226
1
Norfolk
As James doesn't fancy doing another. Might be worth asking D.K...

It's pretty easy to do. All you need is some sisal wheels and polishing compounds. If you were doing the rocker cover, I'd consider getting it chromed if it's going to be on show; it's not a great cast and is very intricate in places.

That's come out really well mate, I like the idea of spraying the center bit it adds a bit of contrast.

Thanks mate. It's aliminium high temp paint and blends in quite well doesn't it. With anything, endurance is the key so we'll see how it gets on.
 

Richy Cupra

Fully paid member
Jul 6, 2011
1,368
0
Essex
Oh i so want to do this. Seeing this makes me want to do mine but i dont fancy taking the rocker cover off :confused: Good work though mate :D
 
Oct 21, 2006
1,226
1
Norfolk
I might have to try that with a my spare one :rolleyes:

I did try to buy a spare so that I could take my time with it. Give it a go Darren; you always do mega work and it'll be a nice addition to your bay. Although it's not seen, the devil is in the detail as they say :)
 
Oct 21, 2006
1,226
1
Norfolk
Oh i so want to do this. Seeing this makes me want to do mine but i dont fancy taking the rocker cover off :confused: Good work though mate :D

Thanks buddy :) 9 nuts hold it into position, which are not over-tightened. There was probably no need to replace the gasket, but it was for peace of mind. It simply pops off and fits back on without any dramas (says he that hasn't started the car to make sure all is good :whistle:).

I would strongly advise a couple of intensive dish washer washes to remove all the crud from the underside of the rocket cover.

Give it a whirl :)
 

Richy Cupra

Fully paid member
Jul 6, 2011
1,368
0
Essex
Thanks buddy :) 9 nuts hold it into position, which are not over-tightened. There was probably no need to replace the gasket, but it was for peace of mind. It simply pops off and fits back on without any dramas (says he that hasn't started the car to make sure all is good :whistle:).

I would strongly advise a couple of intensive dish washer washes to remove all the crud from the underside of the rocket cover.

Give it a whirl :)

Thanks for the info mate, doesn't sound too much of a big job was just worried if the nuts or bolts had to be torqued up precisely or something.

I shall give it a go next week then :D

Id start the car just incase but im sure it will be alright
 
Last edited:
Oct 21, 2006
1,226
1
Norfolk
Today saw the removal of the Inlet Manifold, Throttle Body and Injectors. Rather simple to removal, although I didn’t realise that so much was attached to the underneath of the IM. I’ve removed the PVC system also. It’s a true man test! It ran sweet as a nut before I took it apart and I’m a little concerned that it might not once it’s all back together… Fingers crossed!

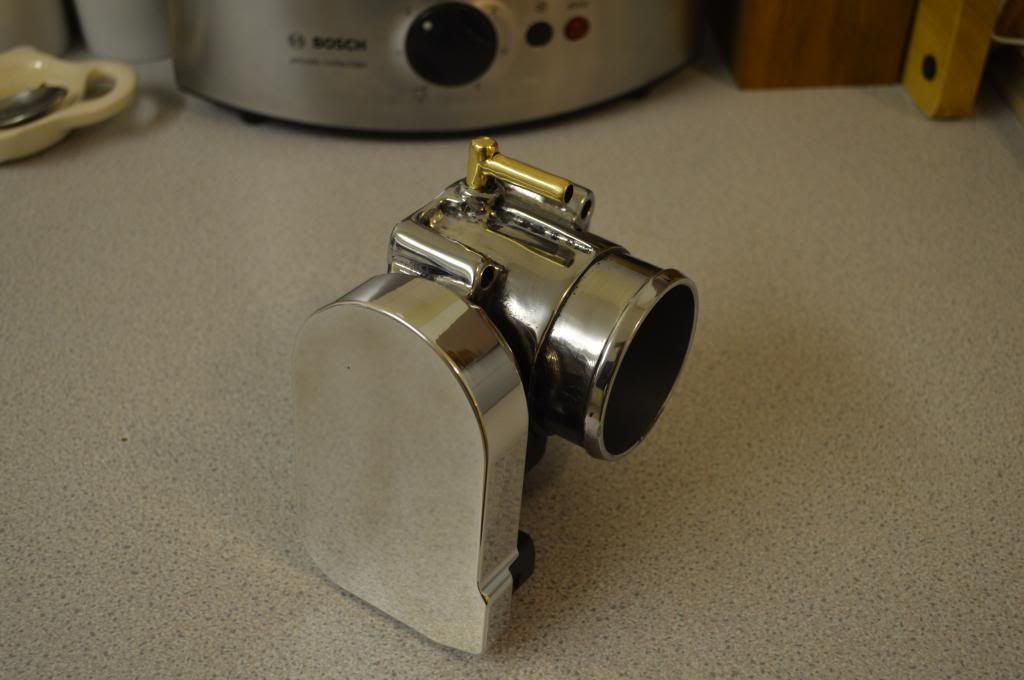
More polishing today… This time it’s the Manifold getting the treatment. Before I got round to that, I quickly freshened up the TB; it’s held up really well. Just needs some metal wax applied now to give it some durability.

DSC_0023_zps57c641ff.jpg


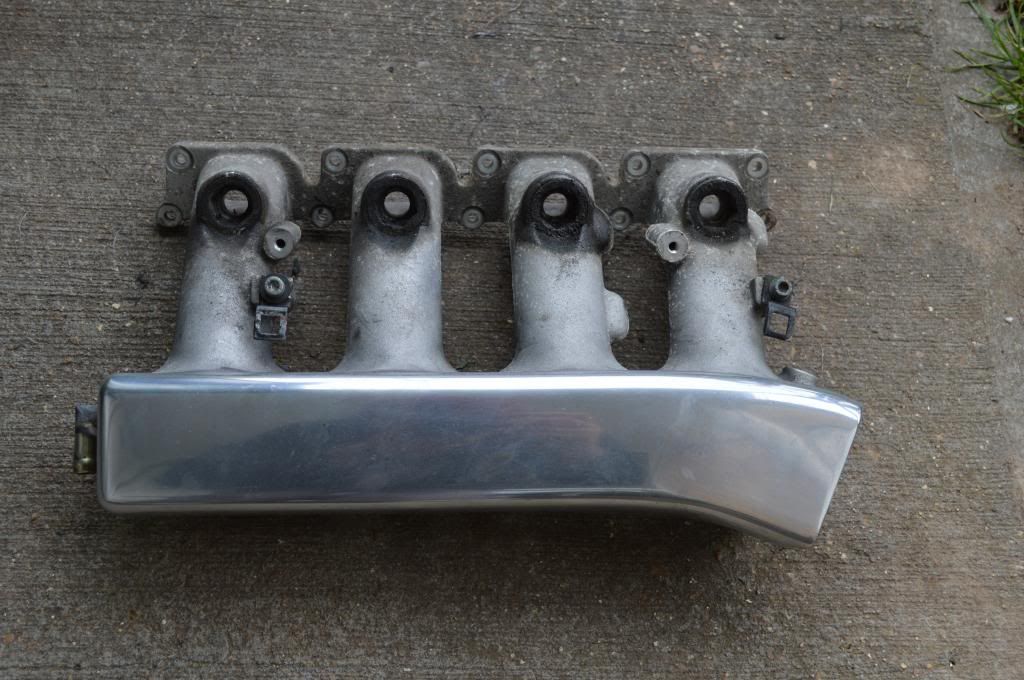
Inlet Manifold before I started. An observation is that it was nails to remove the Injector Seals. I had to delicately break them with a screw driver. The new ones are going to be rather difficult to get in. I’ll look for a fitting guide to see if there’s any tips.

DSC_0016_zpsa37e1422.jpg


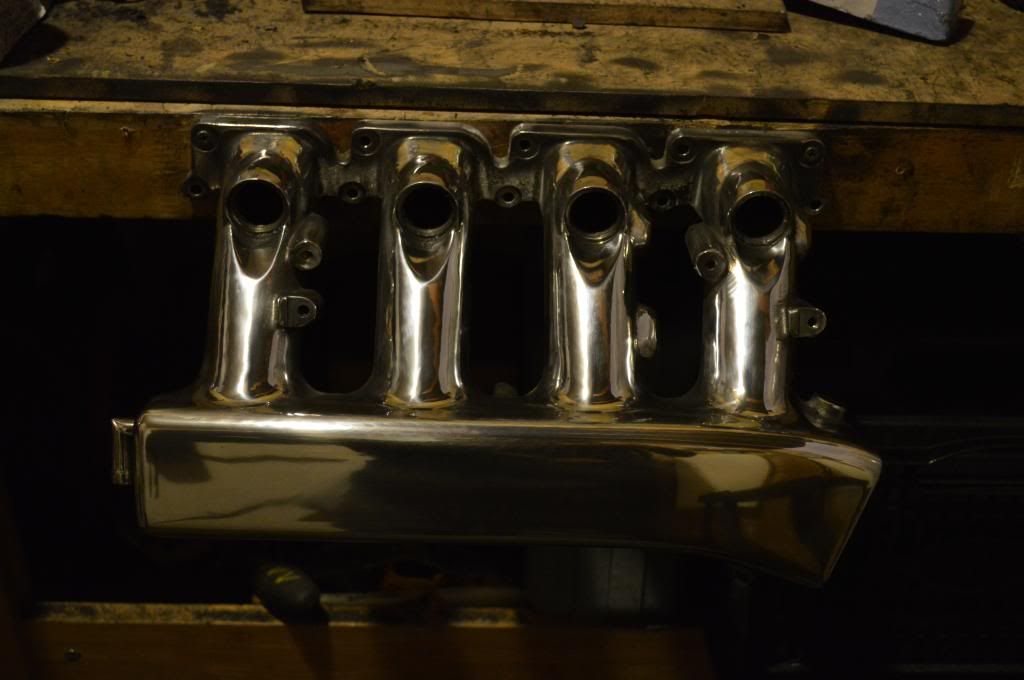
Nearly done now. Just the final stage of mopping to finish off. It has a nice even mirror finish, which I’m pretty chuffed with. I’ll take some better pictures when it’s fitted to the car.

DSC_0021_zpsdb1dc602.jpg


With the mani off, I have good access to the lower part of the block and all the ancillaries, so I’ll take the opportunity to do a few bits :whistle:

David at Sere Motors has been able to source me a Mk2 Leon Coil Pack Harness cover for £10 posted, which is a result as US prices were ridiculous. Hopefully that should be with me on Monday :)
 
nice work on the polishing.
just realised this is my first post in here although im always having a look love the attention to detail.
make sure you do a throttle body alignment with vagcom after fitting the fb and inlet mani im sure you knew this anyway but just a reminder.
 
Oct 21, 2006
1,226
1
Norfolk
Thanks for th comments :)

nice work on the polishing.
just realised this is my first post in here although im always having a look love the attention to detail.
make sure you do a throttle body alignment with vagcom after fitting the fb and inlet mani im sure you knew this anyway but just a reminder.

Duely noted. I've never done one before when I've removed it; just disconnected the battery for 30 mins to do a systems reset. I have the VAG COM lead and software; just never used it before. A bit too much of a mind bender for me :confused:
 
Oct 21, 2006
1,226
1
Norfolk
Injectors and FPR Cleaning...

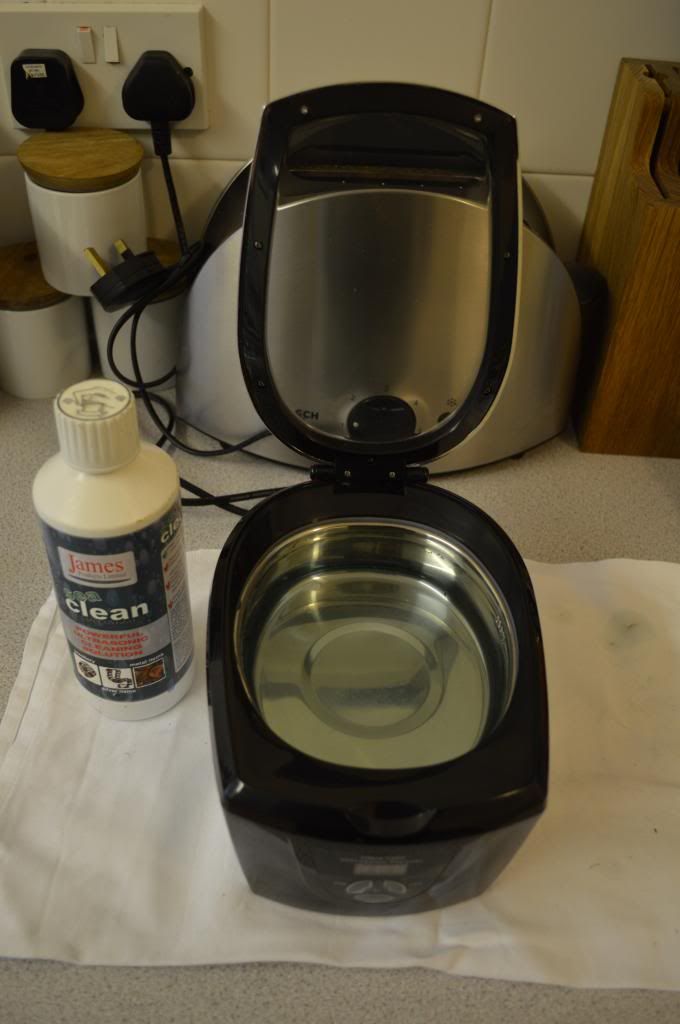
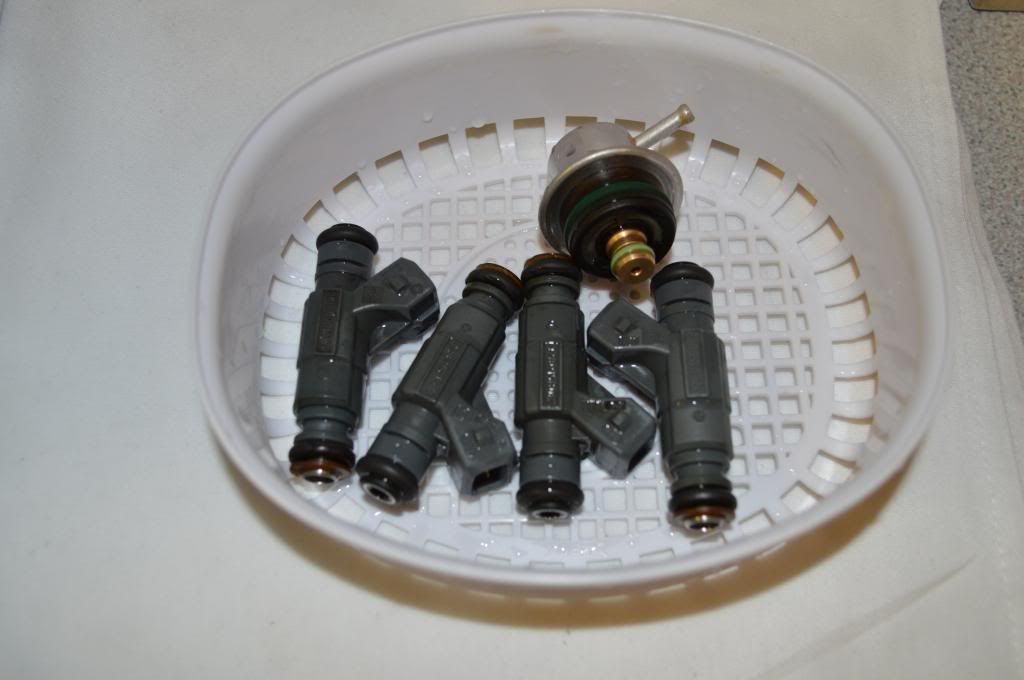
With the In-Laws visiting today, I didn’t get any time on the car other than getting round to cleaning the Injectors and FPR. I used an Ultrasonic cleaner with some SeaClean, following this guide (pointed out to me by JMS from this forum last year):

http://www.audi-sport.net/vb/a3-s3-f...pic-heavy.html

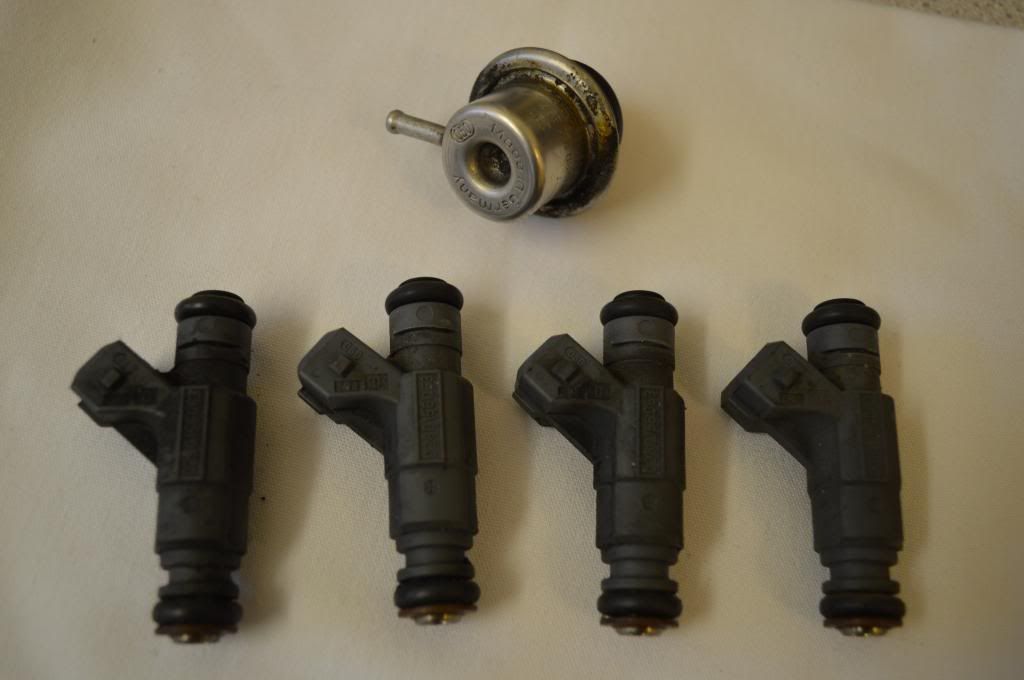
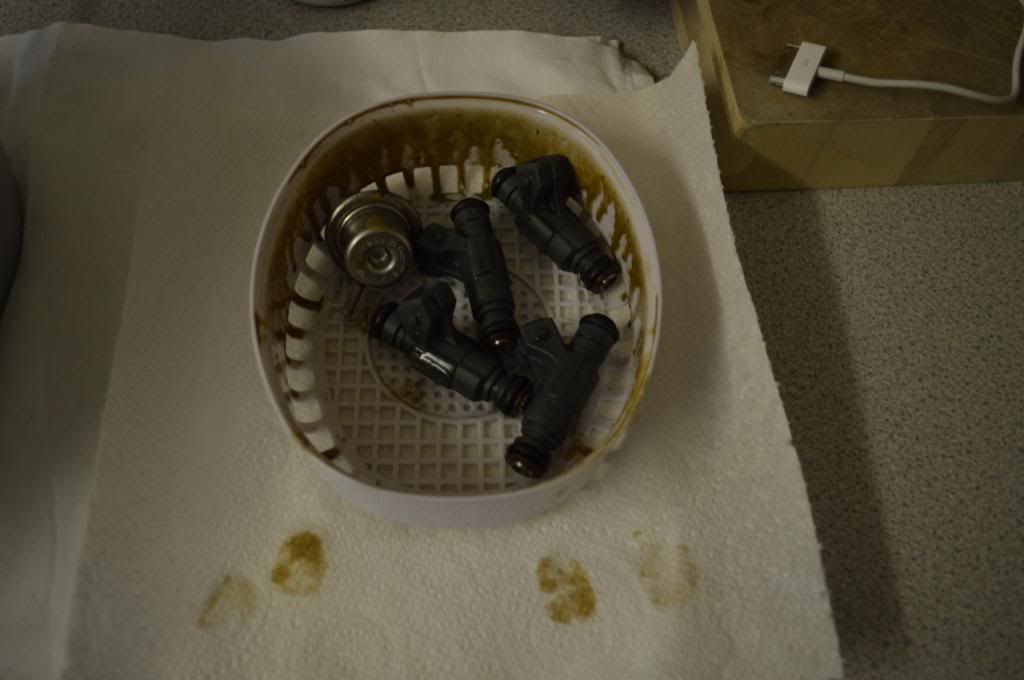
Injectors and FPR before I started…

DSC_0026_zps12ce08f2.jpg


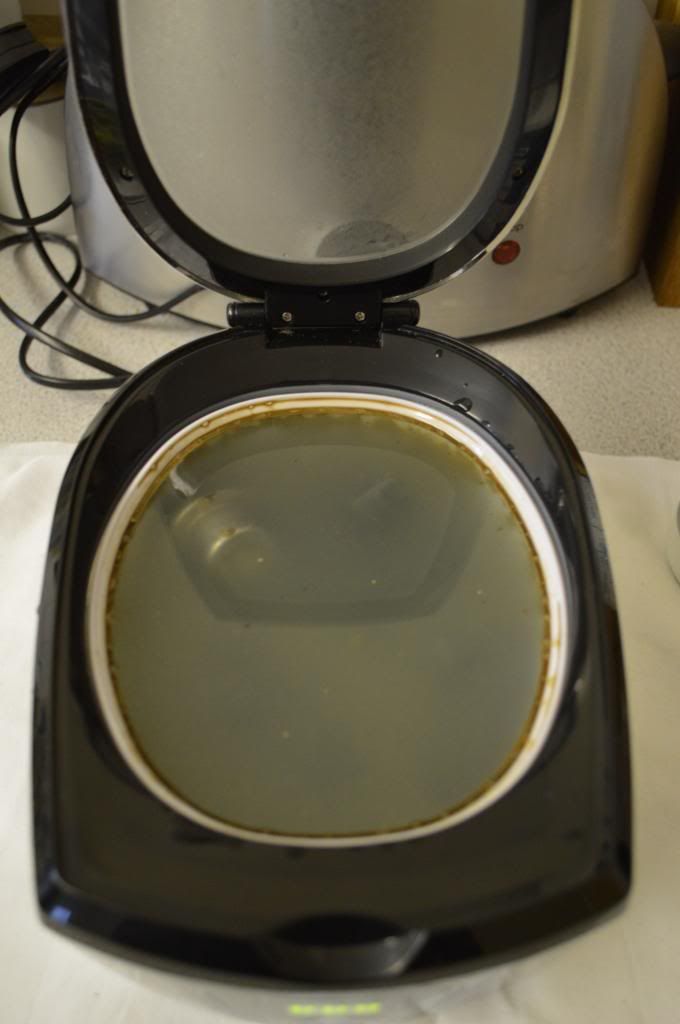
Here’s the warm water plus solution before the first 480 second cycle…

DSC_0027_zps360d70f1.jpg


After first cycle… Can you believe how much muck came off these!!!

DSC_0031_zps988b237f.jpg


DSC_0032_zps40df6eaa.jpg


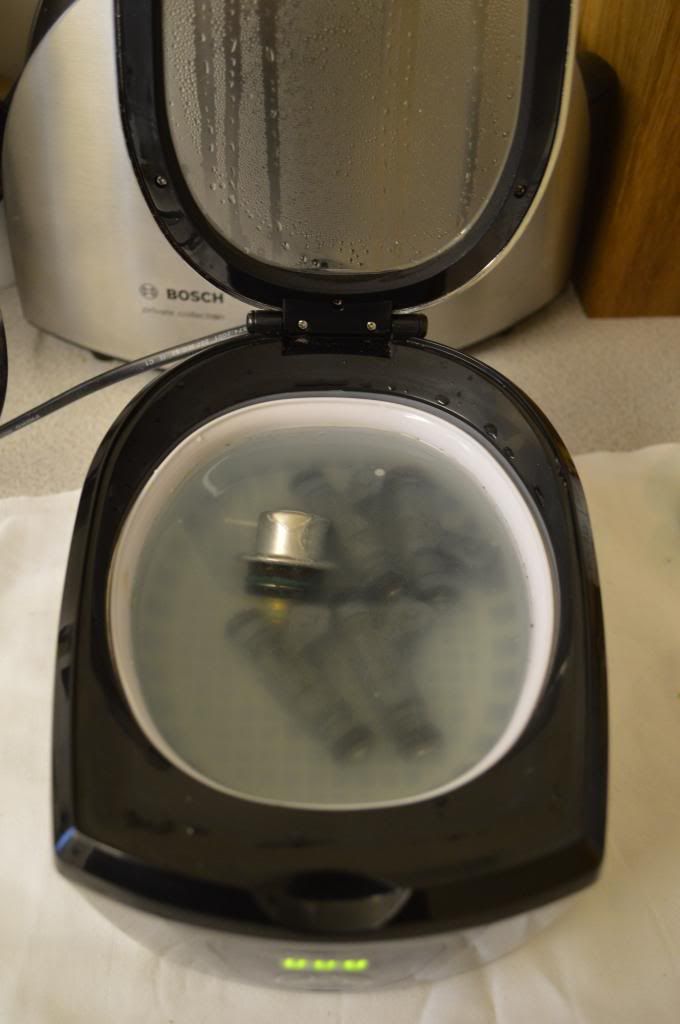
Second pass…

DSC_0033_zps98195ed8.jpg


In total, 6 480 second cycles were completed to achieve a completely clean result (based on water deposits). They have come up a treat!

DSC_0043_zps57b36fb7.jpg


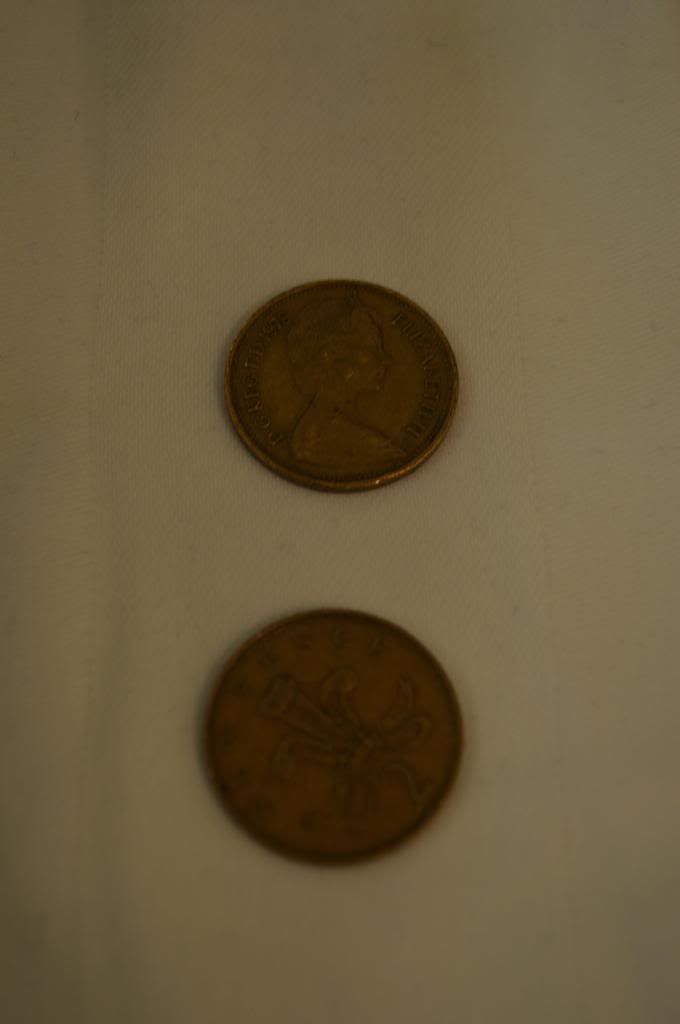
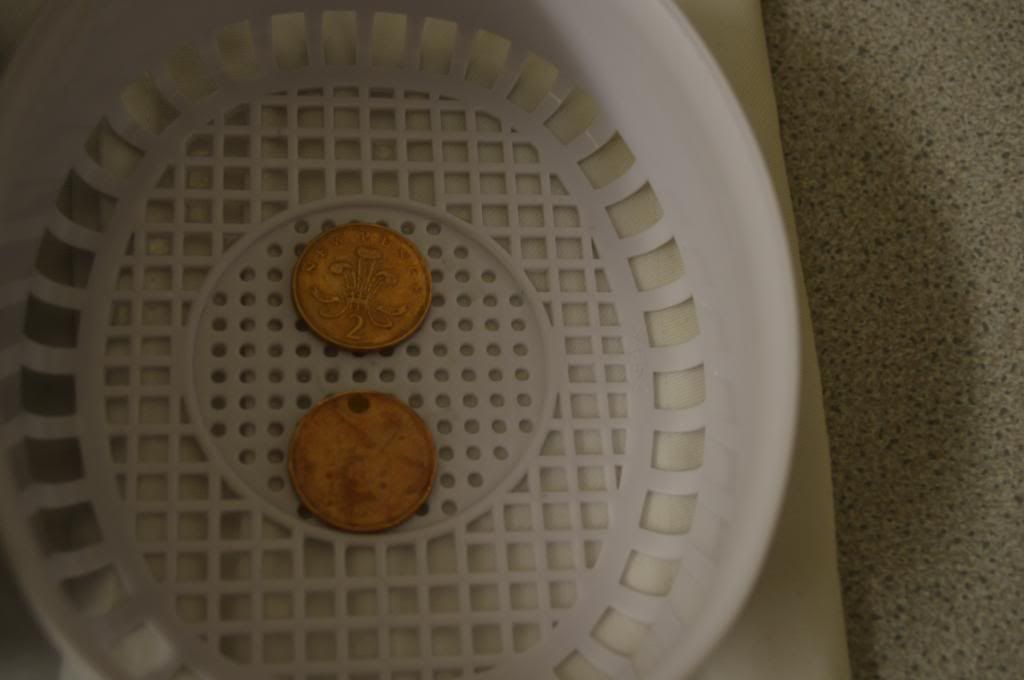
To give you guys an idea of what can be pulled off by an Ultrasonic Cleaner, here’s a before and after shot of a couple of 2p coins doing one 480 sec cycle. I’m absolutely sold on the benefits of cleaning the injectors and FPR!

Before…

DSC_0045_zps6cb05f1c.jpg


After…

DSC_0046_zps89e4aa9c.jpg


4 BAR FPR Advice?

My 4 BAR FPR hasn’t arrived yet. Obviously this has been purchased for thoughts to future. Does anyone know if this can be fitted whilst still running a standard map? Any pointers would be greatly appreciated.
 
Last edited:

D.K

LCR 225
Oct 24, 2007
6,408
3
se london
My 4 BAR FPR hasn’t arrived yet. Obviously this has been purchased for thoughts to future. Does anyone know if this can be fitted whilst still running a standard map? Any pointers would be greatly appreciated.

I think you need to get it mapped in mate but I could be wrong

That manifold looks great [B)] your making me look bad :D
 

EL

Forever Alive
Mar 17, 2008
2,931
1
Bickley, Bromley
Great work mate, especially with the nicely polished bits. With regards to the fuel pressure regulator, you will need to get the car mapped accordingly. Some maps don't even require a 4bar fpr so make sure you check it is needed
 
Oct 21, 2006
1,226
1
Norfolk
I think you need to get it mapped in mate but I could be wrong

That manifold looks great [B)] your making me look bad :D

Great work mate, especially with the nicely polished bits. With regards to the fuel pressure regulator, you will need to get the car mapped accordingly. Some maps don't even require a 4bar fpr so make sure you check it is needed

Thanks Darren an El. I'll clean the 4 BAR FPR once it arrives and take it with the car if it was ever to get mapped (which it absolutely will do!).
 

jonjay

50 Years of 911
Jun 27, 2005
5,843
1
Essex
Never really thought those sonic cleaners worked that well bu they obviously do.

Fantastic as always James, taking it to another level. Soon you wont want to drive her! :)
 
Adrian Flux insurance services - discount for forum members.