My LCR Since '05 with Static+ Front Air Lift - Project Gone to a New Home.

t0m

LCR 225
Apr 29, 2007
8,133
7
Kent
James, what can I say other than WOW!

So so clean and the products used are of a top quality. I really admire what you've done with the engine bay parts and can't wait to see them back on with what your currently doing.

A really good thread to read, very detailed and nothing is left out to mention. A great inspiration for others on here.

Keep up the great work on your superb ovni LCR :)

Tom
 
Oct 21, 2006
1,226
1
Norfolk
James, what can I say other than WOW!

So so clean and the products used are of a top quality. I really admire what you've done with the engine bay parts and can't wait to see them back on with what your currently doing.

A really good thread to read, very detailed and nothing is left out to mention. A great inspiration for others on here.

Keep up the great work on your superb ovni LCR :)

Tom

Thanks Tom!

I think it's fair to say that there are lots of really nice cars on here at the moment, with really good threads; many of which have been really useful to me, for info and ideas, etc.

So, thanks to all!

Good luck on Sunday Tom! Hopefully you'll get close to the 300+ mark [B)]
 

RDS

OEM+
Aug 11, 2010
2,276
11
Newcastle upon Tyne
Hi RDS,

It's the million dollar question... Inevitabley, the air from the the drivers side fog light has further to travel and so will perform less than the one on the passengers side, as this is a more direct route.

As a point to note, my drivers side feed detached at the fog, and when using the BMC, i did notice a deficit before realising what had happened. I think that in the grand scheme of things, one direct feed would be sufficient for most but I wanted uniformatiy and used the largest diametre piping I could (90mm), to get the best from it. Now that I have the Green Cotton filter enclosed, it's less dependent on the direct feed but in any case, I think it helps.

People's opinions may differ but this is based on my experiences. Hope this helps RDS?

Cheers for the feedback mate. I'm going to sort an airfeed out from my fogs once I get a FMIC, I think I'll go for the same setup as you and see how it goes. Hopefully I'll be able to run this aswell as the DSG intake already on.
 

Nick2008

Onvi tdi-cupra r wannabe!
Aug 22, 2008
283
0
gloucestershire
Very smart motor in the best colour by far in my opinion, I think if it was mine I would get the seat badge on the grill sprayed black and also the wheels sprayed gloss black, oh and lower her about 30mm all round, job done! :D
 
Oct 21, 2006
1,226
1
Norfolk
Update

Hi everyone, It’s been a while since I last updated my thread; I fear that I may be repeating myself (#111) but I can assure you things are slowly moving forward…. He says….

It had been my hope to get the engine bay sorted over the winter before moving onto the suspension/handling etc but it’s been a pain tbh. Over the past few weeks, I’ve been sanding and painting, rectifying my mistakes (sanding) and then painting, again. I’m not a natural at painting and with a keen eye for detail you can perhaps see why it’s been such a PITA :shrug:

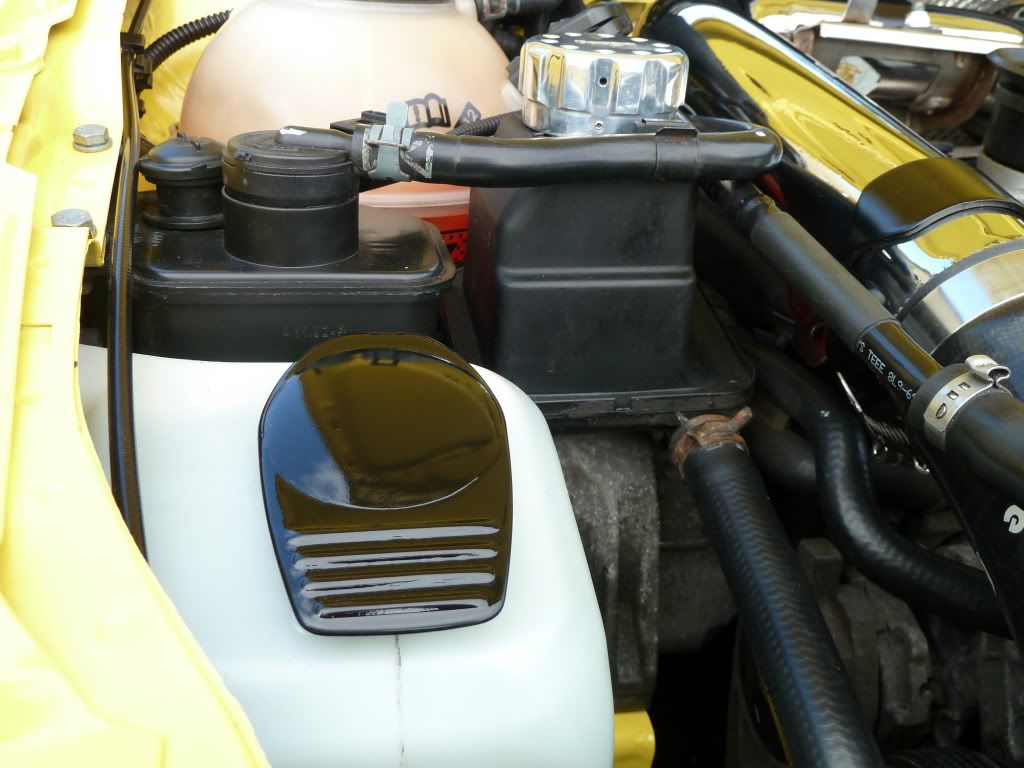
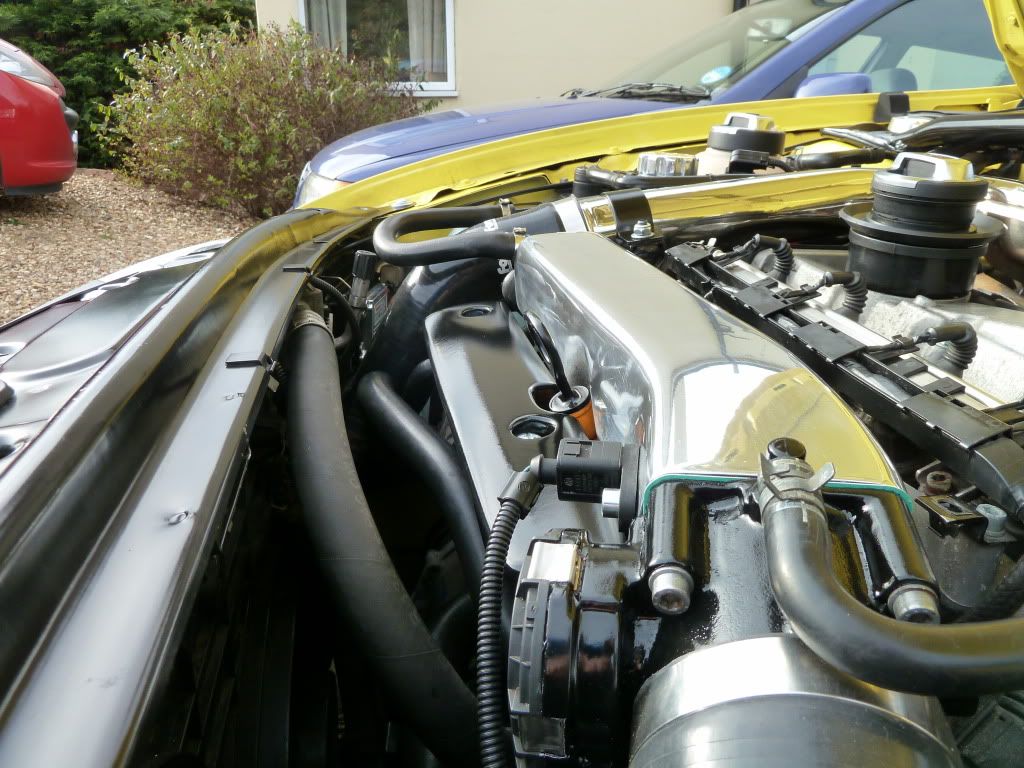
I finally managed to lacquer the washer cap and manifold cover; really quite pleased, and it’s held up well so far. I’ve repainted the charge pipe brackets and fitted new washers and bolts. Polishing wise, I finally managed to polish my manifold and gave the charge pipe a quick mop to freshen it up. I also mopped the strut caps to freshen them up too. I’ve painted the throttle body matt black with a lacquer finish (new gasket when refitted). The S3 strut brace was repainted, again to freshen it up and refitted with new nuts, washers and bolts.

P1020019.jpg


P1020035.jpg


P1020037.jpg
 
Oct 21, 2006
1,226
1
Norfolk
034 Motorsport oil catch can

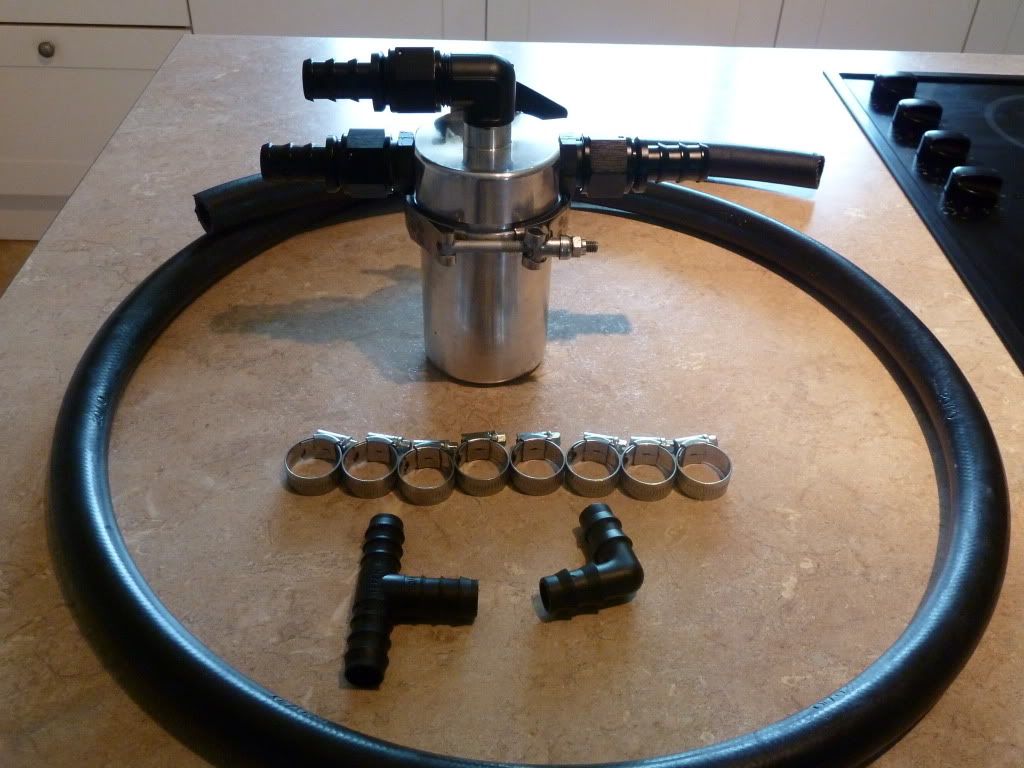
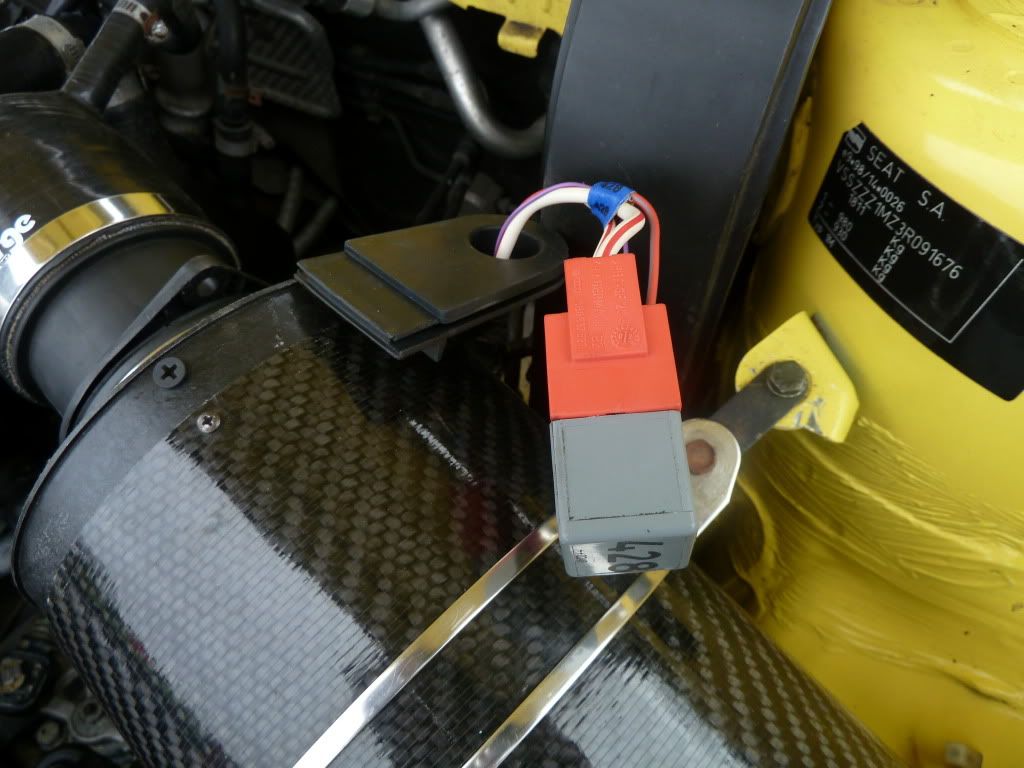
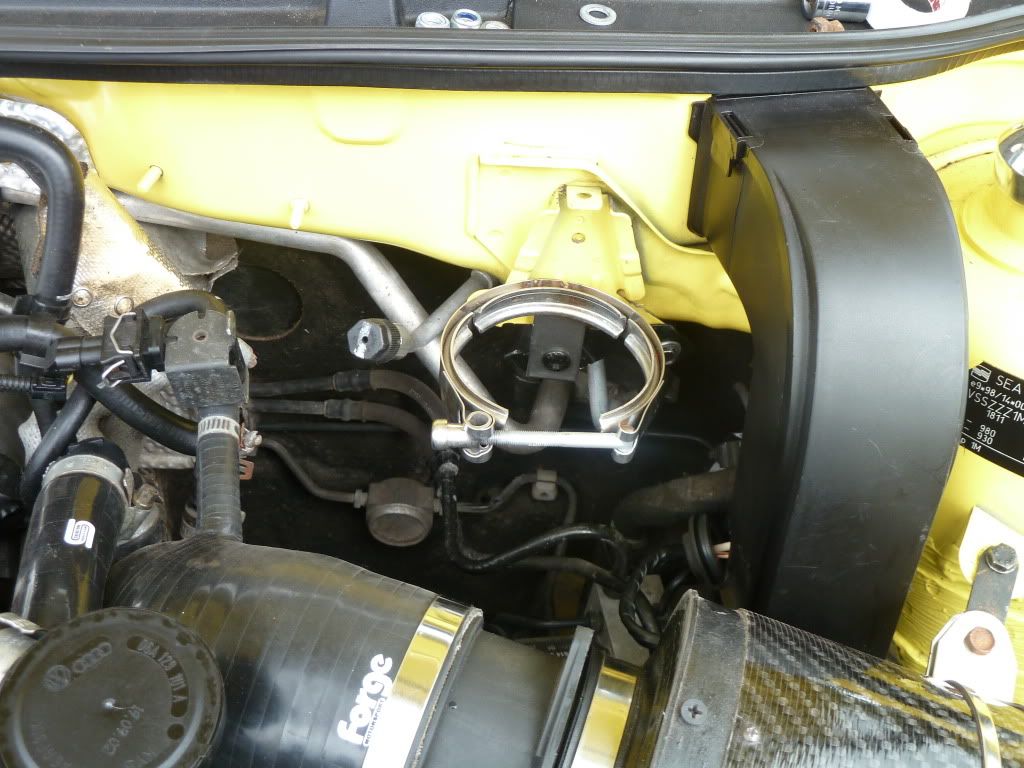
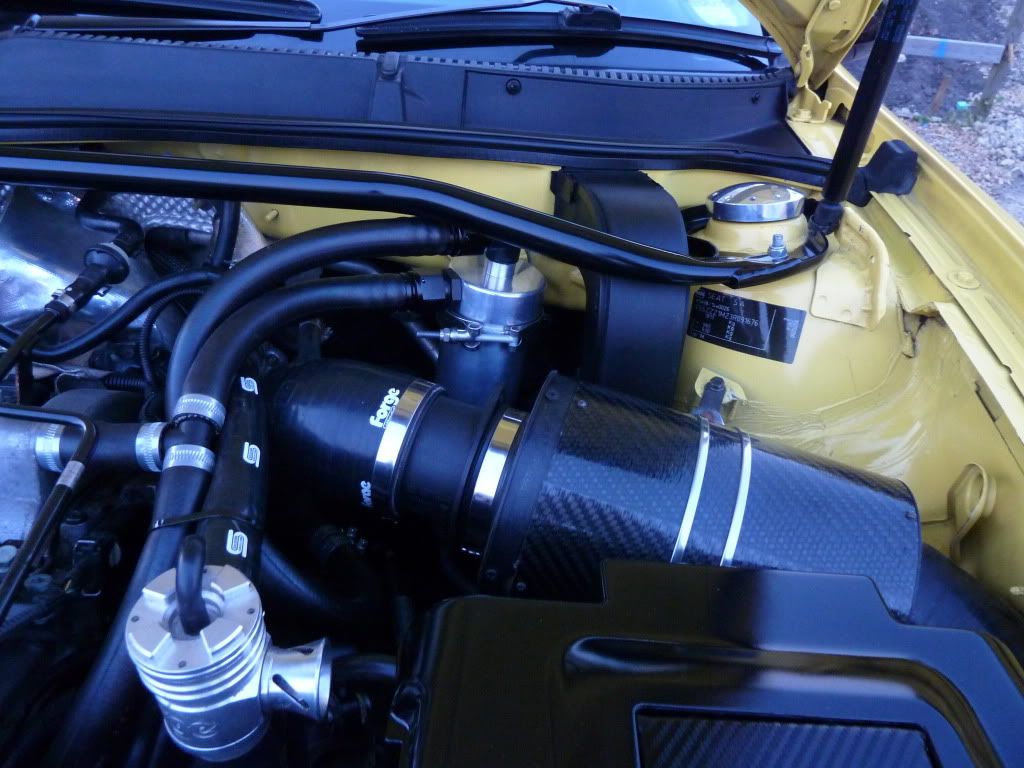
I, along time ago, bought a 034 Motorsport oil catch can. I recently purchased the necessary fittings (all in 19mm and 12AN fitments) and finally got round to fitting it.

P1020121.jpg


I removed the rectangular fuse box casing to expose the one and only relay and I positioned this under the curved wire case. With this safely relocated, I decided to mount the can in the cleared spot. I simply adjusted the bracket so that I could bolt it to one of the existing holes. With it mounted, I chose to only use a two-pipe feed rather three (third being a breather) so I closed off the hole, cut all the piping to the correct sizes and secured them. It took a bit of thought to make the pipe work look as subtle as possible and with the engine cover fitted it’s only the can that is subtly visible.

P1020123.jpg


P1020124.jpg


P1020128.jpg
 
Oct 21, 2006
1,226
1
Norfolk
HIDS

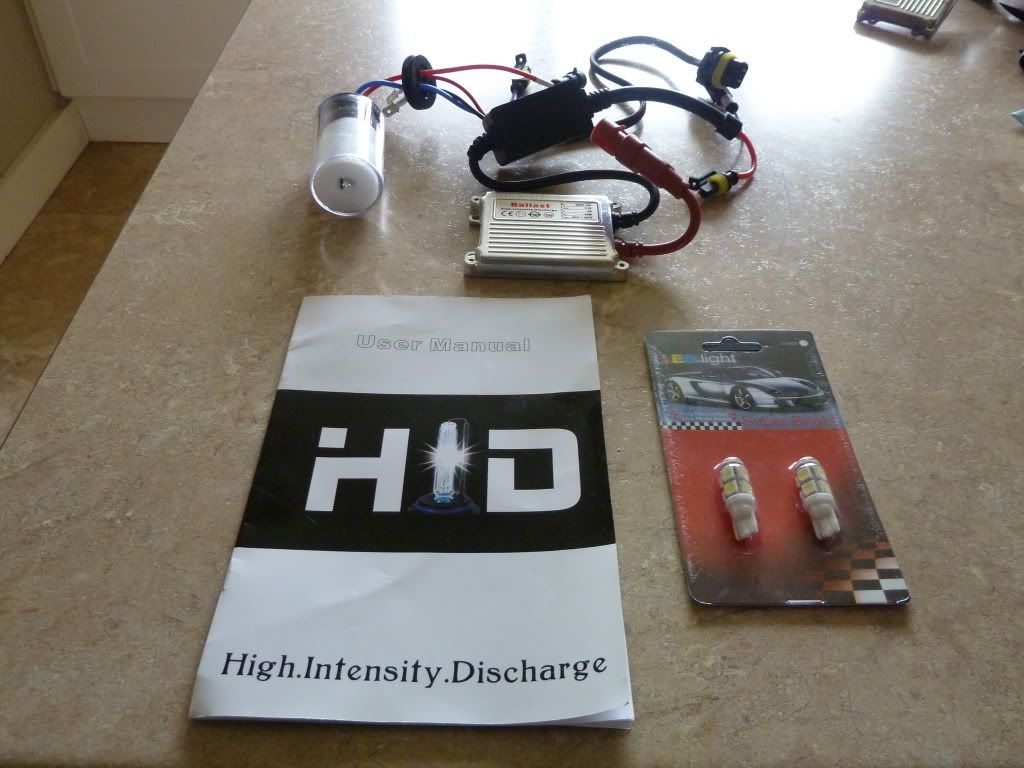
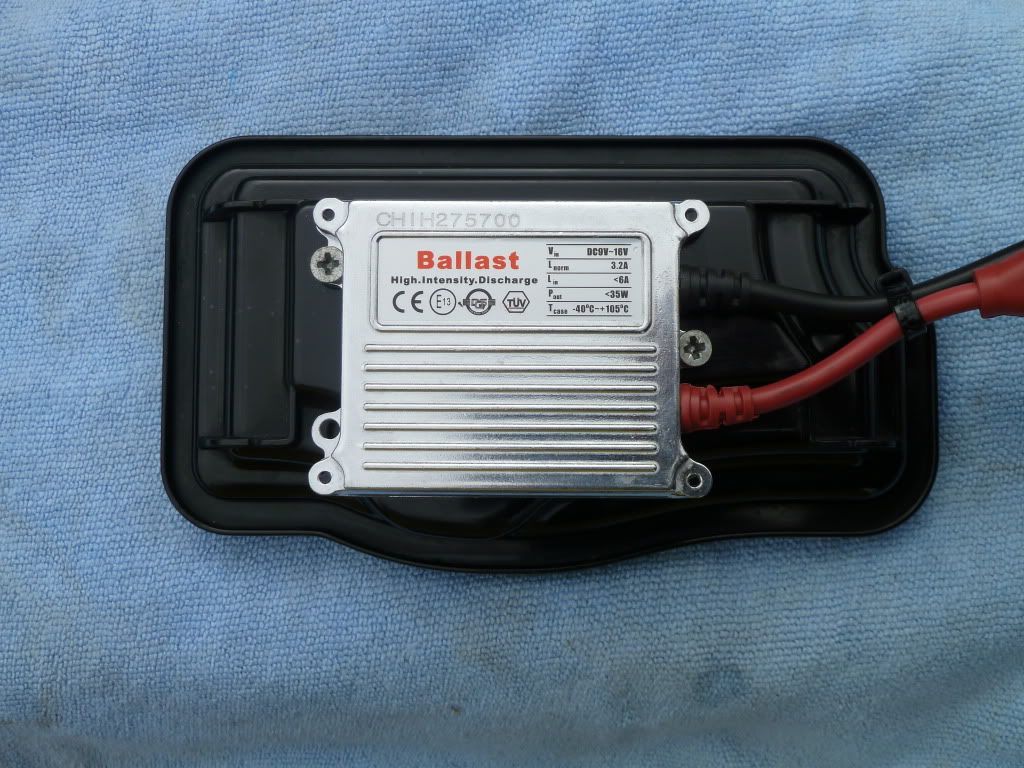
I finally got round to buying some 6000(R) HIDS. They’re great and I see what all the fuss is about. Thoroughly recommended. Like everything on the car, I wanted to keep the fitment as discreet as possible. The ballasts have been fitted onto the backs of the head light covers with the wiring fixed within the head light itself. I also purchased some LED sidelights to compliment the fitment.

P1020014.jpg


P1020015.jpg
 
Oct 21, 2006
1,226
1
Norfolk
Battery cover finally finished!

Not being a natural painter was really evident with this. When doing the other plastics I decided to give the battery cover a ‘freshen up’… Well what a nightmare. I sanded it down with W&D 800 grit and gave it a fresh coat. The paint didn’t take and it made a right mess. After much sanding, I decided to buy a second-hand one and start from scratch. Sanded, primed, painted and lacquered with no problems what so ever.

P1020127.jpg


P1020125.jpg
 
Oct 21, 2006
1,226
1
Norfolk
Home straight

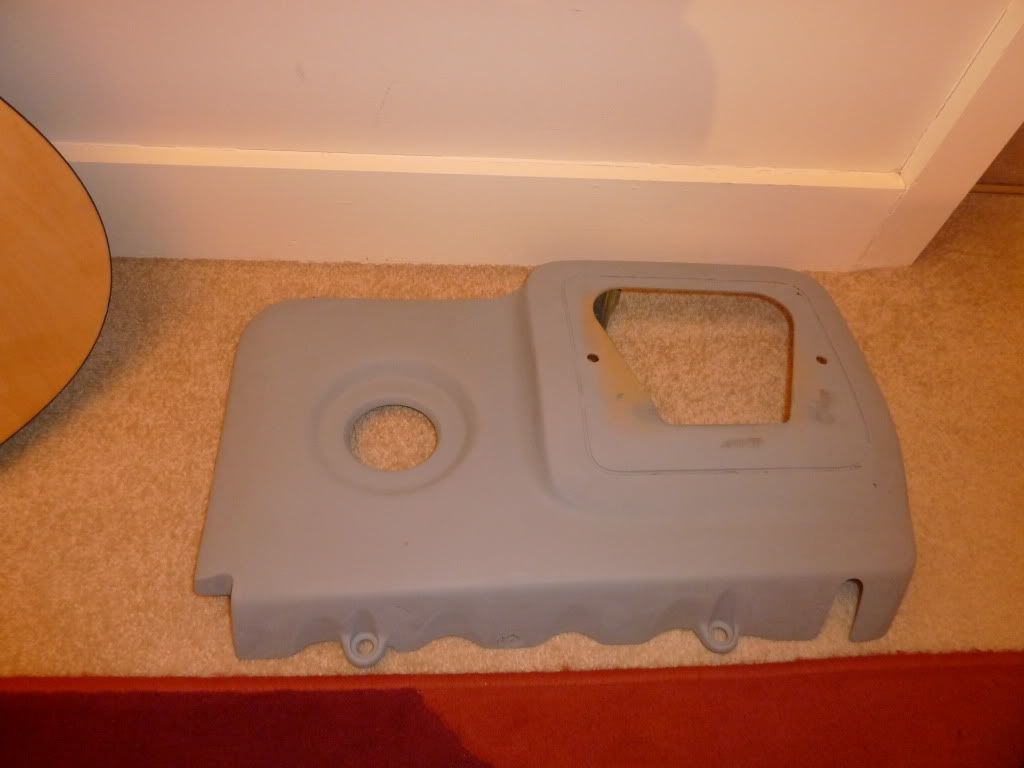
I’ve just got to give a final sanding and one last coat of primer, to rid of the last few imperfections, before the engine cover being ready for paint and lacquer. The idea to use a clear coat resin has taken a back seat as I don’t feel terribly confident with achieving a good even finish. I’m not sure if I’ll revisit this in the future.

P1020153.jpg


So, with the engine cover finished, I should hope that will be that, for now… Having followed many members’ threads, there’s a lot that I would like but it’s not necessary to have them.

Suspension

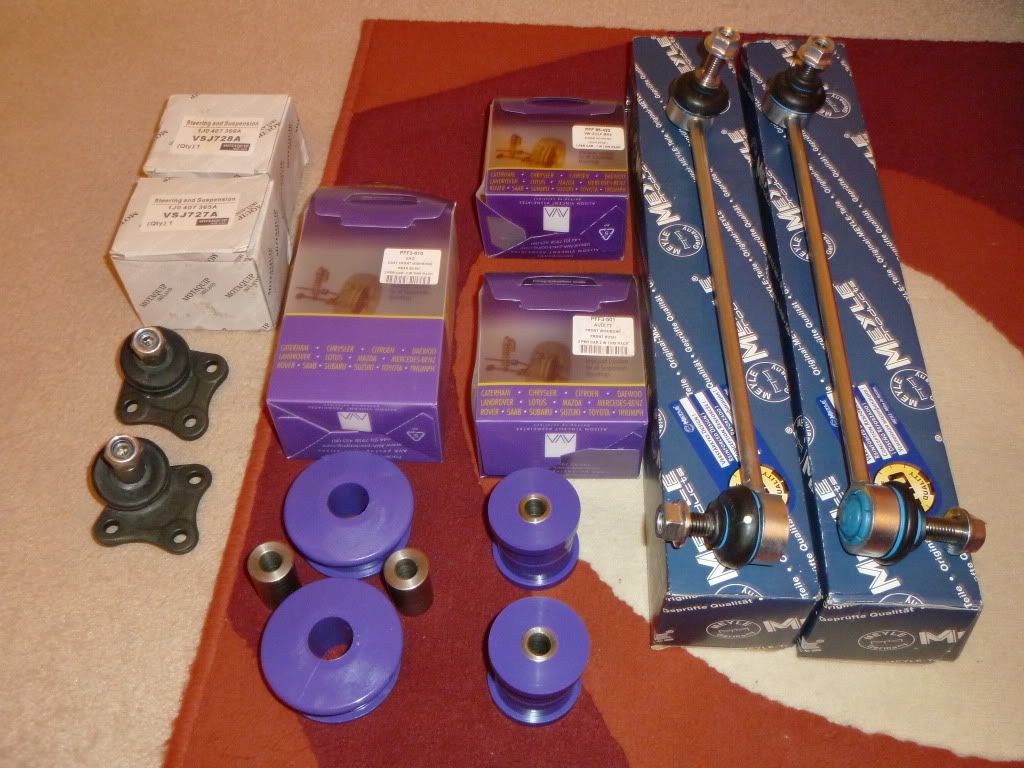
With the coilovers ready to be fitted, I’ve slowly purchased the necessary parts to accompany the fitment; tops mount bushes with bearings, tie rods (MAHLE HD as used by Willie), new wishbone ball joints, new Powerflex wishbone bushes. I got a free Dogbone bush so I’ll probably fit that too.

P1020154.jpg


I get married in a few weeks and this has taken a lot of my time recently, along with work commitments and home chores. I was hoping to fit the suspension parts myself but I’m just not sure now; time is a factor and I’ve had the coilovers for nearly two years now… We’ll see.

Other bits and bobs

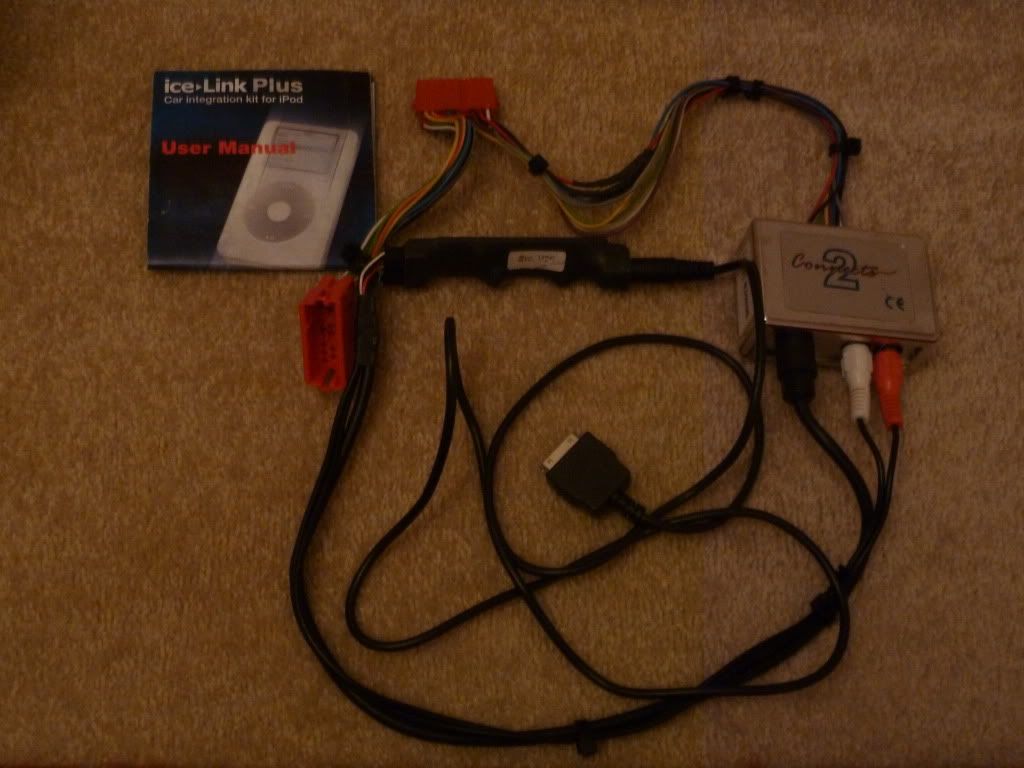
I’ve bought a Connects2 iPod interface for the OEM stereo along with a Dension ice>Link Plus, which allows you to control your iPod from your stereo. Great piece of kit. The CD player has been made redundant but remains in situe. It’s all tucked away in the glove box.

P1020141.jpg


My window mechanism on the front passenger side failed the other day so I bought a replacement kit off of eBay for £17.00; the pulley system had failed. It works fine again now.

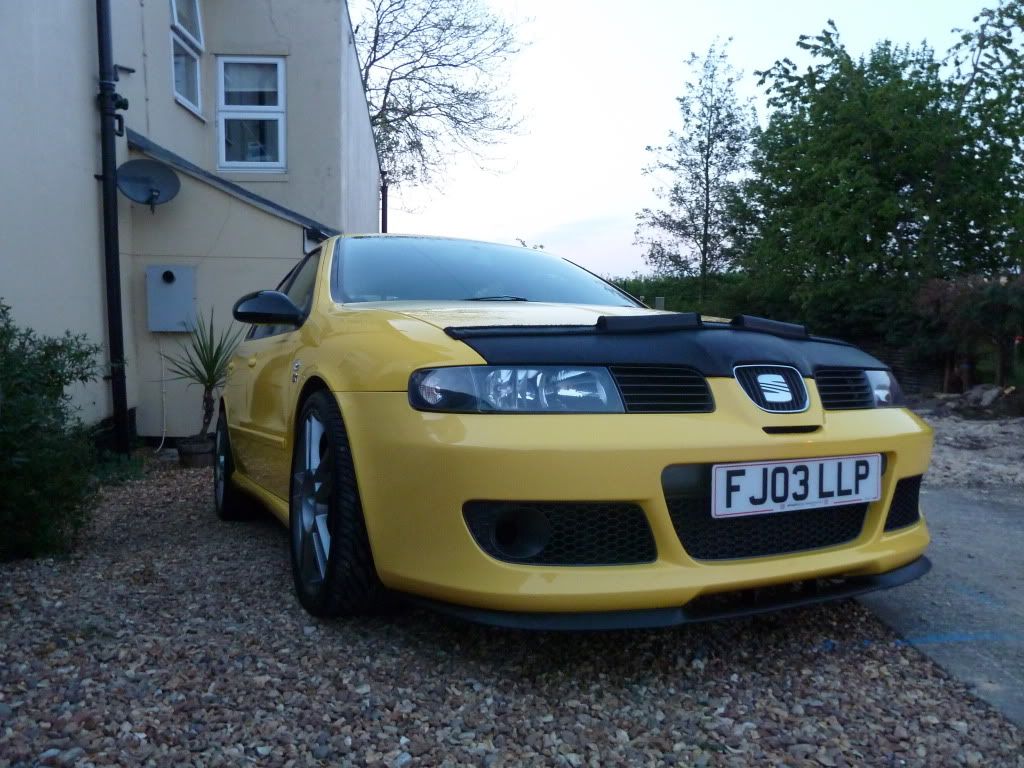
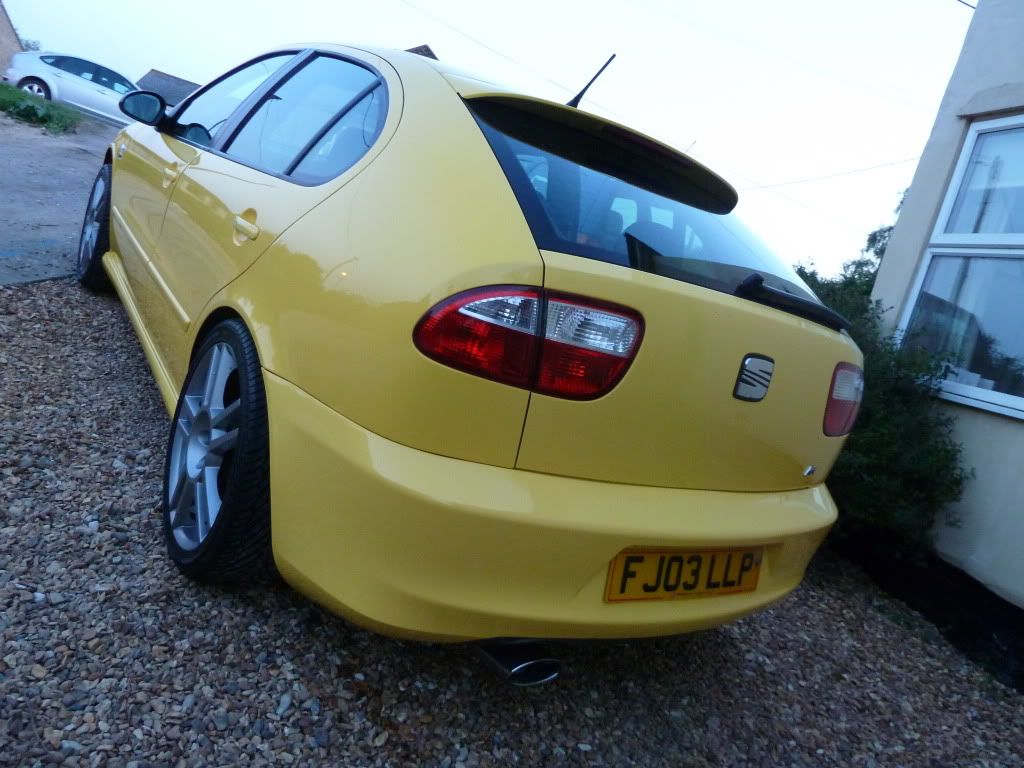
As it was a nice day today I washed, clayed and mopped the car. As it was the first detailed wash of the year claying the paintwork took forever (lots of tar spots) but the time taken was well worth it. I’ve fitted new R badges and a new splitter as the last one cracked when it snowed heavily over Christmas. Here’s a couple of pictures; sorry for the ‘samey’ pictures – just to give you an idea.

P1020135.jpg


P1020136.jpg


The wheels will be powder coated in May/June. I was thinking of black but I’m not sure; really like the silver, especially when it’s clean.

Thanks as always for reading, and congrats to members’ progress. It’s been a bit motivator to keep moving, so thanks.

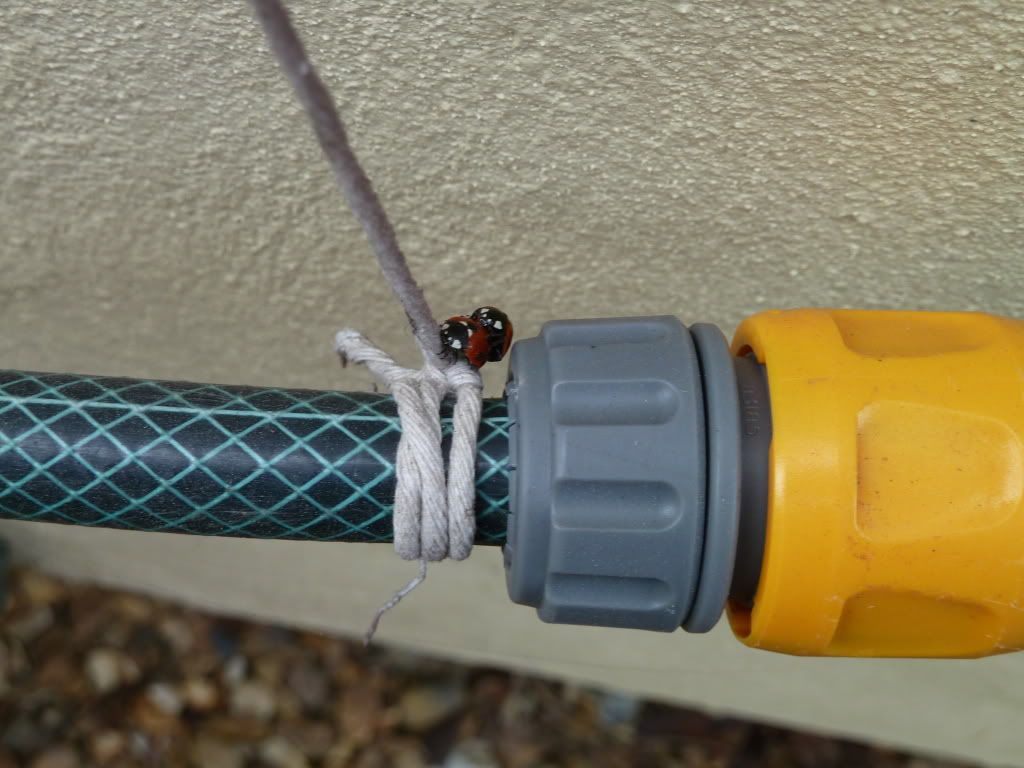
P.S. I saw something today that I don't think I ever expected to see, nor will I see again... :blink:

P1020031-1.jpg


James
 
Last edited:

tyrer

OEM
Jun 6, 2010
1,991
1
Great update mate, congratulations on the wedding (I'm getting married new years eve).

Car is looking lovely, you do spend the time getting it right!!!

Wheels - I really think the car will suit black but 100% agree with the silver comment. Could you get a silver with a kind of 'sparkle' if that makes sense so it really shines? Or do them black but have a small polished lip?

That lady bird pic is amazing!!! Haha

Ps love the car bra mate, still have my MK5 Golf one... The little scrotes left it in the car haha not worth robbing?.
 
Oct 21, 2006
1,226
1
Norfolk
Great update mate, congratulations on the wedding (I'm getting married new years eve).

Car is looking lovely, you do spend the time getting it right!!!

Wheels - I really think the car will suit black but 100% agree with the silver comment. Could you get a silver with a kind of 'sparkle' if that makes sense so it really shines? Or do them black but have a small polished lip?

That lady bird pic is amazing!!! Haha

Ps love the car bra mate, still have my MK5 Golf one... The little scrotes left it in the car haha not worth robbing?.

Thanks mate. They'll be something that matters to celebrate at New Years then. Congrats. Wedding talk is getting a bit tedious mind.

The bra for some may be a bit marmite but I like it. It's not always on but when I drive the car more than a few miles I tend to put it on.

The thinking behind black wheels was to match the black wing mirrors etc and to generally tie the car all together; some member's ovni LCRs look really nice on them. But when I go to shows and see gloss black wheels, they dull the tyre (alittle) and you don't tend to get quite the definition that lighter colours give; I really like the lines of the wheel. I'm undecided. Black against the red calipers would look great. Either way, I'm going to be using Wheel Wizards in Huntingdon. They're reasonably priced and come highly recommended.

Been out today in the car. It's been the most miles I've done in a long time, as it's not my daily driver. One of the main reasons I still like this car is because it feels refined and timeless. A really enjoyable drive :D
 
Oct 21, 2006
1,226
1
Norfolk
very smart I like the relocation of the relay

Thanks Mark. I remember recently looking through the results of your car's detail. Very nice.

Superb thread, just read this start to finish, but get a move on with the remap, i have just had mine done at 97,000 miles and the difference is superb!!! But its wise i think to fit coilovers first as you need something to plant the added power!

Thanks Welchy. Tbh I'm not too fussed about a remap. It runs and sounds lovely at the moment, after having all that engine work done last year, and I don't want to ruin the reliability (clutch, tubby etc) . I know the performance and charactoristic gains are great, but as i don't tend to drive the car too hard, it's not a priority. But never say never....

It has frustrated me that I haven't got the suspension on yet. There are some really good guides from fellow members on here. I just need to get on and do it I guess. It will look so much better though!

James.
 
Last edited:
Oct 21, 2006
1,226
1
Norfolk
Cracking update mate, great work :clap: I'm hoping to crack on with my bay soon. Just hope I can get it somewhere near the standard of yours.
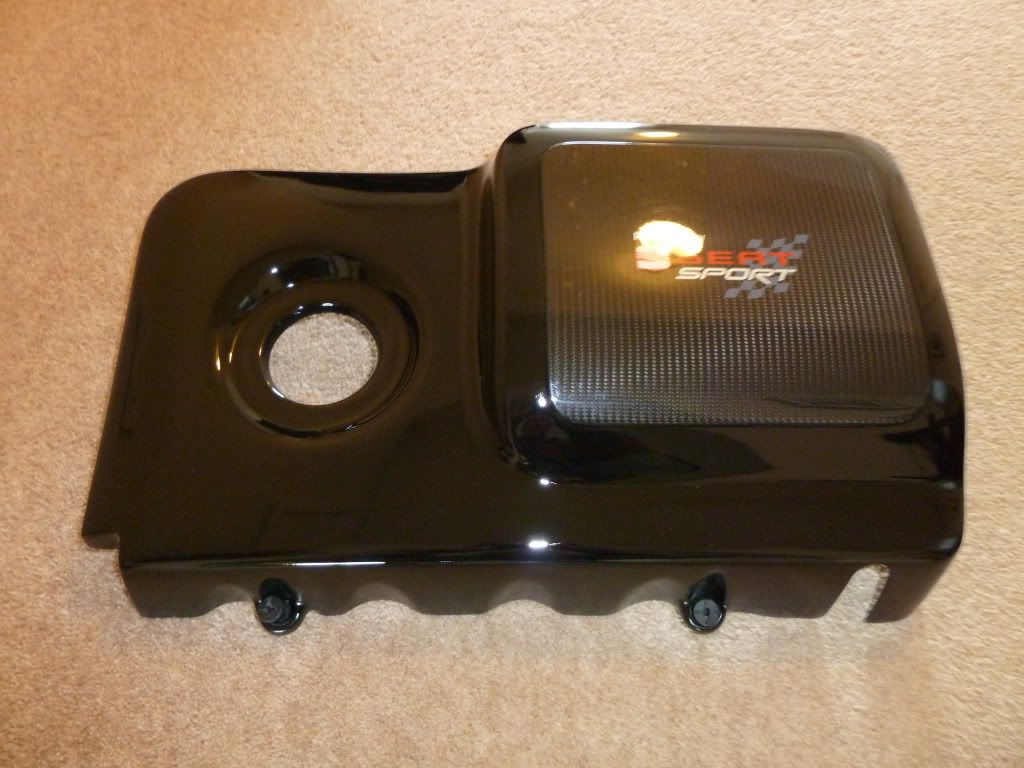
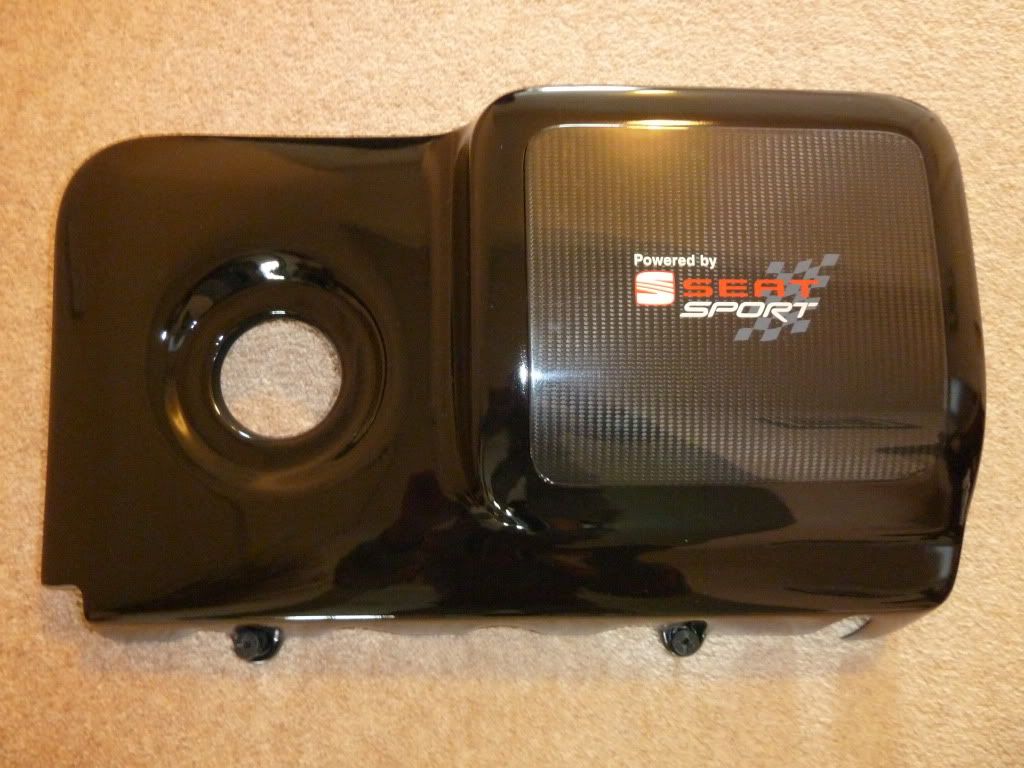
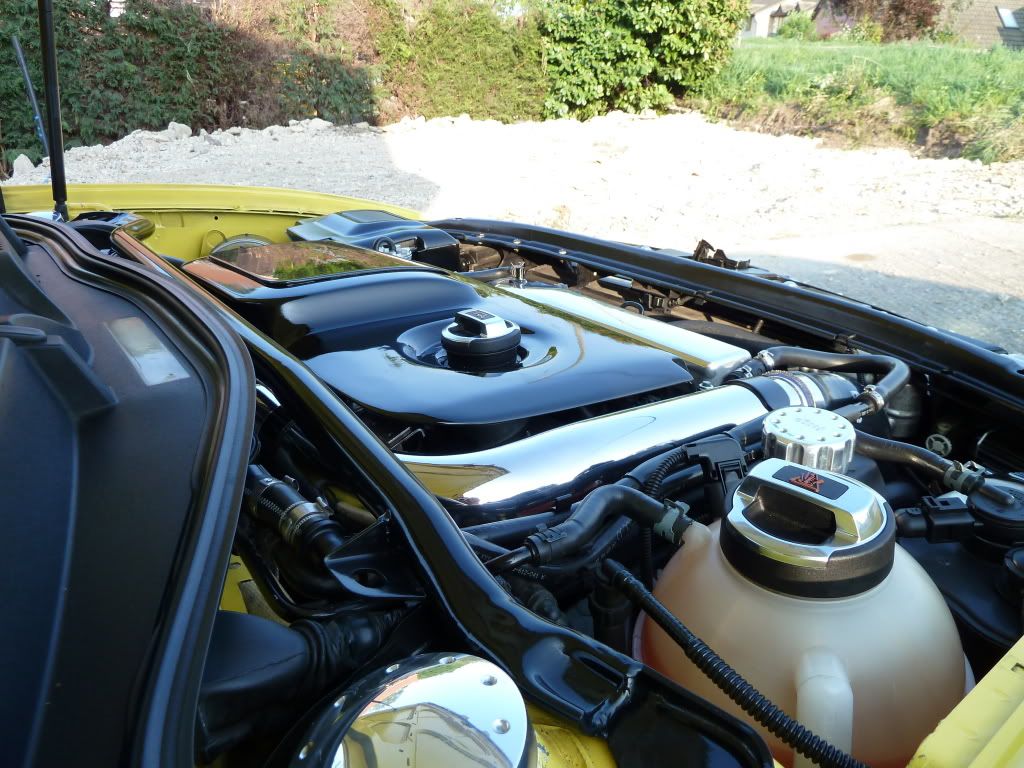
Mate, following your thread avidly, it's already there! The RDS Jamspeed addition looks really well made and the red piping really finishes it off with that professional look. I fitted the catch can in the same position as you, and I think it's the best location for it; certainly the most convenient place for it. Very envious of your ever growing spec list! The Badger 5 TIP seems to be a great piece of kit. Worthy addition?

If it's the direction that you're wanting to go, a little paint over the plastics will look great. I'd be interested to see if you go with black or maybe red, to be inkeeping with the colour scheme; dunno if it might be a bit much but really like the red against your silver body colour.

Anyway, thanks for reading, and the comments :)

James.
 

RDS

OEM+
Aug 11, 2010
2,276
11
Newcastle upon Tyne
Mate, following your thread avidly, it's already there! The RDS Jamspeed addition looks really well made and the red piping really finishes it off with that professional look. I fitted the catch can in the same position as you, and I think it's the best location for it; certainly the most convenient place for it. Very envious of your ever growing spec list! The Badger 5 TIP seems to be a great piece of kit. Worthy addition?

If it's the direction that you're wanting to go, a little paint over the plastics will look great. I'd be interested to see if you go with black or maybe red, to be inkeeping with the colour scheme; dunno if it might be a bit much but really like the red against your silver body colour.

Anyway, thanks for reading, and the comments :)

James.

Cheers mate. Badger 5 TIP is definately worth getting.

The plastics will be going black, I think red would be to much, black with the red pipe work should tie in nicely with the heatshield. I've just ordered a Forge polished non res charge pipe so I'm going to have a go at polishing the inlet manifold, hopefully it'll turn out ok.

Looking foward to seeing yours on the coilovers, I would love some for mine but at the moment its a far way off. I've got MOT, Insurance and the girlfriends birthday in July so thats gonna be an expensive month, I'm also desperate to get my alloys refurbished as they have a few scrapes on them from the previous owner. Doesn't look like the spending gonna end any time soon.:D

I definately agree thats the best position for the catch can. I had to cut up an old silicone hose off my last car to put inbetween the can and the bracket to ensure the pipework cleared the s3 brace.

Keep up the good work.
 
Oct 21, 2006
1,226
1
Norfolk
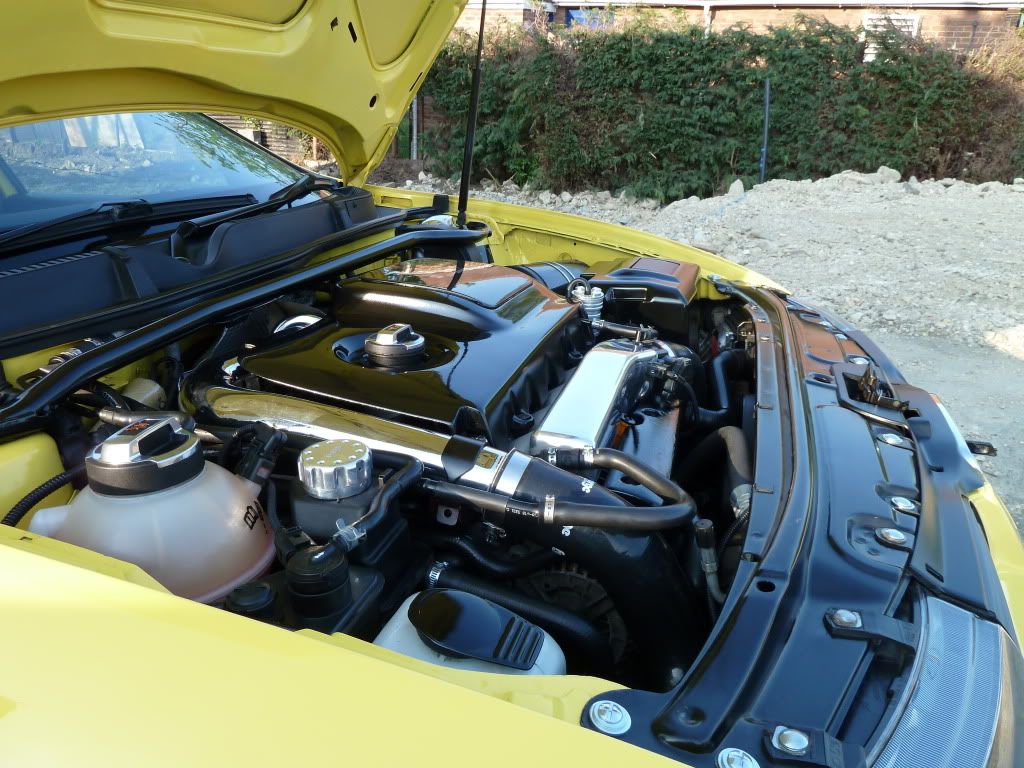
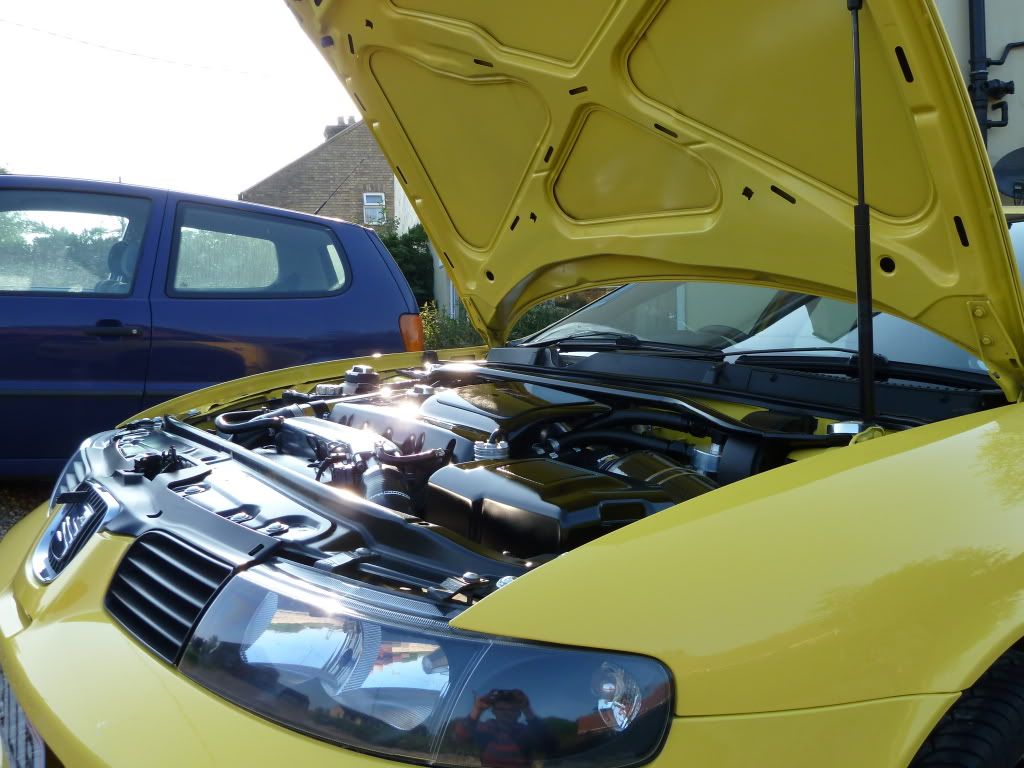
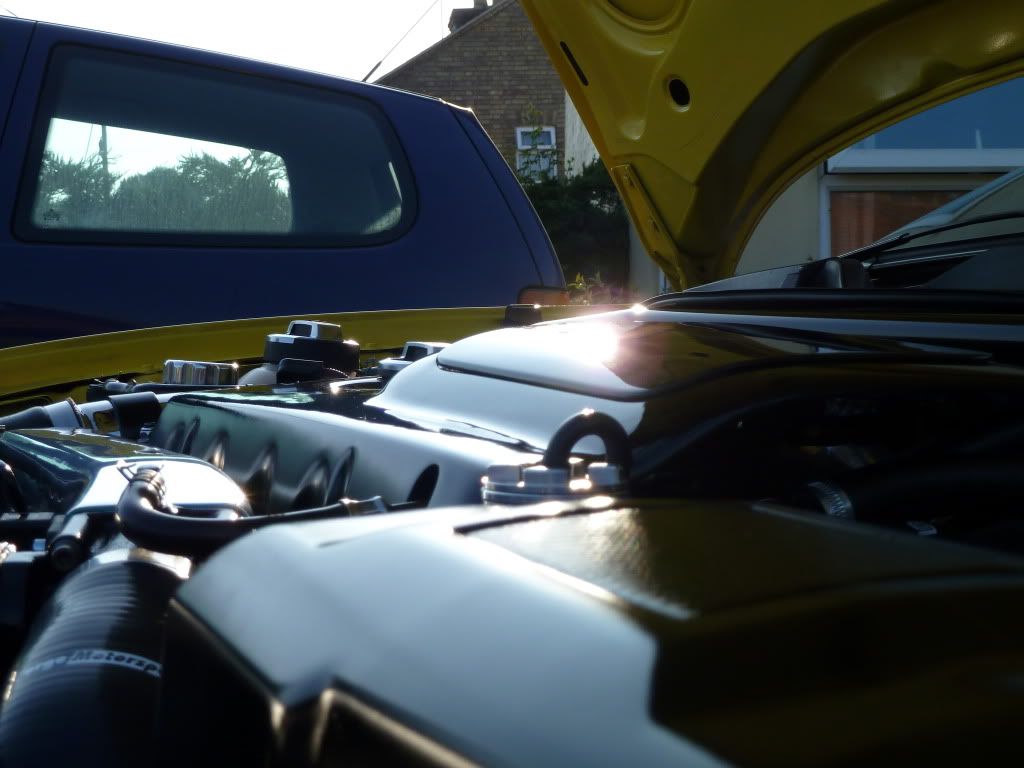
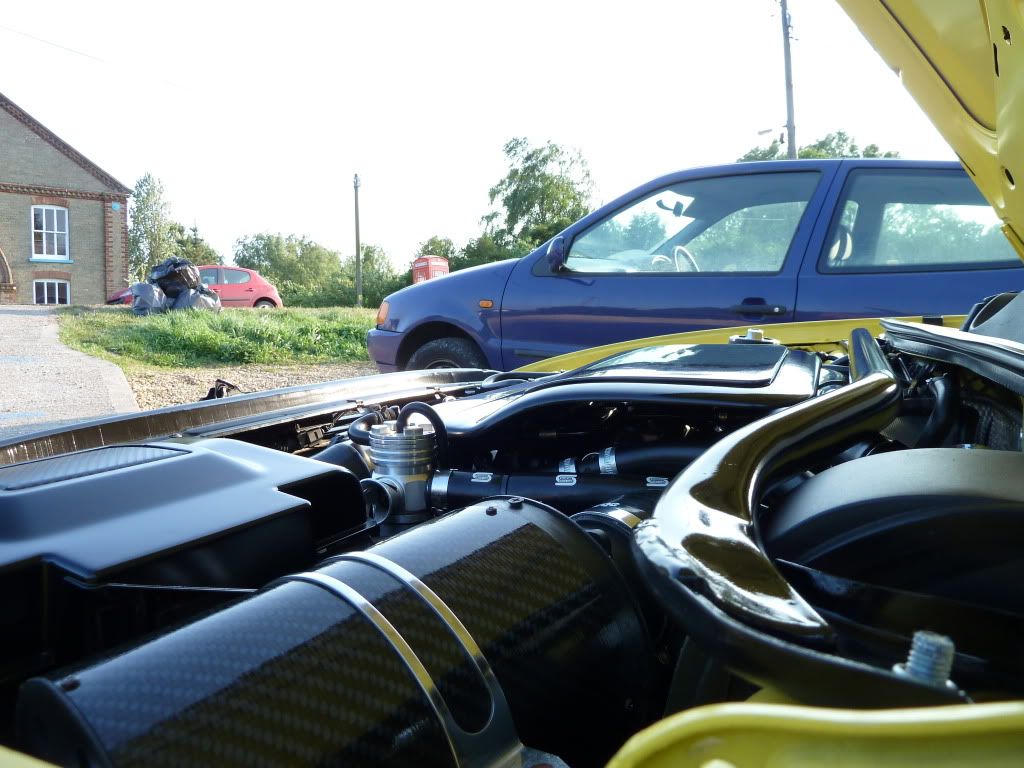
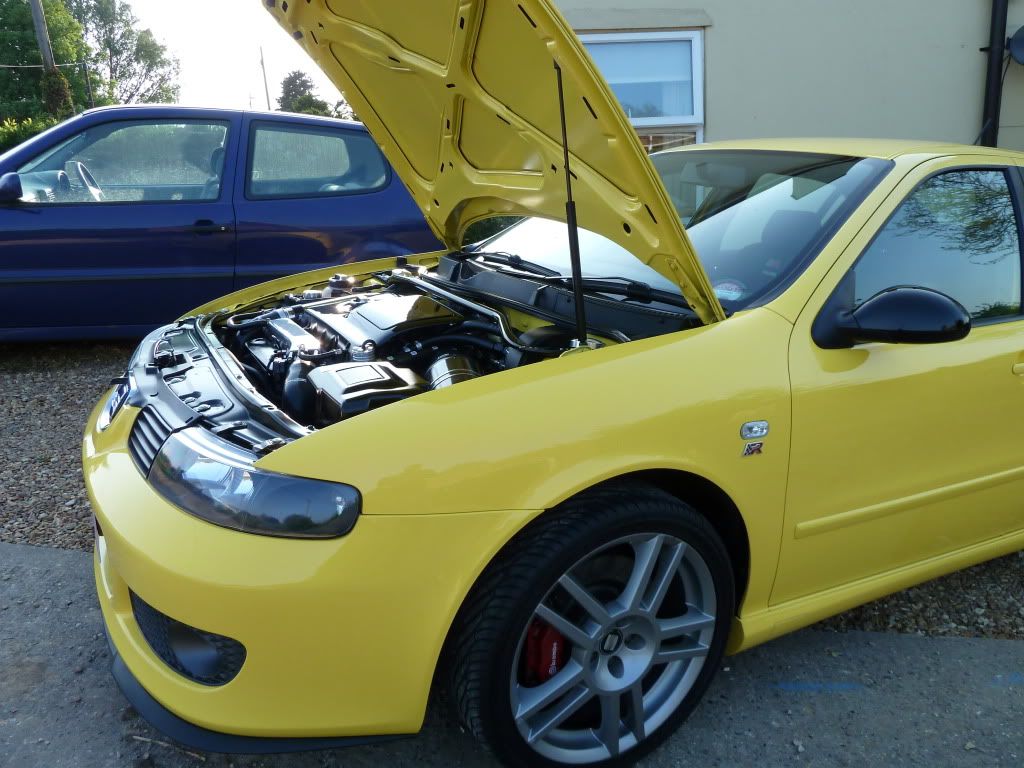
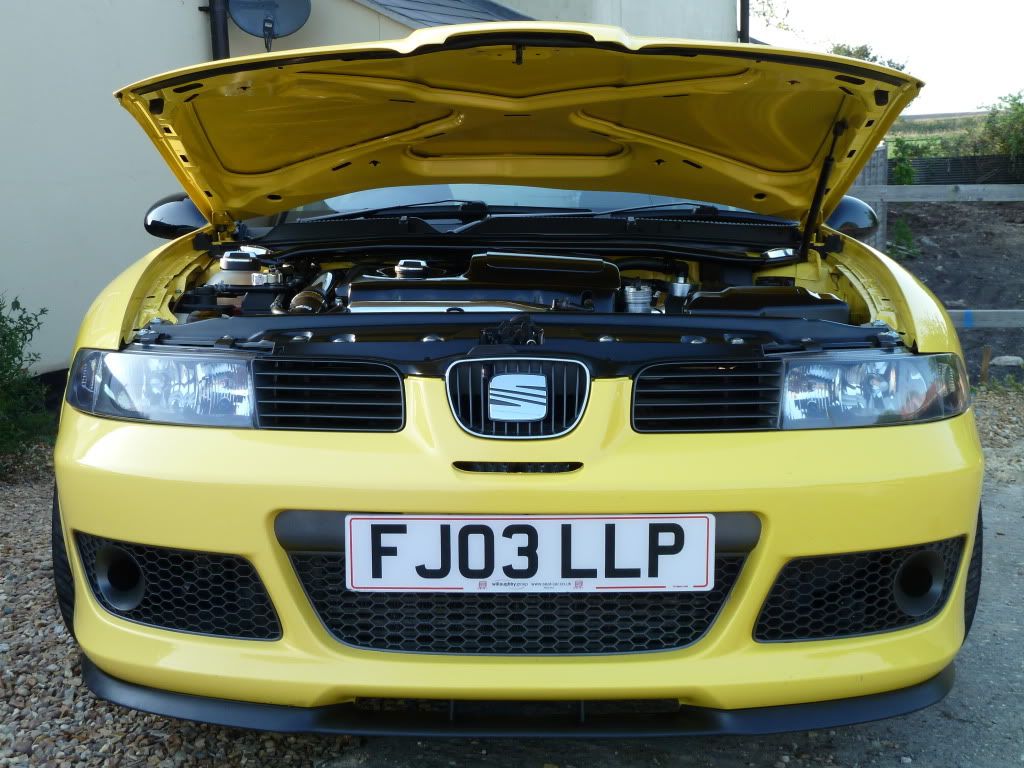
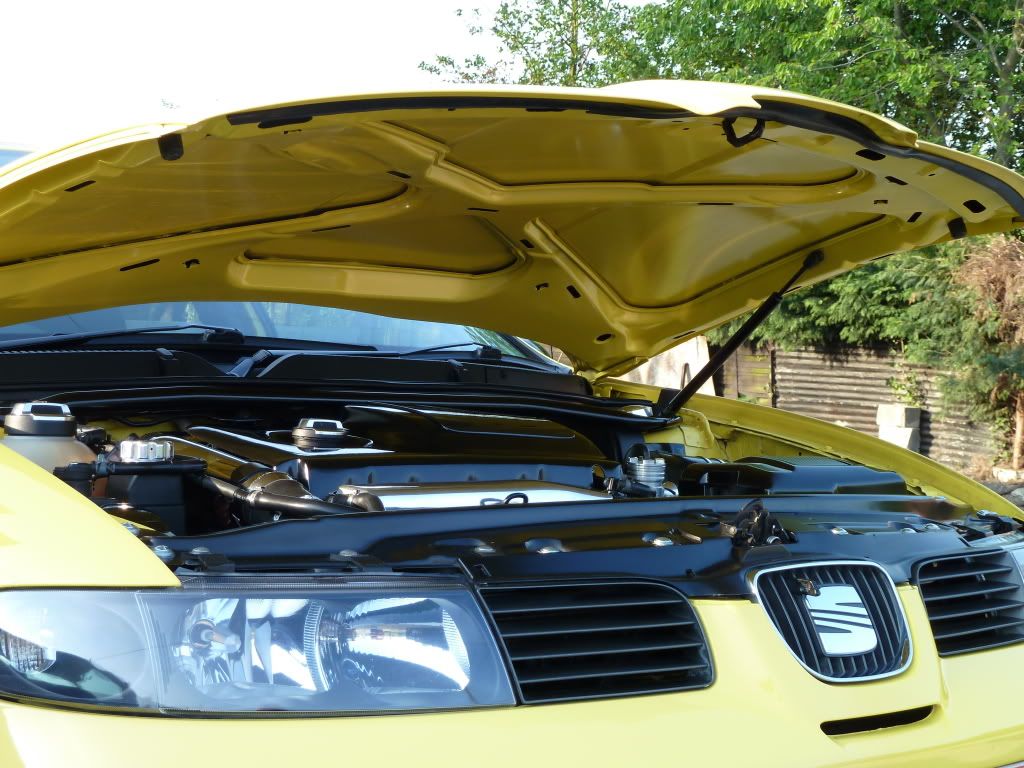
At last, the bay is done…

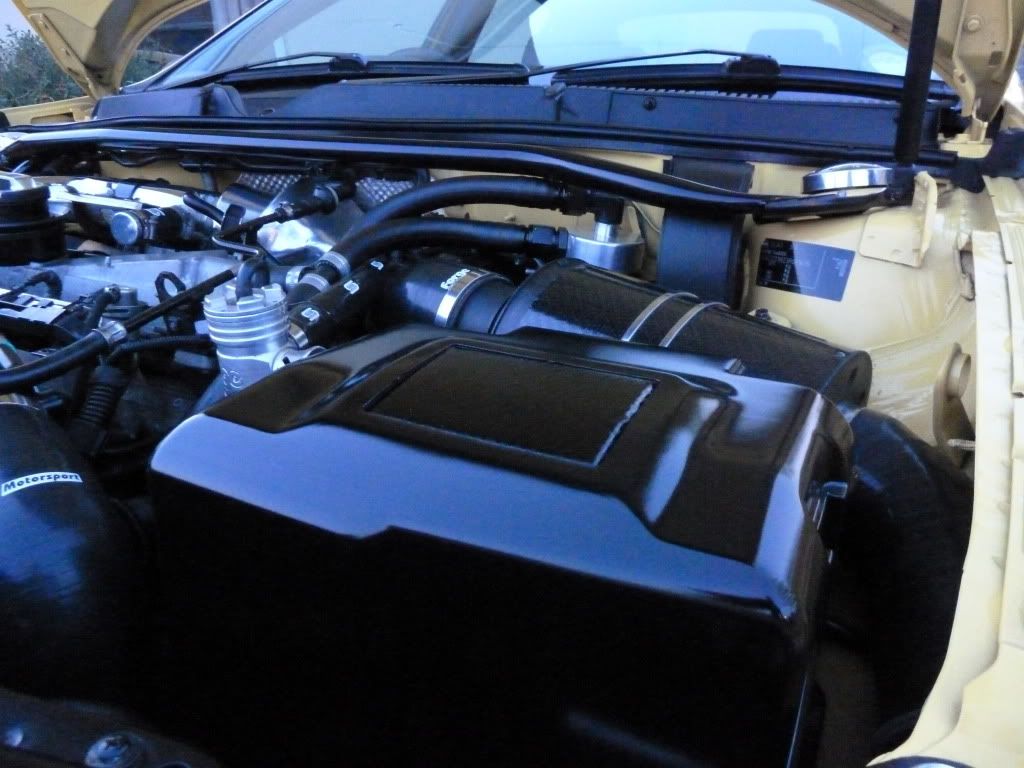
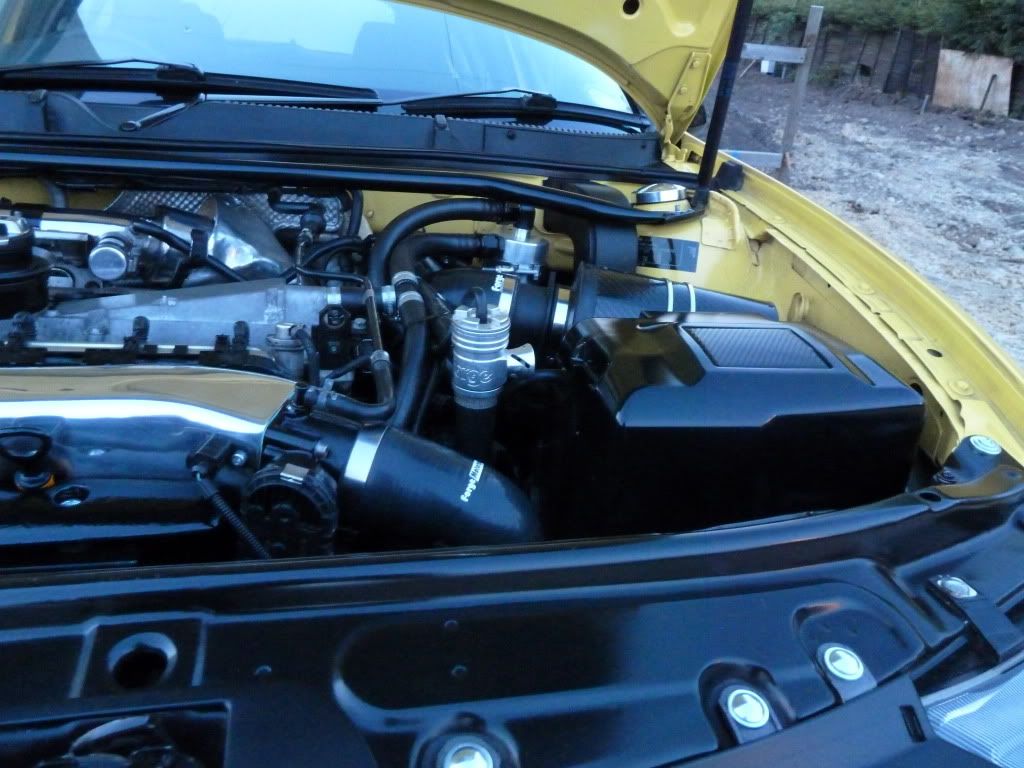
I woke up this morning with an aim to get my engine cover finished off; bearing in mind I’ve been saying this for months now... As in my last update, the cover required a good flat (W&D800) and re-prime before being flattened further (WD1200) before receiving top coats of matt black, using U-Pol, which gives very even coverage IMO. It was a very breezy day today so this made it slightly more difficult to keep dust away from the cover. But I succeeded minus one or two flies. In all, including the clear coats, it’s had five coats today, with a good hour to cure in the sun before the next coat. The coats went on really well and I’m really rather pleased with the end result. Time will tell if it stands up to the heat of the engine but hopefully I’ve put coats on thin enough… Famous last words…

In between coats today, I washed the car as we went to the beach yesterday. Grains of sand everywhere! As a note, I’ve been using Meguiars’ Quick Wax and Quick Detailer, instead of Autoglym’s Aqua Wax. I don’t think there’s much in it when it comes to application but the end results seem to wade in the favour of Megs, especially after the mop on Friday. The Quick Detailer is something that I’ve used for a while and it beads really well and it’s something that can be applied in succession to your wax rather than Dodo’s Red Mist, that comes with a recommendation to wait 24 hrs(but has brilliant results as well). Personal preferences of course but thought members may like a bit of feedback.

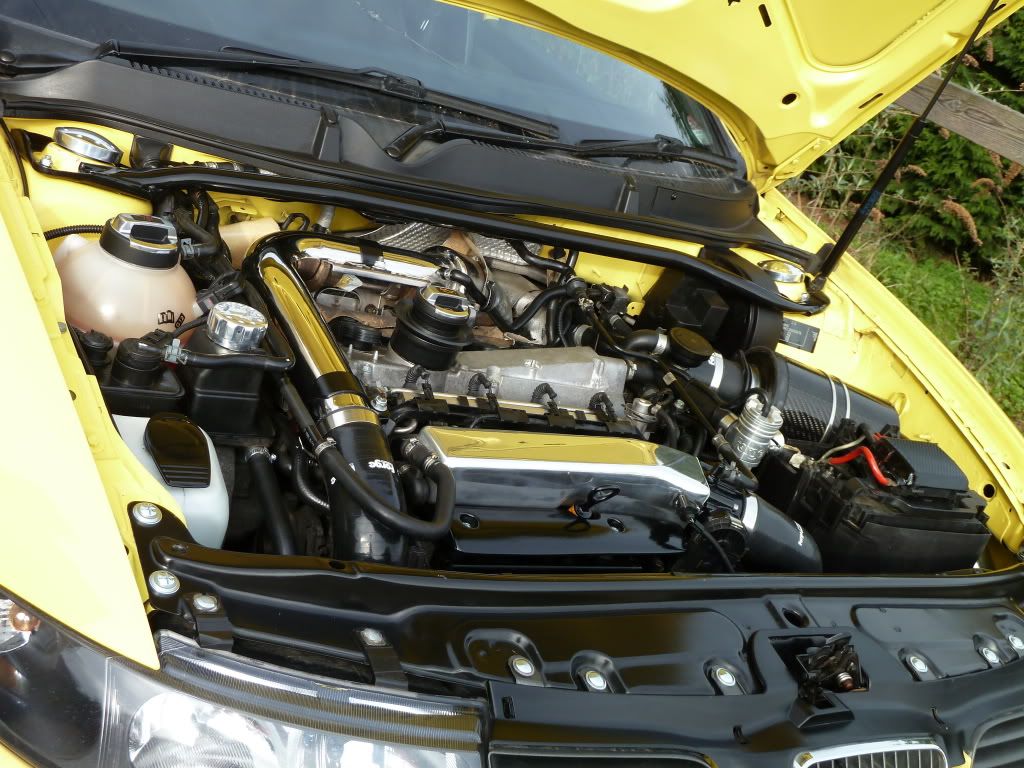
Those that have read my thread previously will perhaps know that I tend to put a lot of pictures up, so I apologise if the pics look the same... Hard to choose… The below pictures give a 180 view of the engine bay now in it’s completed state (never say never, so we’ll say for now…).

Before going on the car

P1020157.jpg


P1020161.jpg


And fitted

P1020162.jpg


P1020163.jpg


P1020166.jpg


P1020168.jpg


P1020171.jpg


P1020172.jpg


P1020174.jpg


P1020179.jpg


As already said, I’m rather happy with the appearance of the bay now. I’ve made an effort to replace all the rusty nuts, bolts, and hose clamps etc to add to the cleanliness of the bay. I’ll try to keep on top of it and hopefully it will be easier now that I have a good starting point.

I’m unfortunately on call with work over the next Bank Holiday weekend so this limits me to what I can do. JamJay has recommended using Hamerite smooth red to refurb the brake callipers so with supplies in, I’ll definitely attempt to get the rears done and I might get the rear coilovers fitted as well, and hopefully this will give me a kick up the arse to get the fronts done too. As part of the rear refurb, I’m going to paint to disc backings, and hubs (black and silver respectfully) and remover the plastic arch liner to give it a good scrub.

Any comments welcome, and as always thanks for reading.

James.
 
Last edited:

jonjay

50 Years of 911
Jun 27, 2005
5,843
1
Essex
James, what an amazing project your car is. A pure inspiration! Looks like you have nailed the painting to pro standards.
 
Oct 21, 2006
1,226
1
Norfolk
James, what an amazing project your car is. A pure inspiration! Looks like you have nailed the painting to pro standards.

Thanks Maz! Don't quite feel worthy of pro standards... Photos can hide a multitude of sins... Hahah. But saying that, considering what I started with, I'm fairly chuffed. The proof of the pudding will be once I've driven it a few miles and it has had some exposure to heat. I certainly don't enjoy painting, as I don't have the first time touch that others have. I know it's down to practice but paint is not cheap!

That's the great thing about this forum, members and their cars always give you a push. The standard of member's cars is great at the moment, and has been for a long time, and performance seems to be one of the main focuses (K04 23 especially). I'm continually saying to myself that "I wouldn't enjoy the considerable performance gains", but honestly that's just my way of stopping myself from spending money that really should be going to house improvements, hols and other nice things; it would put a massive grin on my face though..... Anyway... " I wouldn't enjoy it" cough cough LOL.

James.
 
Genuine SEAT Parts and Accessories.