• Guest would you be interested in CUPRA or SEAT valve caps? let us know in the poll

  • Welcome to our new sponsor Lecatona, a brand dedicated to enhancing performance for VAG group sports cars, including SEAT, Audi, Volkswagen and Škoda. Specializing in High Pressure Fuel Pump (HPFP) upgrades.

How I 'clean' my car! Picture Heavy! - Full detail

abhardwaj1990

Yes, I'm licking my hand
Mar 16, 2009
3,434
0
Shottingham
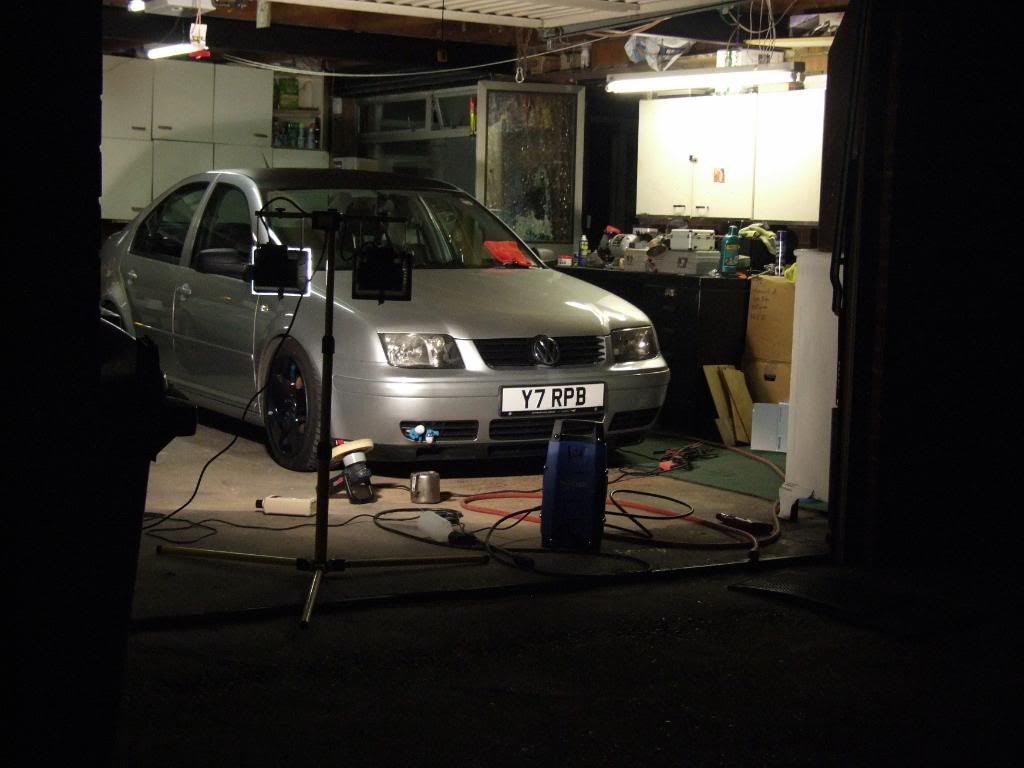
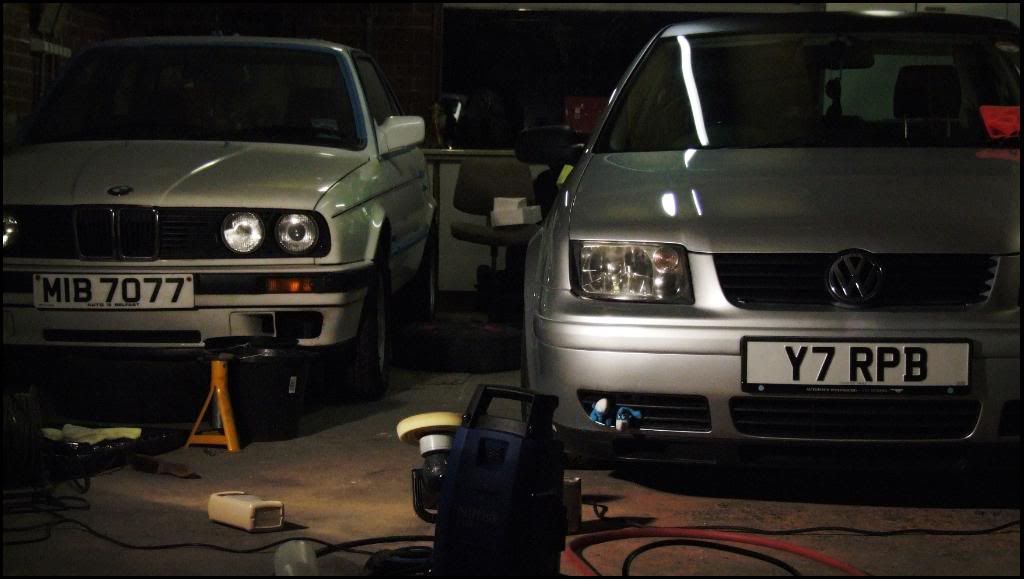
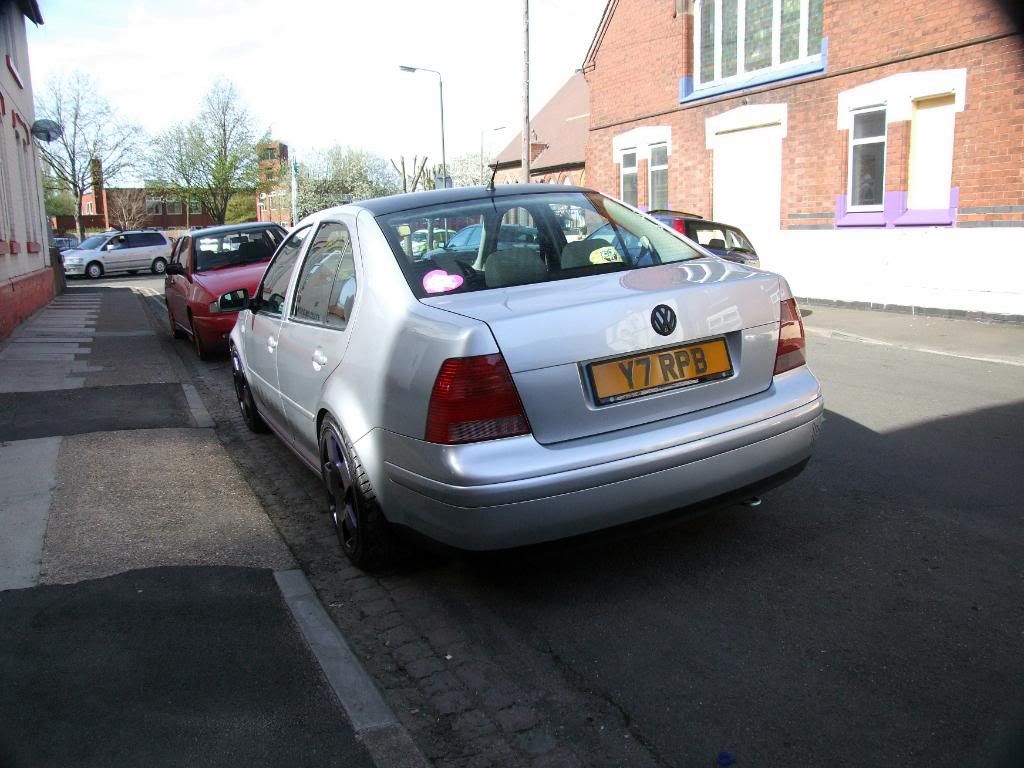
Hi guys, dedicated the weekend on getting my daily as shiny as possible! Thought I'd make a thread to share what I did/used.
Here goes:

Stage One - Washing
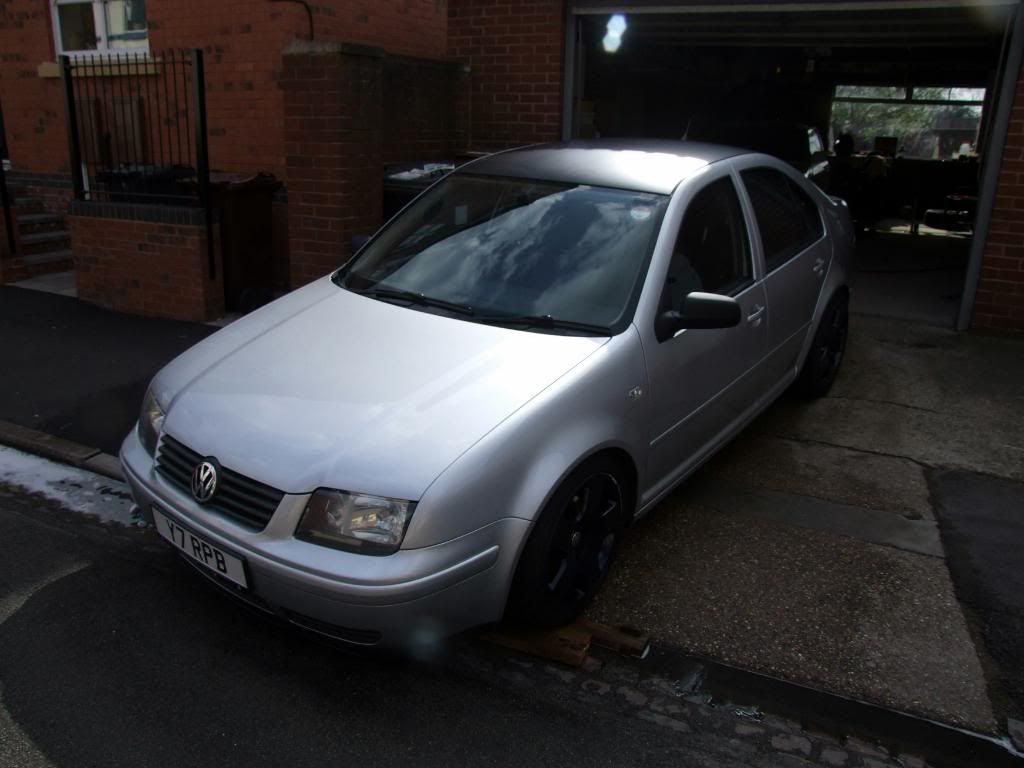
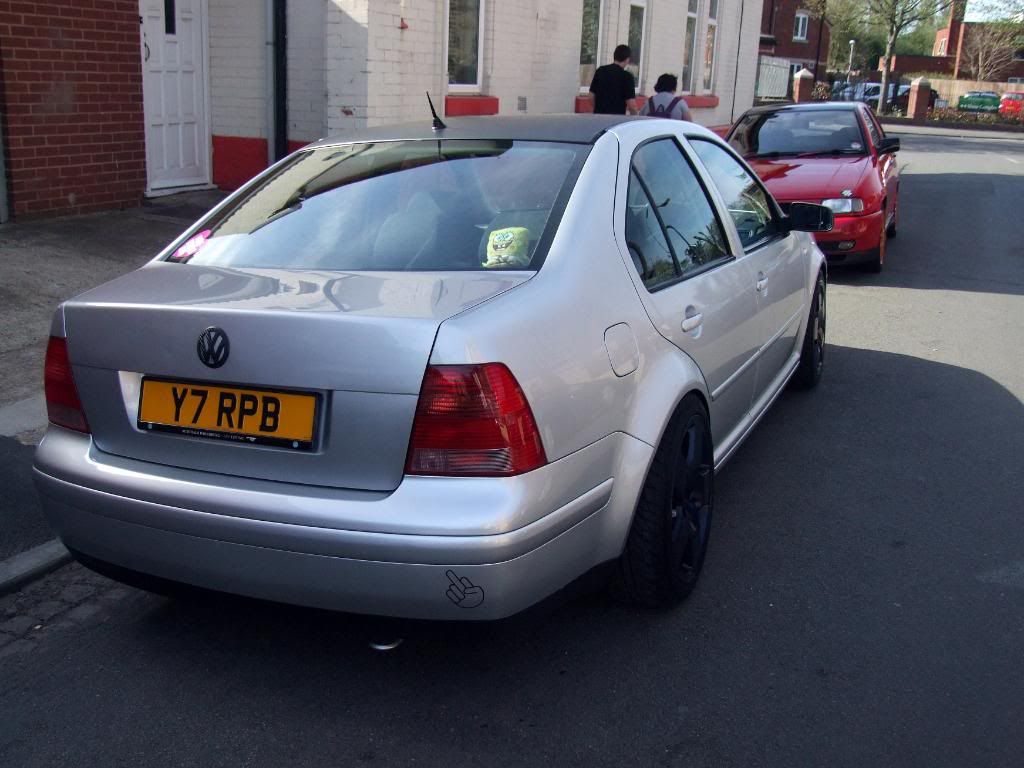
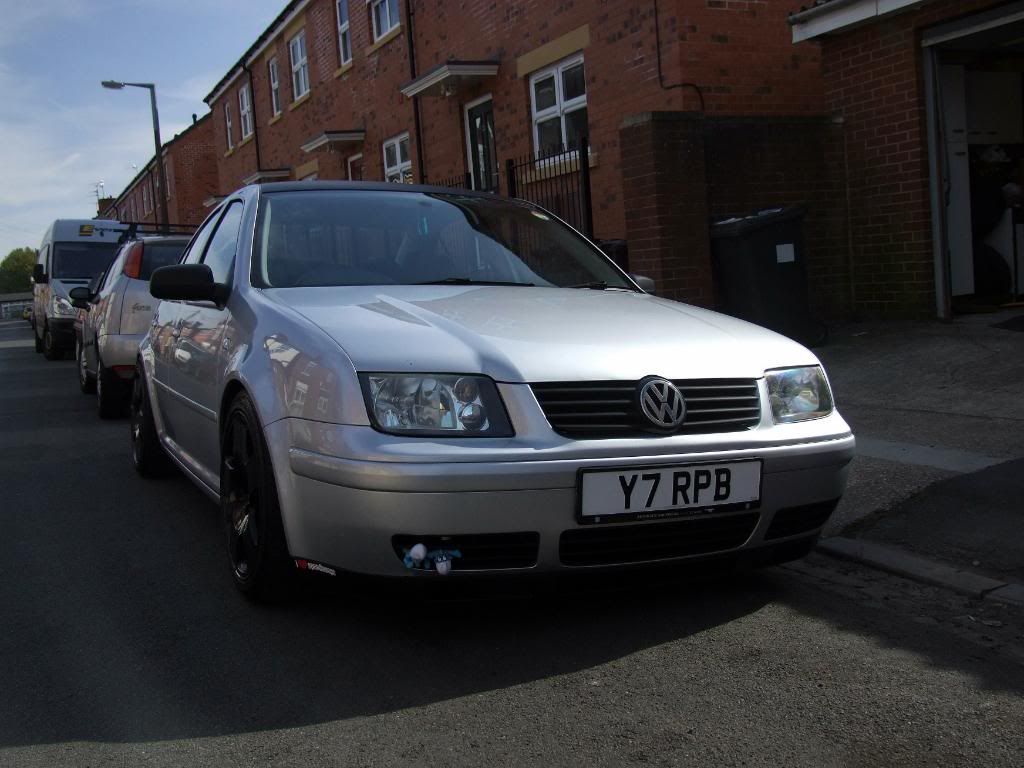
Here's how she started:
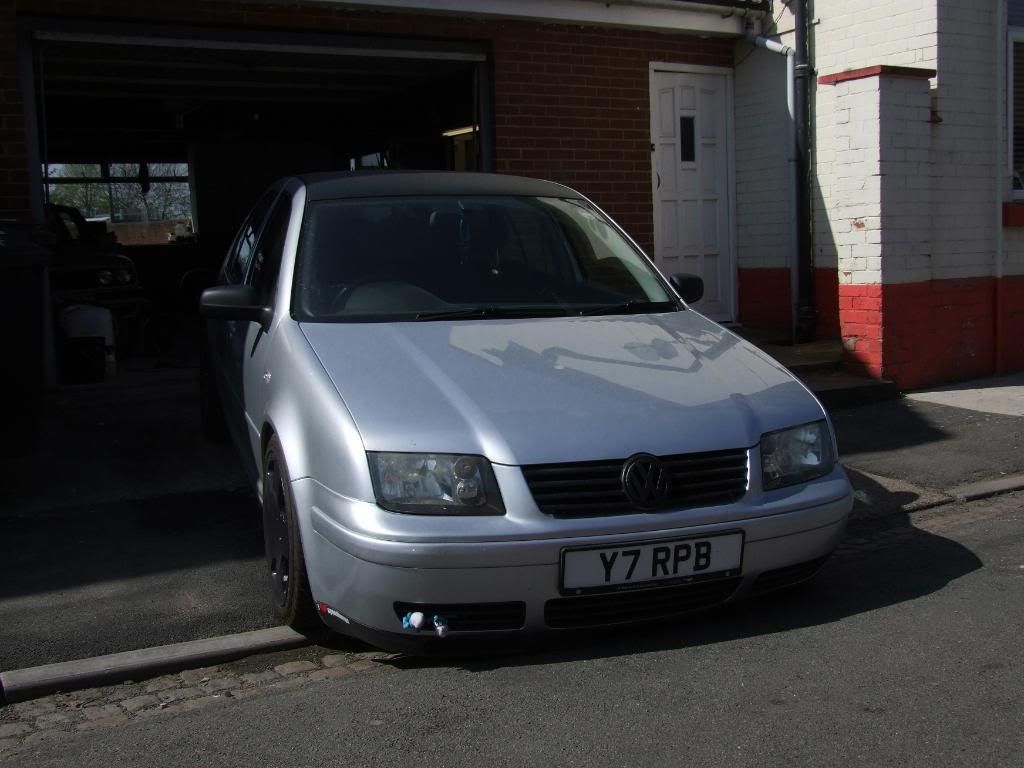
DSCF3289.jpg

DSCF3291.jpg

DSCF3292.jpg

(Was filthy! Don't let the pictures fool you!)

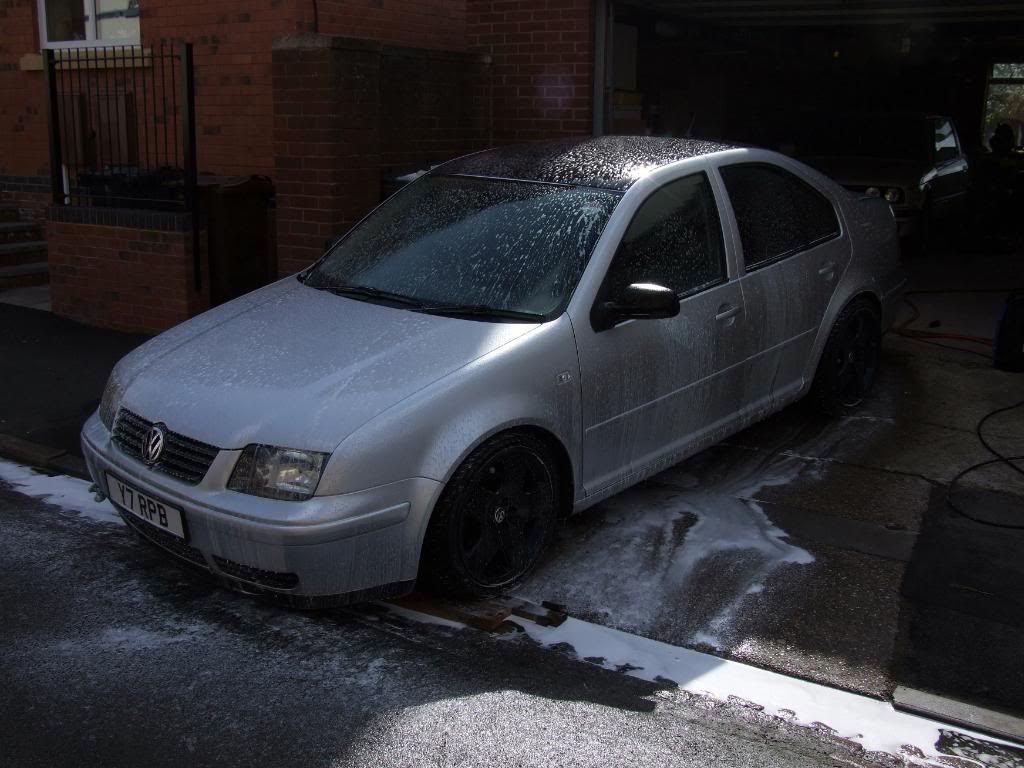
Car was then foamed:
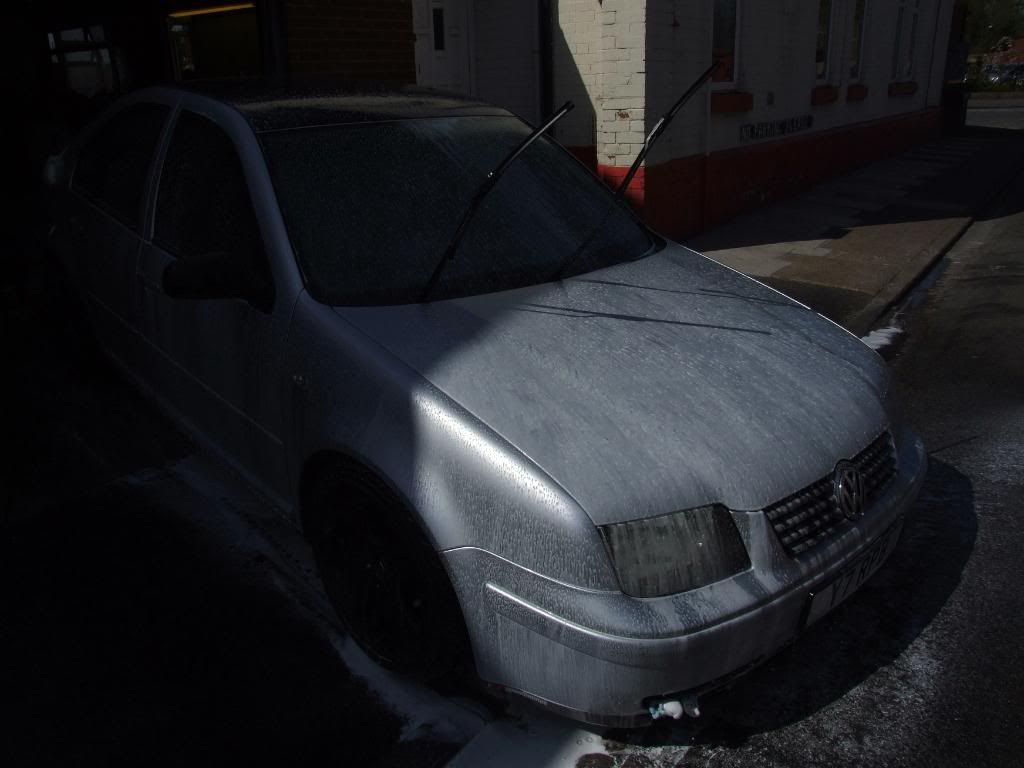
DSCF3295.jpg


Out came the 2 buckets. Both filled with warm water.
In one was standard car shampoo 'clean water bucket', the other just water with a grit guard fitted 'dirty water bucket'.
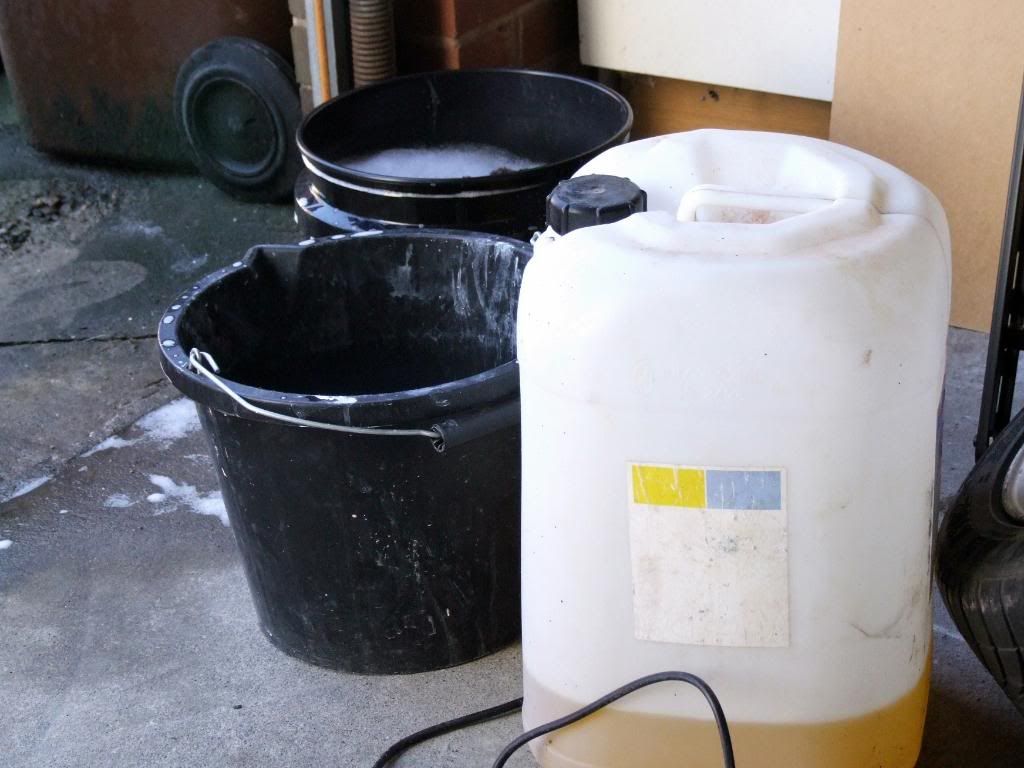
DSCF3298.jpg


Out came the lamb wool mitt, cleaning a small section at a time, then cleaning the mitt in the 'dirty water' bucket. Repeat process till the whole car is cleaned. I also cleaned the insides of the doors/door shuts, boot etc.
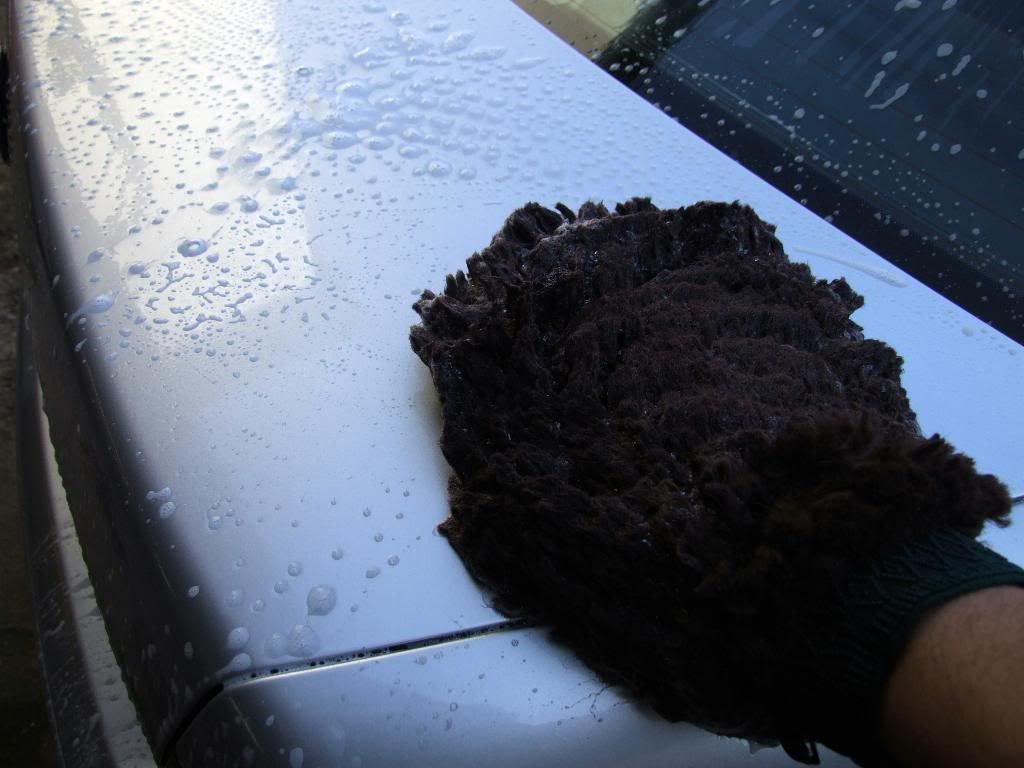
DSCF3296.jpg


Car was then rinsed.
Out came the clay:
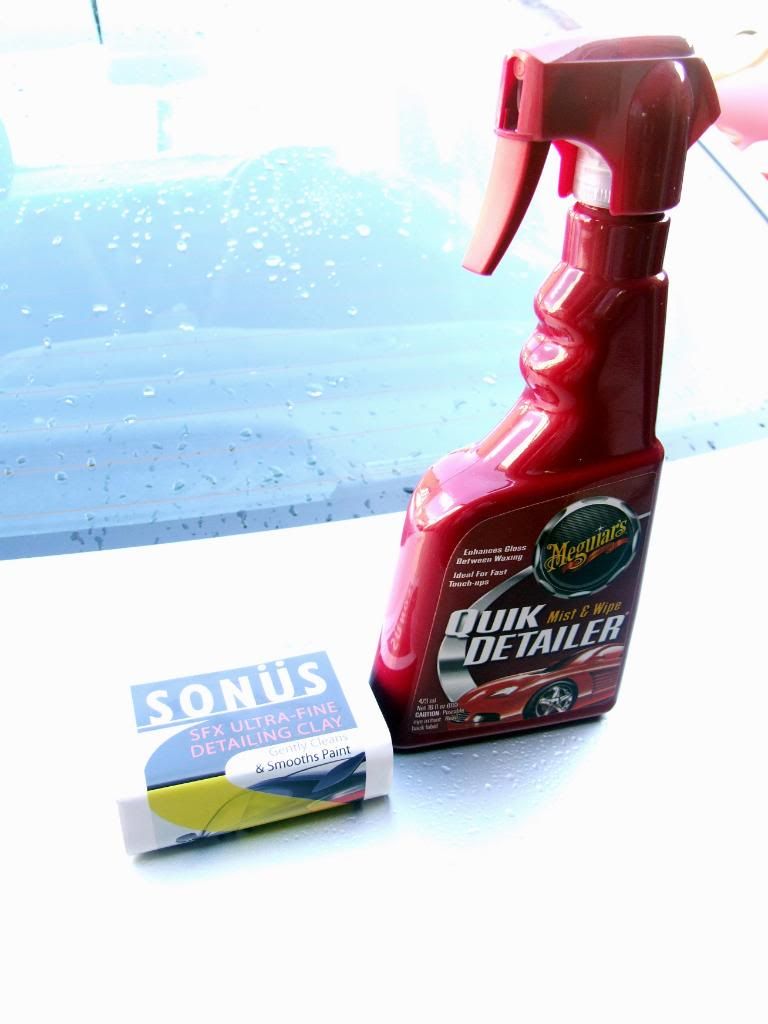
DSCF3300.jpg

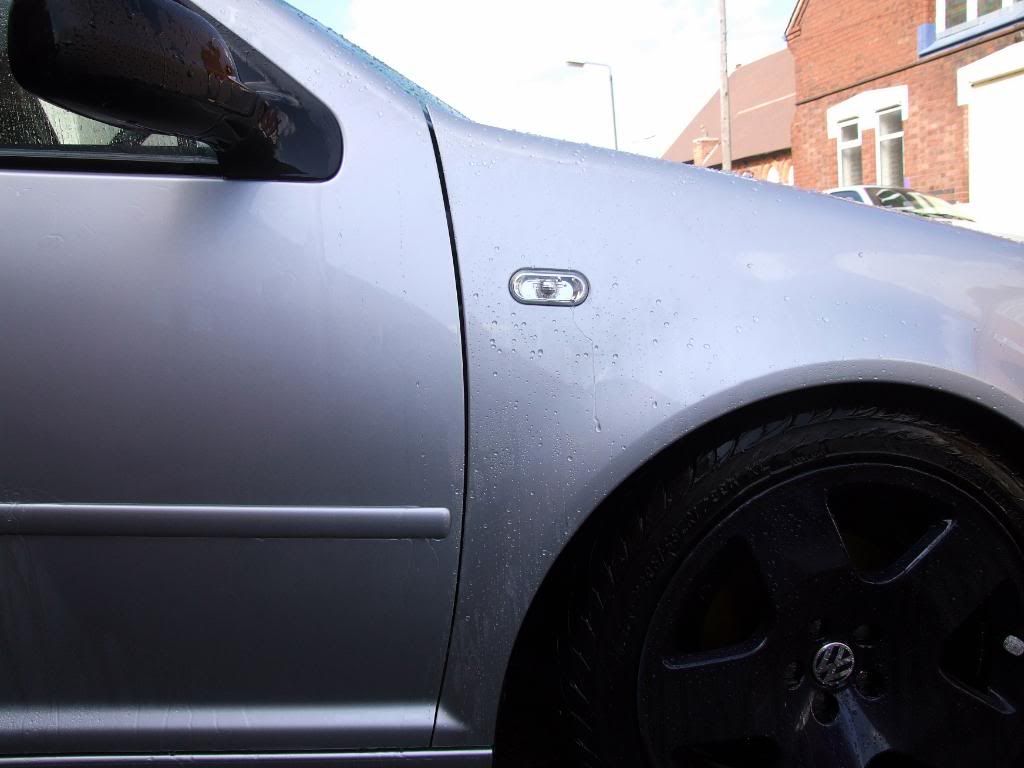
Wiped over the whole car, making sure it was well lubricated with the quick detailer. The next picture shows a before and after the clay, the wing has been clayed, and you can tell the paintwork is smoother because of the water beading, the door has not yet been clayed:
DSCF3301.jpg


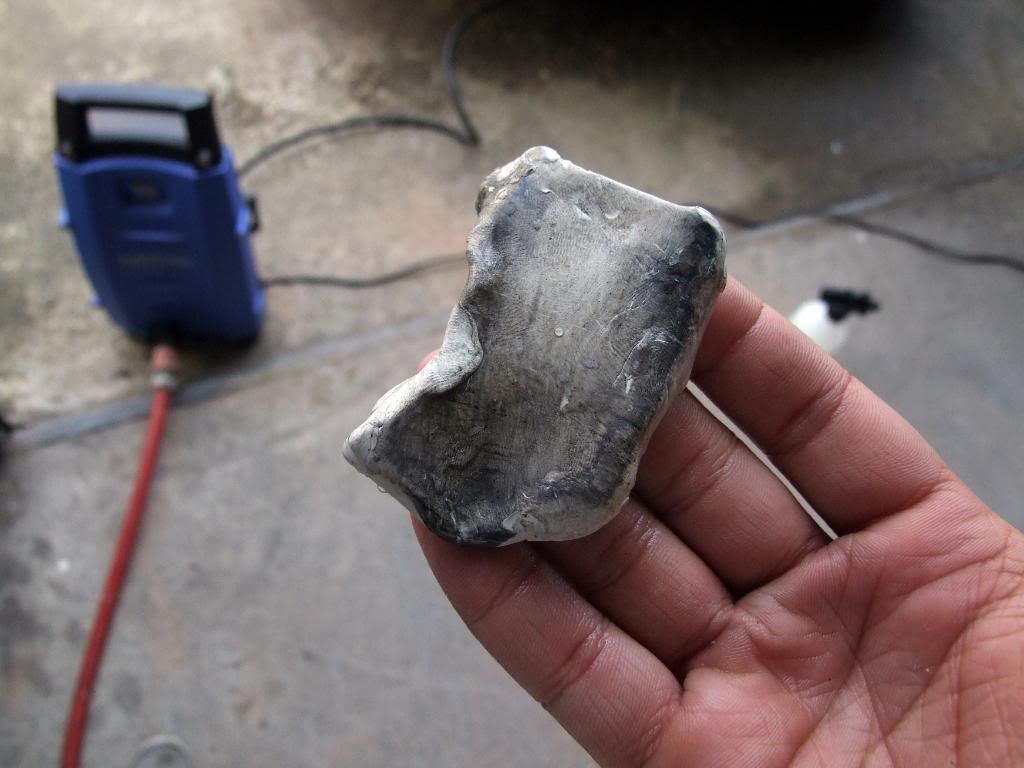
This is the clay bar after just half the car was done!
DSCF3302.jpg


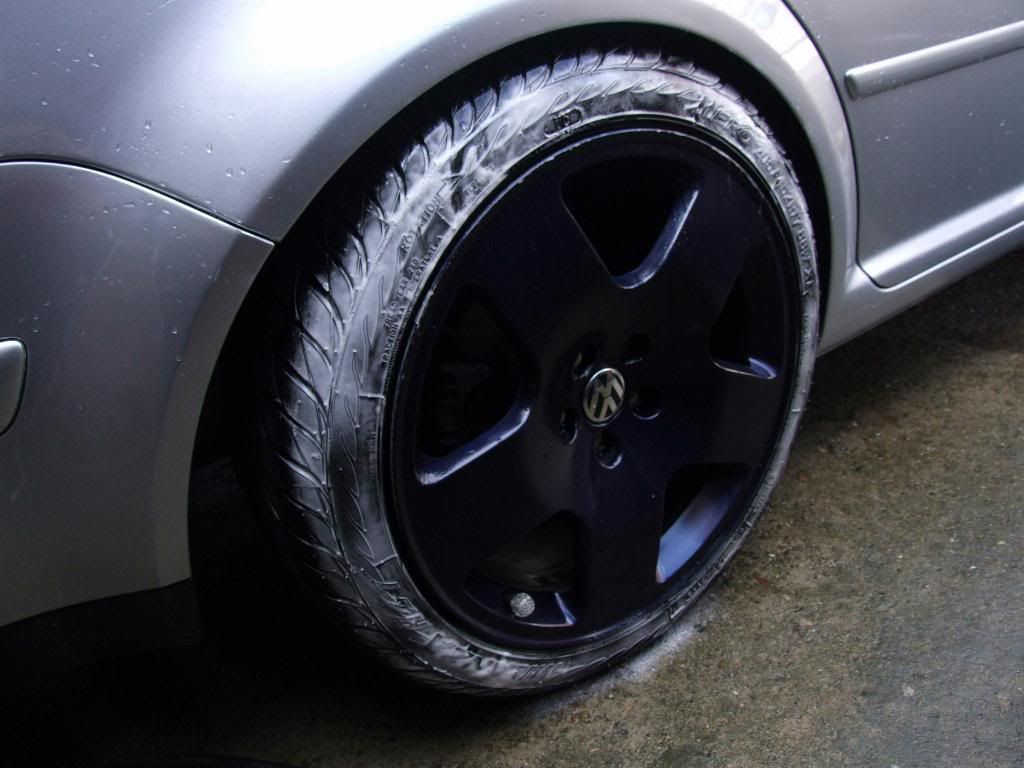
After claying I applied tyre cleaner on the rubber rings. Let that do its work.
DSCF3303.jpg


Continued on next post.
 

abhardwaj1990

Yes, I'm licking my hand
Mar 16, 2009
3,434
0
Shottingham
Then went on to clean the car again.
DSCF3304.jpg

Rinsed, then dryed with a large microfibre drying towel.
DSCF3305.jpg


DSCF3309.jpg

Looking half decent already!


Stage Two - Correction
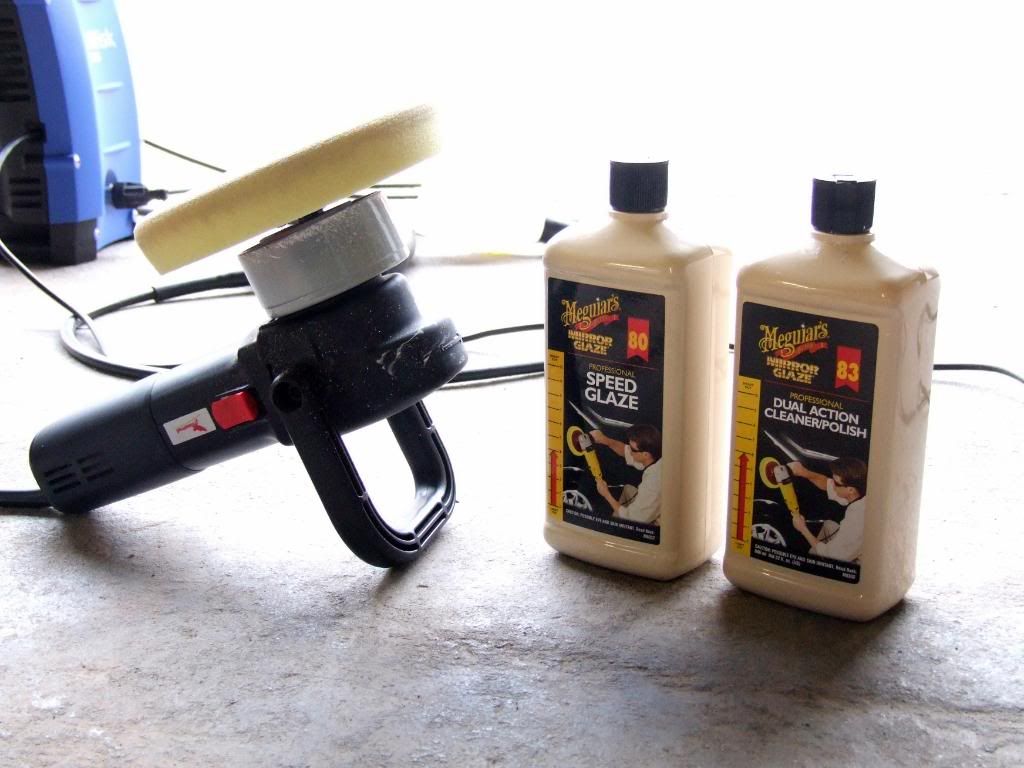
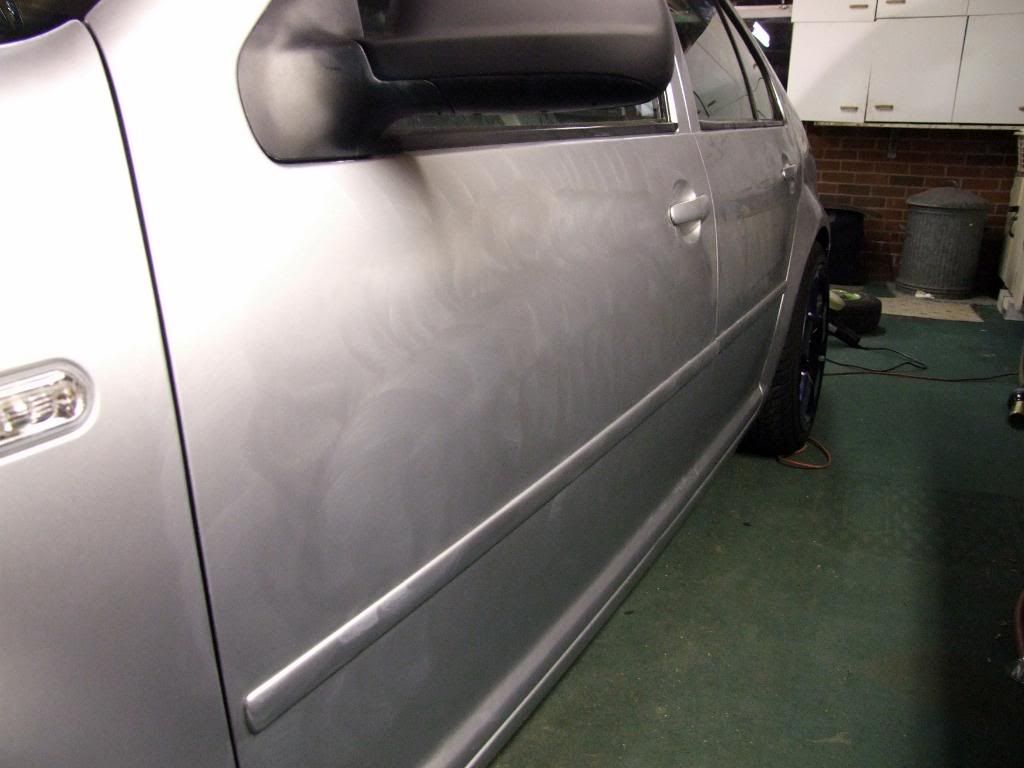
This stage was for the polishing and paint correction. There were a few swirls on the car here and there, and a few areas where paint had faded. For this I used the Kestrel DAS-6 with the Meguiars Polishing pad and Meguiars 80-83 cut polishes.
DSCF3314.jpg


83 was used for the more faded/damaged areas, 80 for the rest of the car to get rid of any swirls/marks
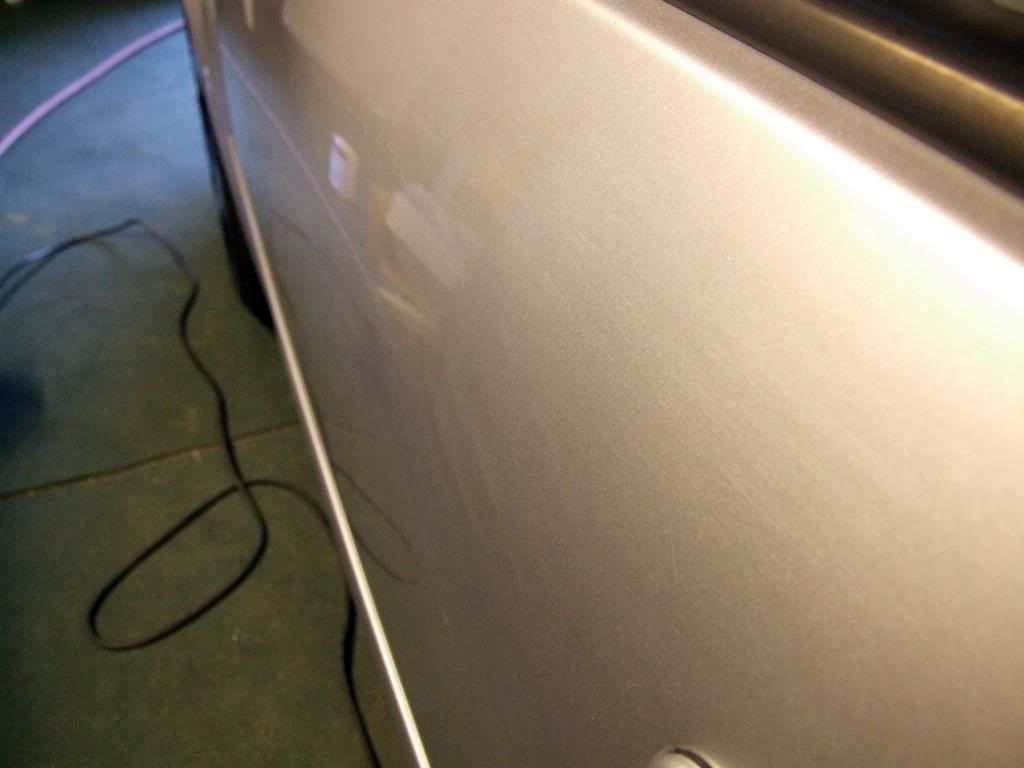
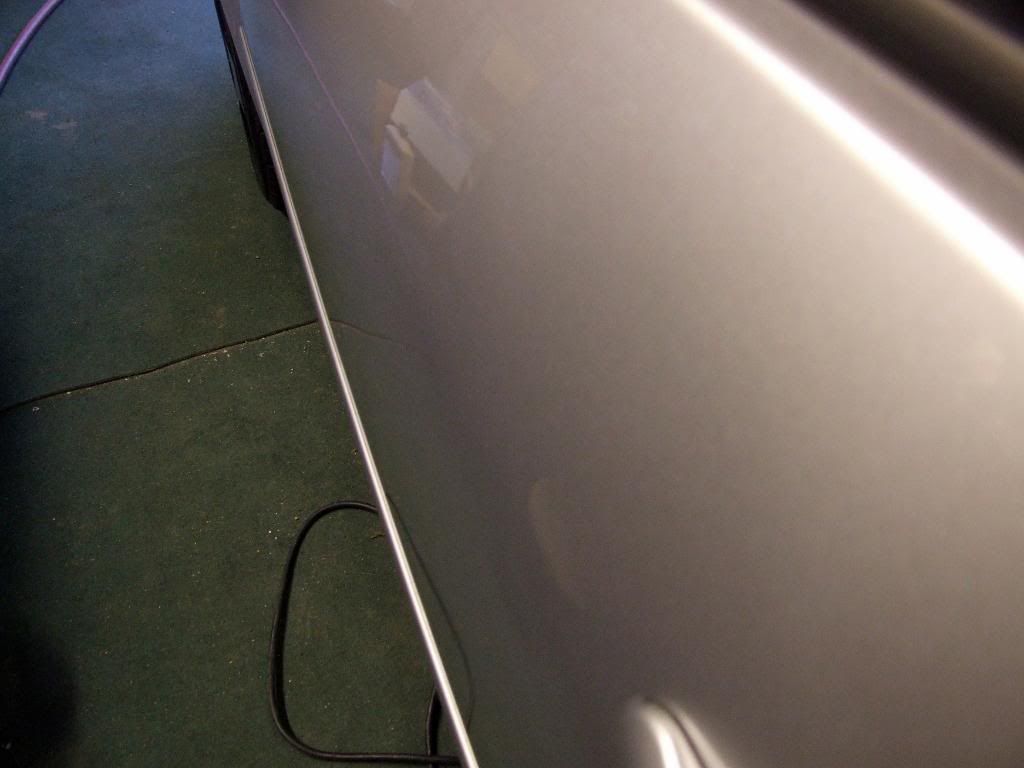
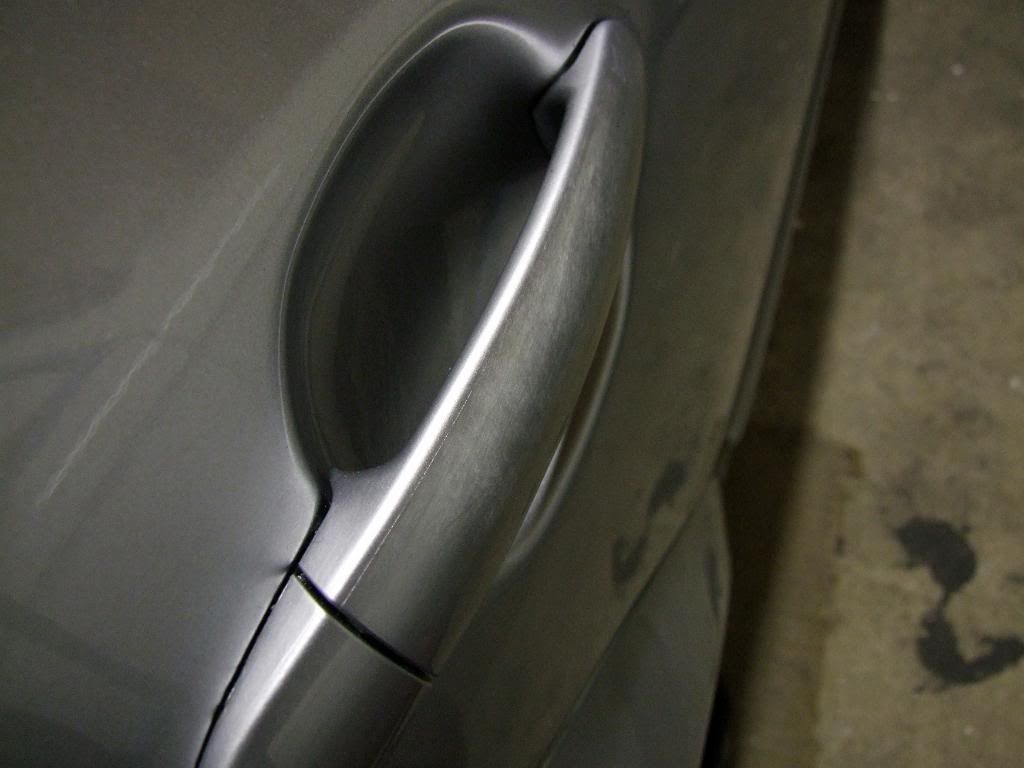
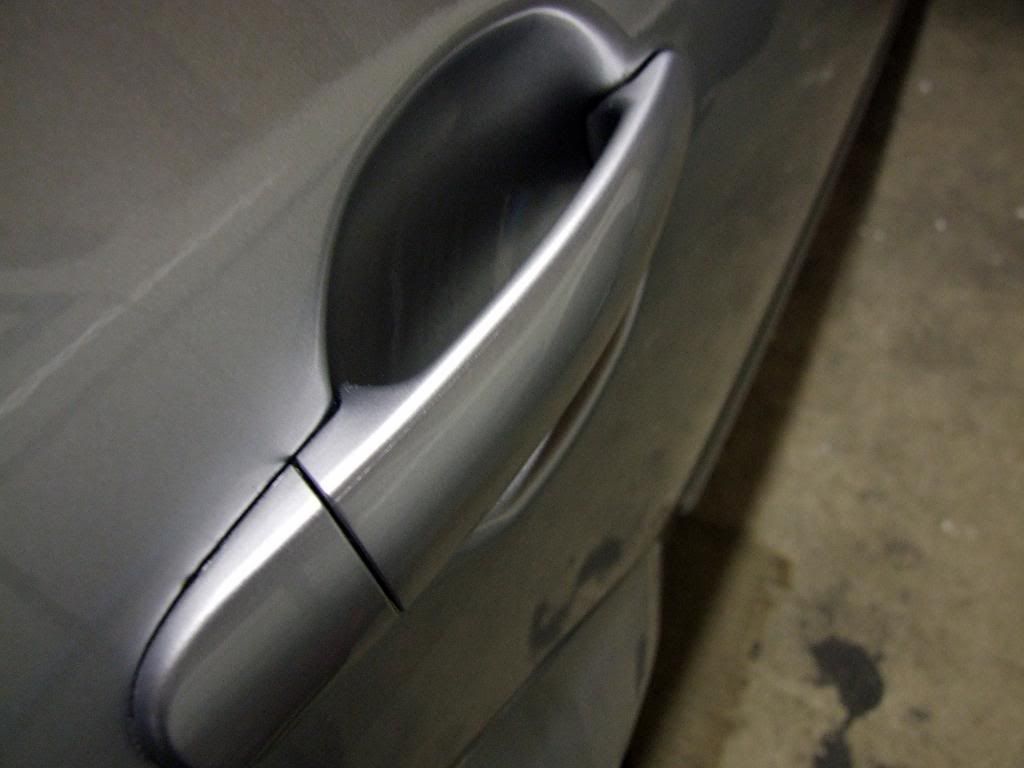
Didn't get many before and after shots as silver is hard to take pictures of! Here's a few anyway:
Before
DSCF3323.jpg

After
DSCF3326.jpg

Before
DSCF3328.jpg

After
DSCF3329.jpg


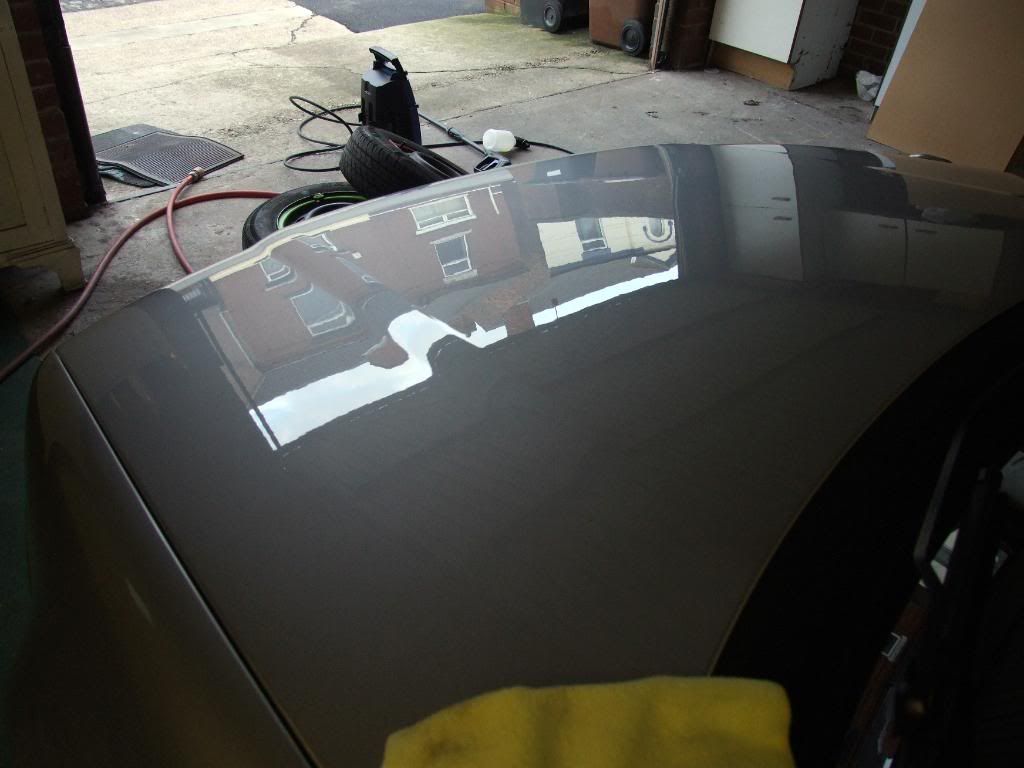
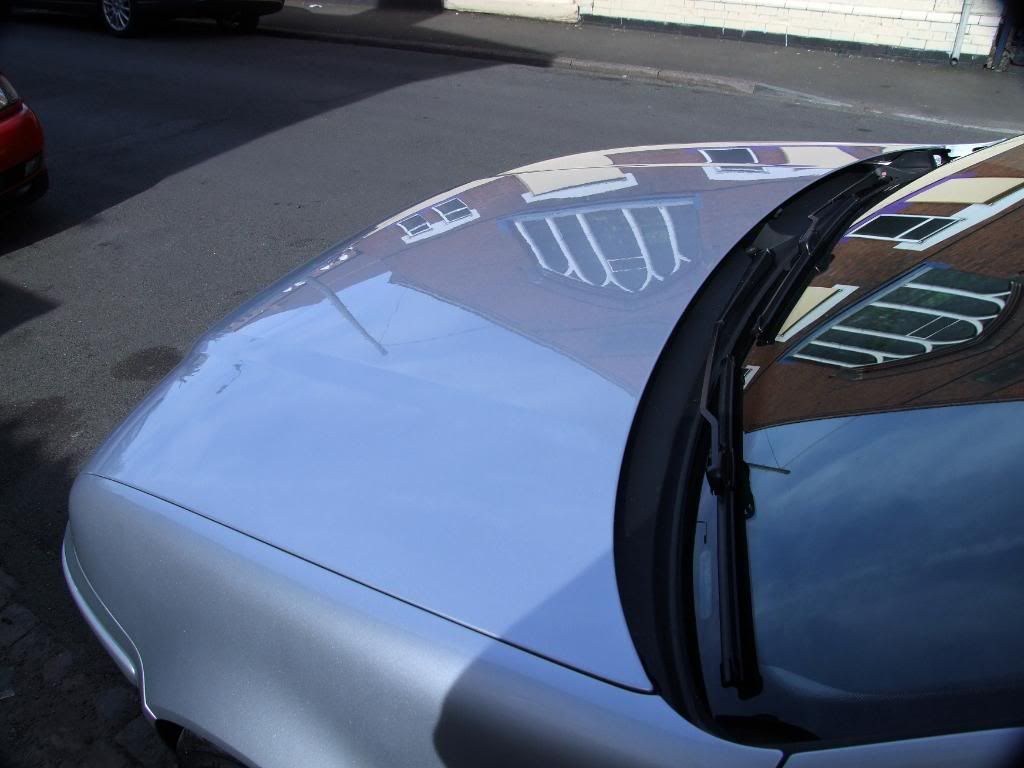
The bonnet after a wirl of 80:
DSCF3315.jpg


I also gave the wheels a quick polish with a polishing spot pad, no pictures though.
 

abhardwaj1990

Yes, I'm licking my hand
Mar 16, 2009
3,434
0
Shottingham
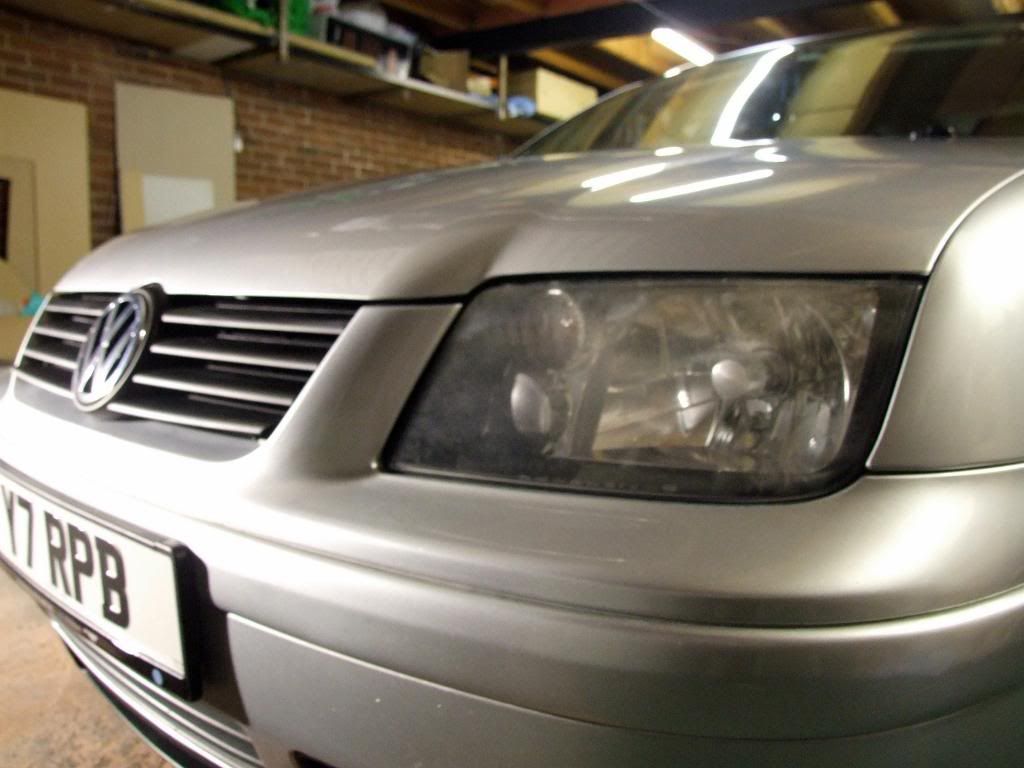
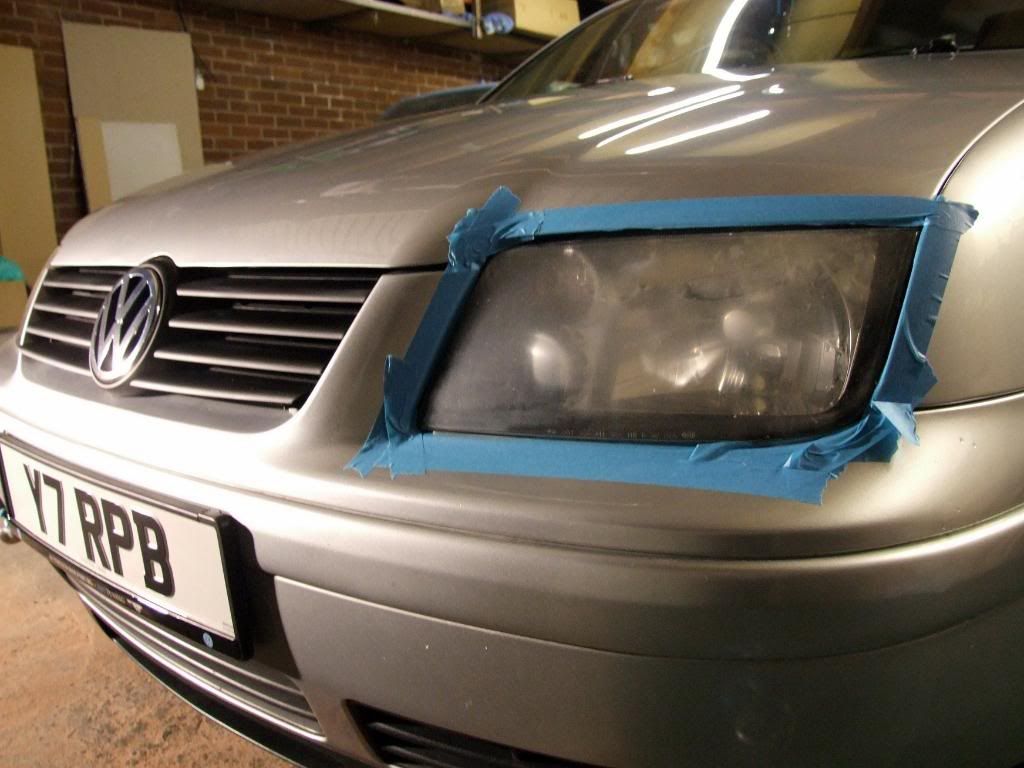
Then the head lights. They were riddled with stone chips and oxidation.
DSCF3335.jpg

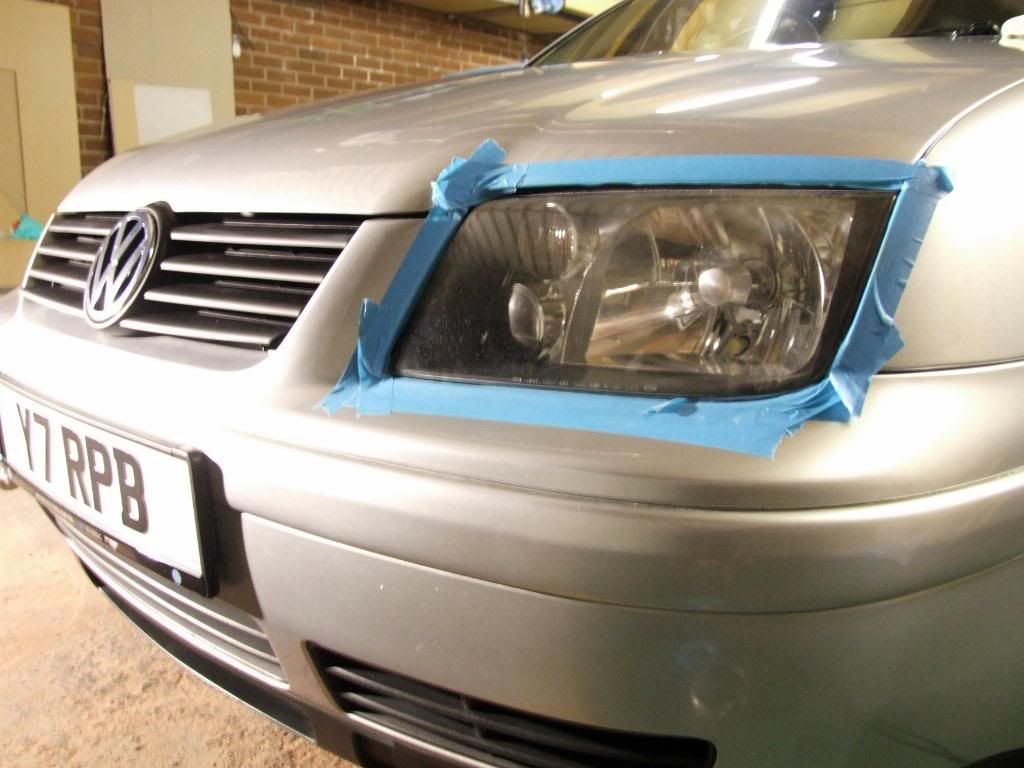
First step was to mask around them with detailing tape to ensure paintwork wasn't scratched. Then wet sanded with 1500, and then 2000 grit sandpaper.
DSCF3336.jpg

And then polished with 83 cut Meguiars with the Meguiars cutting pad. Result:
DSCF3337.jpg

Not entirely happy as they're not crystal clear. Will be repeating the process, but using a bigger range of sandpaper, starting lower (about 800), ending higher (3000). Then Polishing with Meguiars PlastX.
Stage Three - Protection
Now for the finishing touches.

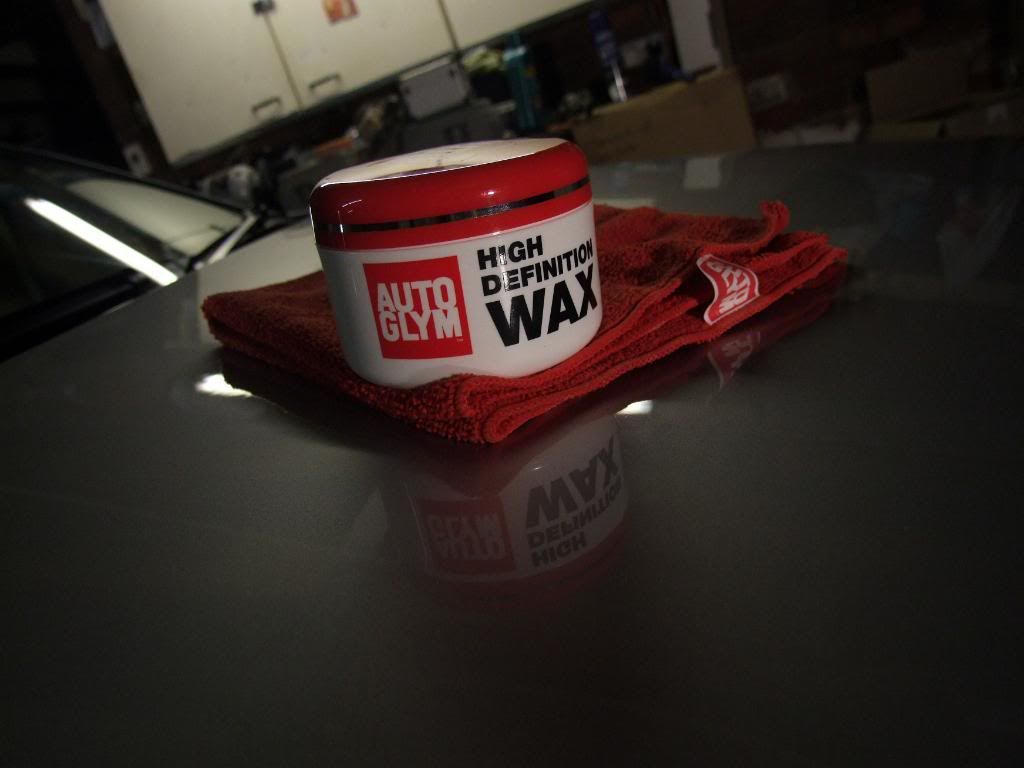
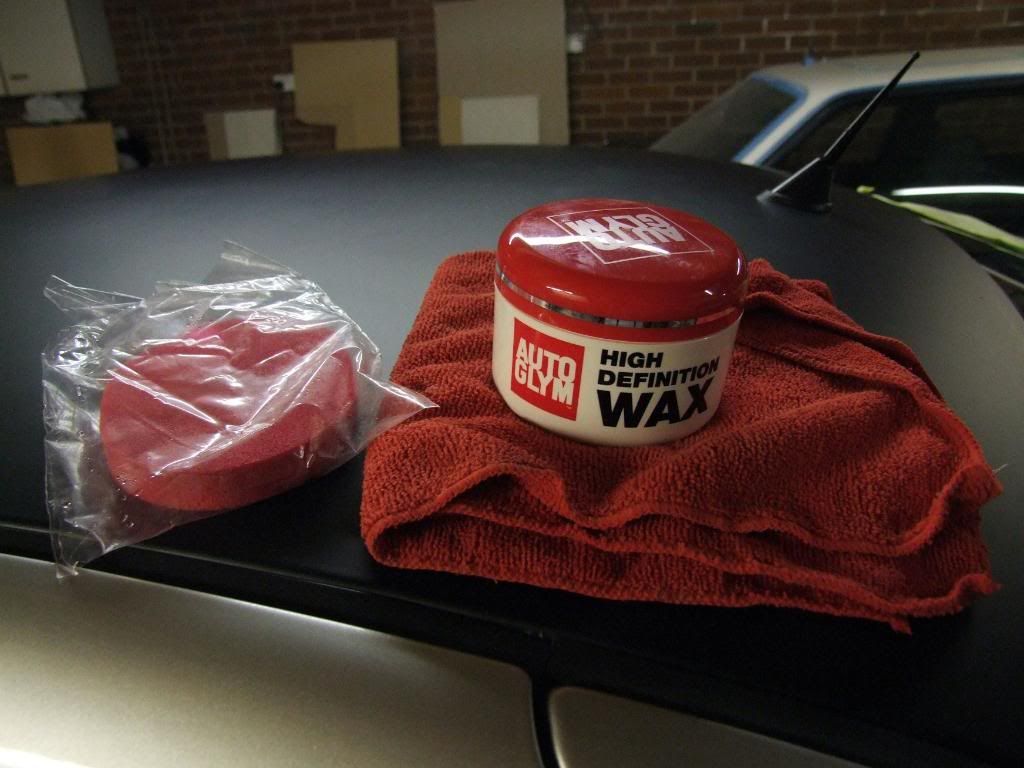
Wax, used Autoglym HD wax, love the stuff, and the smell :wub:
DSCF3330.jpg

Applied with foam applicator, making sure it was slightly damp at all times to the wax spread better.
Wax On:
DSCF3331.jpg

Wax Off:
DSCF3334.jpg


Allowed to cure for about 20 mins before wiping away with a dry Microfibre cloth.

Then let the car rest the night
DSCF3343.jpg

DSCF3344.jpg


Next morning, I gave the car one more coat of HD wax, just to make sure it was protected :lol:
 

abhardwaj1990

Yes, I'm licking my hand
Mar 16, 2009
3,434
0
Shottingham
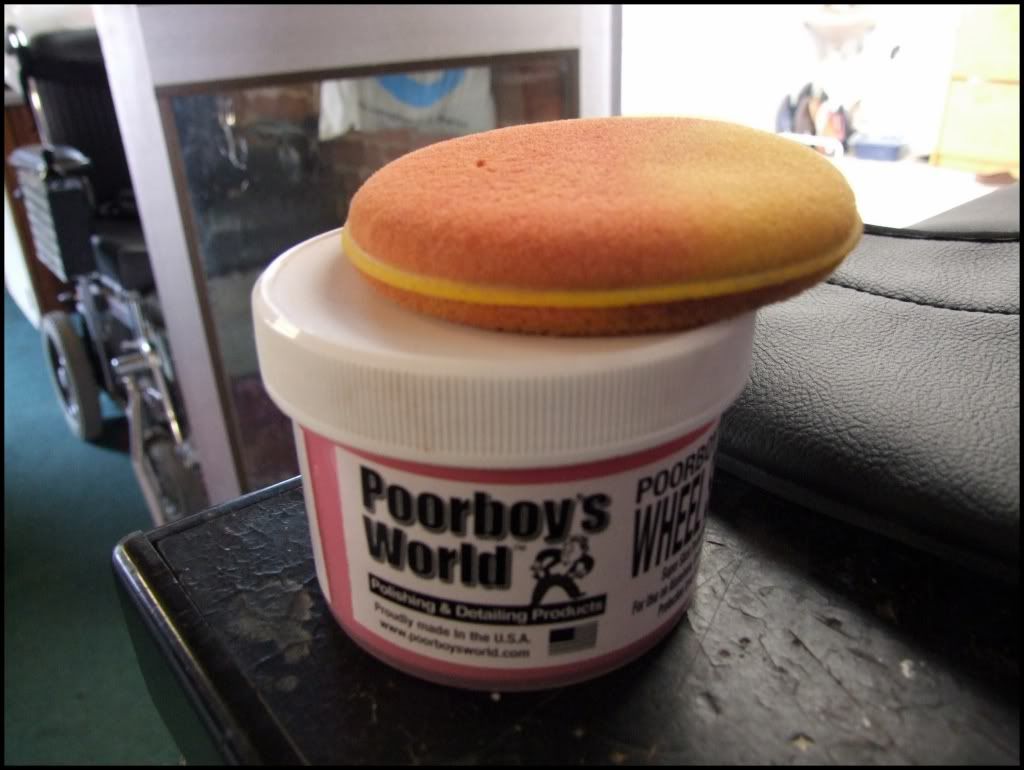
Then got out the poor boys:
DSCF3404.jpg

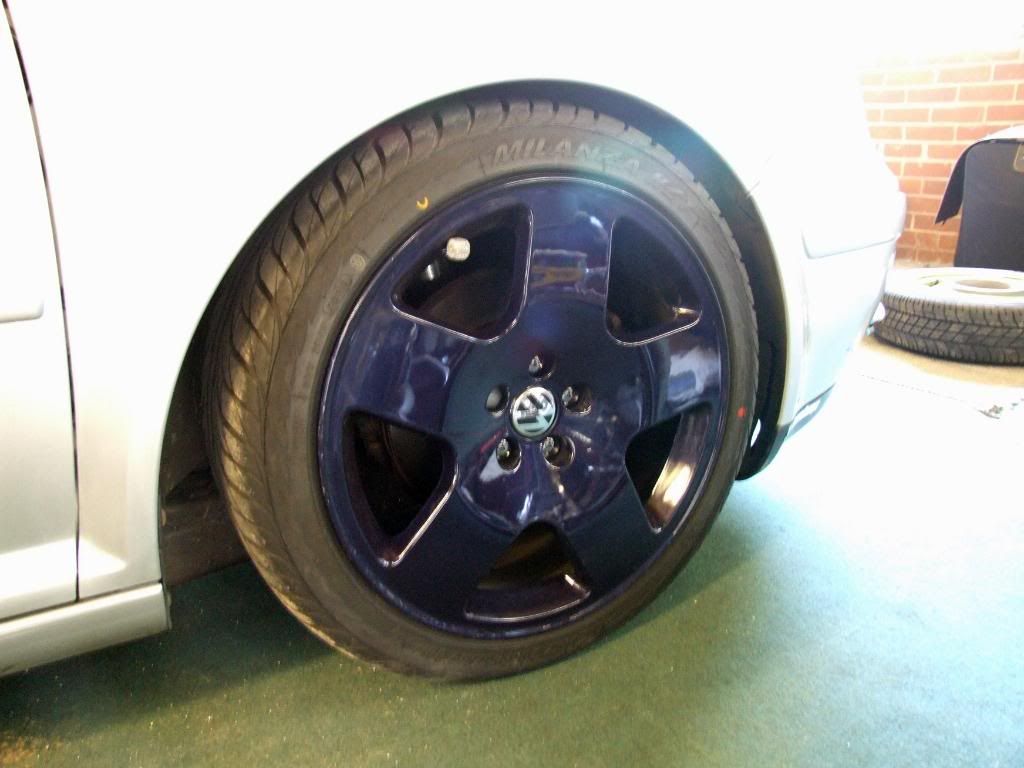
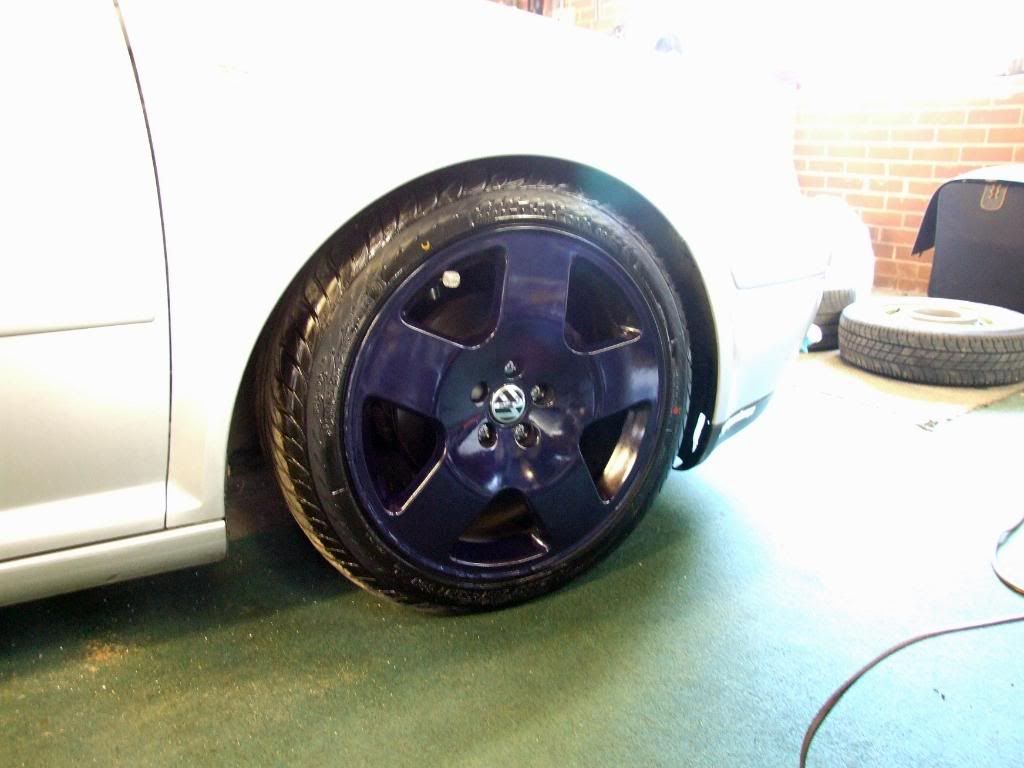
Coated the wheels once, didn't need to go with much more as I gave them 3 coats when they were painted a little over a month ago!

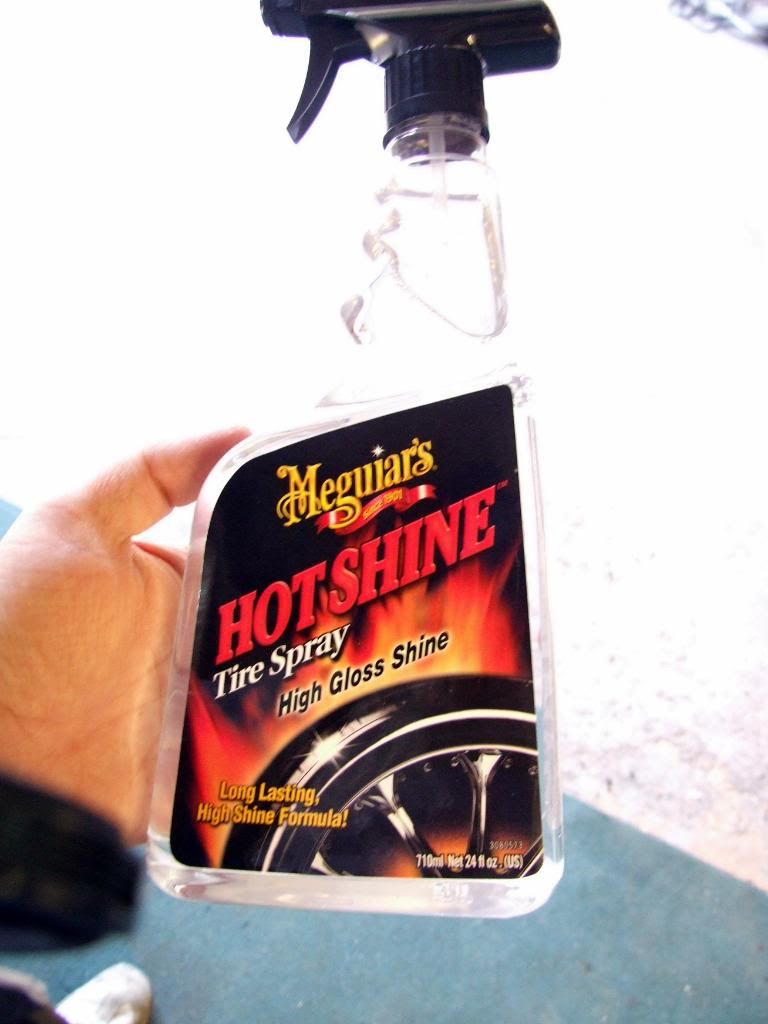
Once cured out came the tyre shine:
DSCF3347.jpg

Before:
DSCF3349.jpg

After:
DSCF3351.jpg


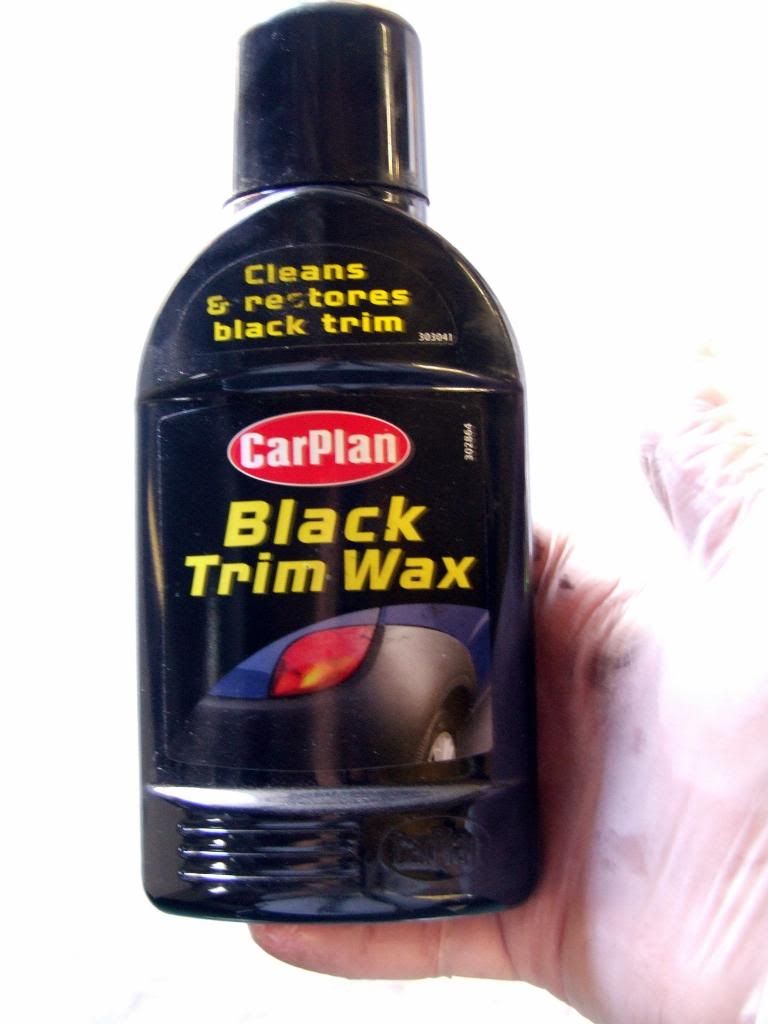
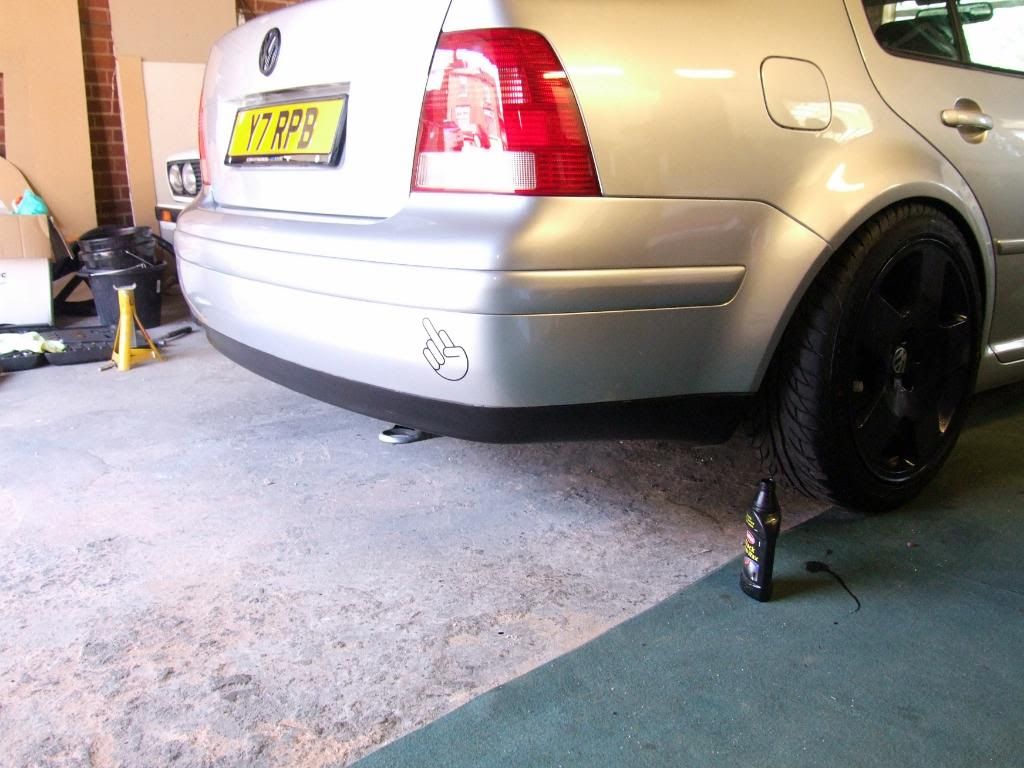
Then time for 'Back to black'.
DSCF3353.jpg

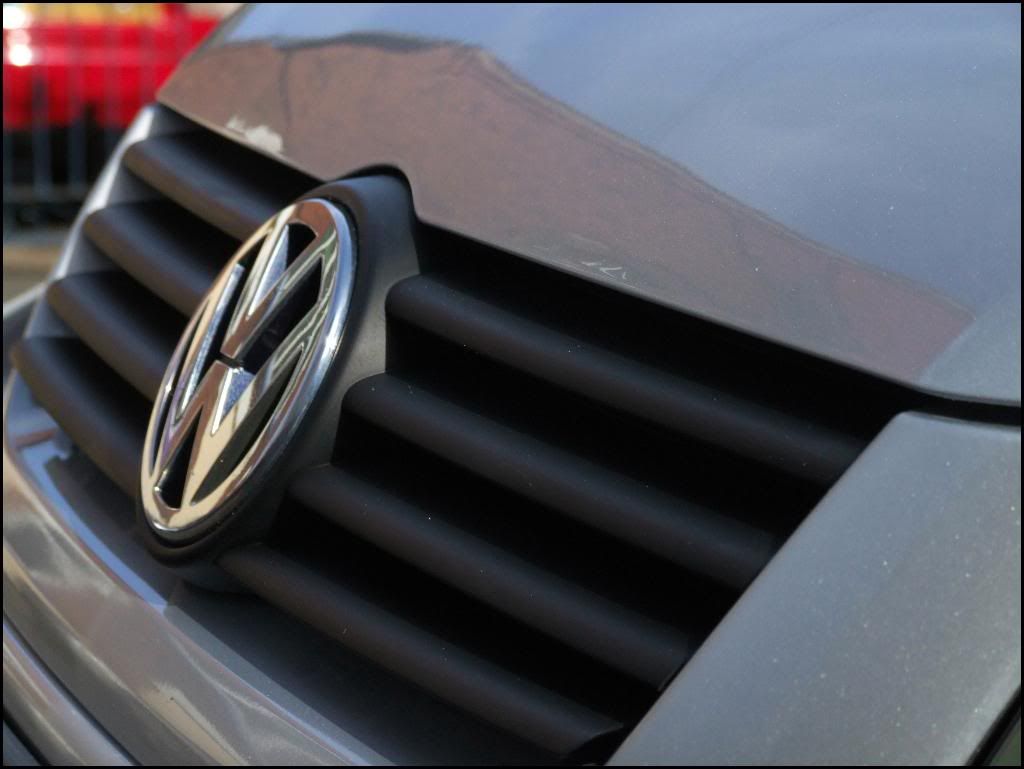
Covered all the plastic trims of the car. Then buffed off with a clean microfibre cloth
DSCF3354.jpg


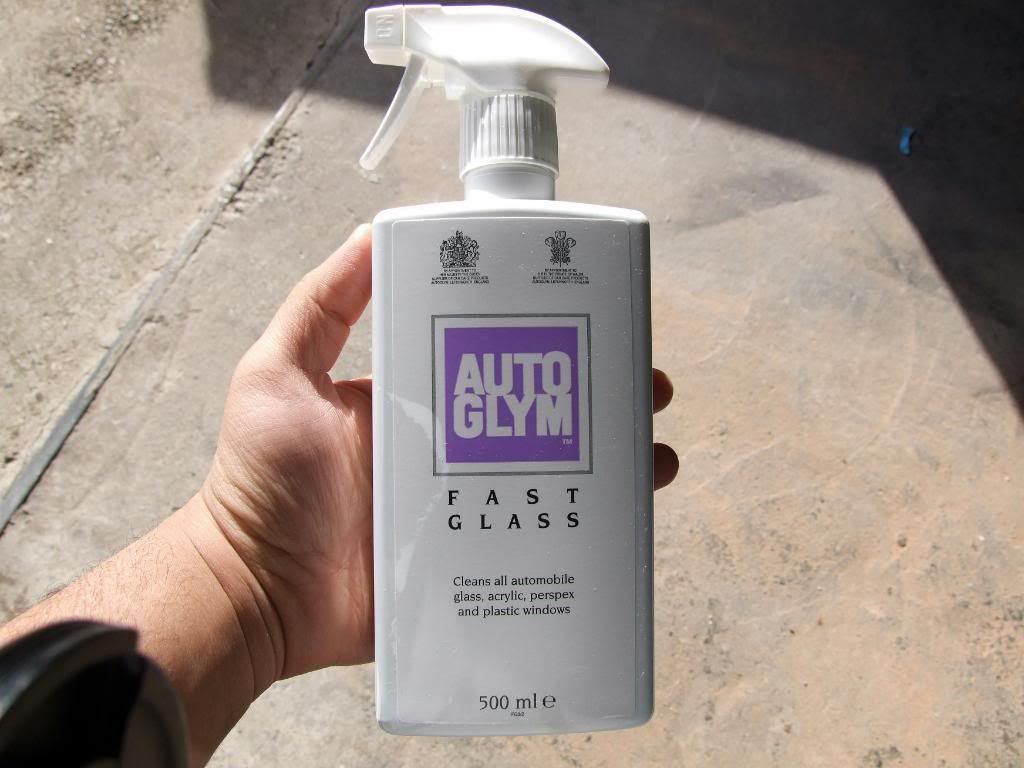
Then cleaned all the windows and mirrors with this:
DSCF3345.jpg


Exterior done!
 

abhardwaj1990

Yes, I'm licking my hand
Mar 16, 2009
3,434
0
Shottingham
Stage Four - Interior
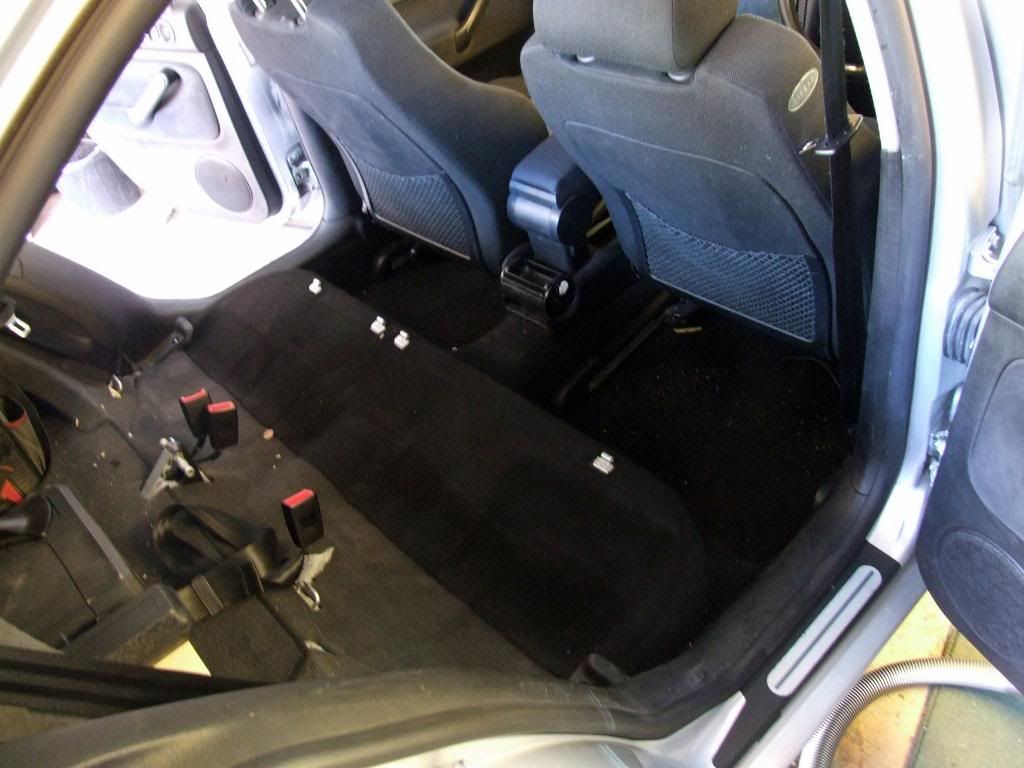
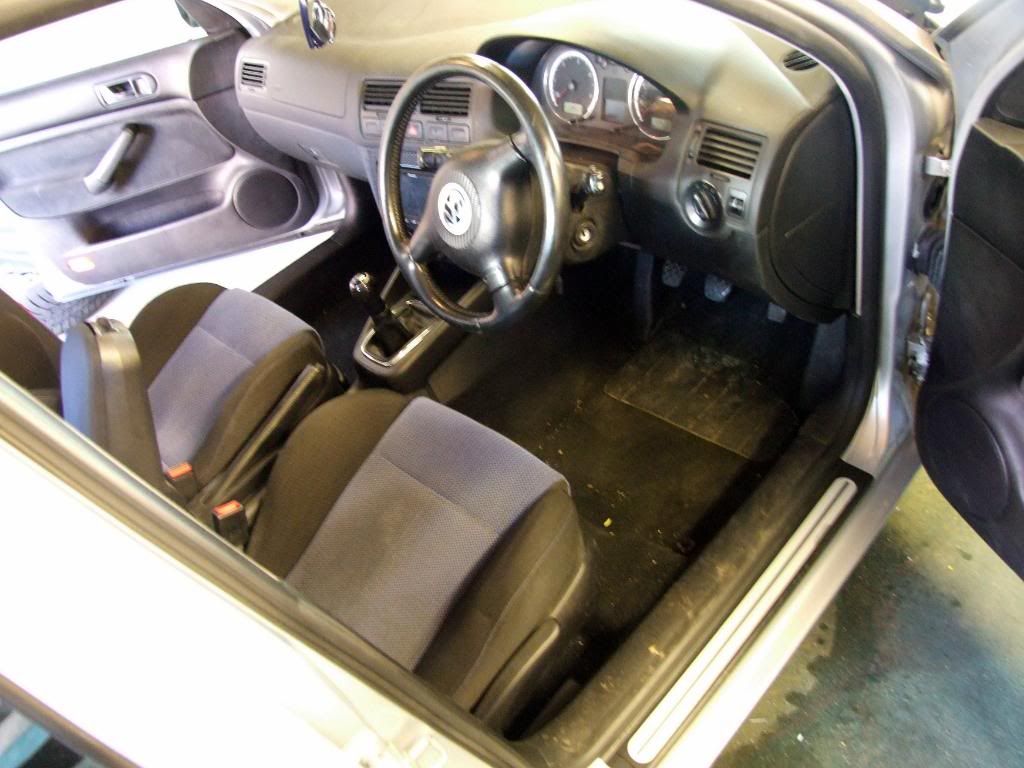
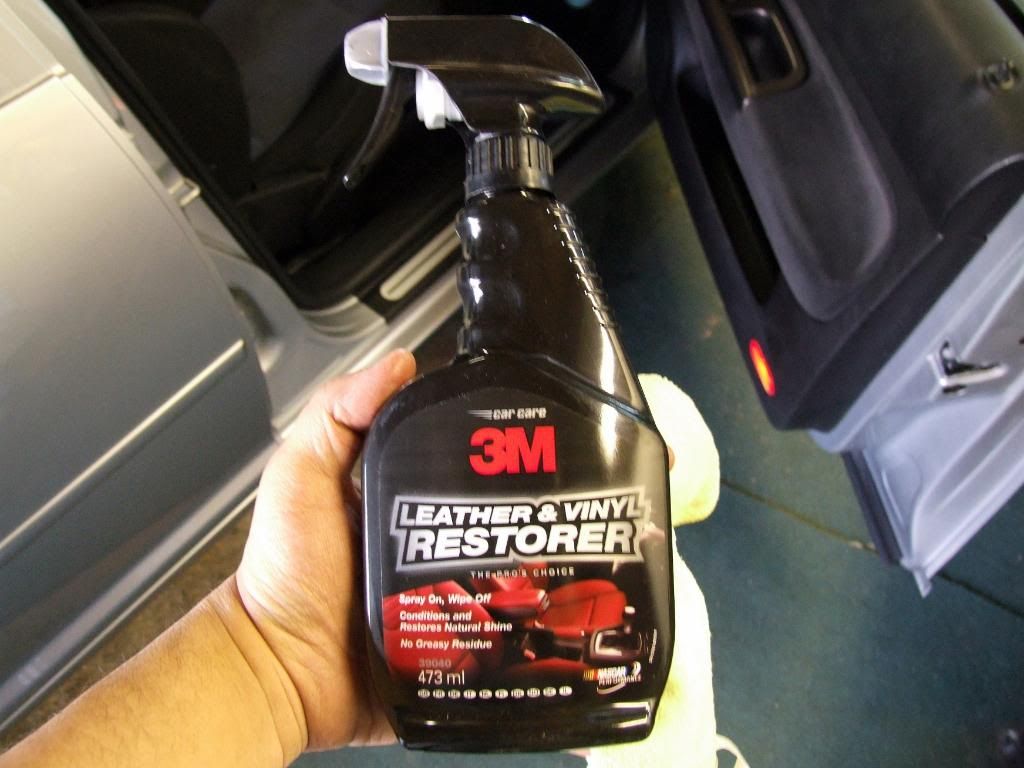
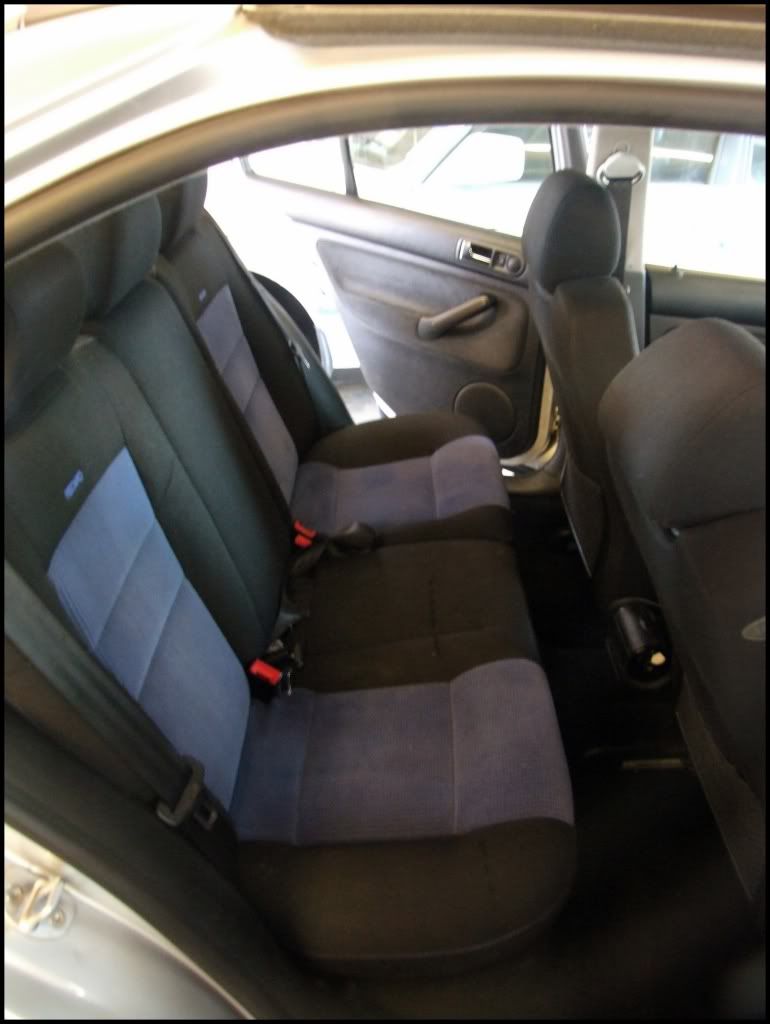
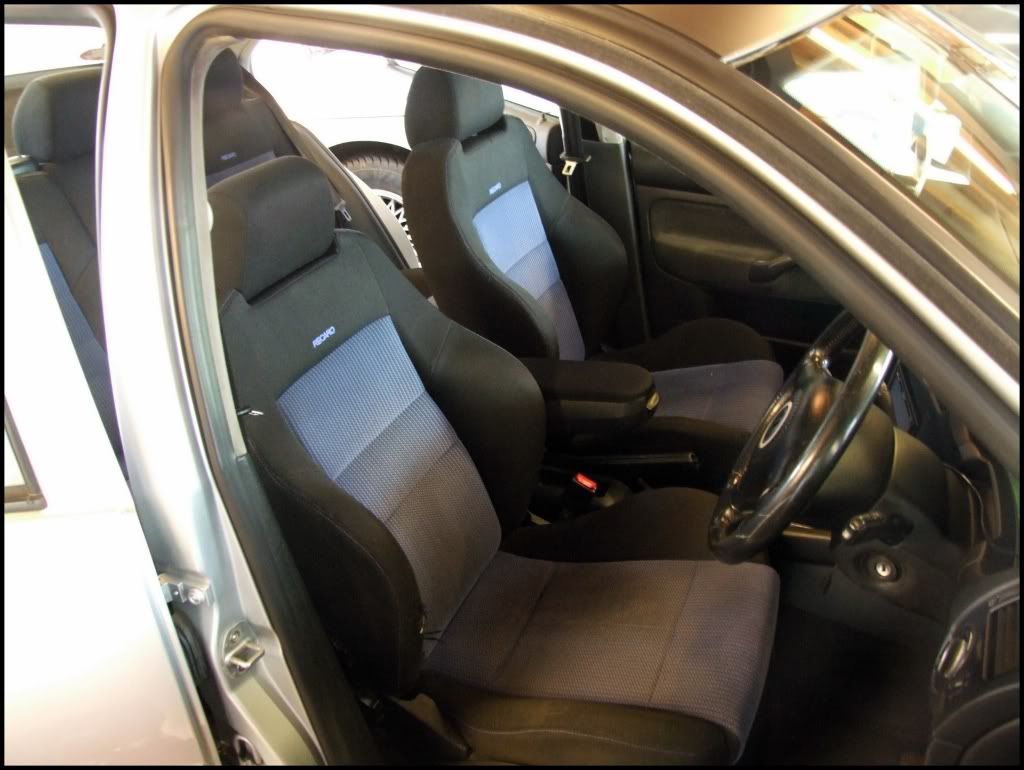
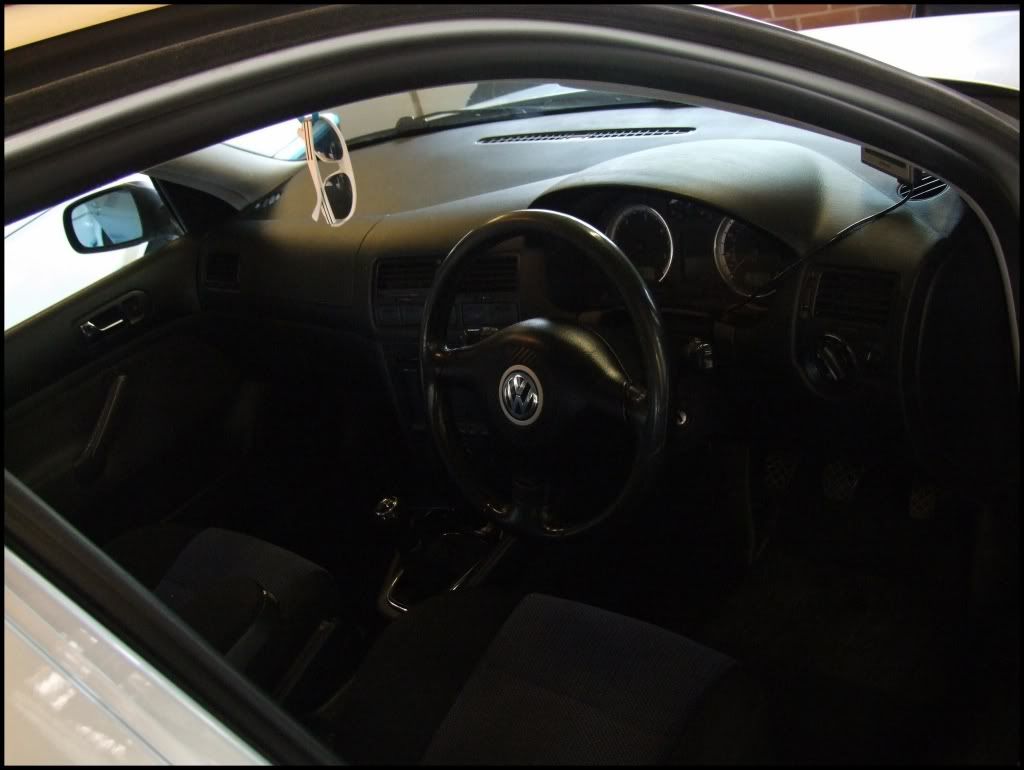
For the interior I first washed the seats with a wet and dry vacuum. When dryed I proceeded with a normal dyson to clean it out. For the steering wheel, door cards/ dash etc I used 3M Leather and vinyl cleaner. Worked a treat!
Before:
DSCF3357.jpg

DSCF3358.jpg

DSCF3363.jpg

After:
DSCF3399.jpg

DSCF3400.jpg

DSCF3403.jpg


Result
DSCF3367.jpg

DSCF3368.jpg

DSCF3371.jpg

DSCF3372.jpg
 

bildo

Active Member
Feb 23, 2010
139
0
Looks great mate, as stated though silver is a very unrewarding colour to work on sadly.

I also rate PlastX highly, I used the same polishing technique as you on similar looking headlights to no avail but I found that PlastX made quite a substantial difference.

I need to get mine done soon, it's just finding a full weekend with no need for the car that's the trouble!
 

jonjay

50 Years of 911
Jun 27, 2005
5,843
1
Essex
Cracking writeup and great effort!

Some tips bud

1) Wash Wheels first and clean tyres also.
2) Clean arches
3) Then snowfoam and wash the car.

You may have done this anyway :)
 

jonjay

50 Years of 911
Jun 27, 2005
5,843
1
Essex
I usually have a separate brush for cleaning the arches then, call me anal, I back to black the inner arches.
Yes thats best practise.

I have seperate brush for every single task and do not recommend mixing them as you never know what dirt you may transfer.

1 alloy wheel brush
1 arches brush
1 tyre brush
1 detail brush for the nooks you can get and delicate areas.
 

abhardwaj1990

Yes, I'm licking my hand
Mar 16, 2009
3,434
0
Shottingham
Looks great mate, as stated though silver is a very unrewarding colour to work on sadly.

I also rate PlastX highly, I used the same polishing technique as you on similar looking headlights to no avail but I found that PlastX made quite a substantial difference.

I need to get mine done soon, it's just finding a full weekend with no need for the car that's the trouble!

Cheers pal. Need to invest in PlastX, took a trip to halfords and they had no clue what plastic polish was! Kept pointing me out to back to black trim polish :ban: lol

Cracking writeup and great effort!

Some tips bud

1) Wash Wheels first and clean tyres also.
2) Clean arches
3) Then snowfoam and wash the car.

You may have done this anyway :)

Cheers. Cleaning the arches and wheels is always first, have a separate mitt for it as well, but forgot to write about it :doh:
Do need to invest in a proper snow foam lance, this is just the cheapo one that came with the washer!

I usually have a separate brush for cleaning the arches then, call me anal, I back to black the inner arches.

:happy:
Why Have I not thought of the back to black arches!
 
Adrian Flux insurance services - discount for forum members.