-
Hey Guest one of our sponsors Progressive Parts is running Black Friday and Cyber Monday offers - more details here
My LCR Since '05 with Static+ Front Air Lift - Project Gone to a New Home.
- Thread starter James23Parkin
- Start date
You are using an out of date browser. It may not display this or other websites correctly.
You should upgrade or use an alternative browser.
You should upgrade or use an alternative browser.
t33job
Guest
t33job
Guest
Very tidy motor. Great colour!
very nice!
Love the wheels btw
Thanks Very Much guys!
Awesome, food for thought for me!
I just hope this works out now....
I'll be sure to update in the next couple of weeks.
James
Bebe
Guest
love the car mate,very clean example.youve just made my mind up for me,im going to go out and clean mine now.
love the car mate,very clean example.youve just made my mind up for me,im going to go out and clean mine now.
Thanks buddy. It's filthy at the moment though! Or should I have not said that... Anyways, days of better weather ahead
A bit of an update. All the plastics are now primed and ready for paint apart from the engine cover which is in its final stages of sanding. It's taking a bit longer than planned as Christmas was hectic and I want them to be as good as they can be.
A more detailed update to follow with, as usual, lots of pictures.
Many thanks and a belated happy New Year to everyone.
James.
Hi everyone,
It’s been a while since I posted last. Reading other members’ threads more recently, everyone is moving forward in big ways and it’s been a timely motivator. I would love to make more inroads with engine mods but this has to be on slow-time, as I have other things to complete. In the months ahead, I want to ‘finish off’ my engine bay and complete the arch areas; this includes a break calliper refurb (pads have recently been replaced and discs have a couple more cycles left in them), tidy up the hubs, bushes replacement and to fit my coilovers, finally, and have the wheels refurbished in matt black with a lacquer shine.
Over this past couple of months, I’ve ordered some new top mounts with new bearings, Powerflex wishbone bushes (for a cast wb arm), a Powerflex Dog Bone bush, amongst other bits and pieces to service the coilovers and repaint the front and rear callipers and hubs.
Before moving onto the arches, I want to finish off the bay. As you may know, I finished making an enclosed induction set-up with a twin air feed towards the end of last year. I also replaced all the nuts and bolts for SS replacements when fitting the FMIC. All is holding up well. So, In the weeks ahead I want to:
1). Re-mop the charge pipe, to give it a fresh shine.
2). Re-mop the Inlet manifold and spray the rear in high-temp silver paint.
3). To finish off painting the throttle body; paint matt black and lacquer. I have bought a new gasket to fit, as recommended on removal.
4). Fill the dimples on the inlet manifold cover, prime paint and clear it.
5). Fill the holes on the engine cover to give a smooth finish and to repaint.
6). Re-paint the battery cover, as everything else is being tidied up.
7). Fit my oil catch can that I bought off a fellow member; it’s a SS 034 Motorsport can, with a breather. I’ll polish it with the 3-stage mop process to make it look like new again.
8). Finally, smooth and paint the windscreen washer cap, to tie in the theme.
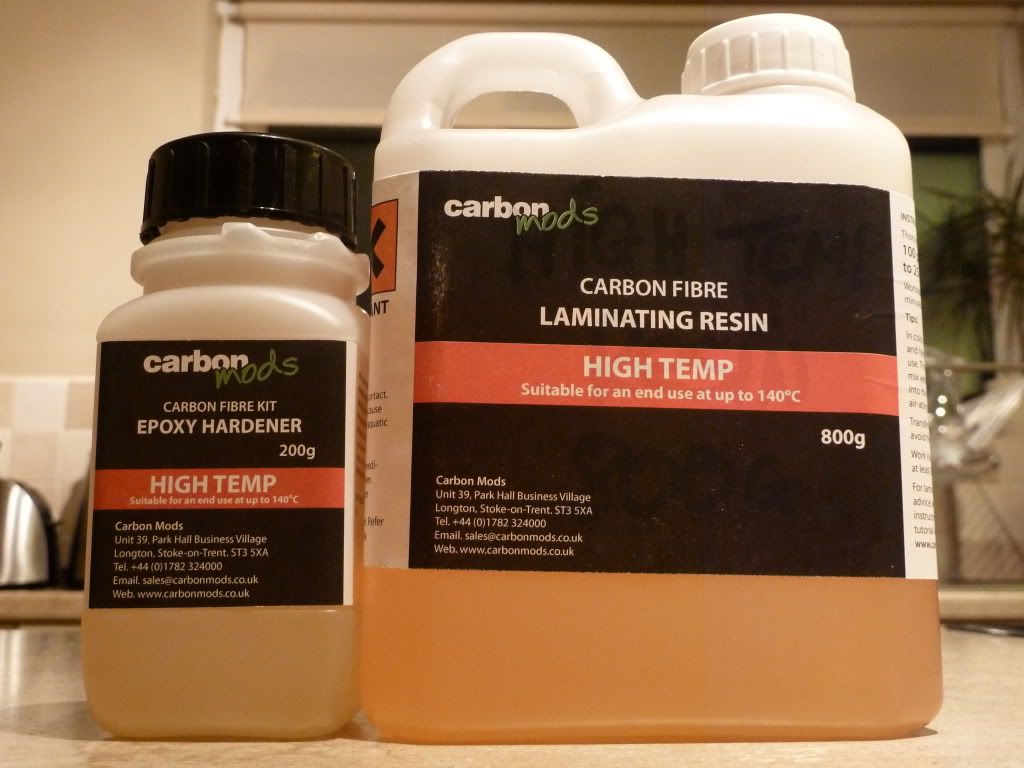
The lacquered finish has lasted reasonably well on the painted items but is starting to look a bit tired. Having done a bit of reading, although I’ve not seen this done, I’ve purchased a 1kg pack of Carbon Fibre High Temperature Epoxy Resin from www.carbonmods.com and this will be used as the final layer. It is reported that it cures to a perfectly clear finish, is durable and can cope with temps up to 140 deg.
So, progress so far.
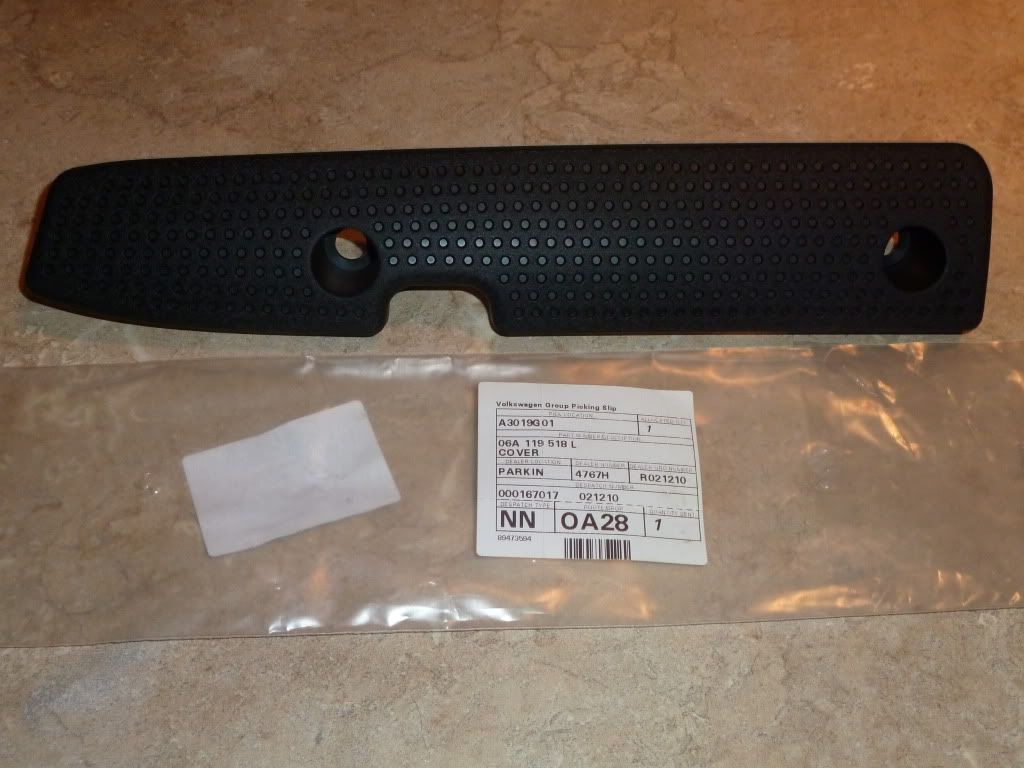
I purchased a new manifold cover from SEAT for roughly nine pounds.
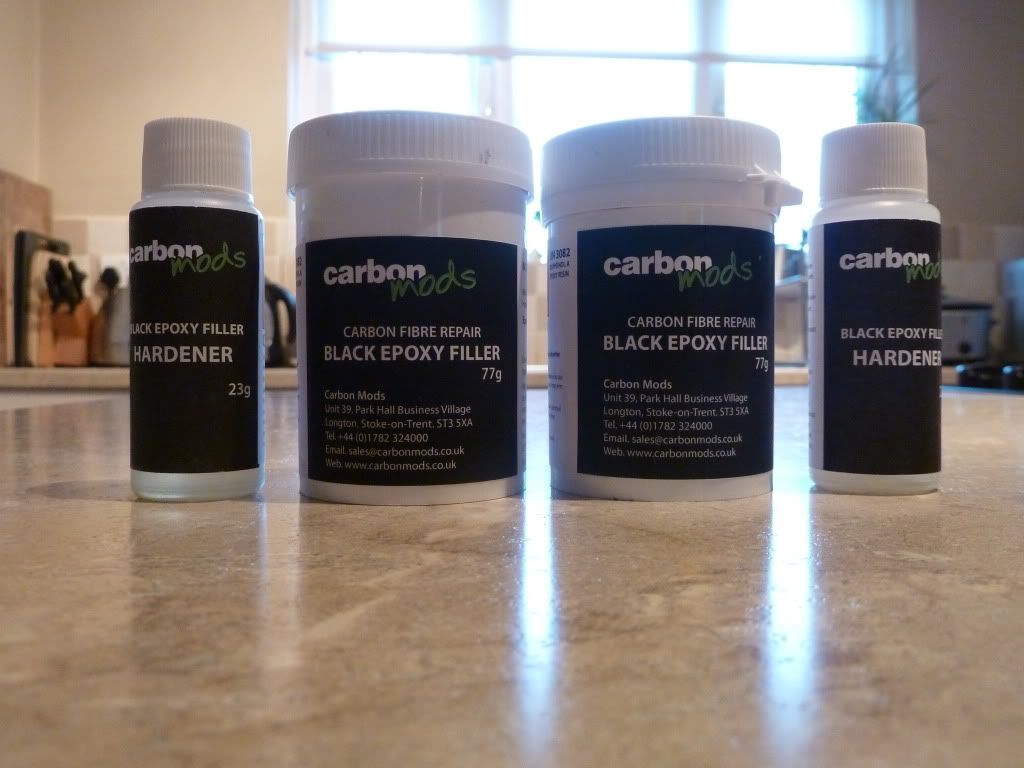
I used a product from Carbon Mods to fill the dimples.
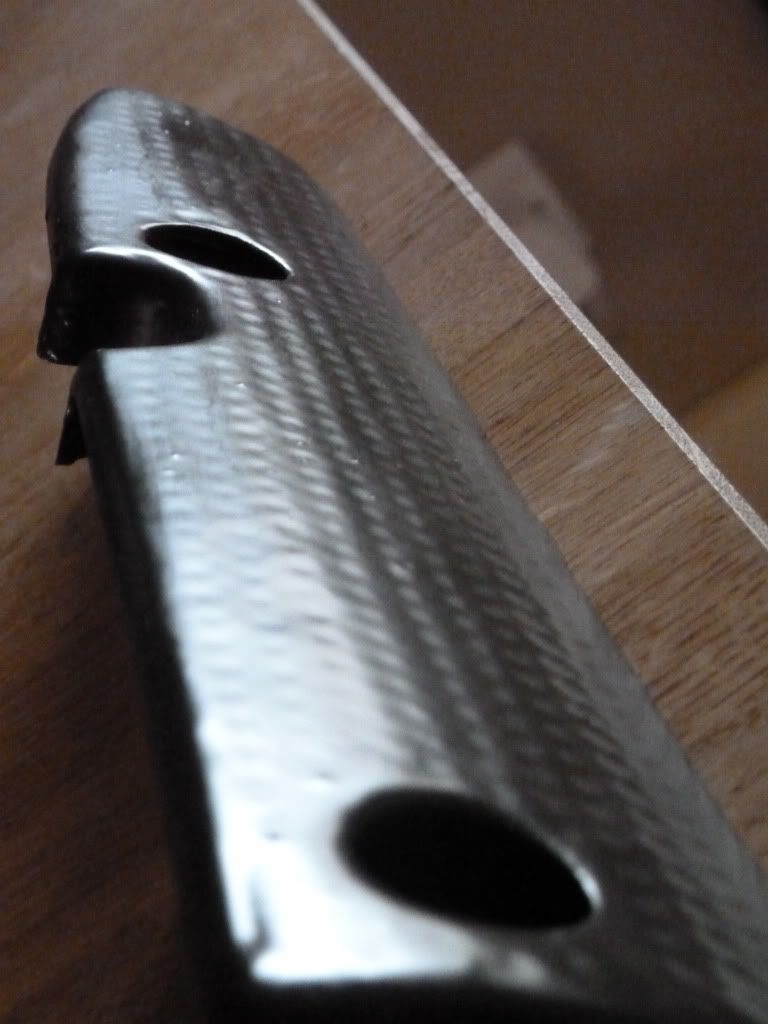
Once cured, it was sanded and re-filled and was eventually ready for primer and paint. Here it is ready for it to be cleared.
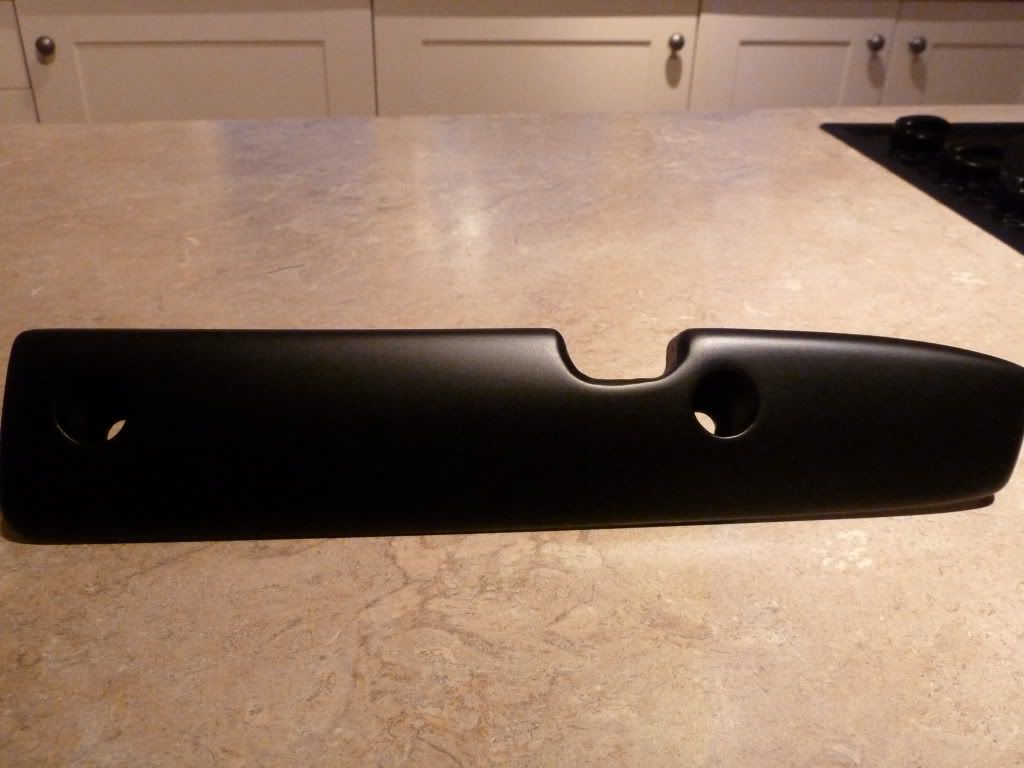
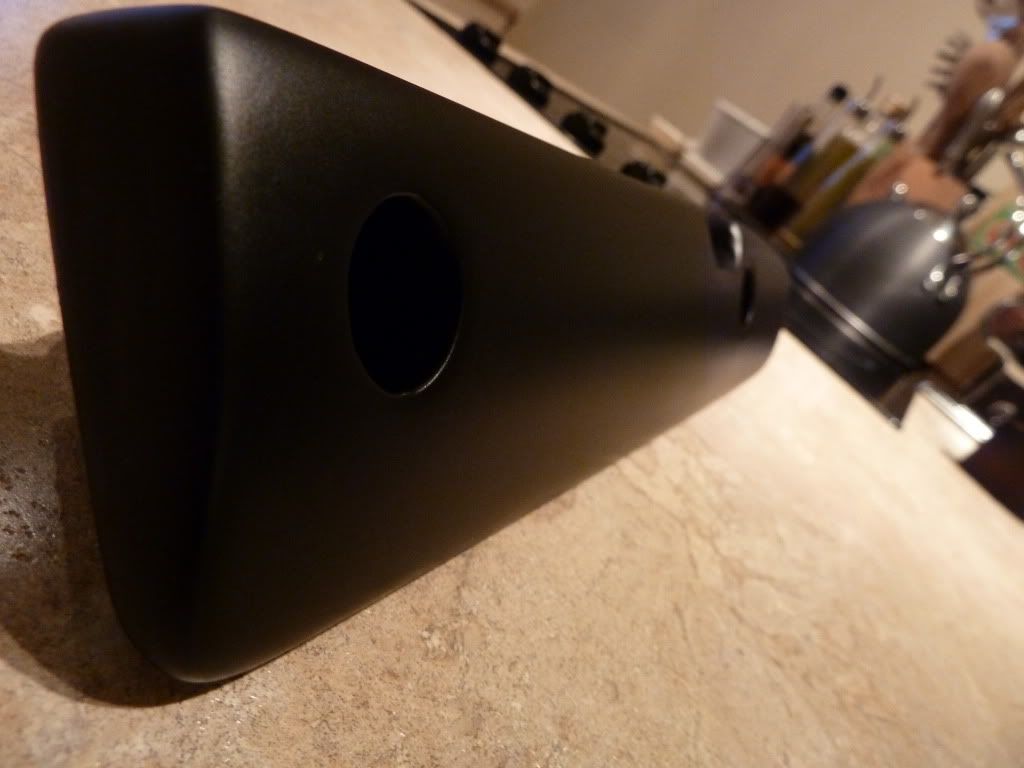
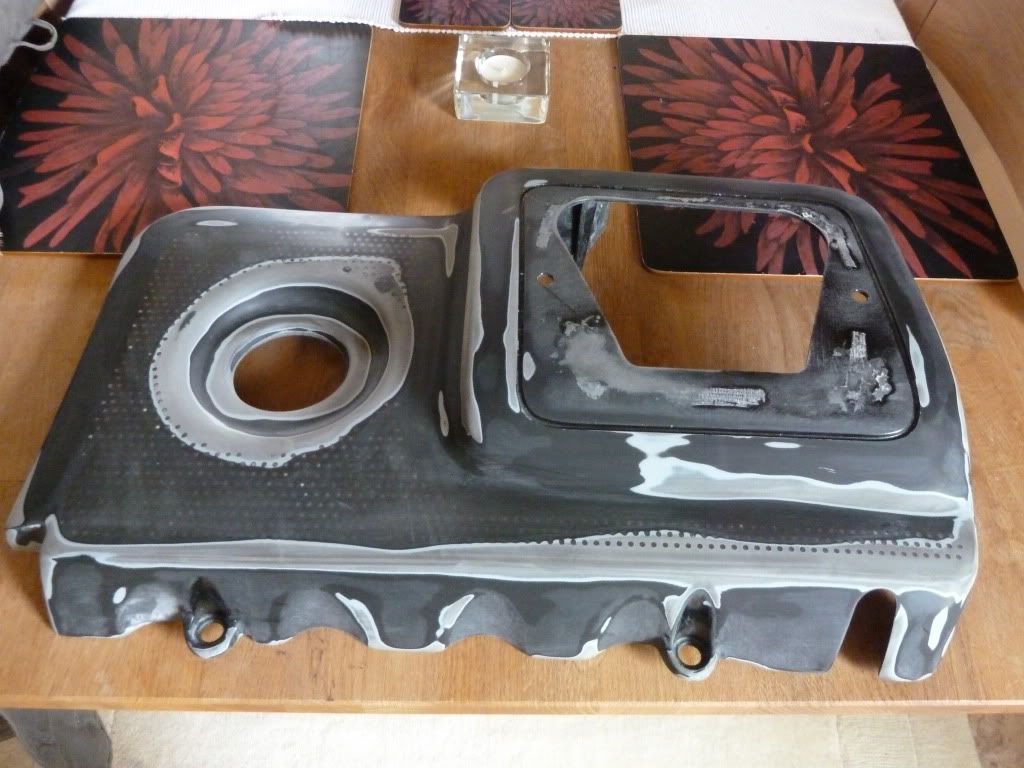
The engine cover is currently in primer. More pictures of the earlier stages can be found in a previous post on page five.
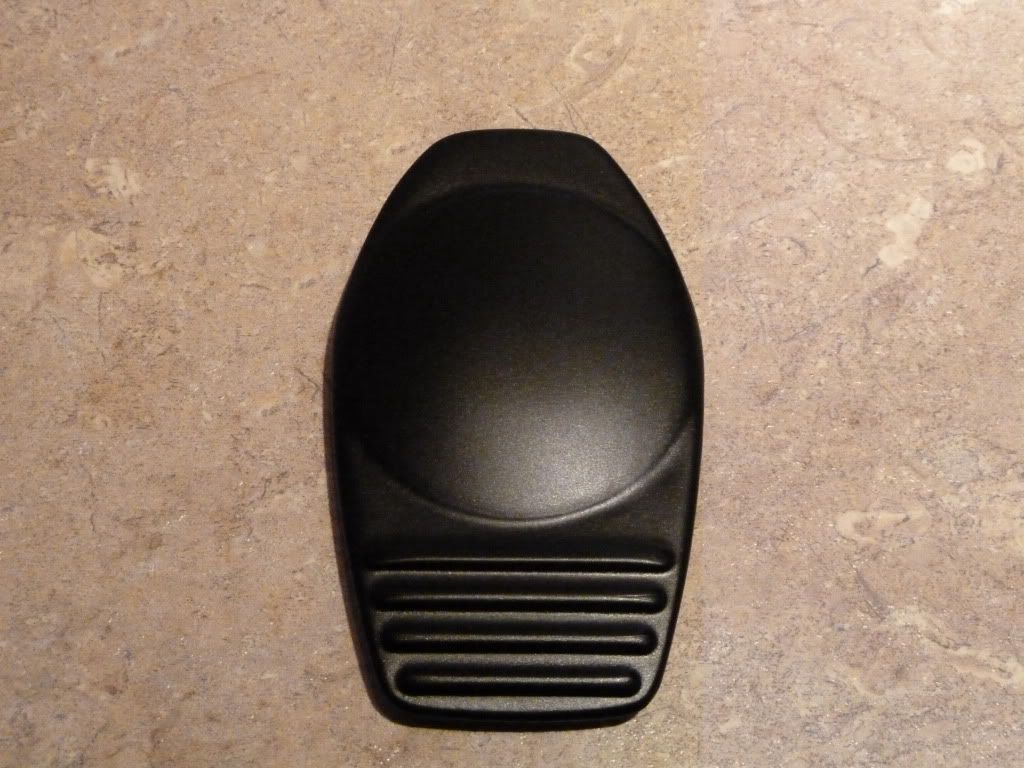
The washer bottle cover is ready for clear, using lacquer, having had the washer logo sanded off, primed and finished in matt black, to match the other plastics.
The battery box has been sanded back with 1200 grit wet and dry, as the finish was good. It is just waiting to have a final coat of matt black. This will also be finished in lacquer. For reference, I’m using U-Pol Professional paint and Lacquer.
The fuse box has been re-wrapped in carbon fibre effect wrap and has received a few coats of lacquer, for a durable finish. The picture below is before lacquer to give you an idea.
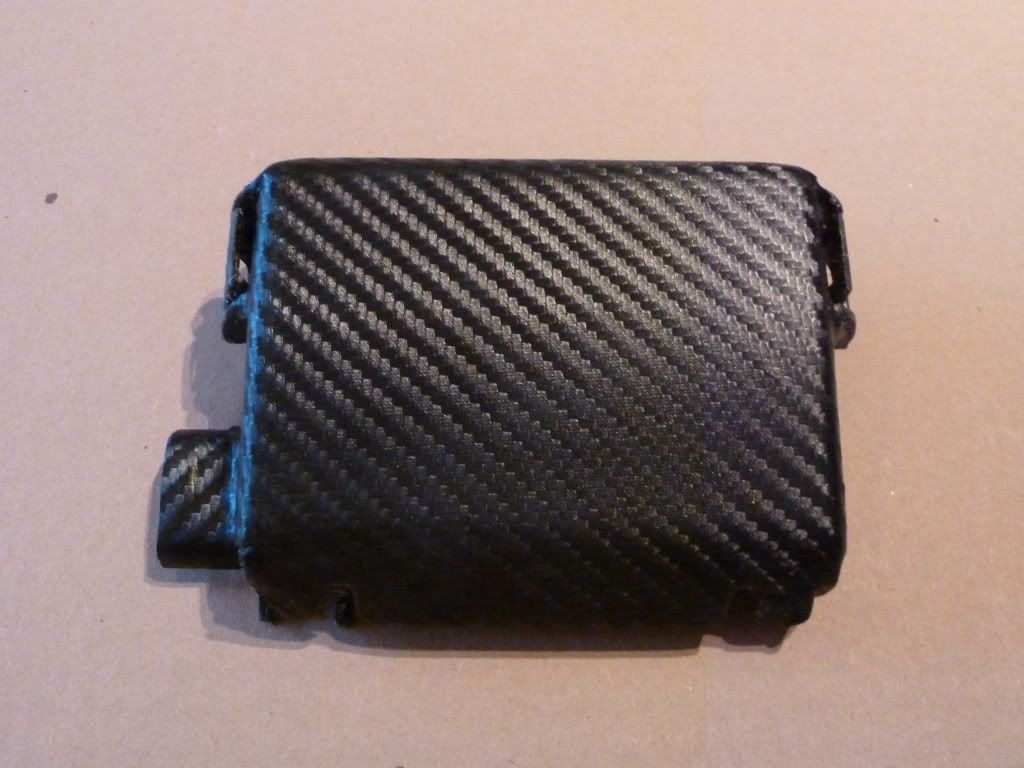
Once all the plastics are finished, I’ll venture outside and de-gunk the bay and see to the odd jobs. Once finished, I hope that it’ll look nice and tidy and will last.
On a side note, my coil pack on bank 1 went recently and I have to say, I thought the worst. However, having read some detailed threads on here, I purchased four new coil packs and new spark plugs; it’s now running a treat. I did buy some Pulstar plugs but I haven’t fitted them yet as I wanted to be sure that the car was running reliably. The VW polo is running well as my daily and it takes the pressure off everything needing to be done at once.
Thanks for reading.
James
It’s been a while since I posted last. Reading other members’ threads more recently, everyone is moving forward in big ways and it’s been a timely motivator. I would love to make more inroads with engine mods but this has to be on slow-time, as I have other things to complete. In the months ahead, I want to ‘finish off’ my engine bay and complete the arch areas; this includes a break calliper refurb (pads have recently been replaced and discs have a couple more cycles left in them), tidy up the hubs, bushes replacement and to fit my coilovers, finally, and have the wheels refurbished in matt black with a lacquer shine.
Over this past couple of months, I’ve ordered some new top mounts with new bearings, Powerflex wishbone bushes (for a cast wb arm), a Powerflex Dog Bone bush, amongst other bits and pieces to service the coilovers and repaint the front and rear callipers and hubs.
Before moving onto the arches, I want to finish off the bay. As you may know, I finished making an enclosed induction set-up with a twin air feed towards the end of last year. I also replaced all the nuts and bolts for SS replacements when fitting the FMIC. All is holding up well. So, In the weeks ahead I want to:
1). Re-mop the charge pipe, to give it a fresh shine.
2). Re-mop the Inlet manifold and spray the rear in high-temp silver paint.
3). To finish off painting the throttle body; paint matt black and lacquer. I have bought a new gasket to fit, as recommended on removal.
4). Fill the dimples on the inlet manifold cover, prime paint and clear it.
5). Fill the holes on the engine cover to give a smooth finish and to repaint.
6). Re-paint the battery cover, as everything else is being tidied up.
7). Fit my oil catch can that I bought off a fellow member; it’s a SS 034 Motorsport can, with a breather. I’ll polish it with the 3-stage mop process to make it look like new again.
8). Finally, smooth and paint the windscreen washer cap, to tie in the theme.
The lacquered finish has lasted reasonably well on the painted items but is starting to look a bit tired. Having done a bit of reading, although I’ve not seen this done, I’ve purchased a 1kg pack of Carbon Fibre High Temperature Epoxy Resin from www.carbonmods.com and this will be used as the final layer. It is reported that it cures to a perfectly clear finish, is durable and can cope with temps up to 140 deg.

So, progress so far.
I purchased a new manifold cover from SEAT for roughly nine pounds.

I used a product from Carbon Mods to fill the dimples.


Once cured, it was sanded and re-filled and was eventually ready for primer and paint. Here it is ready for it to be cleared.


The engine cover is currently in primer. More pictures of the earlier stages can be found in a previous post on page five.

The washer bottle cover is ready for clear, using lacquer, having had the washer logo sanded off, primed and finished in matt black, to match the other plastics.

The battery box has been sanded back with 1200 grit wet and dry, as the finish was good. It is just waiting to have a final coat of matt black. This will also be finished in lacquer. For reference, I’m using U-Pol Professional paint and Lacquer.
The fuse box has been re-wrapped in carbon fibre effect wrap and has received a few coats of lacquer, for a durable finish. The picture below is before lacquer to give you an idea.

Once all the plastics are finished, I’ll venture outside and de-gunk the bay and see to the odd jobs. Once finished, I hope that it’ll look nice and tidy and will last.
On a side note, my coil pack on bank 1 went recently and I have to say, I thought the worst. However, having read some detailed threads on here, I purchased four new coil packs and new spark plugs; it’s now running a treat. I did buy some Pulstar plugs but I haven’t fitted them yet as I wanted to be sure that the car was running reliably. The VW polo is running well as my daily and it takes the pressure off everything needing to be done at once.
Thanks for reading.
James
Looking good mate. Cant wait to see it all finished and on the car. I need to make a start on my engine covers soon, hopefully seeing yours getting sorted will give me the kick I need.
Quick question though, in regards to your twin cold air feed. In your opinion do you believe your getting more air to your filter having both fog lights connected or could all the air be coming from the passenger side hole and the other one being sort of redundant?
Quick question though, in regards to your twin cold air feed. In your opinion do you believe your getting more air to your filter having both fog lights connected or could all the air be coming from the passenger side hole and the other one being sort of redundant?
Wow what an unbelievably detailed thread!!
Absolutely love it!!
Your car has great mods and your attention to detail is very inspiring.
I've just ordered a dodo juice da so hopefully get to use it soon.
Great work again!!
Absolutely love it!!
Your car has great mods and your attention to detail is very inspiring.
I've just ordered a dodo juice da so hopefully get to use it soon.
Great work again!!
Looking good mate. Cant wait to see it all finished and on the car. I need to make a start on my engine covers soon, hopefully seeing yours getting sorted will give me the kick I need.
Quick question though, in regards to your twin cold air feed. In your opinion do you believe your getting more air to your filter having both fog lights connected or could all the air be coming from the passenger side hole and the other one being sort of redundant?
Hi RDS,
It's the million dollar question... Inevitabley, the air from the the drivers side fog light has further to travel and so will perform less than the one on the passengers side, as this is a more direct route.
As a point to note, my drivers side feed detached at the fog, and when using the BMC, i did notice a deficit before realising what had happened. I think that in the grand scheme of things, one direct feed would be sufficient for most but I wanted uniformatiy and used the largest diametre piping I could (90mm), to get the best from it. Now that I have the Green Cotton filter enclosed, it's less dependent on the direct feed but in any case, I think it helps.
People's opinions may differ but this is based on my experiences. Hope this helps RDS?
Top progress James!
LOVE the manifold cover, it's come up real well. As has everything else.
Note to self, sort engine bay!
Looks brilliant James well done. Love the matt black finish, very OEM+.
Looks very nice
Wow what an unbelievably detailed thread!!
Absolutely love it!!
Your car has great mods and your attention to detail is very inspiring.
I've just ordered a dodo juice da so hopefully get to use it soon.
Great work again!!
Thanks for the kind words everyone. Hopefully I should have the plastics done in the next couple of weeks. Attention to detail = PITA... But if it means they're durable and that they look the part, then it'll be worth it.
James
Again great work, lovely little touches being made
Thanks mate. Just read your latest post on your thread and about to post...


