• Guest would you be interested in CUPRA or SEAT valve caps? let us know in the poll

  • Welcome to our new sponsor Lecatona, a brand dedicated to enhancing performance for VAG group sports cars, including SEAT, Audi, Volkswagen and Škoda. Specializing in High Pressure Fuel Pump (HPFP) upgrades.

LCR W.I.P Update K04 Hybrid- F23 Here, mini review page 50

rsmith

Robbie
Apr 28, 2004
2,797
1
Tipperary, Ireland
Thought i add this to my RR thread, it was already posted in the Mk1 section but should be in here.

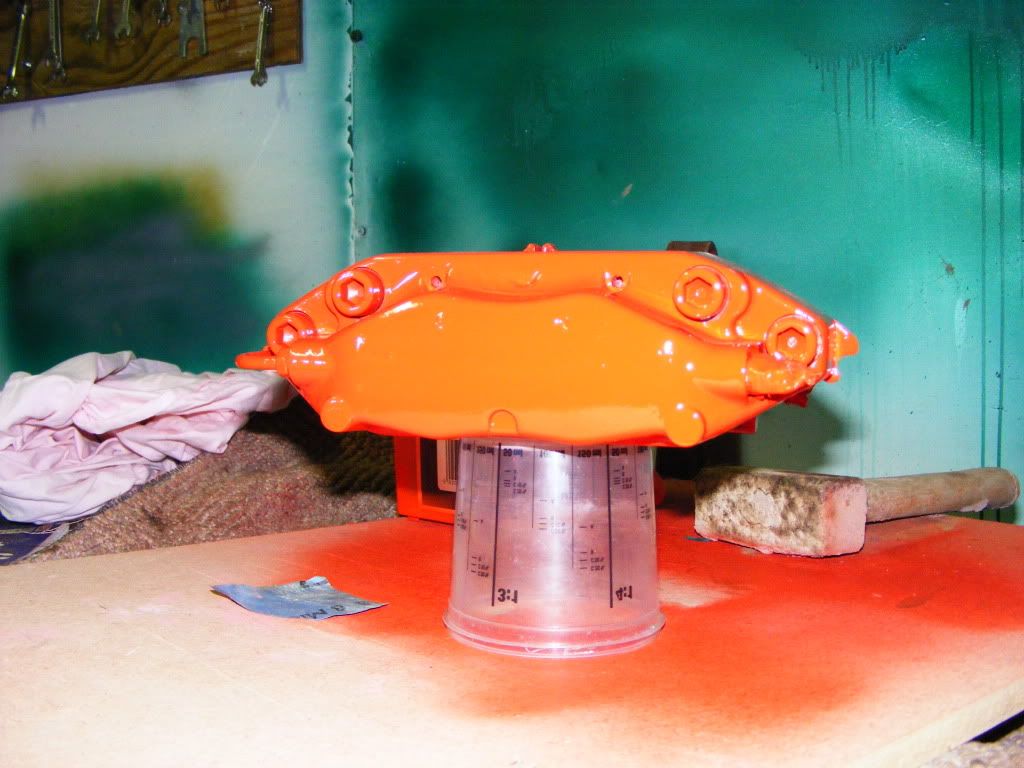
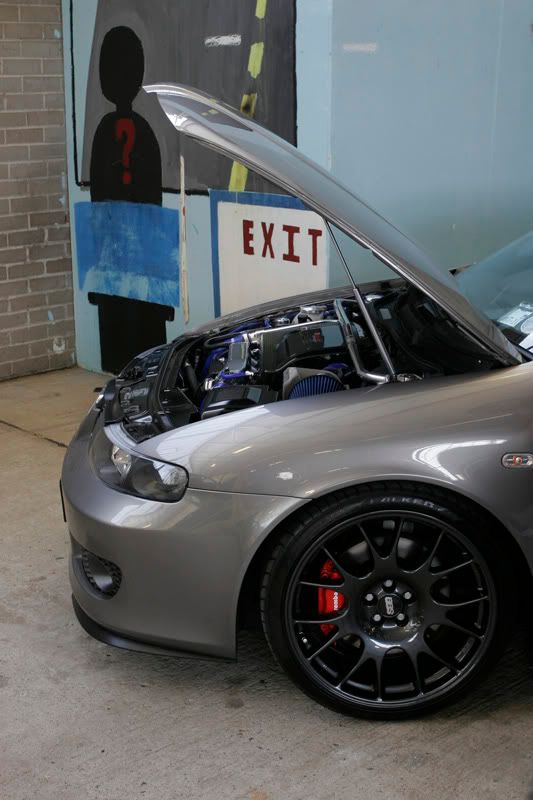
Well after a failed attempt at painting my Callipers with Hammerite(HammerSHITE more Like) i decided to go at it again, properly.

I found the hammeritte to be a totally useless paint unless you are painting a gate, it did not apply well, was prone to runs and seems to react with thin air! In addition to this 3 lite coats took 3 days to go off to a workable state and they don't like holts lacquer. :wtf:

Anyway, I went at them again, i totally stripped the hammerite off with a sanding wheel, paint brush and cellulose, 400/600/1000/2000/8 micro sanding paper, i basically brought them back to the base paint. Really i could not recommend painting your callipers while on the car, the shite that was on them was incredible, so if you do go this route be prepared for reactions in your paint, its good for a touch up but not a re-spray IMO.

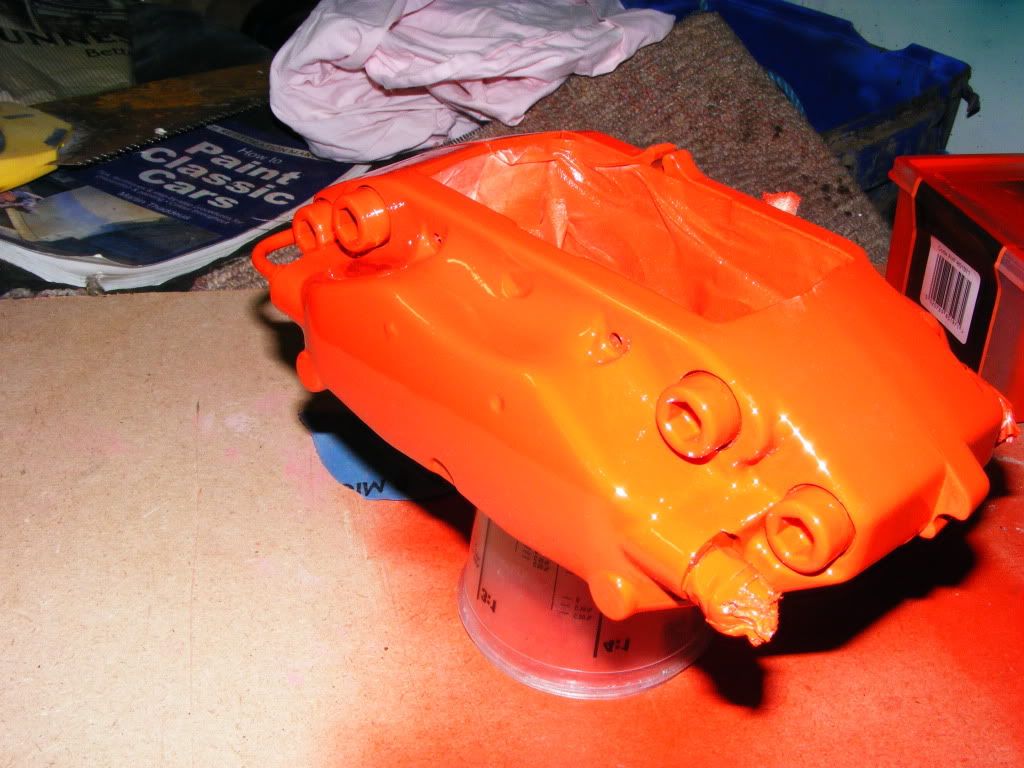
Time to spray :blink: I cleaned them down with pre-paint and made sure they were contaminant free, The colour i chose in the end was Signal Red, in the flesh its a very bright vibrate red, i chose this as my dad just used it to re-sprayed his spitfire back to its orginal colour and his spray gun and paint was all set up and ready to go :).
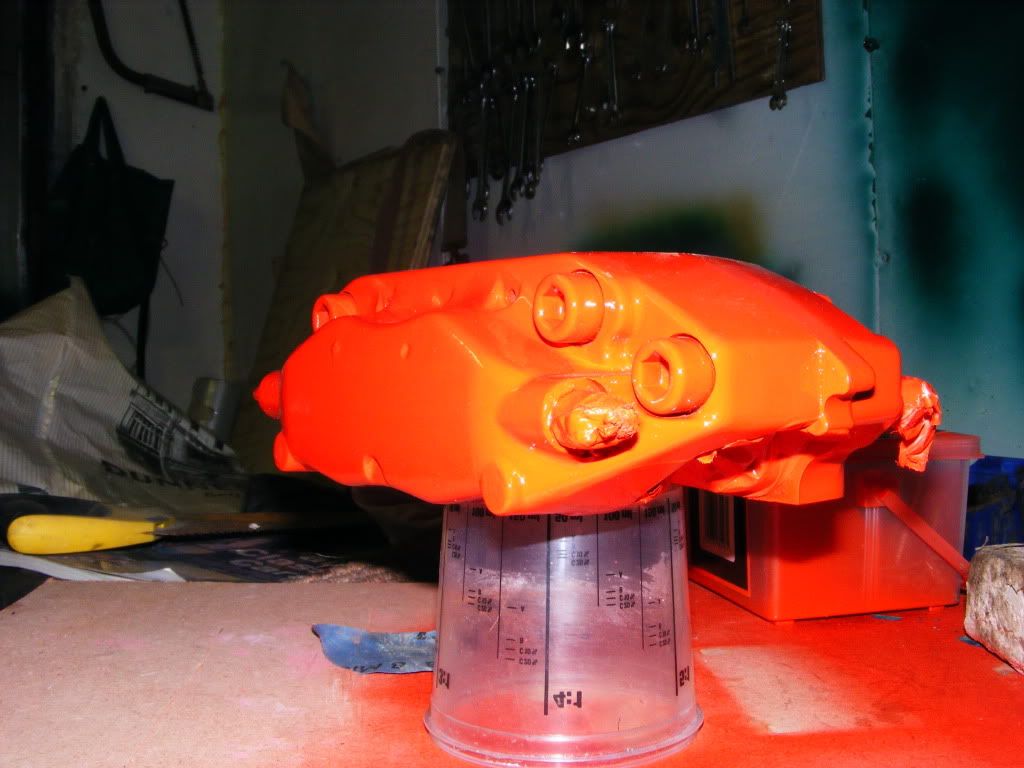
As i never sprayed before with a gun so my dad did one calliper as a guide for me and i did the other, He was able to apply a much thicker coat than me as he knew what he was doing, so one calliper got 3 coats where as mine got 6, i applied it thinner being a rookie and all.

After they was sprayed we let them go off overnight, then the next day i polished them up with g3 and then g8 compound until they were nice and smooth, time for the decals.

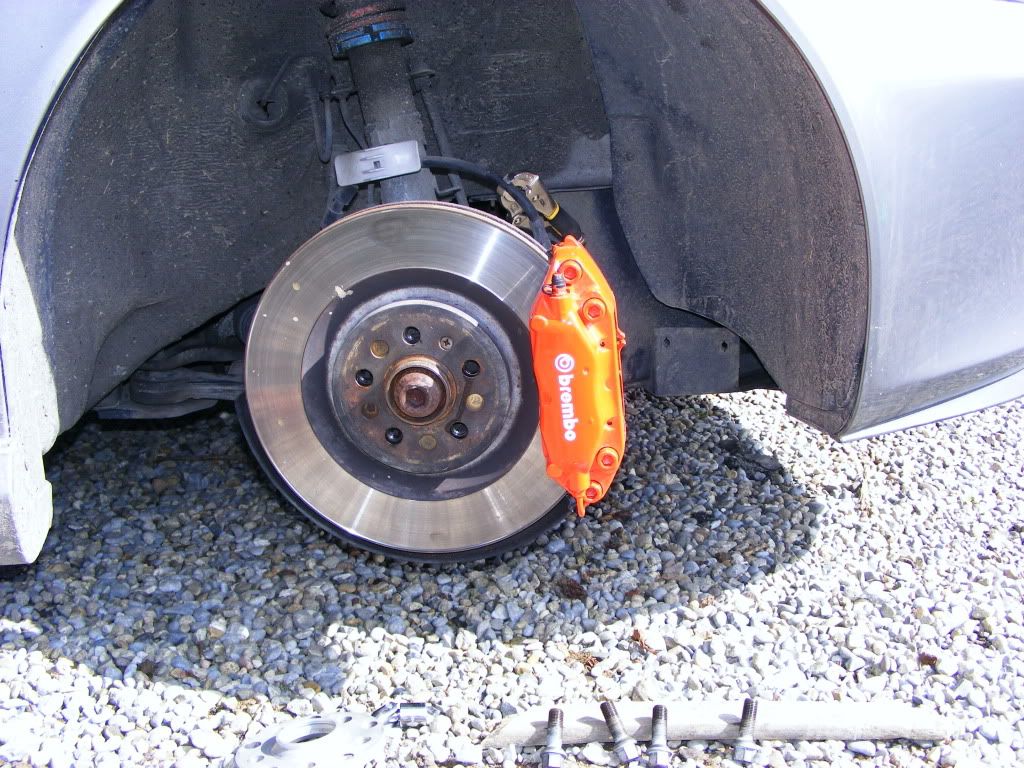
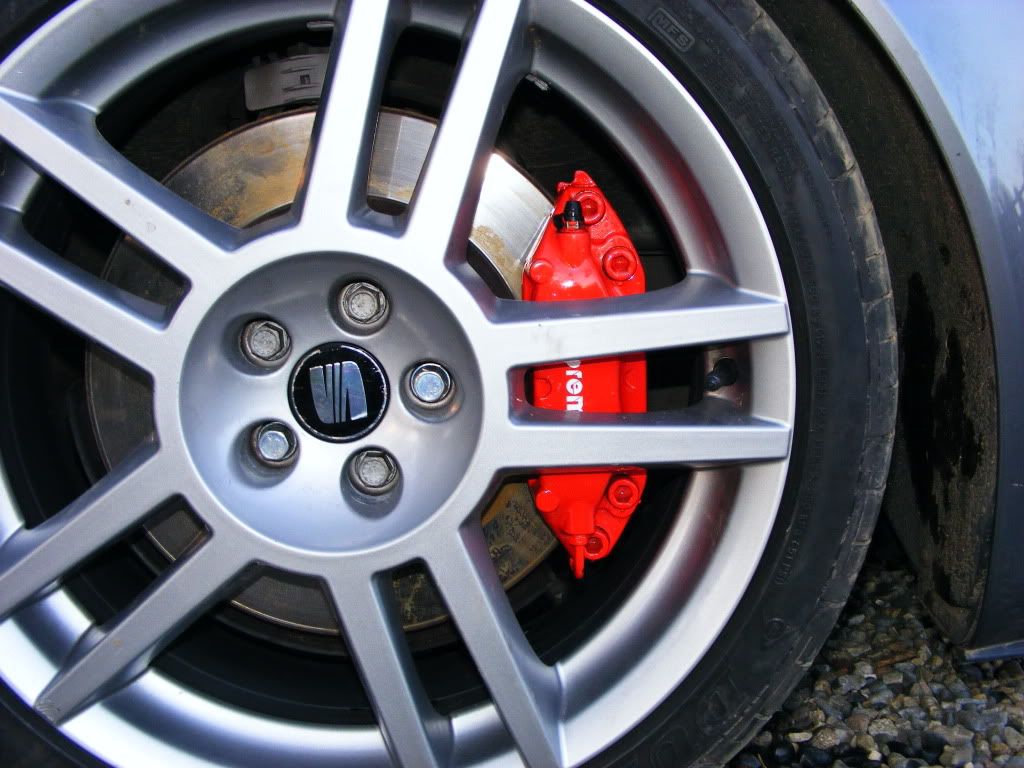
I hate this part, i don't have the steadiest hands and the few pints the night before didn't help, i got the on anyways and them came out well considering i put them on with out measuring or anything, then 2 coats of lacquer and bobs your uncle.

I fired some new pads on while i was at it, feic it ta hell.

Pic's below


Brembo-1.jpg

Brembo1.jpg

Brembo3.jpg

Brembo5.jpg

brembo4.jpg
 
Last edited:

rsmith

Robbie
Apr 28, 2004
2,797
1
Tipperary, Ireland
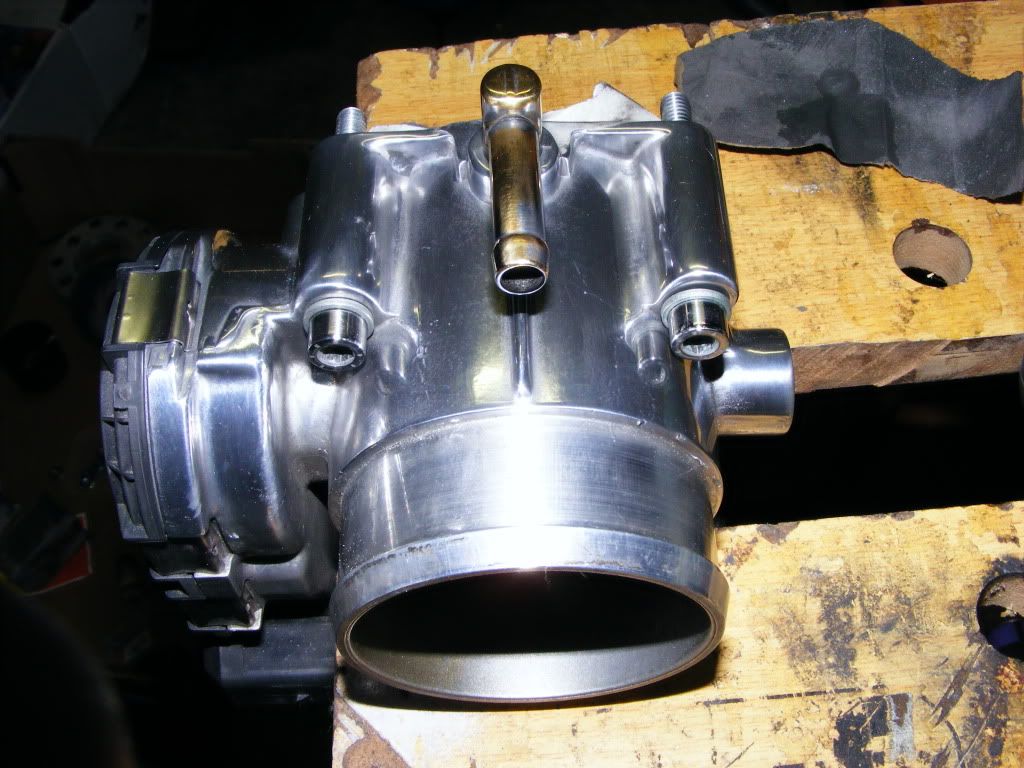
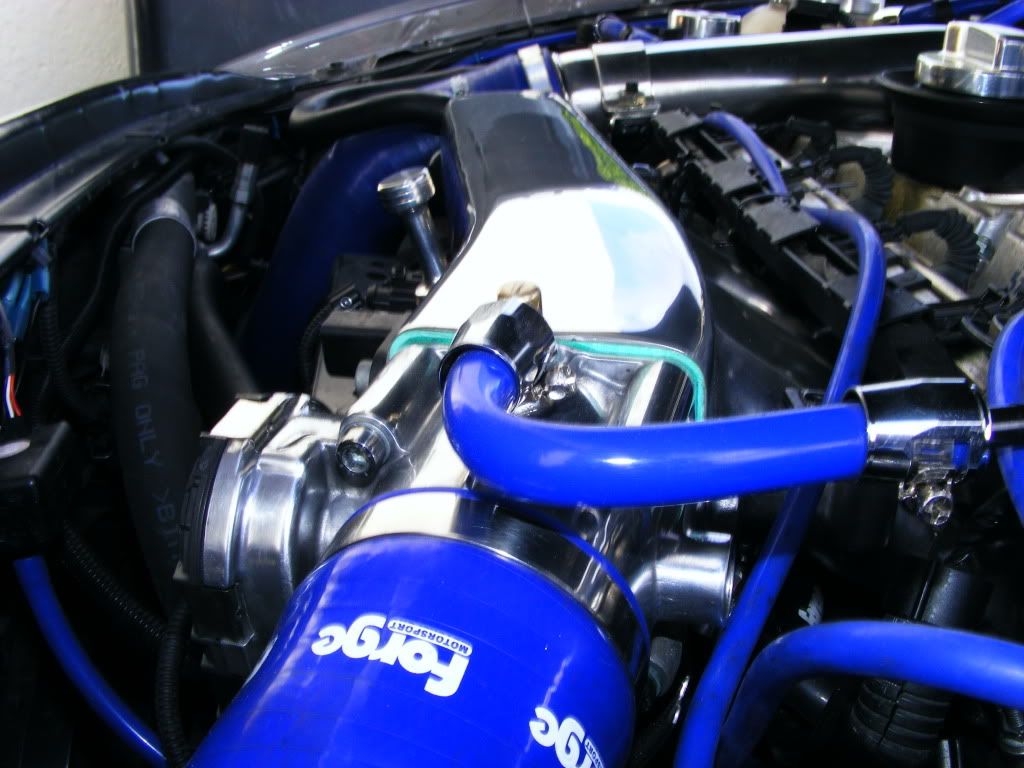
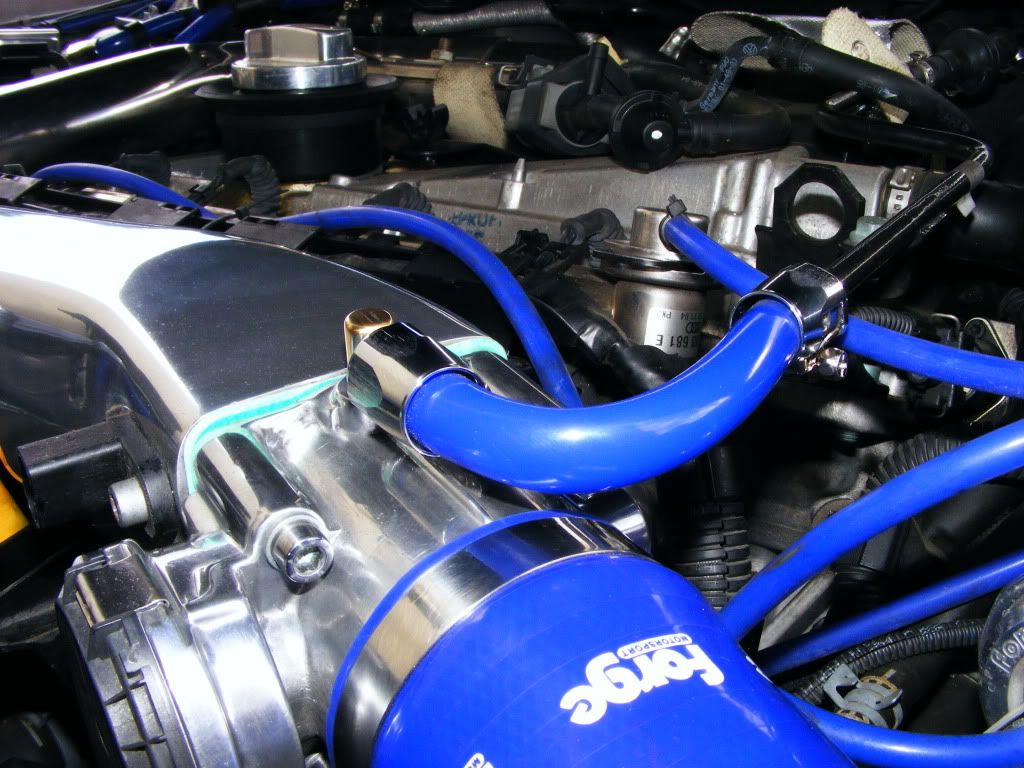
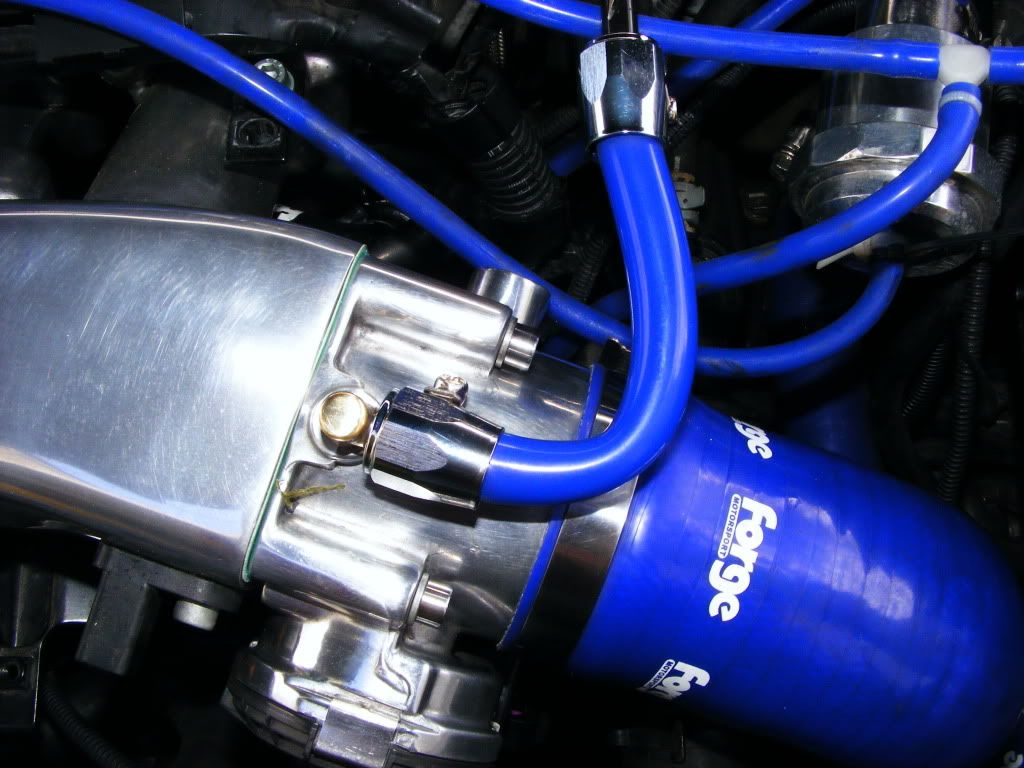
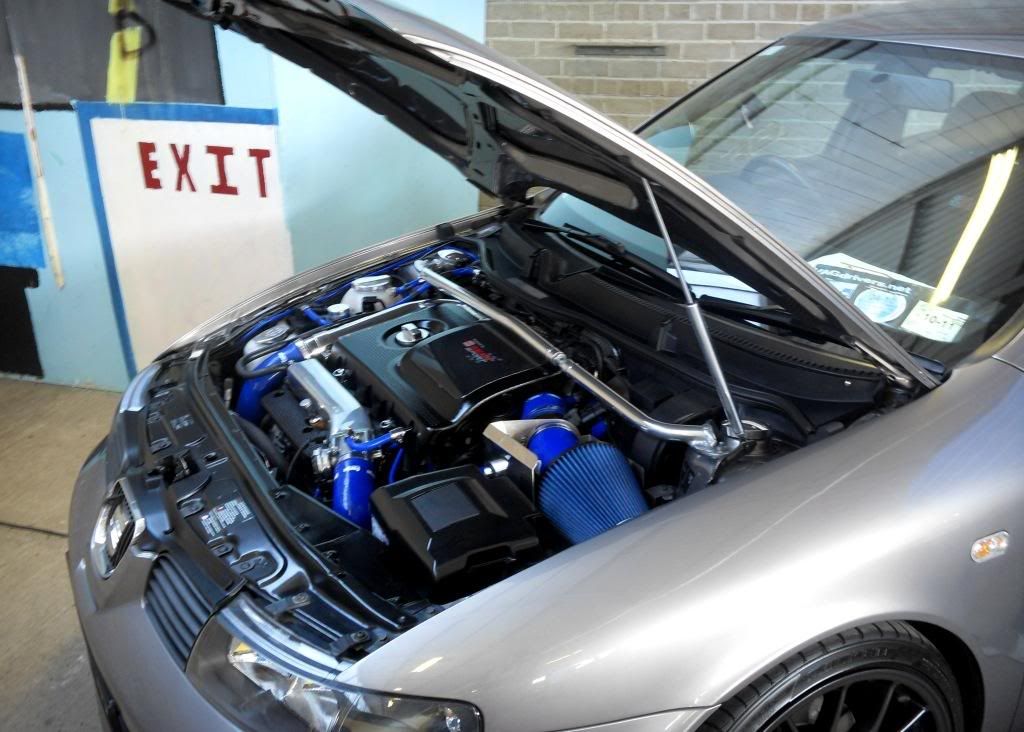
Small update, i got sick of looking at my lovely polished manifold and then my skanky OEM Throttle body beside it, so i got the metal polisher out and dedicated a few hours to it today, it think it came out alright, i did the bolts aswell.

TB1.jpg

TB2.jpg

Tb3.jpg

tb4.jpg
 

cap r 225

the need for speed!
Feb 24, 2008
974
0
nantwich
www.seatcupra.net
Re: My engine bay/LCR W.I.P UPDATE 07/04/10 BBS CH 0014 Refurbed/Brembo respray/TB po

Ha Ha, this has gone proper OCD.
Looks awesome though smith! I think there's a line between the modded cars that we all own, and the like's of Probee's etc that really stands out as something special.
I think yours has definately moved over to the something special side now:clap: It's not just a case of throwing a shed load of money at it either, It's the level of clenliness and choice of subtle but distinctive mods.

Anyway... that's enough ass kissing. Keep up the good work!
 

rsmith

Robbie
Apr 28, 2004
2,797
1
Tipperary, Ireland
Re: My engine bay/LCR W.I.P UPDATE 07/04/10 BBS CH 0014 Refurbed/Brembo respray/TB po

Thanks Mate, its great to hear feedback from liked minded folk, i had a good read of your thread, it really made me miss my out black LCR(but not trying to keep it clean, that was a total b!tch) LOL
 

rsmith

Robbie
Apr 28, 2004
2,797
1
Tipperary, Ireland
Re: My engine bay/LCR W.I.P UPDATE 07/04/10 BBS CH 0014 Refurbed/Brembo respray/TB po

Right Ladies, oh an gentlemen, some updates for yez.

Part 1.

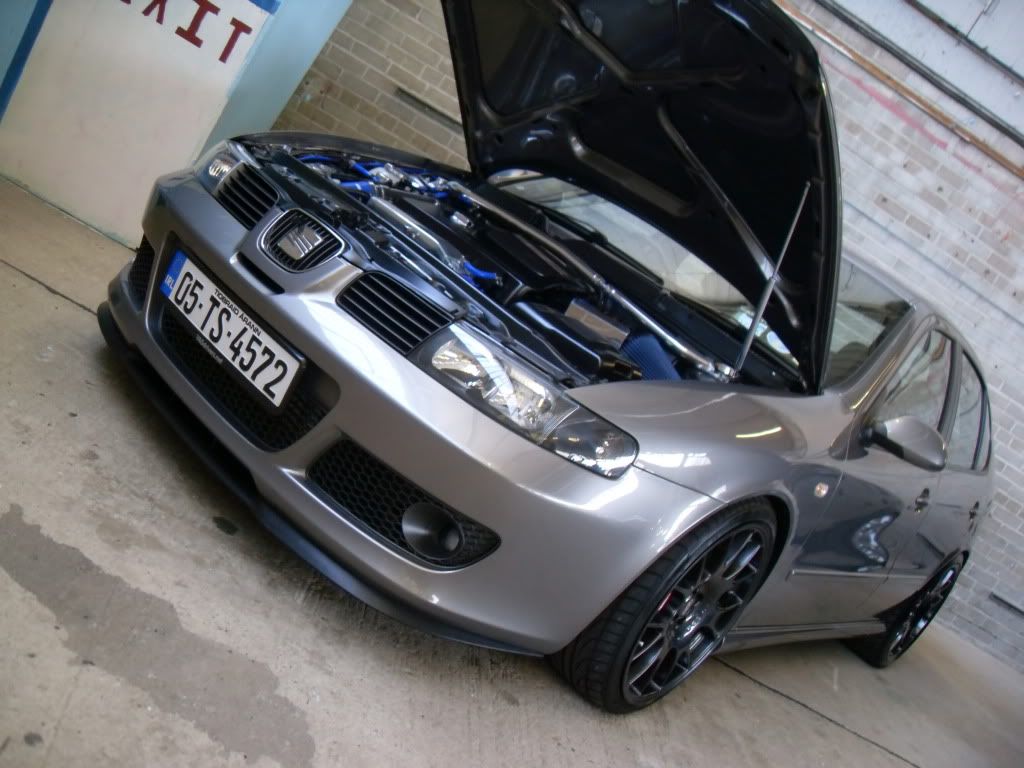
I was at Dubshed 2010 in Belfast 2 weeks ago where i won the Best Mk1 Seat, Yiphee, there was some good competition there, but it the finer details the judges notice. I spent 2 weeks getting the car ready for the show and endless skinned knuckles and score fingers( you know you've cleaned to much when the finger print reader on my laptop would not scan my prints any more, :lol:)

I was chuffed and it has really given me the bug to get more quality mods done to her.

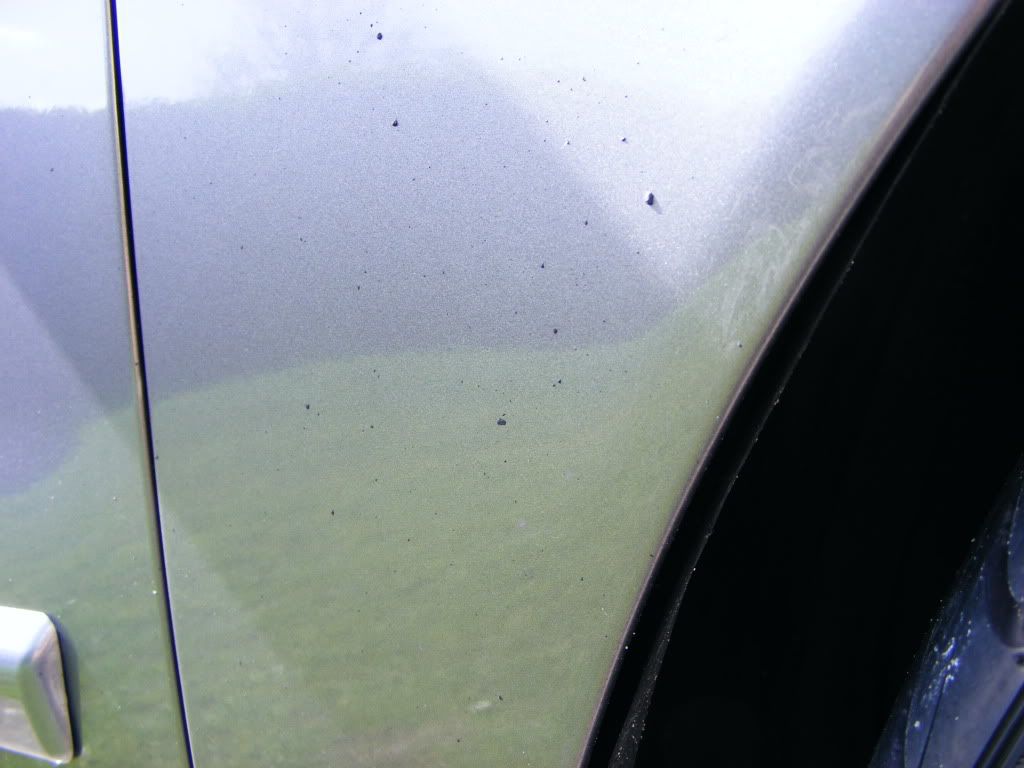
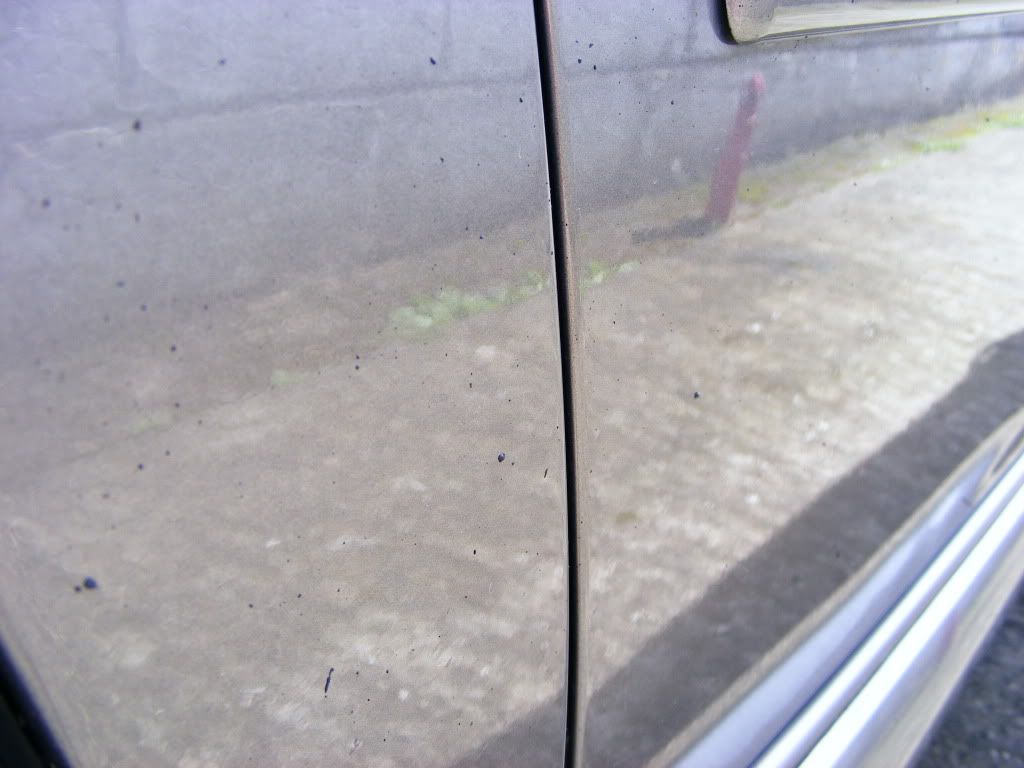
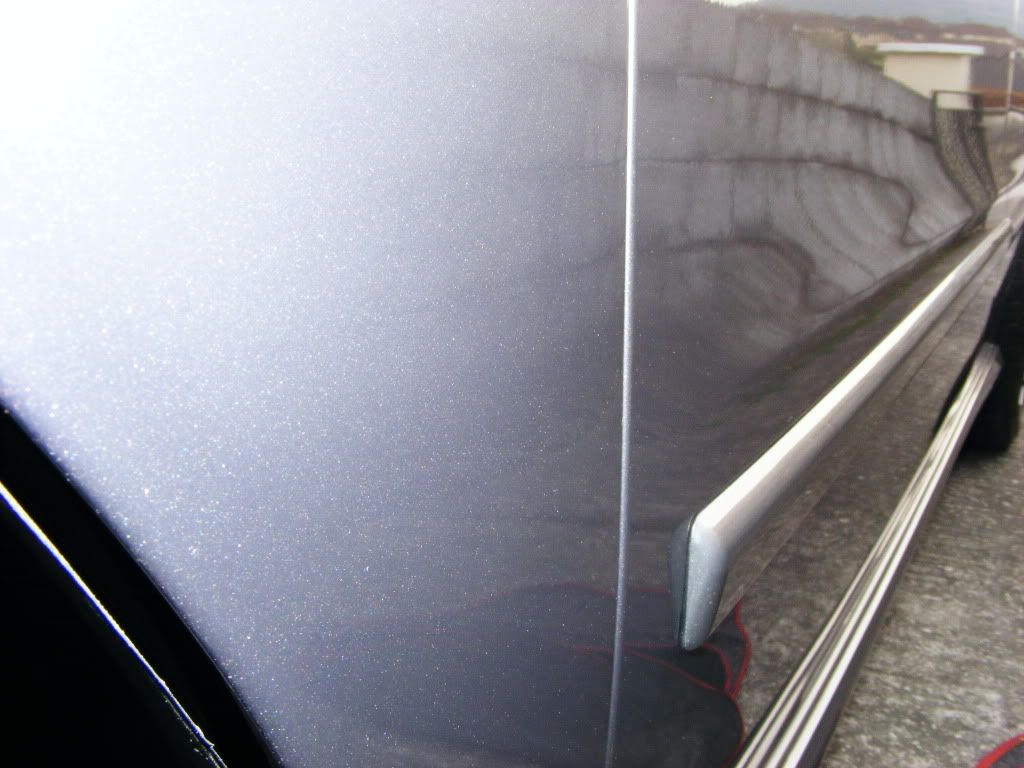
Here are some pics of her before and after the show, i gave her a good details which took me 2 days start to finish, my car seems to atract tar like flies to $$$$

Claying is painful sometimes but the results speak for themselves.


Before, most of the panels were like this.

B41.jpg

b45.jpg


After, pics are not the best, my handies were sore.

After.jpg

after3.jpg


Smooth as silk.

Finished.jpg


DubShed pics.

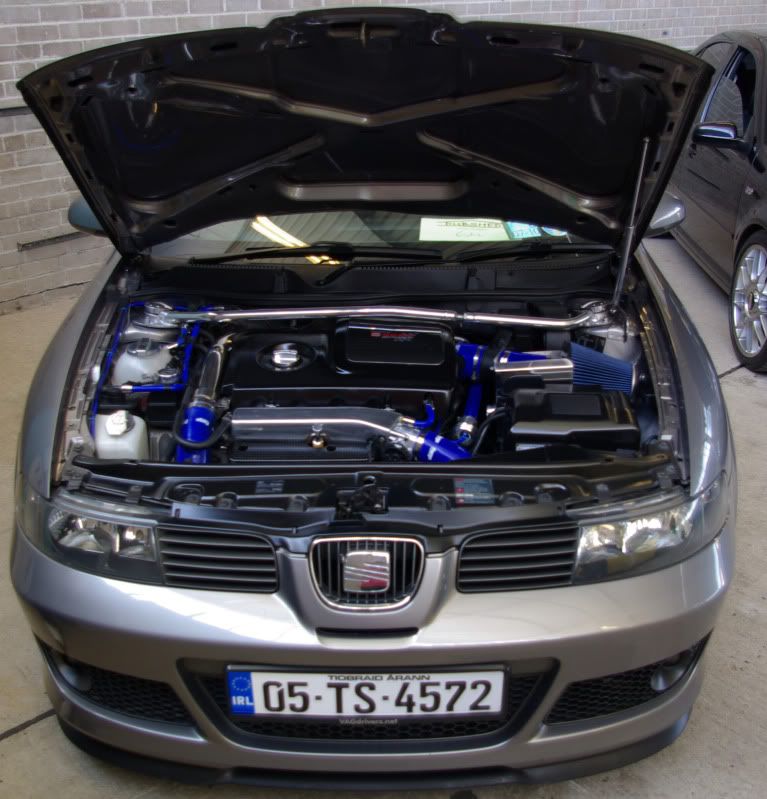
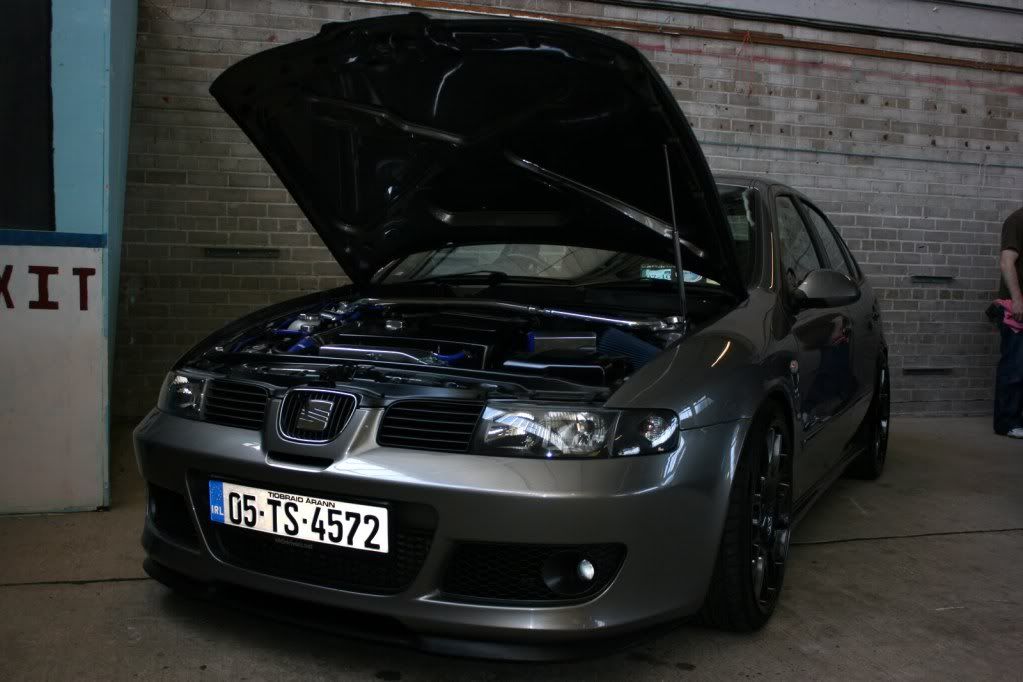
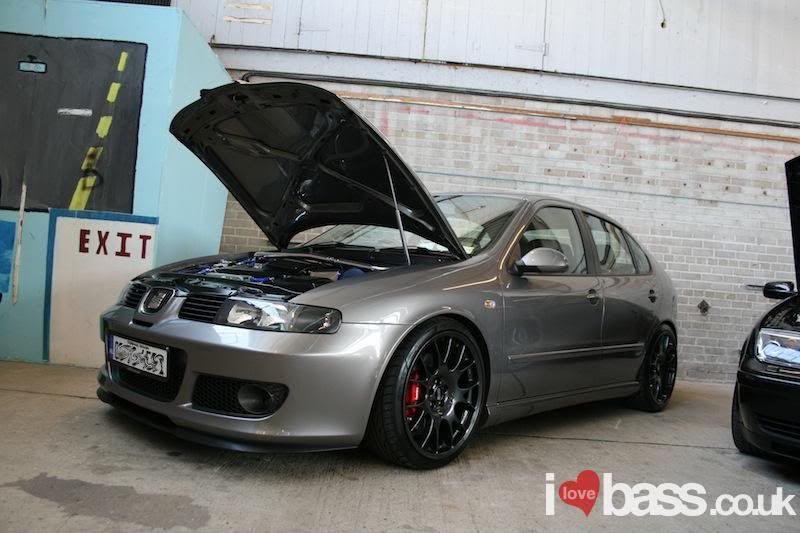
Lowered another 5mm and much more stuff added/srayed/cleaned/Polished metal/refurbed/you name it.

IMGP6676.jpg

IMG_2826.jpg
 
Last edited:

rsmith

Robbie
Apr 28, 2004
2,797
1
Tipperary, Ireland
Re: My engine bay/LCR W.I.P UPDATE 07/04/10 BBS CH 0014 Refurbed/Brembo respray/TB po

Part 2

_MG_9830.jpg

SDC12288.jpg

IMG_4658.jpg

ds64k.jpg


And last but not least by any means i finally got round to getting a stage 2 map on her to compliment my mod's and all i can say it WOW, the power band is awesome, you nearly run out of road and she still has loads to give.I did a quick log of my boost before and after the map and you can really see how the mid and top end have benefited from a much
freer flowing system, Unfortunately i had to get this map to suit 95ron petrol as that’s all I can get over here, but she still made 250bhp( even though i logged 210g/s = 273bhp, go figure:confused:) so if i was to run on 99ron there would be more gain to have.

Even though she only put out 250bhp, its the way she puts it out and no more nasty CF's thank you. I had a map on her before and it peaked early at 269bhp and was dead the rest of the way up the RPM range so even though the number looked good for bragging rights my new map would have smoked her on a 1/4 mile run.

Boost before and after(Yellow is before and Red is after the stage 2 map)

115.jpg


And a vid, wait for the pop at the end of the run(45sec), it nearly blew my ear drums, its not as loud on the vid cause i used a crappy recorder, but you get the idea.( turn those speakers up!)


Stayed tuned, i have a ton of stuff planed which include a full custom made alloy boost pipes and new custom map pipe to inlet mani!!
 
Last edited:

Willie

LCR Track car
Aug 6, 2004
8,939
1
Sunny Scotland
Re: My engine bay/LCR W.I.P UPDATE 21/04/10 Stage 2 at last/pics/vids/Dudshed last pa

Car looking great, well done on the show results.

I'm very interested in alloy intercooler pipes, would be interested in getting sizes or more information on these from you when there done.

What have you found out about these so far?

Or are you only in the very early stages of this?
 
Aug 2, 2009
812
0
North Lincs
Re: My engine bay/LCR W.I.P UPDATE 21/04/10 Stage 2 at last/pics/vids/Dudshed last pa

Well done on the win at the show mate.

Cars looking very good and that bay looks awesome. :thumbup:
 

rsmith

Robbie
Apr 28, 2004
2,797
1
Tipperary, Ireland
Re: My engine bay/LCR W.I.P UPDATE 21/04/10 Stage 2 at last/pics/vids/Dudshed last pa

Car looking great, well done on the show results.

I'm very interested in alloy intercooler pipes, would be interested in getting sizes or more information on these from you when there done.

What have you found out about these so far?

Or are you only in the very early stages of this?

Hello and Thanks, It’s still in its early phase, but I plan on using 63mm alloy piping then a reducer to 57mm to fit it to the FMIC. I have plans draw out but literally only on a piece of paper.

My plan would be to go straight from the Charge pipe down to the FMIC with 2 solid pieces of alloy fabricated pipe(silicon coupler in between) as i want to avoid it being to rigid and have some flexibility in it, then from the FMIC cold side 1 solid alloy fabricated pipe(45c long bend to a 90c elbow, then to another 90c elbow bend) to the MAP sensor(probably get a Forge one) and then another alloy pipe to the inlet manifold with a build in t-piece to accommodate a DV.

I still have to figure out how i will get around the battery, as i don’t want it in the boot, i have being looking up smaller batteries on the net and maybe some brackets to move it to the left with new housing to gain space for the pipe work.

So far i have 2 options for the pipe work:
1. Buy the bends and straight bits off the net, cut them to size and then have them welded.(big scope for leaks though)
2. Find a place that makes custom exhausts or the likes as they would have the necessary equipment to bend and manipulate pipe work to suit.

I am crazy:think:
 
Last edited:

Willie

LCR Track car
Aug 6, 2004
8,939
1
Sunny Scotland
Re: My engine bay/LCR W.I.P UPDATE 21/04/10 Stage 2 at last/pics/vids/Dudshed last pa

Sounds good.
Once the initial ones are done it would be very easy for a firm to make replicas of these.

Keep us informed
 

rsmith

Robbie
Apr 28, 2004
2,797
1
Tipperary, Ireland
Sounds good.
Once the initial ones are done it would be very easy for a firm to make replicas of these.

Keep us informed
Well i found a guy that is willing to fabricate the piperwork for me to whatever i want, i just need to figure out what i need, especially when it comes to the cold side pipes to the manifold, that flipping battery is in the way and i don't want to relocate it to the boot.

Any suggestions.?
 

rsmith

Robbie
Apr 28, 2004
2,797
1
Tipperary, Ireland
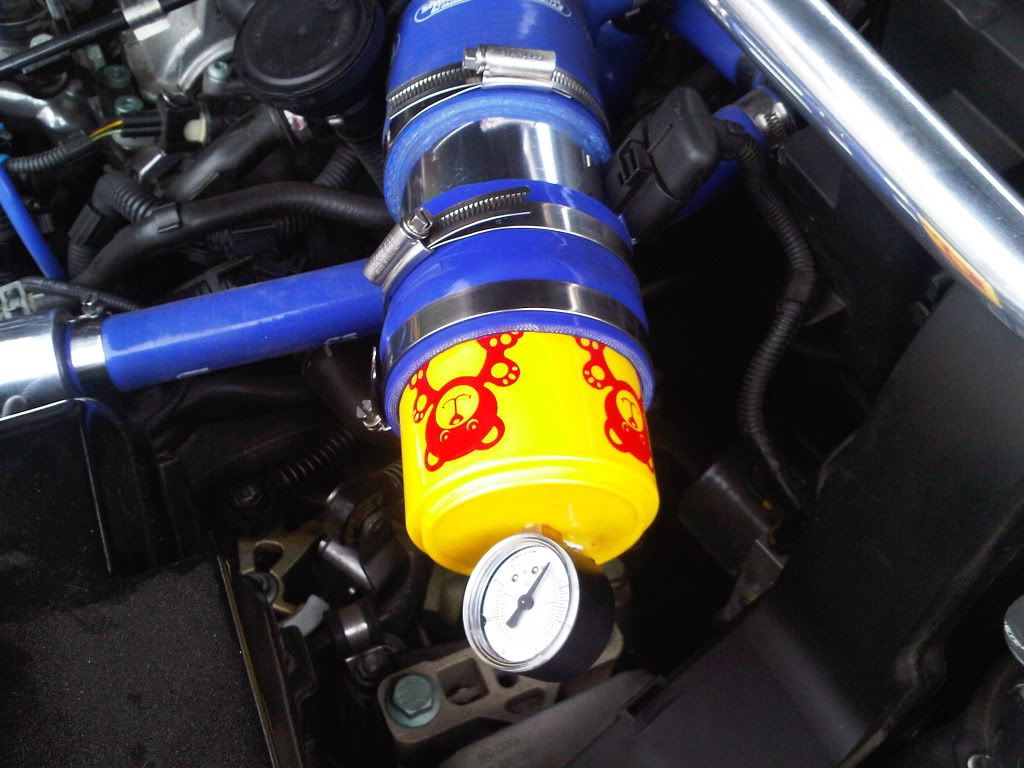
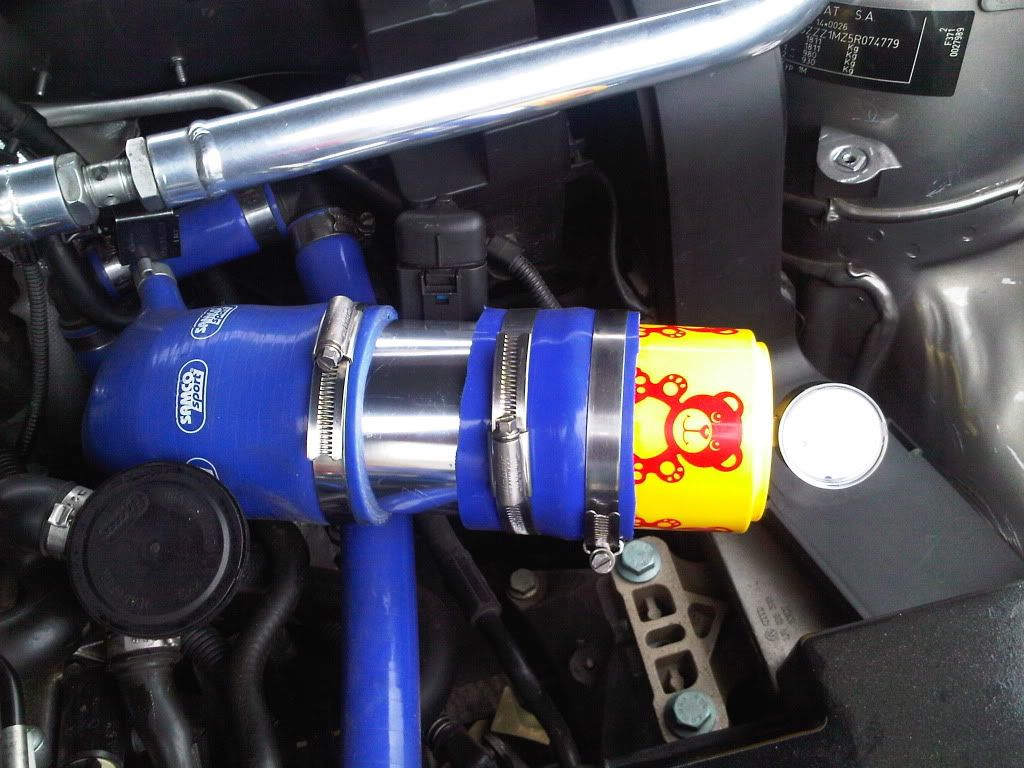
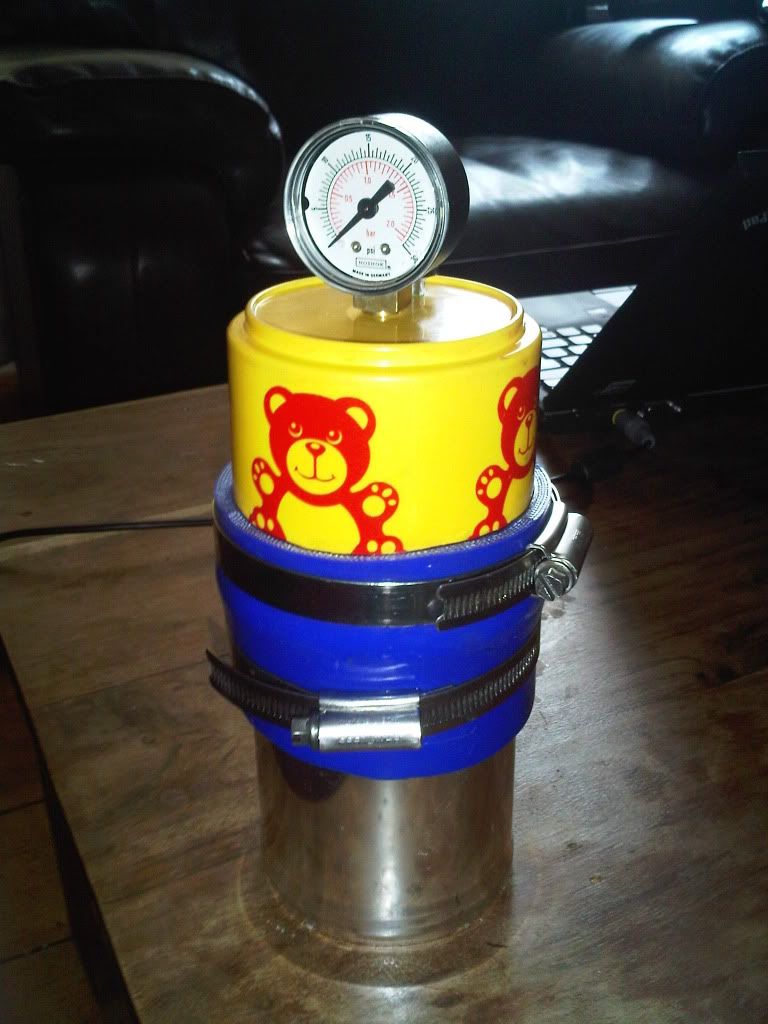
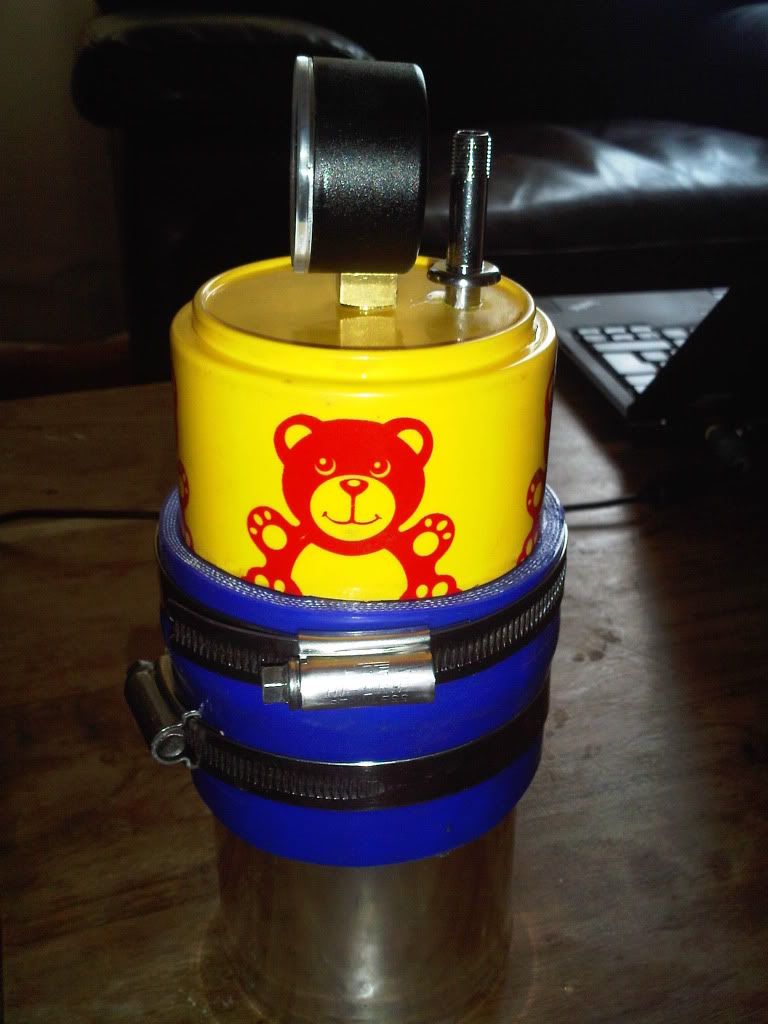
Just a quick update, my car has not being running right for the past few week, my fuel trims were off and i was down on boost. Diagnosing boost leaks is a pain in the ass, from people telling me to listen for them to blocking the TIP and build up pressure in the system, personally with the engine running i could never hear anything so i decided to make a boost leak tester, pictured below, I also took 2 vids of the tests so people could see it.

I pressurised the system to 1.8 bar as this should cover what boost i am running and within seconds i located 2 boost leaks on the FMIC pipework. TBO with out this device i would have never found these and in the last 3 garages i asked to do boost leak test they looked at me funny, which interpret as, " what the f$uck is this lad talking about".

So here we go, my contraption

IMG00030-20100505-1356.jpg


IMG00031-20100505-1357.jpg

IMG00028-20100505-1231.jpg

IMG00027-20100505-1231.jpg


I haven't had a chance to get logs done as it raining here and very hard to get the power down.

P.S special thanks to my 17month old son who donated one of his toys for the boost leak tester ;)
 
Adrian Flux insurance services - discount for forum members.