• Guest would you be interested in CUPRA or SEAT valve caps? let us know in the poll

  • Welcome to our new sponsor Lecatona, a brand dedicated to enhancing performance for VAG group sports cars, including SEAT, Audi, Volkswagen and Škoda. Specializing in High Pressure Fuel Pump (HPFP) upgrades.

Newbie - Black Mk1 LCR - Seen better days

james87uk

Active Member
Sep 30, 2014
39
0
Hi Guys, I am new to the site. I have recently purchased a MK1 LCR after swapping it for my Mk1 Cupra TDI.

It is not in an amazing state to be fair and has cover 140,000 miles. The pain work has seen better days but the engine runs sweet as a nut.

The previous owner has done the following mods;

Forge 3" TIP
FMIC
Stage 1 MAP 271 BHP
K&N panel filter
N75 delete
Forge recirc valve
centre box bypass pipe
HID's
LED interior lights
LED number plate lights
35mm Rear Spacers
Windows Tints (Now removed thank god)

I have done the following since owning the car

Hiding the intercooler pipes (within 2 hours of owning the car)
Removing the all round window tints (within 4 hours of owning the car)
Turbo gaskets, bolts and washers
4 coilpacks
4 spark plugs
Polybush Dog mount
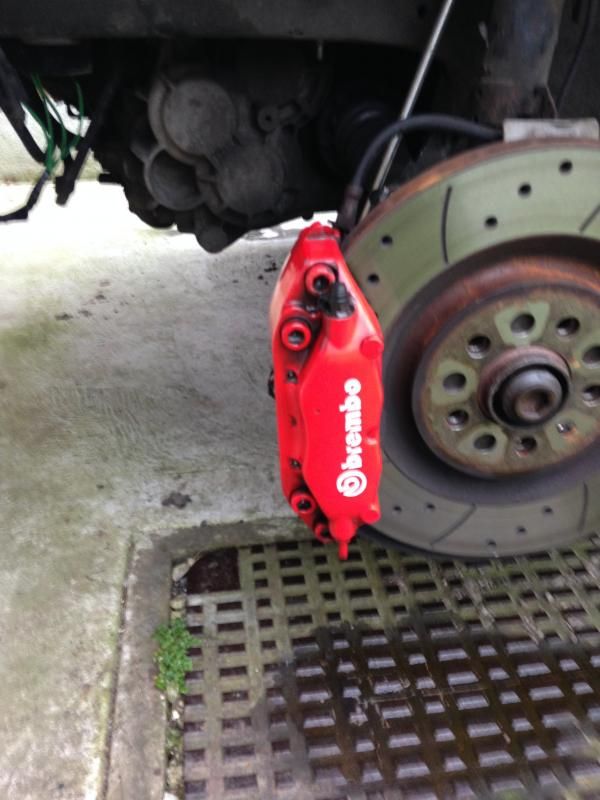
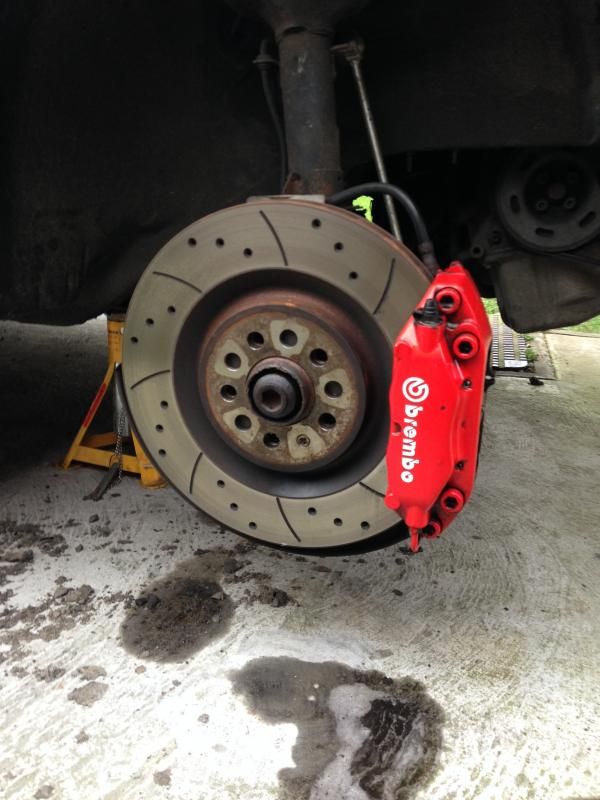
drilled and grooved front disks
new oil breather pipe
engine detailing
full machine polish
alloy centre caps
Stripped and re-dyed the gear knob and steering wheel
Fuel filter
Painted the charge pipe and tray above the dipstick
changed all the jubilee clips on the boost pipes for mikalor clamps
shampooed the seats

Jobs to do

Find a rear wiper
new number plates - pressed :D
Coilovers
3" downpipe
2.5" system
new panel filter or maybe a cope
get rid of the dodgy forge recirc valve
bottom arms
drop links (this weekend)
strut tops (this weekend)
and a front end respray.

I have got a couple of pics below of when I first got the car and how it looks now. More to follow :)

First days I got the car


hiding the boost pipes with electricians tape :rofl:


And how it looks now


Last edited:

james87uk

Active Member
Sep 30, 2014
39
0
Well I have been up to a few more things. I have managed to get hold of a new bonnet and front wings with hardly any stone chips on (saves having them painted). I have put the bonnet on but it needs a machine polish. I will do this just before Christmas when I take the front bumper for paint and fit the new wings. then I will post pics of course :)

I have also managed to source a rear window wiper and motor from the same member I bought the bonnet and wings off, as well as a new centre console surround as mine had a crack on it above the rear demist button.

A big thanks to the member who I bought the bits off (cant remember his name now) He was really helpful!

So Below are some before and after shots. I have also put some interior pics up to show the steering wheel and gear knob refurb that I did when I first bought the car.

Before:


After:


Before:


After:


Jobs to do:

Fit new bottoms arms
fit new drop links
fit new strut top bearings

possibly source and fit a new power steering pump (if that is the source of the whining noise) :(

Fit ram air panel filter
fit pressed plates
fit decat pipe
 

L14M H

Active Member
Dec 7, 2013
184
0
Looks great. Good job on tidying it up and putting your stamp on it. What process did you use for dying the wheel and gear knob? Leather dye or black polish?
 

james87uk

Active Member
Sep 30, 2014
39
0
Cheers mate its getting there. I used leather cleaner and an autoglym upholstery cloth to clean the wheel and gear knob. Then I used black leather dye. I gave them both 2 coats. Then I used CLEAR shoe polish (can be bought from Tesco) to seal in the dye and then buff off. The first couple of days some of the dye will come off in your hands, but then when its fully dry and all the polish is off then non at all. I reapplied some more polish after a couple of months when the steering wheels started to become a bit tacky and its as good as new.

I have seen a lot of stories on here of people using black shoe polish and it coming off in their hands all the time, but with the clear polish it seems to work a treat.
 

james87uk

Active Member
Sep 30, 2014
39
0
*UPDATE

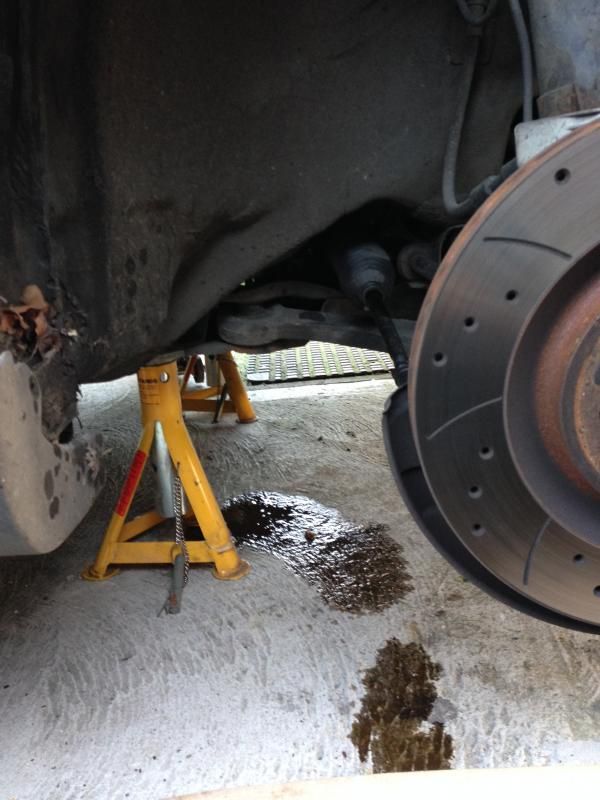
Well with me having 2 weeks off for Christmas I have decided to get some bits done to the leon. I had a disaster when going to change the strut top bearings that the steering rack is knackered and pissing out fluid! that's my second leon that has needed a new rack. So thanks to Ronin on here I now have a new rack that will be fitted a week today with the bearings.

Below are all the updates I have done so far.

Firstly a sneak peek at a couple of Christmas presents I have for the car:

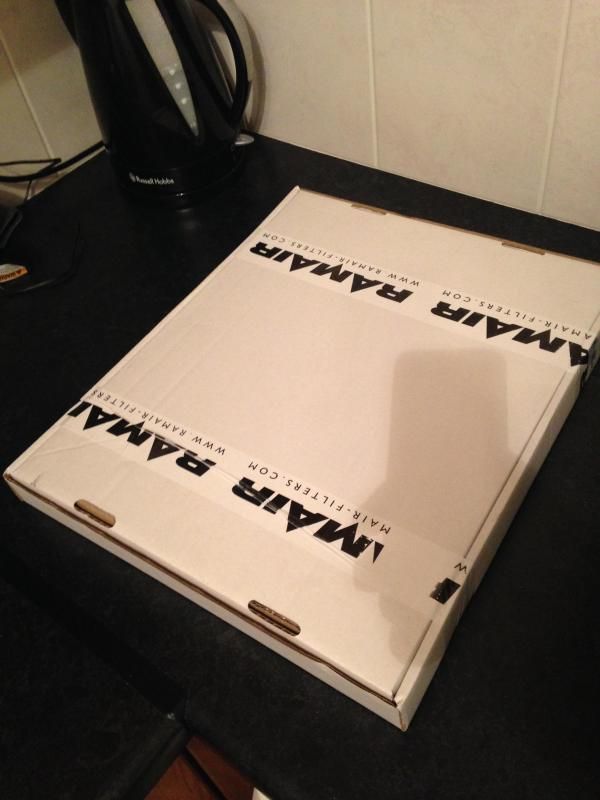
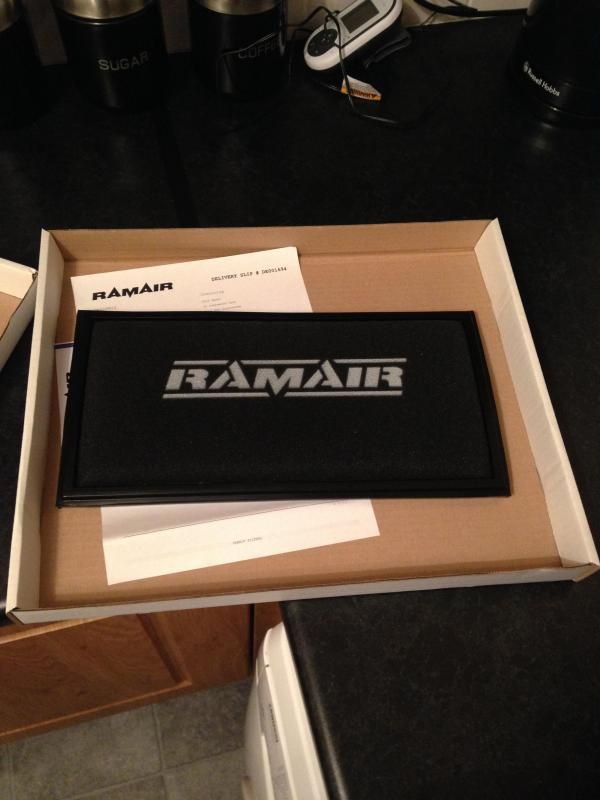
New panel filter


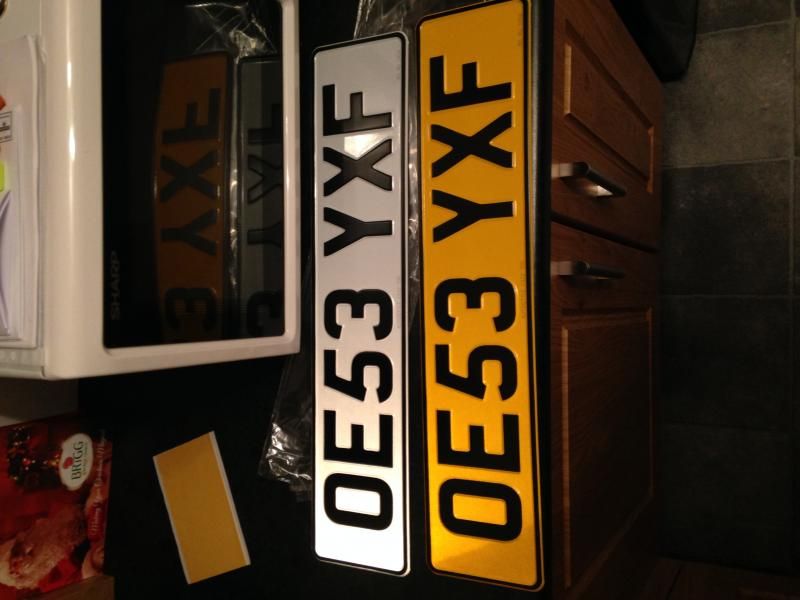
Pressed Plates :)


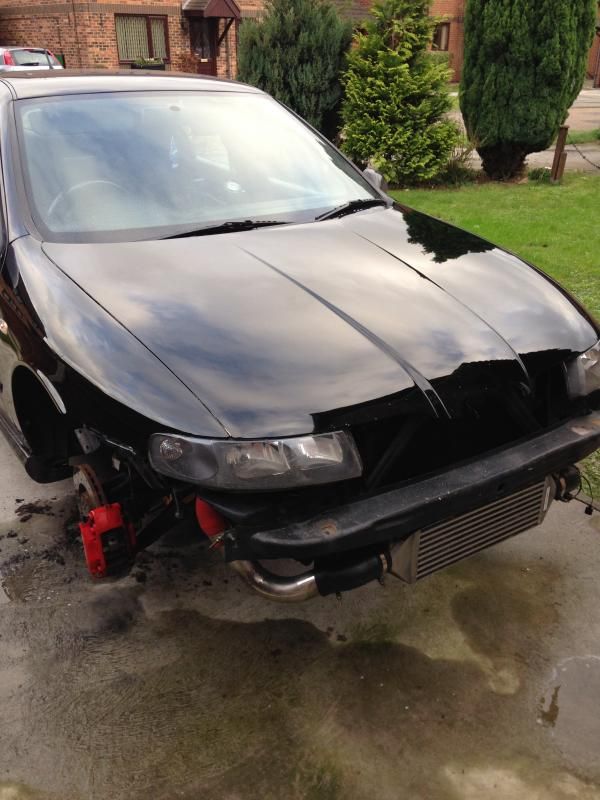
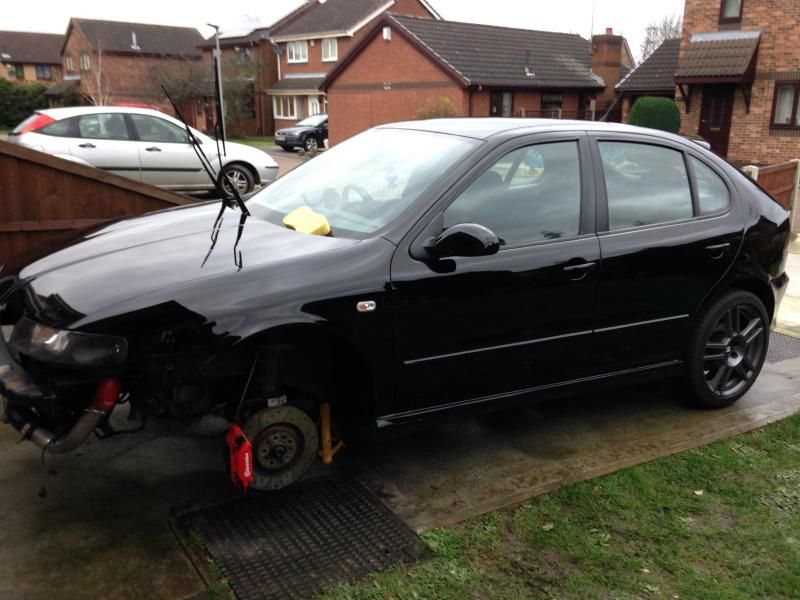
As previously mentioned the front end was covered in stone chips due to the millage so I managed to get hold of 2 wings and a bonnet off someone from the forum on a lower millage car. Below is how the car looked before:


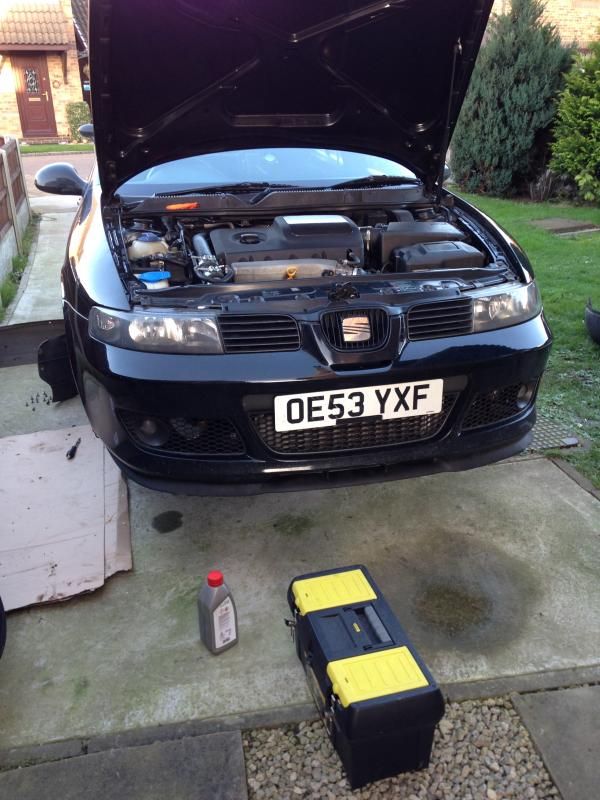
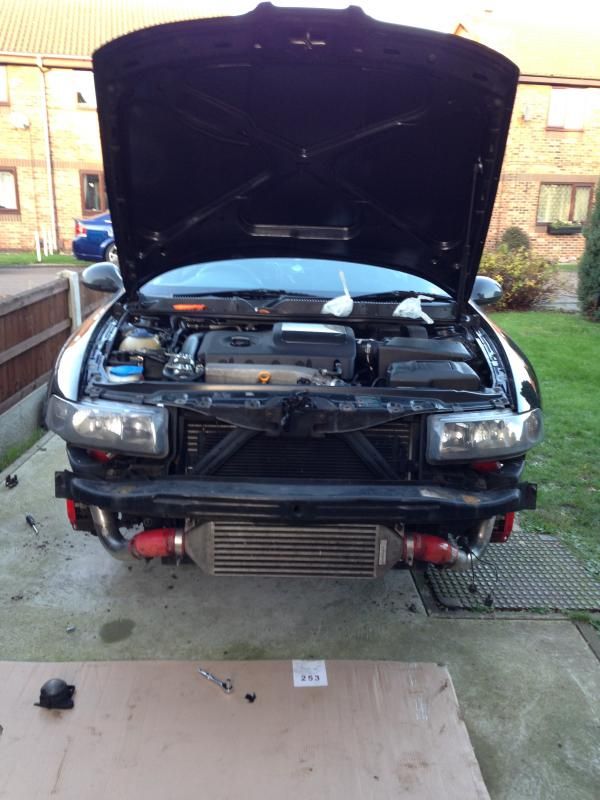
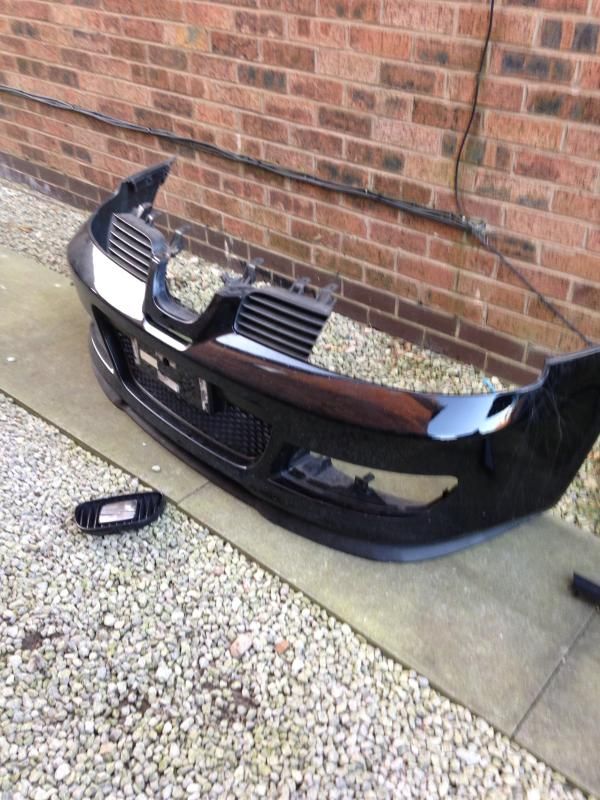
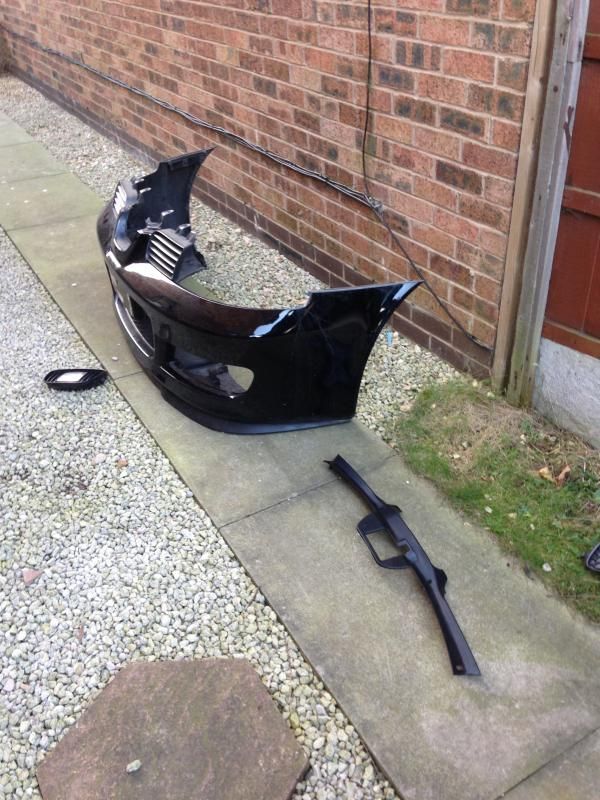
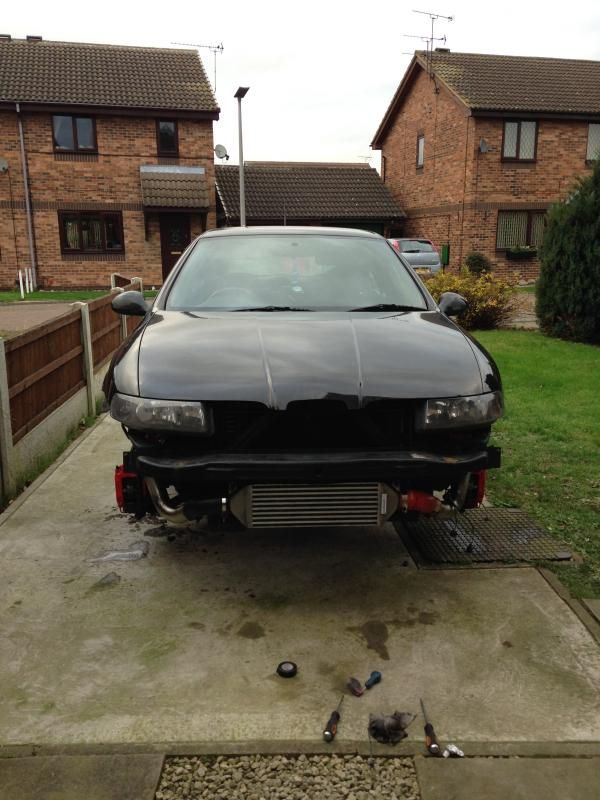
So on Saturday I decided to make a start on fitting them. The bonnet I had already fitted so it was just a case of swapping the wings and removing the front bumper ready for paint today:

leaking steering rack :(


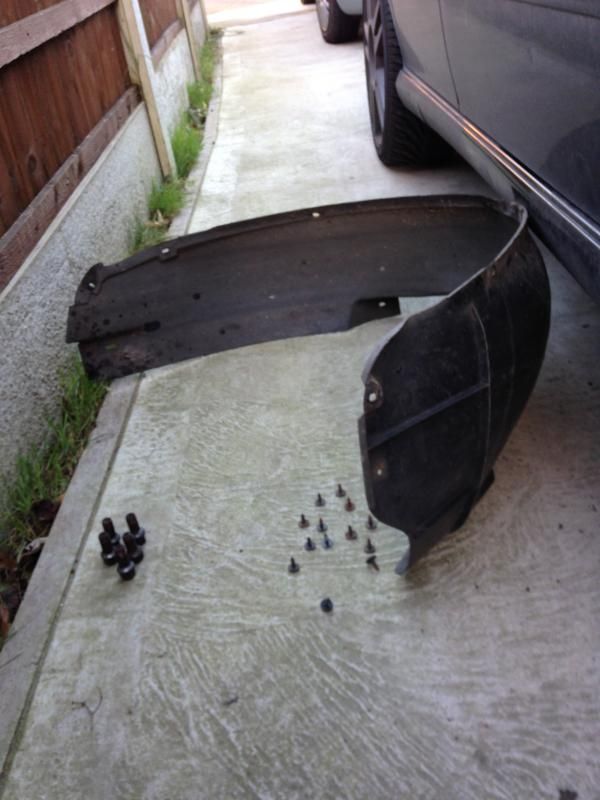
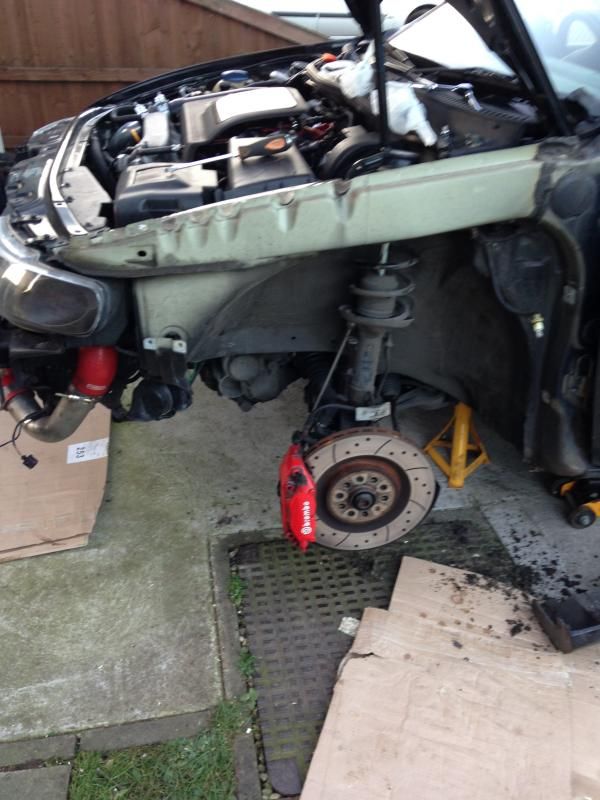
removed arch liner


both liners now removed now time for the bumper to come off:


Then the wings:


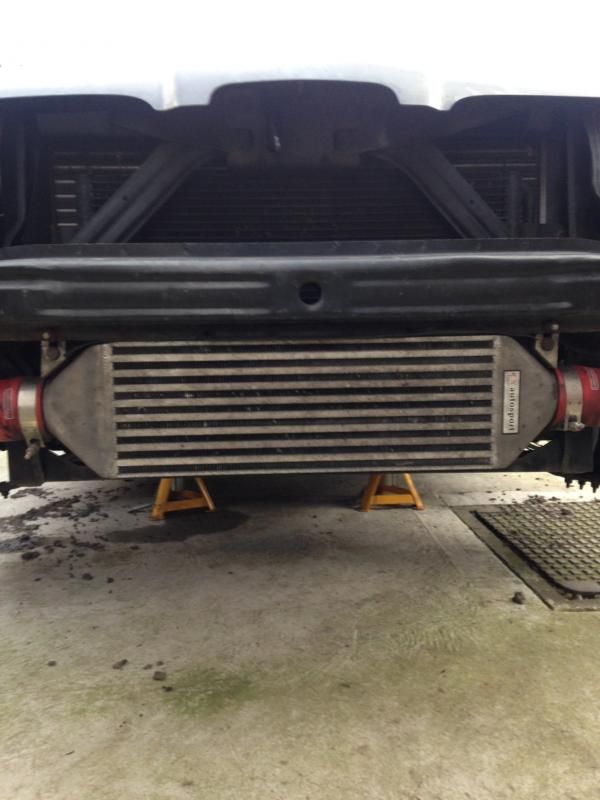
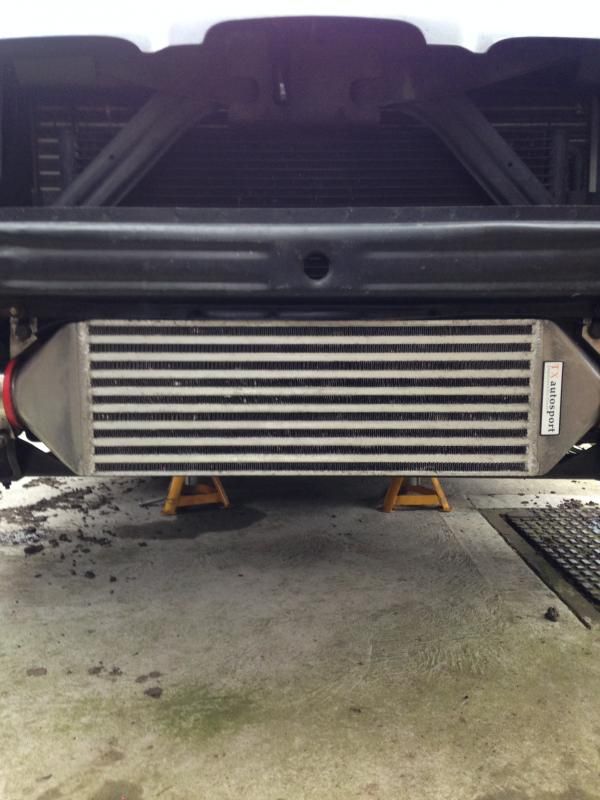
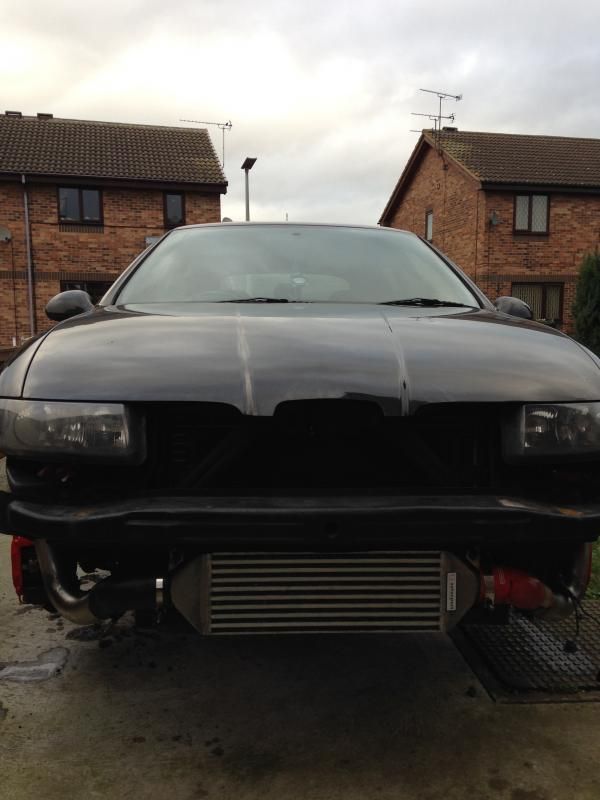
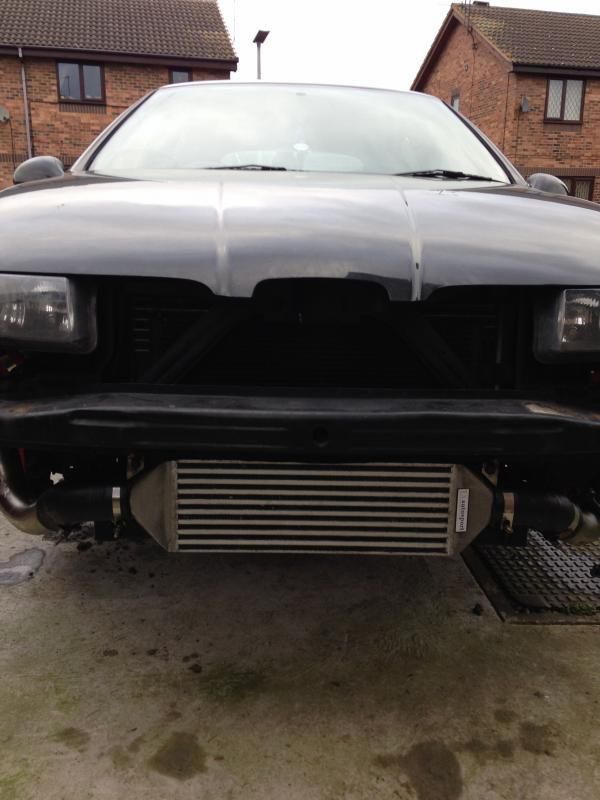
So today I decided seen as the bumper is in for paint I might as well give the intercooler a good clean:

before


after


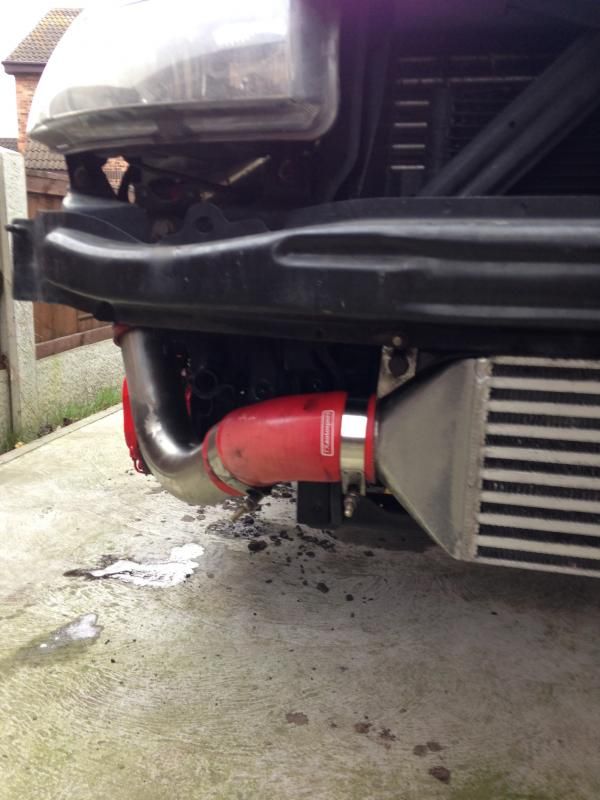
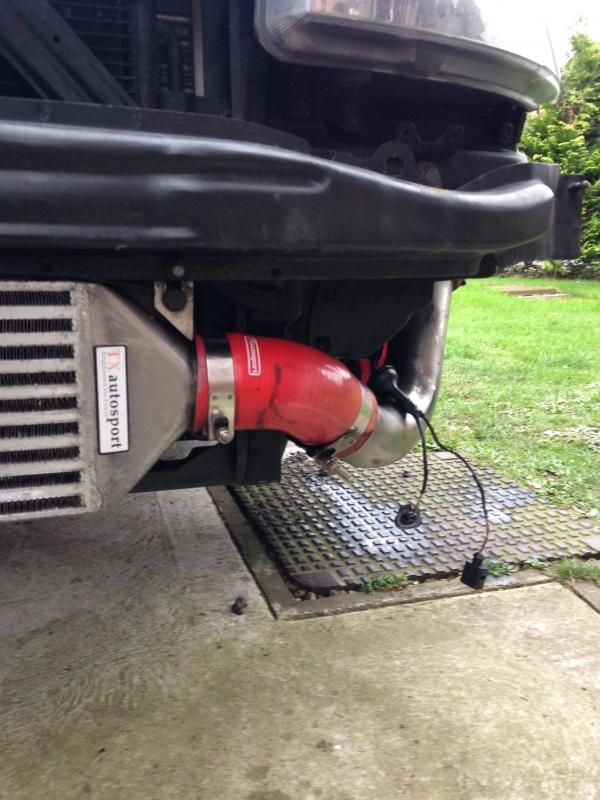
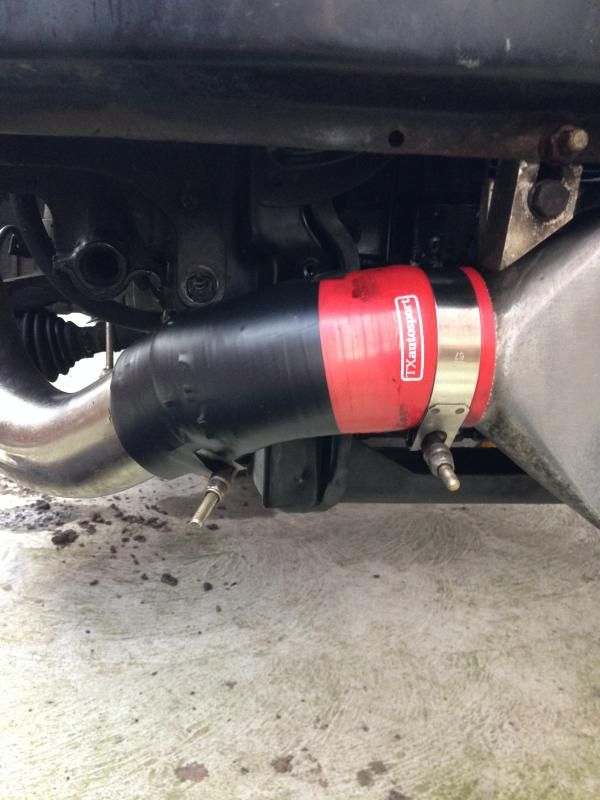
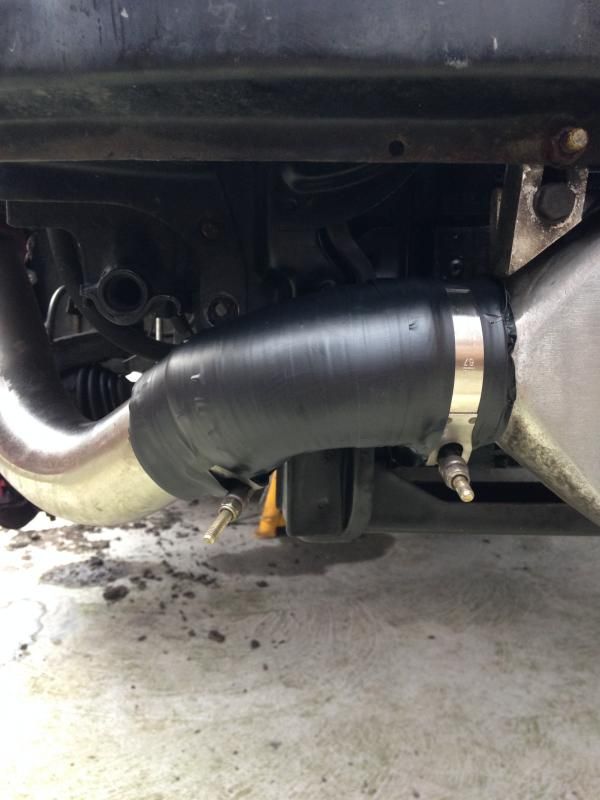
The silicone hoses had faded a lot so I decided to clean them up and wrap them in electricians tape for a clean and stealth look once the bumper is back on:


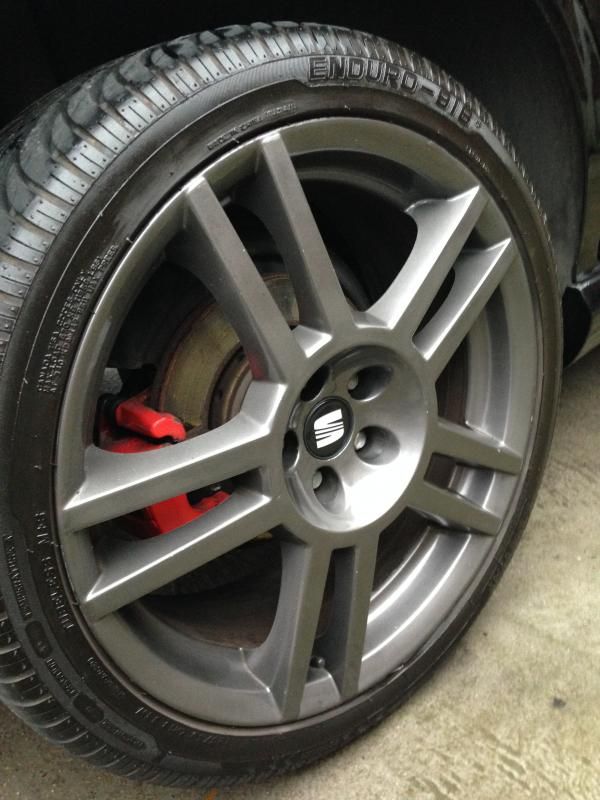
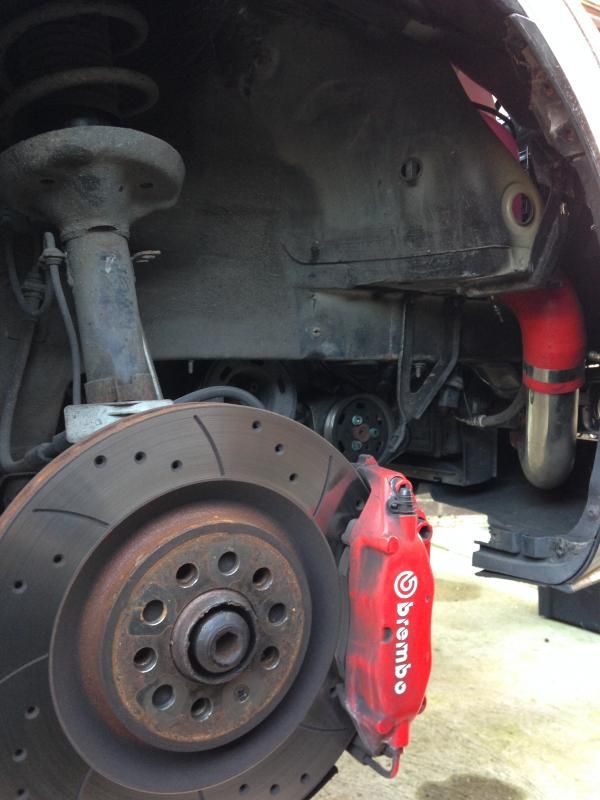
Then I cleaned the front calipers:


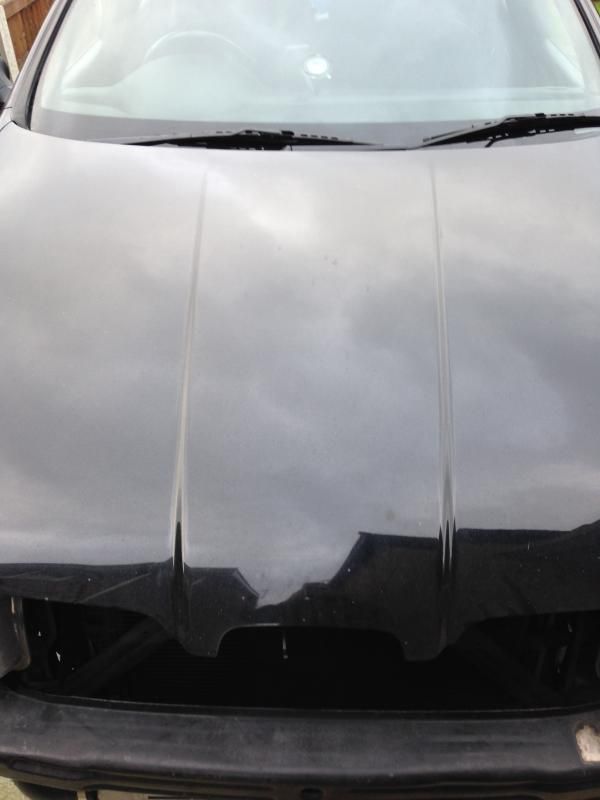
Next was to machine the new wings and the bonnet so before:


I caught the wing putting the indicator on :( :(


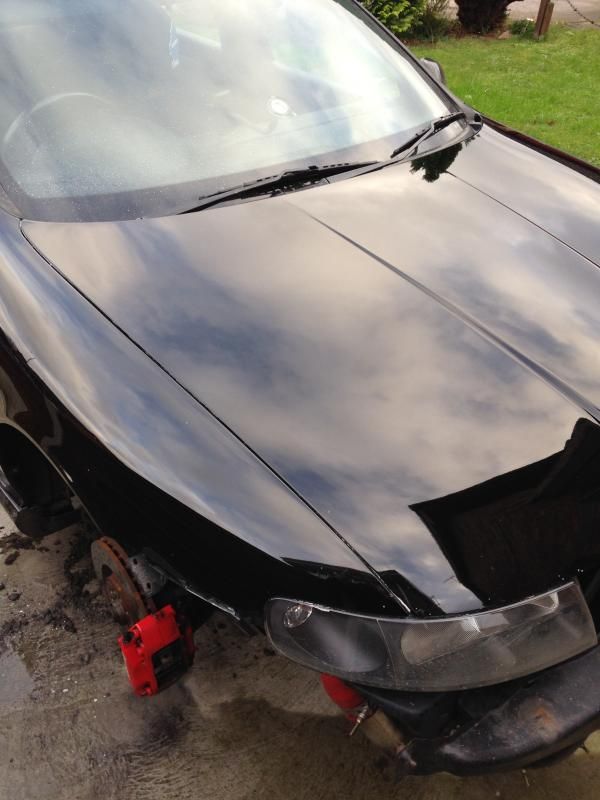
And after :)


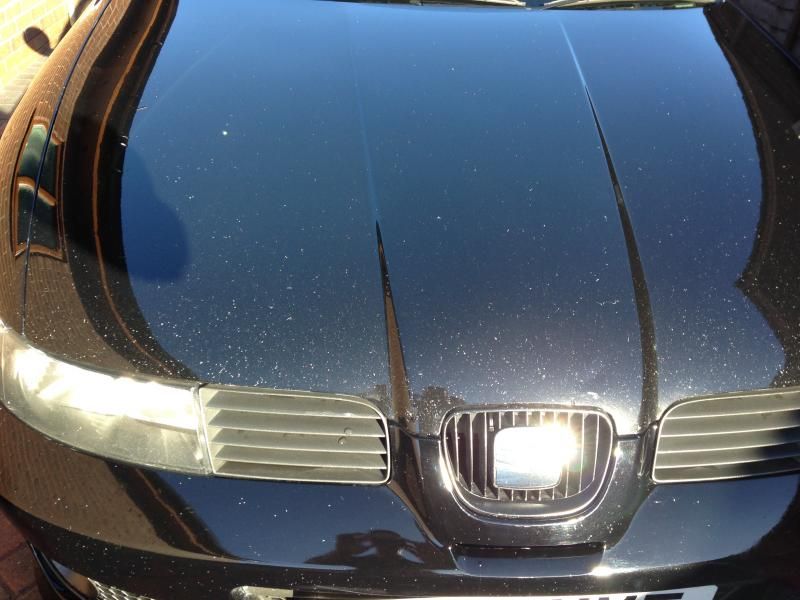
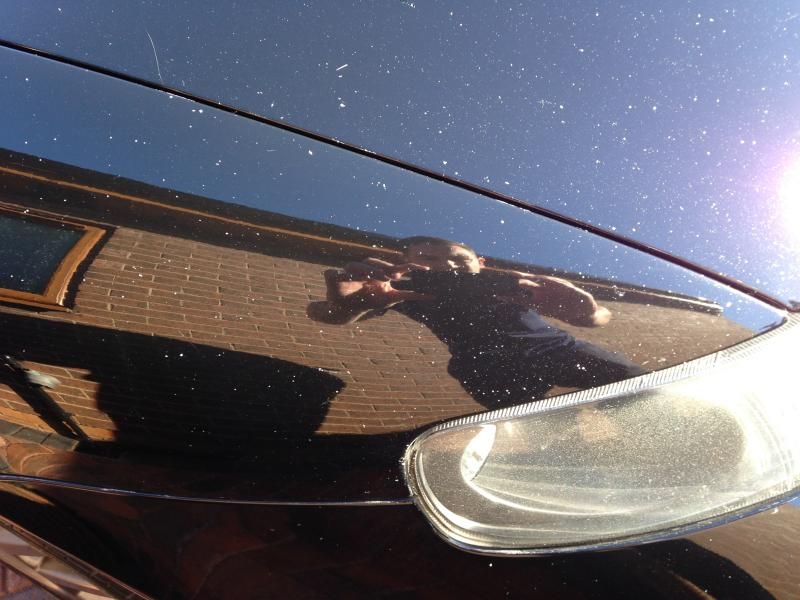
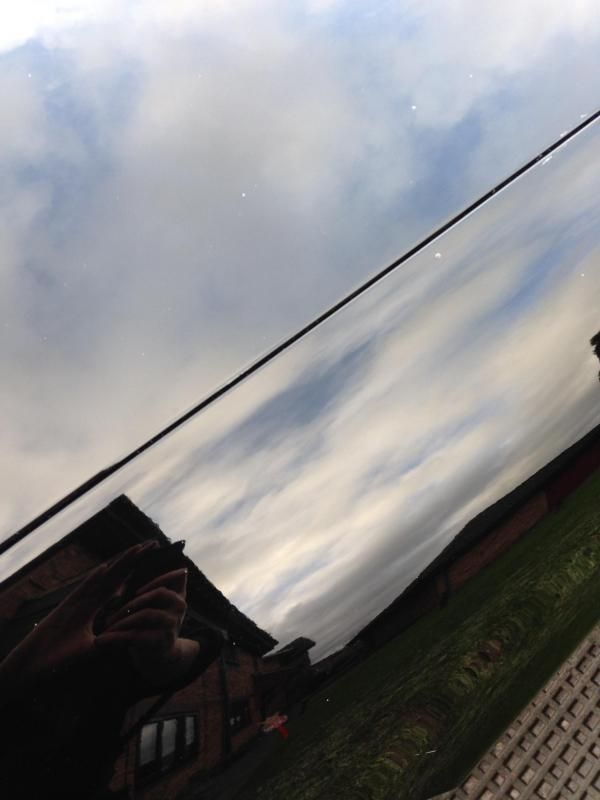
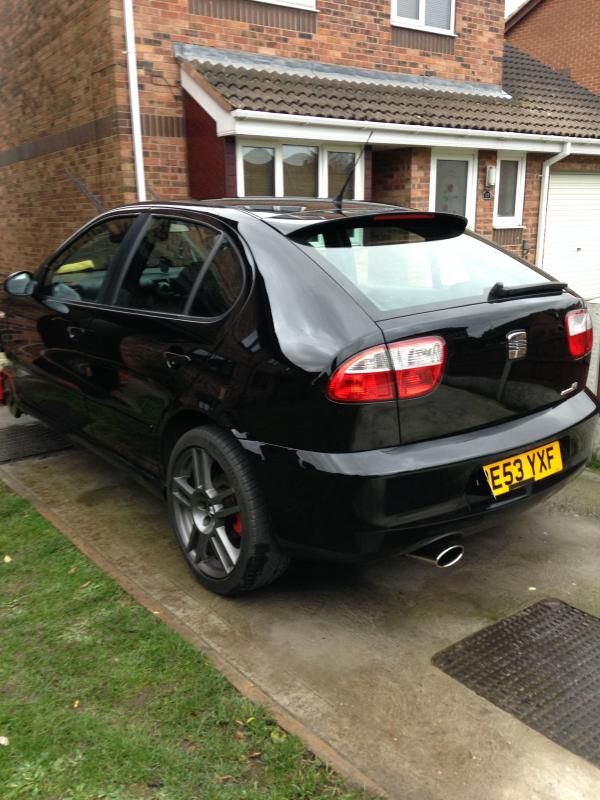
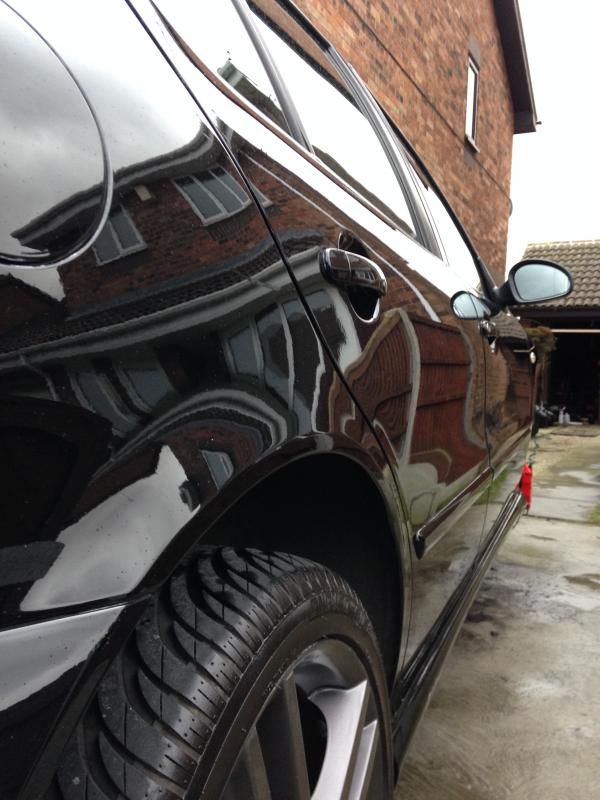
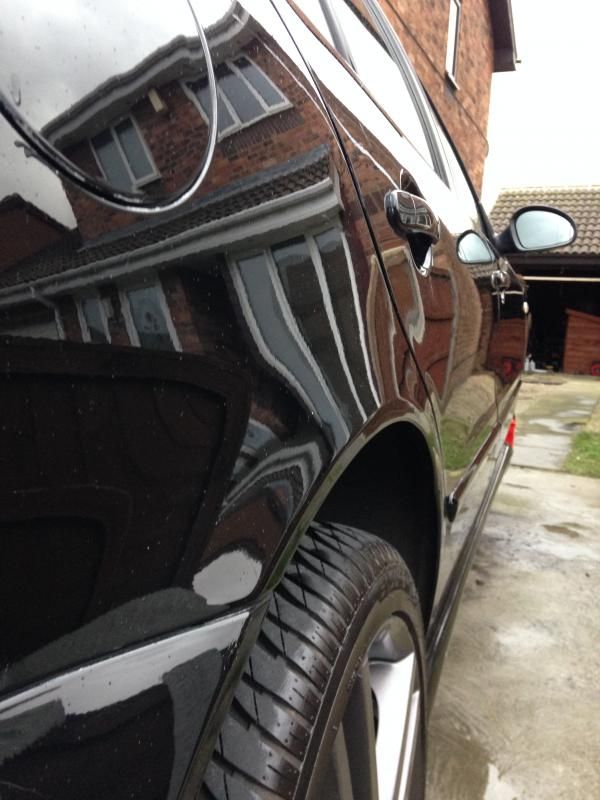
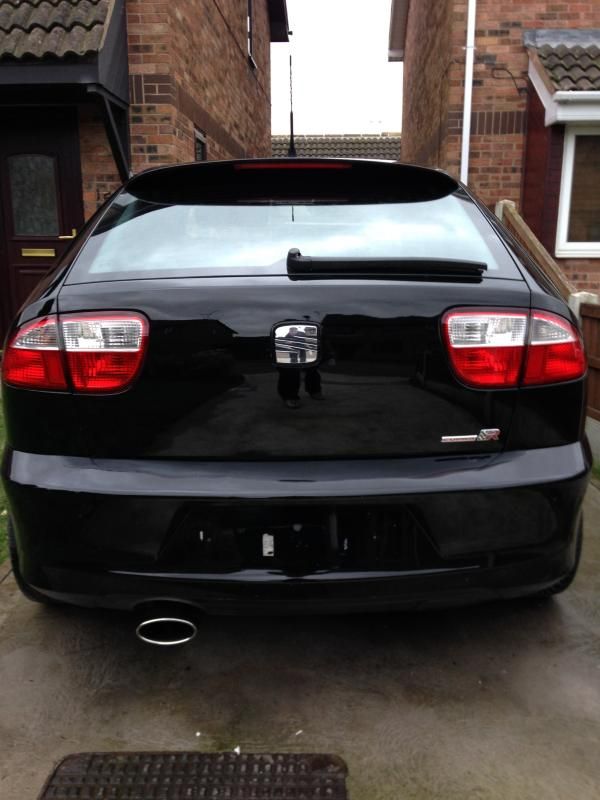
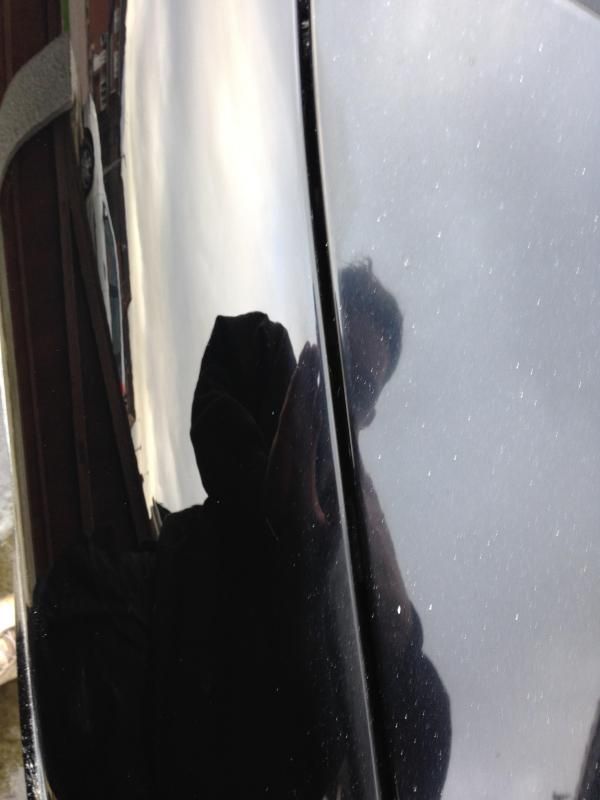
So then I decided to clay bar the whole car and give it a good going over with poor boys black hole:


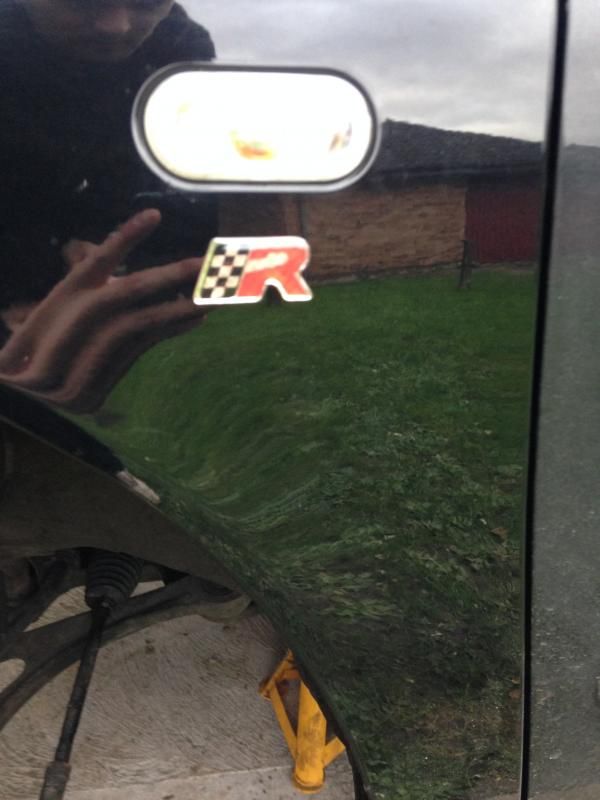
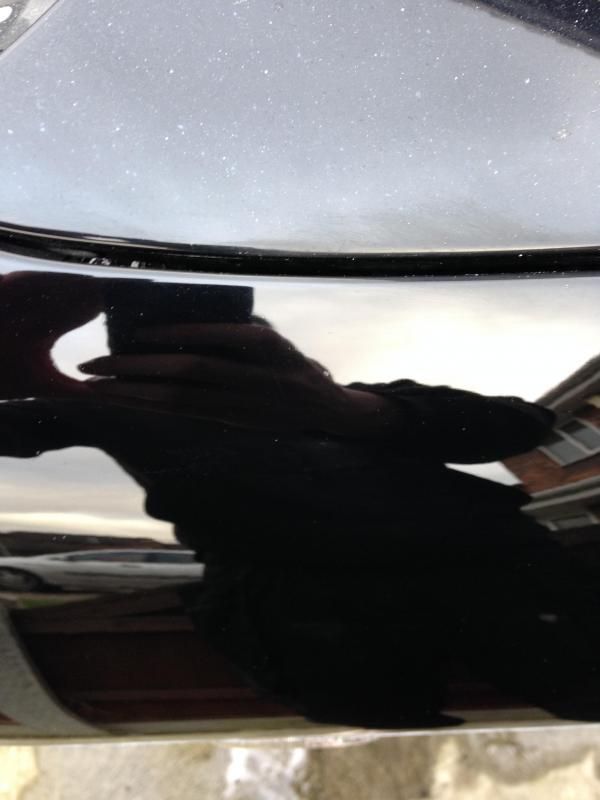
A few reflection shots (the specs are rain as it started as soon as I finished - sods law)


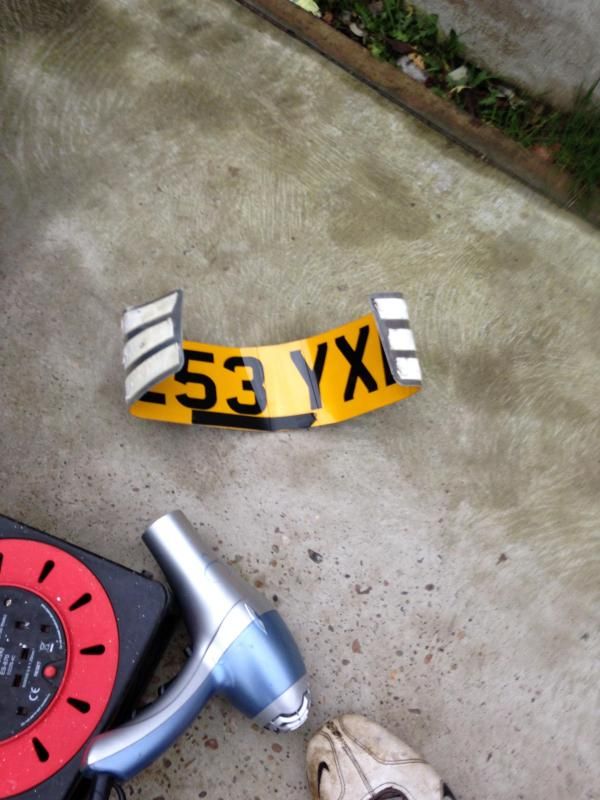
Then I decided to take off the rear plate as I am having the pressed plates as an early present :) so when the bumper comes back tomorrow they will go on.

The previous owner had steel plates put on with sticky pads. What a t*** to get off! as you can see by the state of the plate ha:


So hopefully the bumper will be back from paint in the morning so the bumper can go back on and the plates (I will post pictures). Then in for the steering rack and bearings next Monday.

Next jobs are:

install a standard DV

coilovers

Exhaust.
 
Last edited:
rainbird

Active Member
Sep 3, 2012
244
5
Great stuff dude, cool to see someone else with quick speedy progress making the car a really tidy example rather than just massive mod threads from the start.

Mind if I ask how you went about removing your tints? Need to get a set off mine - you can see how horrendous they are in my thread; what the hell was the previous owner thinking?!
 

james87uk

Active Member
Sep 30, 2014
39
0
Yeh its getting there. Just wish i didnt have to keep spending money on fixing it so i could spend it on mods.

Good luck with the tints ha! You need the following:
1. Half a day
2. A lot of patients
3. Hair dryer or heat gun
4. Stanley knife blade
5. Tar and glue remover or thiners
6. Magic eraser

Roll the window slighlty down and keep constant heat on the tint so it melts the glue and start it off at the edge with the blade. Mine were a *******! Once you have it off use the thiners or glue remover with a rag and the blade to remove any excess glue and clean windows. The worst bit is the rear window because of the heat strips. They will of dried the tint out fully and you cant use the blade on then to remove the glue. I had a couple of these magic interior eraser spounges off ebay that were really good for removing the glue on the rear window. You could use them on all the windows but you will need a few because they deteriorate into bits. I used 3 on my rear window. The best of luck!
 

rainbird

Active Member
Sep 3, 2012
244
5
Winner, cheers bud. I'm having to work on mine away from home at the minute so trying to figure out the best way of doing it with no power. Hopiny to find an old portable steamer we used to have but will check out those magic sponges too (Y)
 
SEATCUPRA.NET Forum merchandise