A quick review of lasts week's details

FinerDetails

Official SCN Supporter
A quick review of lasts week's details - lots of pics

Monday

A trip out of Rochdale today, and a drive north to Lancaster.

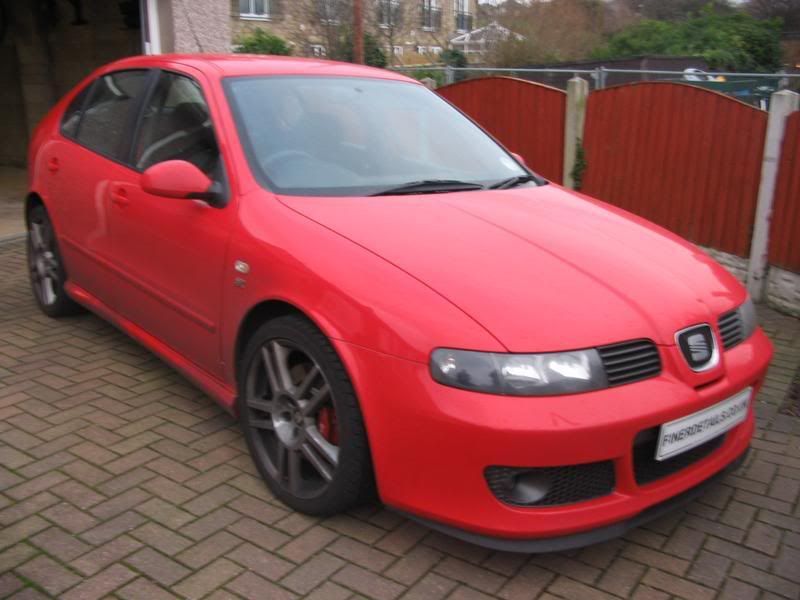
Here's the car on my 9am arrival:
IMG_2690.jpg


First job was the Dp foam, left to sit for a couple of mins, and rinsed off, then as it was still pretty bad, DP'd it again, and used the one buscket rinse. The alloys and araches saw some APC to help me out with getting then clean. Rinsed again, and then used the DP foam as lub to clay using DP clay. DP clay is pretty aggresive, so wanted lots of lub so as to not get any marring. Once all done, and rinsed, again!, dried with Cobra guzzler, taped with 3m and PDG readings taken.

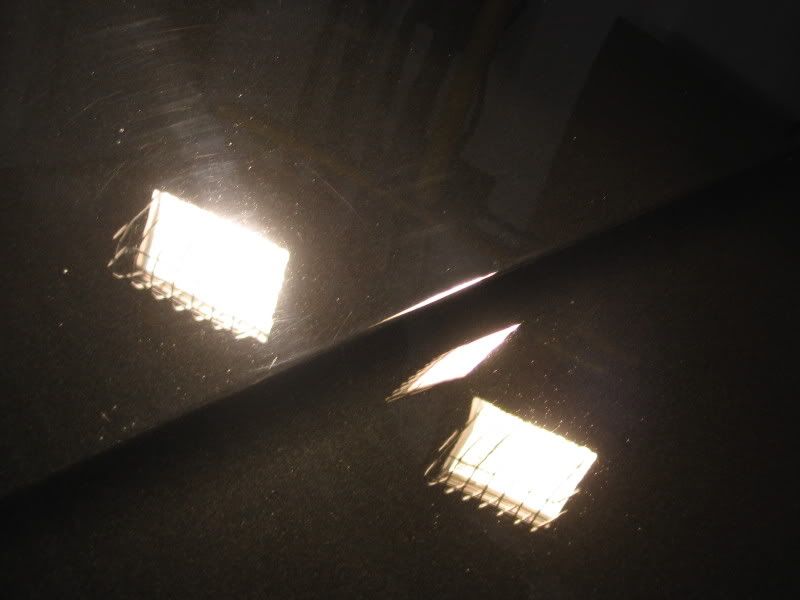
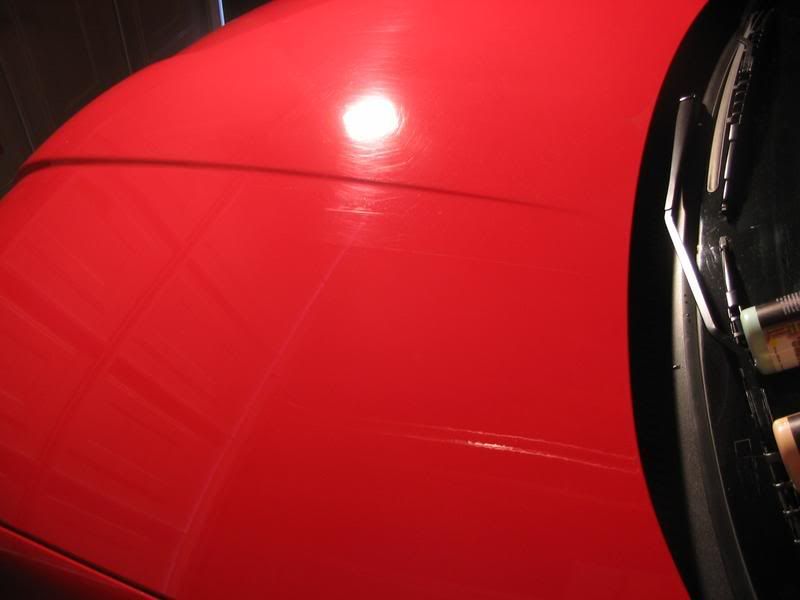
Next up, the halogens and the swirls and scratching.
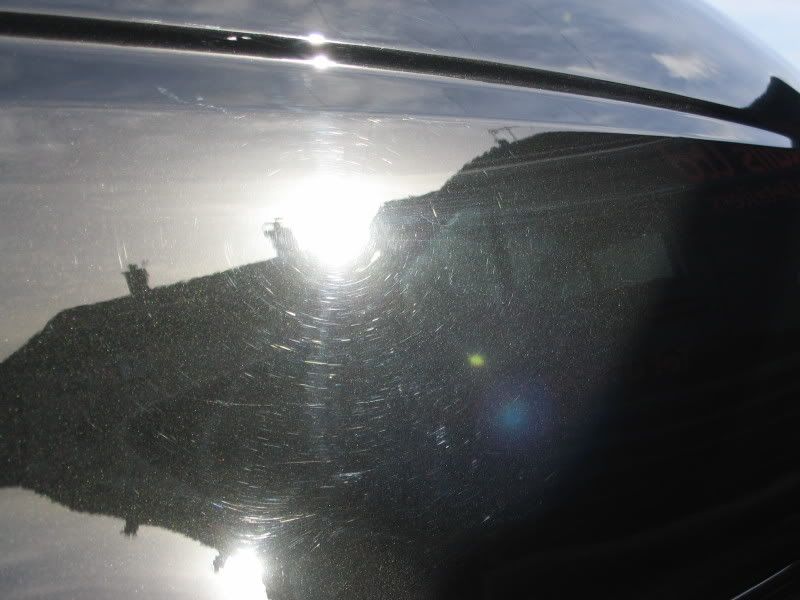
Here is the swirling shot:
IMG_2698.jpg

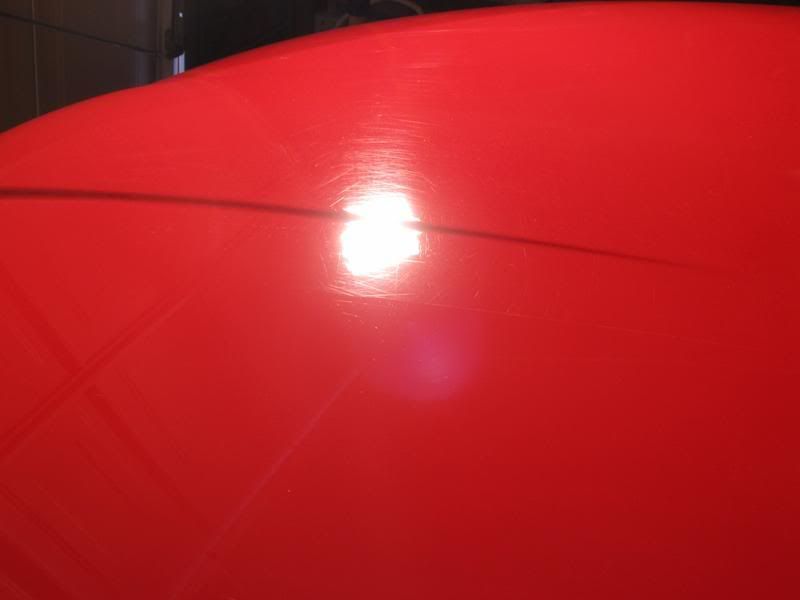
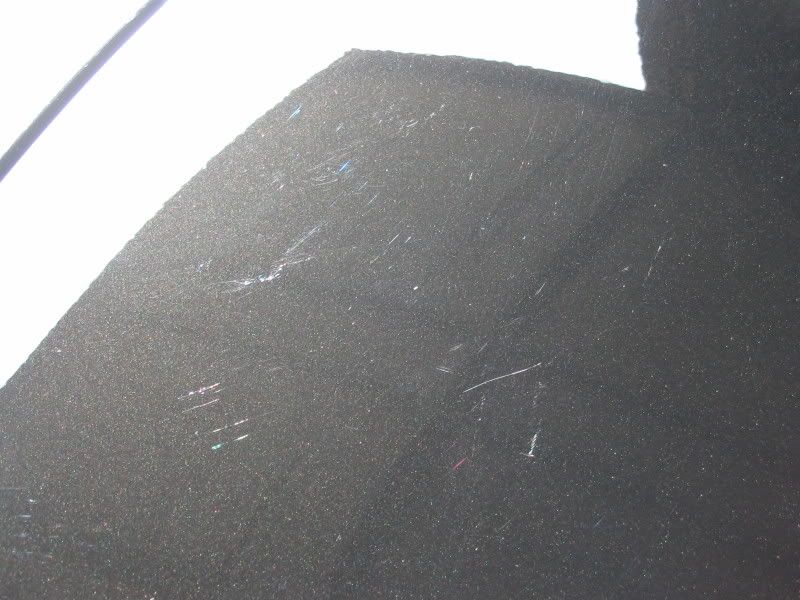
and now in close for the scratches:
IMG_2696.jpg


No messing around, out with the Metabo, a wolfgang polishing pad and the Pinnacle SR. Worked at 700rpm, swirls gone. Scatching however still very evident. What followed was a good hour or so of me playing with technique,pad and product combos trying to find the lightest combo to retify and resolve. In the end I stuck with the Polishing pad, and used Pinnacle Advanced Swirl Remover at 1500 rpm. This was then followed with another Polishing pad and Pinnacle Advanced Finishing Polish at 1100rpm.

IMG_2704.jpg


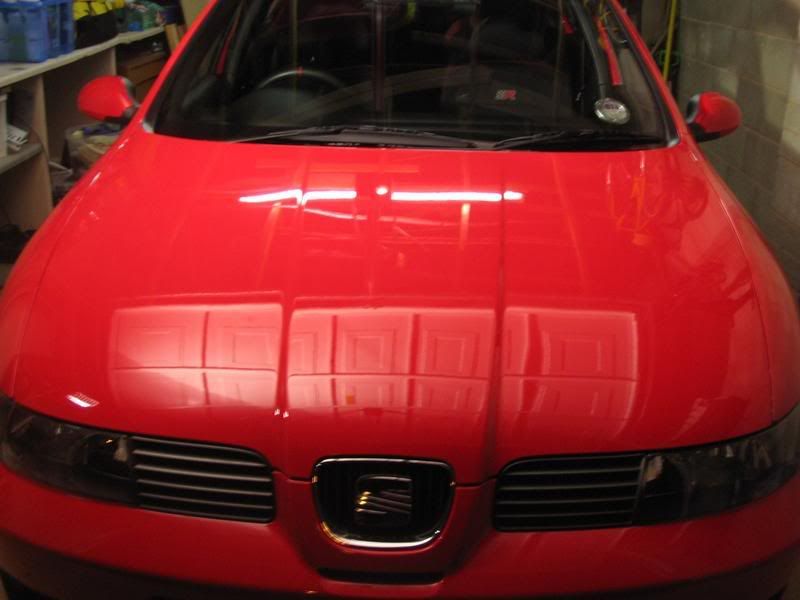
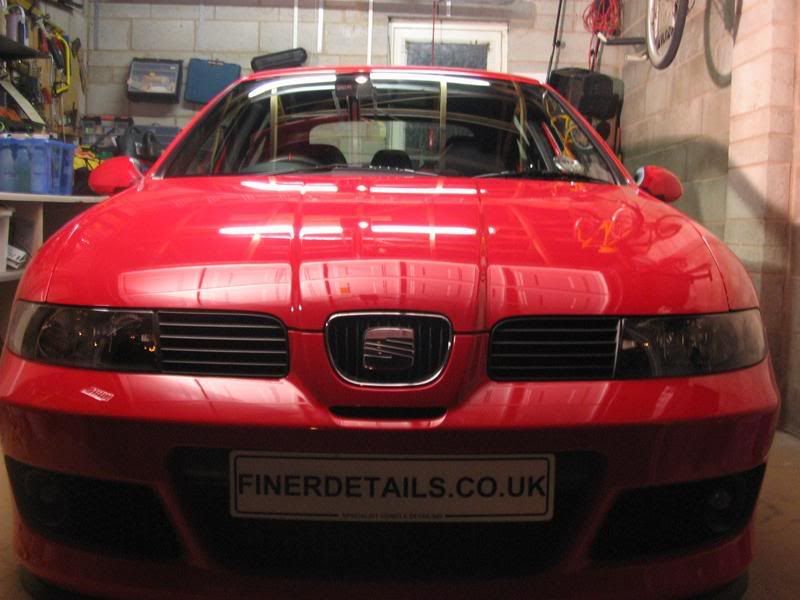
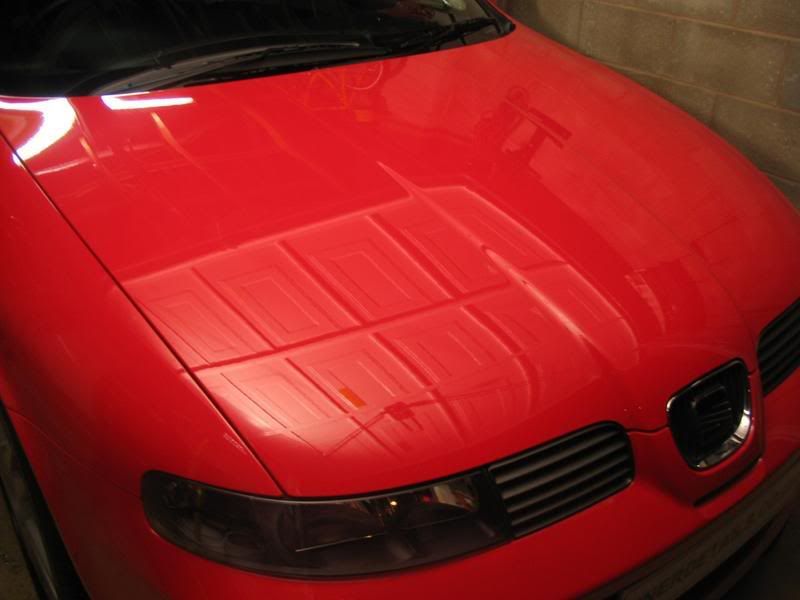
Next, using the PC, a finishing pad and Clearkote red Moose Glaze, applied at speed 2 to allow a nice light glazing. This was then topped with DP Max Wax. Alloys sealed with Megs #20, glass cleaned with Stoners Invisble Glass, and Tyres with Armor All gel.
 
Last edited:

FinerDetails

Official SCN Supporter
Sunday

Had a booking for Saturday which the owner and I agreed to swap into Sunday. The weather for today looked for more promising, and the detail had to be done outdoors! I haven't detailed outdoors for some time :buffer: :buffer:

Two cars to be done in the day, An Octavia vRS with minor swirling, and the Polo needed just a one step protection.

First job was the DP Foam rinse and wash, used a one bucket rinse method with the DP foam. The Oct was then clayed using Pinnacle Poly Clay. Both cars dried with Cobra Guzzler.

Once dry, The polo was treated to Poly-Seal One Step product (on test from Ron at Motorgeek) and whilst this cured the vRS was taped with 3m and had the PDG readings done. The Poly-Seal is a good one step cleaner and is sealant based rather than wax. I've currently got this on the van, so decided to use on a small car to test more durability. :thumb: The Poly-Seal was also used on the alloys of both cars.

The vRS was deswirled with the Metabo, a Wolfgang Polishing Pad and Pinnacle Swirl Remover. This was then treated to Pinnacle Adavanced Finishing Polish from a finishing pad on the Metabo.
Topped with Wolfgang Deep Gloss Sealant via a finishing Pad on the PC, and Dp Max Wax as final LSP. Tyres treated with Armor All Gel, Glass with Stoners Invisible Glass, Arches with Poorboys Bold n Brite.

Polo
Before:
eb18dd92.jpg

eb18dda9.jpg

eb18dd99.jpg


After:
eb18dc4d.jpg

eb18dd7e.jpg

eb18dc91.jpg

eb18dc8d.jpg

eb18dc7d.jpg

eb18dbb2.jpg
 

FinerDetails

Official SCN Supporter
Thursday

Took a trip down to Derby Thursday. The weather made for an interesting journey, fighting to keep the van in a straight line :doublesho

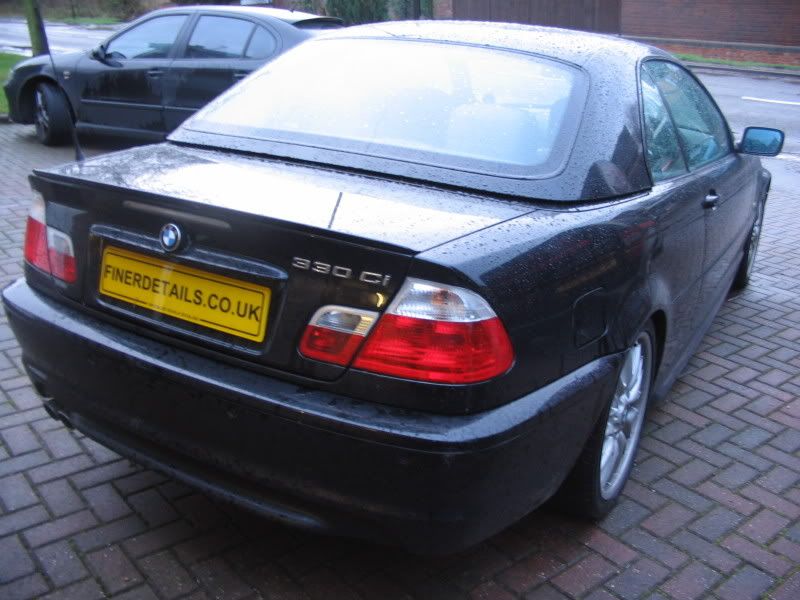
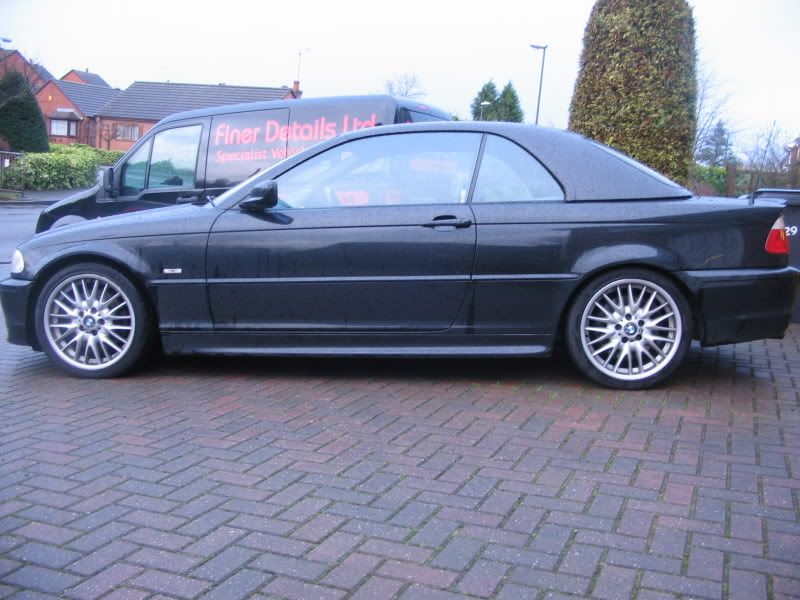
An early start meant i arrived at the customer's address at 8.30am. Here is the 330 on my arrival:
IMG_2717.jpg

IMG_2715.jpg

IMG_2716.jpg

IMG_2718.jpg


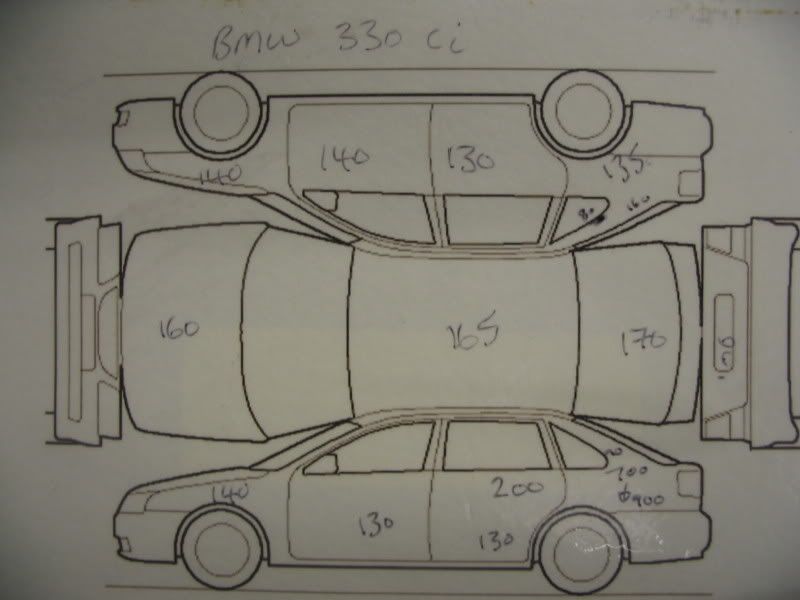
A long day scheduled ahead, so no dilly dallying. Out with the DP foam was the first soak. Rinsed and re-soaked again, washed, rinsed, clayed with foam gun and Pinnacle Poly Clay. Re-soaked, and rinsed before drying and taping up with 3m tape. I then took the paint depth readings.
IMG_2727.jpg


Here is a shot of the car just starting to dry, I use this shots to shot how the car will change for its currently colour to the rich deep glossy when finished, explaining once complete the car will have the wet look it does when water is on it.
IMG_2720.jpg


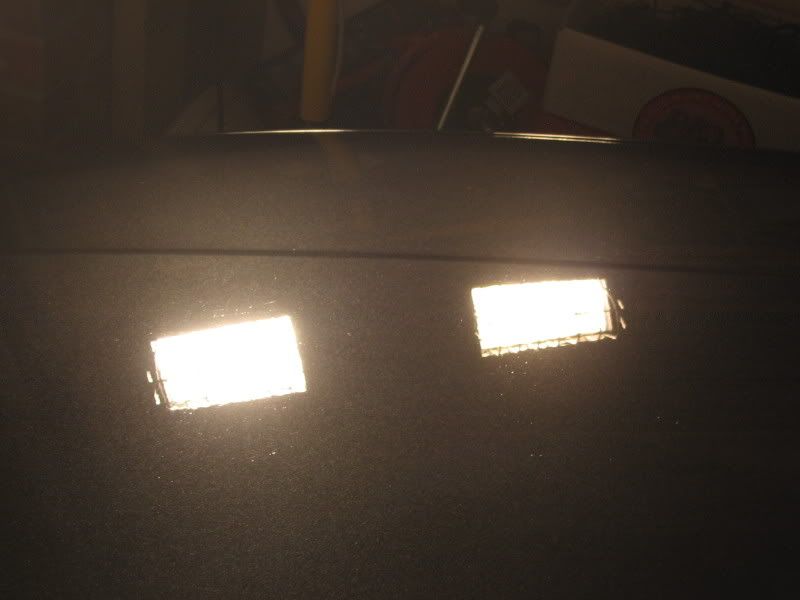
Once inside the garage I started to collate some before pictures:
bonnet:
IMG_2730.jpg

boot:
IMG_2729.jpg


A lovely combination of swirls and scratching. Previous owners use of the weekly valeter was showing some lovely signs of a hard days sponging :wall:

I then started to 'test' my way into the paint using the Metabo rotary and various pad and polish combinations, along with application techniques. The paint was typically hard, not just laughing at the usual polishing pad and Sr combo but actually bent over looking back and winking at me!:rolleyes: Not to be out done, I finally got the the pad, polish and technique ready to show the 330 who was boss!

Working a Medium cut pad, with Pinnacle Advanced Swirl Remover at 1500rpm I was able to remove about 99% of the scratching, and of course the swirling was well gone at this rate. The imapct to the paint depth was barely noticable, so great plus all round.
 

FinerDetails

Official SCN Supporter
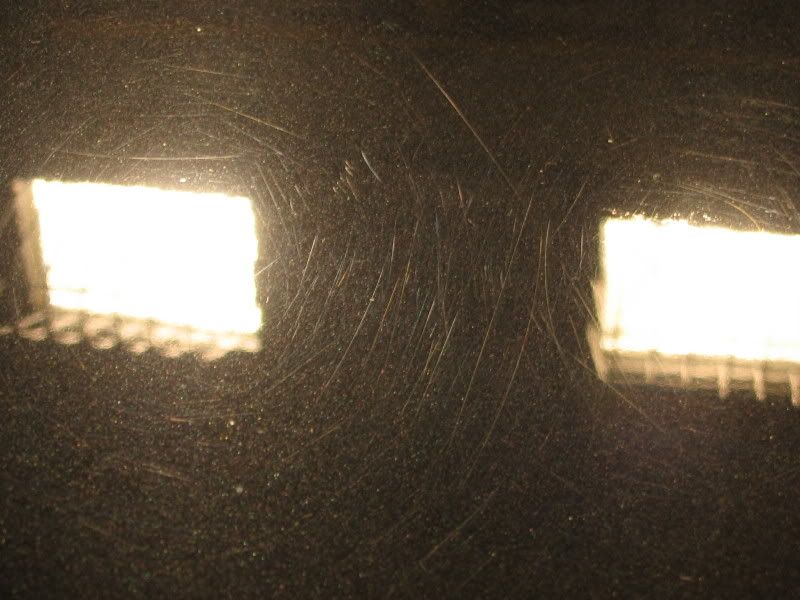
This was then followed with a polishing pad, and Pinnacle Swirl remover at 1100rpm. Third trip saw a Finishing Pad and Pinnacle Advanced Finishing Polish at 1100rpm. Here are the post defect pictures:
Bonnet:
IMG_2739.jpg

Boot:
IMG_2735.jpg


With the car now starting to look deep and glossy I used the Porter Cable to apply XMT Finishing Glaze. this was left to cure whilst I applied Megs #20 to the alloys.

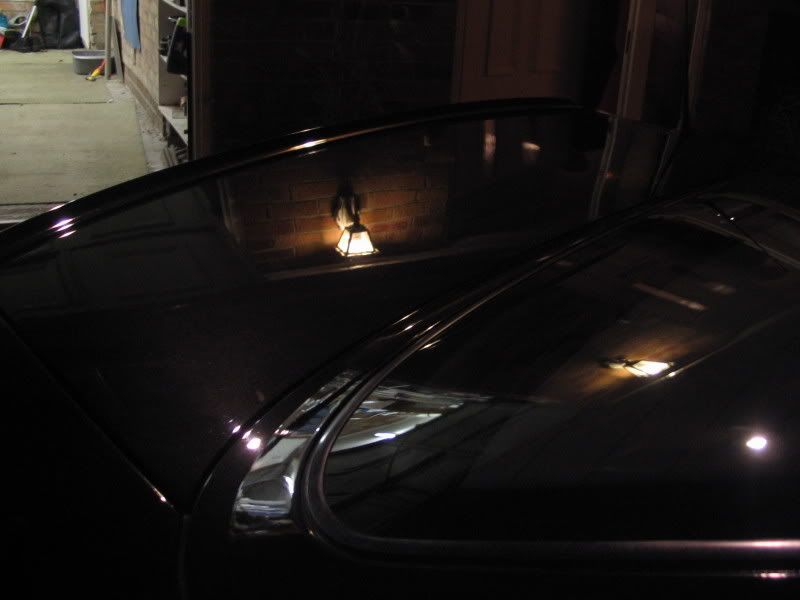
Both wiped clear before applying P21s by hand, removed after two panels. Glass was cleaned with Stoners Invisible Glass and tyres treated with megs Endurance Gloss. Finished at 6.30pm so due to the darkness outside could only manage an indoor after shot:
IMG_2741.jpg


An outdoor reflection:
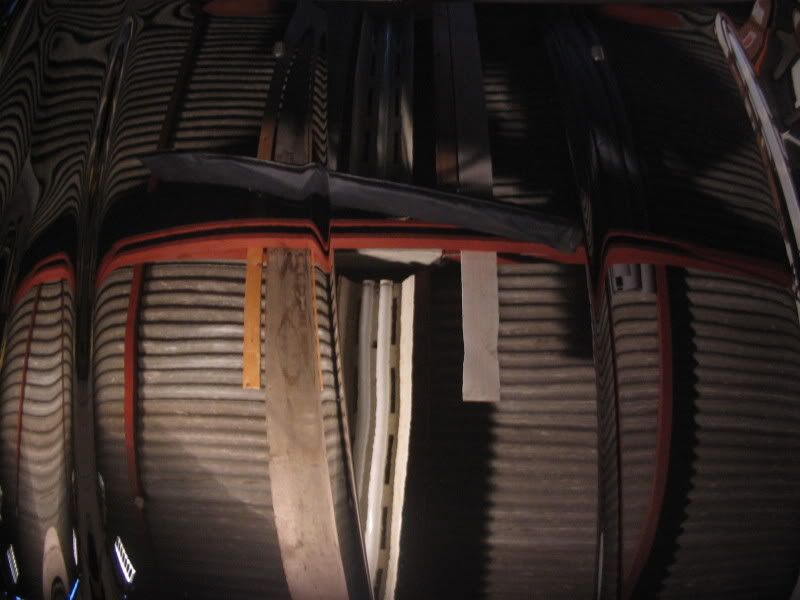
IMG_2745.jpg
 

FinerDetails

Official SCN Supporter
After ten hours most detailers would be packing up, it was time to start car number two. Before pictures taken in the morning when it was light:
IMG_2722.jpg

IMG_2721.jpg

IMG_2725.jpg

check out the finger mark to show the depth of the grime:
IMG_2724.jpg


A DP soak, rinse and re-soak, followed by a wash, dry and into the garage.

Then using the PC and Megs Cleaner Wax I worked the Single Stage product to clean up the LCR. This was what the polishing pad went from and too:
IMG_2748.jpg

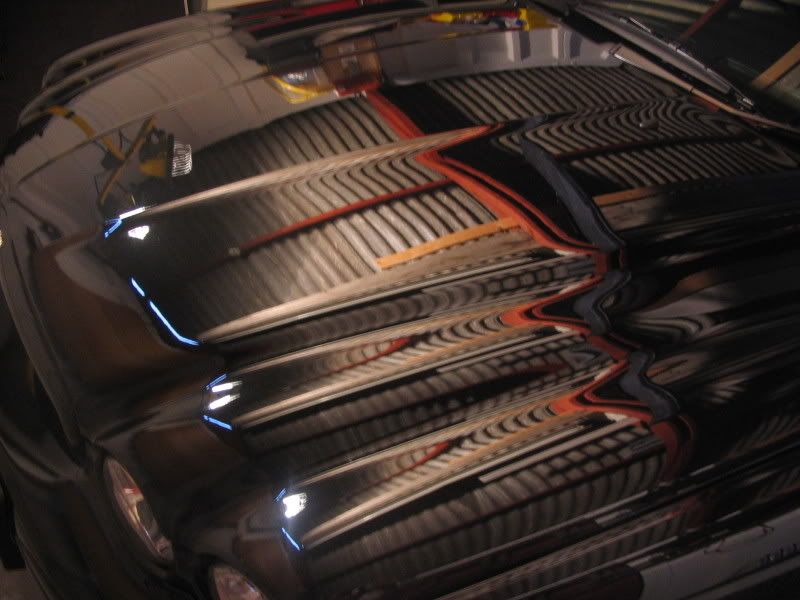
An hour and a half after starting here are some distant reflection shots show the stone chips dont spoil the view :D
IMG_2749.jpg

IMG_2750.jpg

IMG_2751.jpg


Having left home at 6.30am, and getting in at 9.30pm at night, it had been my longest single day of detailing, but a truely rewarding one. God I love my Company! :D
 

FinerDetails

Official SCN Supporter
Friday

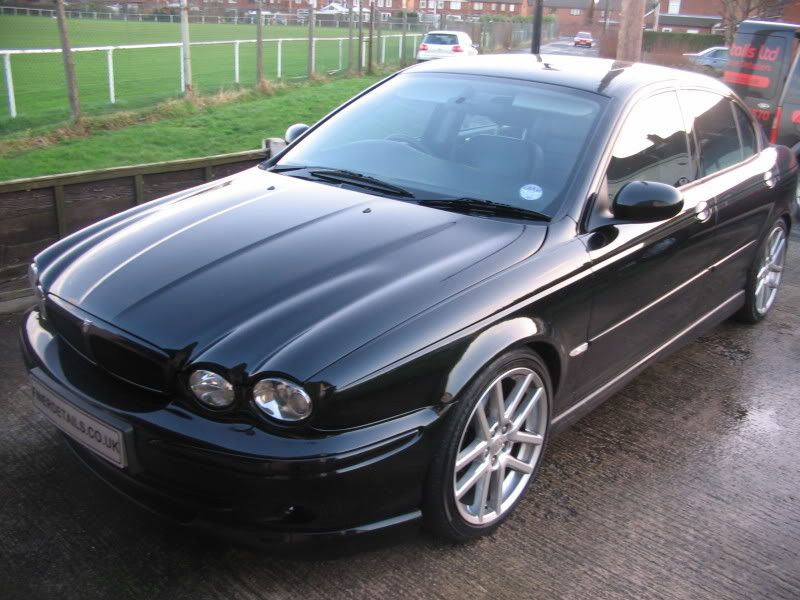
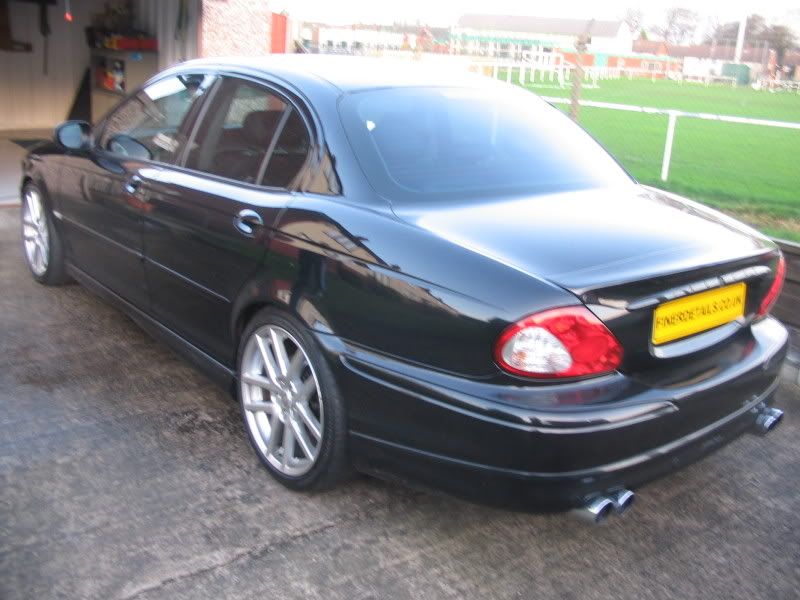
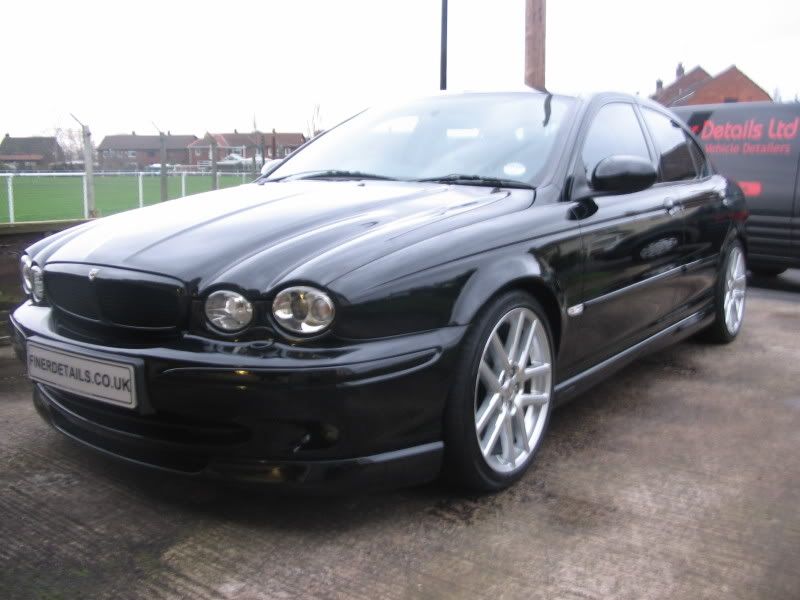
I took a trip over to Warrington today to detail an X-Type. Booked for swirl removal and a good 'blinging'.

Here was what the car looked like on my arrival at 8.30am this morning.
IMG_2753.jpg

IMG_2752.jpg

IMG_2754.jpg

IMG_2755.jpg


First job was the DP foam gun soaking, rinse, re-foam and washed. Then rinsed again, wheels washed with shampoo and sponge, making sure to get in behind the alloys.

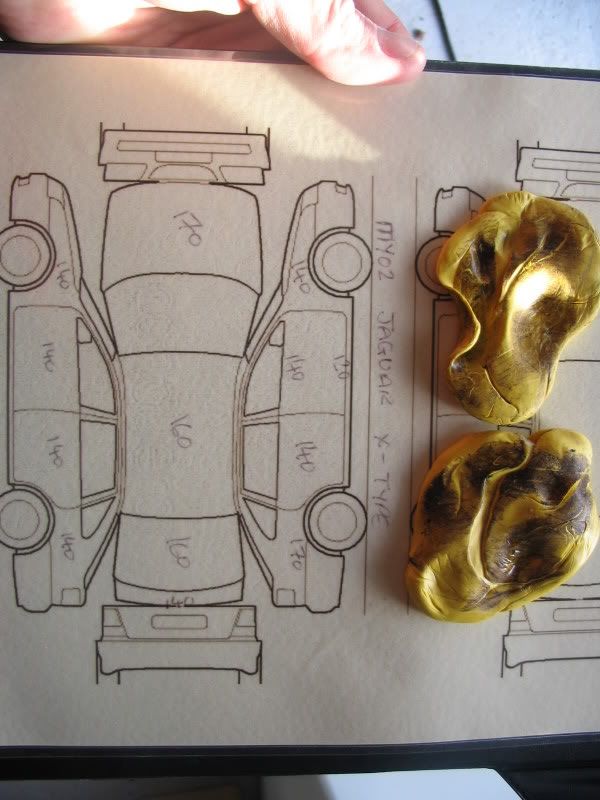
I then used the Foam gun and Pinnacle Poly clay to clay the car, making sure the lower areas got well worked as they were the worst areas. Another Dp foaming, rinse, dried and then the Paint Depth Readings.
IMG_2756.jpg


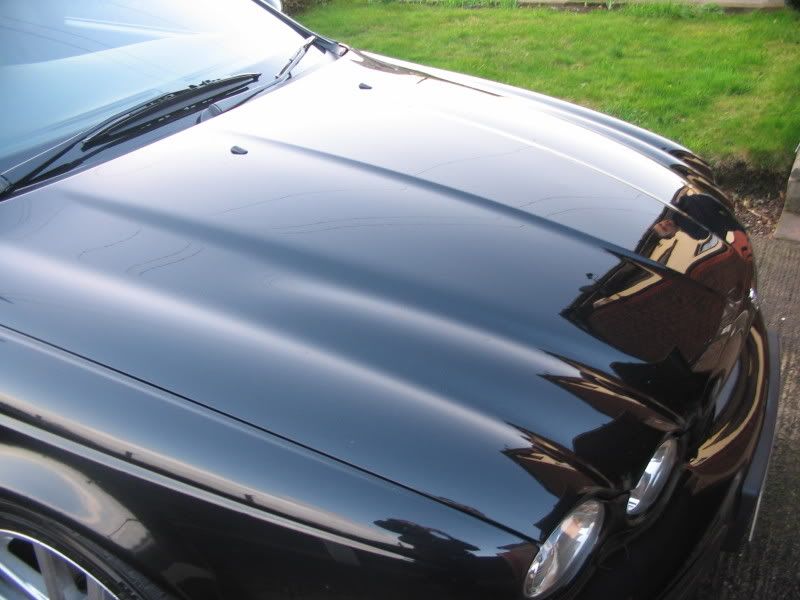
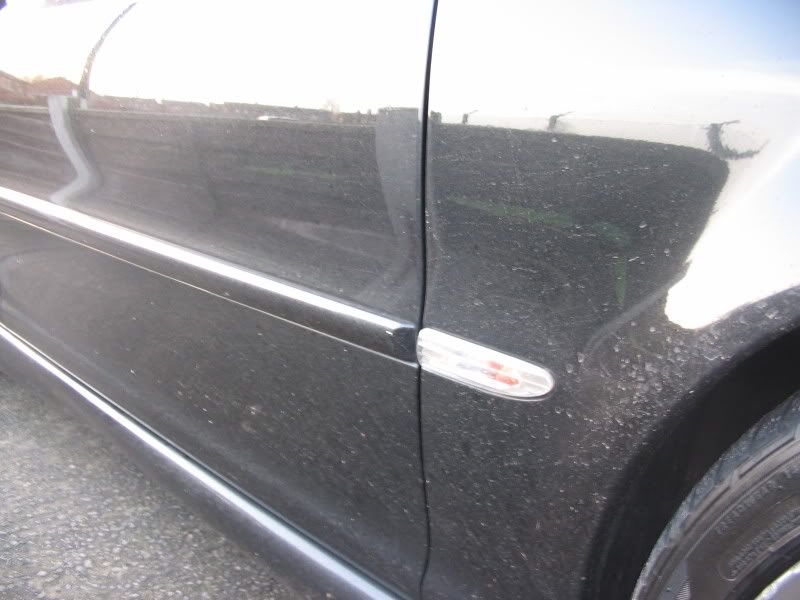
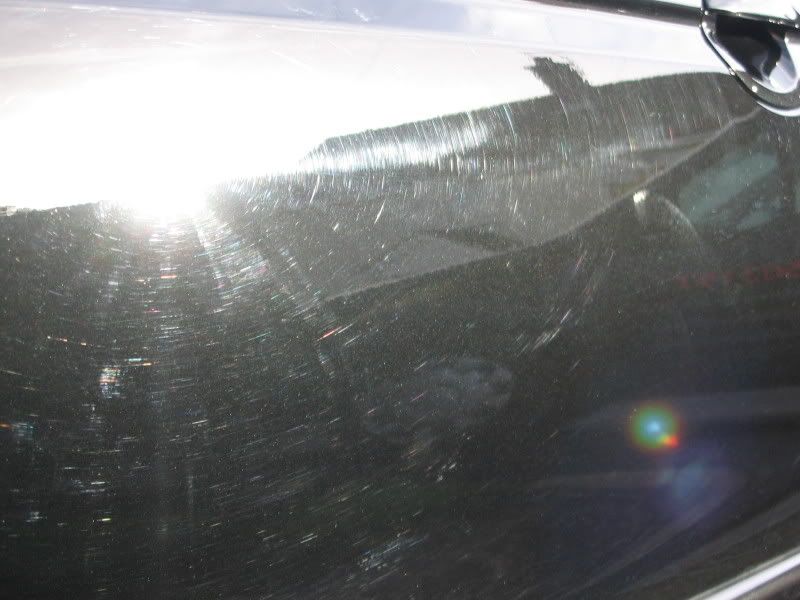
Here are some shots in the morning sun of the swirls:
IMG_2758.jpg

IMG_2757.jpg


Plus the damage done by a rotary in the wrong hands:
IMG_2759.jpg
 

FinerDetails

Official SCN Supporter
The car was then moved into the garage, taped with 3m and inspected under the halogens for the swirling. I then used the Metabo rotary, a wolfgang polishing pad and Pinnacle Swirl Remover to create this half anf half shot:
IMG_2761.jpg


Looking very swirl free, I continued with this combo right around the Jag. Next, still using the metabo, and a finishing pad with Pinnacle Advanced Finishing Polish, to create the deep glossy paint, refined ready for the XMT finishing Glaze.

The Glaze was applied with the Porter cable and a Finishing Pad, left to cure for 30mins. Whilst the Glaze cured I applied Megs #20 sealant to the alloys, and fitted a four inch pad to the PC. Using Dp Glass restorer worked the windscreen to remove a lot of the marks and scratches which had been annoying the owner.

Wiped the Glaze off the car, then using a foam pad, applied Pinnacle Souveran to the whole car, wiping clear panel by panel. Once done I removed the 3m tape, spritz with Pinnacle Crystal Mist and cleaned the glass with Stoners Invisible Glass Cleaner.

Exhaust tail pipes with were done by using 'one owner' his eblow grease and some Autosol lol :thumb:

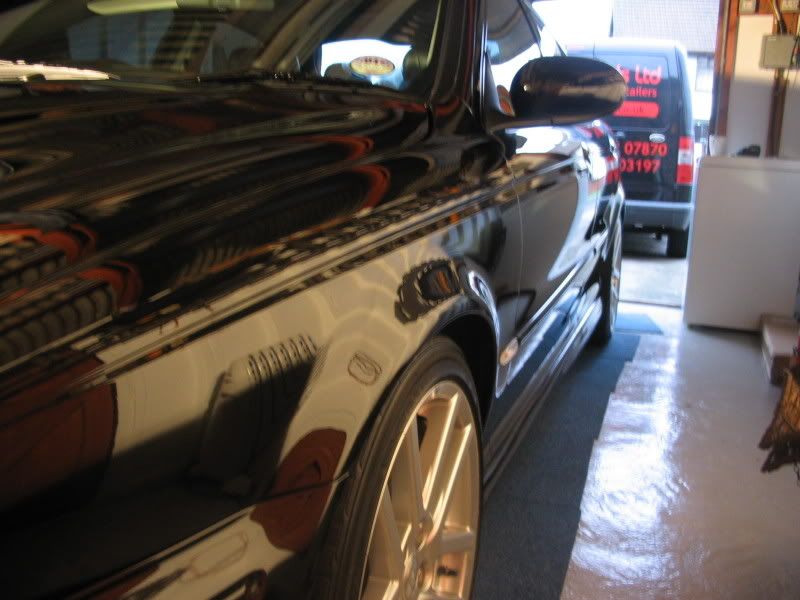
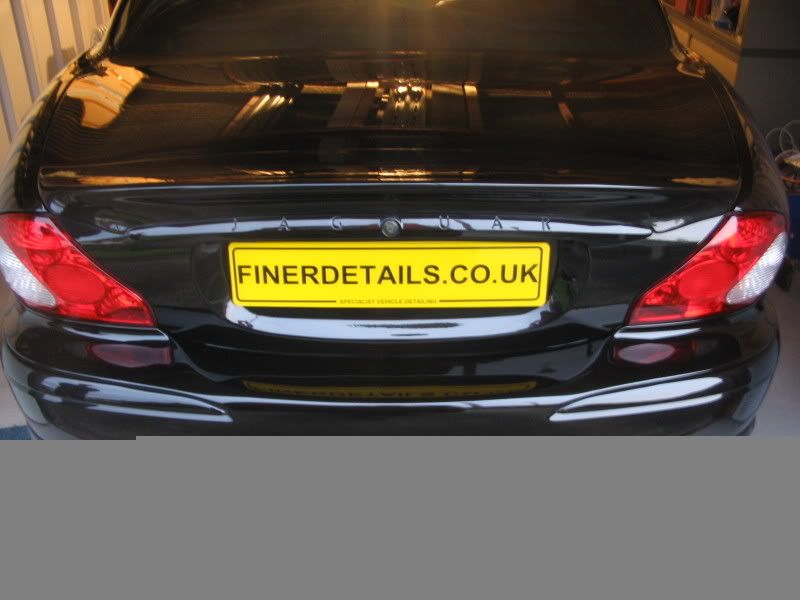
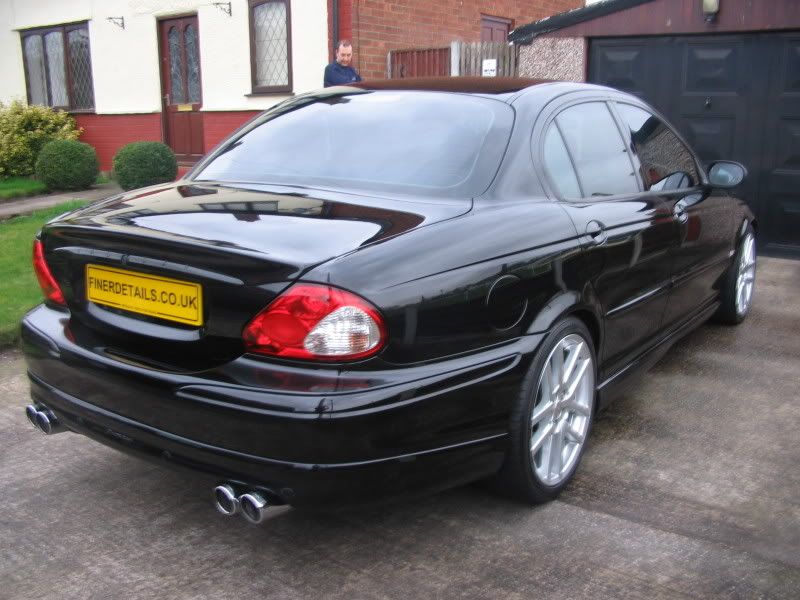
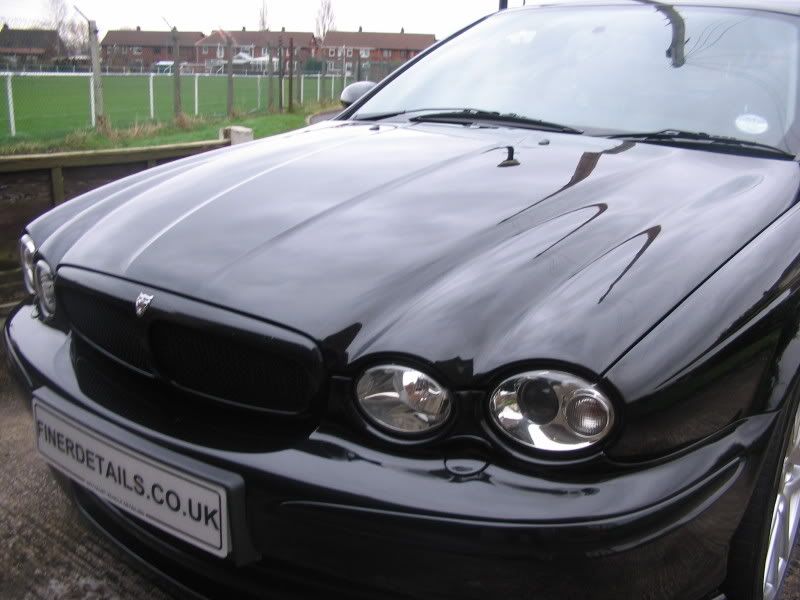
Here are some inside shots:
IMG_2763.jpg

IMG_2762.jpg

IMG_2765.jpg

IMG_2766.jpg
 

SteveD

Active Member
Oct 22, 2006
107
0
hi

That jag is nice. Ask a stupid question what is the bits of paper with number on?
 

daveyonthemove

Smile if you like SEAT's
May 14, 2006
1,519
0
Wrexham
hi

That jag is nice. Ask a stupid question what is the bits of paper with number on?

Iain takes an average reading of the paint depth of each panel before getting to work with the cutting products. Ensures he doesn't jump straight in with coarse products.

Good work there Iain, as said above it's to the same high standards we have all gotten used to seeing :clap: :clap:
 
Genuine SEAT Parts and Accessories.