My car audio install

MattBennett

Active Member
Nov 14, 2005
74
0
Been meaning to make a thread on for a while about my ongoing car audio install. This thread has been compiled from another forum that I use. I started this install in July 2006 has been going slowly since then.

Using my standard Ibiza head unit, using the preouts on the back to feed a crossover which then feeds an amp with front rear and subwoofer out puts.

Started last year with the standard speakers beening changed for Infinity reference components front and back. Few pics of the speakers and tweeters installed. Need to go back and sound proof the whole car and secure all wires and the crossovers into place.

1.jpg

Mids installed in to the door in MDF baffle

10.jpg

Using the existing speaker wire to the door so have run wires down the middle of the car from the amp to this plug which plugs into the car wiring harness

11.jpg

Power cable through the gromet into the car

2.jpg

Close up of a speaker mounted, need to tidy up the wires and secure them

3.jpg

Cross overs in place, need securing properly as closing the door has made them come unstuck.

4.jpg

Mids installed into the rear pannel, this was all ready there, just held the speakers in place with nuts and bots with locking washers

6.jpg

Crossovers mounted in the rear quarter, guess that these have come unstuck as well, wil probably need to resecure thse.

7.jpg

Tweeters glued in place into the original tweeter housing. Just needed easing slightly to make them fit properly

8.jpg

Rear passenger side waiting for the door card to go back on

9.jpg

Passanger door finished and waiting for the door card
 
Last edited:

MattBennett

Active Member
Nov 14, 2005
74
0
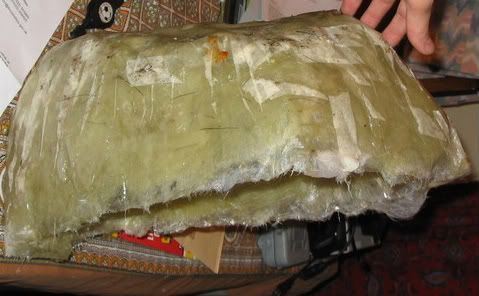
Started a fiberglass subwoofer build in the passenger side of the boot. MK1 was complete disaster for a number of reasons lack of patience being the biggest factor. So have started a new build. Have read around the net looking for tutorials in building fiberglass enclosures. I intend to make this enclosure so that its flush in the boot, will just have a grill for the sound to pass though. Going to construct a false floor for the amp, cross over and to hide the wires.

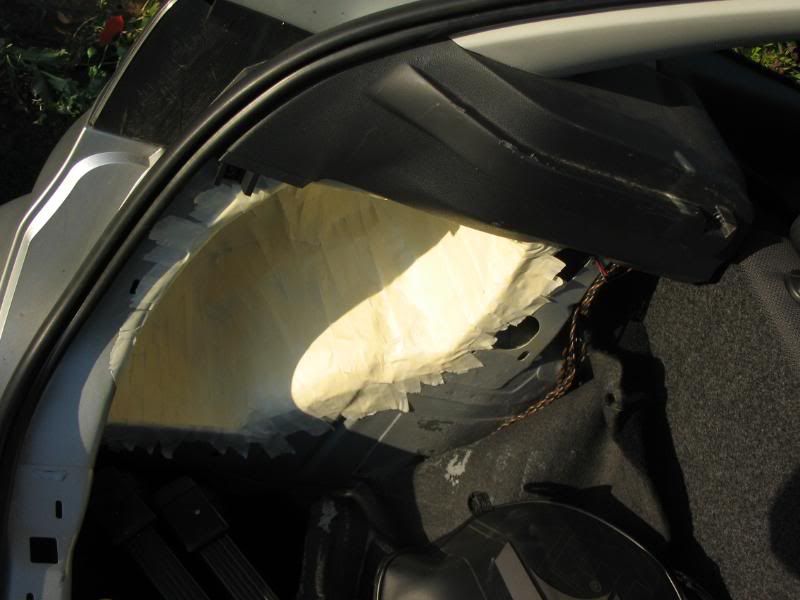
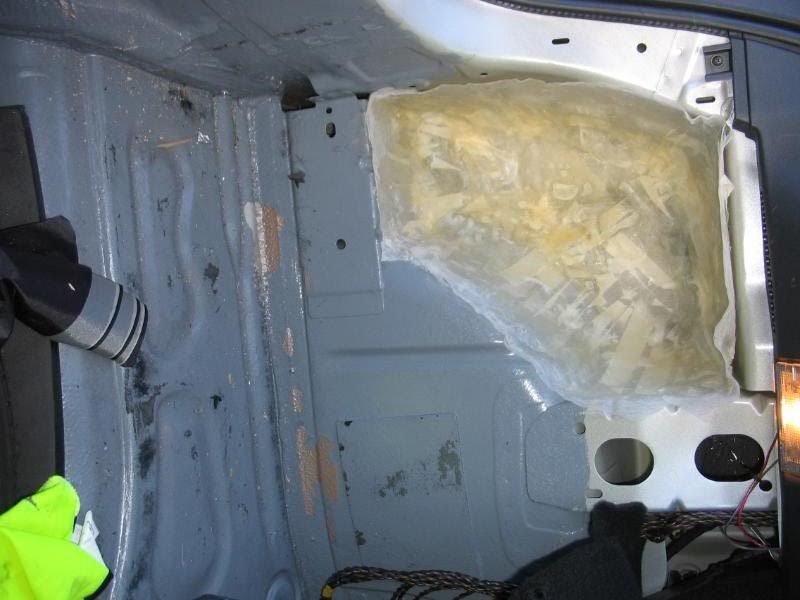
Started off wrapping the area concerned with foil becuase it will hold its shape and should pull out of the car fairly easily. Also saves getting the car in to much of a state. Masking tape came next most areas had about 2 layers. This adds a fairly base that the fiberglass can bond to, but will also peel away from the fiberglass when dry. I learnt from MK1 that the strand mat I had was to thick and didnt want to mould around corners to well. So bought some fiberglass tissue, seems to mould around things better. Put about 3 layers of glass mat and resined it all up. Is stiff enough to hold its shape now. Will start soon building up the thickness of the enclosure layer by layer to make sure that there is no air between the layers. A problem that I had in the first build.

Masking tape inplace over the tinfoil
IMG_1808.jpg


IMG_1809.jpg


IMG_1810.jpg


IMG_1811.jpg


After some fiberglass with the foil and most of the masking tape removed. Just strong enough to hold its shape, need to spend some time getting the rest of the tape off
IMG_1812.jpg


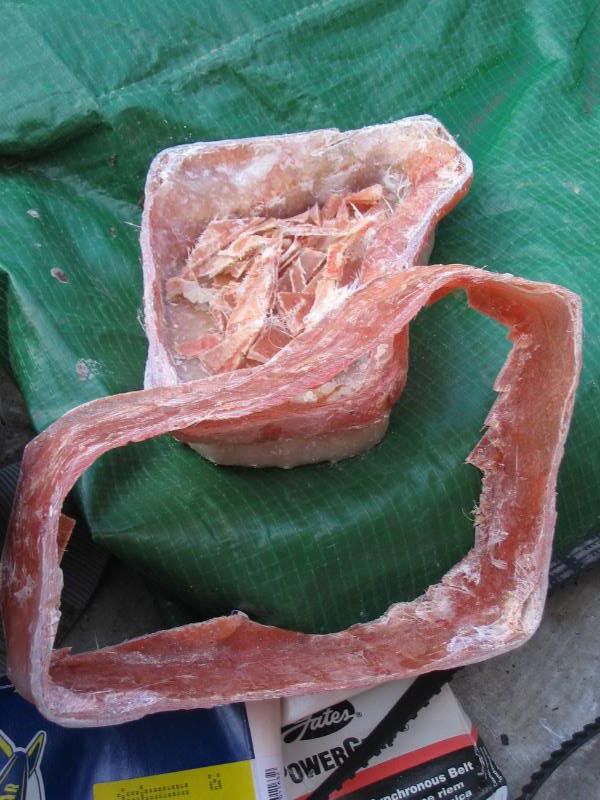
MK1 in bits in the trailer of death (Trailer full of crap going to the tip this weekend!)
IMG_1815.jpg


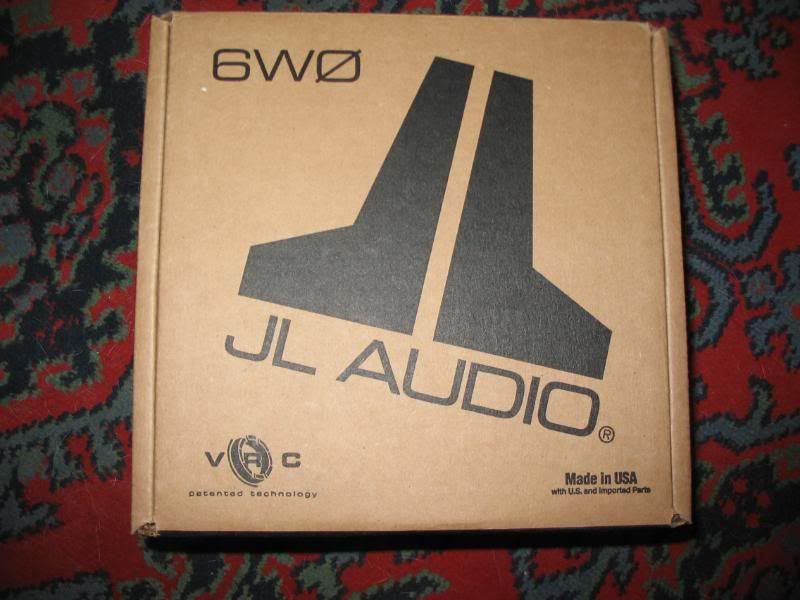
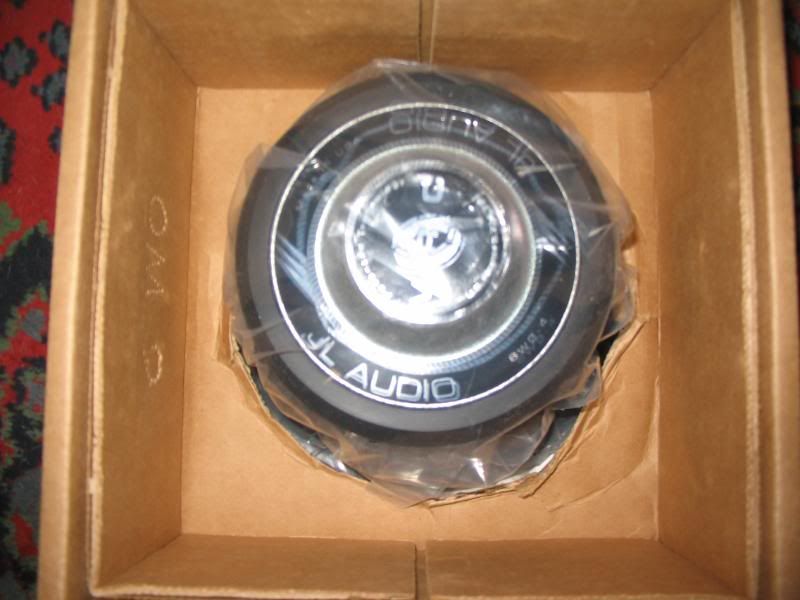
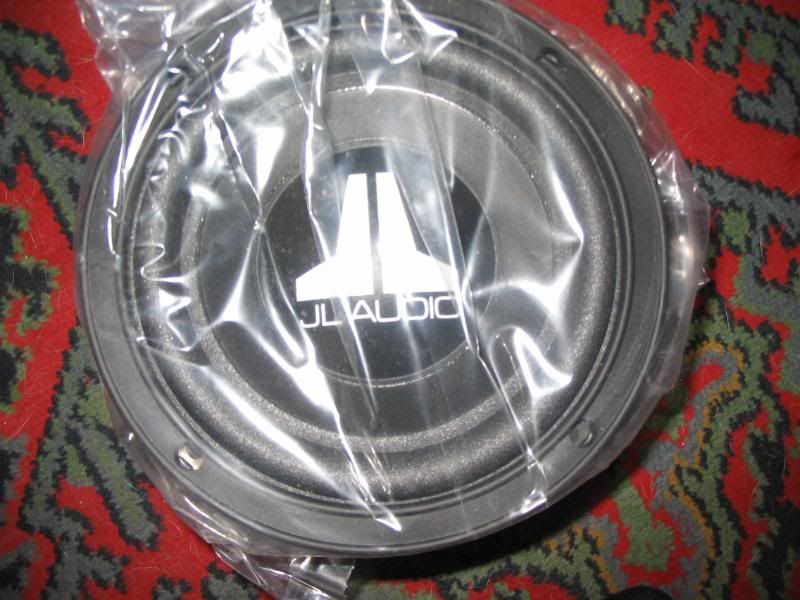
The subwoofer, all good things come in small packages! 6" JL audio, my Dad has one of these in a 5 litre sealed box in his car and it does make some noise! Im hoping to port my enclosure and hope that it will finish up about 7-8 litres.
IMG_1816.jpg


IMG_1817.jpg


IMG_1818.jpg
 

MattBennett

Active Member
Nov 14, 2005
74
0
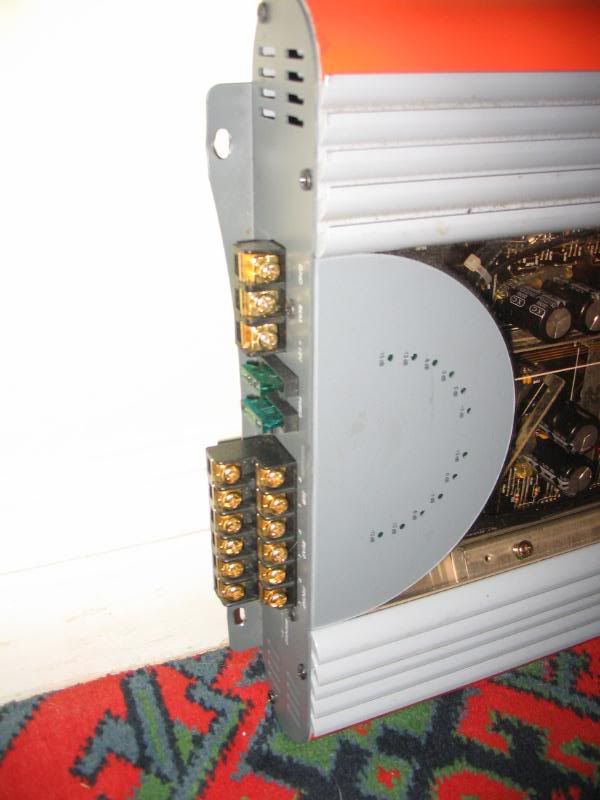
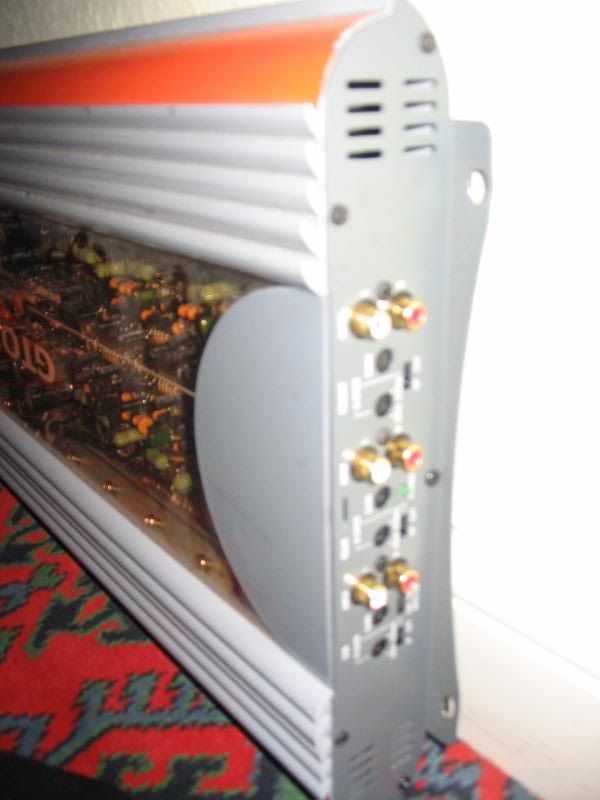
The amp to power the system, Will run the two sub channels bridged to the sub and the rest of the channels will power their respective speakers. I had this in place with 2 10" free air subs in a parcel shelf untill last week. Got fed up with no space in the boot do decided to take on the fiberglass build.
IMG_1819.jpg


IMG_1820.jpg


IMG_1821.jpg


Electronic crossover unit. Takes a front and rear RCA input and spits a sub output out at the other end. This is then fed to the amp.
IMG_1822.jpg


Few more pics, have got some mor structure into the box tonight with may more layers of glass matting and resin. Is solid now and certainly wont go anywhere. Have the front of the box cut out of wood, might decide to make it agin though for a better fit. Going to tape the wood into place, use some fabric tape through the hole to seal the baffle to the enclosure. I will then fill the gap with thick string and matting and add some resin to seal it all up tight.

IMG_1823.jpg


IMG_1824.jpg


IMG_1825.jpg


IMG_1826.jpg


Isnt quite the volume i was hoping for about 5-5.5 litres so will be a sealed enclosure and will pack it out a bit with some wadding to fool the sub into thinking its in a bigger enclosure.
 

MattBennett

Active Member
Nov 14, 2005
74
0
Wouldnt consider my self hardcore. Im sure the hardcore would have other ideas on how to do things. Keep an eye on the ICE section but dont post, like you say, is fairly quite in there.
 
Jun 13, 2008
1,513
0
Kent
Top stuff there mate, are you gonna dynamat it in the future?
Also a question, how exactly does the electronic x-over work, and what's the benefits of getting one?
 

MattBennett

Active Member
Nov 14, 2005
74
0
I plan next year to strip the interior out and sound proof. Also replace the trim clips that I broke removing the interior last time.

The electronic crossover takes a front and rear RCA from the head unit. Then spilts it into 3 channels. Front, rear and sub. You then can controll the volume of each channel independenly. And you can also adjust the frequency given to each channel. In simple terms, you can controll how much and how loud from front rear and sub. The benifits of me having one meant that I could have a dedicated sub channel easily. It was cheap. I would like to find a double din unit in the new year with a graphic eq and possibly loose the crossover
 
Last edited:

MattBennett

Active Member
Nov 14, 2005
74
0
Think they were 6.25 but I cant remember eactly but they were an almost identical fit and the tweeters could have been more perfect.
 

Aimez

Active Member
ah right cool, I've not removed the rear door cards myself (got an audio place to do the work as I don't understand electrics and would set my car alight!)

Can I pick your brains, for louder bass what is best, turn up the sub woofer volume or the bass volume or both? Can't get mine to sound right.
 
May 29, 2008
675
0
Aberdeenshire
Top work.....one of my next jobs is replaceing the front speakers as one is shagged....what size speakers are the mk4.....front and rear if you can remember?

Cheers

Andy
 

st10587

i only brake for cake!!!!
Oct 4, 2007
3,669
0
Hindhead
im working on pretty much the same sub enclosure how freaky is that!! i thought i was being unique!
 

Chino_UK

Team Creatine
Jul 19, 2009
1,587
5
Cheadle, Cheshire
Nice work mate...just about to start work on mine...gonna ditch the rear speakers in favour of an auto acoustics shelf with decent speakers run through the high pass filter on my 4ch amp. What size are the mids in the back tho?
 

MattBennett

Active Member
Nov 14, 2005
74
0
Chino I have a stealth shelf if you want it we can come to some arrangement. I had two 8 inch free air subs in it so will take some weight.

I managed to get a fairly good baffle in the front door if you look at the pics I think it was 22mm mdf, this meant I was able to get the speakers in and have no probs with windows, and still gets the door card over!
 

MattBennett

Active Member
Nov 14, 2005
74
0
For those that are interested the speakers model number is REF6010CS 6.5" they fitted a treat into my car and couldnt reccomend them enough, they are as close to stock fit as you can get, you do need a spacer on the drivers door to stop them catching the windown when it is wound down and can still get the door card on top.

The speakers are still for sale here http://www.caraudiocentre.co.uk/product_m-reference-6010cs-6-5-34-270-watts-speaker_p-22418.htm not where I bought them from and not as cheap as I got them for but they fit almost with out messing
 
Last edited:
Genuine SEAT Parts and Accessories.