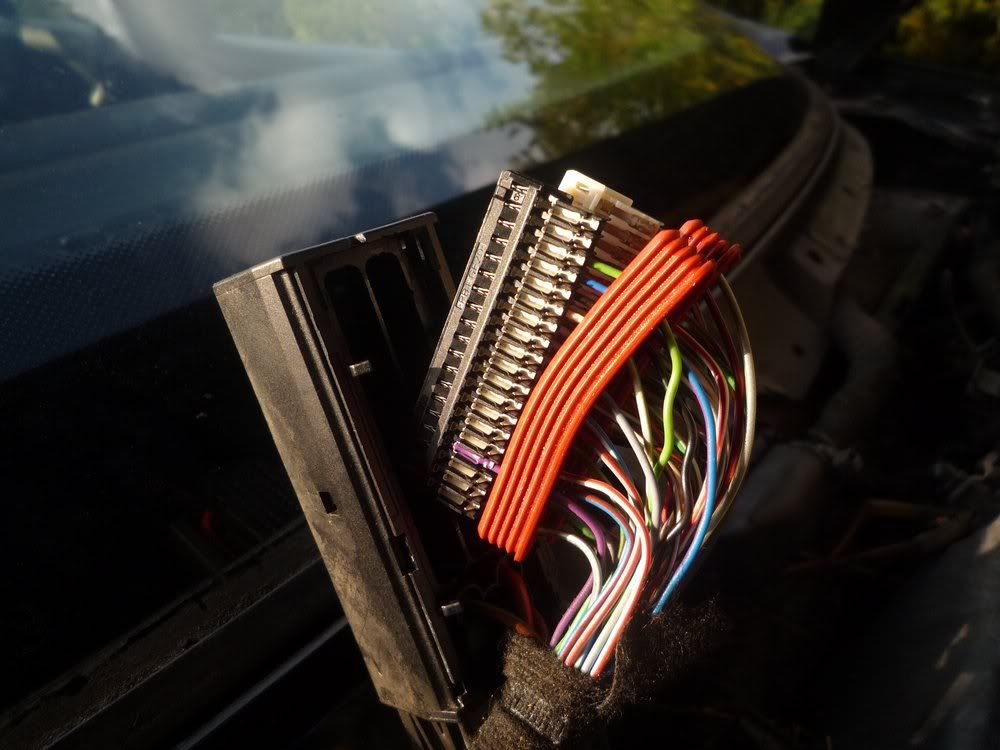
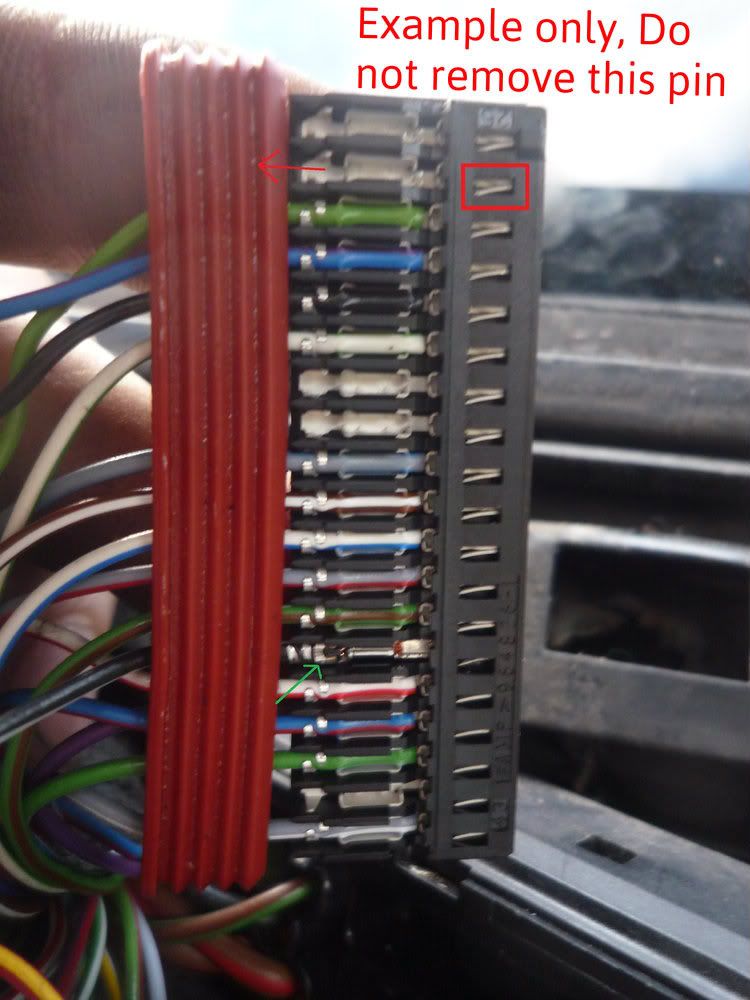
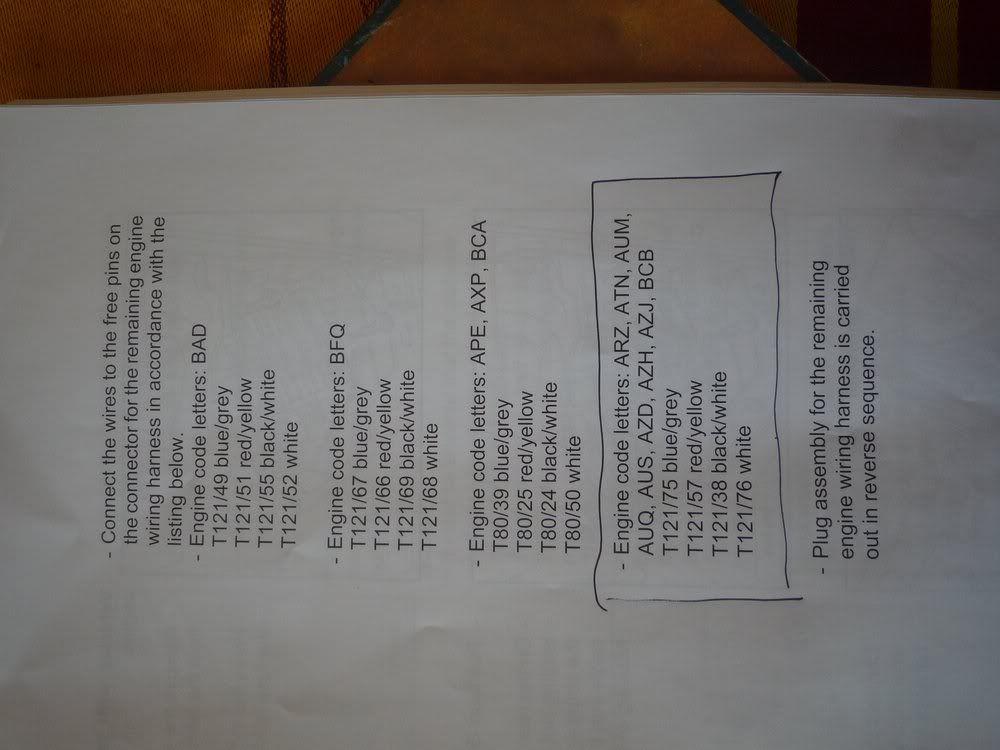
I didn't find a comprehensive guide. Hopefully this will help people decide whether or not they want to give it a go.
I purchased a kit from Teeside VW. Your best bet is to eBay message them and pay direct for a very small discount (they save eBay fees).
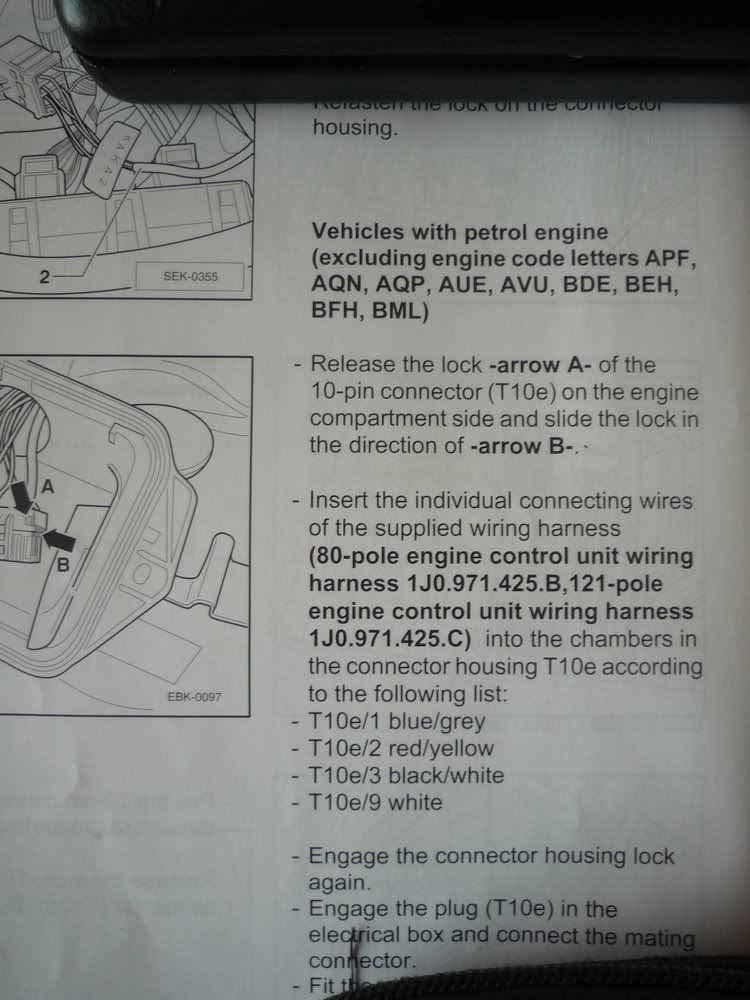
They will give you a really bad set of instructions made up of ETKA-style line drawings and based on a MK4 Golf. This guide is intended to replace the supplied guide and show enough detail so that you don’t have to spend hours and hours on the job (as I did).
To be honest, I found it a horrible job – particularly inserting pins into the ECU loom which I regard as quite high-risk. If you can have it done by Awesome-GTI or someone for £120 then that sounds a good deal to me. This guide will help a lot though.
Before anyone asks, I’m afraid I didn’t pin-out the stalk.
It’s a 3 phase job. You can put the car back together after any phase and it will work as normal.
1) Fit the stalk and leave the interior cruise loom behind the dash - Fairly quick job
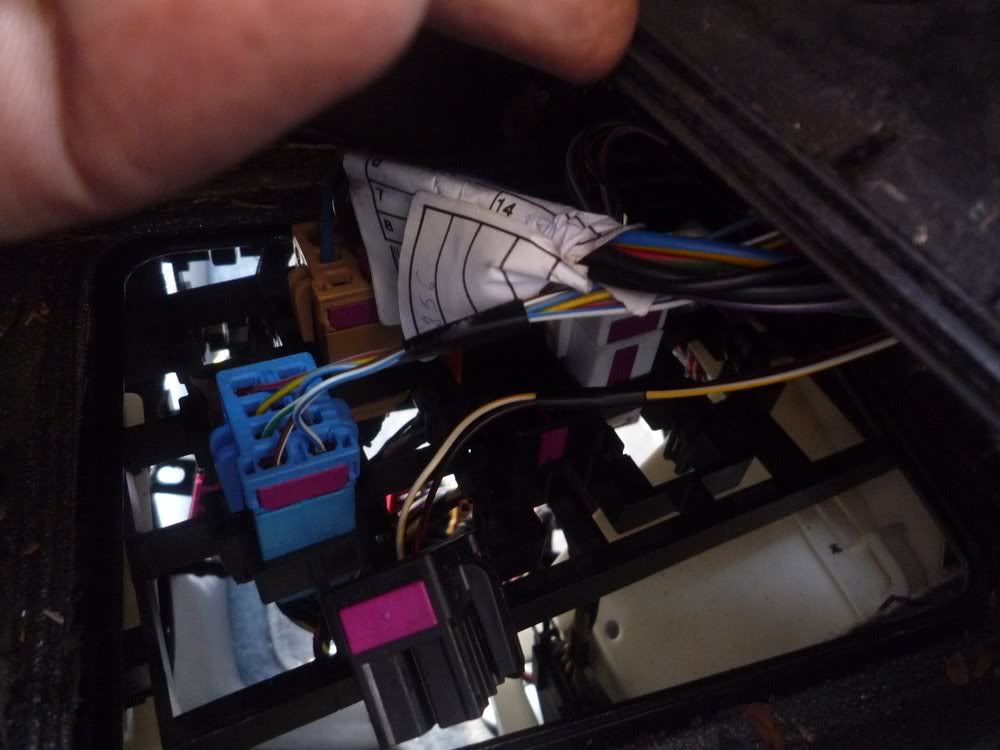
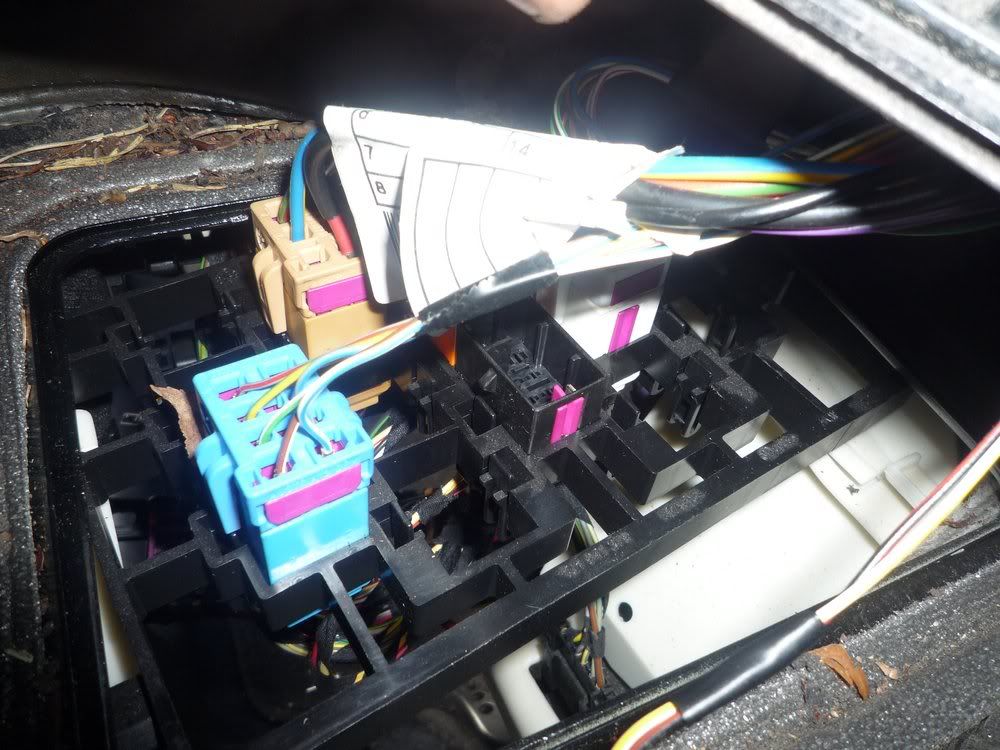
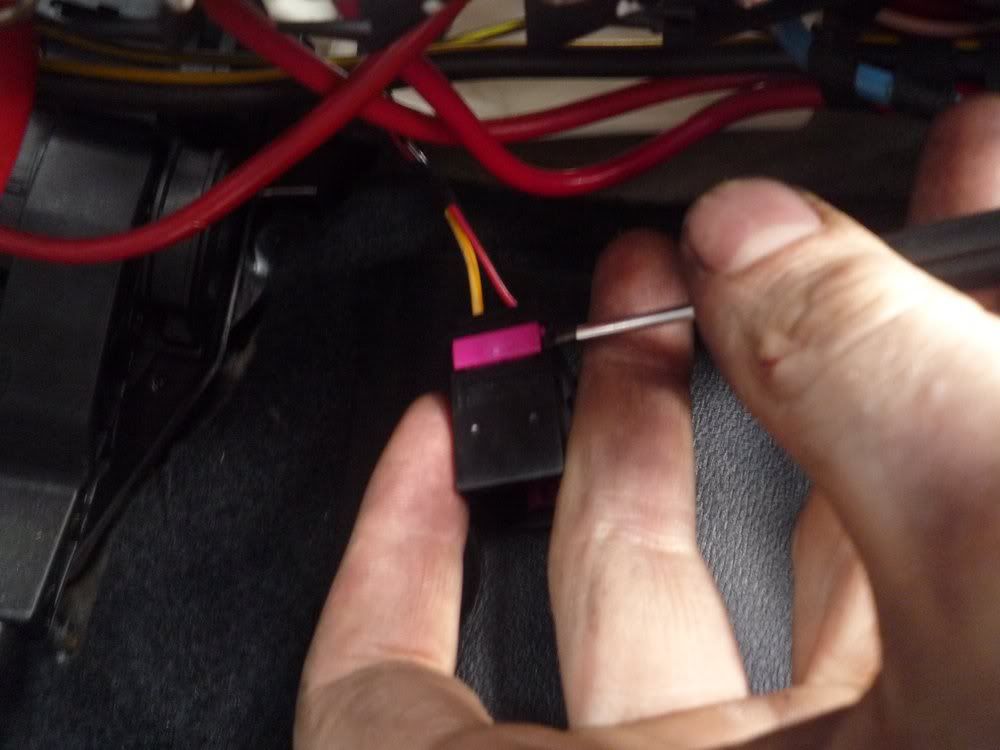
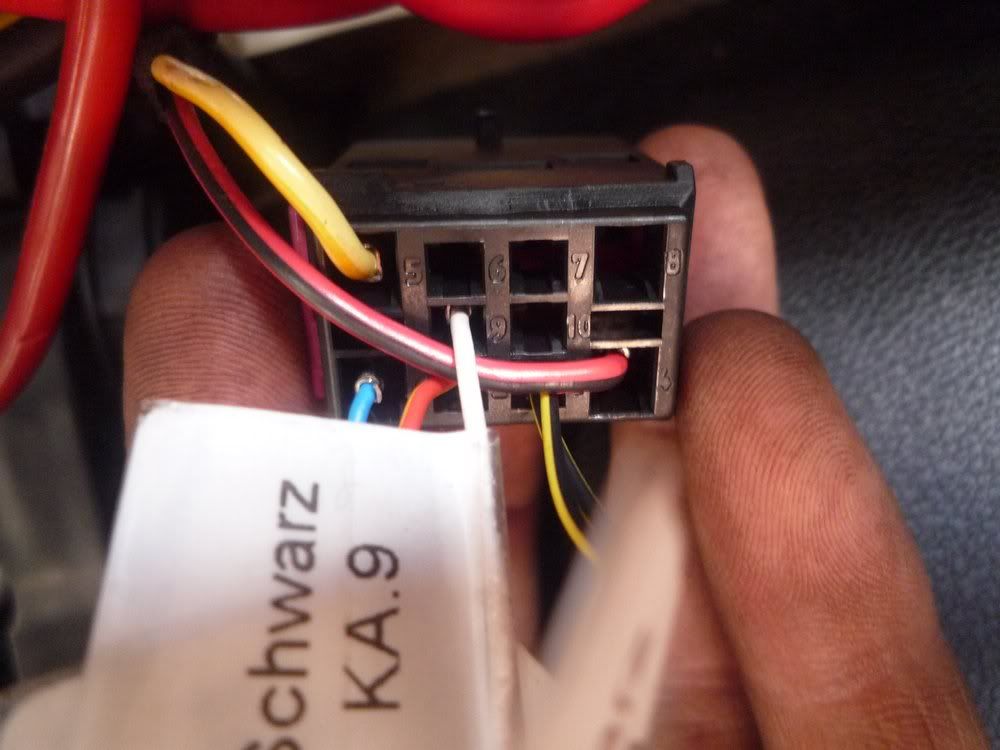
2) Wire it all in (mostly in the scuttle) – can take ages
3) Activate it on VAG-COM – Quick and easy
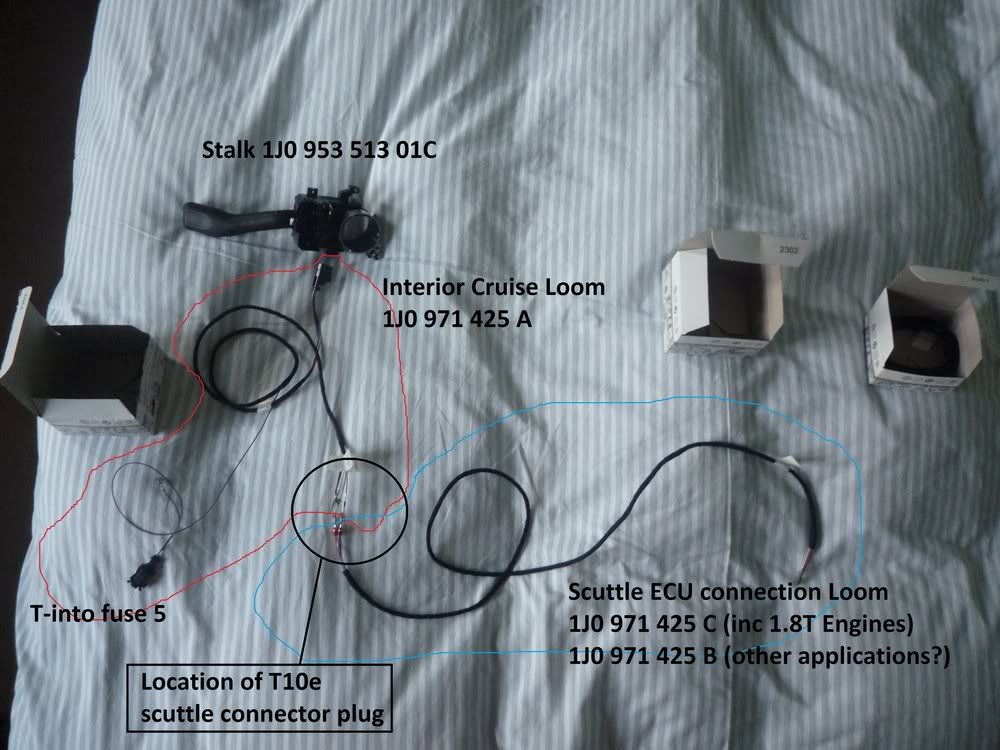
Here is a rough outline of the wiring:
PHASE 1 - To fit the stalk:
Disconnect one battery terminal. You’re going to remove the airbag which can cause massive amounts of damage and injury if it goes off, so no joke – disconnect the battery.
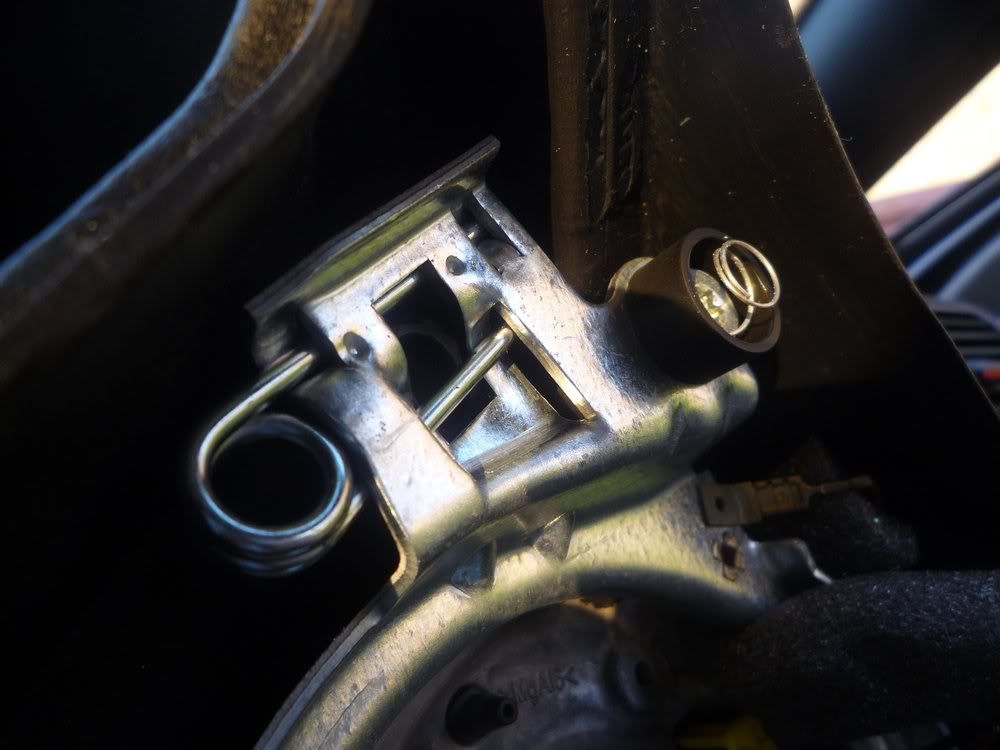
Remove the airbag. There are two holes – left and right side behind the wheel . You need to unhook the spring clips holding the airbag by levering them inward toward the centre (pull outward on your lever). You need something quite short to do this, I ended up using an old 5 or 6mm drill as some screw drivers can be too flexible. Don’t be shy, the clips are pretty stiff. It may help if push on the horn just a little while levering the clip and then release the horn (another good reason to disconnect the battery).
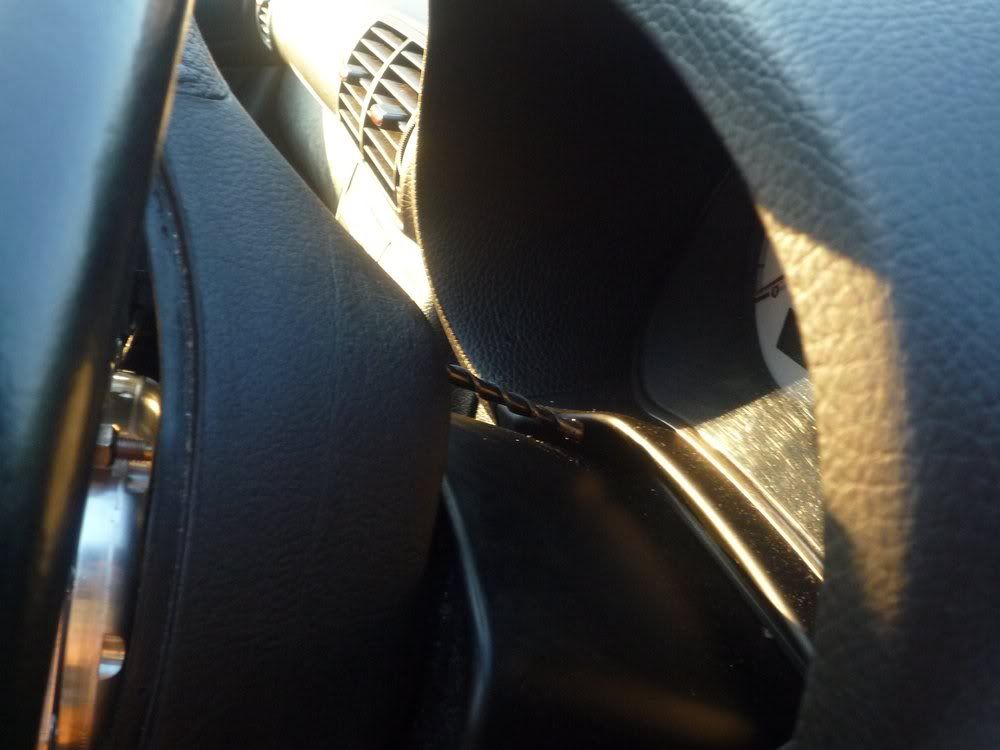
These are the clips you’ll be unhooking:
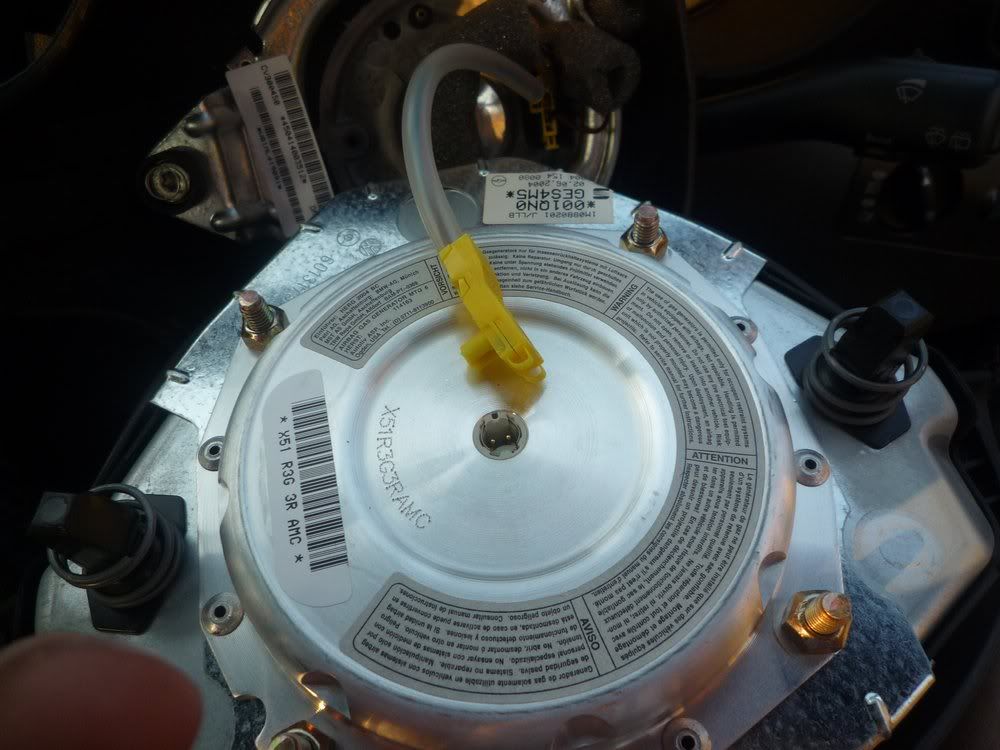
The air bag cable looks like this:
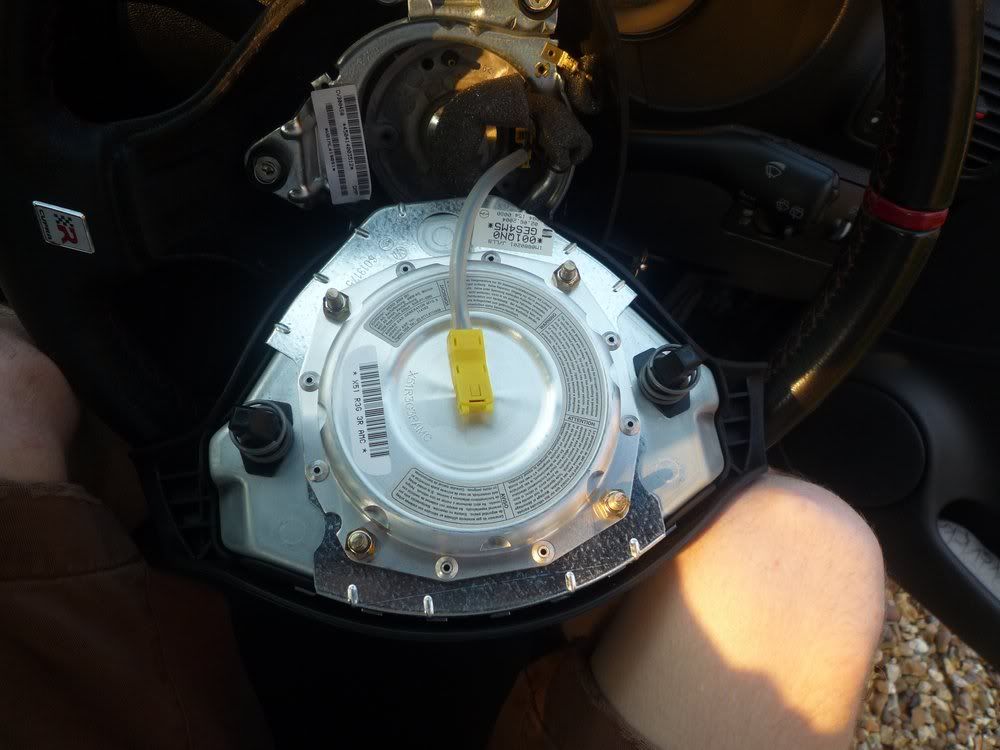
There is no catch, just gently pull it free:
Next, undo the steering wheel bolt – This is 60Nm for re-assembly. You’ll need an M12 spline-drive bit (not Torx or hex). MANY SPLINE DRIVE KITS DO NOT SUPPLY M12 BITS so be sure you’ve got one before starting. DON'T USE ANYTHING ELSE!
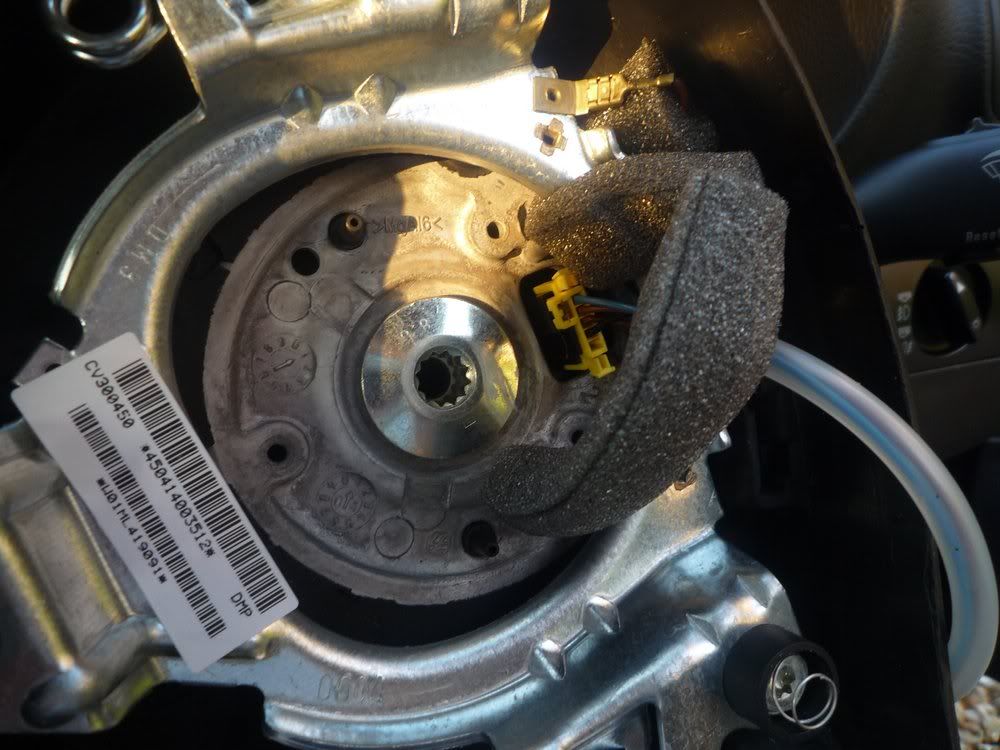
BEFORE YOU REMOVE THE STEERING WHEEL!!!! – Check for orientation marks between the steering column and the wheel. This is important for re-assembly. ALSO – Note the orientation of the indicator cancelling disc behind the wheel. This disc has cables attached and although the re-assembly orientation is obvious, it can NOT be spun by 360 degrees for re-assembly or you’ll tear out the cables next time you go for full lock. ALSO, this disc does traction control steering angle and you'll get a fault if it goes back incorrectly.
Steering wheel removed, and airbag+horn cable disconnected (easy latch plug).
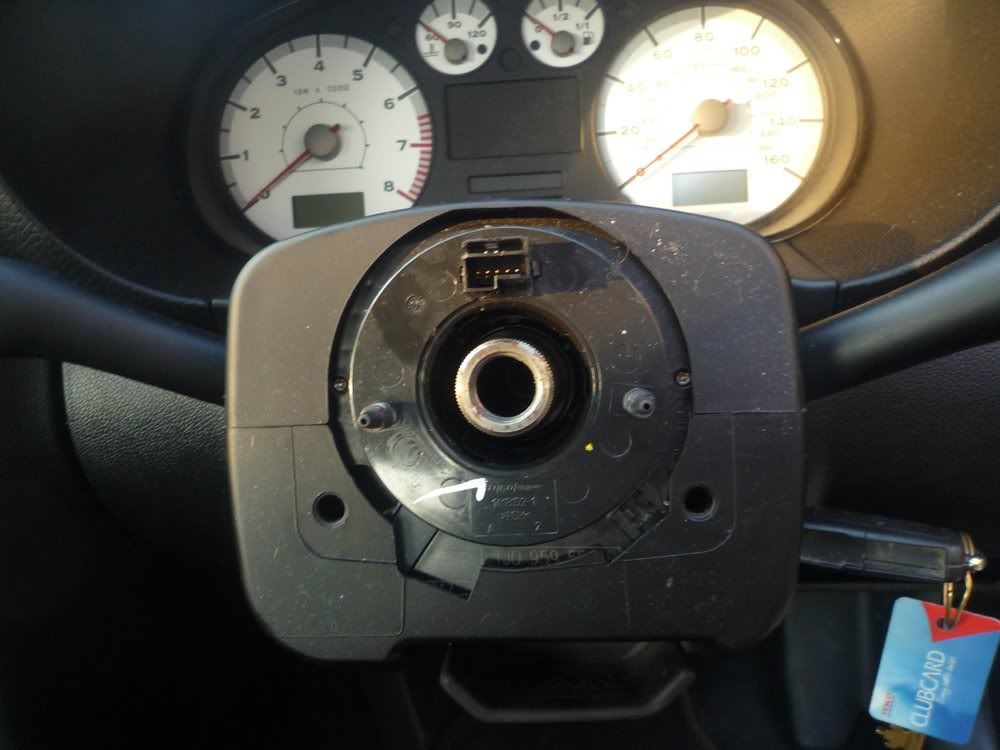
Remove the top and bottom column covers. 5 cross-head screws hold these on. Two on the front with a very small cross-head:
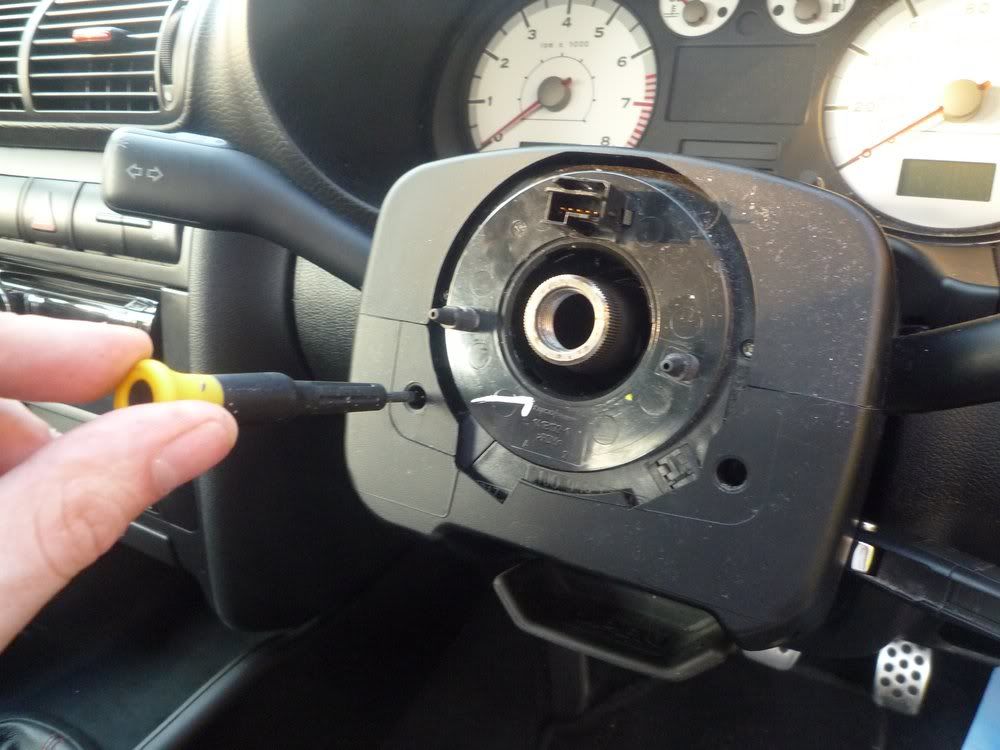
Two underneath with a slightly larger (long) cross-head
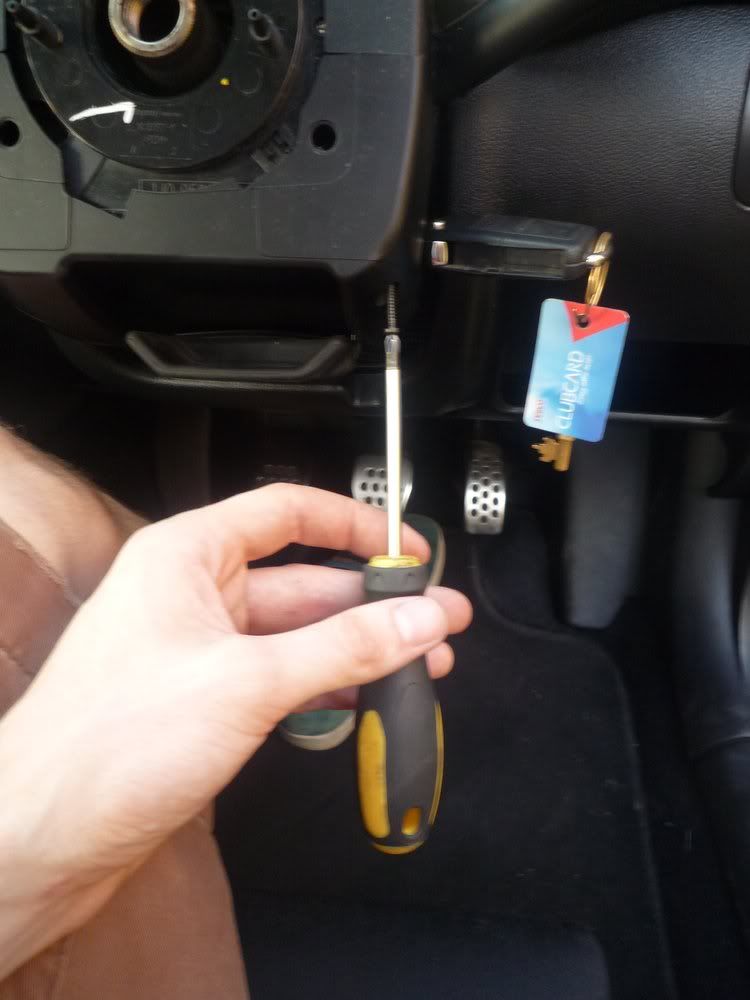
A single medium size cross-head underneath the column:
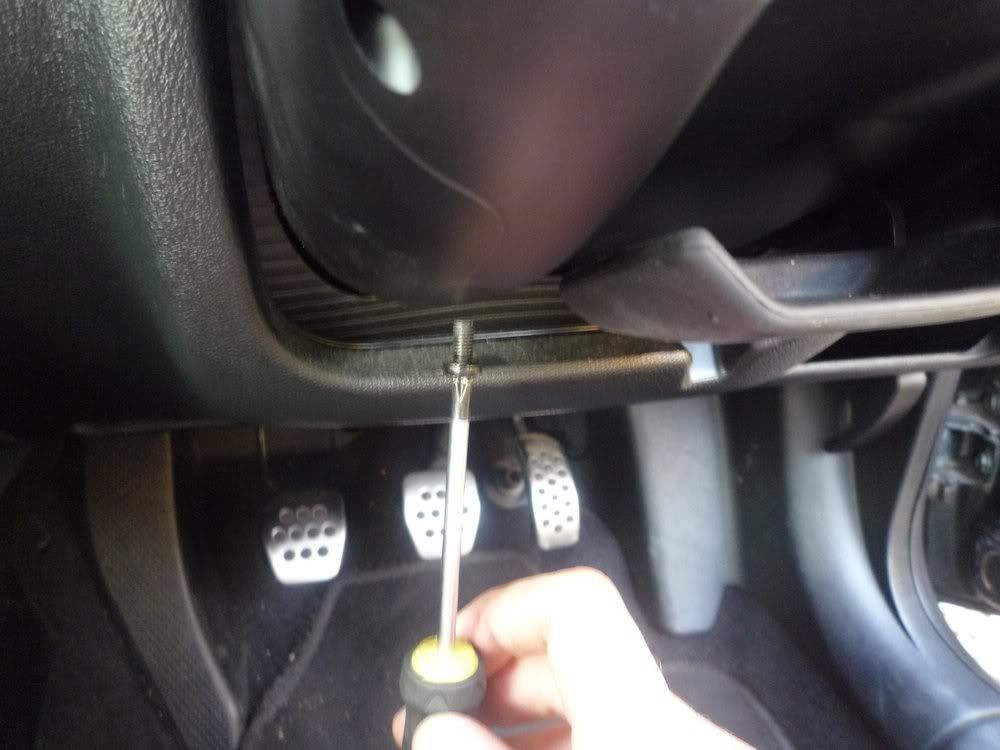
Now is a good time to remove the steering column adjuster rubber handle, held on by two T25 torx screws:
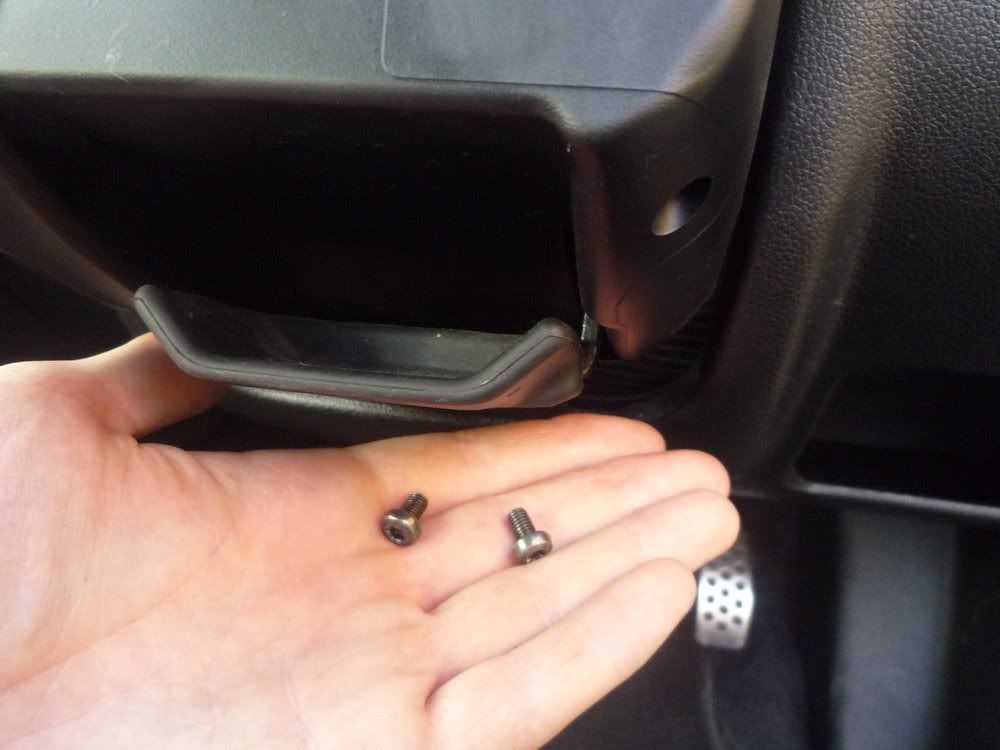
Remove the two halves of the column cover, TOP FIRST. The VW guide (for a Golf MK4) will tell you that the small bit of trim just below the dials needs to be pulled up – I don’t think it does. Release the steering column adjuster and pull the column down while you carefully extract the top cover.
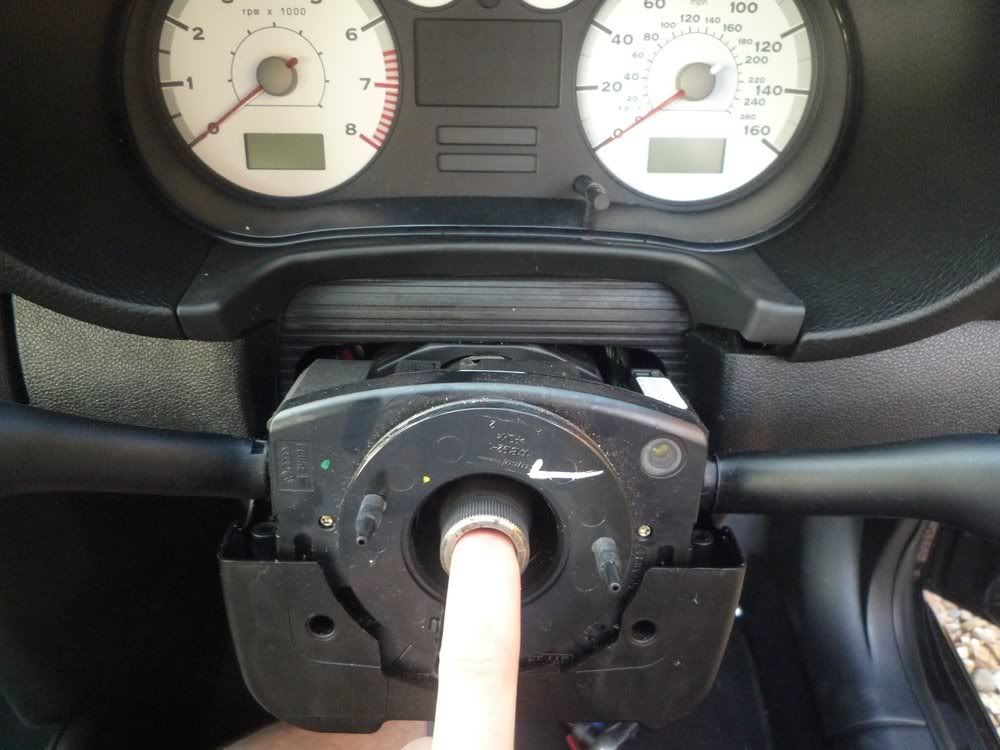
The lower cover is a lot harder. You’ll notice it has two screw lug holes going into the stalk assembly behind it. You need to withdraw it toward you to avoiding the key barrel and the column adjuster as you go. The key barrel is an arse to get round. Be careful.
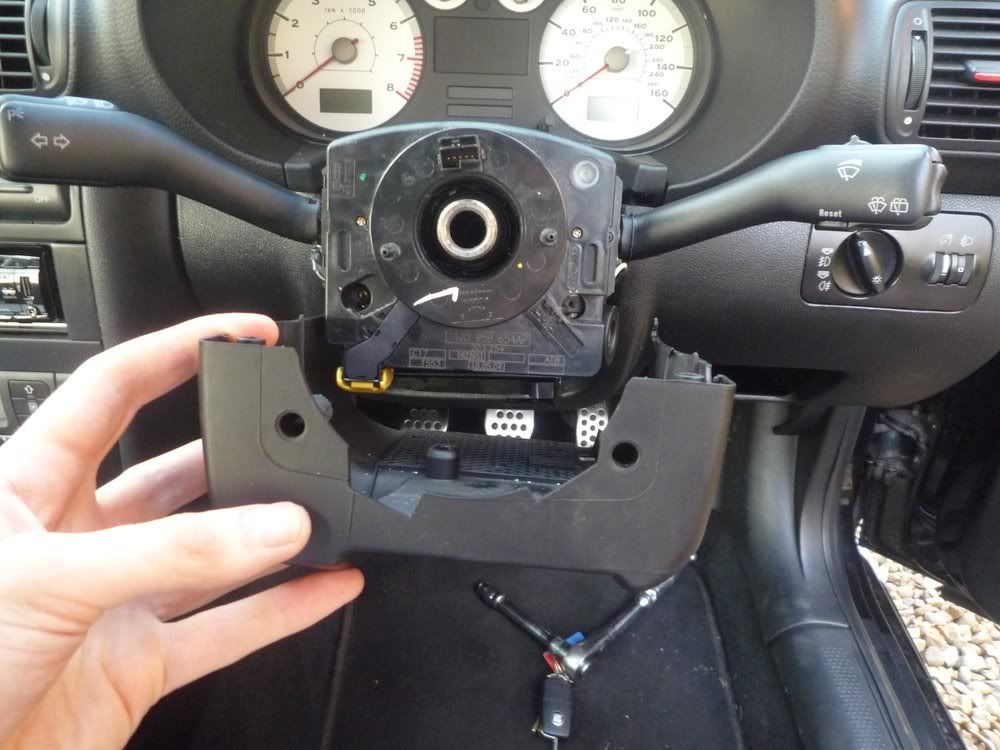
This (poorly photographed) item has two catches on the top and one underneath, release them and draw it toward you. You may want to unplug this, or you could leave it dangling if your careful working around it.
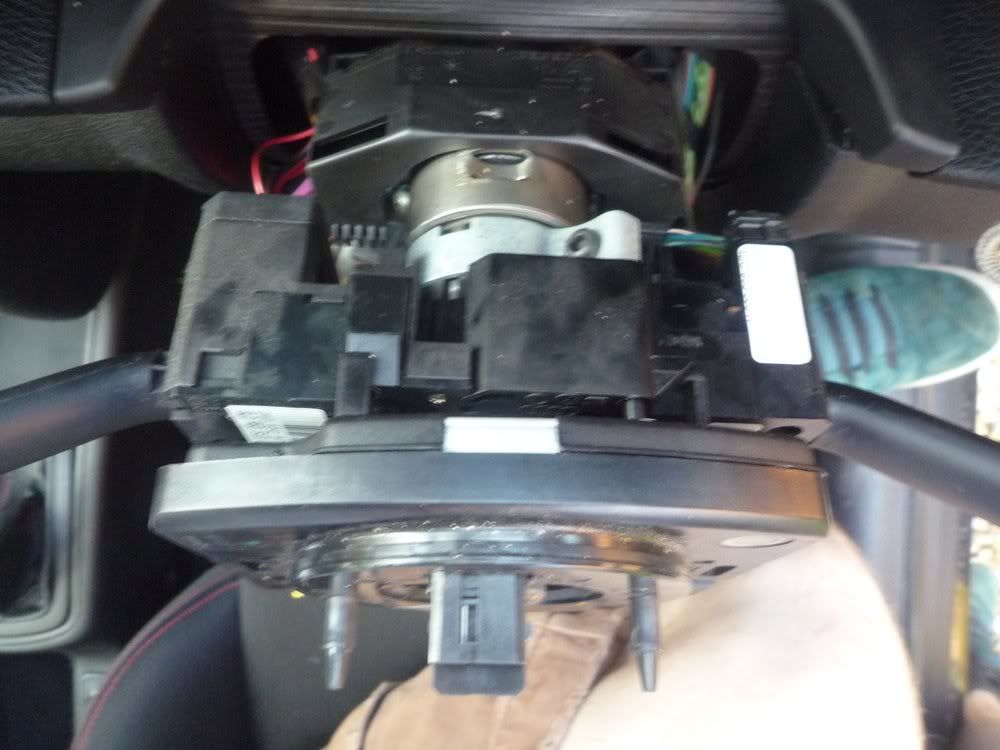
Undo the 4mm allen key bolt holding on the stalk assembly:
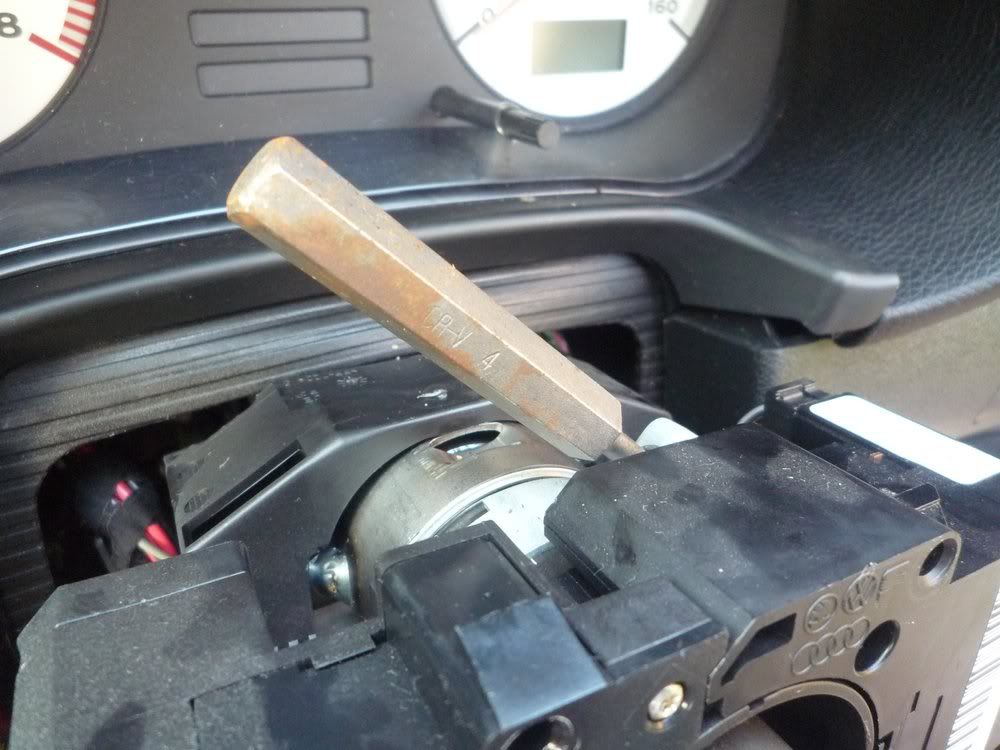
Push this clip outward and pull the wiper stalk toward you to separate it from the indicator stalk. The stalks won’t come off the column until separated (there wasn’t enough loom length on my car).
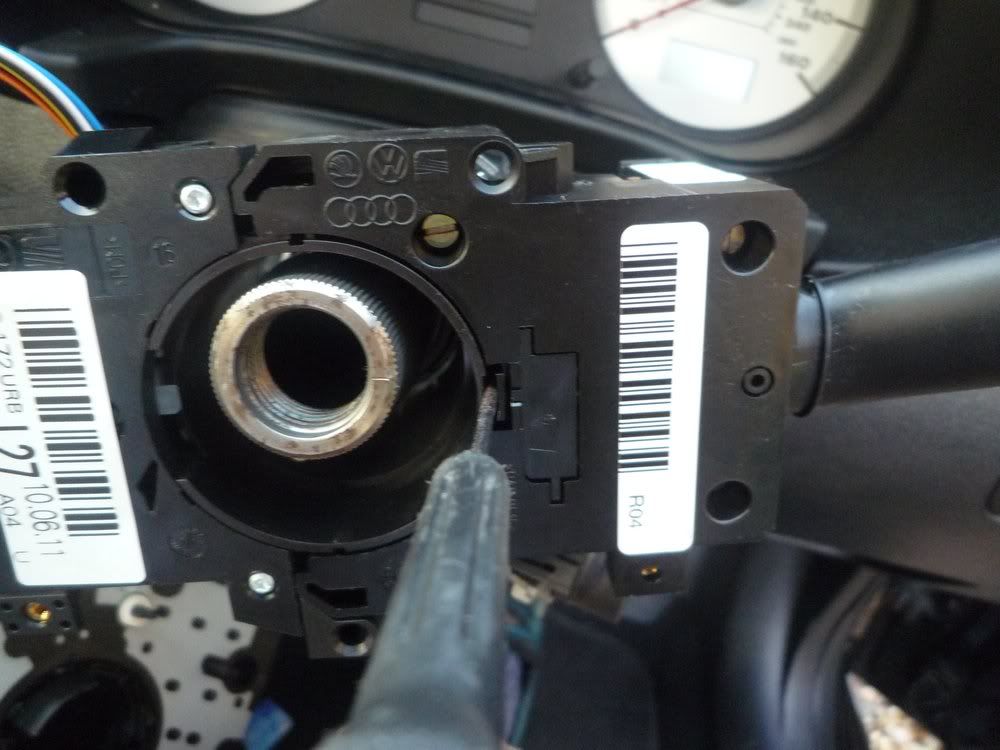
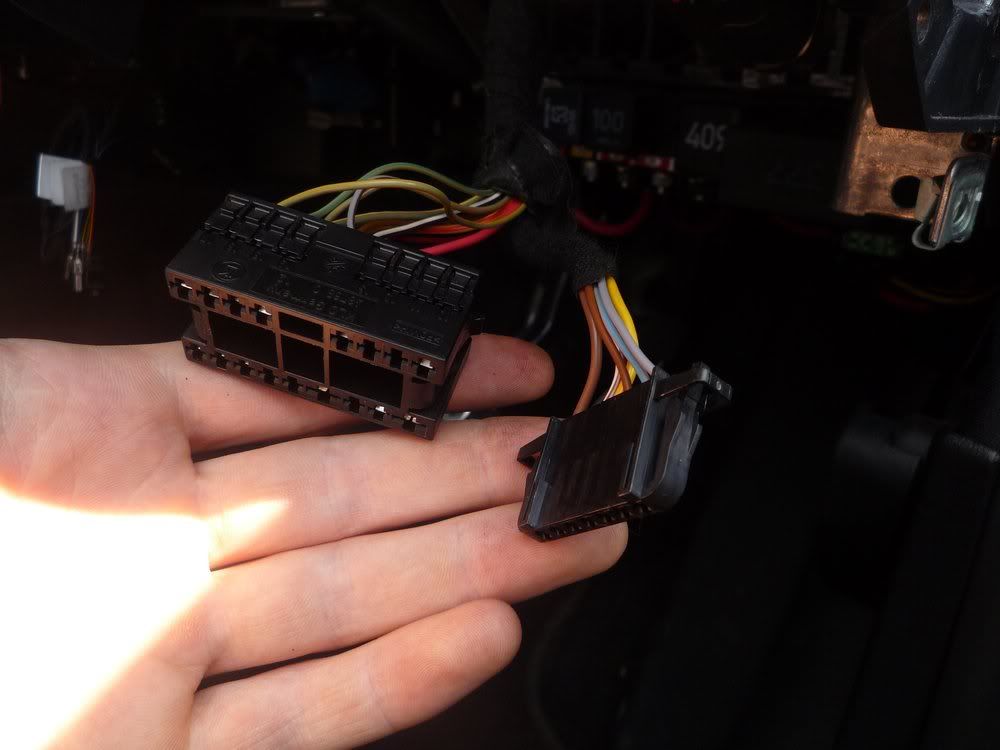
This is the indicator/dip beam stalk wiring connector. It has no catches, you’re best off gently prising it out by twisting a small flat-head screwdriver in the seam.
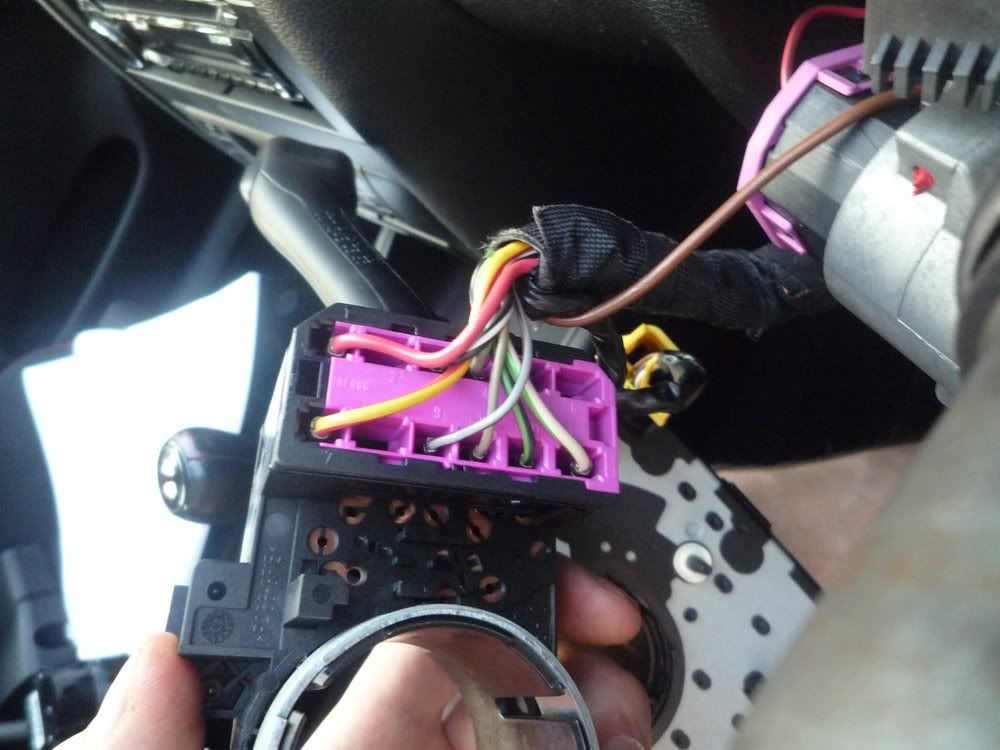
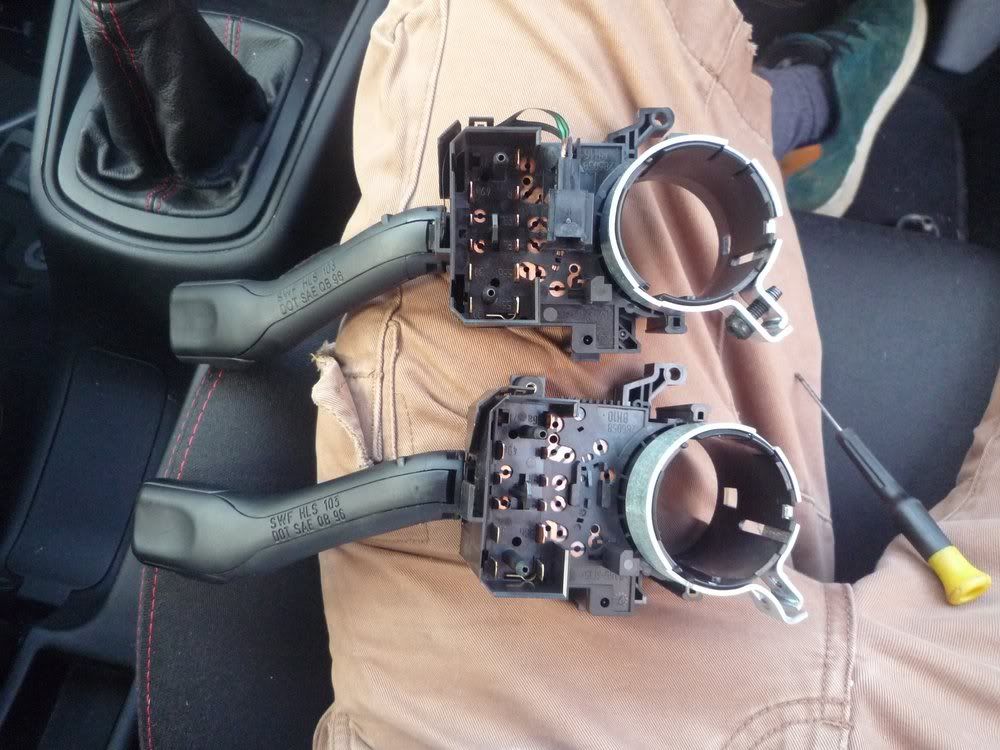
Here are the cruise control stalk (top) and standard stalks (bottom) for comparison. Note the cruise buttons are linked to the additional small plug you can see by two small ribbon cables. The main indicator/dip plug pin out is identical. Gawd bless VeeDubYa
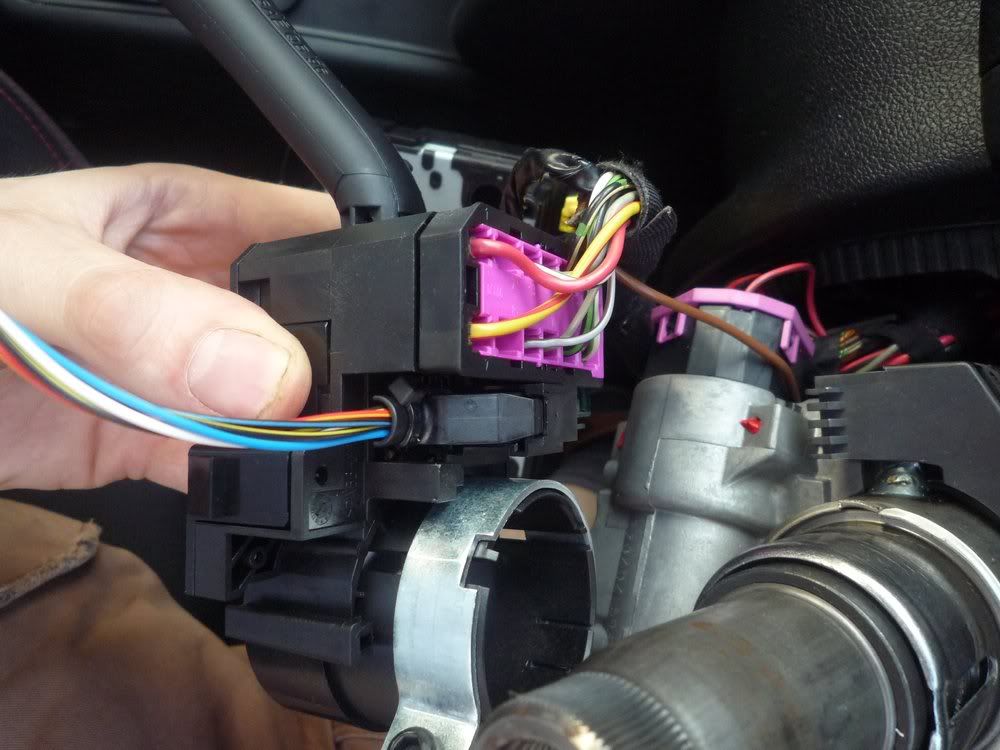
Connect in the new cruise control stalk. Don’t forget to plug in the cruise control loom to the additional plug on the stalk. I cable tied this loom to the existing stalk loom and ran it into the lower part of the dash ready for the next part of the job.
AT THIS POINT – You can re-assemble everything and use the stalk will be fully functioning (obviously without cruise control at this point).
Re-assembly is reverse of removal (that old Haynes manual gem). Steering wheel torque is 60Nm. Make sure you line up the indicator canceller and steering wheel as said earlier. Re-connect the battery. Don’t be an idiot and leave the keys in the car and the door shut when you do this, you’re asking for trouble. The VW guide states that you should avoid being in the path of the airbag for battery re-connection – I would take that advice for first key-on too (I hate airbags).
I purchased a kit from Teeside VW. Your best bet is to eBay message them and pay direct for a very small discount (they save eBay fees).
They will give you a really bad set of instructions made up of ETKA-style line drawings and based on a MK4 Golf. This guide is intended to replace the supplied guide and show enough detail so that you don’t have to spend hours and hours on the job (as I did).
To be honest, I found it a horrible job – particularly inserting pins into the ECU loom which I regard as quite high-risk. If you can have it done by Awesome-GTI or someone for £120 then that sounds a good deal to me. This guide will help a lot though.
Before anyone asks, I’m afraid I didn’t pin-out the stalk.
It’s a 3 phase job. You can put the car back together after any phase and it will work as normal.
1) Fit the stalk and leave the interior cruise loom behind the dash - Fairly quick job
2) Wire it all in (mostly in the scuttle) – can take ages
3) Activate it on VAG-COM – Quick and easy
Here is a rough outline of the wiring:

PHASE 1 - To fit the stalk:
Disconnect one battery terminal. You’re going to remove the airbag which can cause massive amounts of damage and injury if it goes off, so no joke – disconnect the battery.
Remove the airbag. There are two holes – left and right side behind the wheel . You need to unhook the spring clips holding the airbag by levering them inward toward the centre (pull outward on your lever). You need something quite short to do this, I ended up using an old 5 or 6mm drill as some screw drivers can be too flexible. Don’t be shy, the clips are pretty stiff. It may help if push on the horn just a little while levering the clip and then release the horn (another good reason to disconnect the battery).

These are the clips you’ll be unhooking:

The air bag cable looks like this:

There is no catch, just gently pull it free:

Next, undo the steering wheel bolt – This is 60Nm for re-assembly. You’ll need an M12 spline-drive bit (not Torx or hex). MANY SPLINE DRIVE KITS DO NOT SUPPLY M12 BITS so be sure you’ve got one before starting. DON'T USE ANYTHING ELSE!

BEFORE YOU REMOVE THE STEERING WHEEL!!!! – Check for orientation marks between the steering column and the wheel. This is important for re-assembly. ALSO – Note the orientation of the indicator cancelling disc behind the wheel. This disc has cables attached and although the re-assembly orientation is obvious, it can NOT be spun by 360 degrees for re-assembly or you’ll tear out the cables next time you go for full lock. ALSO, this disc does traction control steering angle and you'll get a fault if it goes back incorrectly.
Steering wheel removed, and airbag+horn cable disconnected (easy latch plug).

Remove the top and bottom column covers. 5 cross-head screws hold these on. Two on the front with a very small cross-head:

Two underneath with a slightly larger (long) cross-head

A single medium size cross-head underneath the column:

Now is a good time to remove the steering column adjuster rubber handle, held on by two T25 torx screws:

Remove the two halves of the column cover, TOP FIRST. The VW guide (for a Golf MK4) will tell you that the small bit of trim just below the dials needs to be pulled up – I don’t think it does. Release the steering column adjuster and pull the column down while you carefully extract the top cover.

The lower cover is a lot harder. You’ll notice it has two screw lug holes going into the stalk assembly behind it. You need to withdraw it toward you to avoiding the key barrel and the column adjuster as you go. The key barrel is an arse to get round. Be careful.

This (poorly photographed) item has two catches on the top and one underneath, release them and draw it toward you. You may want to unplug this, or you could leave it dangling if your careful working around it.

Undo the 4mm allen key bolt holding on the stalk assembly:

Push this clip outward and pull the wiper stalk toward you to separate it from the indicator stalk. The stalks won’t come off the column until separated (there wasn’t enough loom length on my car).

This is the indicator/dip beam stalk wiring connector. It has no catches, you’re best off gently prising it out by twisting a small flat-head screwdriver in the seam.

Here are the cruise control stalk (top) and standard stalks (bottom) for comparison. Note the cruise buttons are linked to the additional small plug you can see by two small ribbon cables. The main indicator/dip plug pin out is identical. Gawd bless VeeDubYa

Connect in the new cruise control stalk. Don’t forget to plug in the cruise control loom to the additional plug on the stalk. I cable tied this loom to the existing stalk loom and ran it into the lower part of the dash ready for the next part of the job.

AT THIS POINT – You can re-assemble everything and use the stalk will be fully functioning (obviously without cruise control at this point).
Re-assembly is reverse of removal (that old Haynes manual gem). Steering wheel torque is 60Nm. Make sure you line up the indicator canceller and steering wheel as said earlier. Re-connect the battery. Don’t be an idiot and leave the keys in the car and the door shut when you do this, you’re asking for trouble. The VW guide states that you should avoid being in the path of the airbag for battery re-connection – I would take that advice for first key-on too (I hate airbags).


