I had some difficulty getting into the pollen filter (I was scared of breaking something) so I have got it done now and created a guide to hopefully help others
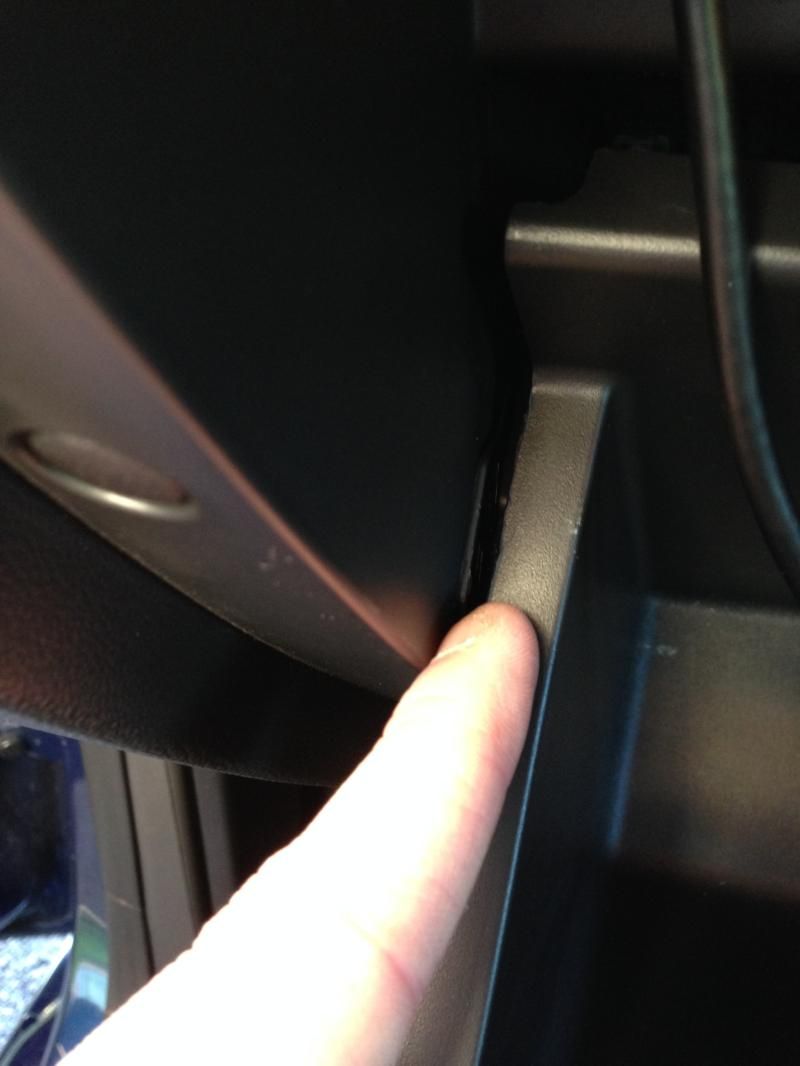
Open glovebox and look at the sides of the door, you will see a clip which needs to be pressed in so the door can be fully opened. You will need to press one side, pull the door slightly then press the other side.
When you get the door dropped you will see the pollen filter housing, problem is the plastic around the CD drive is in the way so this will also need removed.
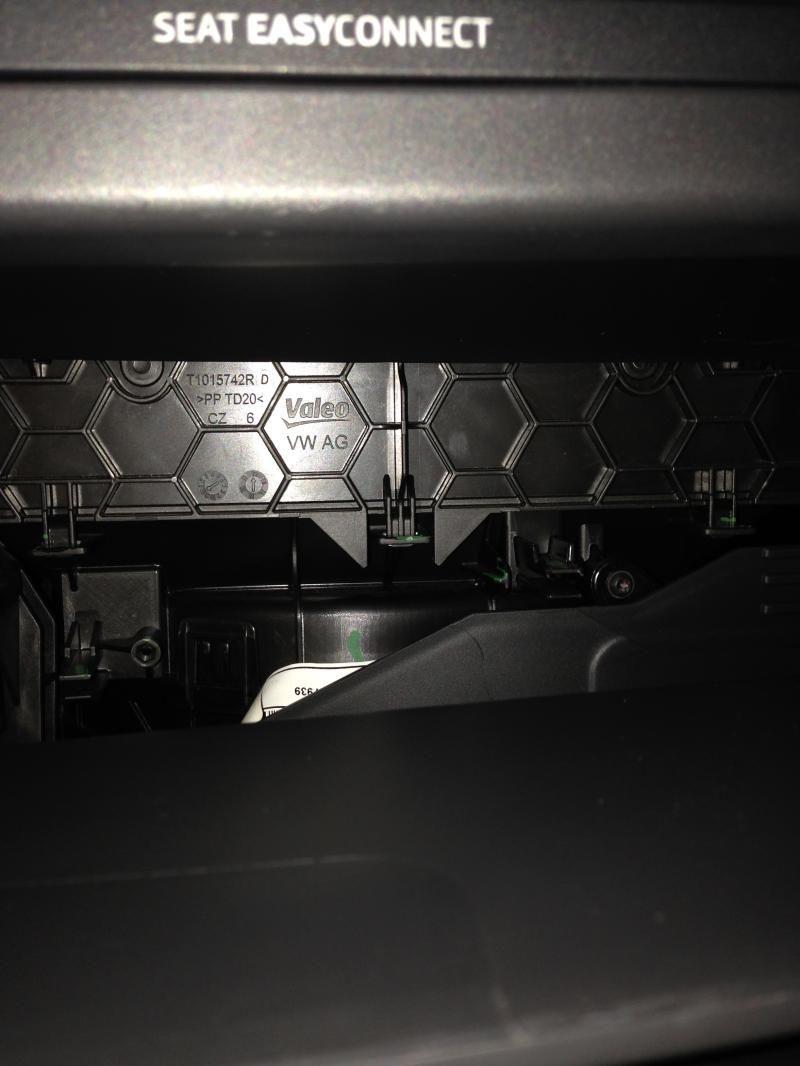
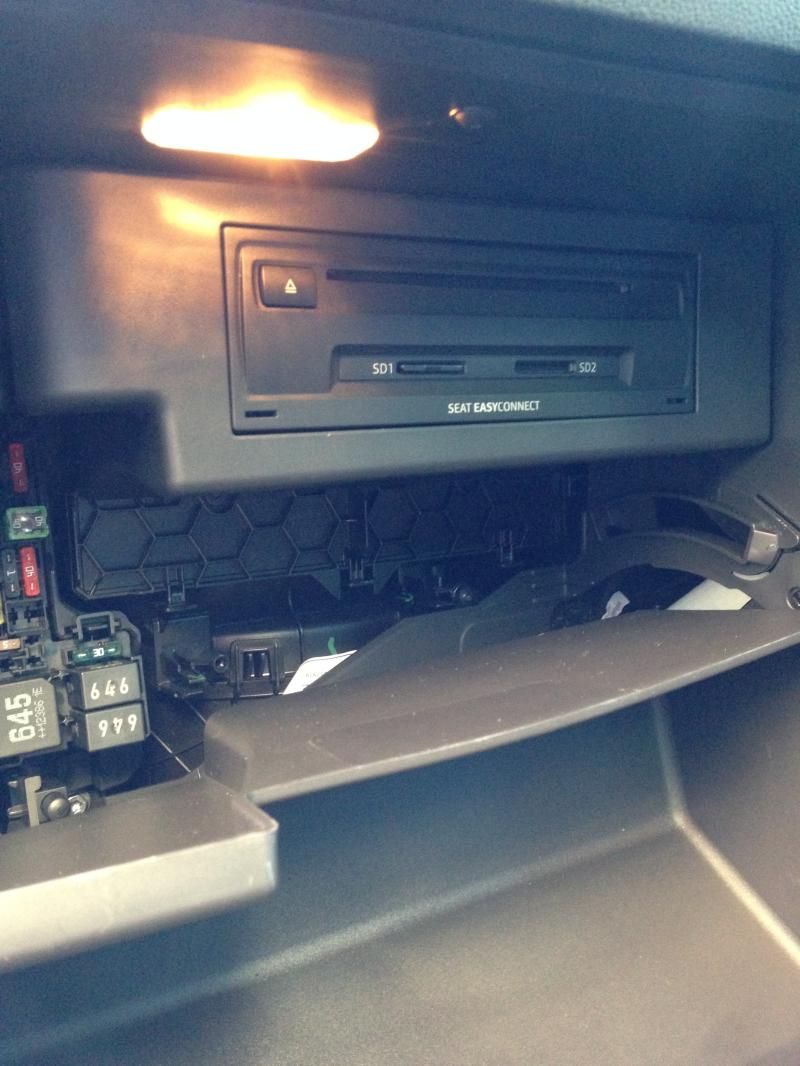
To do this put your hand to the back of the trim and pull forwards, the trim will pop off as it is held in place by clips
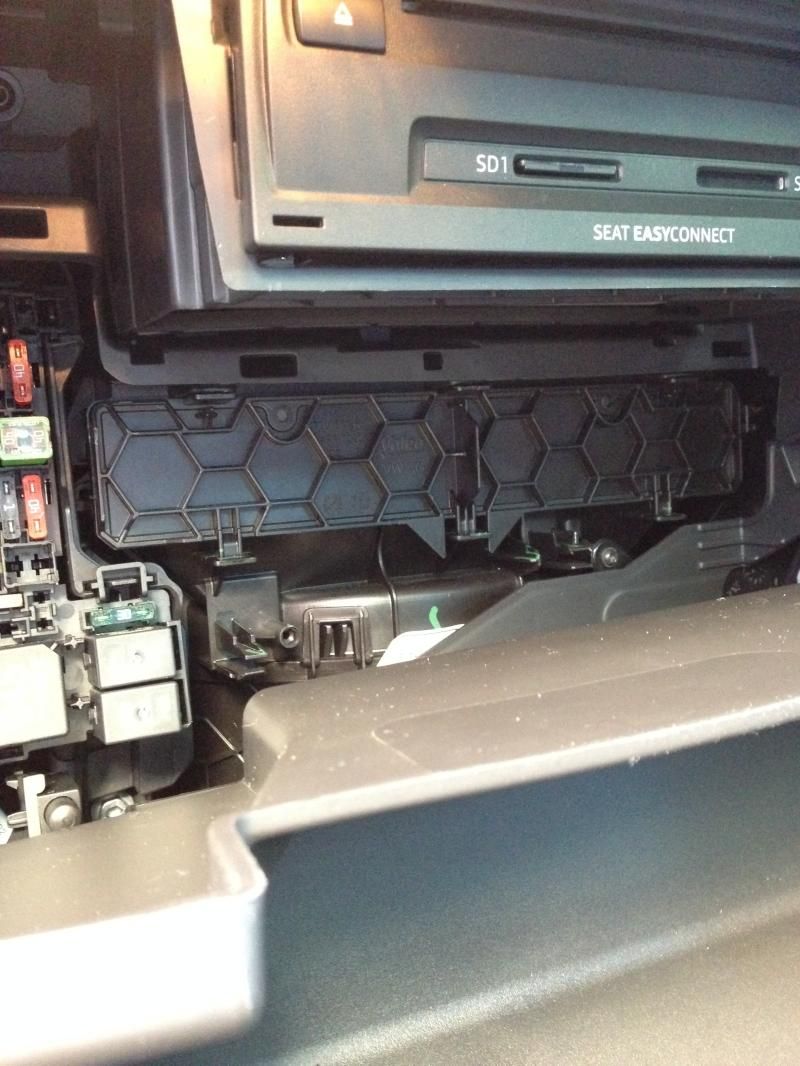
Now you have the trim off you will be able to see 3 clips along the top of the filter housing. You'll need a flat head screwdriver (or tiny strong fingers) as the clips need pushed down which will allow the door to drop forward then be removed
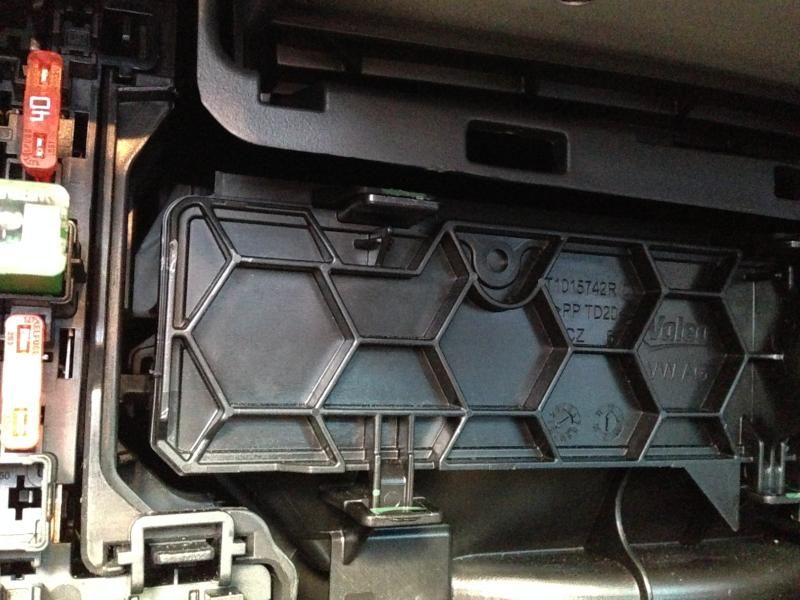
With the filter housing cover removed you will be able to see the filter. This just needs pulled out.
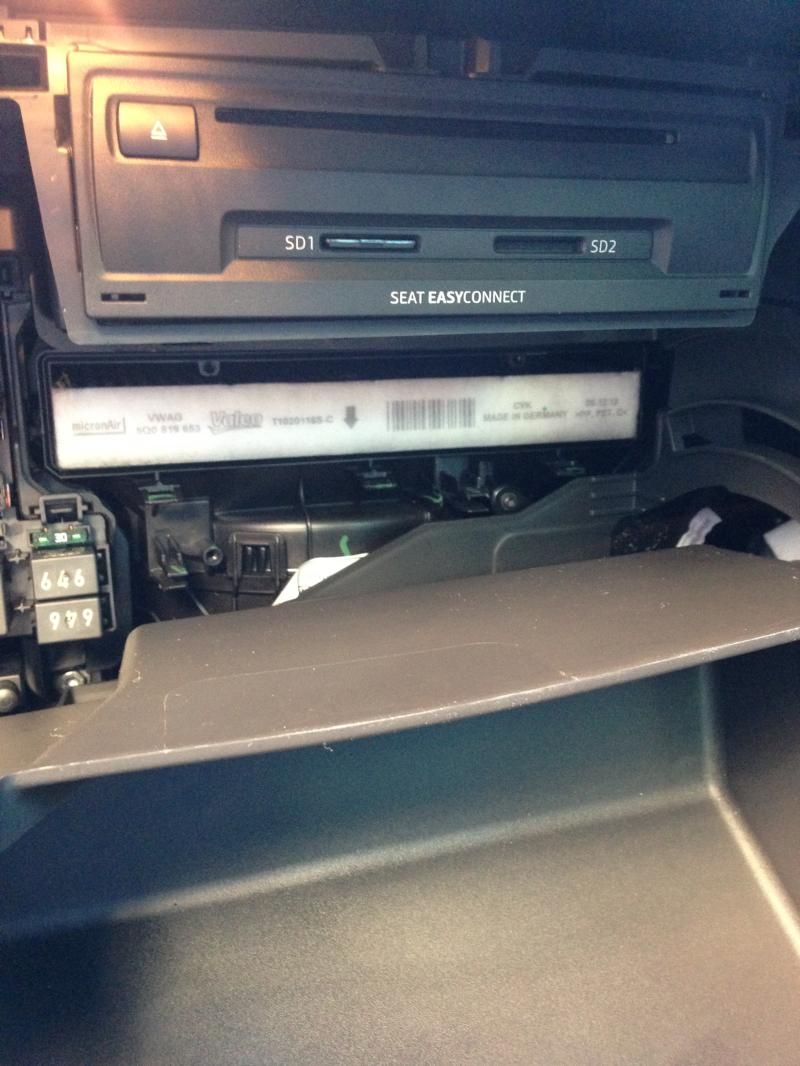
Take note of the writing and air flow direction arrow so you can put the new one in.
On the genuine VAG filter there is only writing on one side so it's simple, the writing faces out so it can be read
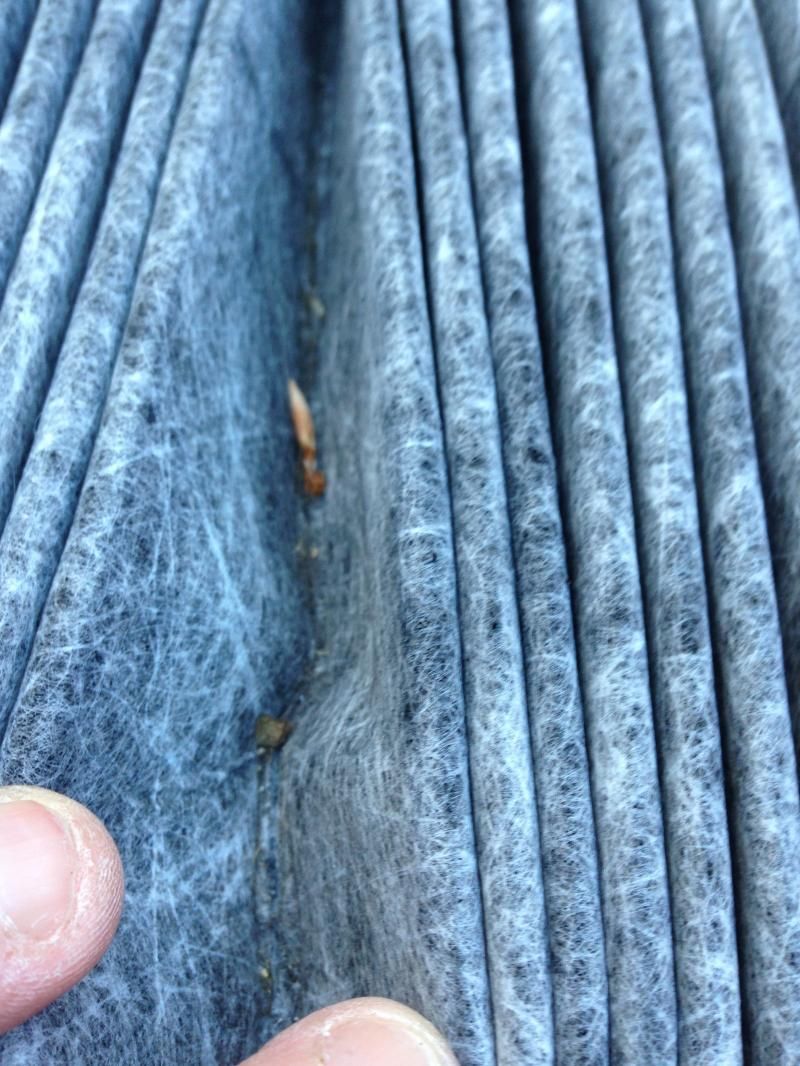
My filter wasn't to bad but did need changed
To put everything back together, just repeat the steps above in reverse
Open glovebox and look at the sides of the door, you will see a clip which needs to be pressed in so the door can be fully opened. You will need to press one side, pull the door slightly then press the other side.

When you get the door dropped you will see the pollen filter housing, problem is the plastic around the CD drive is in the way so this will also need removed.


To do this put your hand to the back of the trim and pull forwards, the trim will pop off as it is held in place by clips

Now you have the trim off you will be able to see 3 clips along the top of the filter housing. You'll need a flat head screwdriver (or tiny strong fingers) as the clips need pushed down which will allow the door to drop forward then be removed

With the filter housing cover removed you will be able to see the filter. This just needs pulled out.
Take note of the writing and air flow direction arrow so you can put the new one in.
On the genuine VAG filter there is only writing on one side so it's simple, the writing faces out so it can be read

My filter wasn't to bad but did need changed

To put everything back together, just repeat the steps above in reverse


 , nevertheless I believe Mann is better - German quality and Made in Germany not Bosnia (one of their plants)