Auto dipping mirror/ red lighting under mirror

Nath.

The Gentlemans Express
Jan 1, 2006
8,620
16
EASTLEIGH, HAMPSHIRE
I couldnt for the life of me get the map reading lights out of the ceiling!!! So i opted for this instead.

Just got a 3amp fuse and inline holder. Ive also got bullet connectors so i can simply plug the leds in when they come.

Will try and get photos of the mirror when i get a chance, got a very busy weekend ahead!


Total cost:

10x Bright 12v Red LED's - £3.29 (phenoptix - ebay) (a bit of an over kill here, could pass some on to you guys)
2x Plastic LED mounts - £0.90 (Maplin)
2m 3amp cable - £1.18 (Maplin)
1x Inline fuse holder - £2.49 (Maplin)
1x 3amp blade fuse - £0.56 (Halfords)

Total: £8.42

I have a small selection of connectors to hand as well, but these are only cheap, if you do not have them.

Can you send me 2 of the LED's If I send you some £? How long range are they if you power them up in the dark?
 

Bedlam

Active Member
Feb 26, 2009
868
236
North Yorkshire
I couldnt for the life of me get the map reading lights out of the ceiling!!! So i opted for this instead.

2x Plastic LED mounts - £0.90 (Maplin)

Could you post the Maplin part no. please.

The complete mapreading lights etc. unit should just come out by levering front and back left side and front and back right side,
this is how the map reading lamps are replaced, may even be in the handbook
 
Last edited:

ross27

Mazda 3 MPS
Mar 22, 2009
363
0
Glasgow
Yeh Nath, i will do, no problem.

The Leds seem very bright to be honest, afraid they may actually be too bright, but i will soon find out when i try them out in the car. Should get round to dismantling the mirror again on tuesday, will take step by step photos.


The part number on my recipt is UK15.

http://www.maplin.co.uk/module.aspx?moduleno=2071

They look like the one on the top left of the photo. 5mm Concave.
 

ross27

Mazda 3 MPS
Mar 22, 2009
363
0
Glasgow
Ok, here all my photos. Added some descriptions, but if theres any questions just ask.


1.jpg

Ok, so take a plastic card and slide it along the gap releasing the clips.


2.jpg

Continue round the edges.


3.jpg

Get the top half free.


4.jpg

Work along the bottom of the mirror.


5.jpg

All the clips will become free, Ignore the cable in this photo, i had previously ran the cable in at an earlier date.


6.jpg

This is the cover that you have just removed, this holds the glass.


7.jpg

Get a flat head screwdriver and begin to prise off the metal clip.


8.jpg

Work around each side.


9.jpg

The ring will then pop off. The mirror housing will simply pull off with little force.


10.jpg

Keep hold of the metal ring.
 
Last edited:

ross27

Mazda 3 MPS
Mar 22, 2009
363
0
Glasgow
11.jpg

I suggest putting the clip back on now. When putting the mirror housing back on, it will take some amount of force. I have had mine on and off around three times and and have not caused any damage.(incase anyone is scared of applying too much force)


12.jpg

Next get the cover off. I used a card again to creat a gap, then got my fingers underneath.


13.jpg

You can see the clips that hold this in place.


14.jpg

To remove the ball mount, you give it a firm tug to one side, it will unclip.


15.jpg

Get your cable down as i have.


16.jpg

To get this mount back in, you have to do the following. You need to press in each end of the mounts, one at a time. Press in where the red arrow points, untill the metal clip (Blue arrow) fills the gap (green mark). Basically, the metal clip (blue arrow) hold the side in around 2mm. This allows you to get the mount back into the ceiling. This will become obvious when you come to do it. When putting it back in, do one side at a time, applying a fair amount of pressure.


17.jpg

Its very hard to explain and photograph.


18.jpg

As you can see, the mount is hollow, and you can feed your cable down the middle.


19.jpg

Feed your cable through, exactly as i have.


20.jpg

Now clip it back in. As i explained a few photos above.
 
Last edited:

ross27

Mazda 3 MPS
Mar 22, 2009
363
0
Glasgow
21.jpg

Now reclip in the plastic trim.


22.jpg

I measured out and marked the location of my holes. I then drilled a 5mm hole.(No photos of this! Sorry)


For the next part, i never took step by step photos as the camera's battery died.
Basically, i put the mirror housing back on, and then positioned my mirror to suit my driving position. Held the led mounts in position, so that they illuminated the gear surround, and then dabbed them with hot melt glue. Once happy with the positon, i applied a fair amount of glue.

In some parts i drilled holes inside the mirror housing to feed the cables through.


23.jpg

This is how it looked once i had it all put together and connected the cables up.


24.jpg

This shows one of the back holes i drilled to feed the cable through.


25.jpg

Pluged in and illuminated.


26.jpg

This is how it looks from the underside. You cannot see them when driving, unless you dip your head down.


27.jpg

Now, down at the fuse box, i drilled holes again, to create a route for my cables.


28.jpg

This shows my live wire with inline fuse (3amp).


29.jpg

This is the slot i have plugged into. It is a switched live, so comes on with ignition. Note that depending on the spec of your car, this slot may be occupied by a fuse, so you will have to just try and find an empty one.


30.jpg

I earthed onto the chassis, using an 8mm bolt and a nut on the other end. The wire has a crimped ring connector on the other end.


Hopefully this is of use. I do not have photos of the results yet, as i my phone camera was not up to the job of night photos.

I would say my LED's are a tad bright. They look good shineing onto the gear stick and dark surround, but when you hand goes underneath, it appears too bright. Brighter than my dads Audi.

I suppose resistors or something could be used to dim the brightness. Will give them a go and see how they go for a week or two.

In all, im happy with the result. Although i may change them to come on with my sidelights, just as my dads Audi does.
 
Last edited:

Bedlam

Active Member
Feb 26, 2009
868
236
North Yorkshire
Good pics......can't wait for the "words", I took my mirror unit off a few weeks back to investigate and it was pig getting it back on, which involved
a bit of upside down lying down on the front passenger seat :blink:
Until I sat back and thought about it!!!!! which only helped a bit
 

ross27

Mazda 3 MPS
Mar 22, 2009
363
0
Glasgow
Looks good mate, why didn't you make the holes big enough for the LED holders to pop through from the outside as they are designed to do? like this>>>>>>>http://carphotos.cardomain.com/ride_images/1/2774/3241/6934120033_large.jpg

I'm not dissing your mod, just curious.

What does the red light look like at night?

Then the led would be visible when driving. The last thing i would want is red leds catching my eyes.

I wanted them sunken in, so nothing was visible. This is how the standard ones on the auto dip mirrors are.


I added some desciptions, so have another look.
 
Last edited:

Craig Senior

I've been Tango'd
May 24, 2004
1,099
0
Yorkshire
Then the led would be visible when driving. The last thing i would want is red leds catching my eyes.

I wanted them sunken in, so nothing was visible. This is how the standard ones on the auto dip mirrors are.


I added some desciptions, so have another look.

Yes, as you say the standard ones are recessed.

They aren't visibly unless you look from underneath and only shine down.

Good work, looks like the factory fit.
 

Nath.

The Gentlemans Express
Jan 1, 2006
8,620
16
EASTLEIGH, HAMPSHIRE
Then the led would be visible when driving. The last thing i would want is red leds catching my eyes.

I wanted them sunken in, so nothing was visible. This is how the standard ones on the auto dip mirrors are.

OK mate, I understand. I realise that they aren't visible whilst driving unless you are only 4 feet tall and I understand that you want it OEM looking.

It's all good mate but I think a 3 amp fuse is well OTT. You only need like 500 milliamps.

I will be following your guide to do mine very soon [B)] but moving house just before crimbo so I'm a bit busy just now.
 

Tfsi_Mike

Active Member
Aug 30, 2007
2,387
6
Doncaster / Germany (Army)
Cant wait to do this :) One for when Im at home at christmas I think. Daunted by routing the cable .

Did I miss the Size / rating etc of the LEDS?

Good work!

**EDIT

Does an auto dimming mirror already have the LEDSs in? If I was to buy a mirror and supply 12v would that work??

Should be made a sticky or put in quides :thumbup:

Cheers
 
Last edited:

ross27

Mazda 3 MPS
Mar 22, 2009
363
0
Glasgow
Bump!

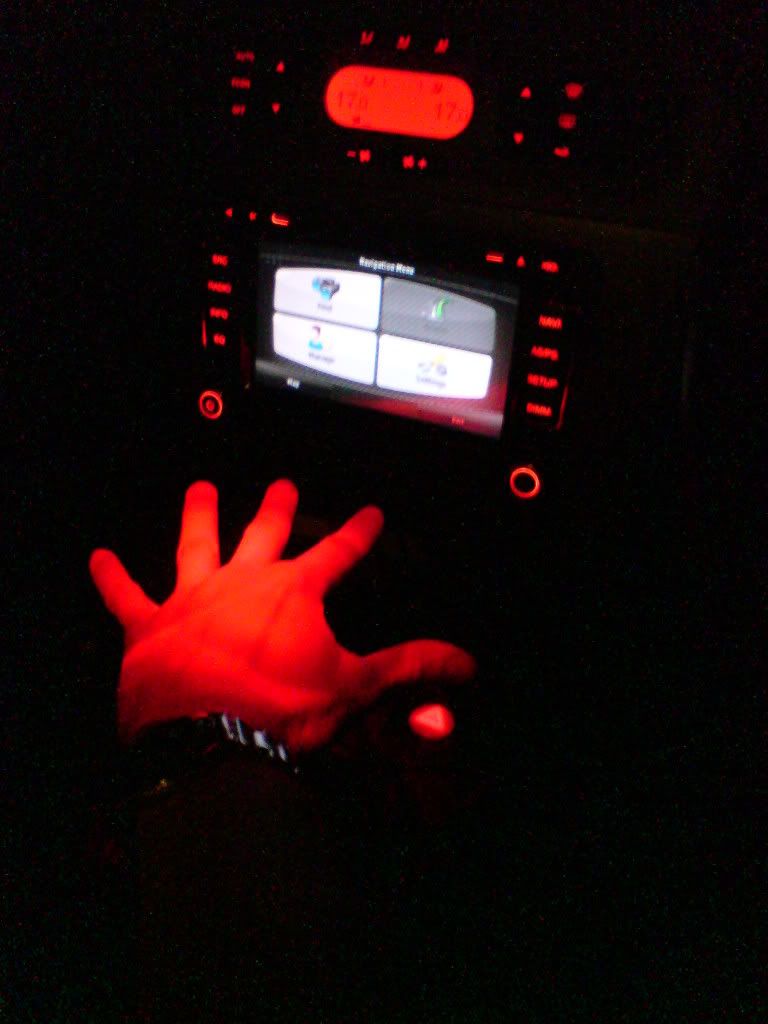
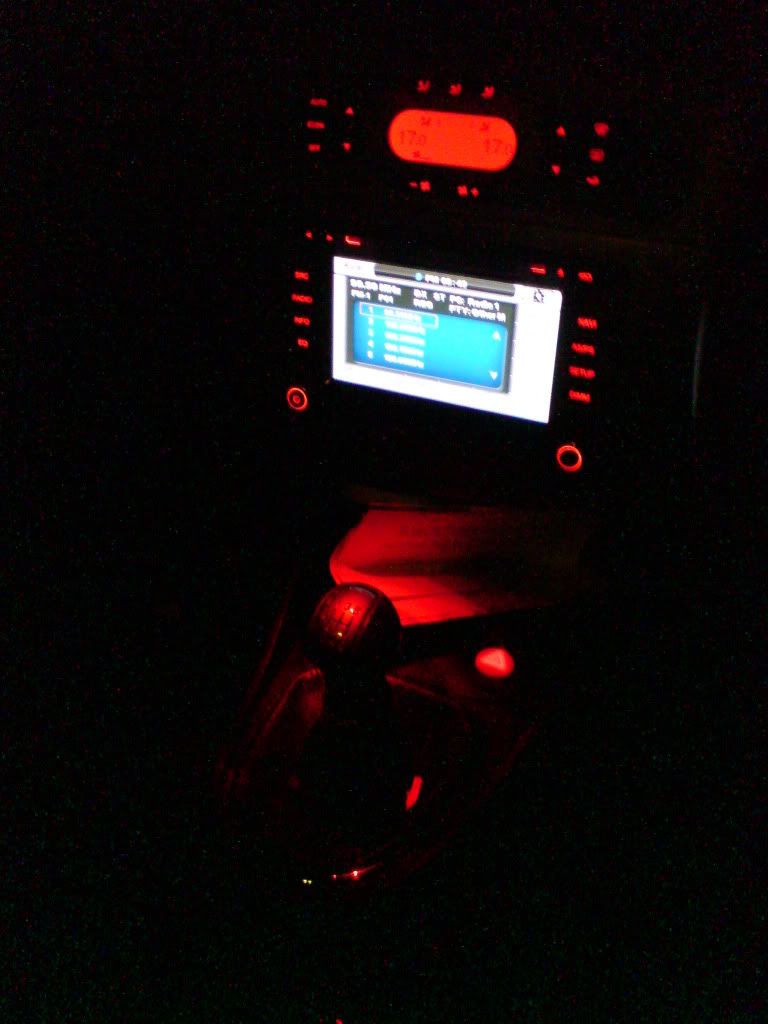
Never got round to taking decent interior photos of the results. Took a couple photos to try and show them, although crap camera and difficult lighting make for not great photos!

The brightness of the LED's is slightly to bright, but you only notice this if you compare to standard cars such as the Audis etc. Its a nice glow, and i have had a few good comments from people who seen it. They do seem bright when you stick your hand underneath at night, or a piece of paper.


The pattern is focused on the gear surround area, as you can see from where it shines on my arm.

DSC03908.jpg


DSC03910.jpg
 
Last edited:

Nath.

The Gentlemans Express
Jan 1, 2006
8,620
16
EASTLEIGH, HAMPSHIRE
I know this is an old thread but I'm sure there are still people that may be interested in this mod now that it includes OEM parts on the cheap.

The Exeo has a pair of OEM red LED's in it's interior light and they can be fitted anywhere in any car, just need a 12v supply.

From the Exeo section

2. Ambient LED light front

898823-After%28on%29.JPG


Part needed: 8E0919063A (£13,00)


Ambienteleds.jpg
 

Nath.

The Gentlemans Express
Jan 1, 2006
8,620
16
EASTLEIGH, HAMPSHIRE
I would say the Exeo bit is a no go for fitting in the mirror after having a go this morning :(


I am surprised, The Exeo part is quite small and IIRC there was a fair bit of room inside the Leon mirror.


Maybe you can dismantle it and remove the LED's. This way you get LED's that work on 12v and produce the correct amount of red light without faffing about with resistors to dim them. Or fit the Exeo part as it is into the interior light, that's how they are in the Exeo.

If not send it to me and I'll make use of it in my Exeo. I want to illuminate my center storage compartment or maybe my heater vent knobs.
 
Last edited:
SEATCUPRA.NET Forum merchandise